
Hornet's Needle
Print Profile(1)

Description
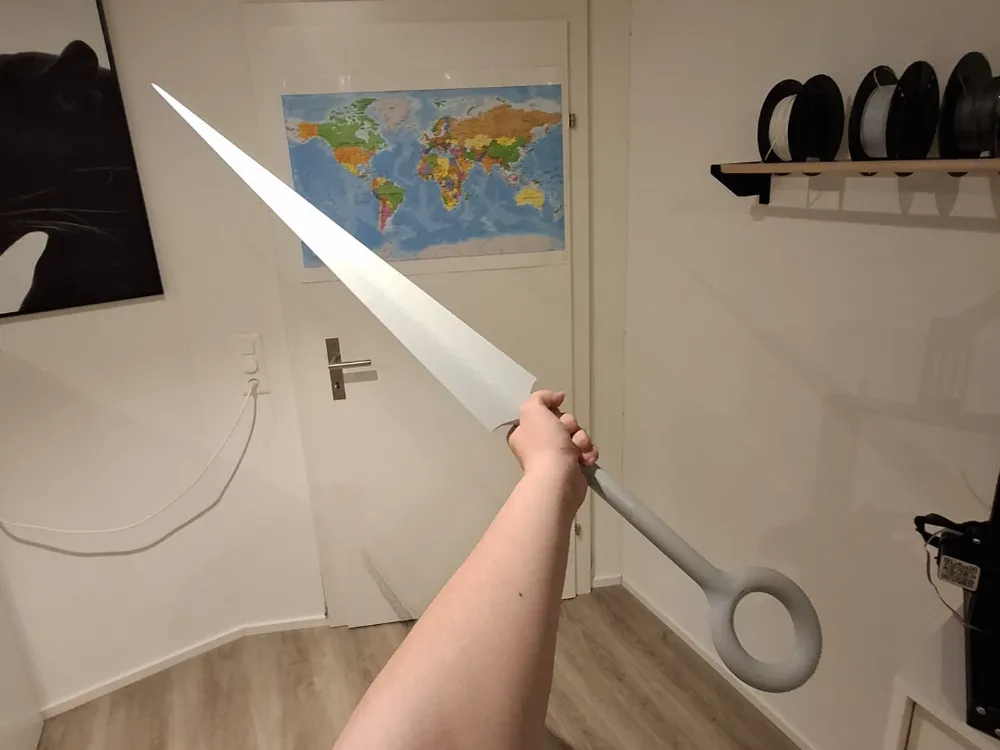
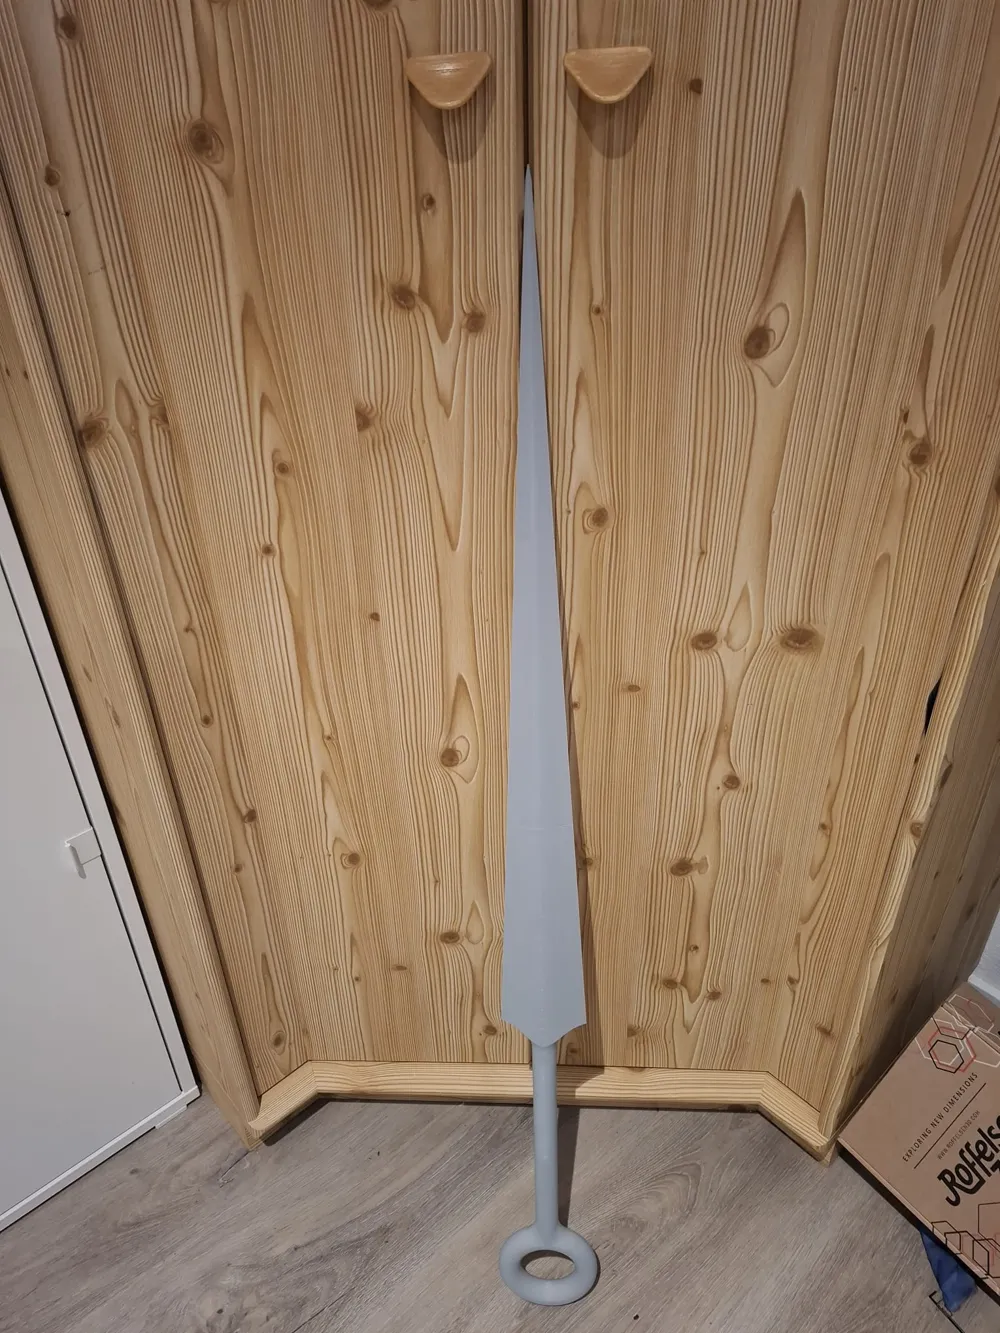
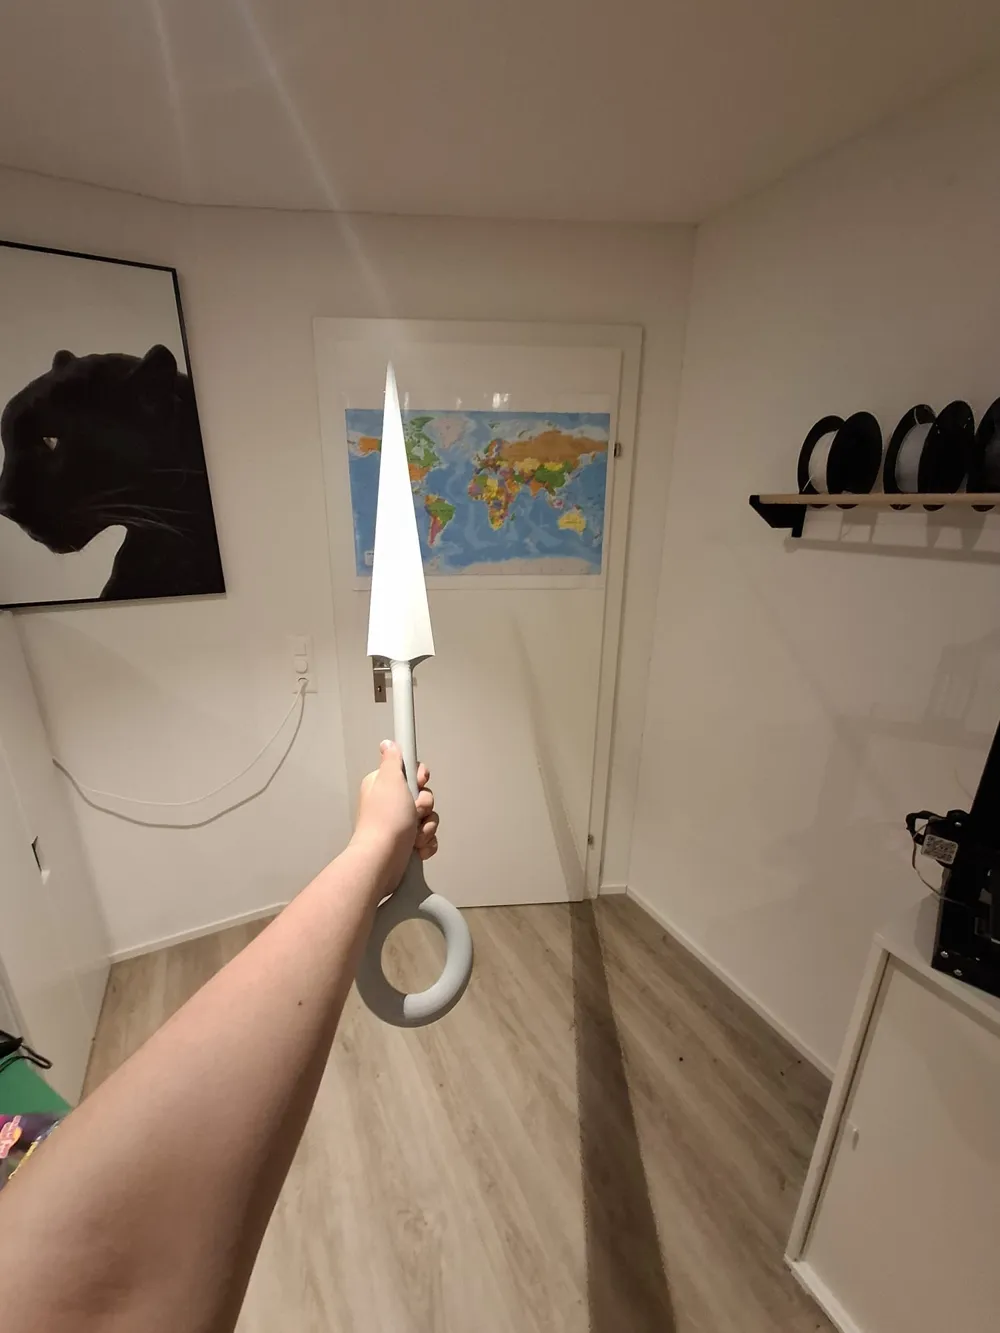
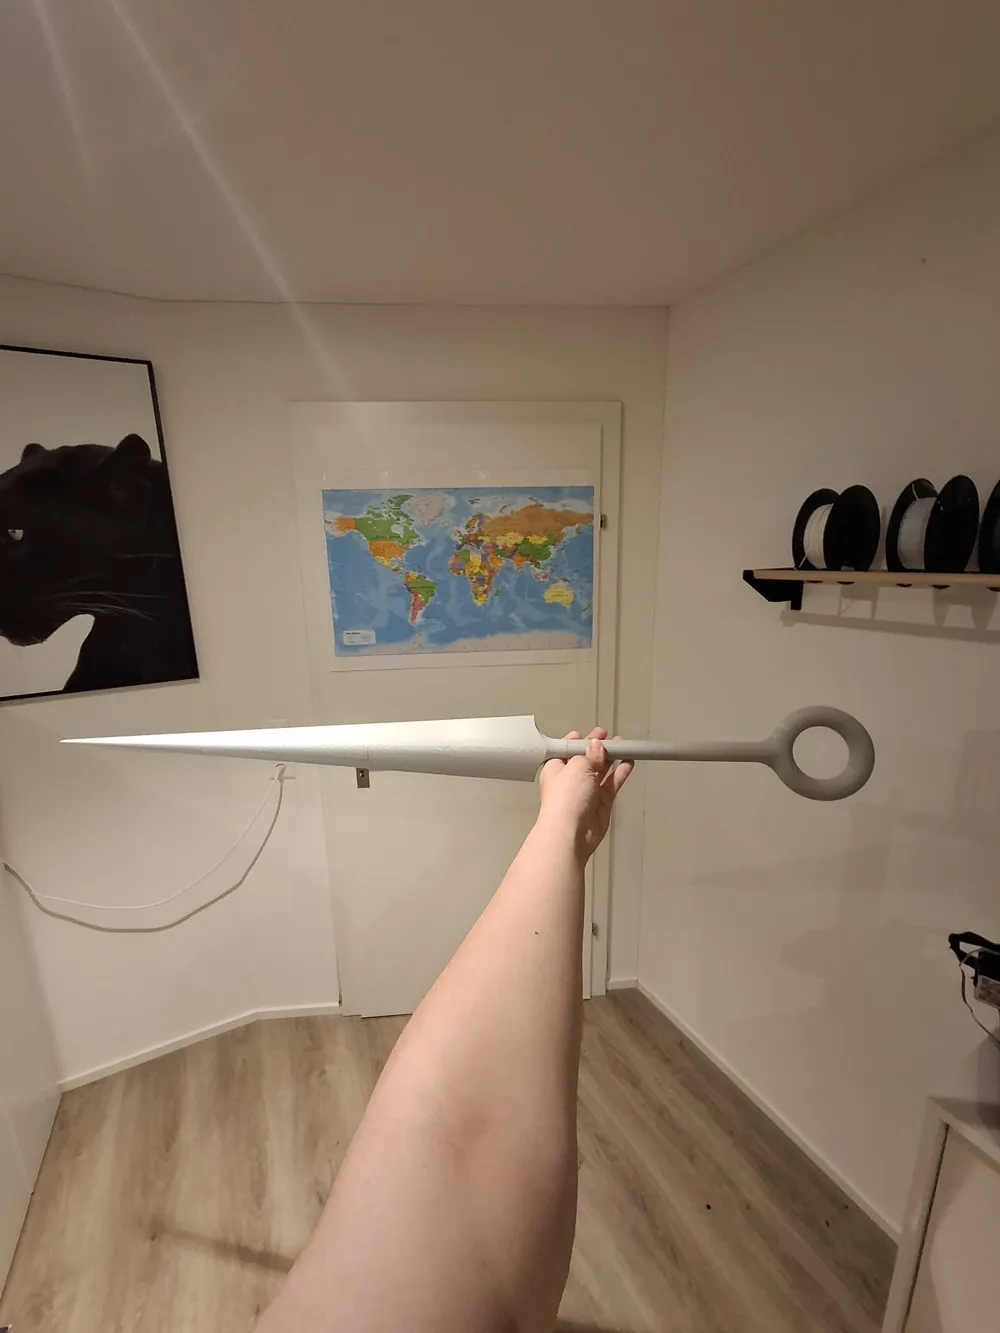
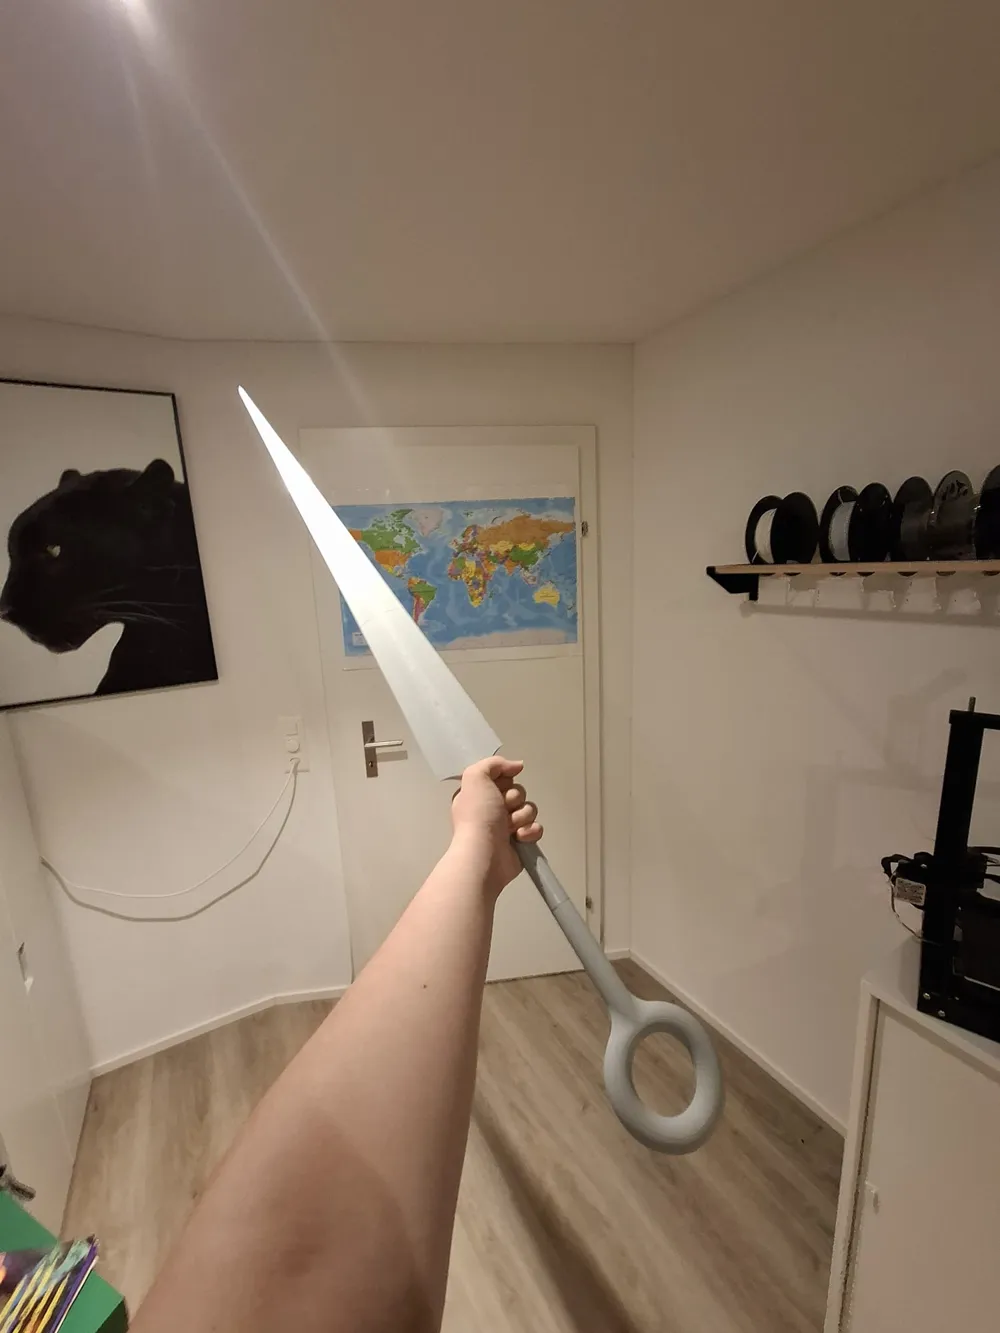
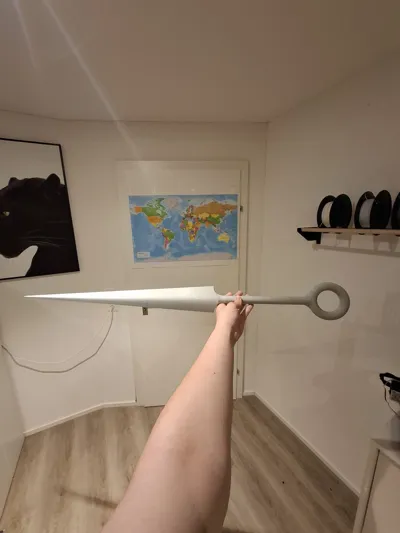
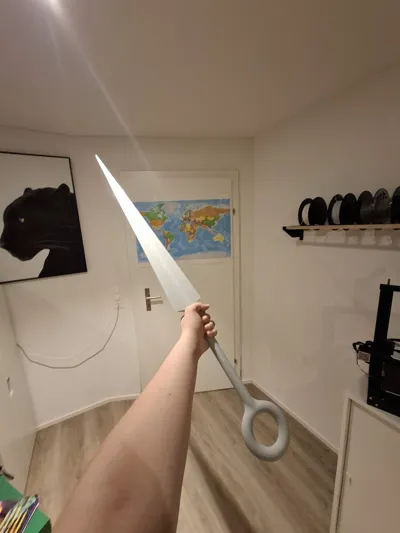
The last week or so, I have been playing Hollow Knight: Silksong and I fell in love with it. I love everything about the game. I love the art style, the characters and most certainly the difficulty :,). And so the only logical consequence is that i would design “Needle”, the weapon of Hornet, to hang on my wall. So, I spent my afternoon designing, printing and improving the weapon. And I think it turned out great.
Anyway, if you want to print this your self, you will need some additional parts to bring this model to life. You might have already noticed that the handle is pretty thick. That is so, because I put a wooden rod inside to be able to swing it around like a real sword. Also there is some more wood in the top where the rod was to thick to reach. This makes the weight more realistic and also the sword more sturdy. With the way the sword is printed, you will be able to see some of the glue lines, but if you want to smooth it out and paint it, like I planed to, this wont be a problem.
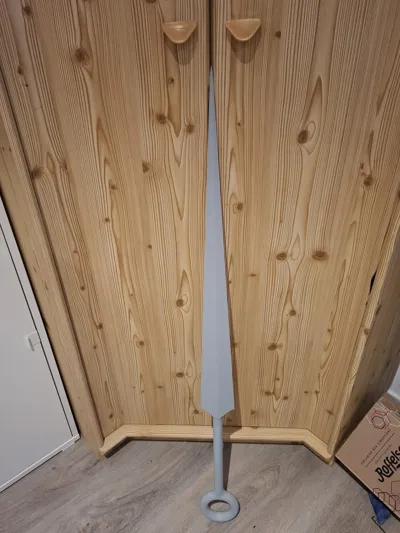
My iteration was printed with 0.20mm layer height and no supports. As you could already expect, this was a stupid idea. I had to spend more time on sanding overhangs, removing loose strands of filament and getting angry than if I just chosen supports. So in this print profile, I set the layer height to 0.12mm for less visible print lines and added supports so you don't have to spend hours on trying to fit the wooden parts like I did. I also tried to fit all the pieces on as few print plates as possible. That means three to be exact. Lastly I made the round handle piece a bit longer, because the sword seemed a bit short. That brings the total length to 1120mm or 1,12m.
So, what exactly would you need to print and assemble this?
• A wooden rod ⌀20mm by 460mm
• A piece of wood 9mm by 18mm by 200mm
• Some glue (I used superglue)
I hope you enjoy this model as much as I enjoyed making it for you. And also, I would relay appreciate some pictures of the final thing, if you decide to print it. :)
Boost Me (for free)
I would really appreciate your help through a boost and even more through a make. thx:)
License

You shall not share, sub-license, sell, rent, host, transfer, or distribute in any way the digital or 3D printed versions of this object, nor any other derivative work of this object in its digital or physical format (including - but not limited to - remixes of this object, and hosting on other digital platforms). The objects may not be used without permission in any way whatsoever in which you charge money, or collect fees.


Comment & Rating (2)