
P2S Quick Release Poop Bin | Waste Bin | Scrap Bin | for X1C P1S P1P X1E
Print Profile(10)


Description
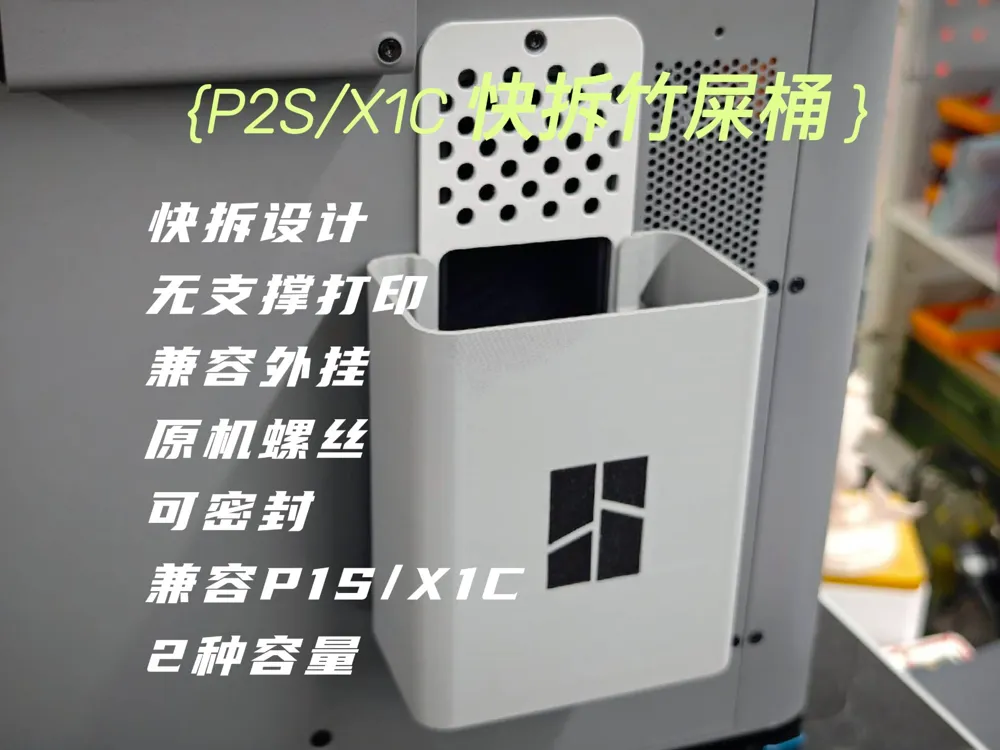
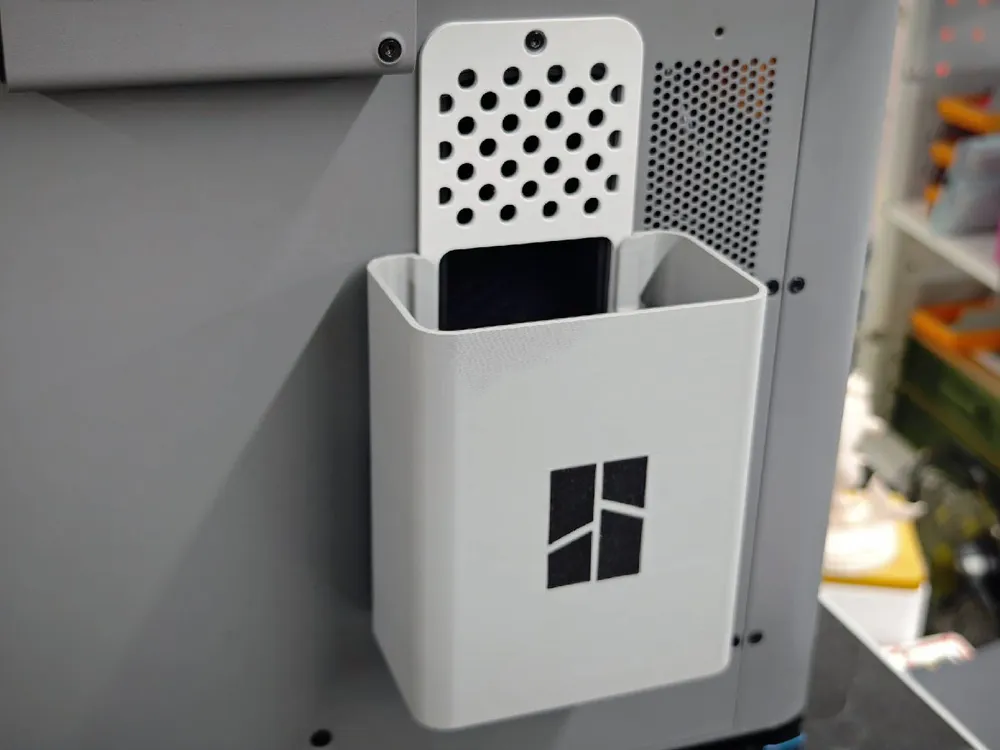
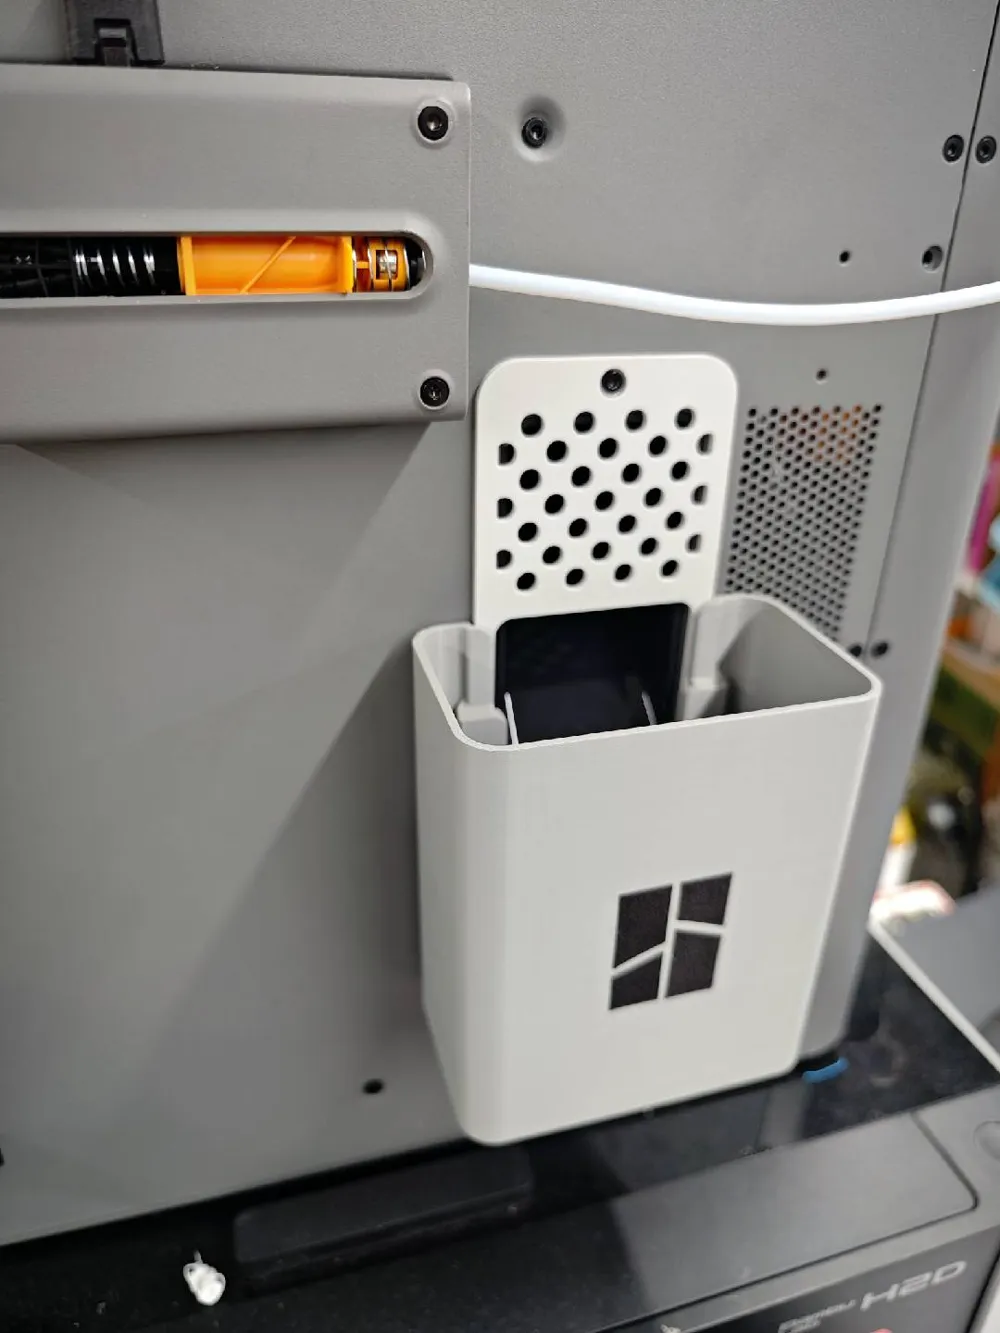
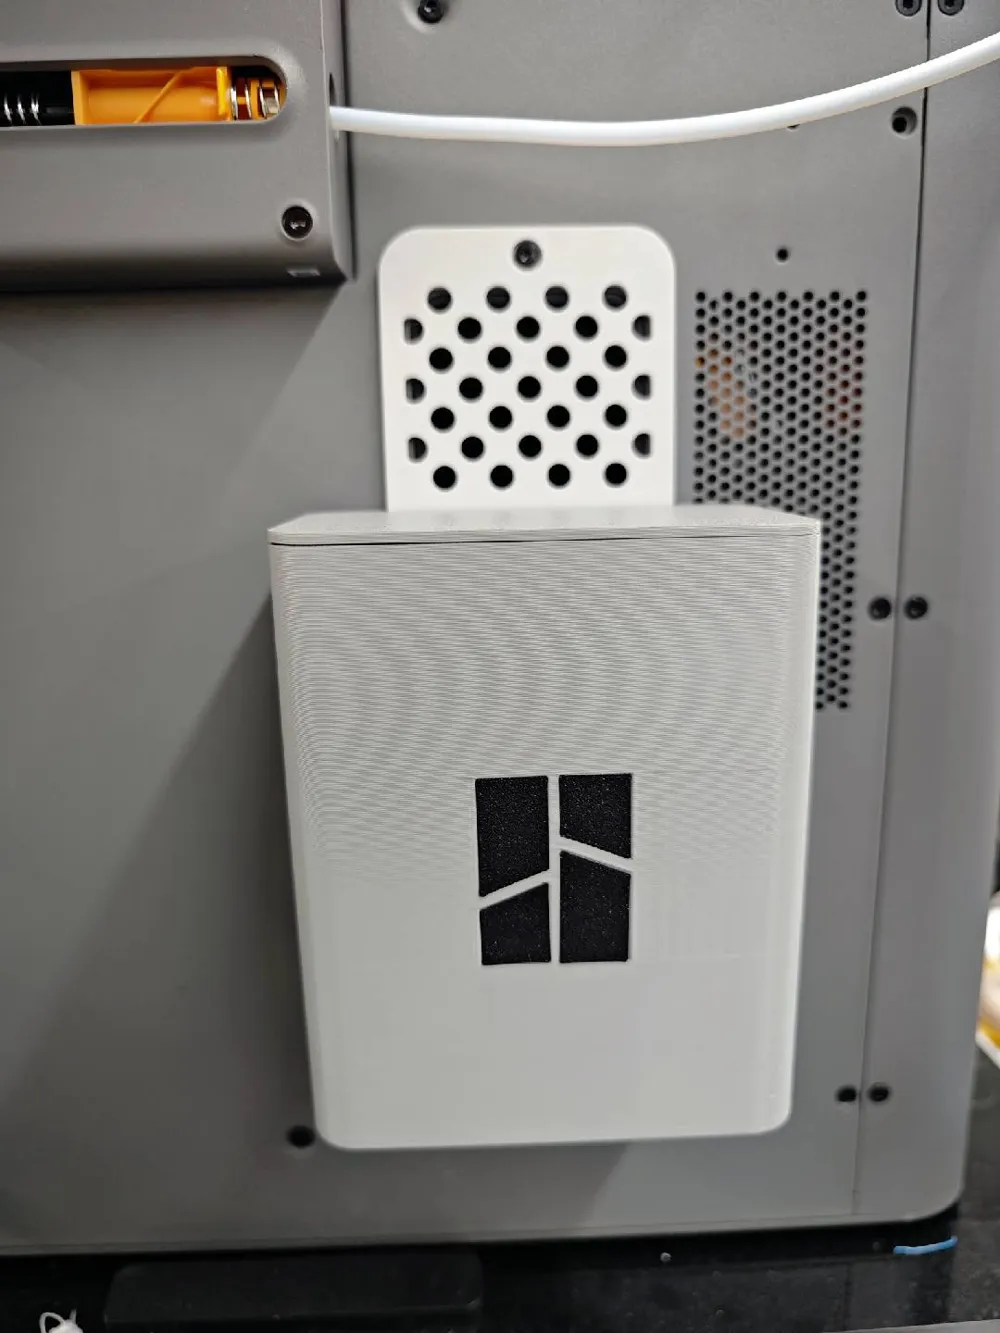
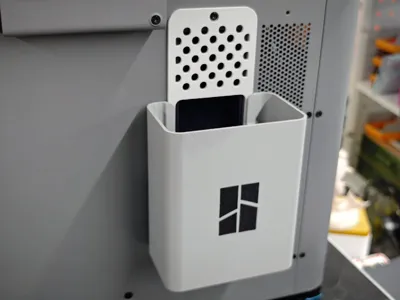
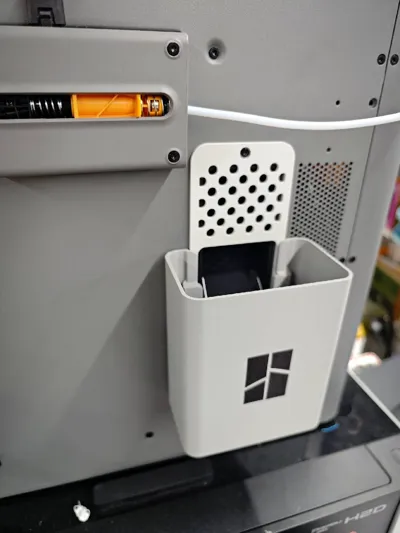
P2S Debut Poop Bin
Design Highlights:

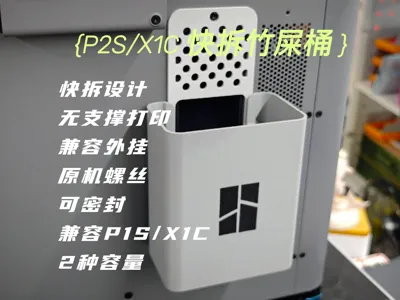
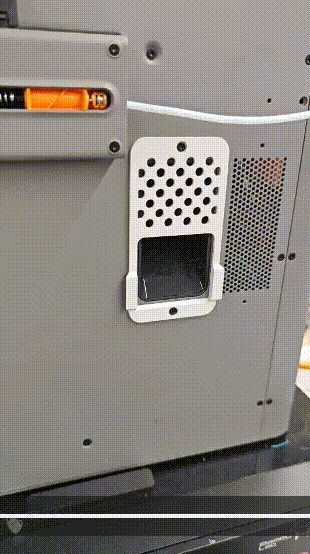
- Uses the original screws that come with the machine, simply remove and install
- Quick-release design, inspired by the H2D poop bin from community MS
- Color scheme and design style chosen to integrate seamlessly with the P2S
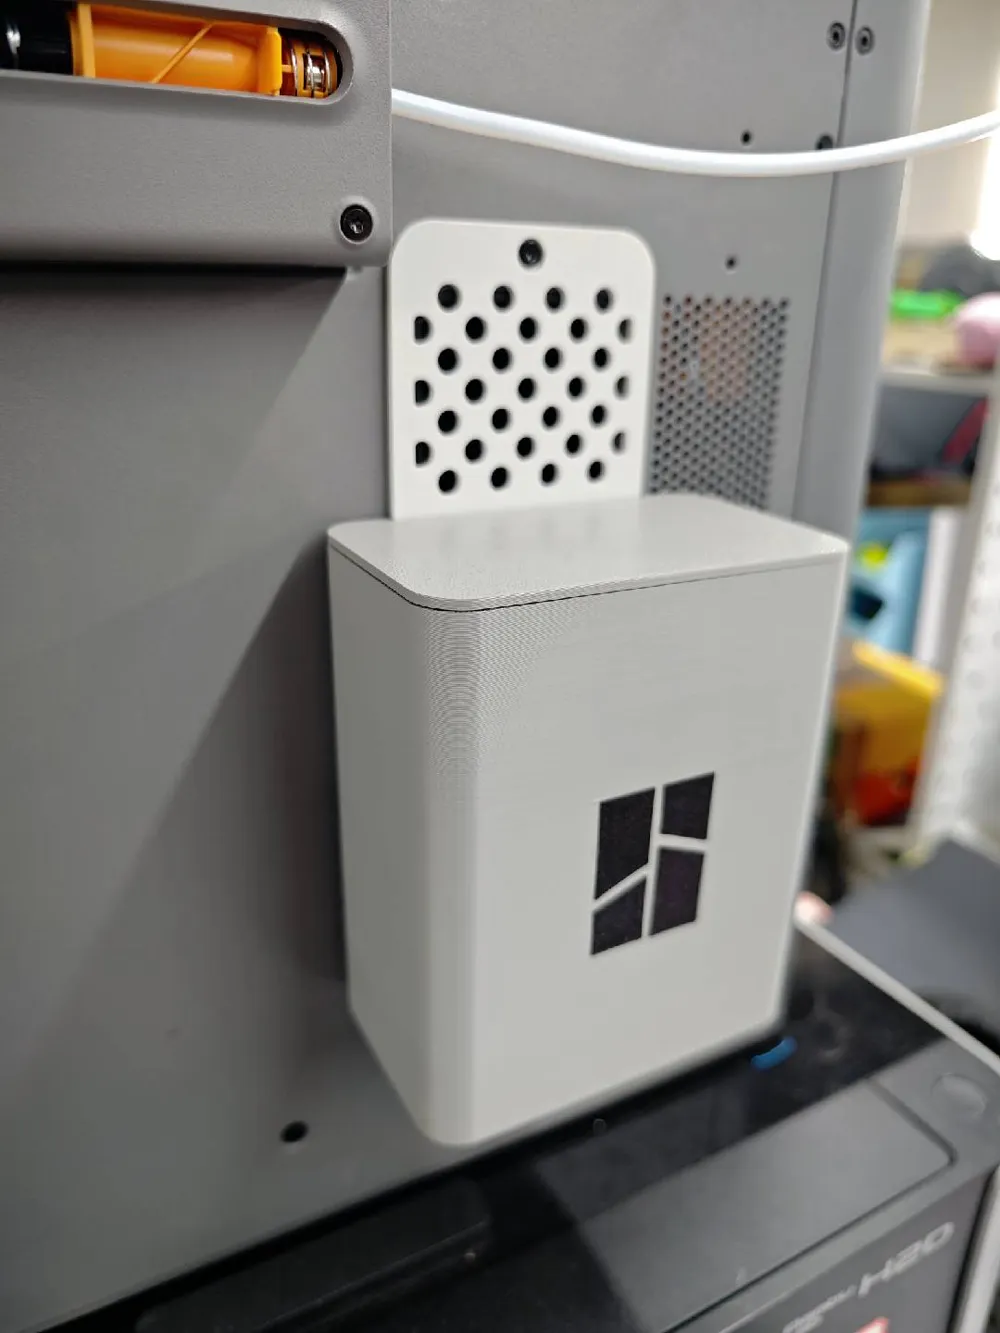
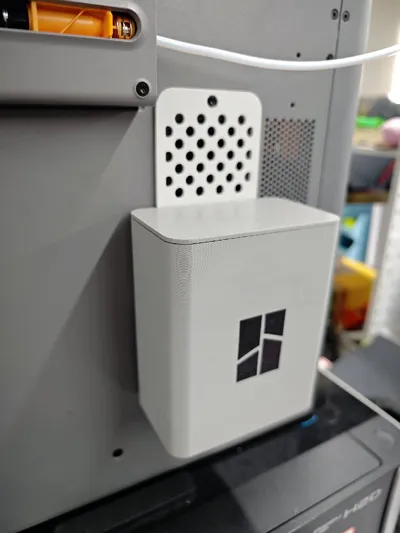
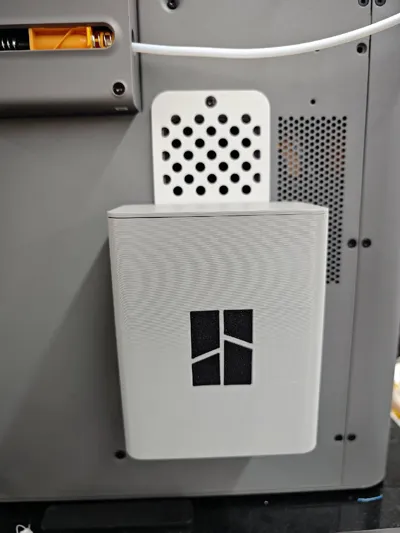
Multiple configurations have been made, including multi-color detachable parts, a sealed version, and an enlarged poop bin version, please use as needed, thanks everyone for the boost and support
Boost Me (for free)
If it's useful, thanks for the boost and support
Precautions:
- The sealed version requires PETG to prevent PLA from softening during prolonged high-temperature printing
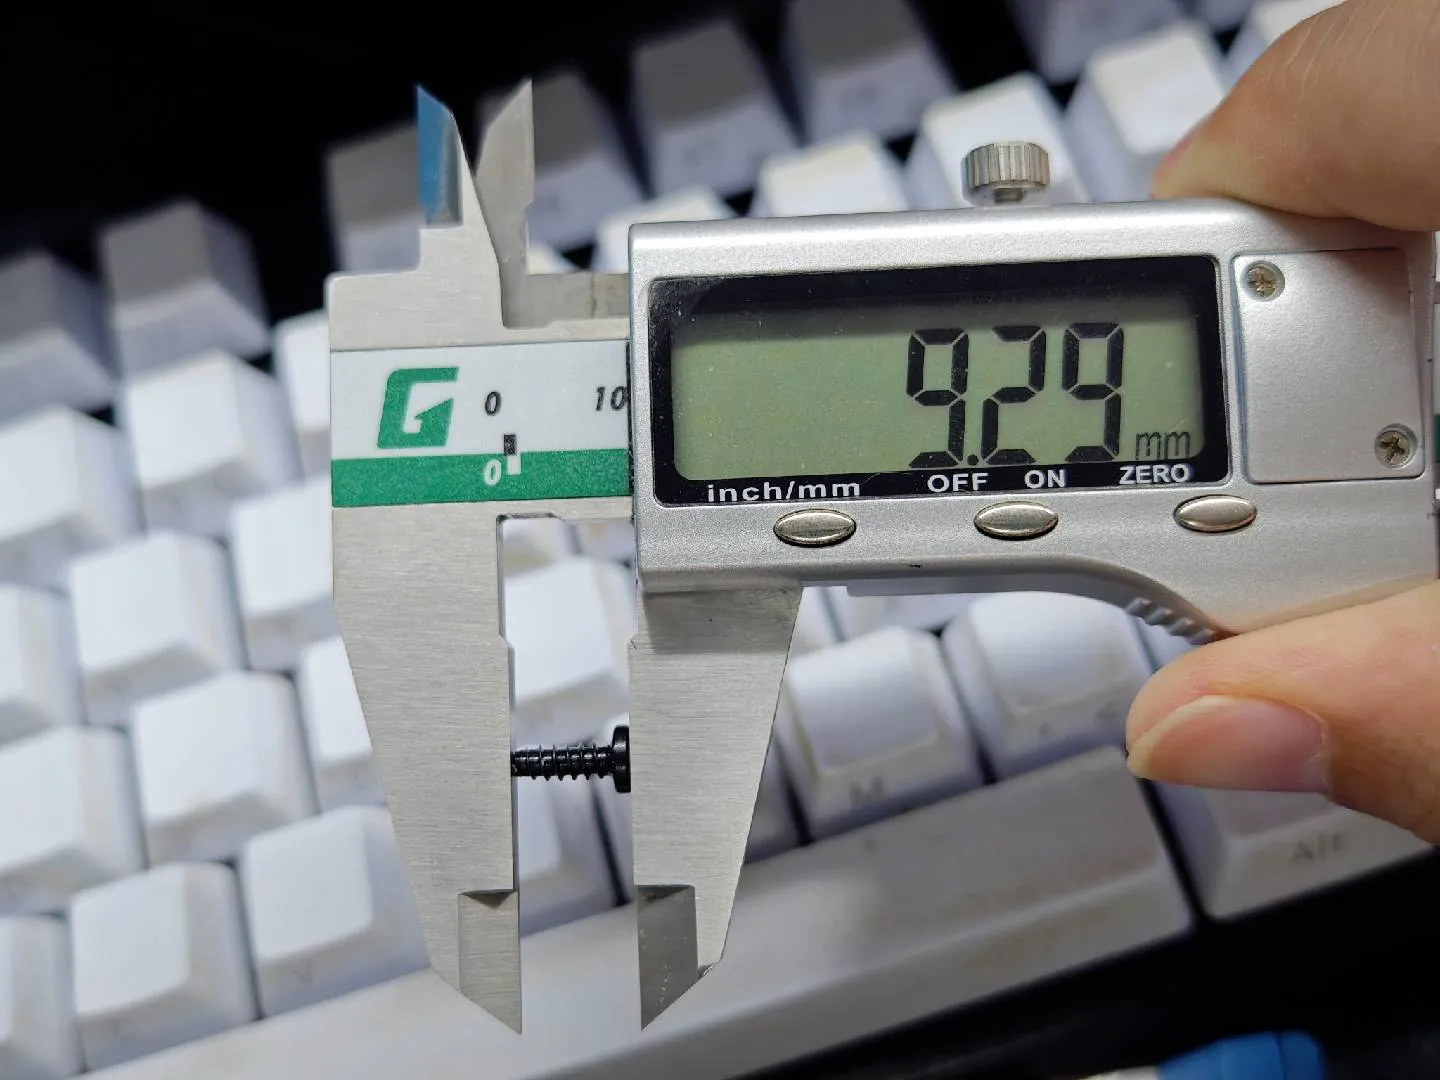
- The original machine screws are a bit short, and the hanger takes up 1mm, be careful not to overtighten to avoid stripping threads, however, actual tests show that even if the threads strip, it will not fall off and can still be used normally, if possible, it is recommended to use extended self-tapping screws of about 9mm, as shown below
About Compatibility
X1C/E Series:
- Actual tests show the X1C small poop bin is perfectly compatible, but the original X1C screws are too short to use and need to be replaced with 7mm long screws
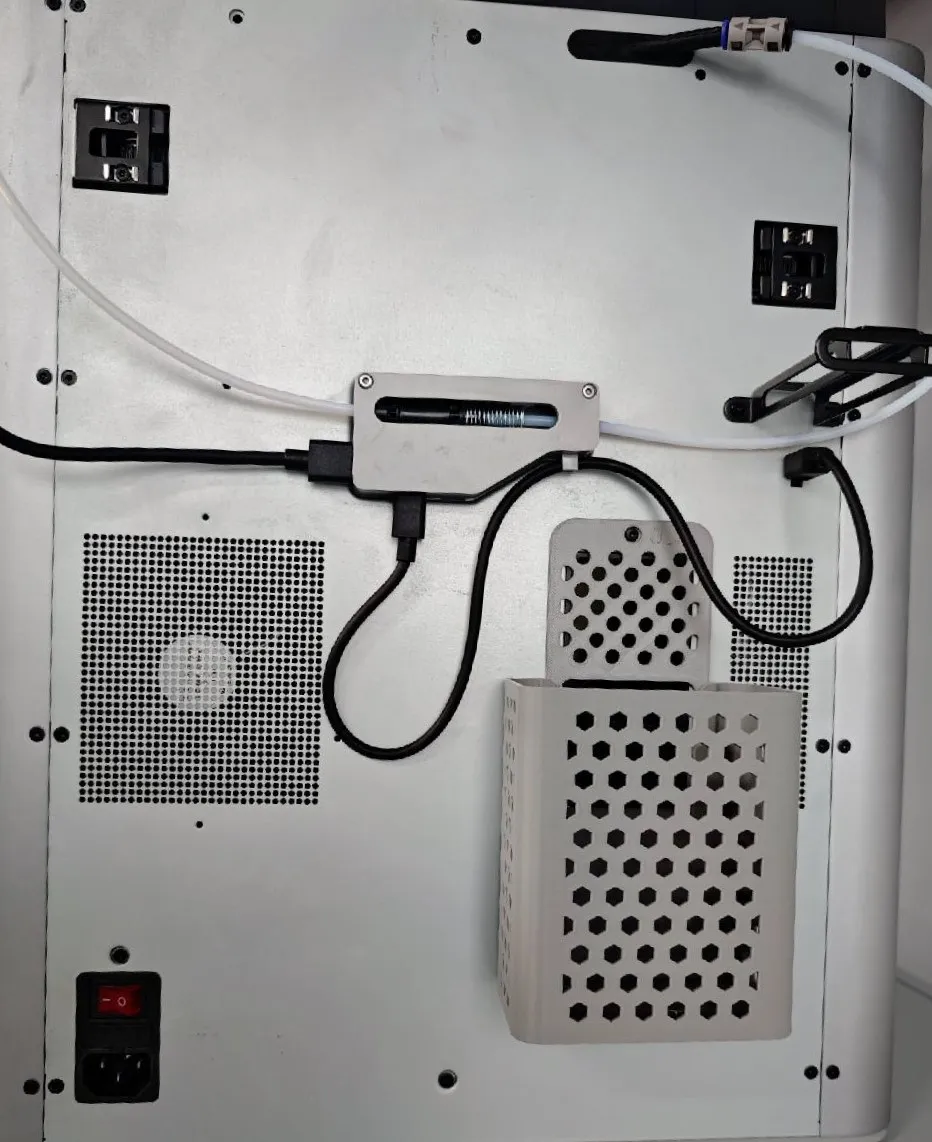
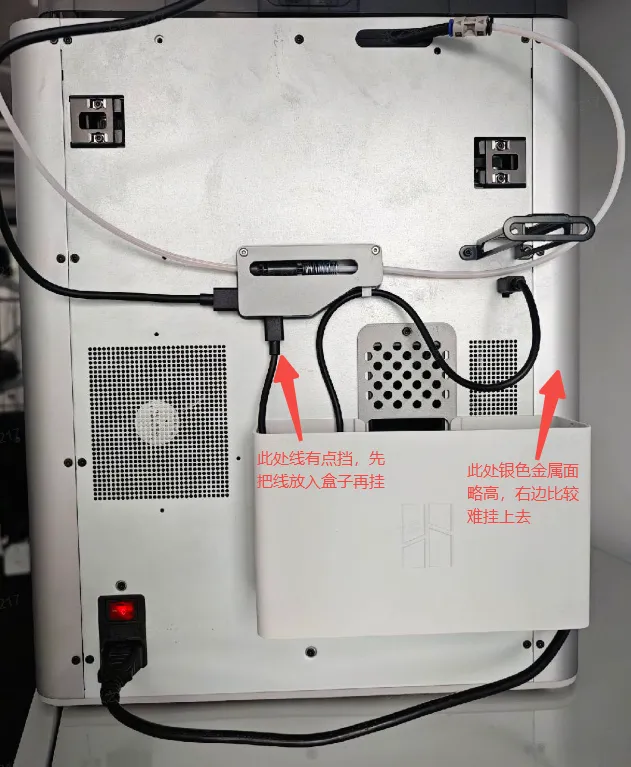
2. Installation of the large poop bin will be a bit difficult, but it can still be used, the right side needs to be pressed inside the poop bin so it fits snugly against the printer's back panel before insertion, installation notes are as follows:
P1S Series:
I currently do not have this model, theoretically the back panel is the same as the X1C, everyone can refer to the X1C's
About Weight Reduction:
Actual tests show that making hexagonal holes in the small poop bin only reduces 10g, you can refer to the X1C's accompanying image effects in the compatibility section; but it will increase printing time by 1 hour, and will result in obvious layer lines on the surface due to printing speed, affecting the aesthetic, it's not really worth it, so it wasn't uploaded
Actual tests show that making hexagonal holes in the large poop bin can reduce 20g, but the problem is it also increases printing time and affects surface quality, if there is a need, you can leave a comment and I will upload it
H2 Series Guide
The H2 series also has 1 model designed separately: Click this link to jump
License

You shall not share, sub-license, sell, rent, host, transfer, or distribute in any way the digital or 3D printed versions of this object, nor any other derivative work of this object in its digital or physical format (including - but not limited to - remixes of this object, and hosting on other digital platforms). The objects may not be used without permission in any way whatsoever in which you charge money, or collect fees.


Comment & Rating (1172)