
SUNLU AMS HEATER LOCKDOWN
Print Profile(1)

Description
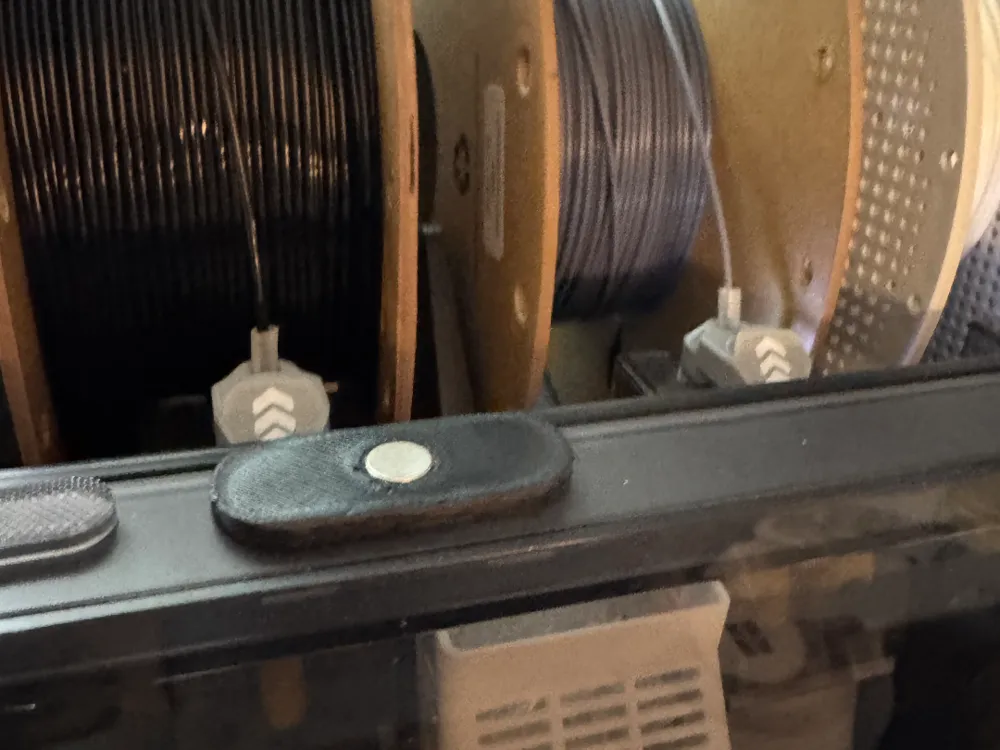
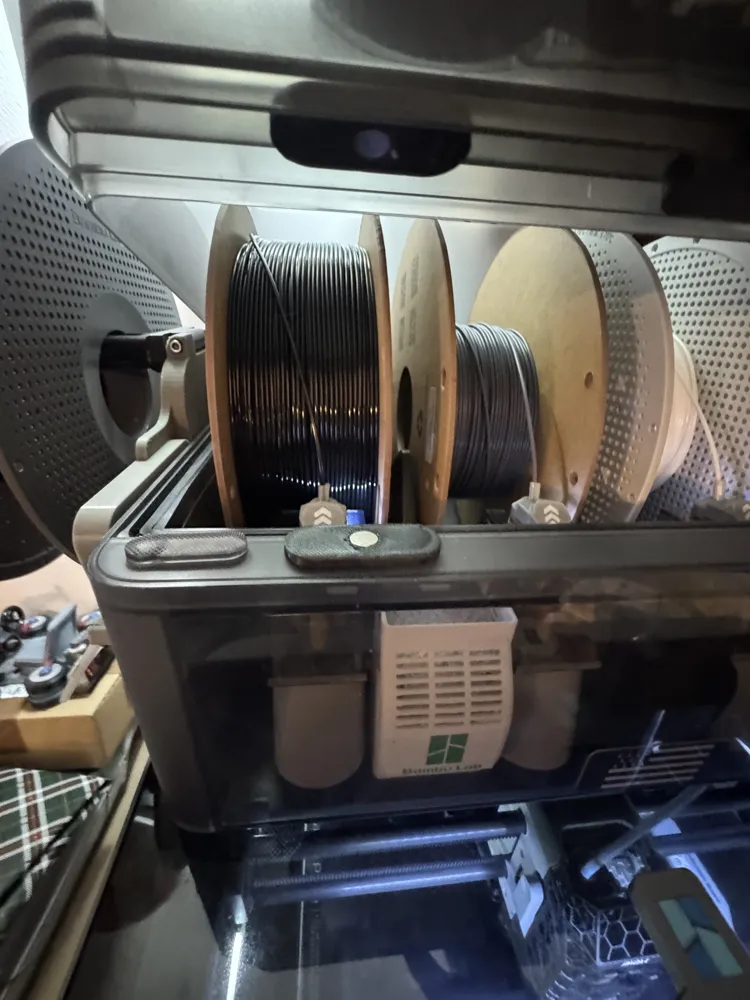
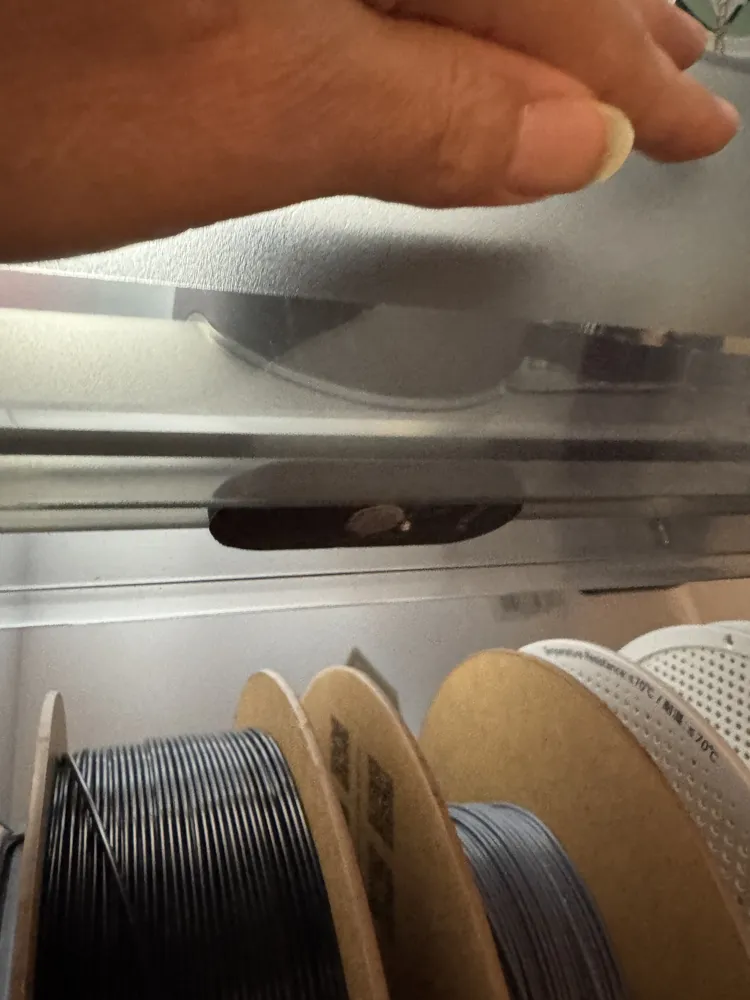
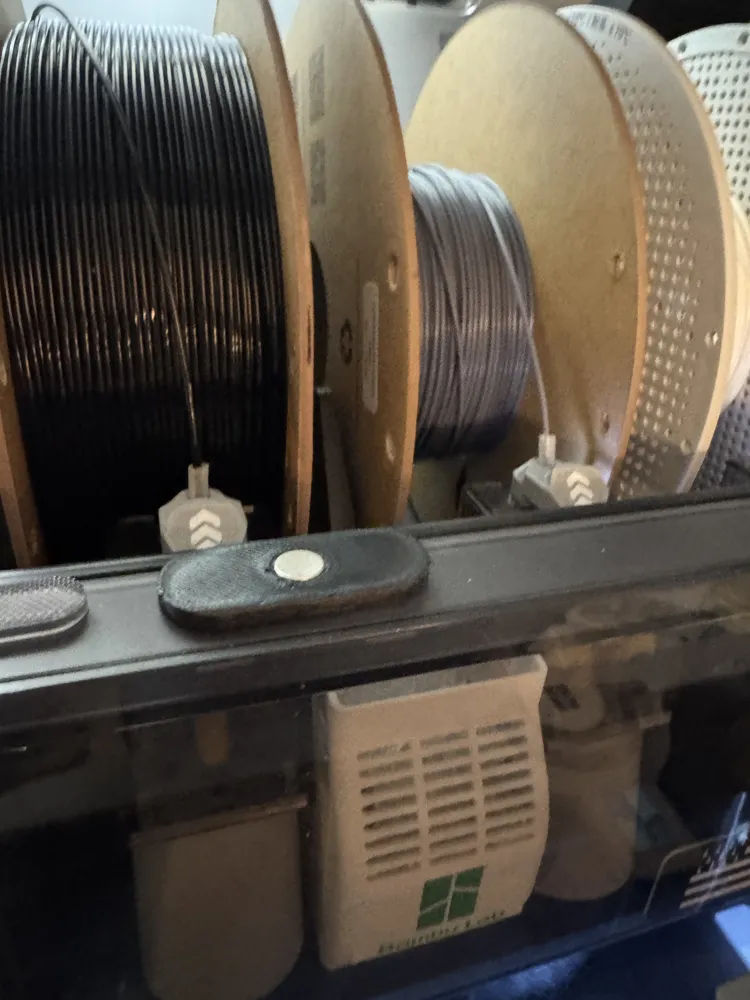
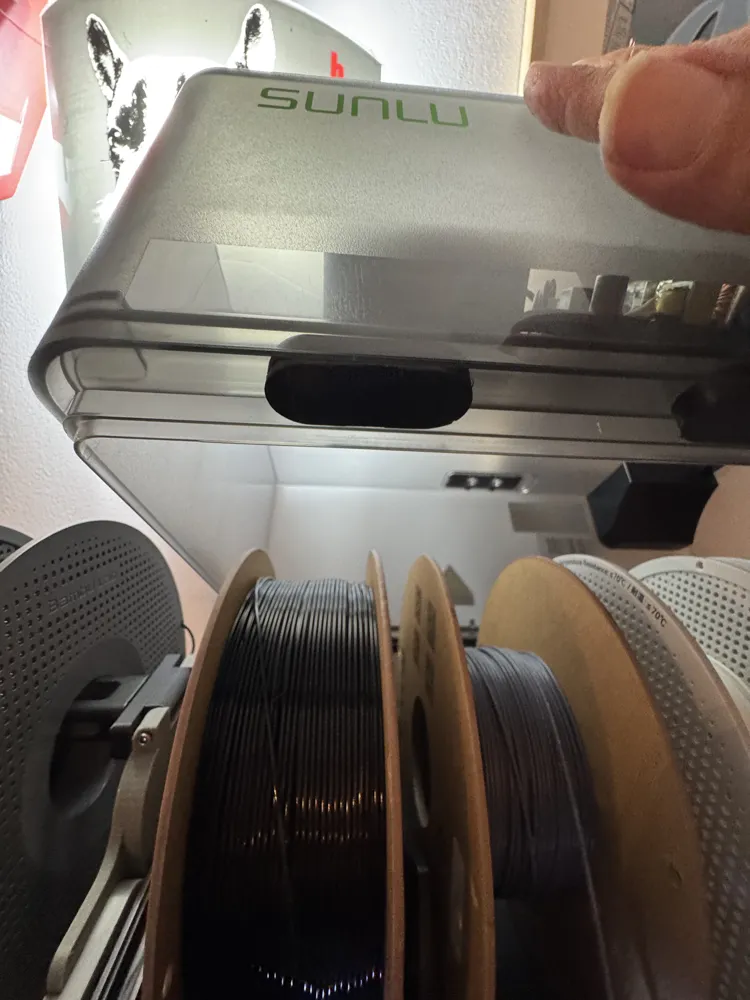
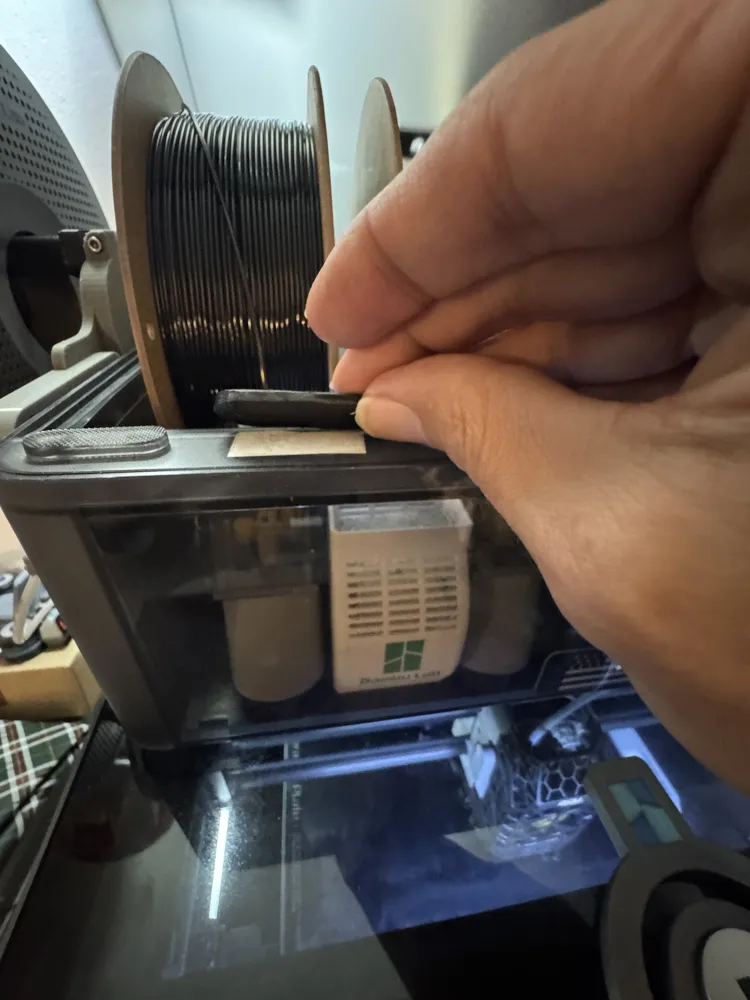
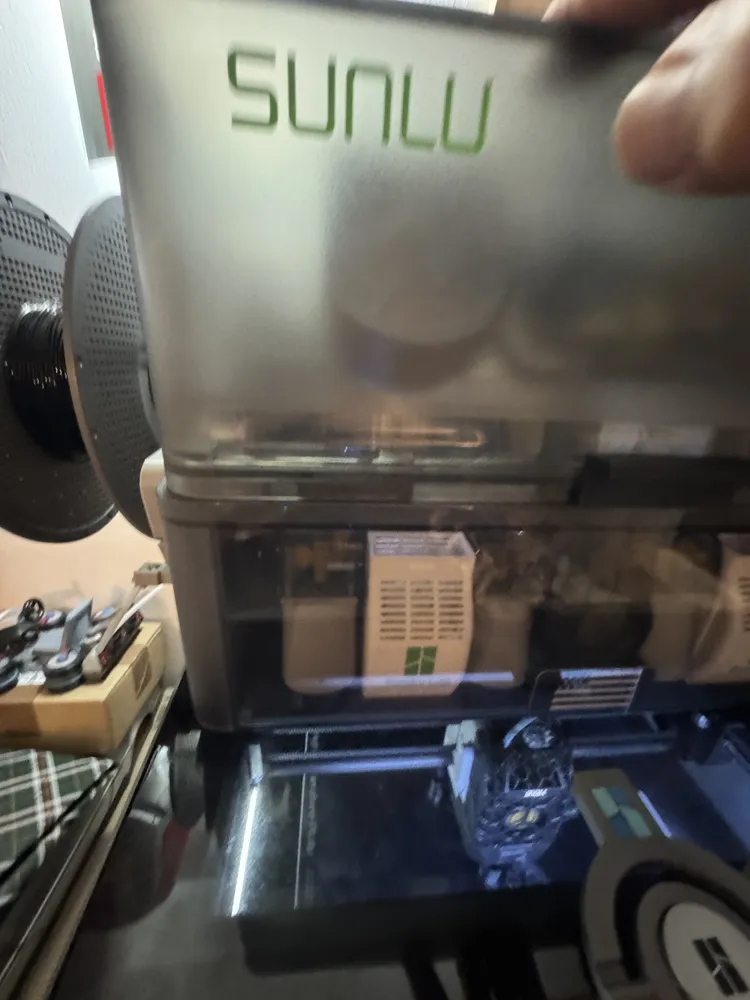
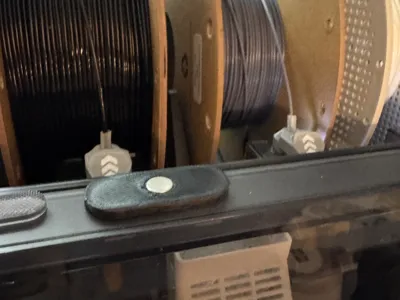
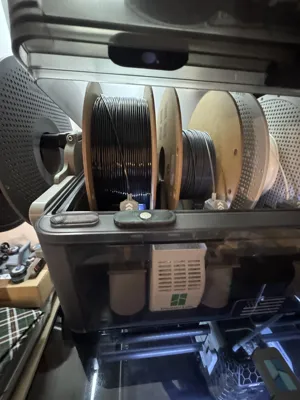
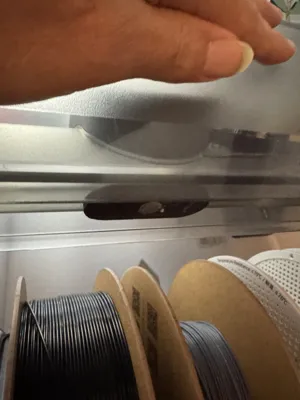
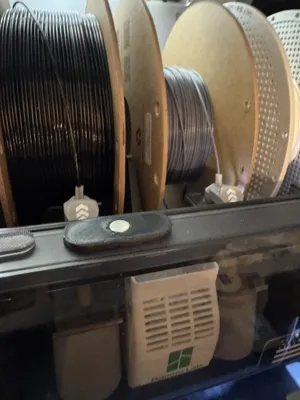
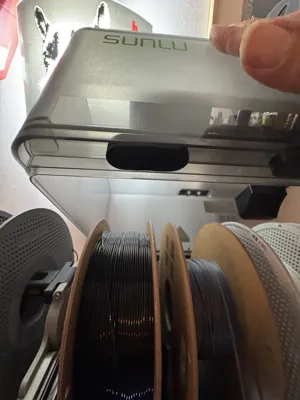
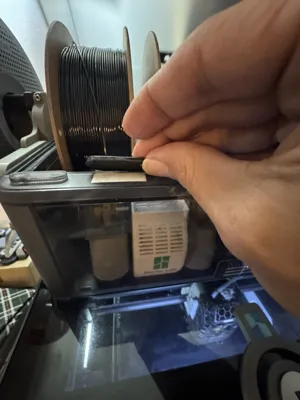
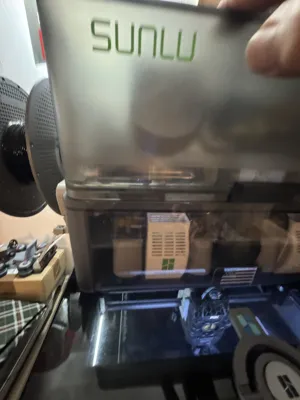
I recently bought the Sunlu HEATER for the Bambu Lab AMS V1, but this resulted in the loss of the lid lock, which I do not appreciate because it could affect the seal despite the lid's weight. So I created two small pieces with indentations for 8x2 neodymium magnets to secure the closure. The model is composed of four identical pieces: two are placed on the AMS and two on the lid (see photo)
Printing is simple. Add either a dab of glue or double-sided tape to hold the parts in place. For installation, I recommend positioning both (the assembly for each side) on the lid. Then, close the lid and press firmly so that the piece meant for the AMS adheres correctly and is well positioned
Let me know in the comments if there are any issues to correct in the files as needed
AND TO GET A BETTER GRIP WHEN OPENING I CREATED A HANDLE TO FACILITATE OPENING
FOLLOW THIS LINK: https://makerworld.com/fr/models/1892465-sunlu-ams-heater-handle#profileId-2027338
I recently bought the Sunlu HEATER for the Bambu Lab AMS V1, but this resulted in the loss of the lid lock, which I do not appreciate because it could affect the seal despite the lid's weight. So I created two small pieces with indentations for 8x2 neodymium magnets to secure the closure. The model is composed of four identical pieces: two are placed on the AMS and two on the lid (see photo). Printing is simple. Add either a dab of glue or double-sided tape to hold the parts in place. For installation, I advise you to position both (the assembly for each side) on the lid. Then, close the lid and press firmly so that the part meant for the AMS adheres correctly and is well positioned
Let me know in the comments if there are any problems to correct in the files as needed
AND TO GET A BETTER GRIP WHEN OPENING I CREATED A HANDLE TO FACILITATE OPENING
FOLLOW THIS LINK: https://makerworld.com/fr/models/1892465-sunlu-ams-heater-handle#profileId-2027338
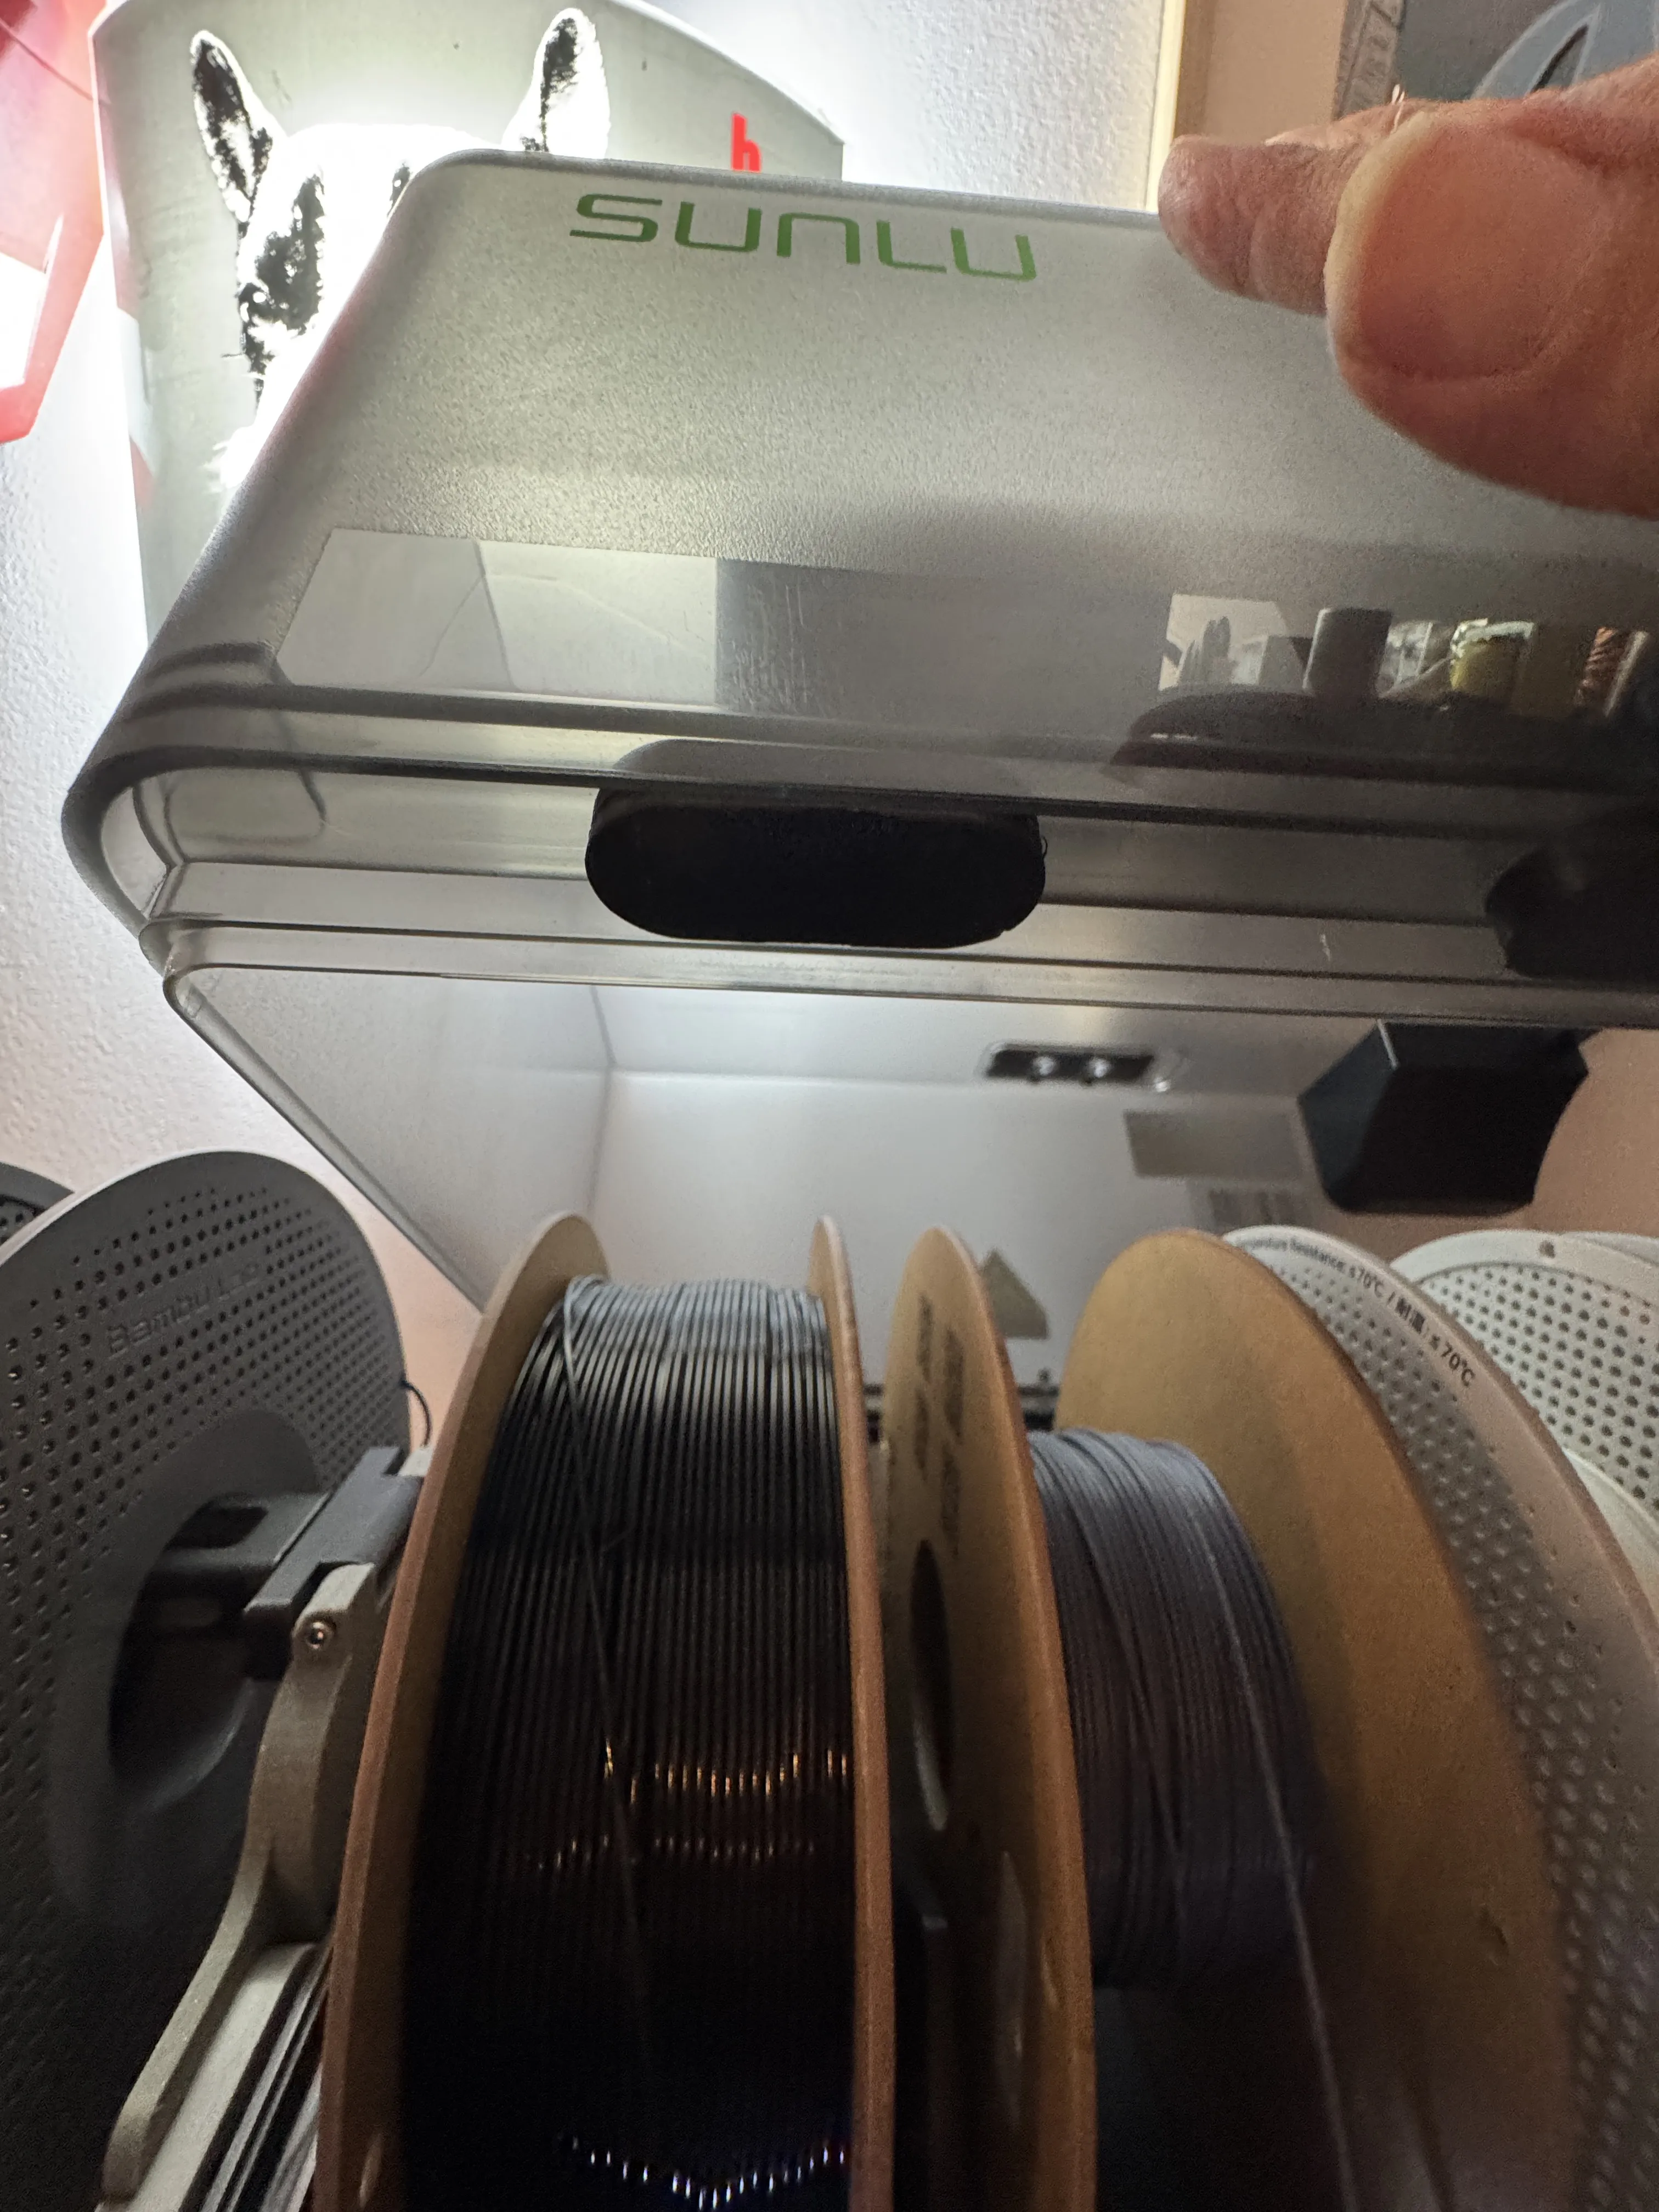
TO PROPERLY POSITION THE ELEMENT, PLACE THE 2 PARTS IN THE LID WITH DOUBLE-SIDED TAPE OR A DAB OF GLUE
AS IN THE PHOTO
ADD DOUBLE-SIDED TAPE ON THE ELEMENT THAT GOES ON THE AMS
IN ORDER TO PROPERLY POSITION THE ELEMENT PLACE THE 2 PARTS IN THE LID WITH DOUBLE-SIDED TAPE OR A DAB OF GLUE
AS IN THE PICTURE
ADD DOUBLE-SIDED TAPE ON THE ELEMENT THAT GOES ON THE AMS
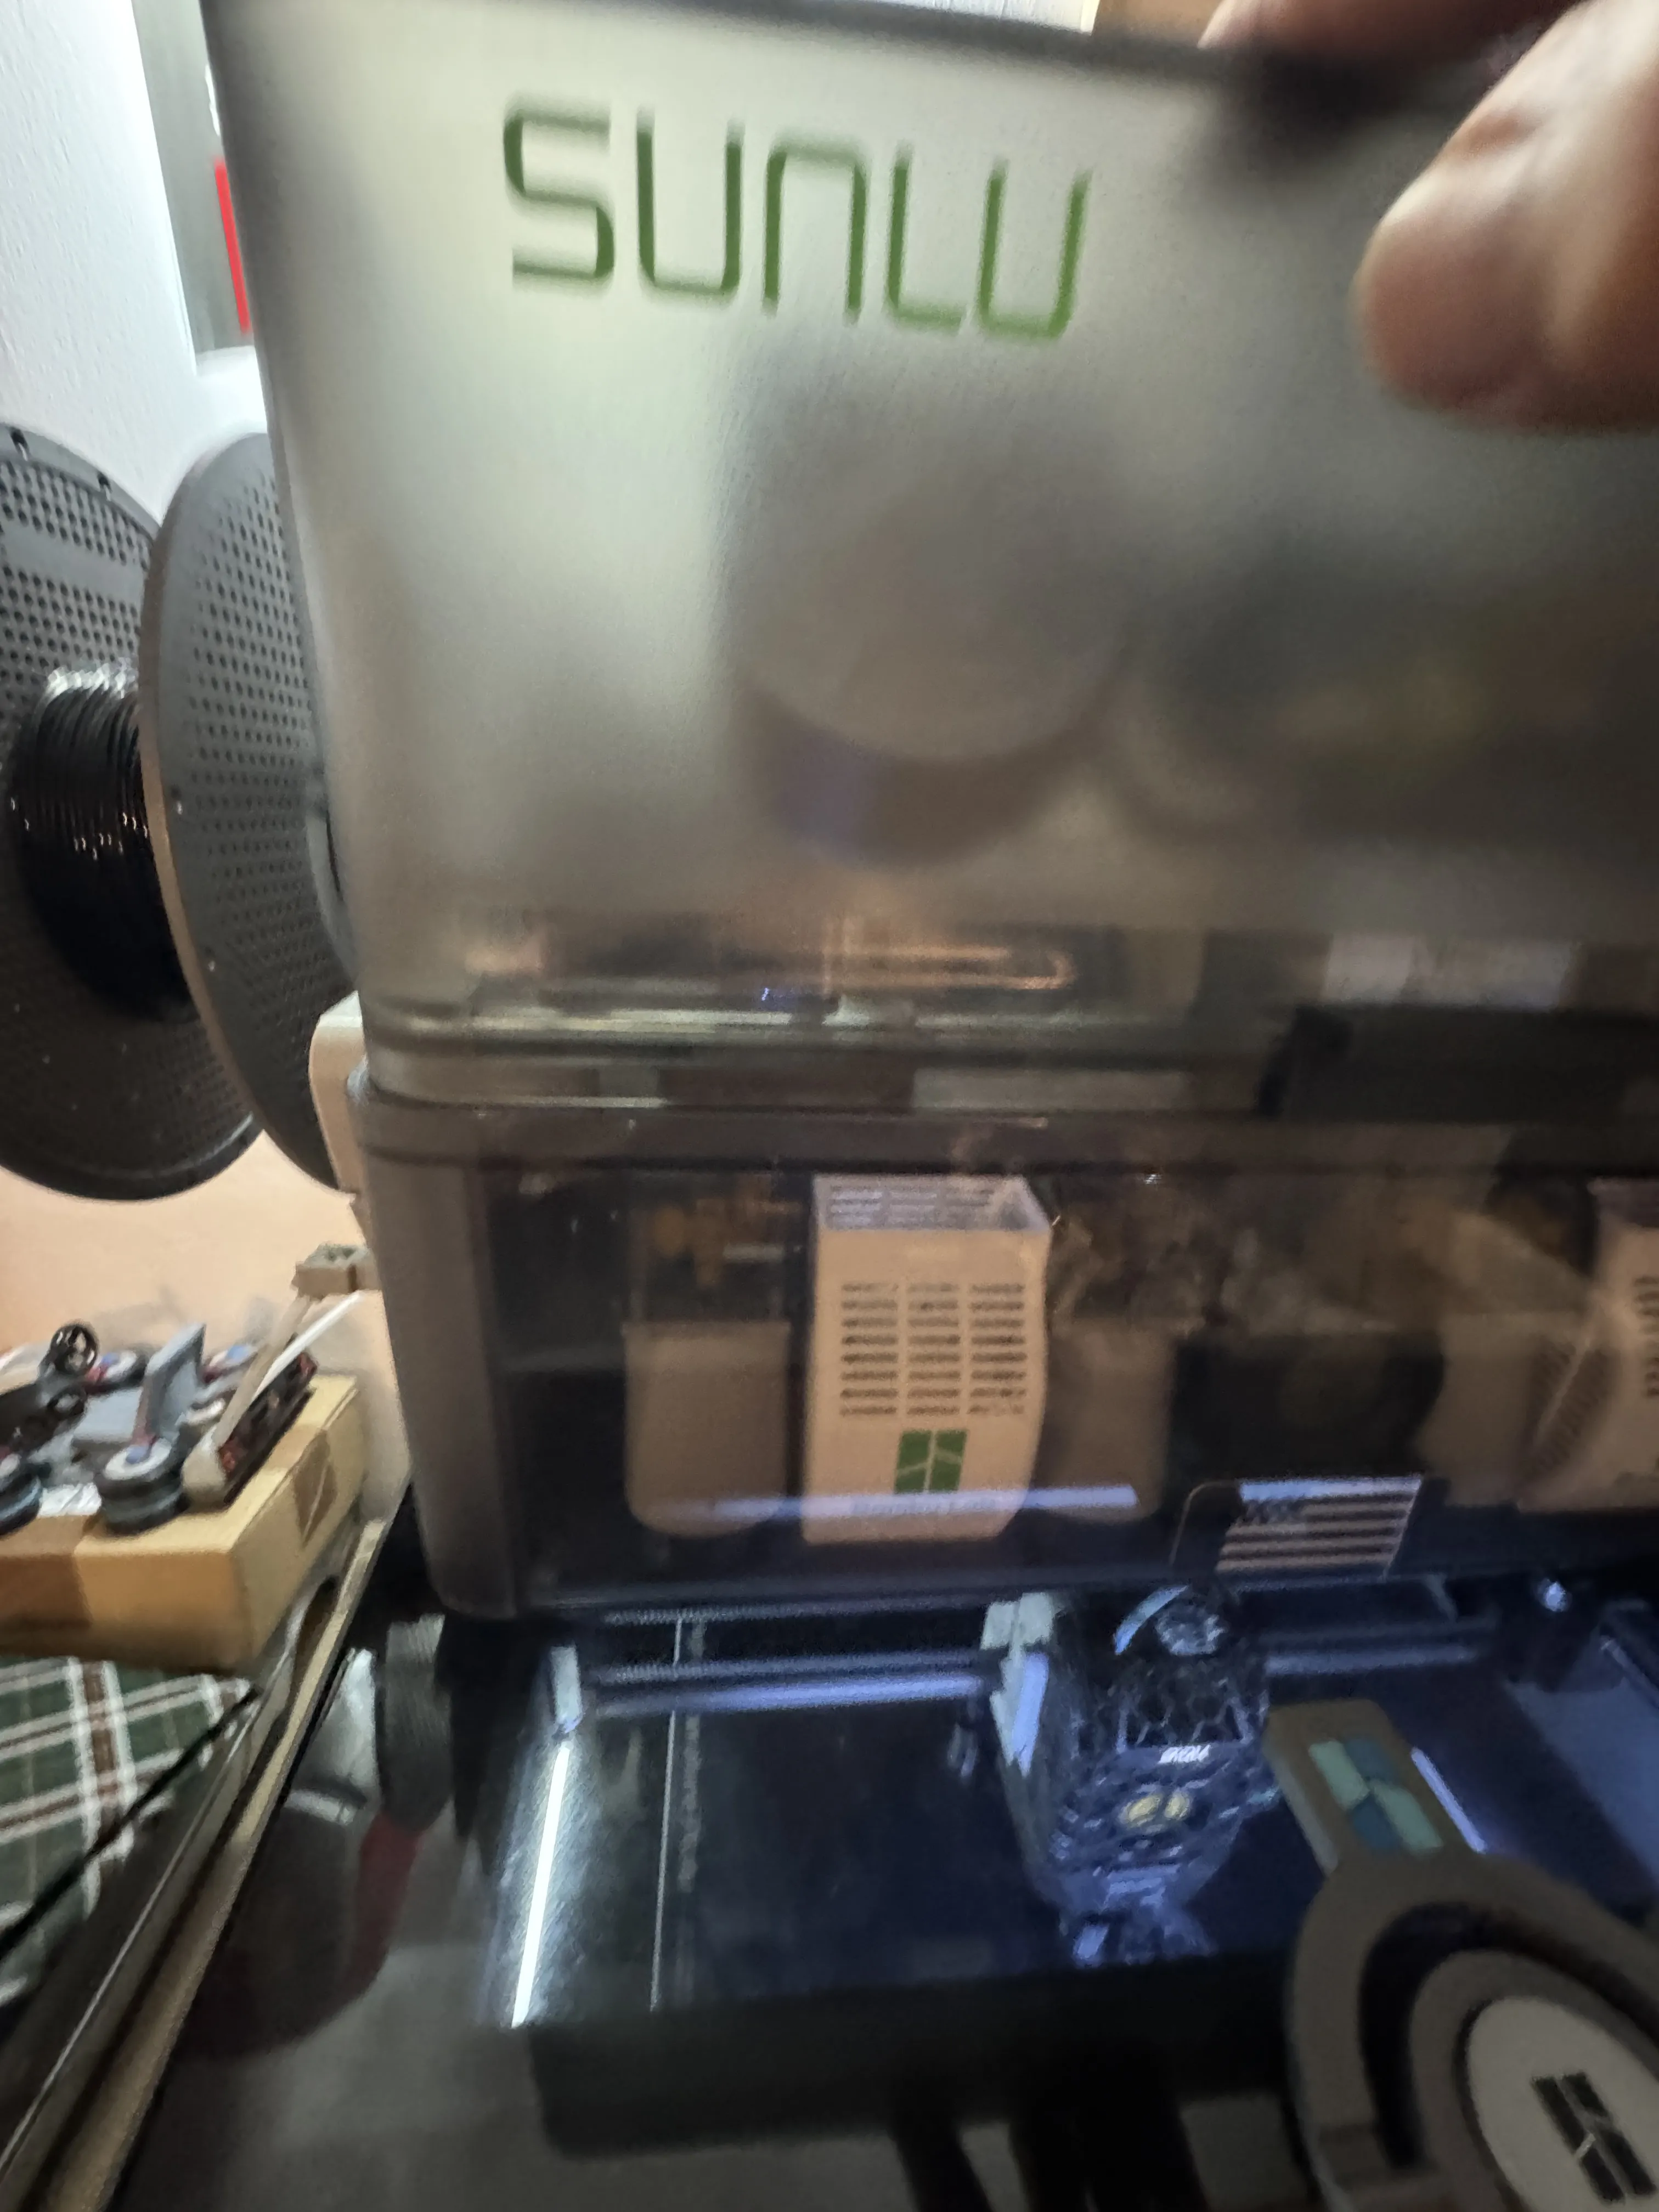
CLOSE THE LID AND PRESS FIRMLY ON THE
LID SO THAT THE DOUBLE-SIDED TAPE OR THE DAB OF GLUE IS IN GOOD CONTACT WITH THE AMS PART
CLOSE THE LID AND PRESS FIRMLY ON THE LID SO THAT THE DOUBLE-SIDED TAPE OR THE DAB OF GLUE IS IN GOOD CONTACT WITH THE AMS PART
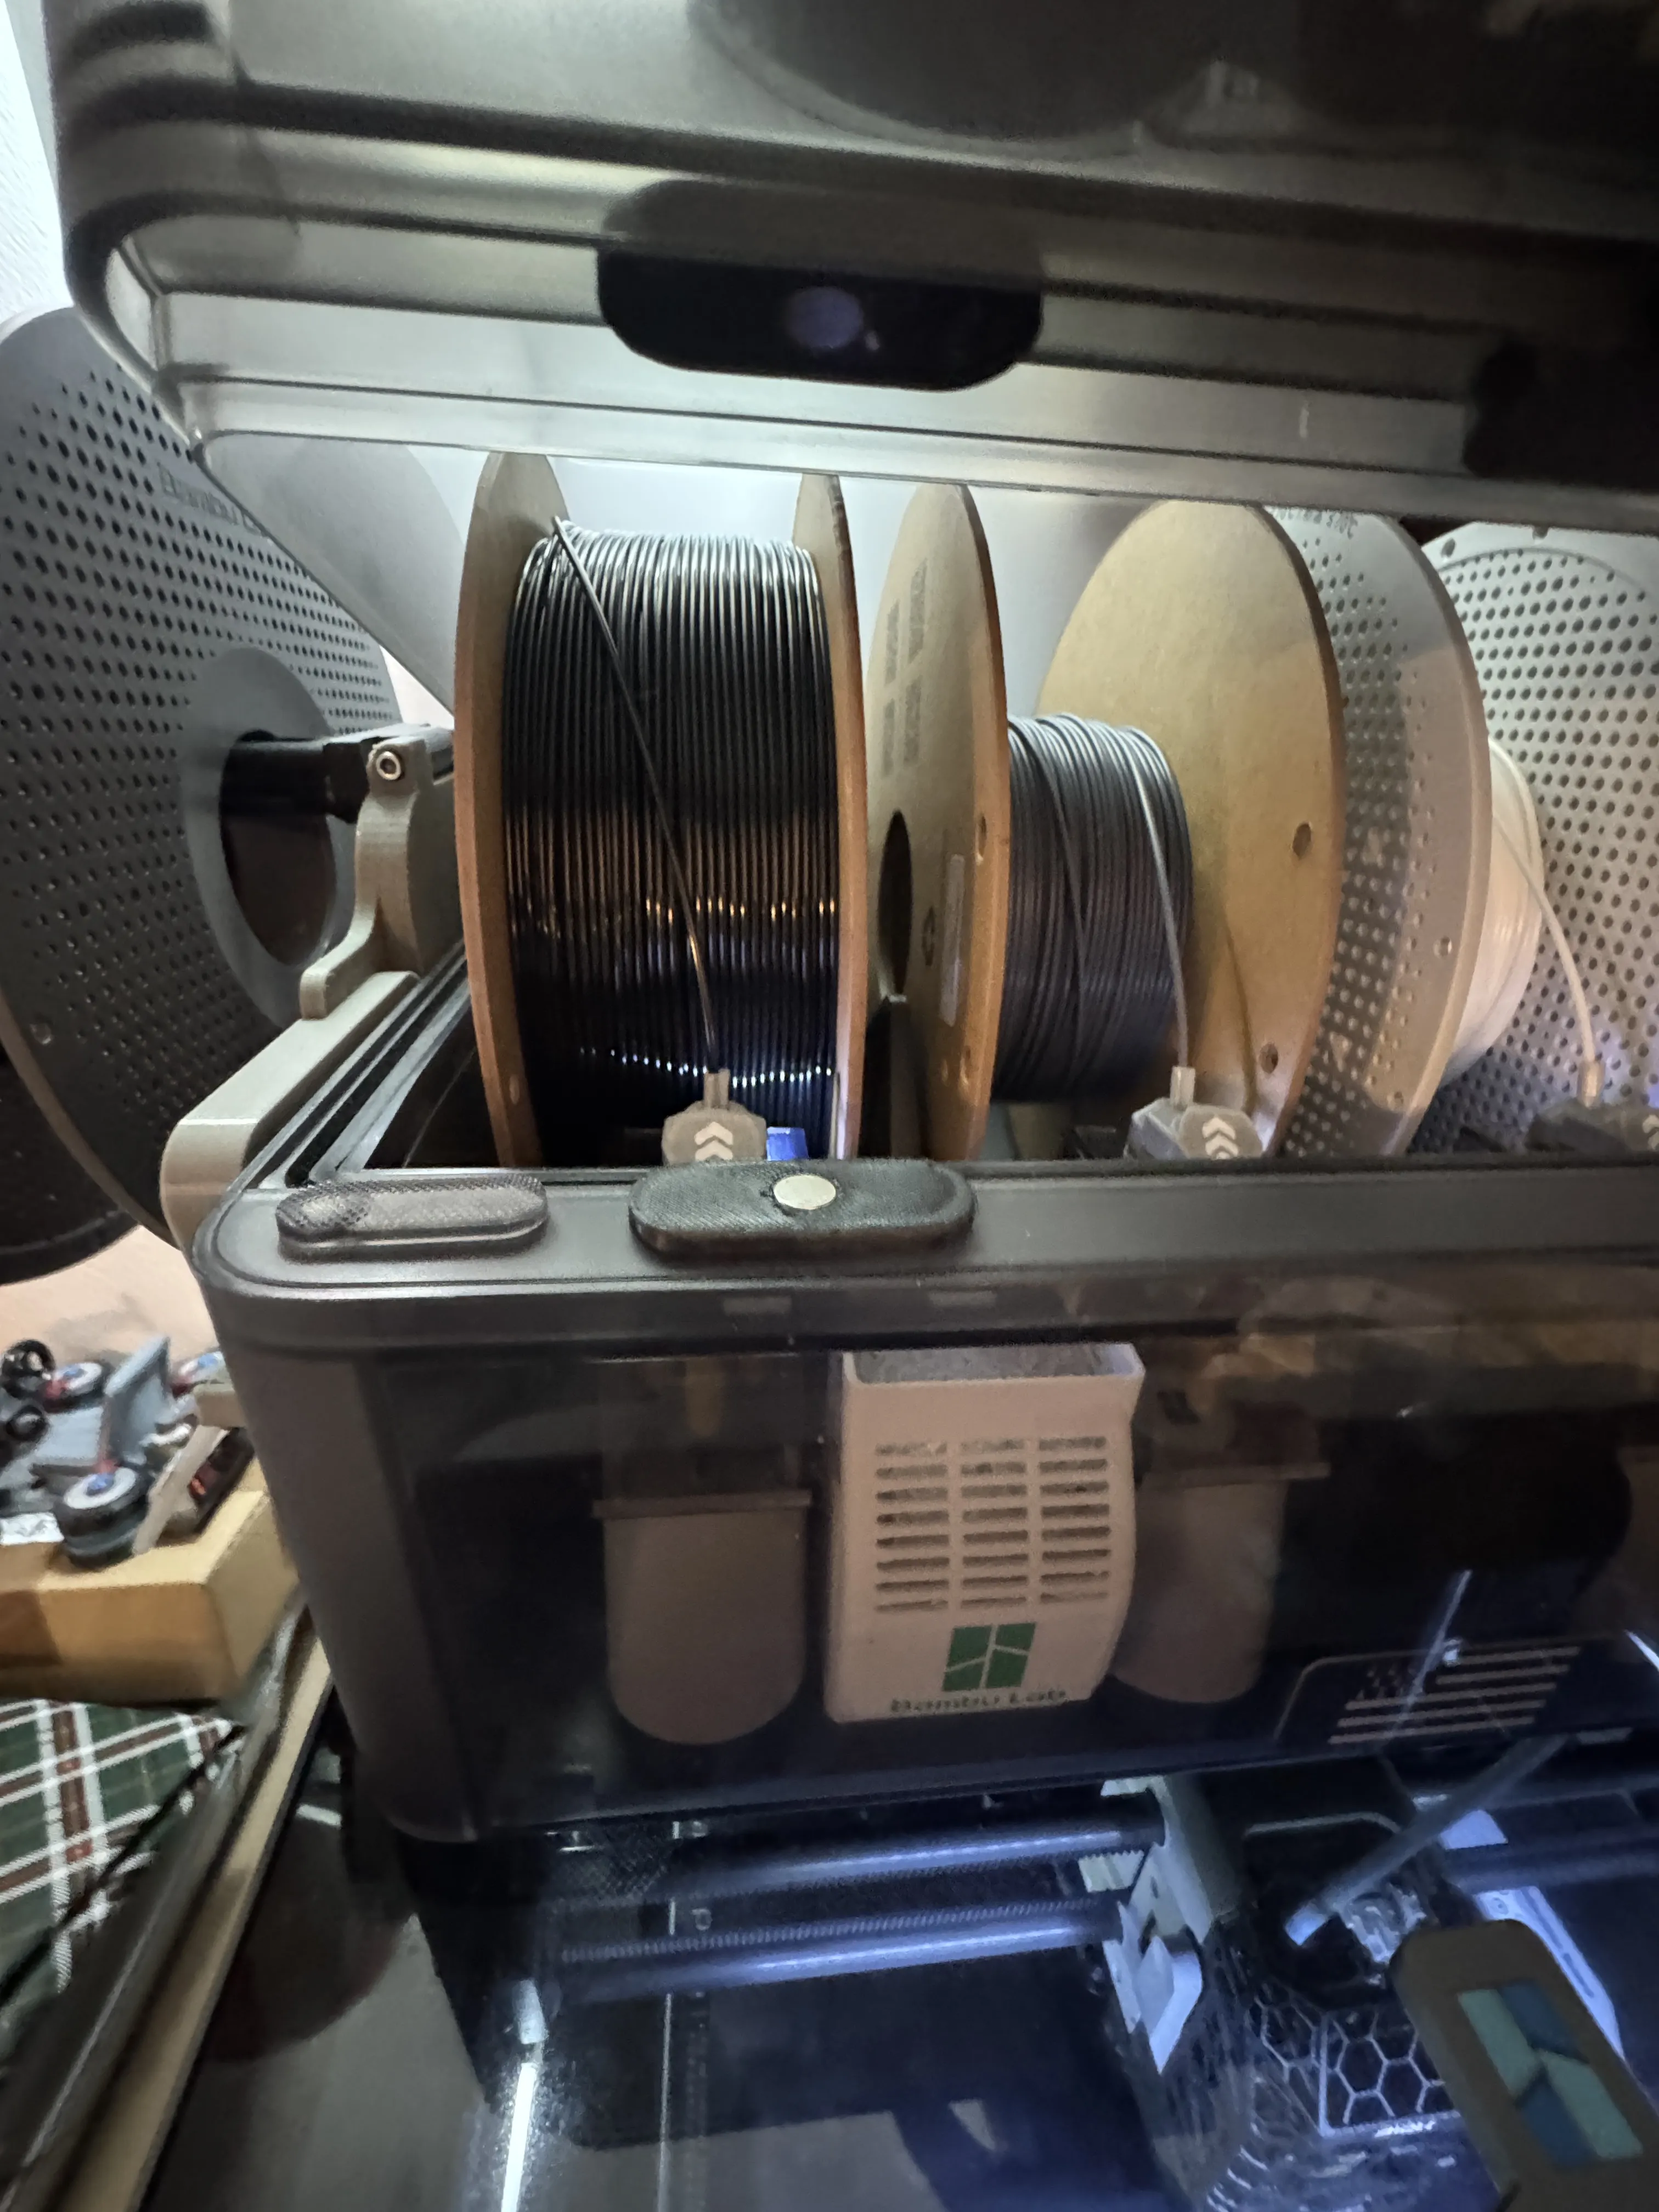
AND AFTER A FEW MOMENTS (FOR THE DAB OF GLUE, WAIT A BIT LONGER FOR IT TO HOLD WELL) OPEN THE LID, AND NORMALLY THE 2 PARTS WILL SEPARATE
NOW WHEN CLOSING, THE LID WILL BE MORE IN CONTACT WITH THE SEAL, AND THE SEAL WILL BE BETTER
IT'S YOUR TURN TO PLAY
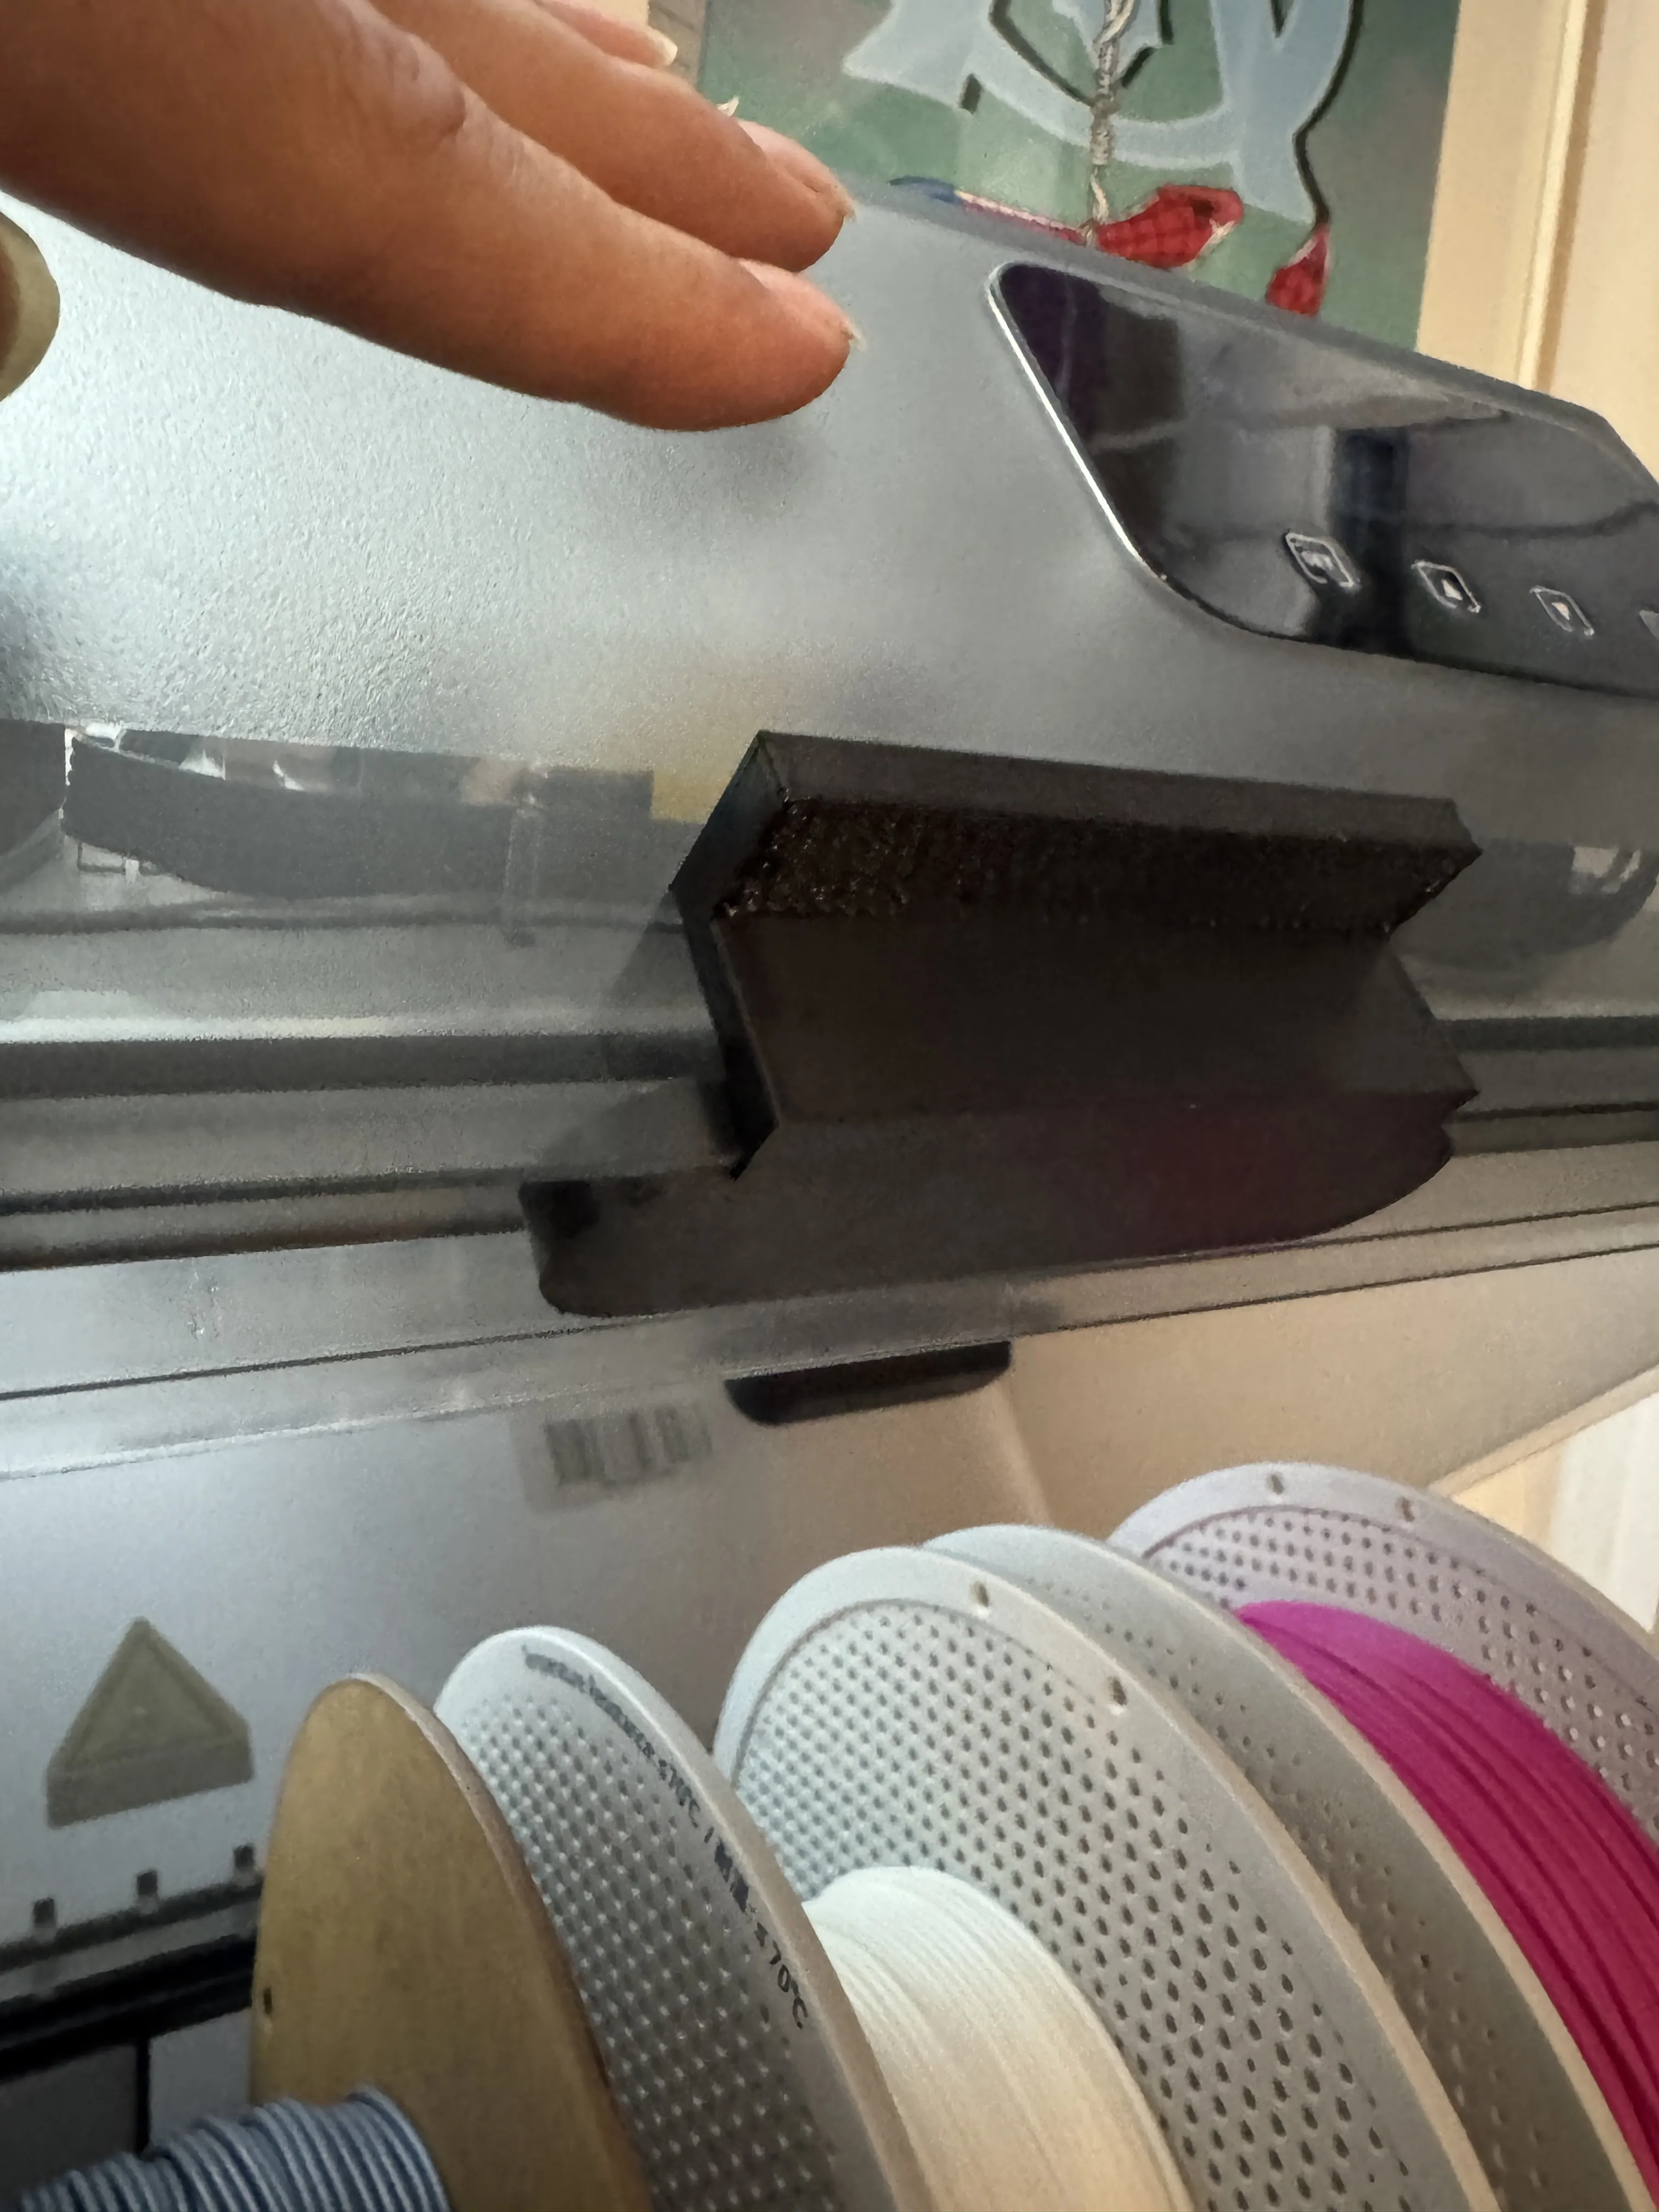
AND TO GET A BETTER GRIP WHEN OPENING, I CREATED A HANDLE TO FACILITATE OPENING, FOLLOW THIS LINK: https://makerworld.com/fr/models/1892465-sunlu-ams-heater-handle#profileId-2027338
AND TO GET A BETTER GRIP WHEN OPENING I CREATED A HANDLE TO FACILITATE OPENING FOLLOW THIS LINK: https://makerworld.com/fr/models/1892465-sunlu-ams-heater-handle#profileId-2027338
License



Comment & Rating (25)