
Squirrel Feeder „Nuts Drive-in“ v1.2
Print Profile(1)

Description
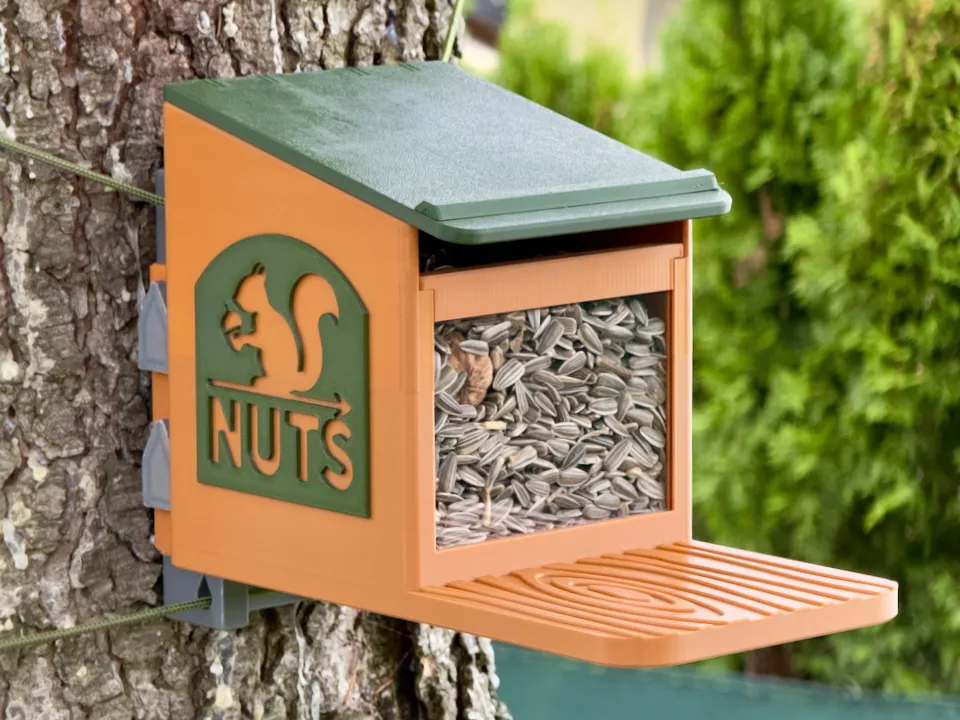
Since commercially available squirrel feeders, in my experience, have certain disadvantages and a rather short durability, I have created my own design.
The following considerations were taken into account:
- The lid must be smooth-running and easily replaceable, but also keep the food dry.
- A double bottom provides some air exchange in the feeding chamber.
- The feeder should be easy to clean.
- The feeder should be easy to disassemble for cleaning or refilling.
- The feeder should be aesthetically pleasing and durable.
The feeder consists of the following elements:
- Feeder housing and crossbar (Print Plate 1)
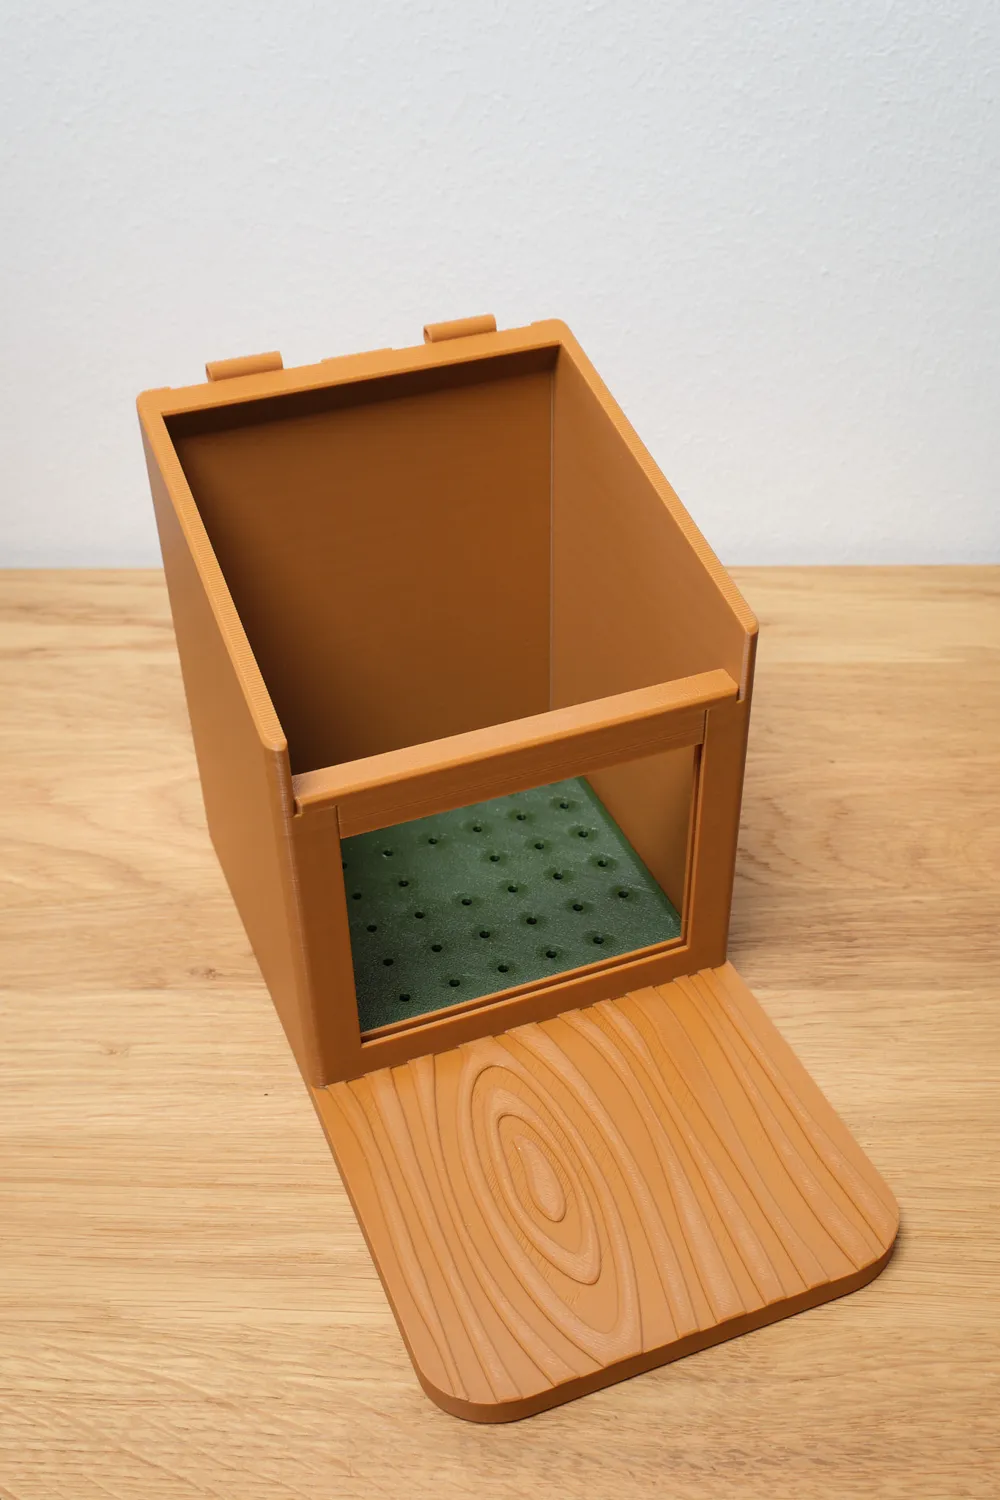
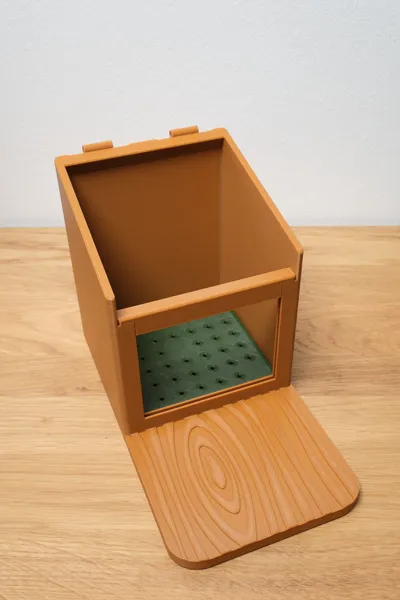
- The feeder housing with the platform in front consists of one piece and was designed so that no supports are needed during printing.
Update v1.1: The platform has been slightly extended for more comfort for the squirrels. However, it remains easily printable on a 25 x 25 cm print plate.
- A commercially available 10 x 15 cm acrylic glass (2 mm thick) is used as the front glass, which is very inexpensive and easy to get. Search online, e.g., for “Acrylic glass 10x15 2mm”; often 10 pieces cost only a few euros.
- The long (15 cm) side of the glass is shortened to 8 cm with a utility knife. To do this, score the acrylic glass several times along the previously marked line and then break it over an edge. Please be careful!
- The long (15 cm) side of the glass is shortened to 8 cm with a utility knife. To do this, score the acrylic glass several times along the previously marked line and then break it over an edge. Please be careful!
- The crossbar stabilizes the acrylic glass from above and protects the squirrel when it “dives” into the food. Since the tolerances were chosen rather tightly, the bar should be able to be attached without glue.
- The feeder housing with the platform in front consists of one piece and was designed so that no supports are needed during printing.
- Roof & Bar (Print Plate 2)
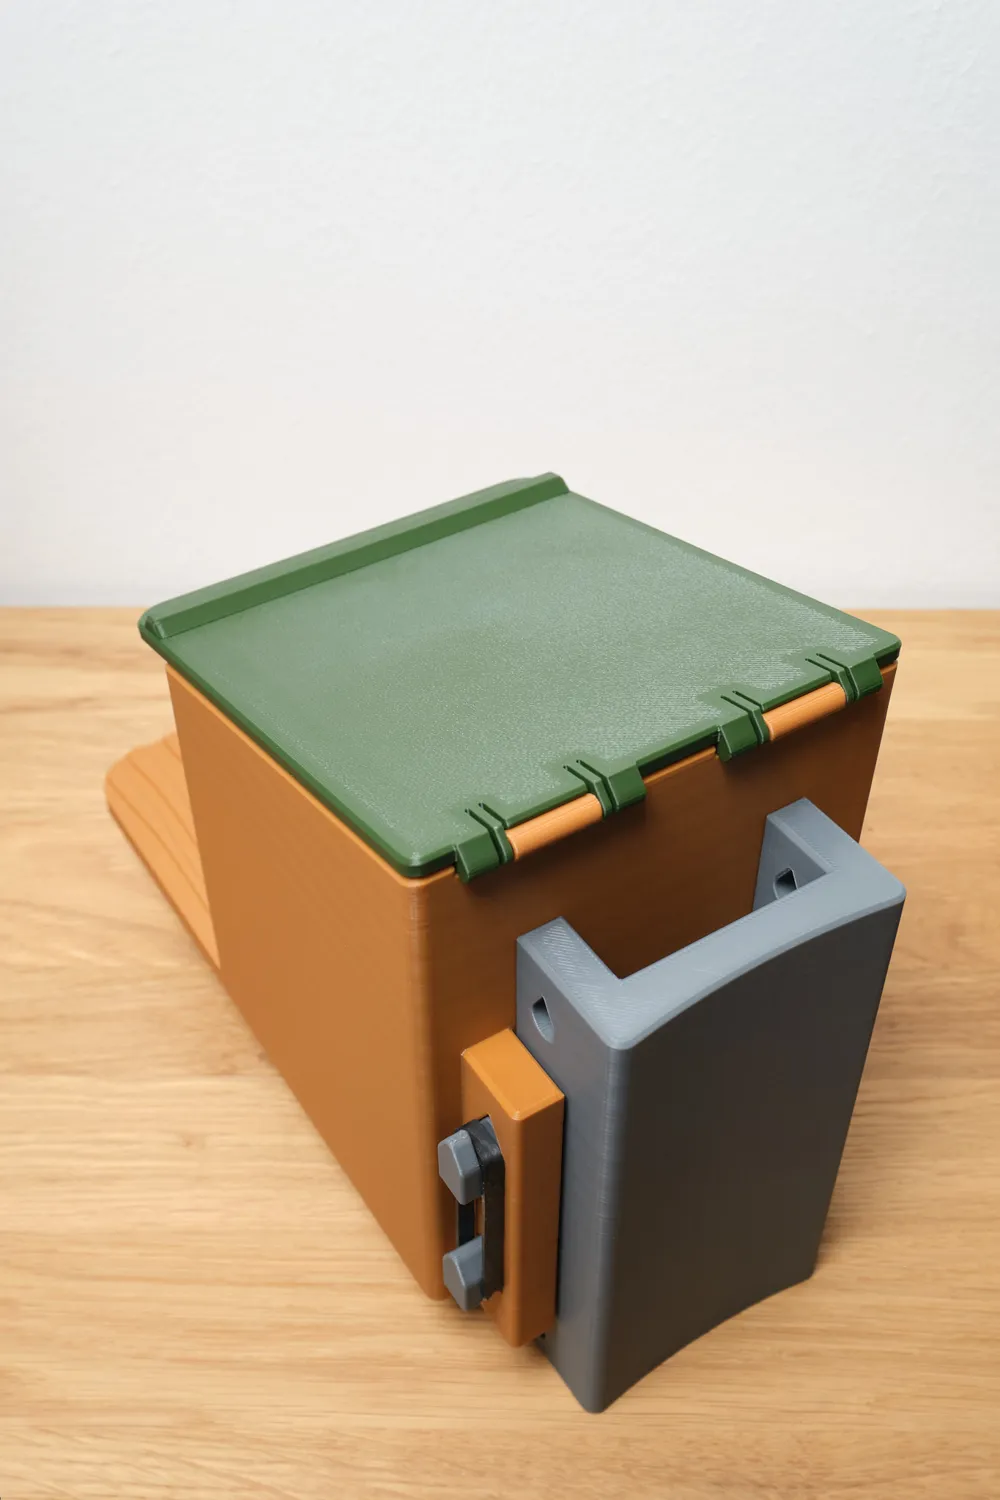
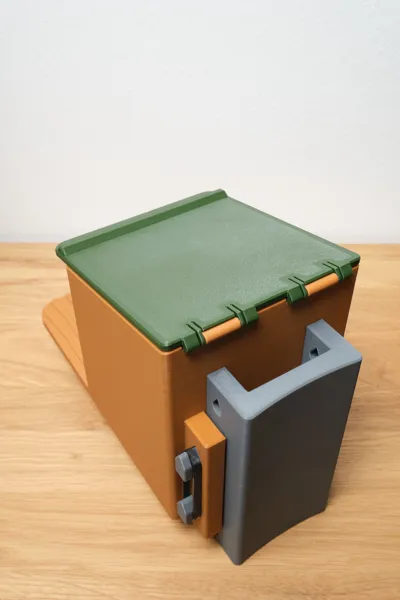
- The roof is equipped with a hinge and can be easily “attached”. The hinge is designed to give way slightly, allowing the roof to be removed/replaced if necessary.
- The roof bar provides support if the animal wants to get onto the platform via the roof and can be simply inserted. Pay attention to the correct side of the roof!
Update v1.1: The tolerance of the bar has been slightly adjusted (more play) so that the pins do not break off when inserted. Possibly secure with some superglue.
- The roof is equipped with a hinge and can be easily “attached”. The hinge is designed to give way slightly, allowing the roof to be removed/replaced if necessary.
- Insert & Logo (Print Plate 3) - optional
- The insert serves as a “double bottom” and thus allows some air exchange in the feeding chamber. Depending on the food used, this can also be omitted, hence optional.
- The logo is attached to the side with some superglue (see photo), but is of course optional and can also be replaced by your own logo.
Update v1.2: The logo is now available in 2 variants for both sides of the feeder. The alignment of the arrow in the logo has also been corrected so that the squirrels can find their way better 😀
- Mount (Print Plate 4) - optional
- Optimized tree mount for attachment with a cord/paracord.
- The feeder is attached to the mount using the two crossbars and a commercially available rubber ring. Ensure that the rubber ring lies in the designated grooves of the crossbars.
- The feeder can therefore be removed very easily at any time without having to dismantle the entire mount from the tree.
- If you do not want to use the mount, you can also simply thread the cord directly through the fasteners on the feeder.
- Update v1.1: The tree mount now has two additional holes on the back. This allows it to be fastened with screws or hooks.
In total - including all optional parts - the model uses a little over 520 g of filament, as high stability per object was prioritized in the print parameters.
- For printing, I recommend a suitable outdoor-compatible filament such as PETG.
- In the pictures, Bambulab PETG HF was used in various colors.
Assembly
- Attach bar to roof
- If necessary, secure with some superglue (depending on your printer's tolerance).
- Hang in roof
- The hinges are designed to be spring-loaded to facilitate hanging.
- The roof should move smoothly, as it is pushed up by the animal with its head.
- Insert acrylic glass (cut to 10 cm x 8 cm) & secure with crossbar
- Attach tree mount (optional) to tree
- In my experience, a piece of paracord or another sturdy cord is best suited.
- Thread the paracord or cord through the smaller “teardrop-shaped” holes of the mount and use it to attach the mount to the tree.
- Alternatively, screws or hooks can also be used.
- Attach feeder to mount
- Use the two crossbars from Print Plate 4 and slide them through the holes in the tree mount and on the feeder.
- Secure the two crossbars with a rubber ring and ensure that it lies in the two grooves of the crossbars.
- Done!
- Fill the feeder as desired with suitable squirrel food.
- If you want to clean it after some time, you can simply remove it from the tree mount without having to dismantle the mount from the tree.
Boost Me (for free)
If you like my work, please consider a boost. Thank you!
License

You shall not share, sub-license, sell, rent, host, transfer, or distribute in any way the digital or 3D printed versions of this object, nor any other derivative work of this object in its digital or physical format (including - but not limited to - remixes of this object, and hosting on other digital platforms). The objects may not be used without permission in any way whatsoever in which you charge money, or collect fees.


Comment & Rating (97)