
Makita RT0700 mobile router table
Print Profile(1)

Description
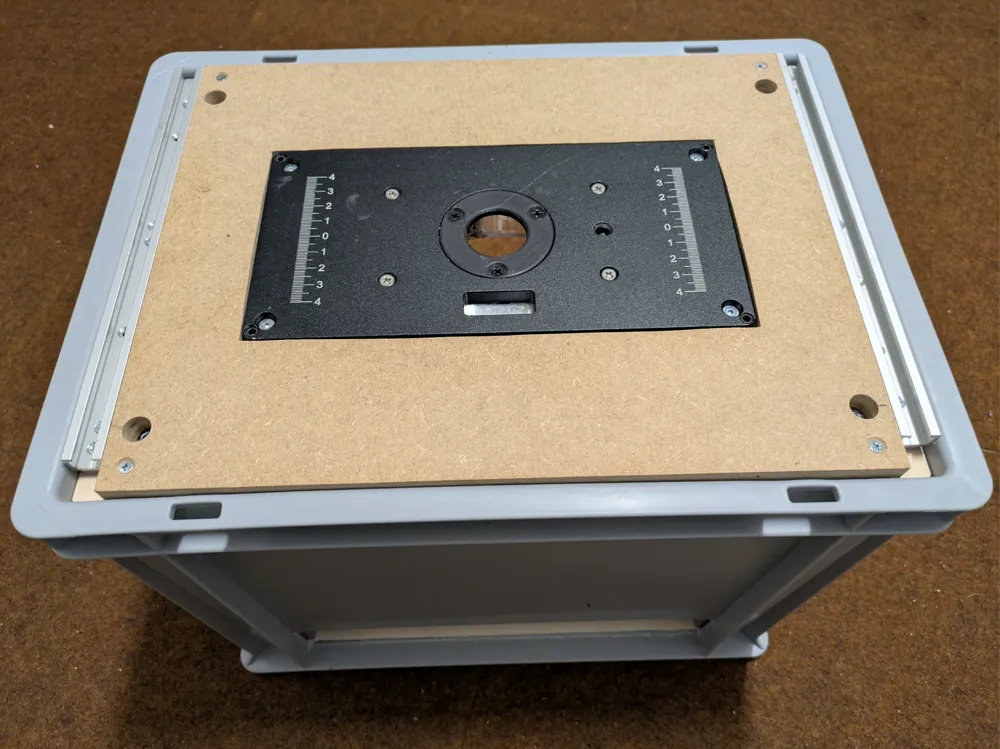
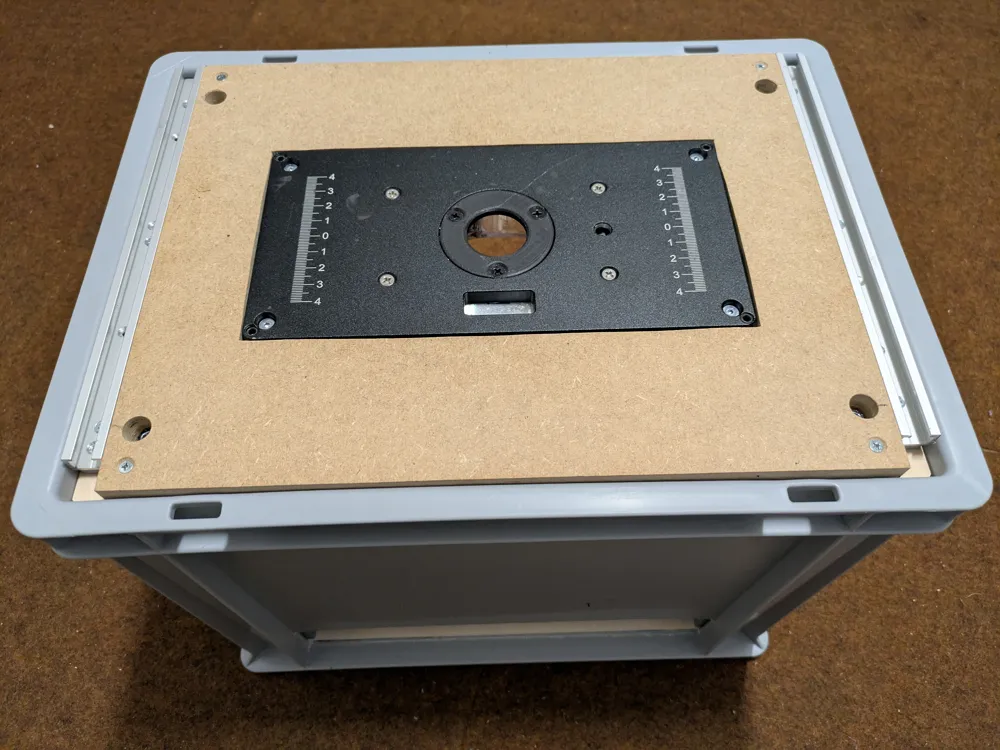
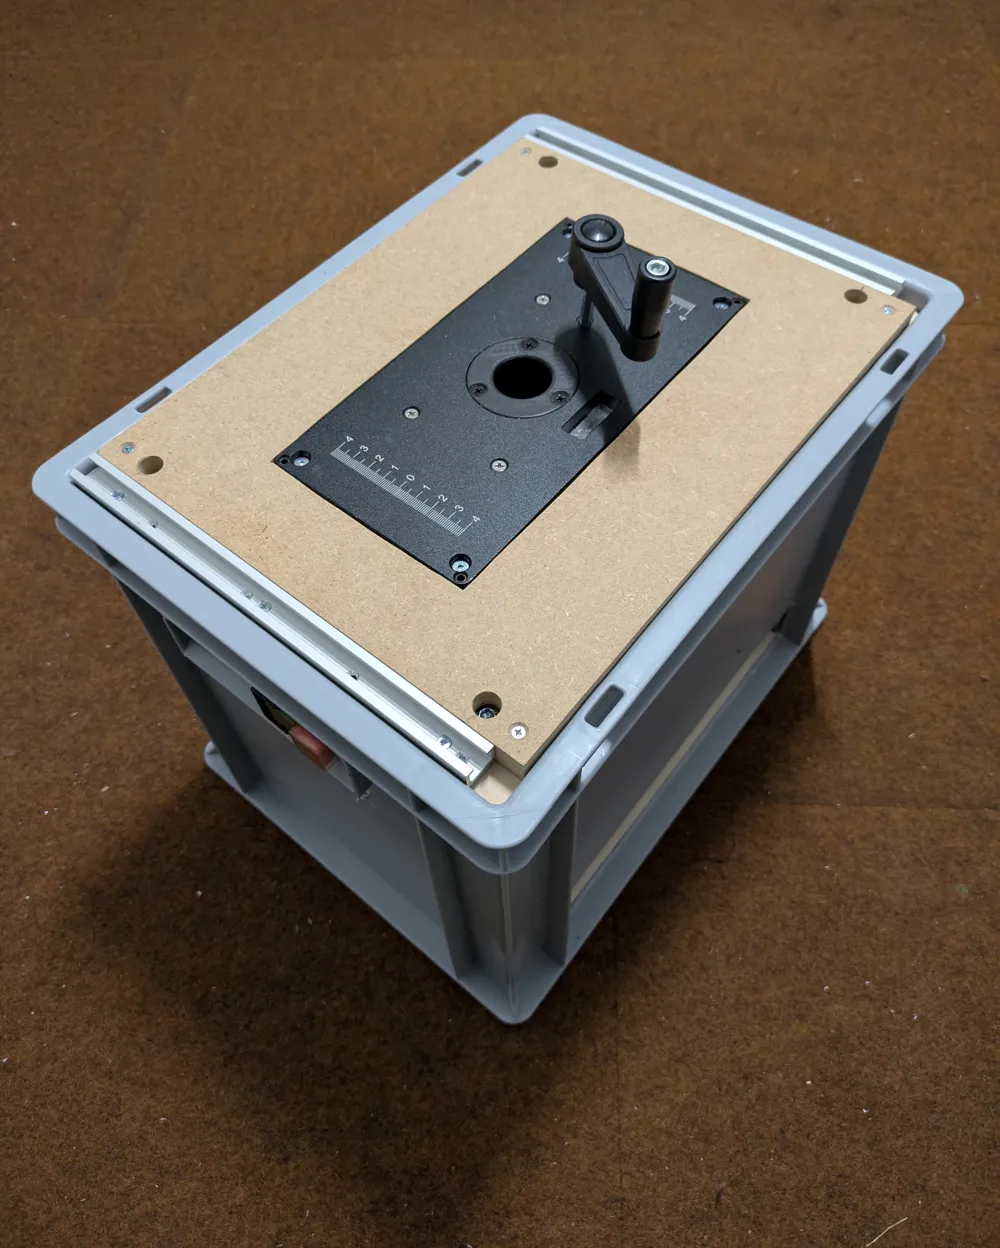
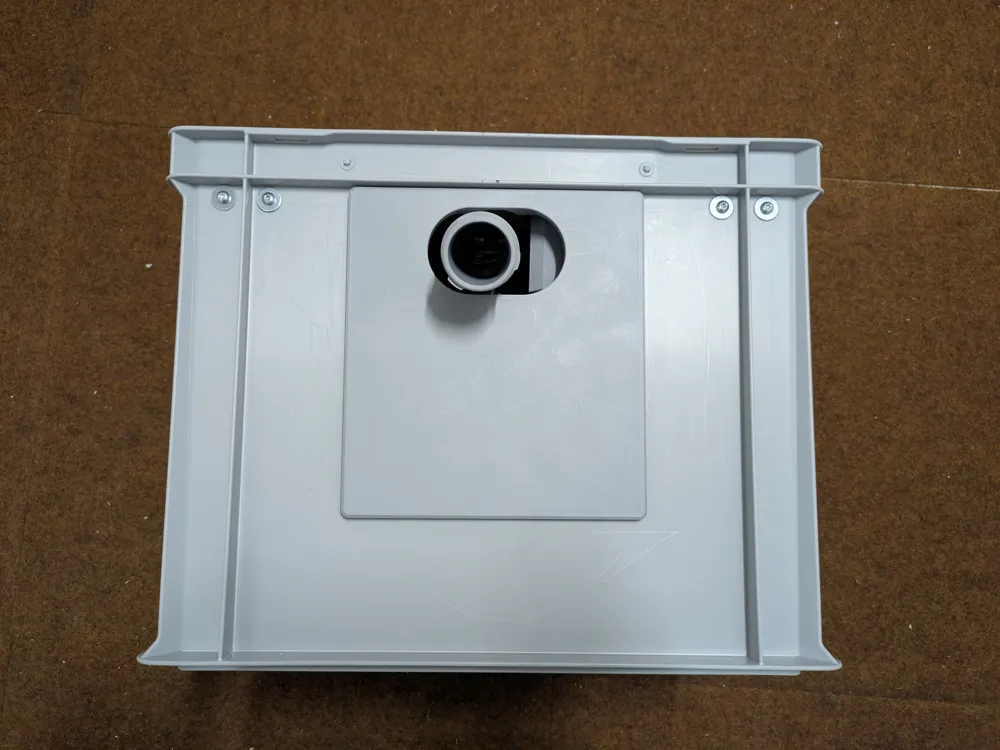
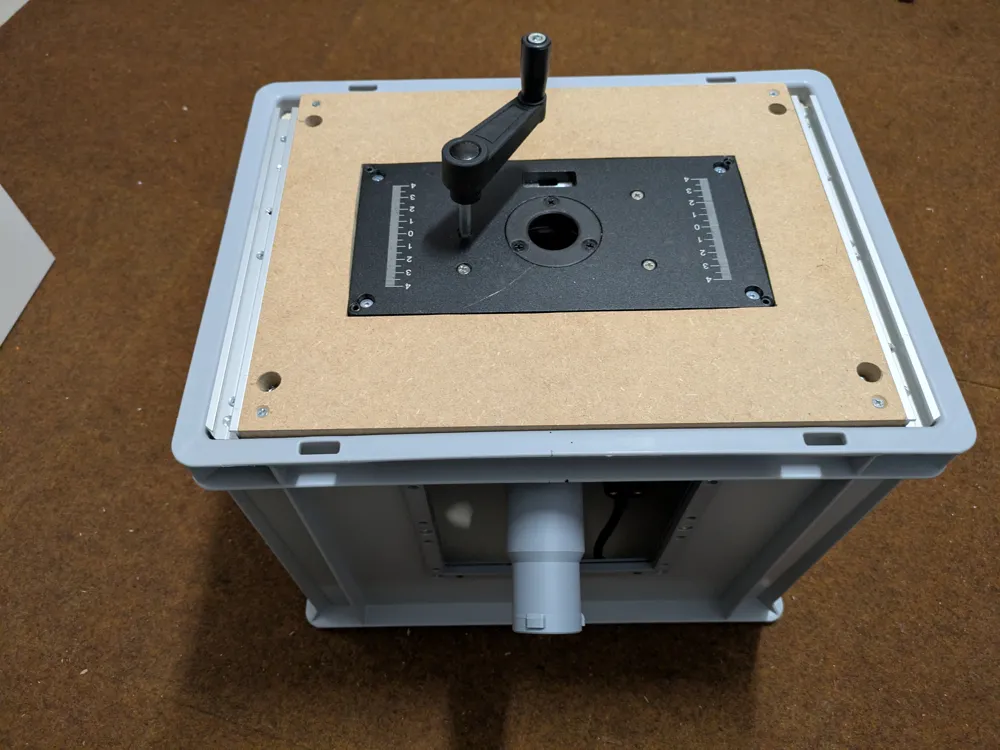
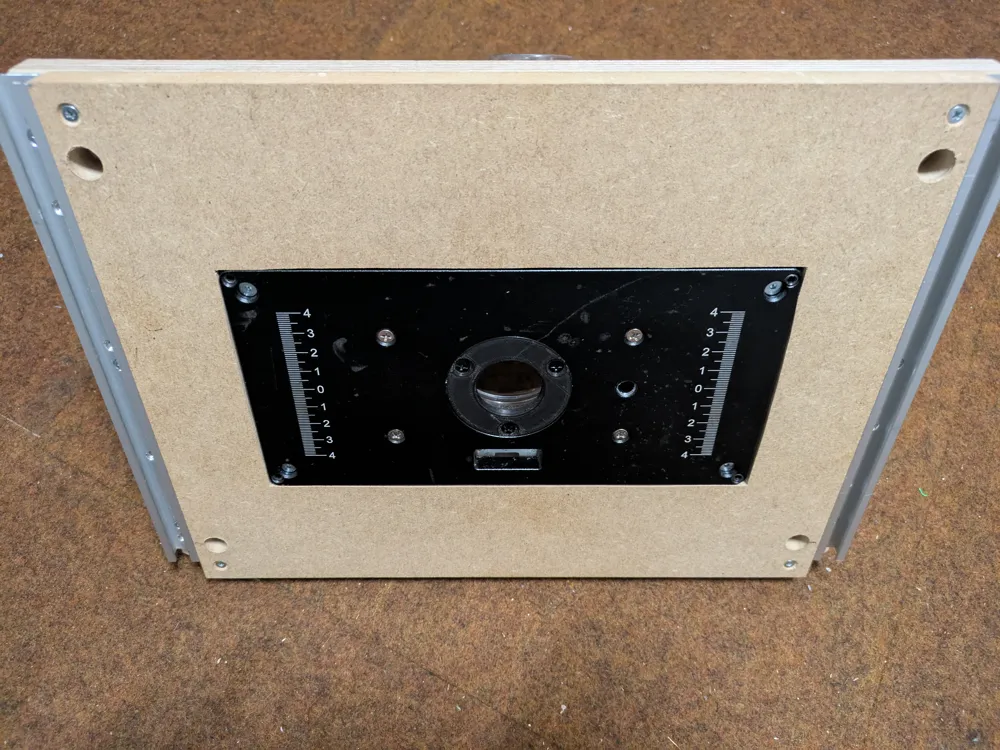
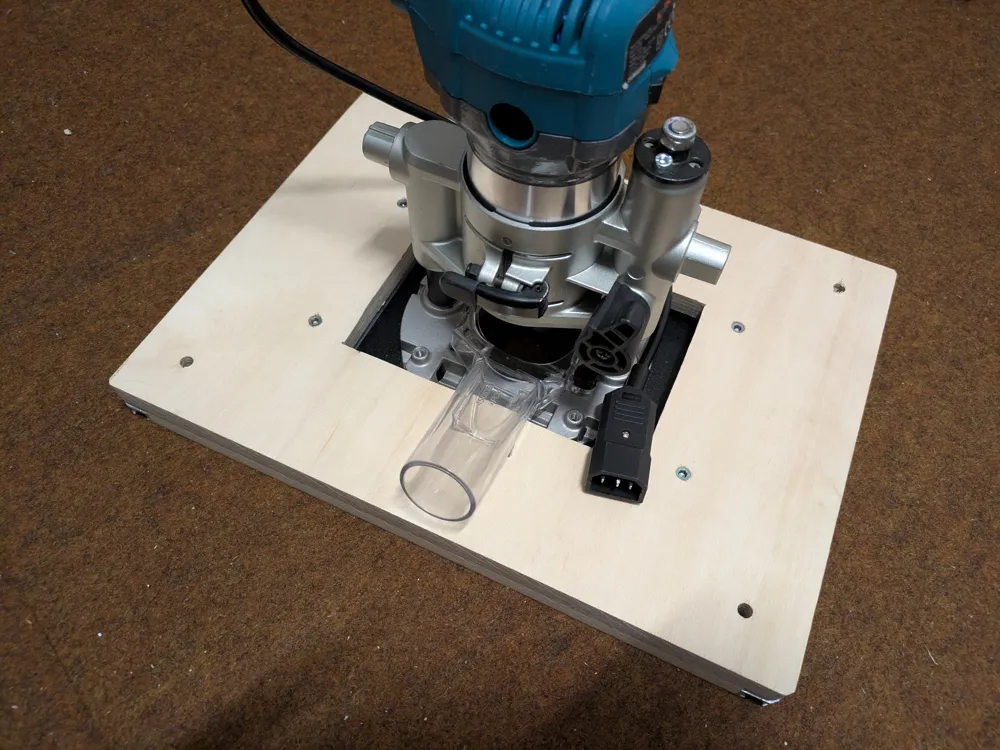
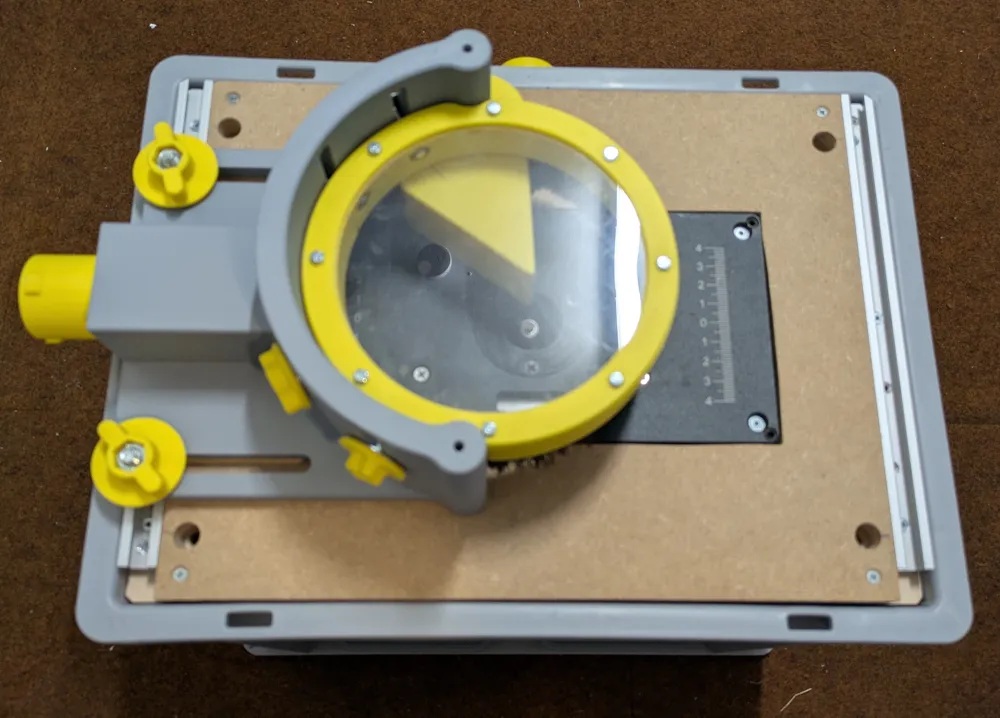
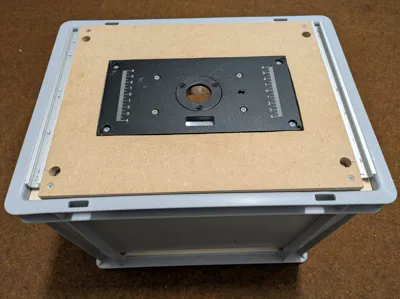
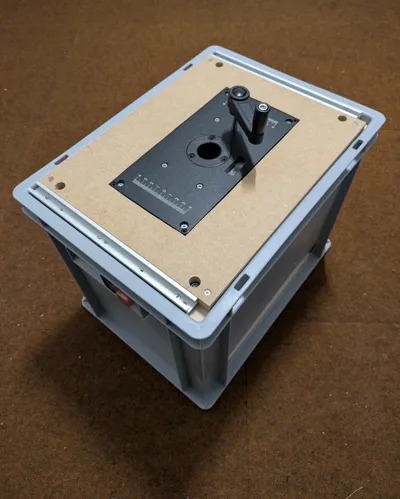
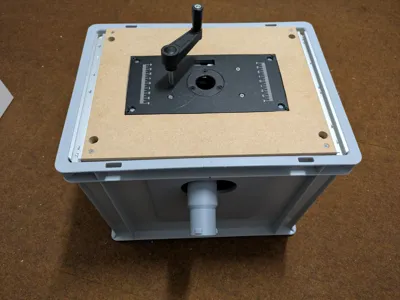
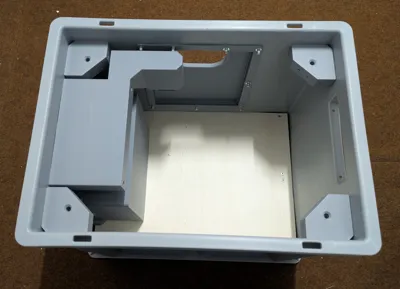
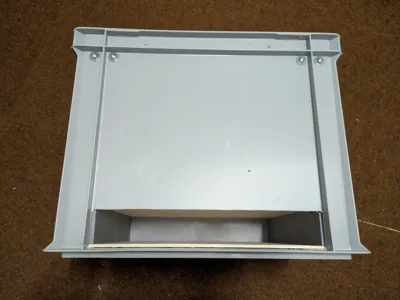
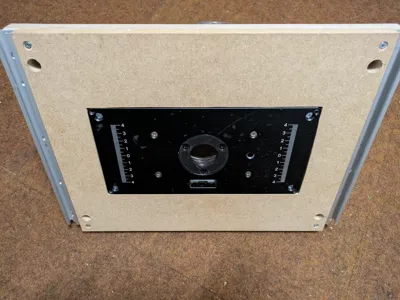
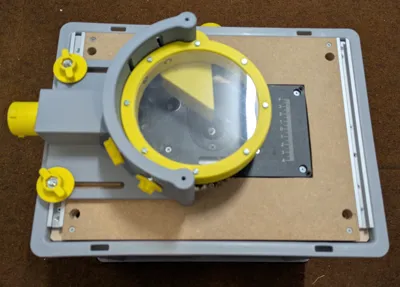
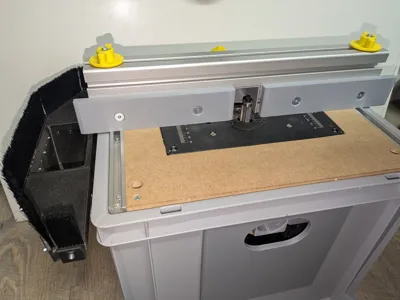
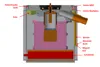
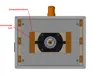
I bought an insert plate for the Makita RT0700 router a while ago. The insert plate came with a conversion kit, allowing the plunge base to be converted into a router lift. I have now installed this insert plate into a Euro container
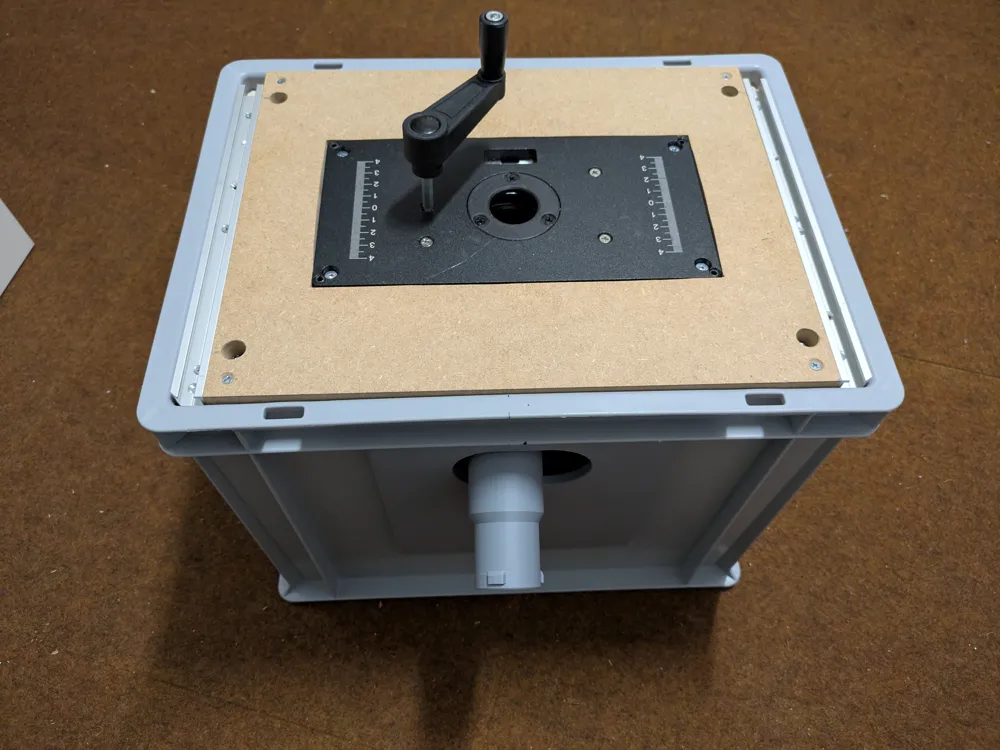
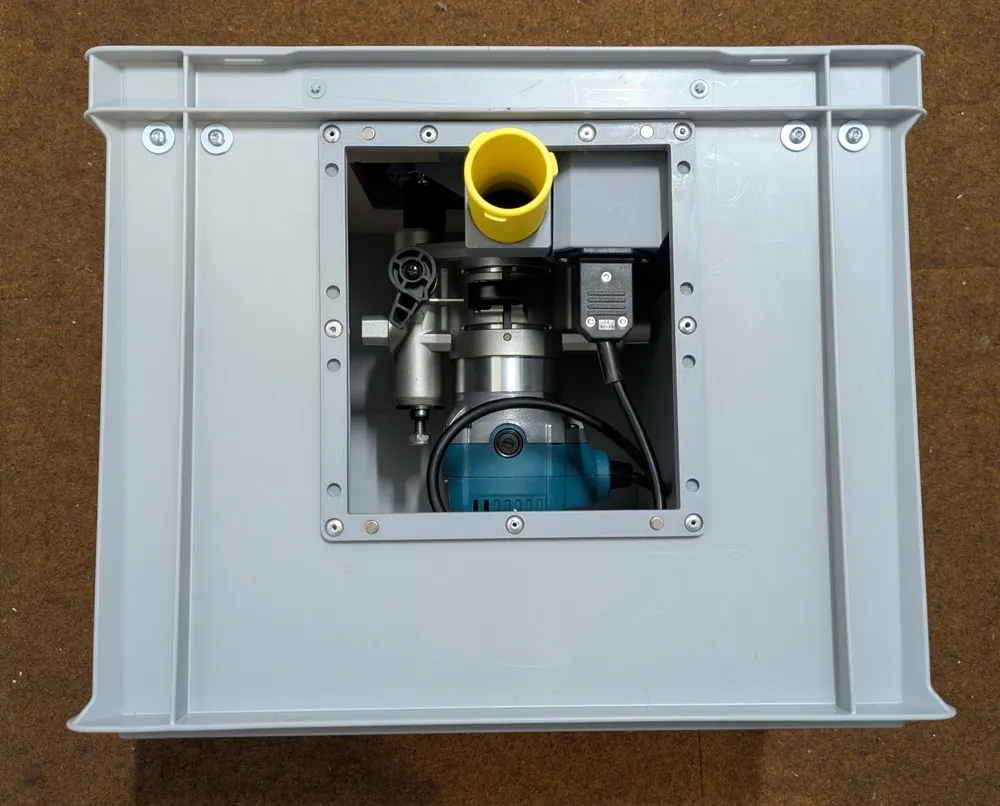
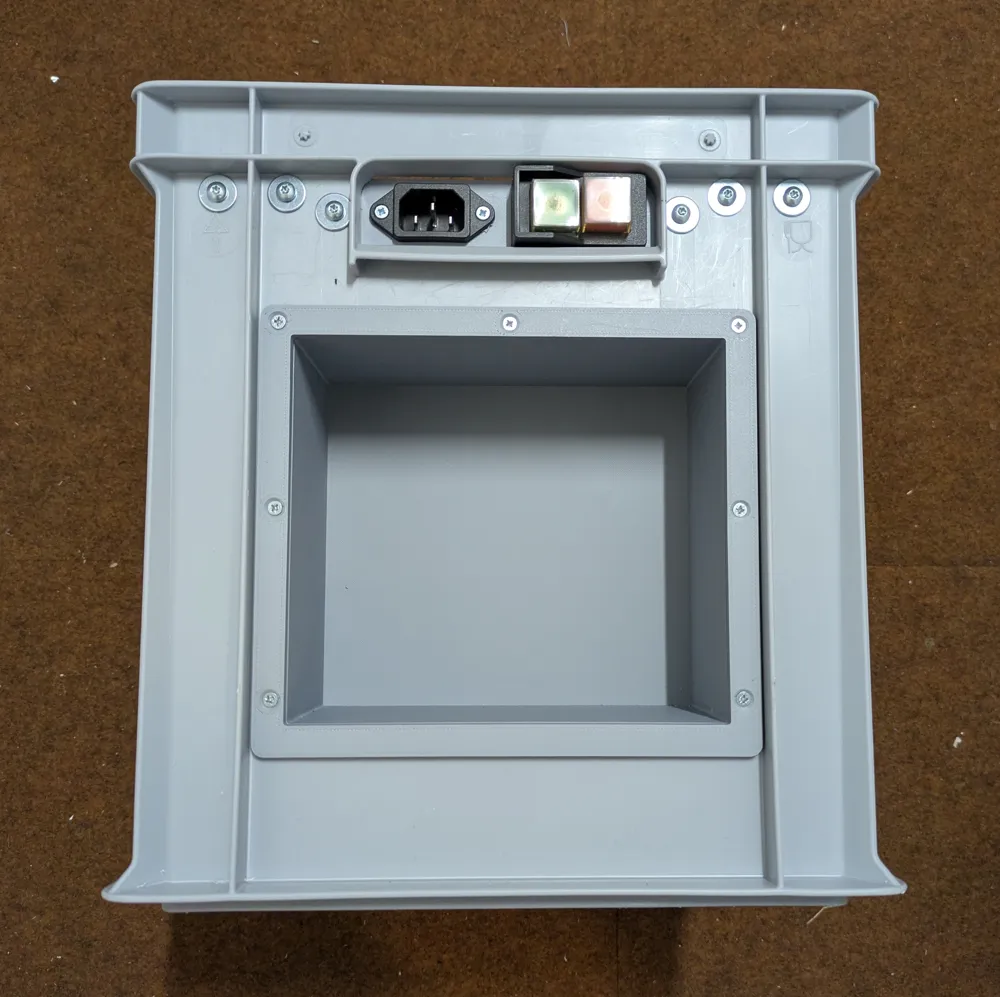
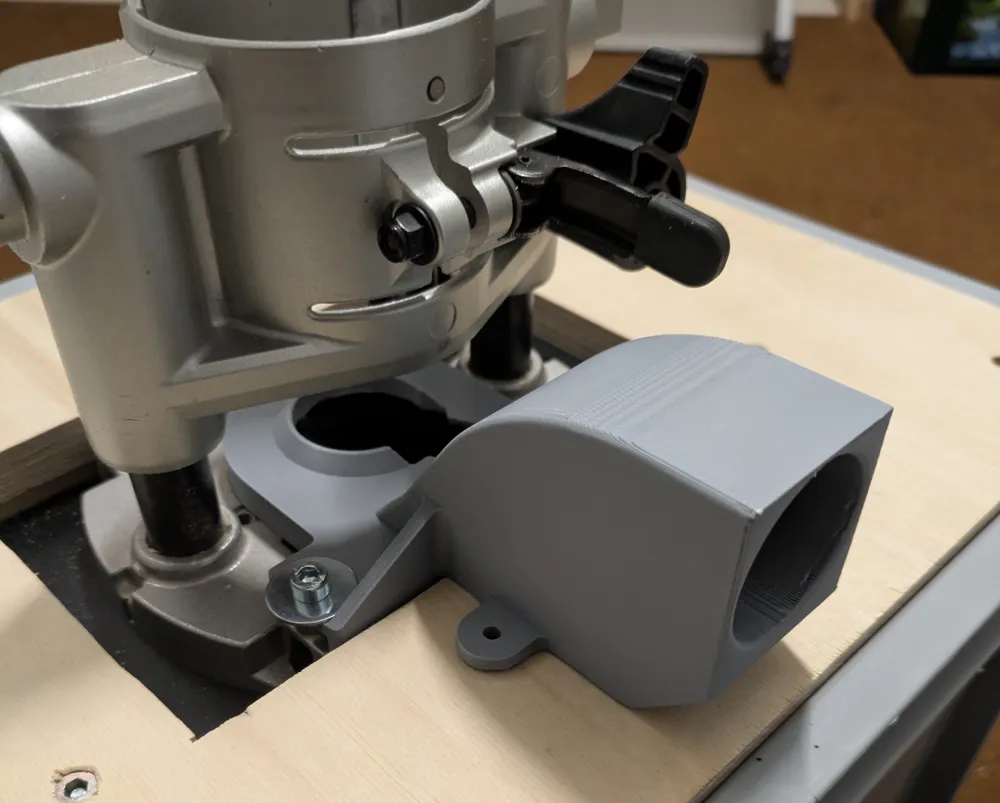
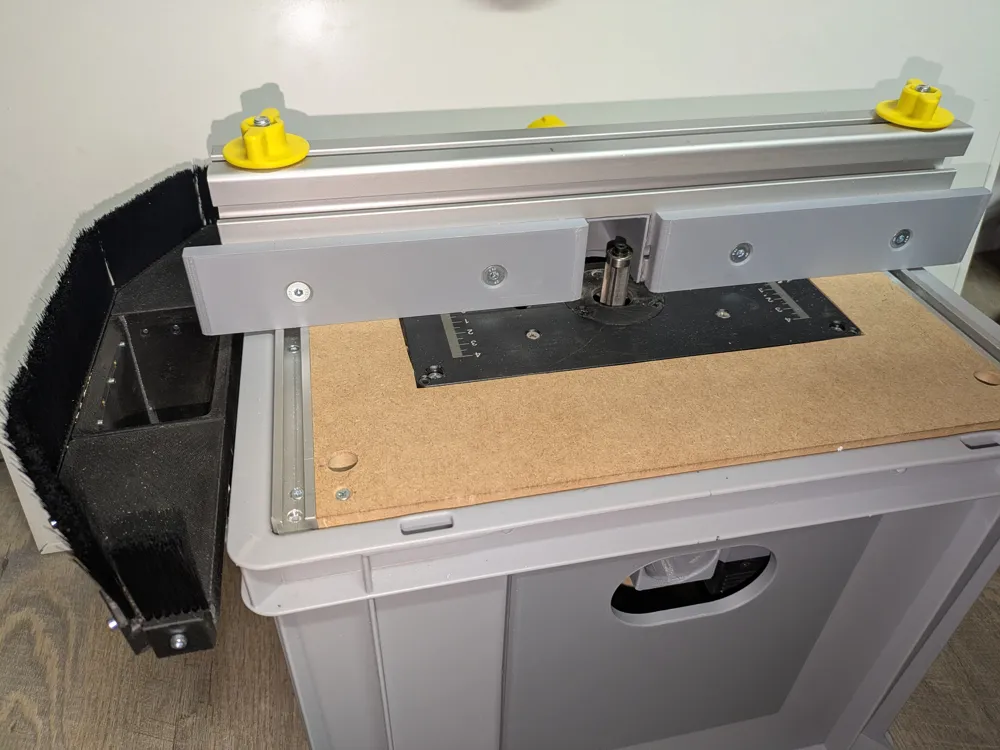
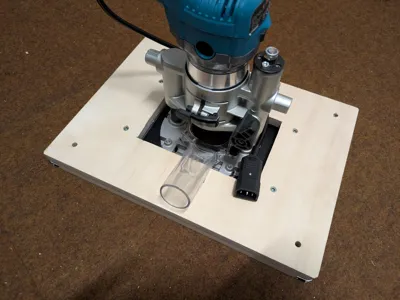
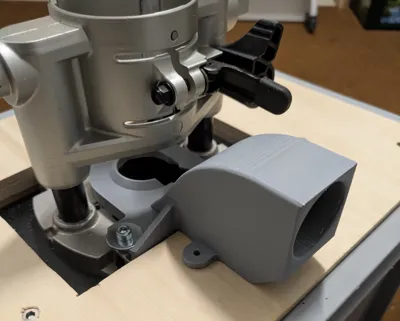
Together with my curved router fence, nothing collects dust! With the Makita dust port, only a little dust gathers in the Euro container. Alternatively, I modeled my own dust port, which has a 35mm opening, analogous to the largest opening in the insert plate. The router bit needs to fit through there. The smaller opening prevents the router motor's fan from stirring up the extracted dust. As a test, I routed radii on MDF and there was no dust whatsoever in the box! Now I can finally work on parts in the basement and don't always have to go to the carport
The insert plate from back then is hard to find, but I suspect the “new” version should also be installable
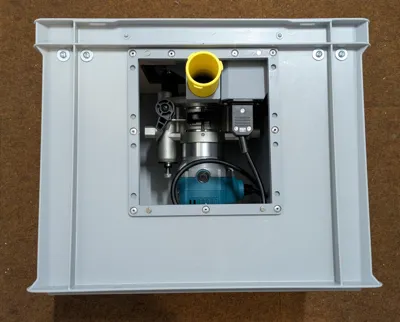
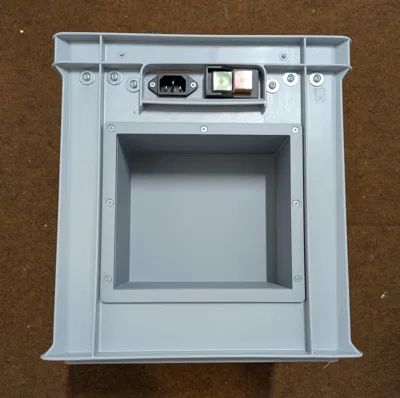
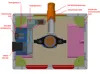
On the side in the handle of the box, I installed a safety switch and a device socket for a power cable. The router can then be connected to another device socket inside the box
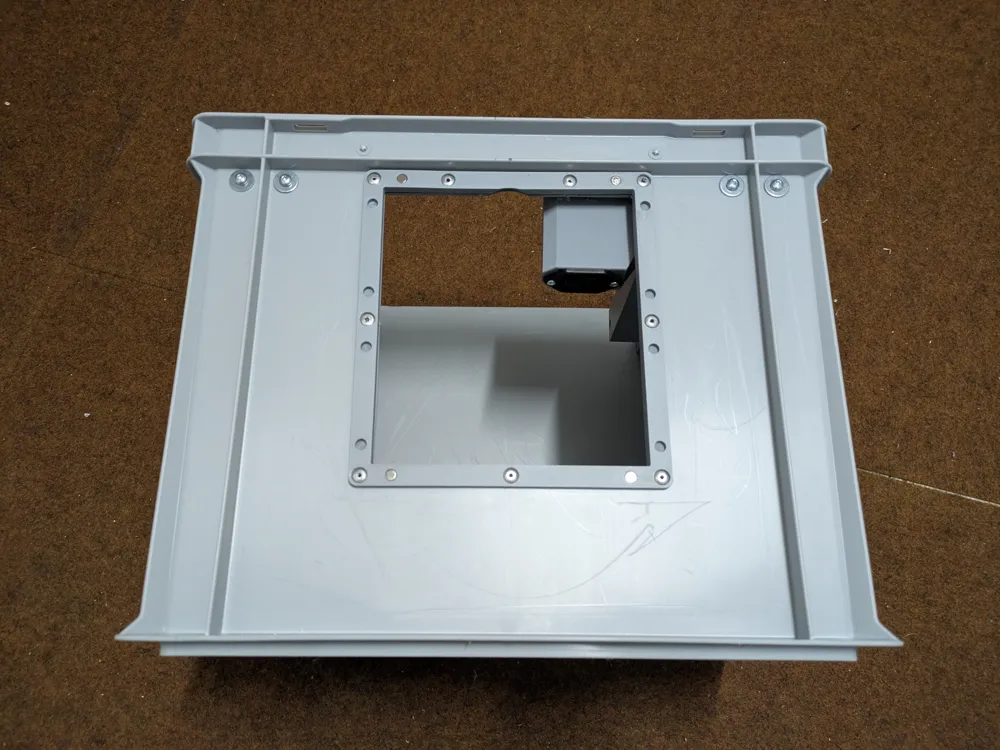
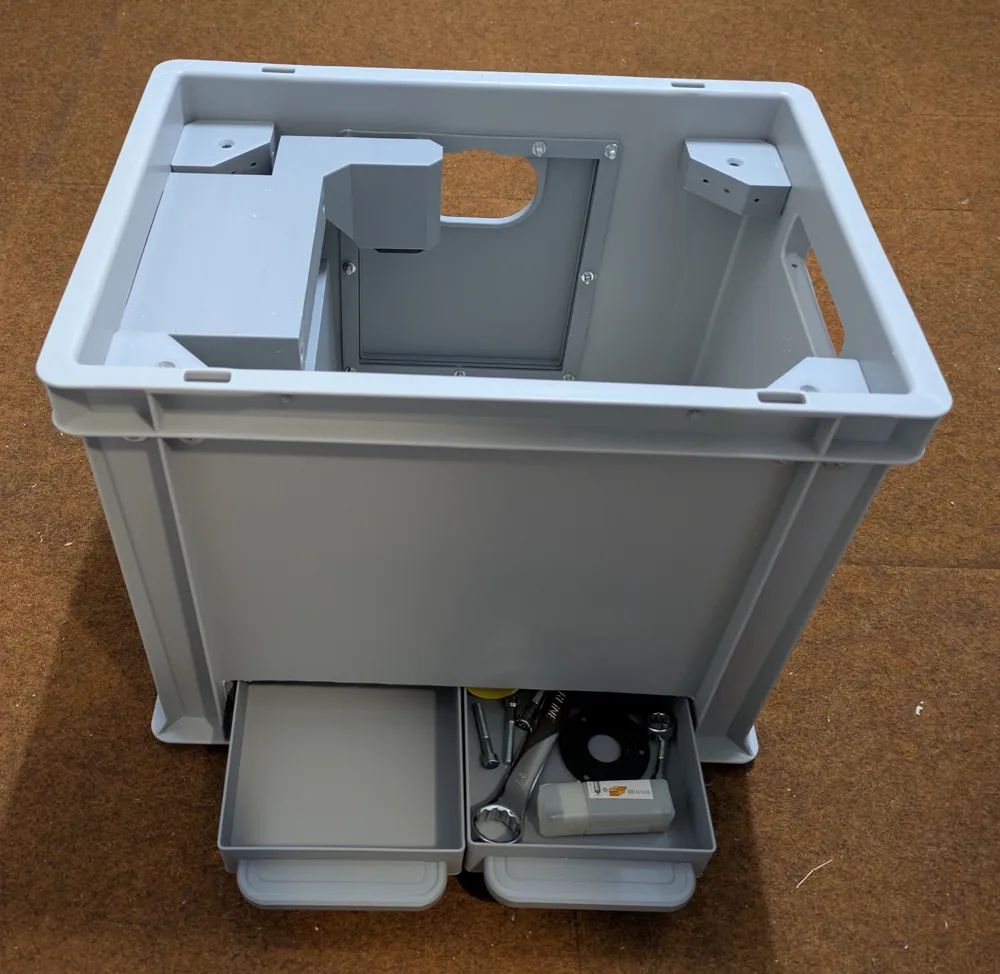
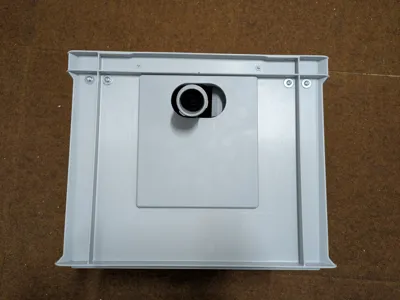
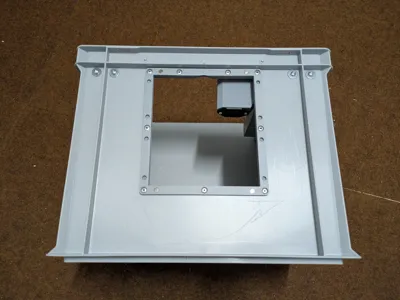
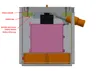
At the back, I provided a large hole with a cover. The cover is held by magnets, and the router's dust extraction is routed through the cover. Removing the cover provides access to the plunge base clamp and the router's speed control
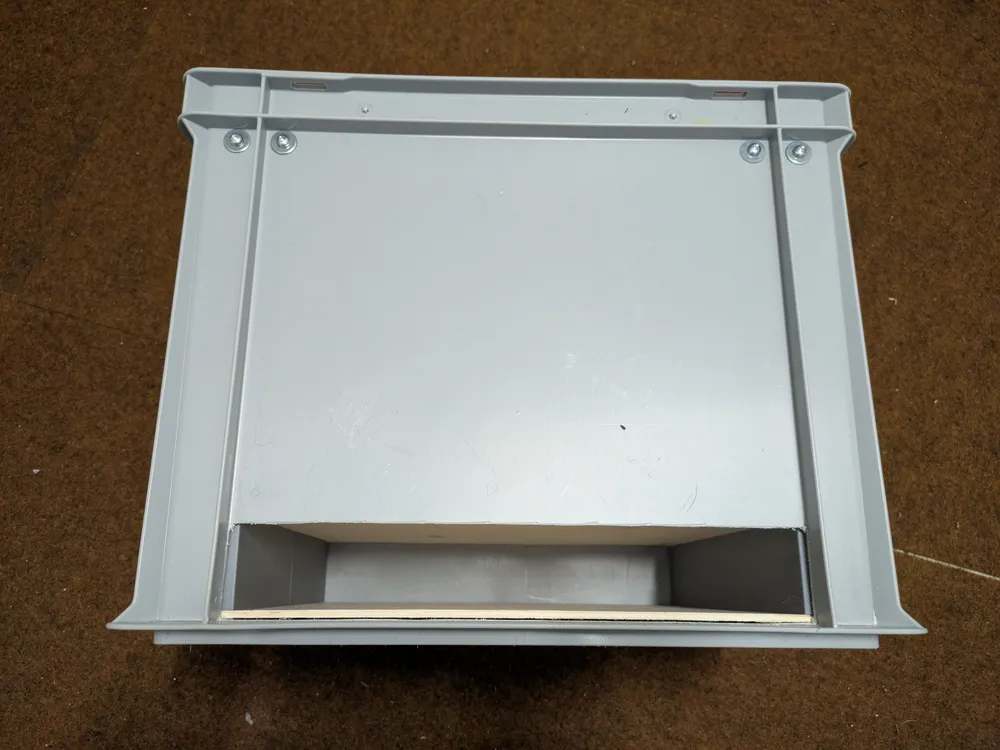
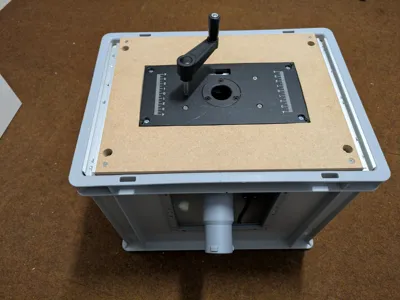
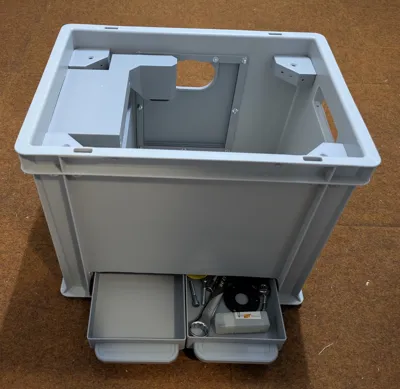
At the front, I made a wide slot at the bottom, through which I can slide flat boxes as drawers into the container
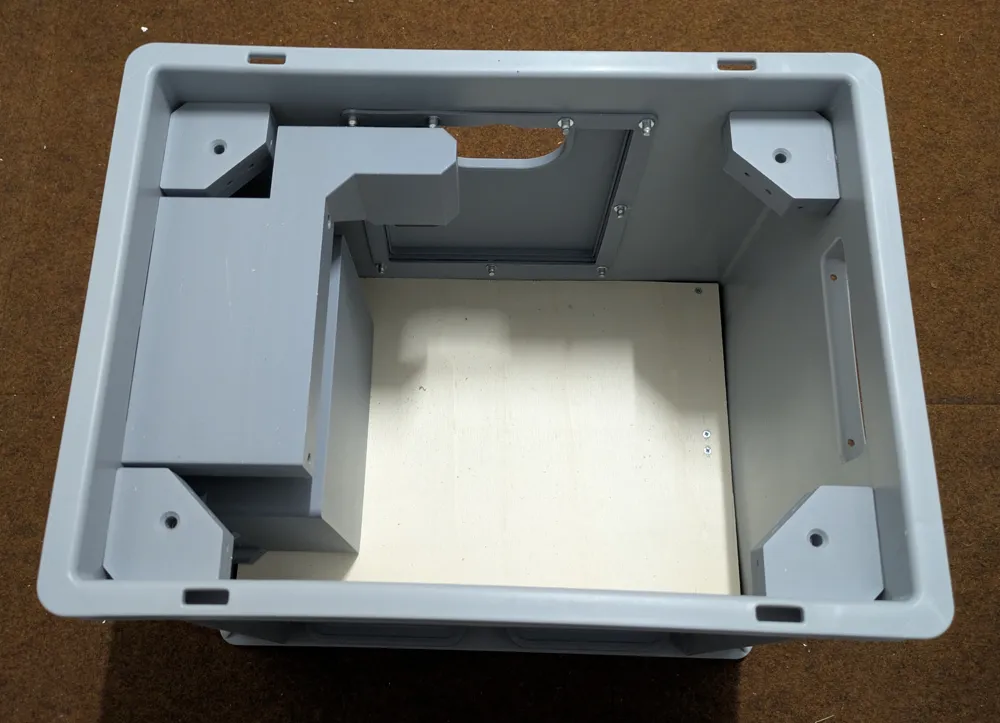
The insert plate is screwed onto a 15mm plywood panel with spacers. Surrounding the insert plate is a 16mm MDF panel. I had the panels cut at a hardware store, and the cutouts were made with a jigsaw. The MDF panel is screwed to the 15mm plywood panel. On the sides of the MDF, 2 C-rails are attached with spacers. This construction method eliminates the need to route grooves or pockets, making assembly very simple
The plate rests on 4 corners, which are screwed to the box
- You can also make cutouts in the sides and install side compartments. However, on the side where the router cable exits, I had to remove the rubber protection
Since not all Euro containers are identical, measurements must be determined individually, or parts may need to be scaled slightly. The complete model in STEP format is available online
I roughly used:
Euro container 40cm x 30cm x 32cm
- 15mm plywood panel
16mm MDF panel
C-rails for M8 screws 17mm wide / 11mm high
Insert plate (example link)
- DIN7991 screws M4x30 (insert plate fastening)
Rampa inserts M4
- DIN912 screws M6x40 (fastening of wood panels at the corners)
- DIN934 nuts M6
- Ruthex heat-set inserts M3
DIN912 screws M3x16
- Wood screws 3x20 (connecting wood panels, installing side compartments, assembling the bottom compartment)
- Wood screws 3x25
Wood screws 3x30
- Pan head screws 3x30 (installing corners, mounting drawers)
Fender washers M4
- DIN912 M5x20 screws (fastening the alternative dust port to the router base)
Fender washers M5
- Blind rivets 4x16 (installing the cover at the back)
- Magnets 6x3
Update 2026-02-10:
I have additional STEP models:
- Groove plate.stp: I attached this plate to the side opposite the switch. I can attach a brush dust extraction system to it (model to follow separately), which collects most of the chips during grooving
- Fence dust extraction.stp / Fence rail.stp: Using a 40x80 Item aluminum profile (which I had lying around) and these two printed parts, I created my parallel fence for the table. This is fastened with M6x60 hex screws to the two side rails of the router table
Documentation (6)
License



Comment & Rating (5)