
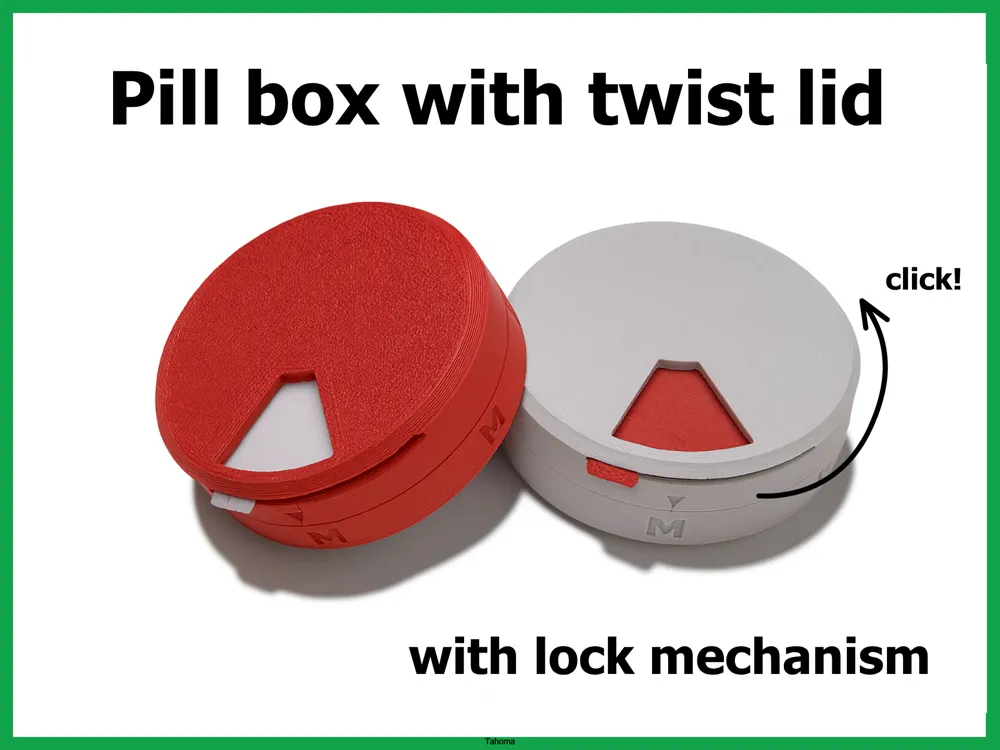
Pill box with twist lid
Print Profile(4)



Description
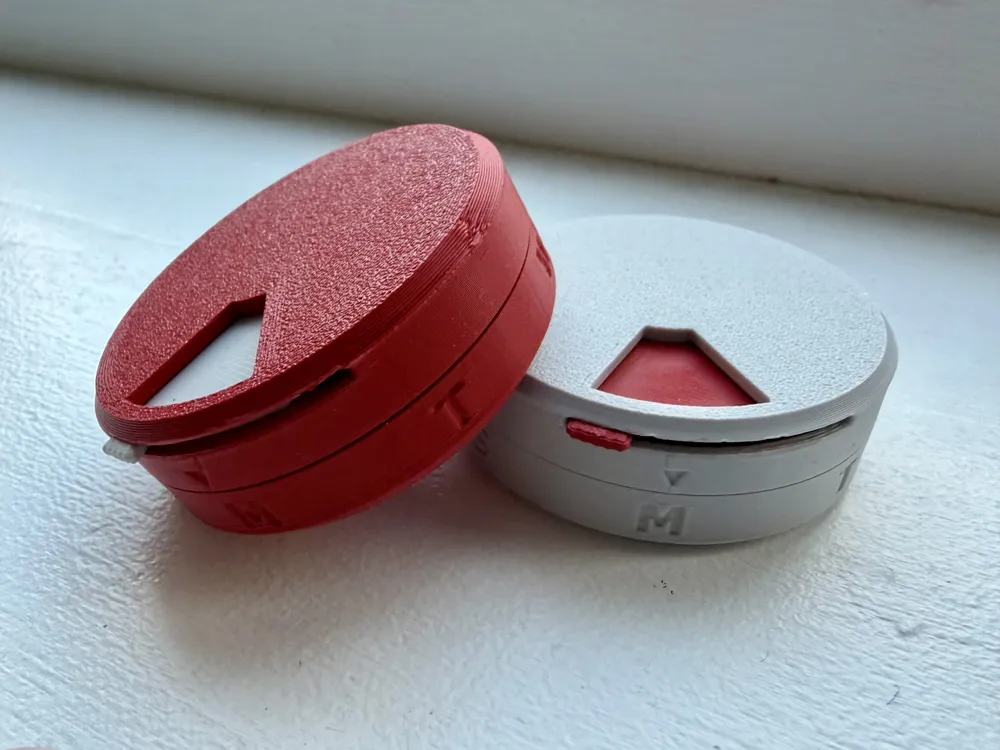
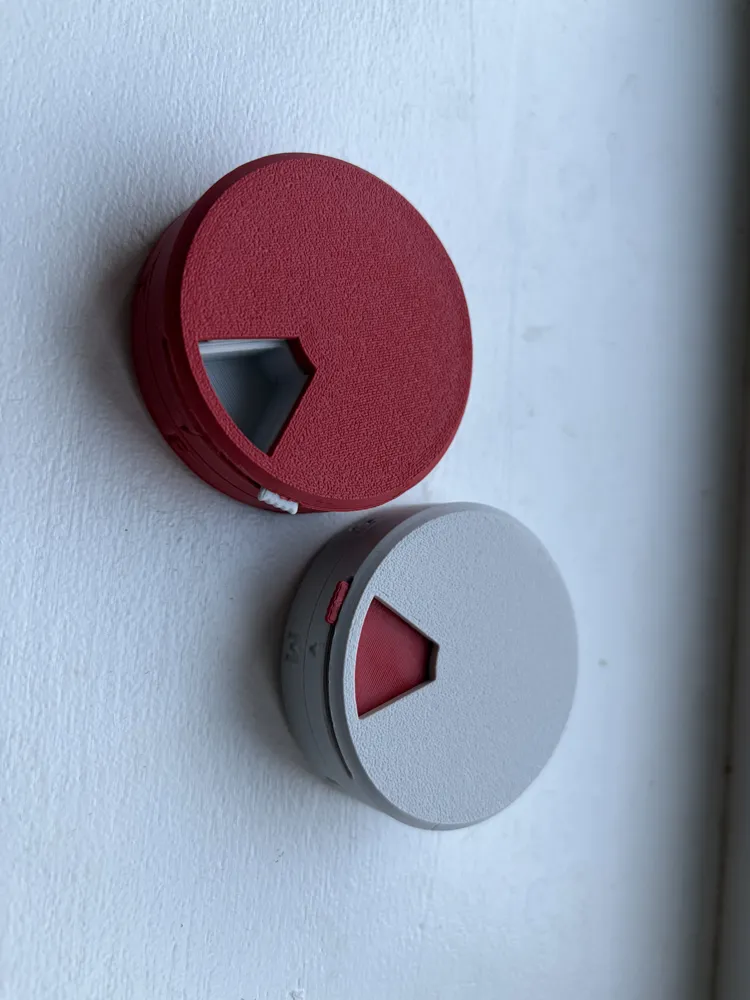
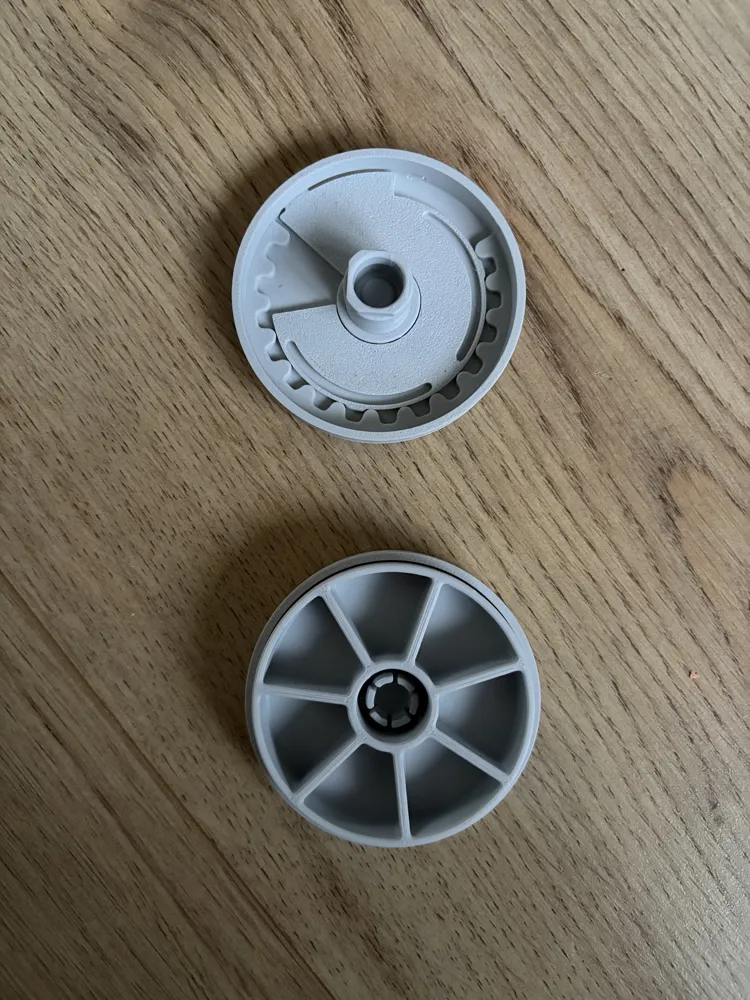
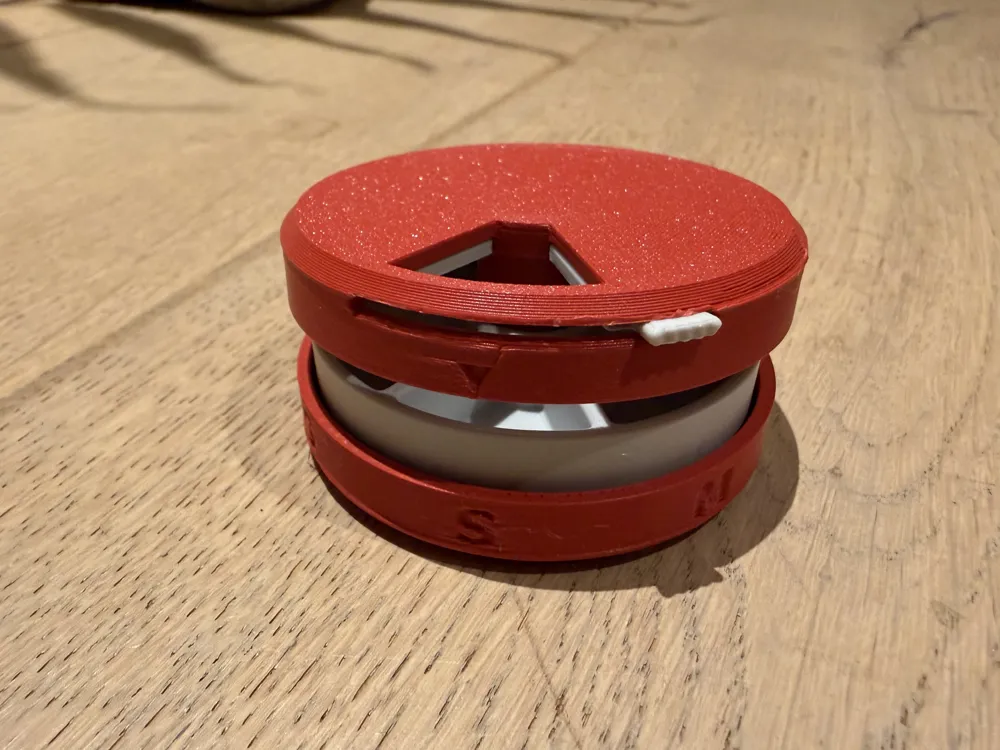
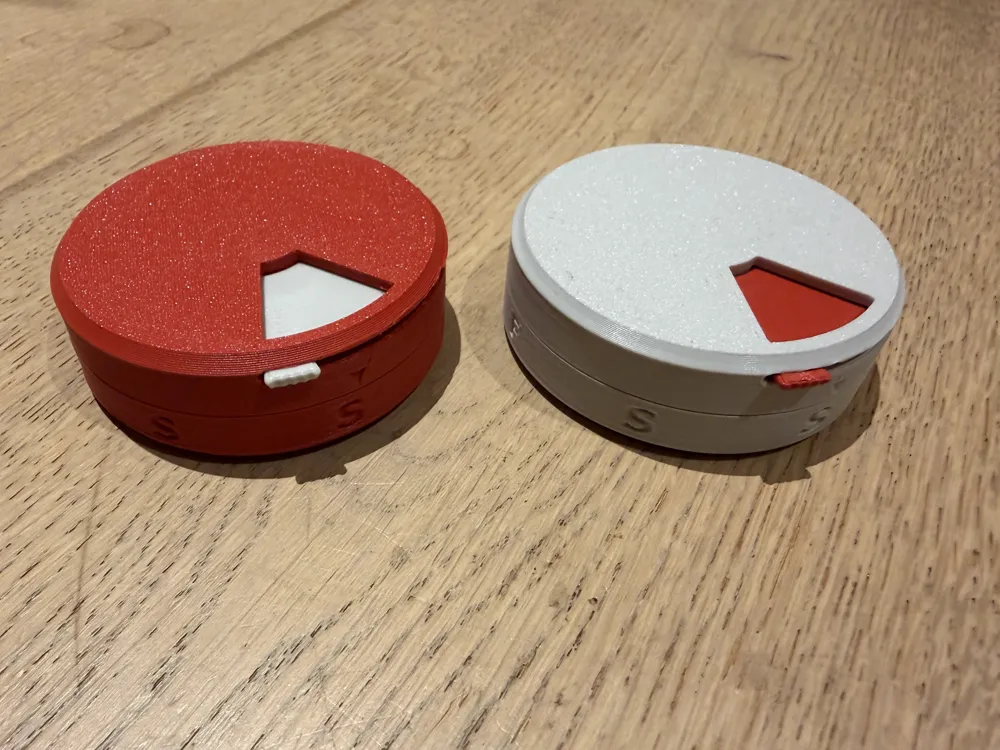
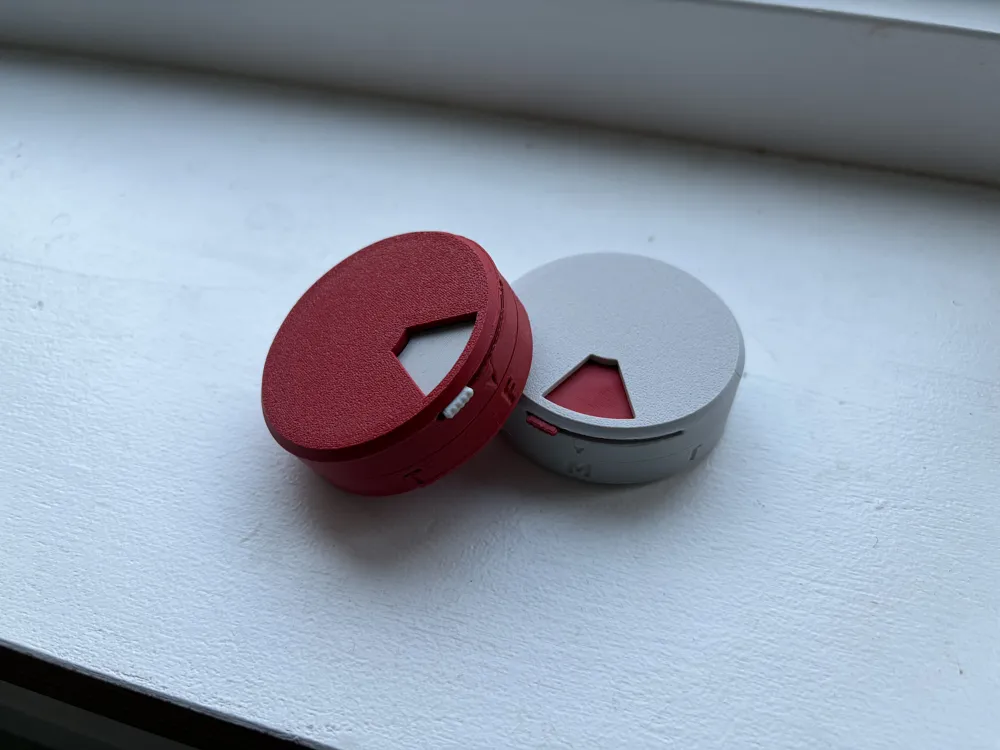
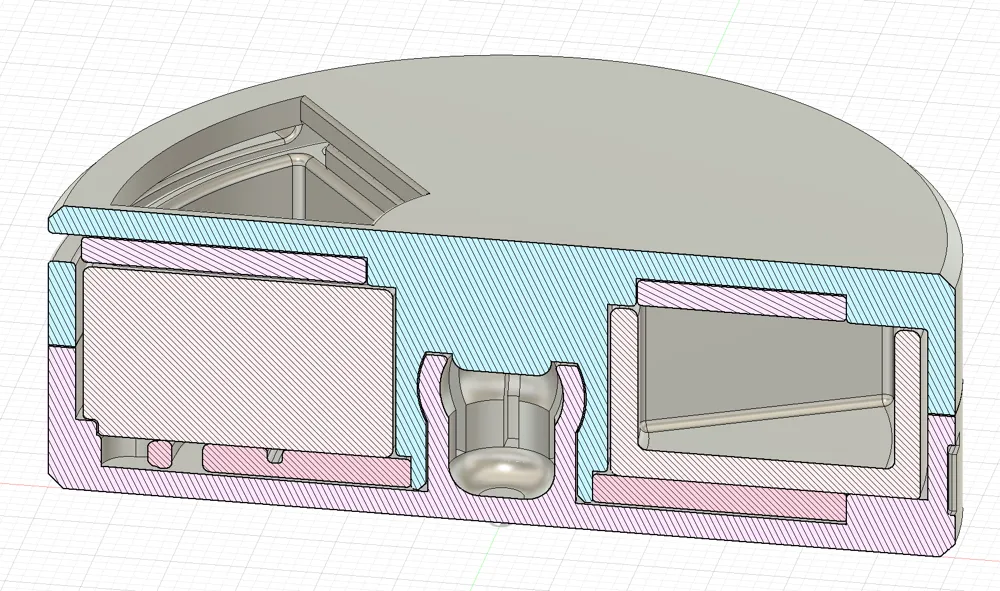
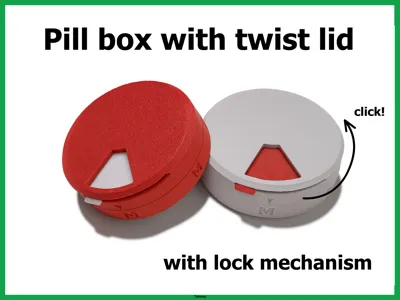
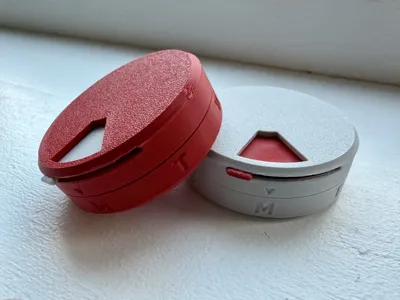
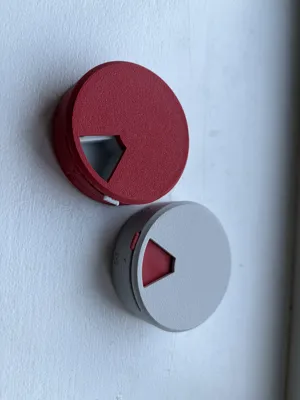
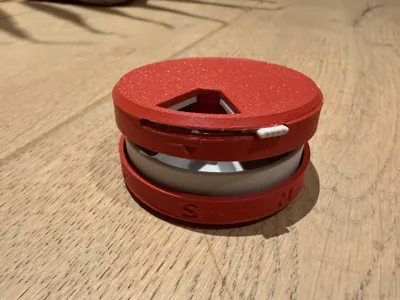
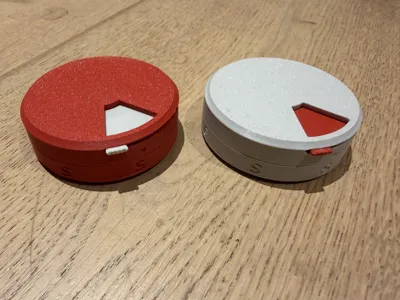
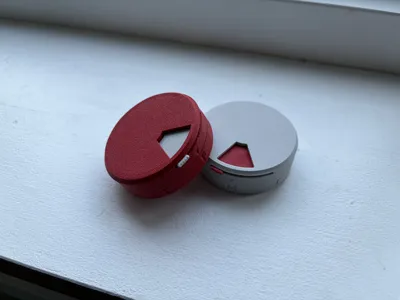
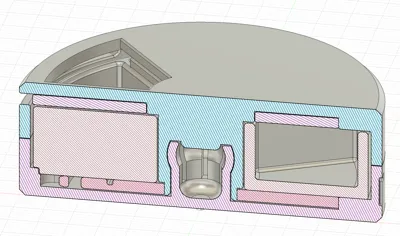
I created this pill container with a twist lid. The container has 7 separate compartments, marked with ‘M T W T F S S’. The lid has a lock mechanism that can open and close so pills won't fall out. Of course, you can store other small items in it as well!
I tried to make this model parametric so that it would be possible to change some dimension, but my model does not really work well with how Maker World works. I need to re-design a lot of things, so that is something for a next project ;)
I added a print profile for a box with a diameter of 60 mm and a depth of 10 mm for the containers (internal depth). I will add more profiles so there will be some options to choose from.
EDIT 20 oct 2025
- added print profile for box with 80mm diameter and 15 mm container depth
Boost Me (for free)
If you like this model, please give it a boost, it really helps!
Membership
Selling physical prints of this model? A commercial license is available via my MakerWorld Commercial Membership.
PRINT SETTINGS
- Support is necessary for the lid. It is needed for the opening slot for the lock mechanism.
- I used standard Bambu Studio print settings with a layer height of 0.20 mm
FILAMENT
- I've tested both normal PLA and PLA matte. PLA works fine, but PLA Matte can better not be used for the moving part (basically only for the container). PLA matte seems softer than regular PLA.
- I don't have other types of filament, so please leave a comment if you do so others know what works (and not…).
- Based on reviews, PETG works fine as well.
ASSEMBLY
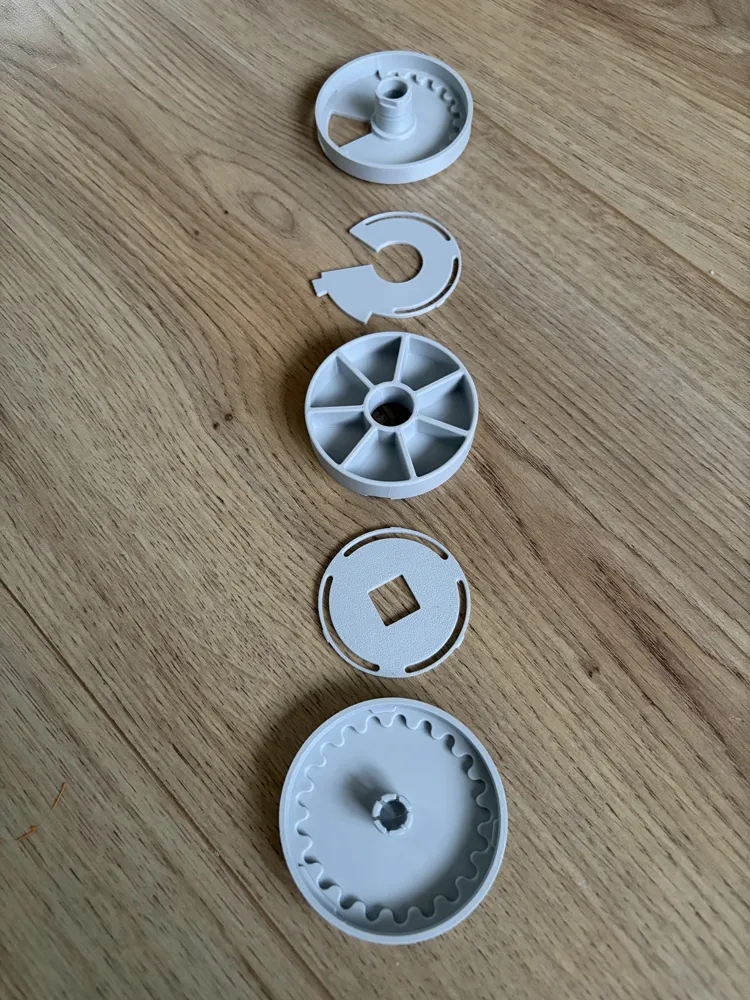
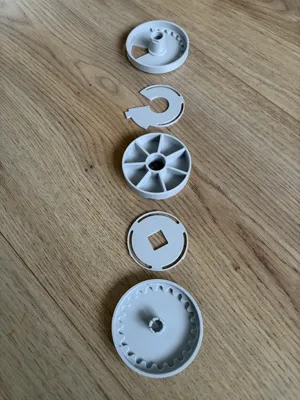
The box consists of 5 elements
- The bottom part
- A rond insert for the bottom part
- The container with 7 different compartments
- The lid
- The lock plat that is inserted in the lid
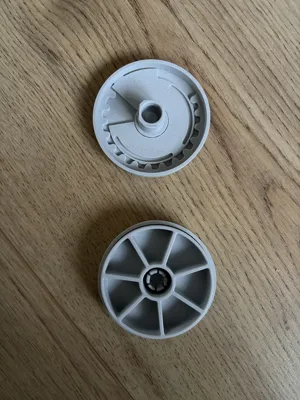
First, place the rond insert in the bottom part. There are 3 markings on the insert (1 large and 2 smaller lines), these should align with the small notches on the inside of the bottom part (1 large notch and 2 smaller):
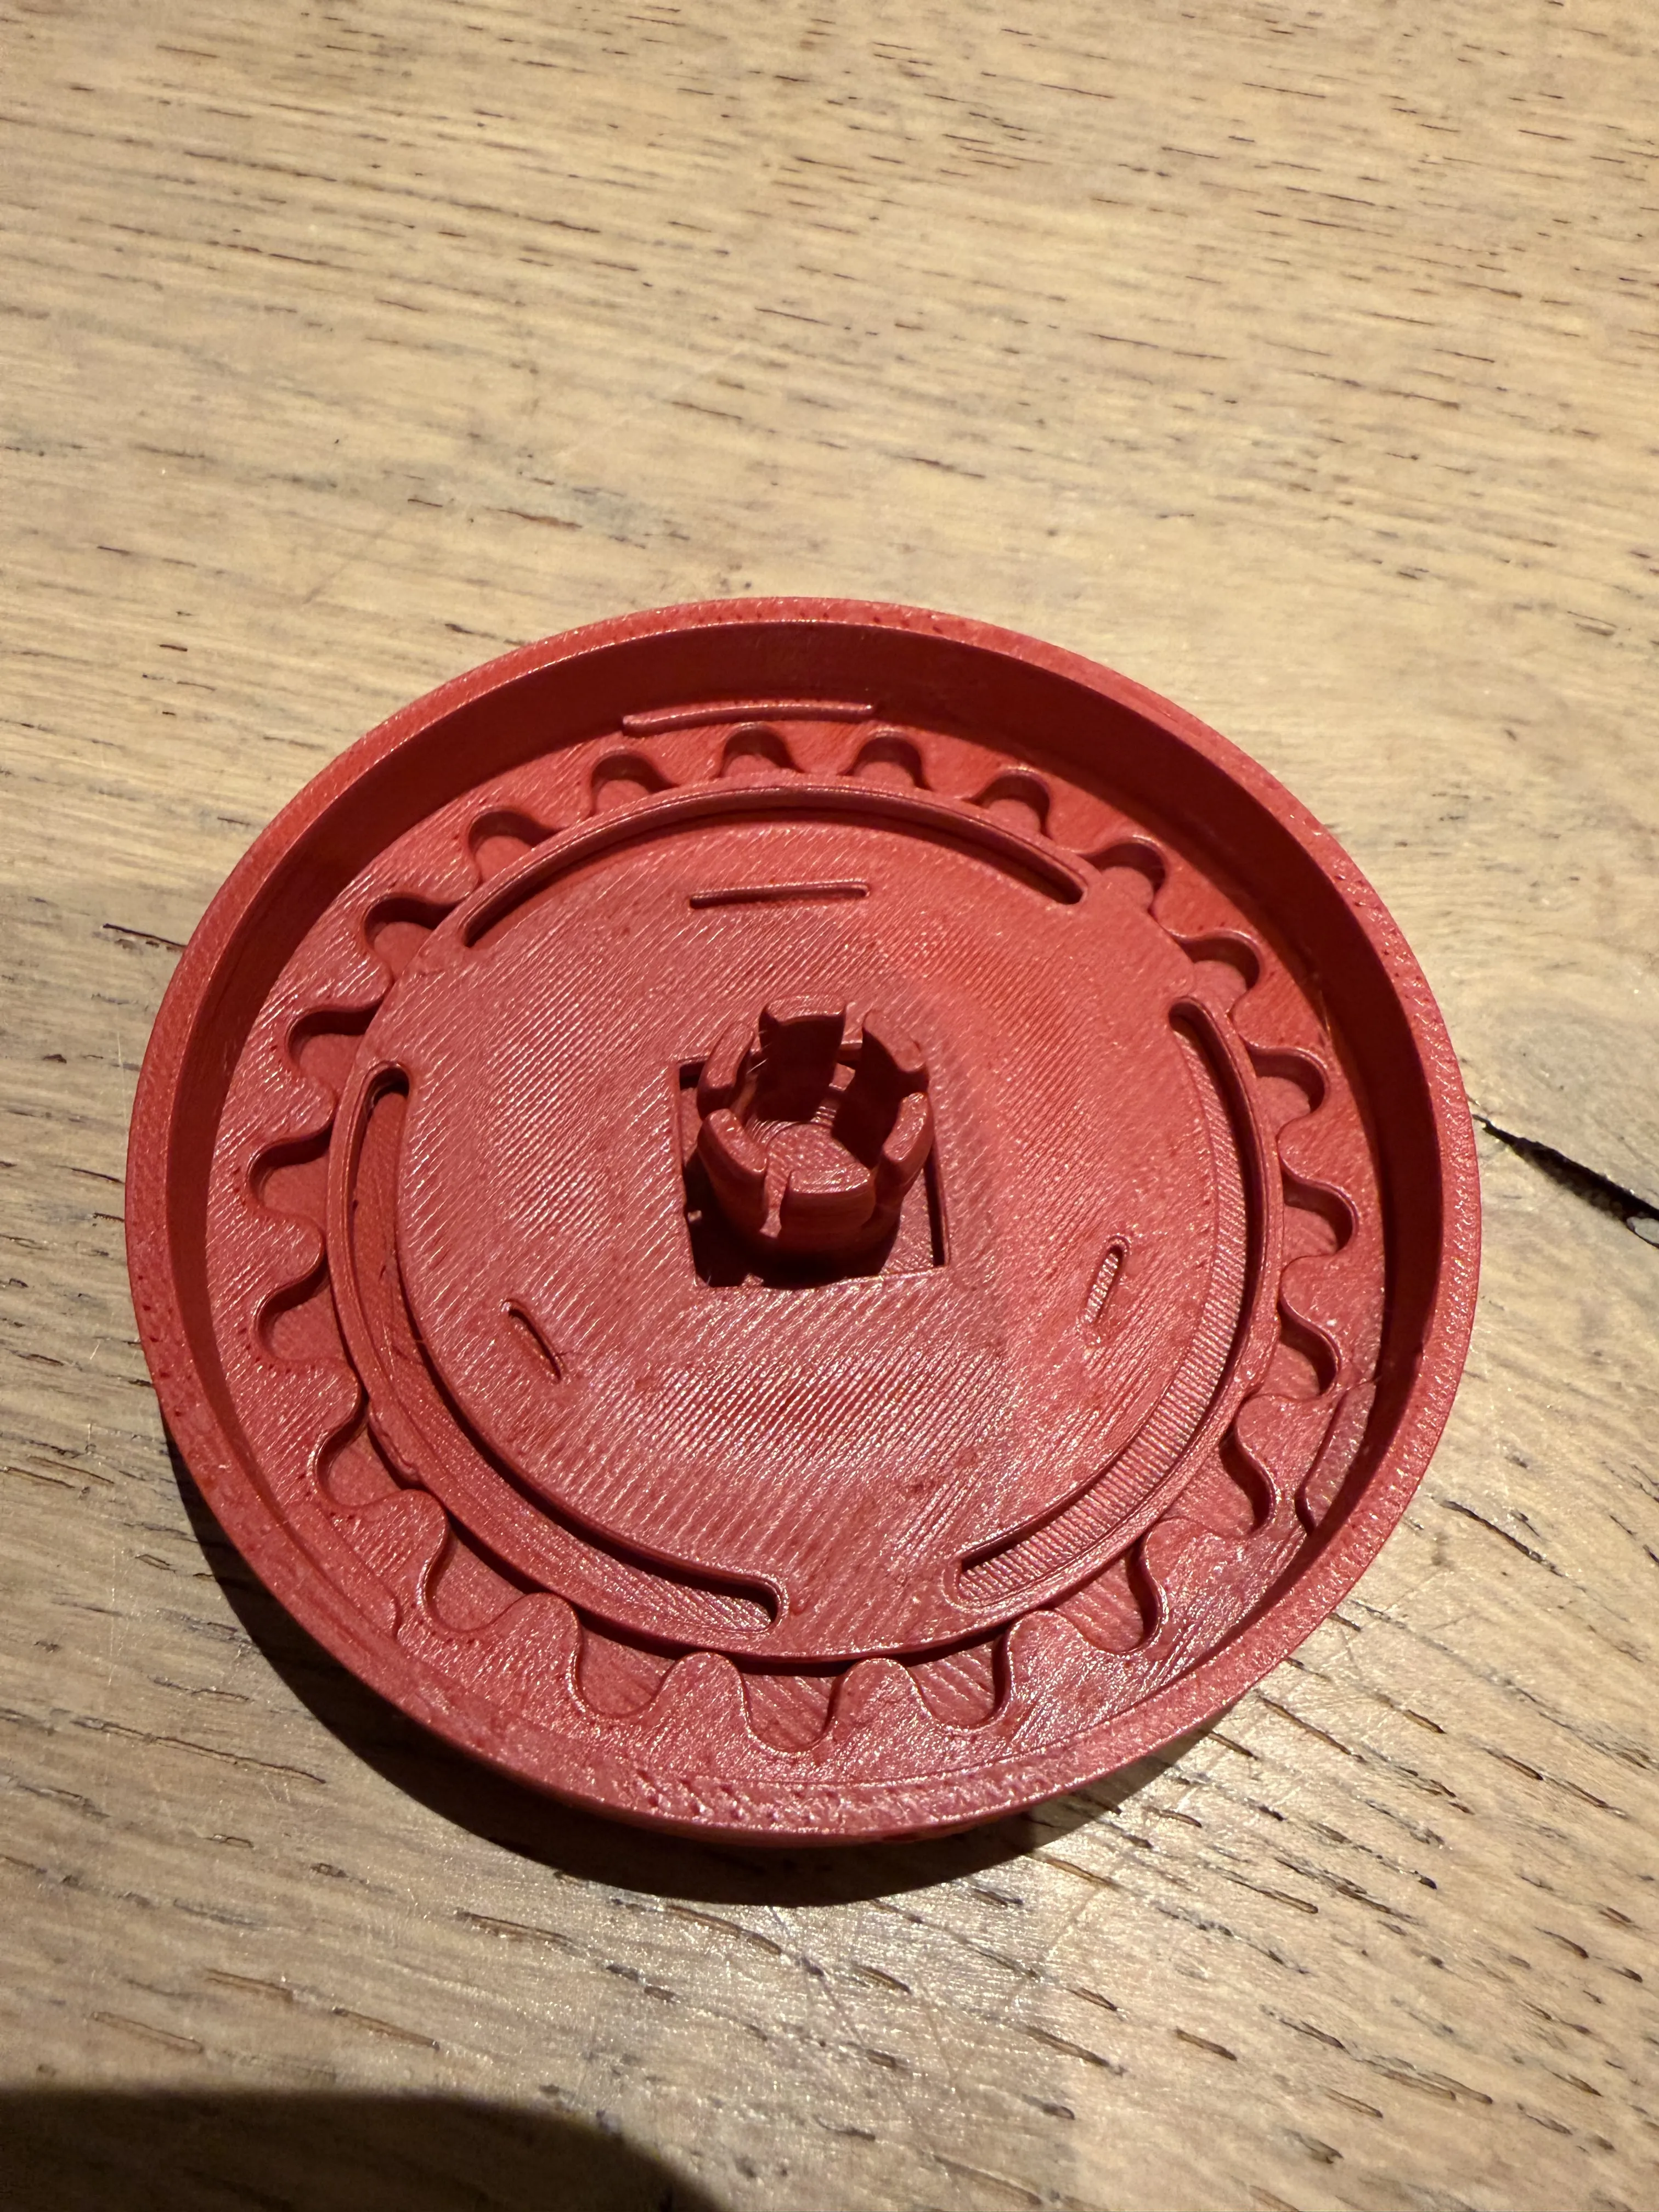
Second, place the container inside the bottom part, on top of the insert. The indents in the bottom of the container need to align with the notches in the bottom part:
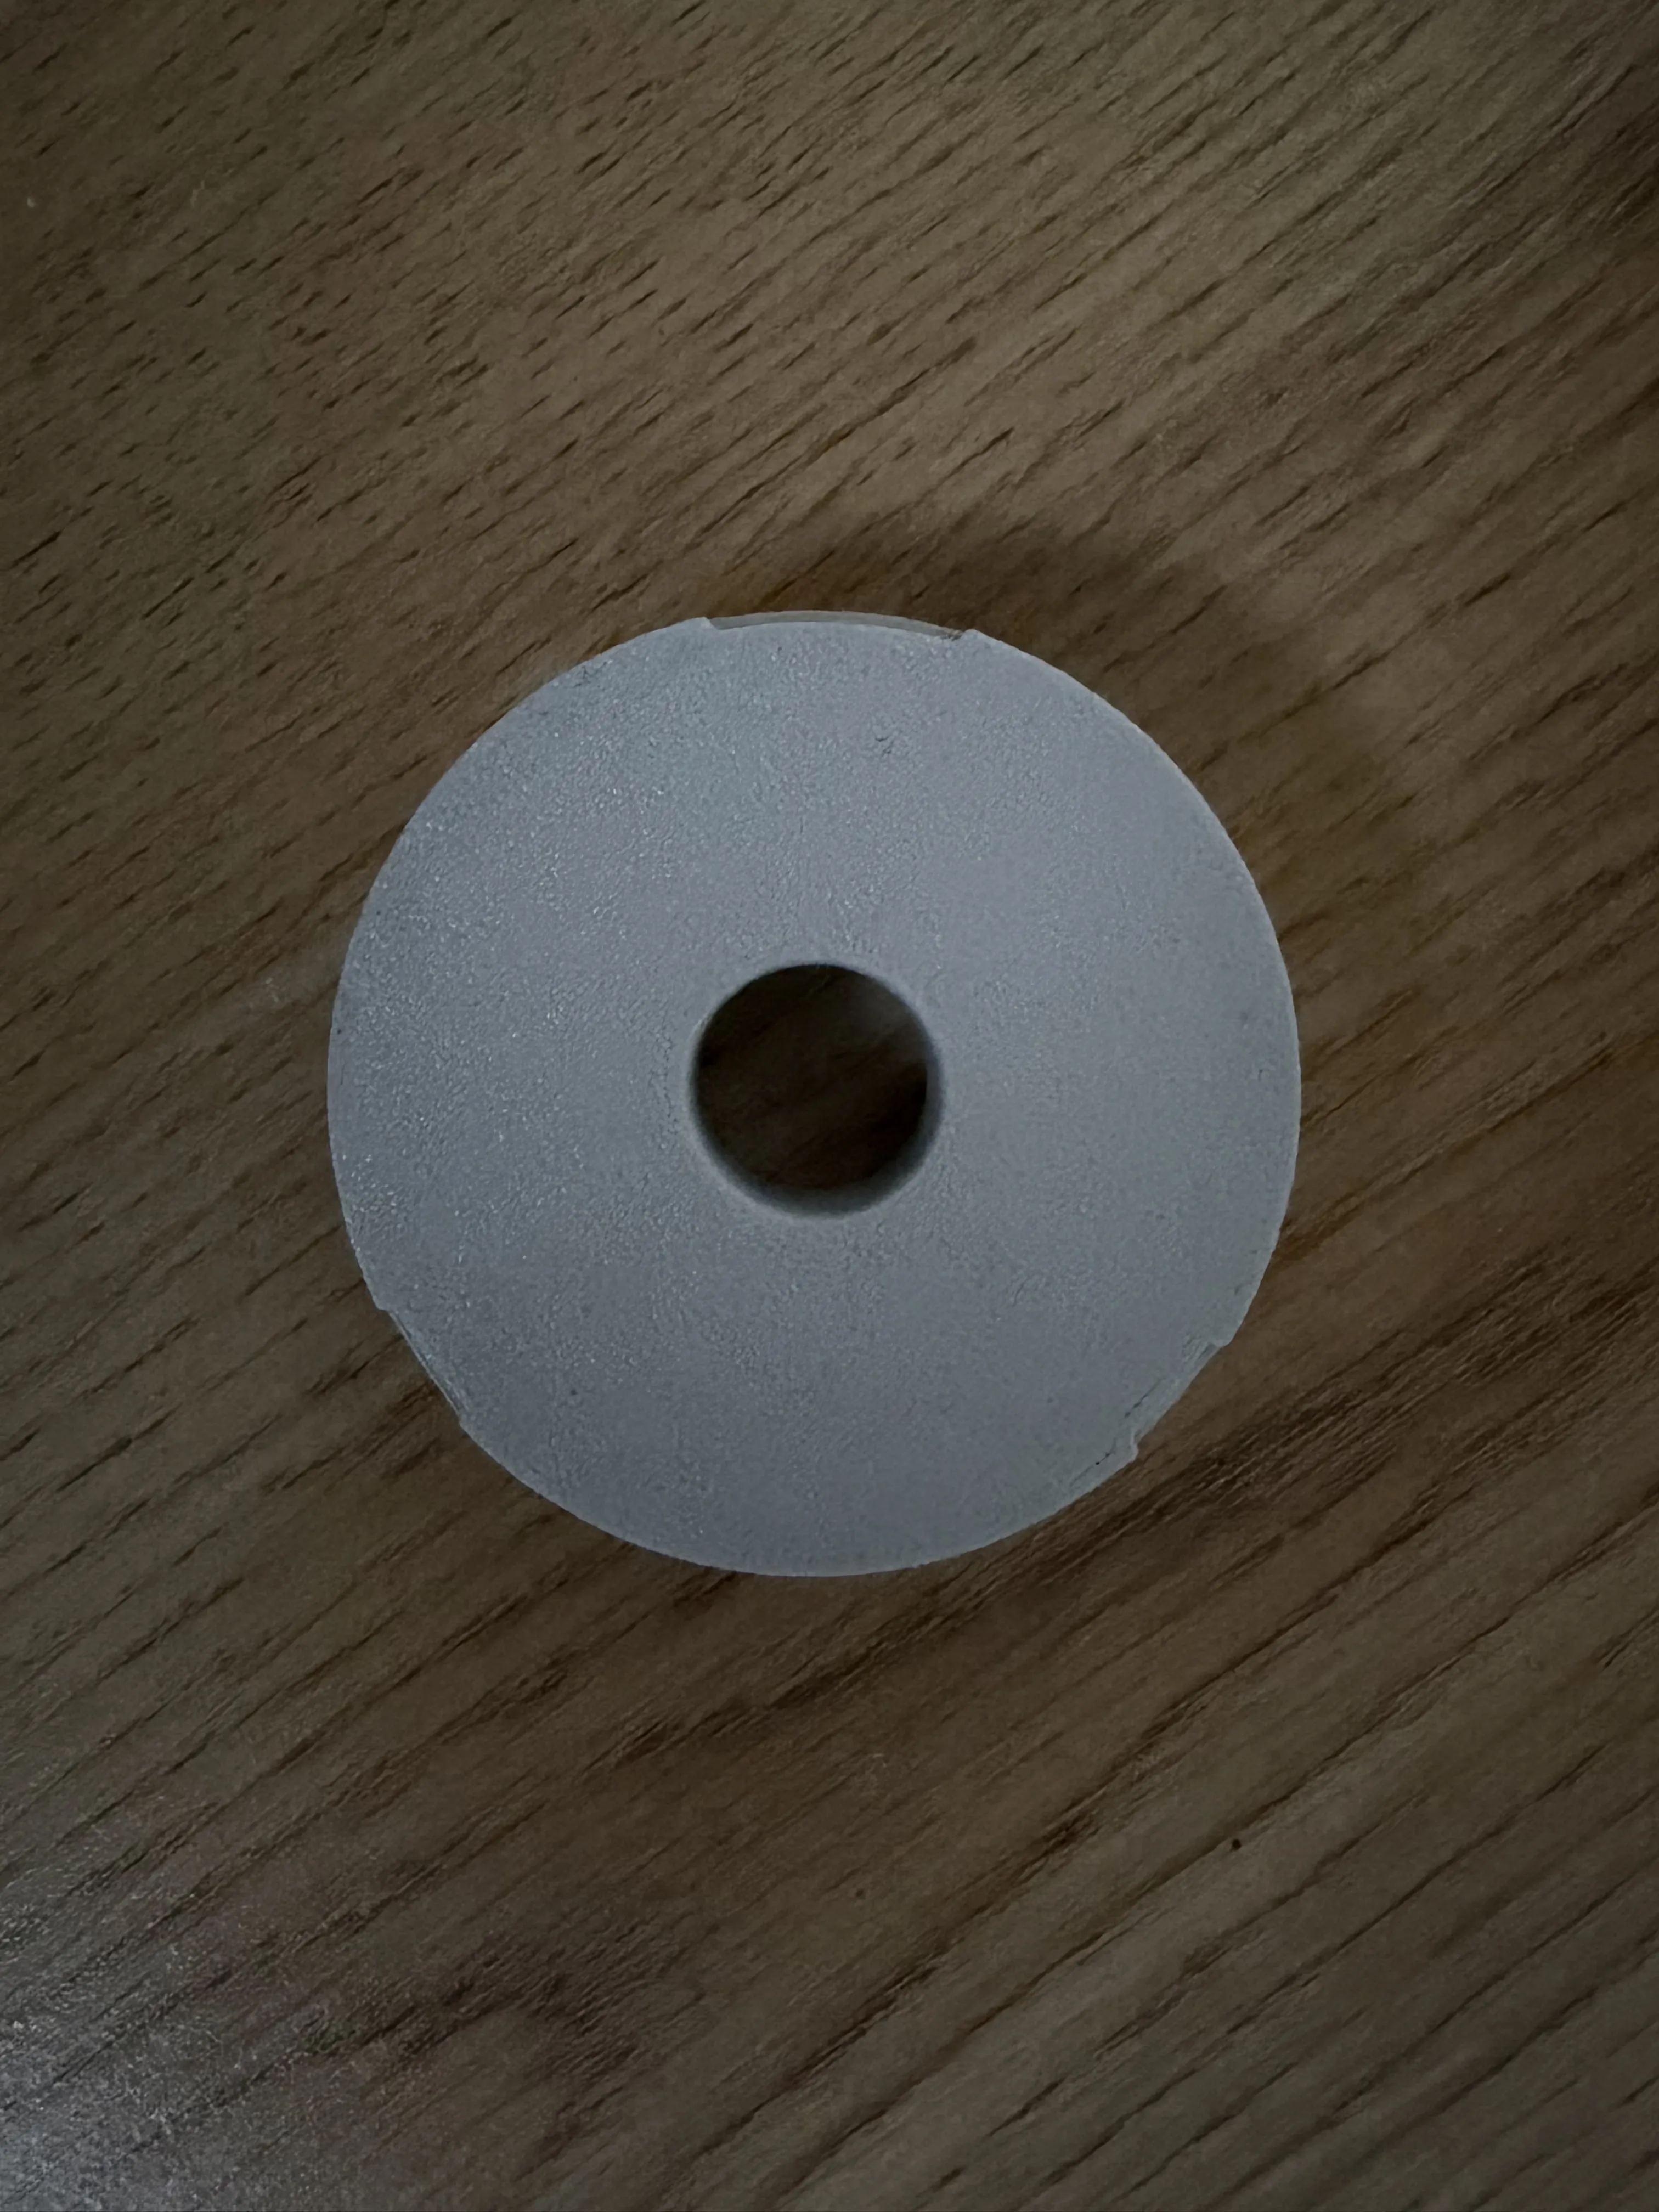
Next, you need to insert the locking plate into the lid. You need to do this at an angle, so that the small pin sticks out on the outside of the box. Please note the orientation of the plate:
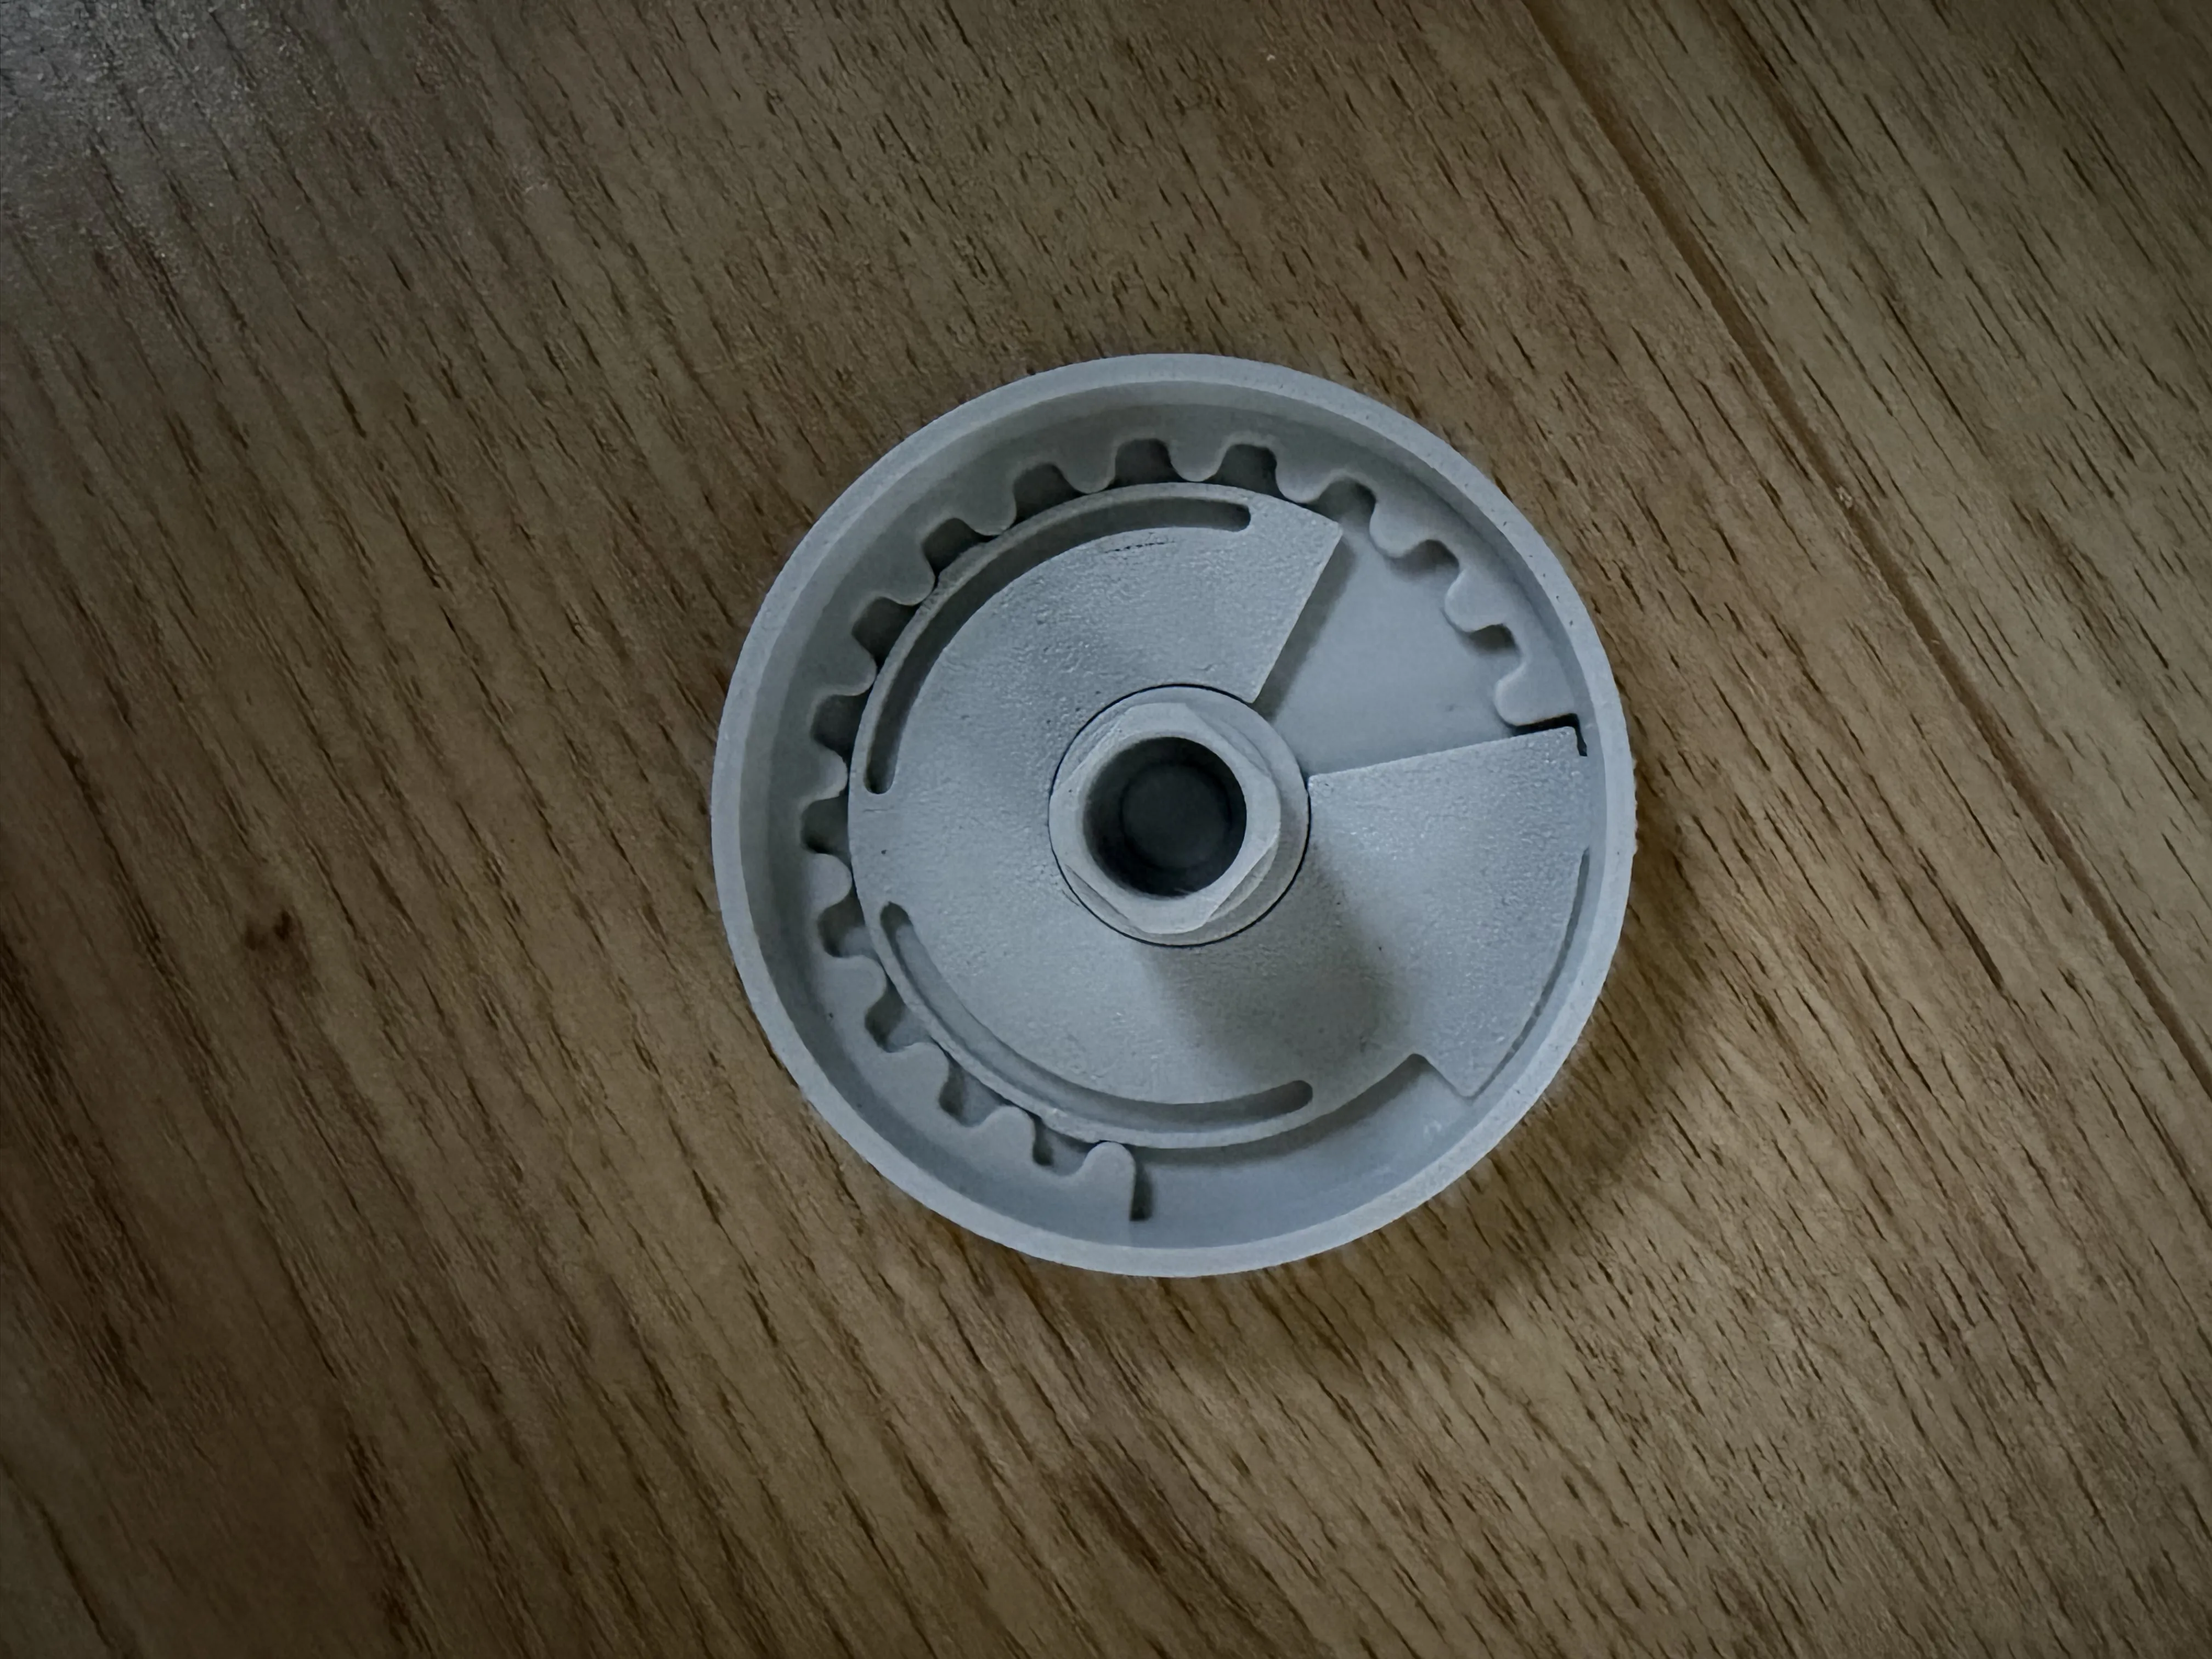
Now, you should have 2 parts that can be fitted together:
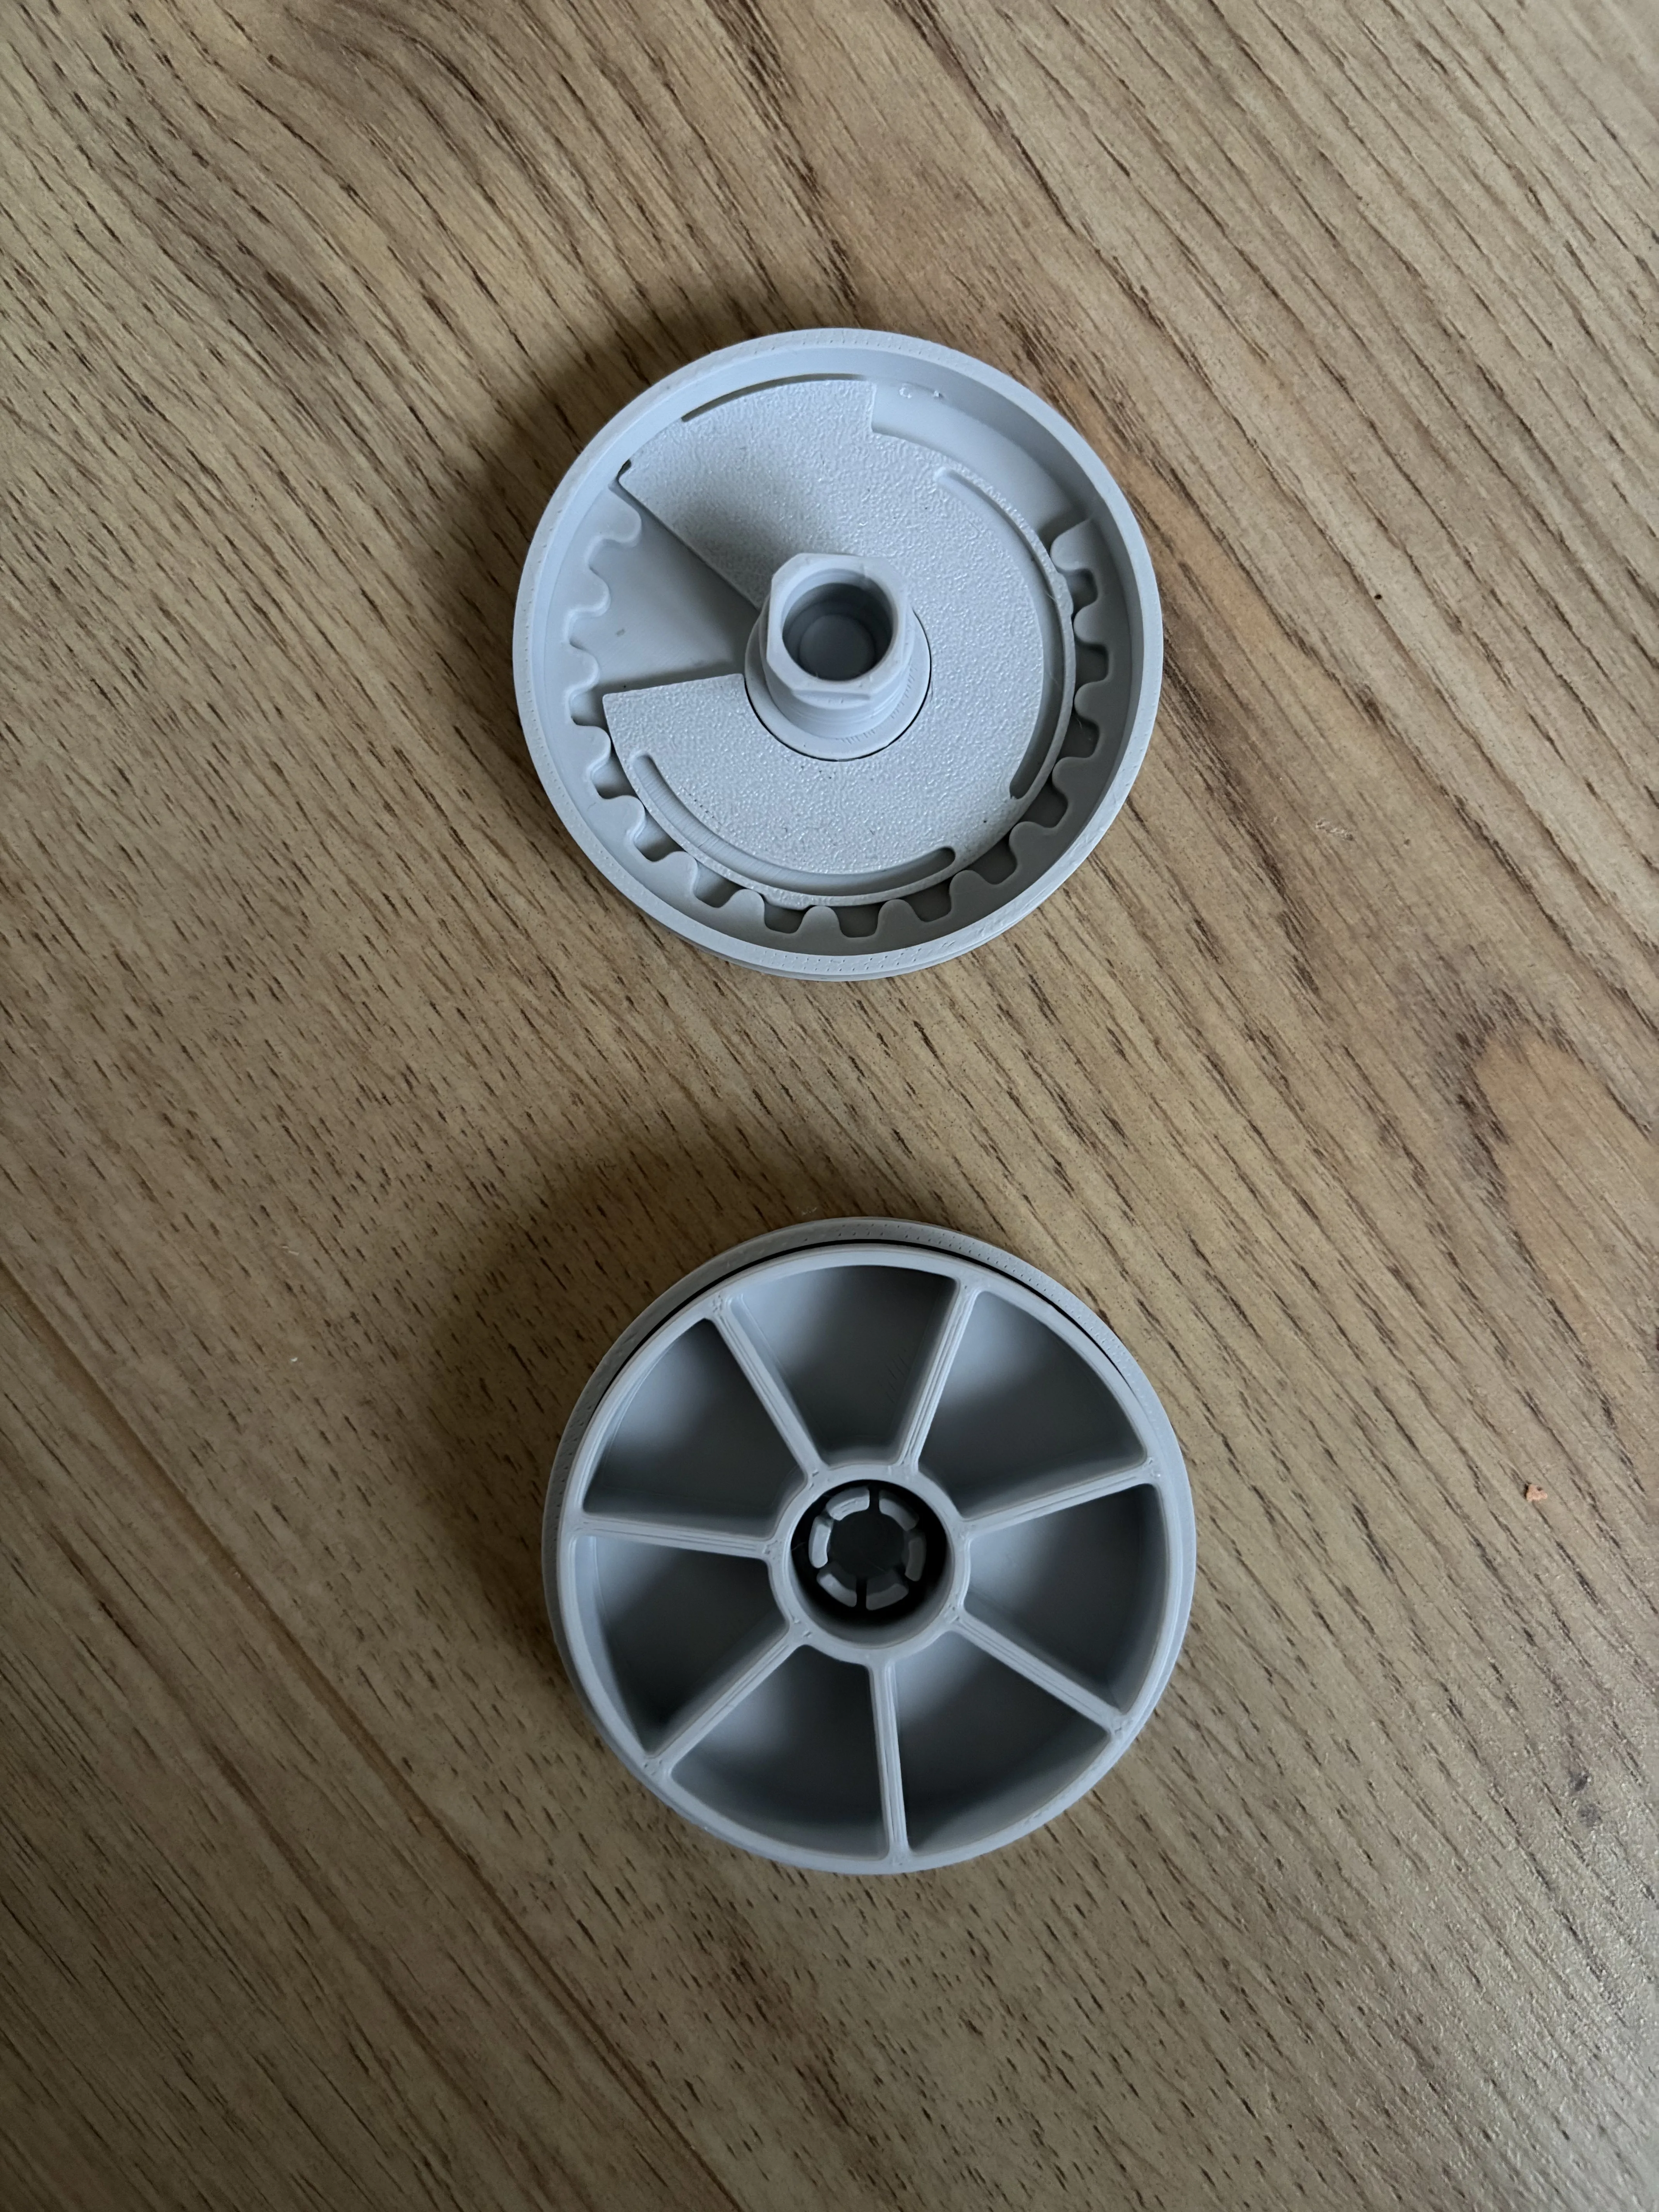
For the final step, you need to align the arrow on the lid with the S from Sunday on the bottom part:
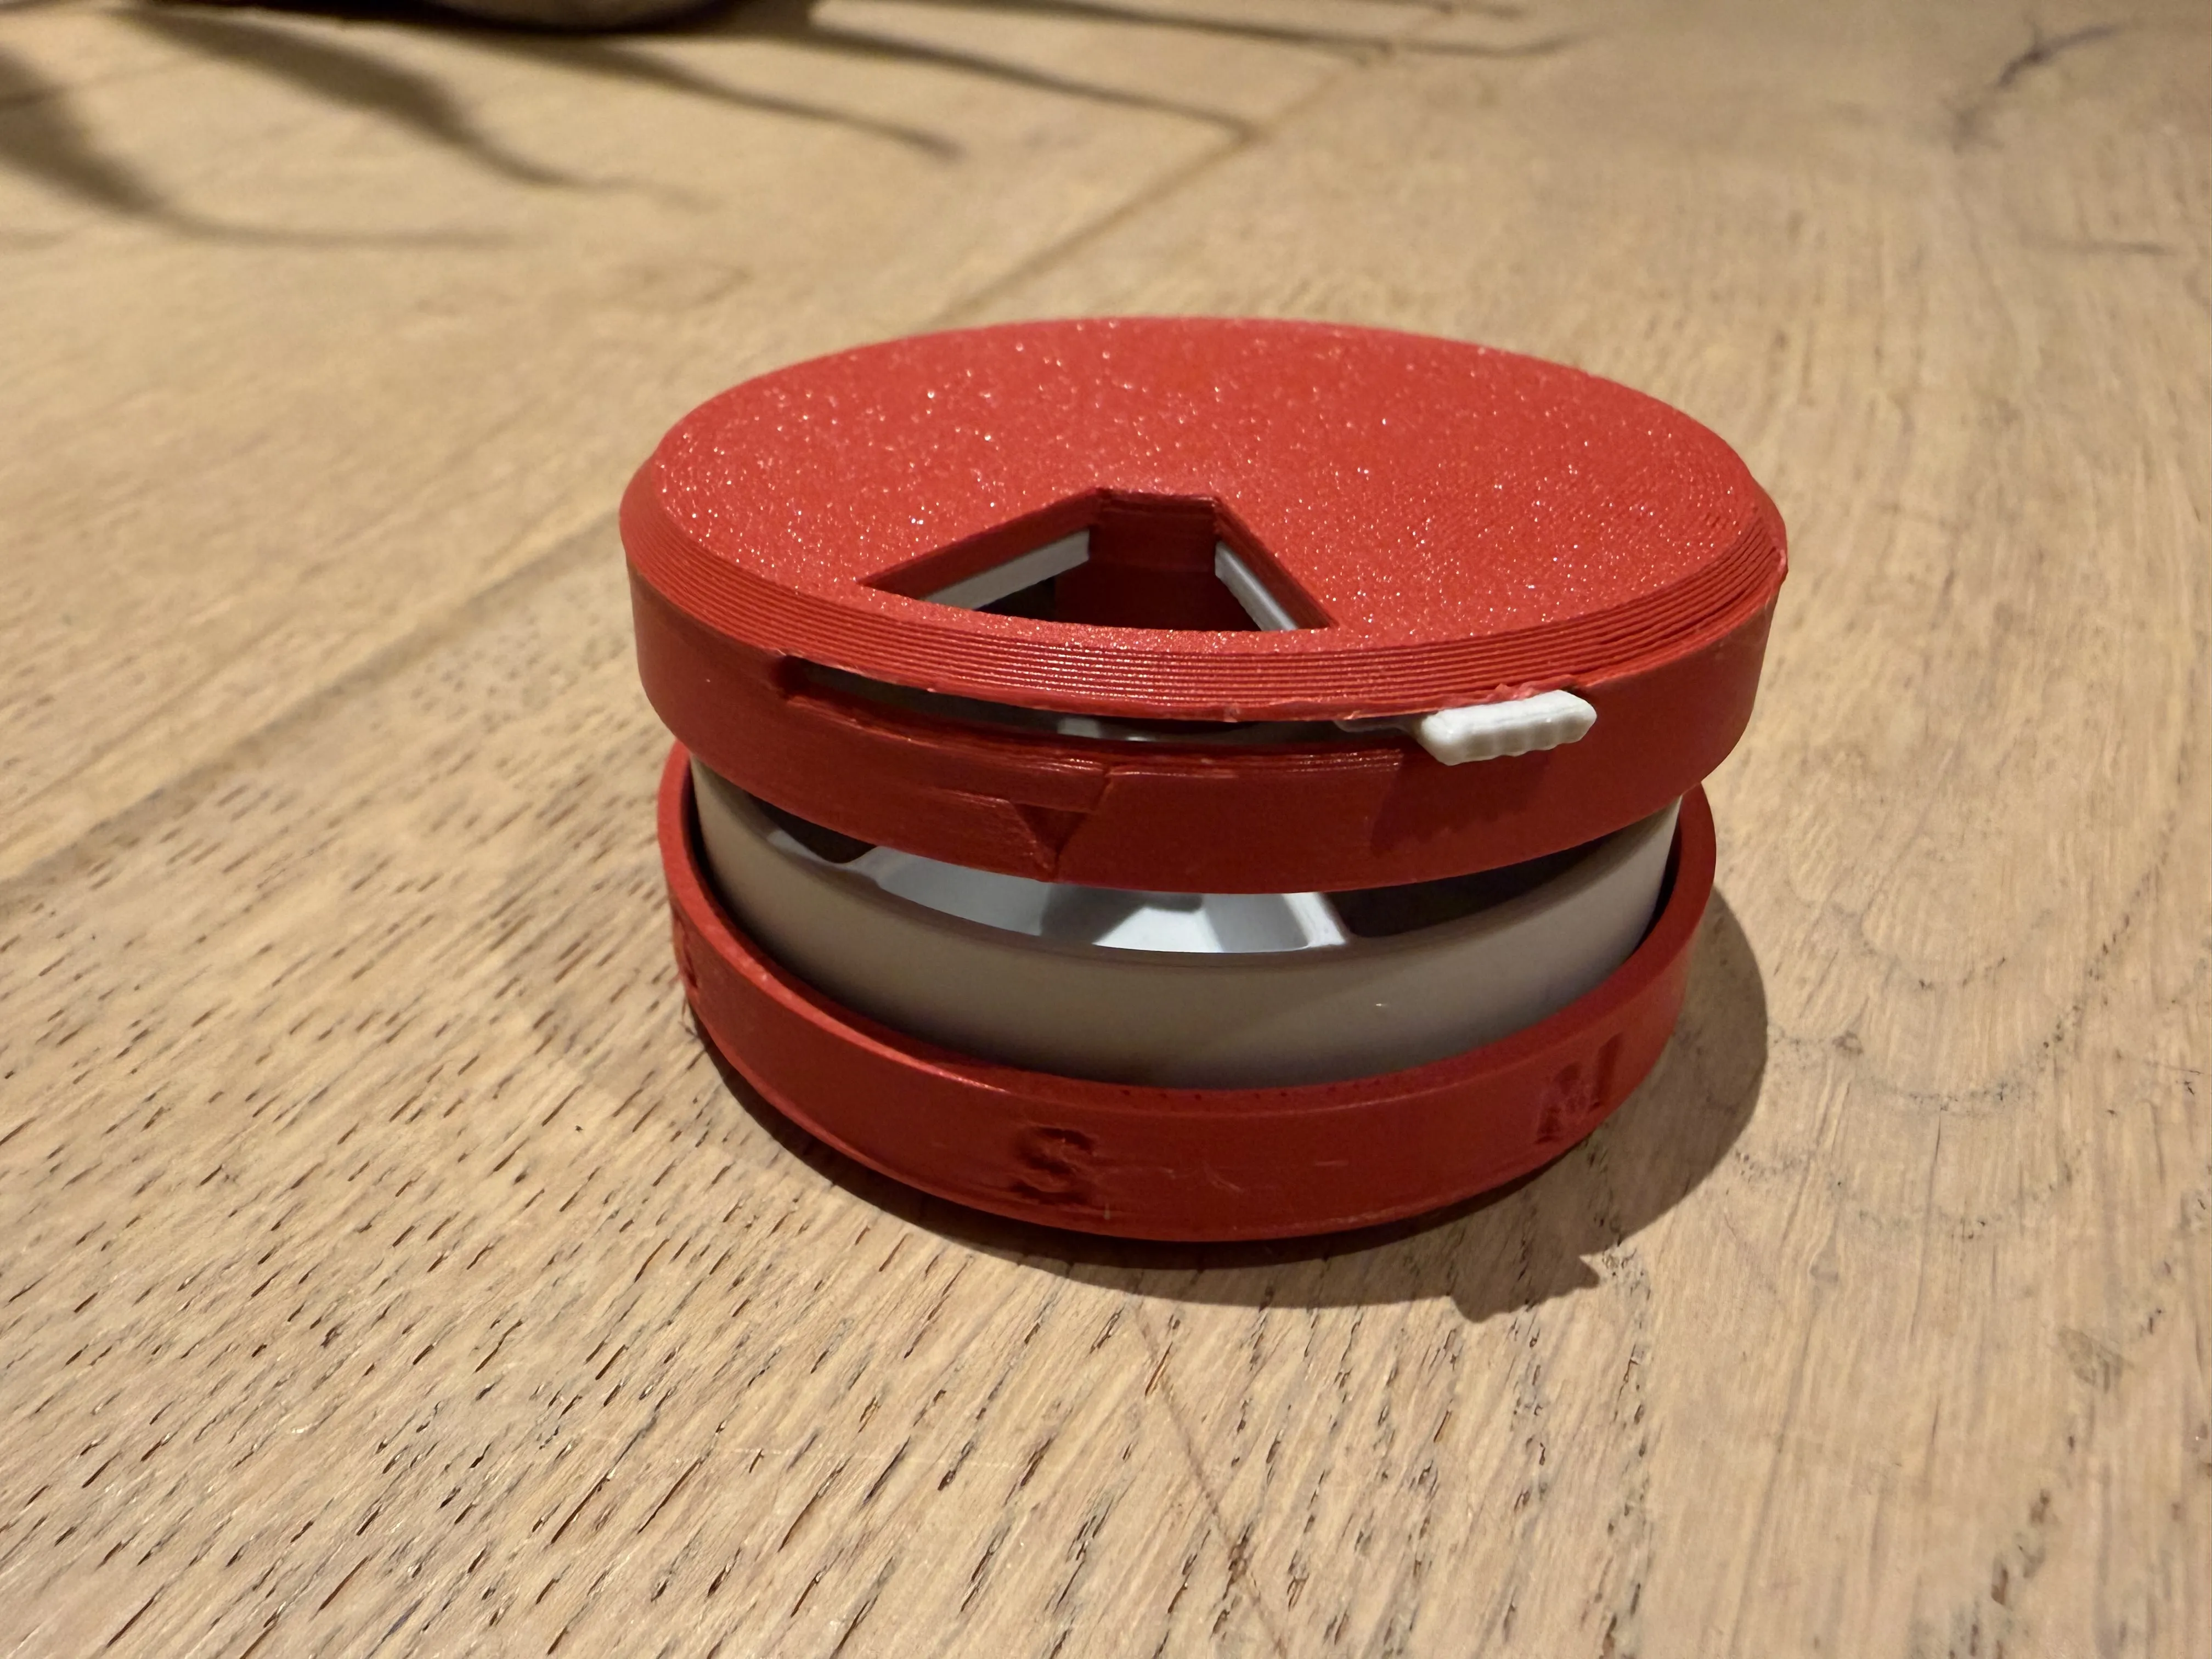
Now, you press the lid on to the bottom part. Make sure the lid is on straight. If you press down in an angle, the connectors can break.
IMPORTANT NOTES
- The lid is designed to not come off. So once it is pressed on, it will stay on. Using force will separate the halves, but some parts will probably break.
- The connection between the lid and bottom part is fragile, so to not bend the tabs in the bottom part as they can break easily (with PLA at least). When pushing the lid on straight, they should not break and an internal mechanism is implemented to prevent them from bending too much.
- If you have feedback please let me know in the comments!
License

You may create derivative works based on this object, provided that all such derivative works are published exclusively on the MakerWorld platform and include proper attribution to the original creator. You may not share, upload, host, distribute, or publish this object—or any derivative work of this object—on any other digital platform, marketplace, or distribution channel. Commercial use of this object and any derivative works is strictly prohibited. This includes, but is not limited to, selling, renting, sublicensing, or using the object in any context in which you receive monetary compensation or other financial benefits.


Comment & Rating (40)