Switch 2 Mount-Pro – 4 different versions


Print Profile(1)

Description
🧩 Switch-2 Mount-Pro – the versatile wall mount for your Switch 2
The Switch-2 MountPro combines functionality with style and is available in four variants that can be perfectly adapted to your personal setup. The 3mF file contains 4 versions on 4 print beds.
🔸 Versions at a glance:
Version 1 – No-Logo:
Purist and clean, also ideal for individual designs / lettering.
(Tip: You can easily add your own texts or logos via Bambu Studio.
To get an effect surface (see Youtube video) => simply rotate the Version 1 holder in Bambu Studio by 180* and print it on the desired effect plate.)
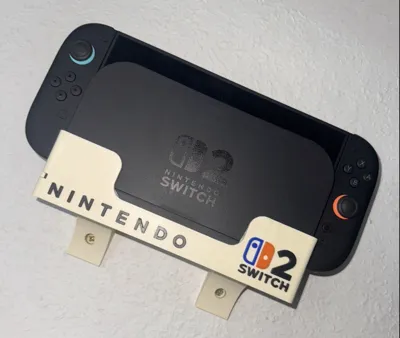
Version 2 – Single-Logo:
With classic Nintendo lettering and a Switch 2 logo on the right side in orange and blue – inspired by the Joy-Cons.
The yellowish / bone-white color (see photo / Youtube video) was intended to mimic the look of old SNES consoles, but can of course be adjusted as desired when selecting the filament.
Version 3 – Dual-Logo:
With Nintendo lettering and a blue logo on the left and an orange logo on the right – perfect for symmetrical setups.
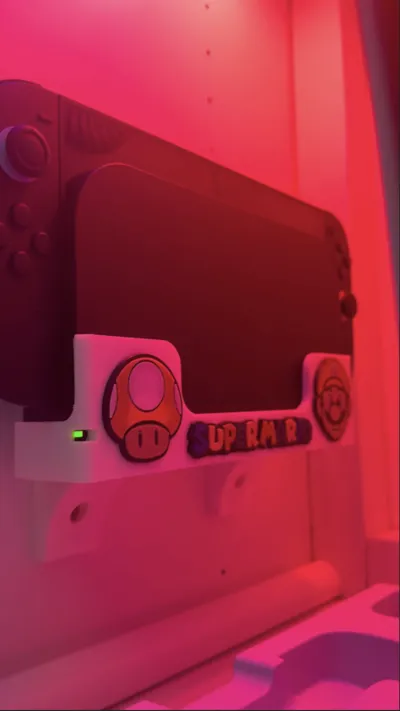
Version 4 – Super Mario Edition:
On the left a PowerUP mushroom, on the right the Super Mario head, and in the middle the legendary lettering.
A playful tribute for all Mario fans!
Attention :
The Switch dock clamps neatly into the mount… it may feel a little tight when inserting, but the dock should not come loose from the mount when removing the Switch… a little push => done
💡 Practical detail:
A small opening is integrated on the left side, through which the operating LED remains visible when the console is in the dock – so you can always see if your Switch 2 is charging.
Make your setup an eye-catcher – Adapt it to your style - let the Switch 2 shine in its new home! ✨
Note : I had originally designed 4 caps for the screw holes… they looked chic… unfortunately, they need a proper clamp fit to not fall out.
The problem : You can't get the caps out again without force.
Should you ever want to loosen the screws again, you would inevitably damage the wall mount.
I have therefore attached the F3D (Autodesk Fusion archive file) as *zip => feel free to go wild :-)
Comment & Rating (1)