
Print Profile(3)


Description
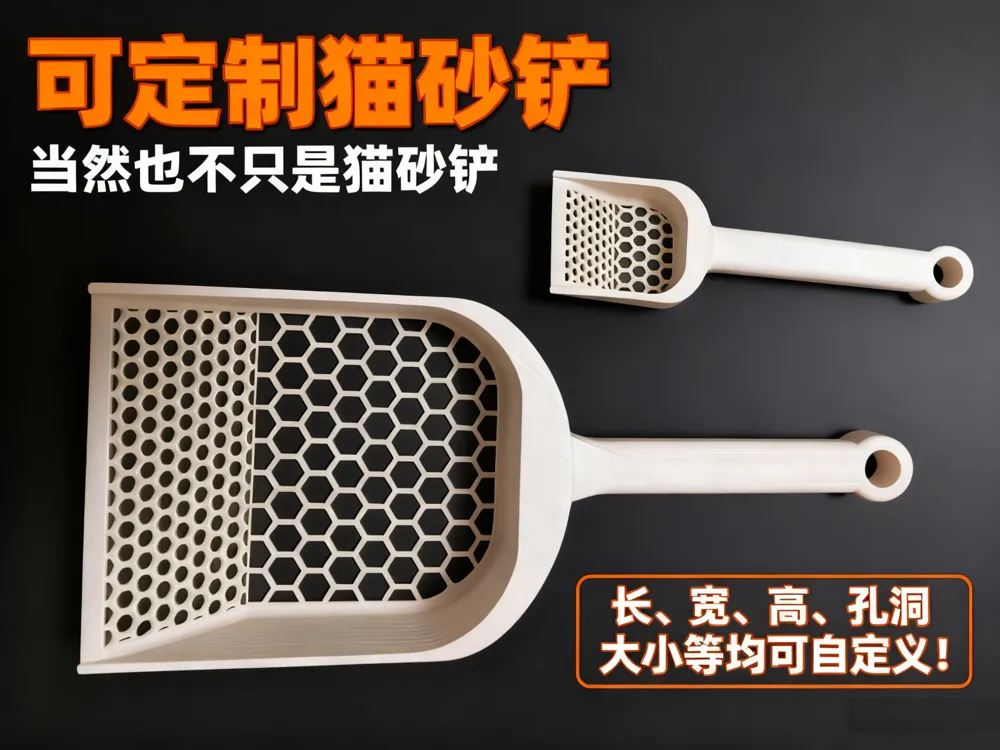
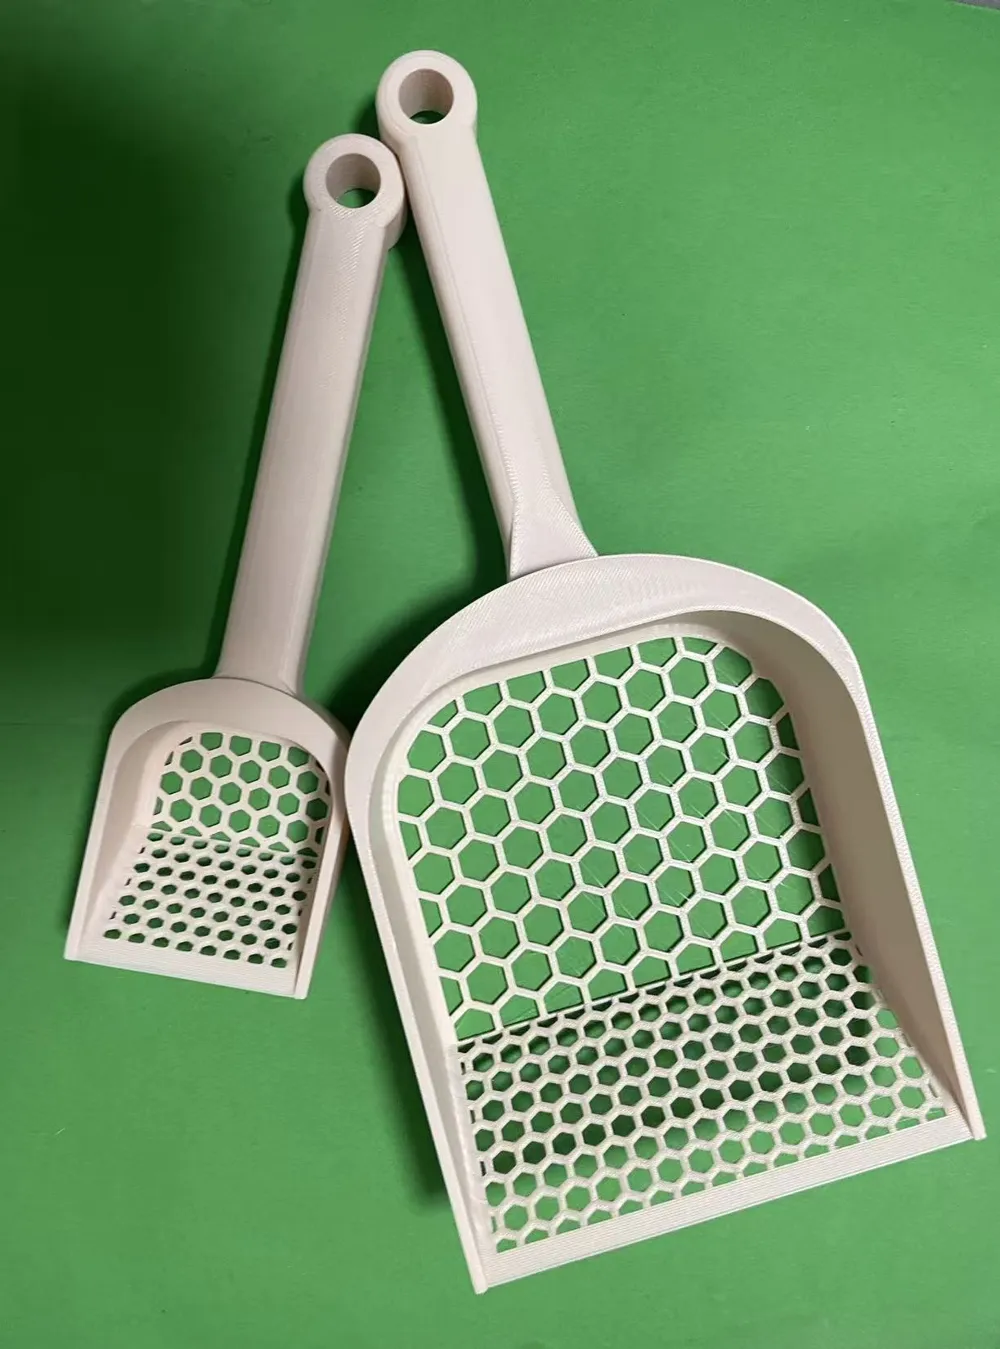
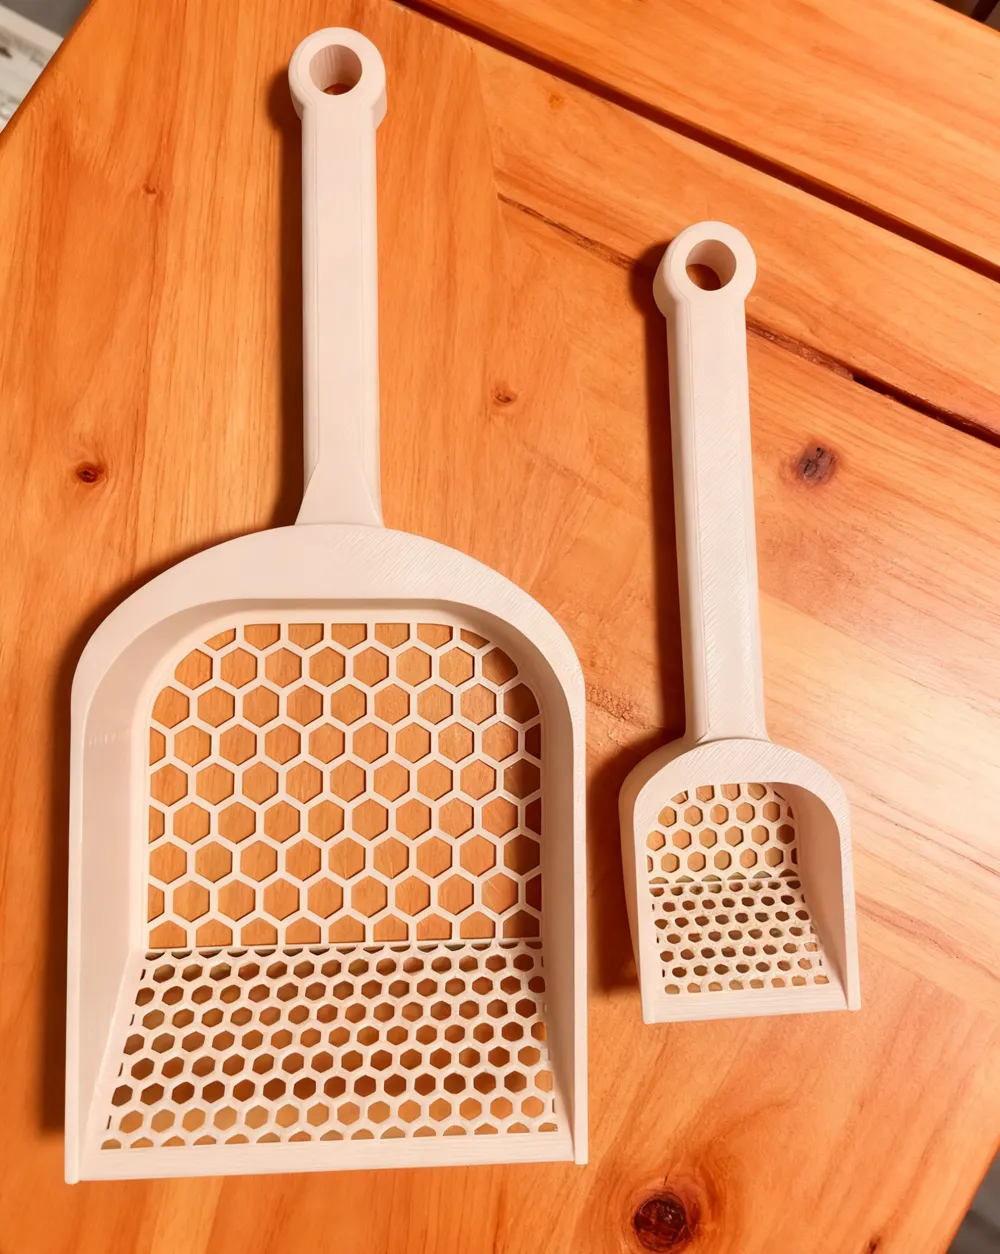
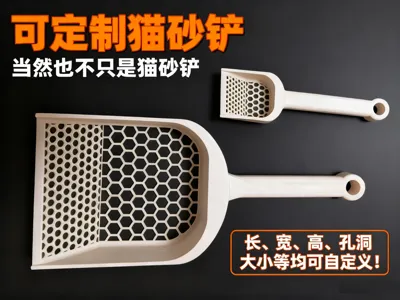
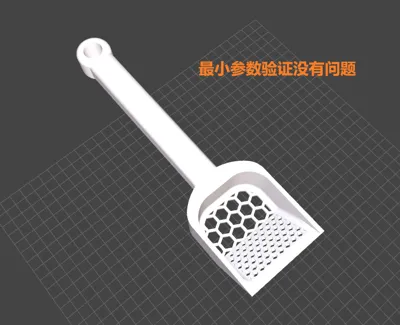
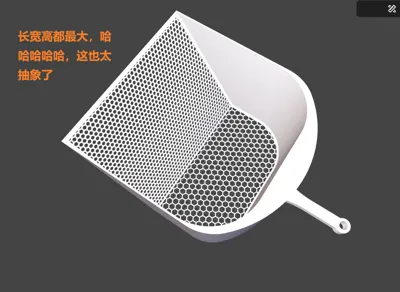
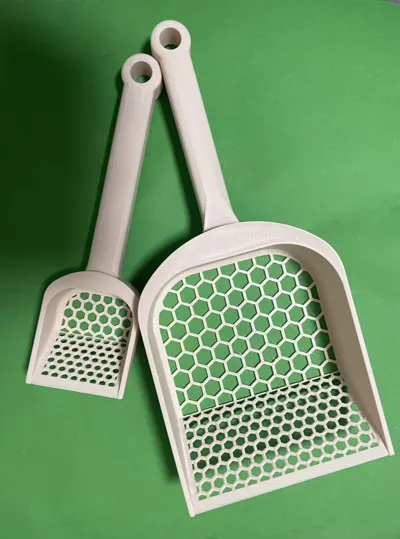
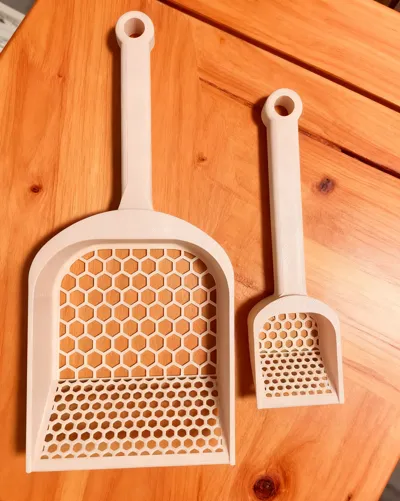
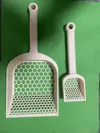
Customizable cat litter scoop (and not just a cat litter scoop, of course)
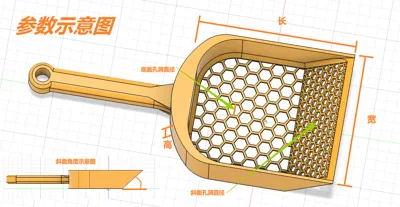
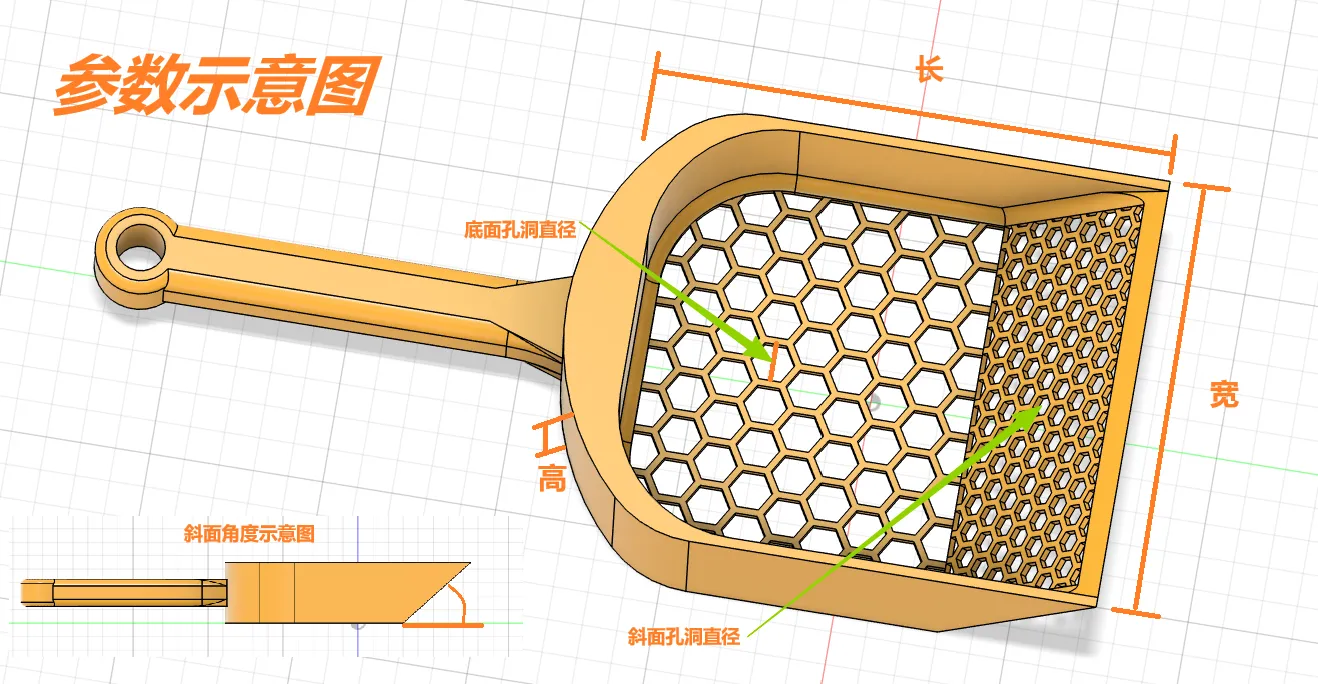
Parameter description:
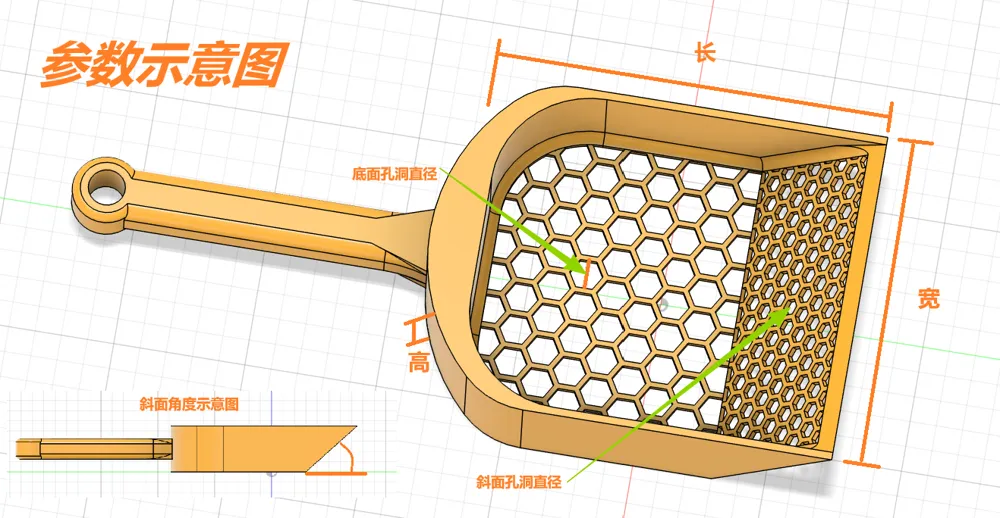
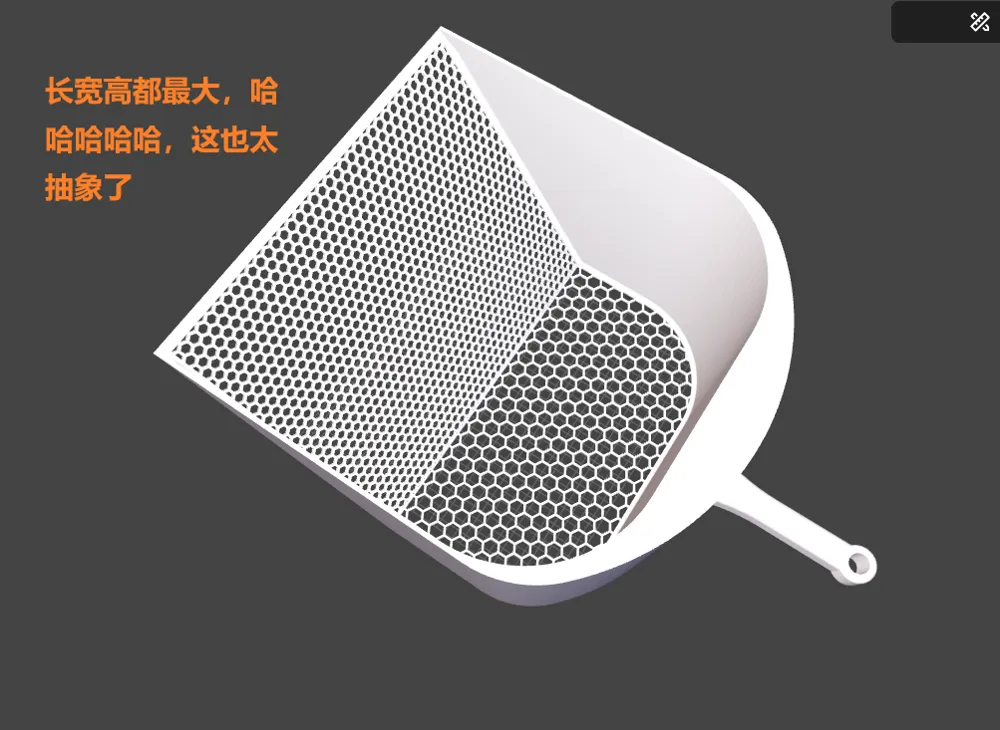
Length: 70-300mm, default 150mm
Width: 60-300mm, default 130mm
Height: 30-180mm, default 40mm
Slope angle: 20-90°, default 45°
Bottom hole diameter: 1-50mm, default 11mm
Sloped surface hole diameter: 1-50mm, default 6mm
Note:
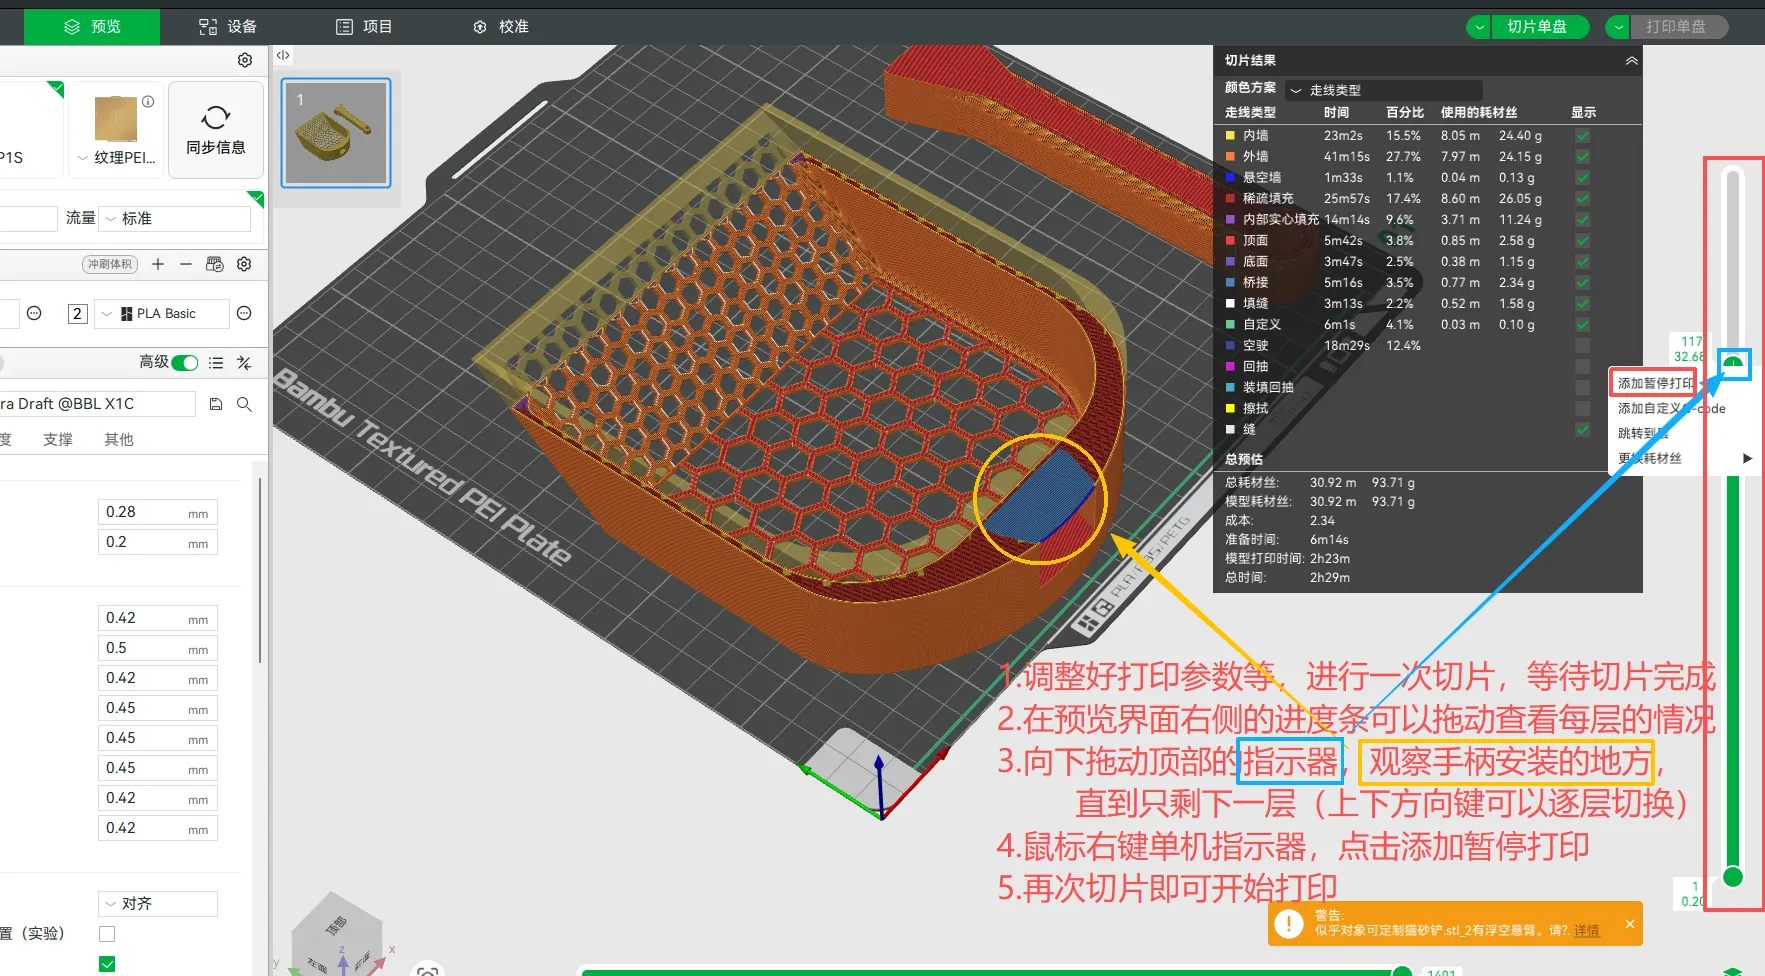
1. For overall strength, the handle is embedded during the main body printing process. You need to set a pause print, then insert the handle, and resume printing. Please read below for the specific method.
2. Since the slope angle affects the bottom surface, when the length is small but the height is large, the slope angle can be appropriately increased, otherwise model defects may occur.
3. Handles with different parameters are not interchangeable.
4. A very small slope angle is not recommended.
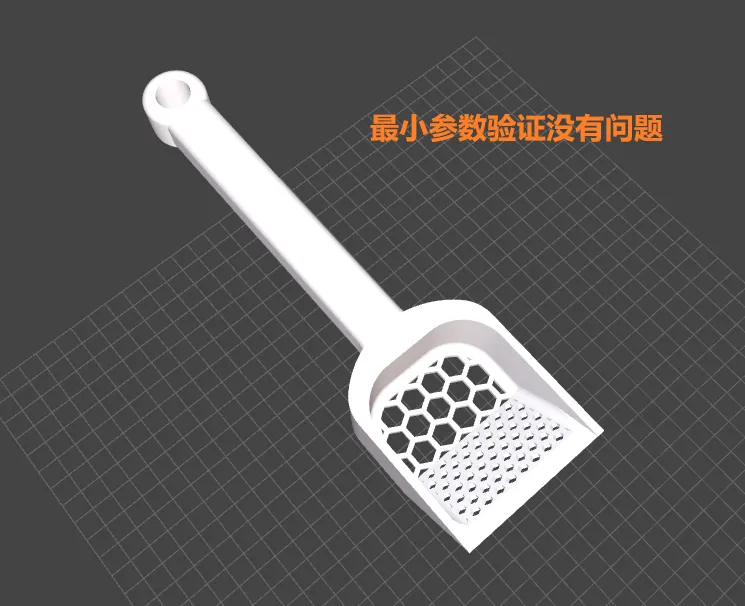
5. Recommended minimum dimensions: 80*60*30; angle 45°.
Instructions for pausing and embedding the handle:
1. Adjust printing parameters, etc., perform a slice, and wait for slicing to complete
2. On the right side of the preview interface, there is a slider bar to view the status of each layer
3. Drag the indicator at the top down, observing where the handle is installed, until only one layer remains (the up and down arrow keys can switch layers one by one)
4. Right-click the indicator, and click 'Add pause print'
5. Slice again to start printing
Official documentation reference link:https://wiki.bambulab.com/zh/software/bambu-studio/view-slicing-information#%E4%BD%BF%E7%94%A8%E6%96%B9%E6%B3%95
License

You shall not share, sub-license, sell, rent, host, transfer, or distribute in any way the digital or 3D printed versions of this object, nor any other derivative work of this object in its digital or physical format (including - but not limited to - remixes of this object, and hosting on other digital platforms). The objects may not be used without permission in any way whatsoever in which you charge money, or collect fees.


Comment & Rating (2)