Monitor Light Bar


Print Profile(3)


Description
Introducing the Monitor Light Bar
- your ultimate companion for immersive and glare-free computing experiences
Placed on top of your monitor, this light bar casts a gentle, downward flow of illumination onto your workspace, effortlessly eradicating shadows and banishing eye strain.
Designed to have an indirect illumination which ensures a uniform light distribution, bathing your desk in a soft, diffuse glow without a hint of harshness. Designed to prevent reflection on your monitor screen, allowing you to focus intently on your tasks without distractions.
The monitor light bar can be configured as desired:
300mm
400mm
500mm
or mix the tubes as it fits your needs.
Illuminate your workspace with brilliance and finesse.
PS. if connected to one of USB-ports on the monitor, it will turn on and off with the monitor/computer.
What you need:
The printed parts
1 M3x35mm fastener
1 M3 nut
LED strip
Wire
Power supply
Heavy material (sand, rucks or ?)
Tin foil
Glue
Screwdriver
Soldering iron
Scissors/knife

Step 1
Glue the tin foil to the inside of the tube, opposite side of the holes.

and trim it

Step 2
Glue the alignment pins in to the center tube


Step 3
Glue the 3 tubes together


Step 4
Measure and cut the LED strip and wire to size

Step 5
If not using a USB cable or other small connector, remember to feed the wire through here now
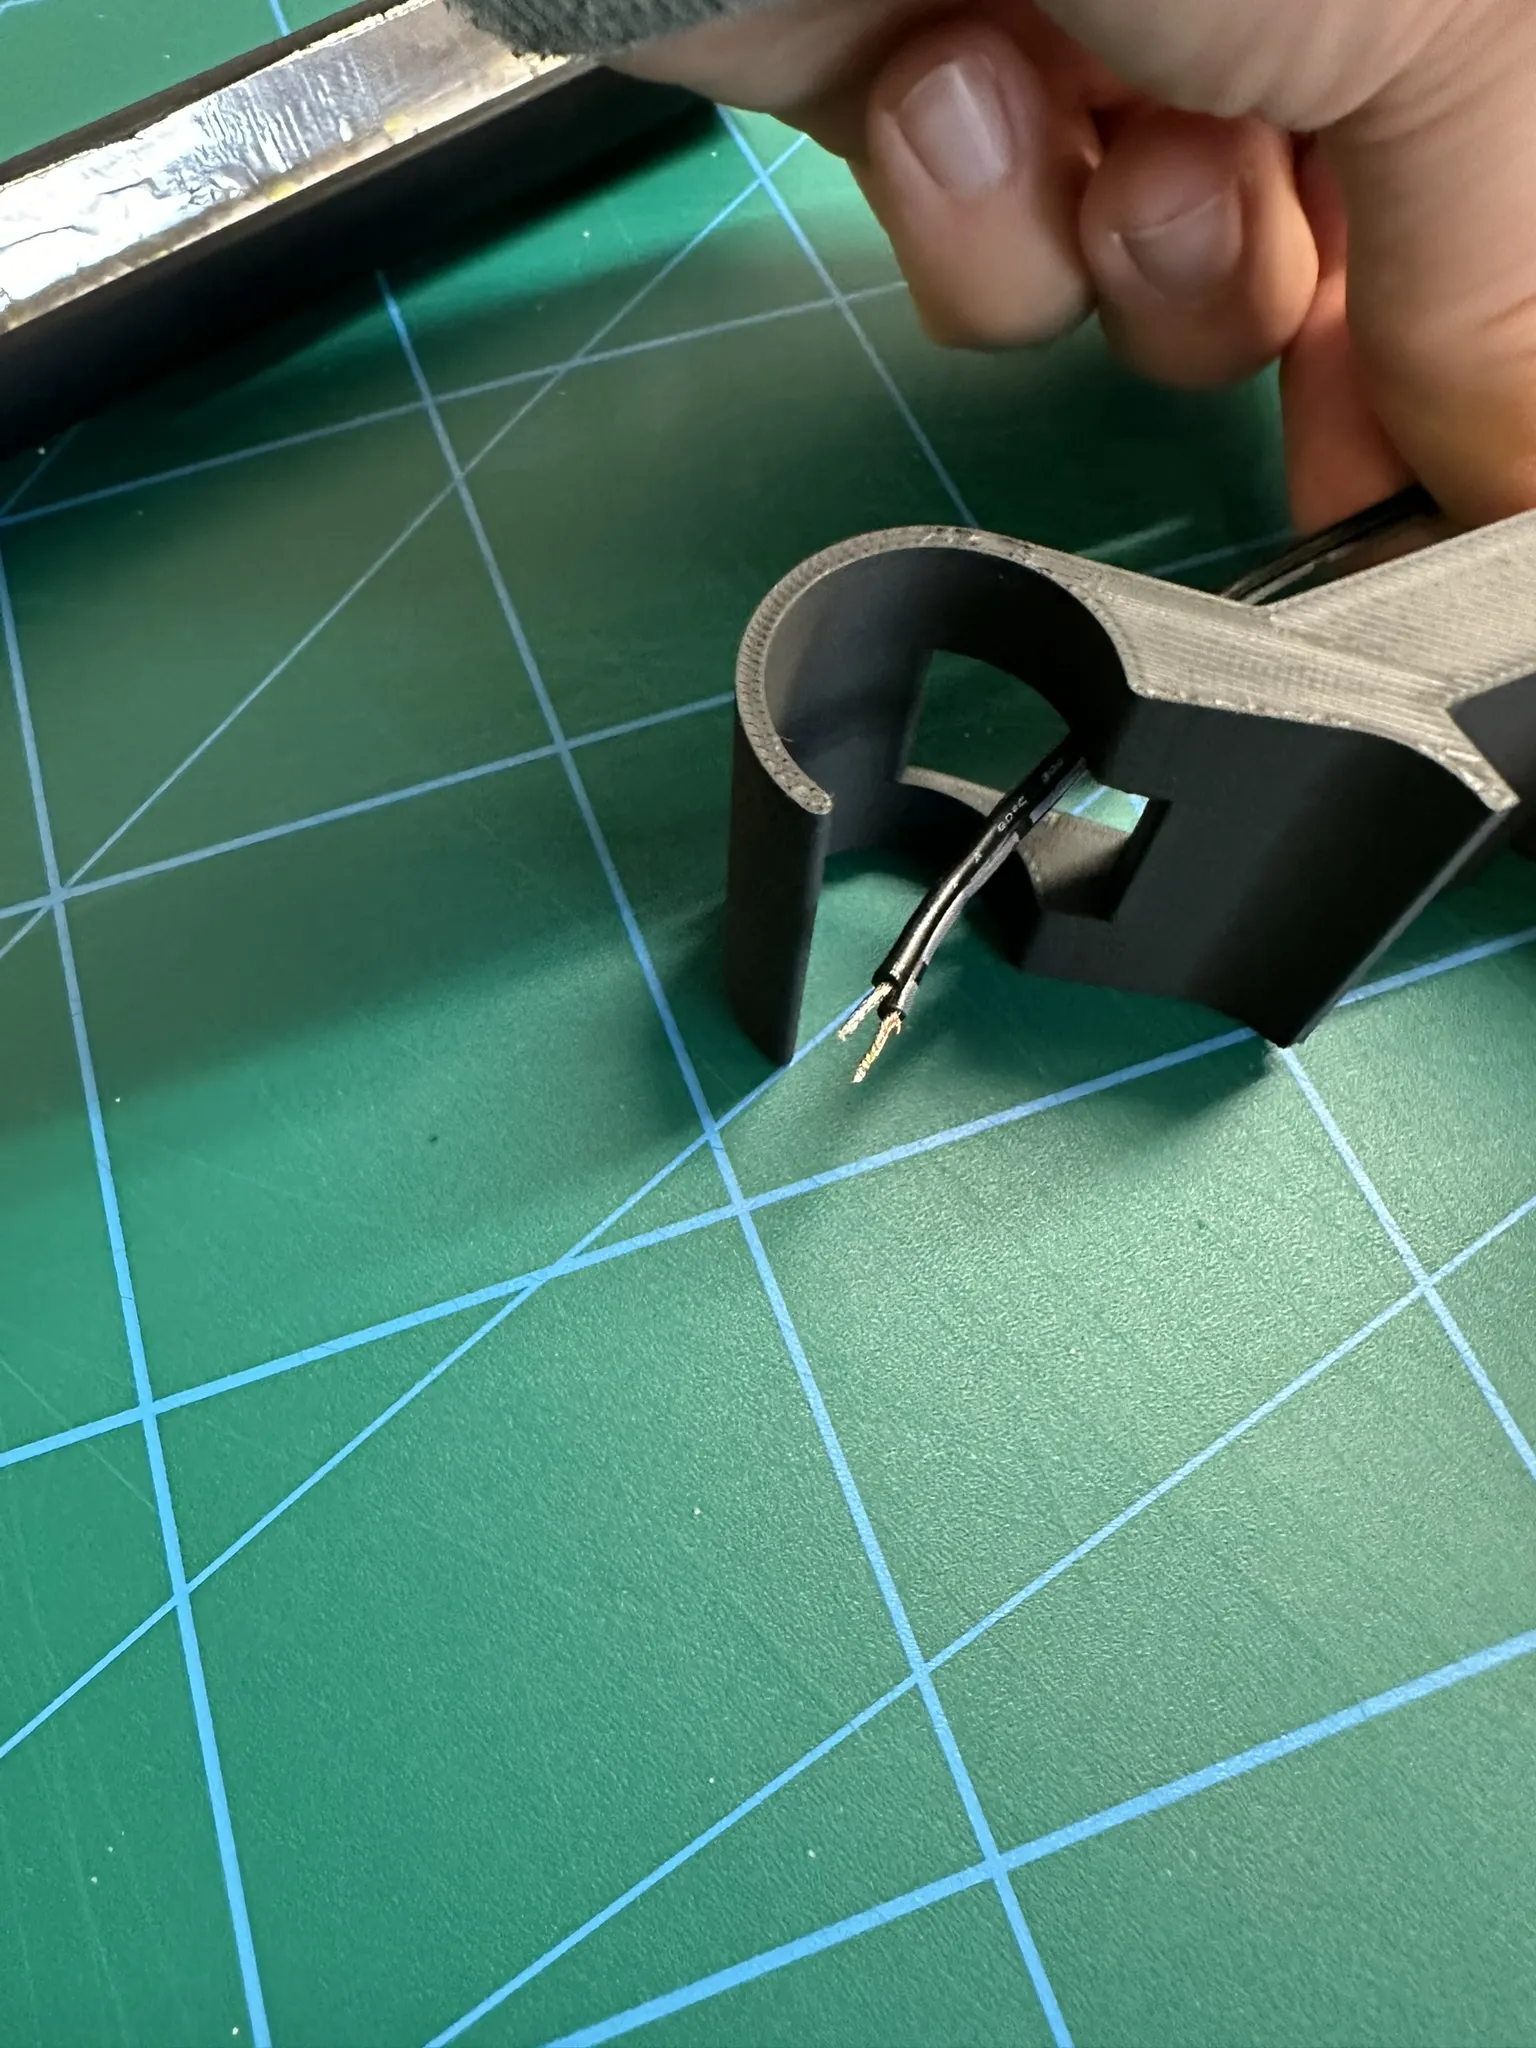
Step 6
Feed the wire through the light bar and solder it to the LED strip

Step 7
Glue the LED strip to the light bar (as far up/as close to the tin foil as possible)


Step 8
Put on the end caps

Step 9
Fill the container with a heavy material (I used sand)

and put on the lid (might be a bit snug)

Step 10
Screw the items together

Step 11
Assemble the 2 parts together

Step 12
Place it on your monitor and enjoy :)

License
You shall not share, sub-license, sell, rent, host, transfer, or distribute in any way the digital or 3D printed versions of this object, nor any other derivative work of this object in its digital or physical format (including - but not limited to - remixes of this object, and hosting on other digital platforms). The objects may not be used without permission in any way whatsoever in which you charge money, or collect fees.
Comment & Rating (84)