Pokeball Magnet - AMS - PLA - 6x2mm Fridge Magnet


Print Profile(4)


Bill of Materials


Description
Hey, happy to see you there!
You may also like :
- Painting: https://makerworld.com/en/collections/24915291-painting-collection
- Miniatures: https://makerworld.com/en/collections/19775827-miniatures-collection
- Bases: https://makerworld.com/en/collections/24914909-base-collection
Boost Me (for free)
If you enjoyed printing one of my models, a Boost would be amazing and truly helps me out. No Boosts to spare? No problem! A comment, feedback or a posted make absolutely makes my day!
_______________________________________
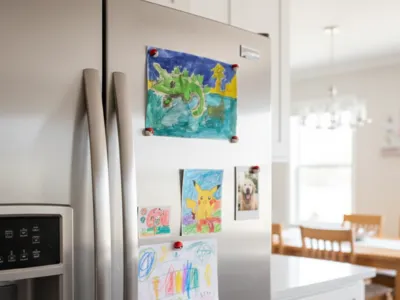
Catch all your notes, photos, and drawings with these iconic 3D-printed Pokeball magnets! Engineered for a perfect friction-fit for the magnet and an aesthetically pleasing matte finish, this model is a quick, fun, and highly efficient print, perfect for adding a bit of pop-culture flair to your fridge, whiteboard, or any magnetic surface. Its optimized geometry ensures strong magnetic hold and high durability.
Model Dimensions
- Metric: 14.8mm x 14.66mm x 8mm
- Imperial (approx.): 0.58in x 0.58in x 0.31in
Required Hardware
- 1x Round Magnet: 6mm (diameter) x 2mm (height) per Pokeball. (approx. 0.24in x 0.08in)
- Strong Adhesive: Super glue (CA glue) or a strong epoxy is recommended for a permanent bond.
Easy Assembly (5-Step Process)
- Preparation: Once your multi-color print is finished, ensure the circular slot on the back is clean and free of printing artifacts.
- Adhesive Application: Apply a small, controlled drop of strong adhesive (super glue or epoxy) into the magnet slot.
- Placement: Firmly press your 6x2mm magnet into the slot, ensuring it sits flat and flush with the surface.
- Curing: Allow the adhesive to cure completely as recommended by the manufacturer to ensure a permanent bond.
- Deployment: Your technically optimized Pokeball magnet is ready for duty!
Printing Recommendations
- Filament: We highly recommend using PLA Matte. Its diffused light reflection provides a premium, smooth, and polished finish that elevates the final look.
- AMS Efficiency: This model requires filament swaps for the red, black, and white colors. To avoid unnecessary purge waste, we strongly recommend printing batches of 4 or more magnets at the same time. This significantly amortizes the purge cost, making the swapping process much more efficient and cost-effective.
- Quality/Speed Balance: For an excellent balance of speed and quality, use an Adaptive Layer Height setting (or equivalent in your slicer). This will capture the fine details on the curved shell surfaces while printing the flatter sections faster, saving both time and filament.
IMPORTANT SAFETY NOTE: This model requires a small 6x2mm magnet. The finished item is NOT a toy. Adult supervision is required for use around children.
Whatever your feedback is, please rate this make. It will help improving!
Boost Me (for free)
Hey there, fellow maker! I'm so glad you're here. If you enjoyed printing one of my models, a Boost would be amazing and truly helps me out. No Boosts to spare? No problem! A comment, feedback or a posted make absolutely makes my day!
You may also like :
Comment & Rating (3)