Light Bulb Desk Lamp


Print Profile(1)

Description
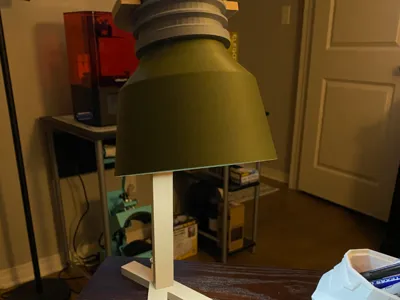
💡 Modern Bulb Desk Lamp
A sleek, modern desk lamp inspired by the shape of a classic light bulb. Designed to bring minimalist style and soft lighting to your workspace, nightstand, or creative setup.
Features:
- Modular design for easy printing and assembly
- Stable tripod-style base
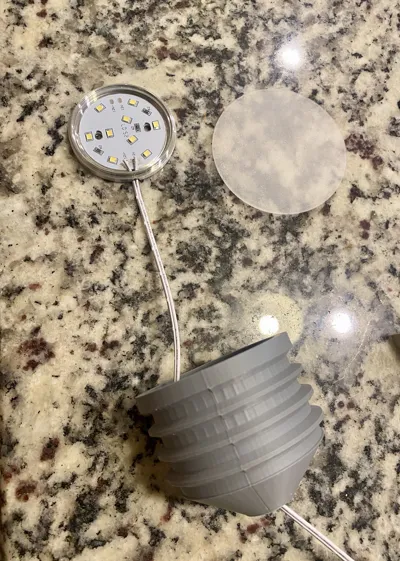
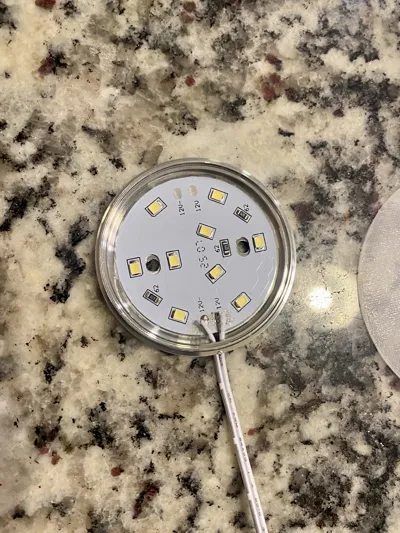
Works with LED puck sourced from Amazon
https://www.amazon.com/dp/B0C38X5Z4Y?ref=ppx_yo2ov_dt_b_fed_asin_title&th=1
No supports needed for most parts.
The “Large Lightbulb Head” benefitted from supports on the very bottom where it starts curving off the build plate
Recommended Print Settings:
- Layer Height: 0.2 mm
- Infill: 15%
- Material: PLA or PETG
Build Volume: 200 mm+
Assembly:
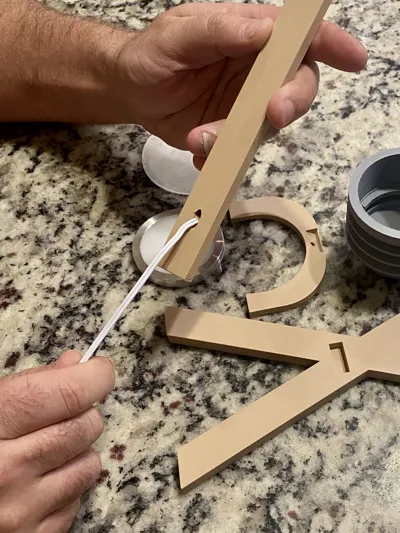
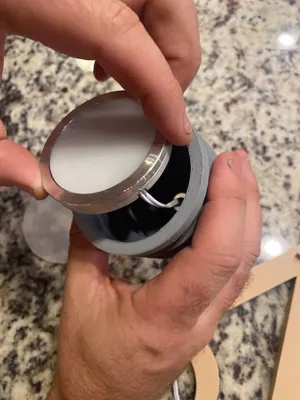
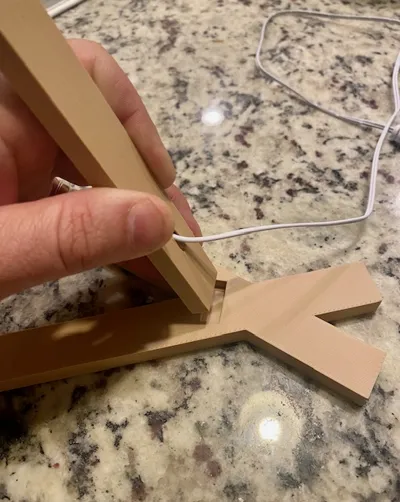
The wire for the light puck can either be cut and spliced back together or un-soldered from the board and fed through the stand as shown, then soldered or crimped back together. Also, if neither is desired, the end of the wire with the 12V end, will fit through the hole at the bottom of the grey “Light Bulb Lamp Base” piece, and just not thread through the stand.


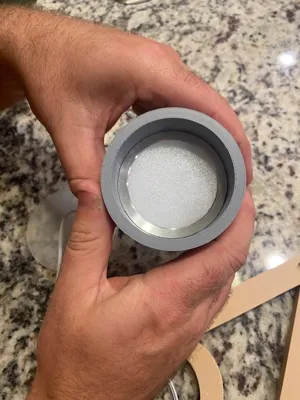
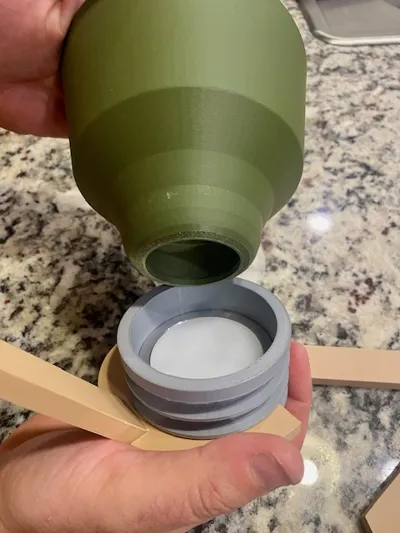
After the wire is fed through all the components, press the light puck in to the base lining the groove up for the wire, until it bottoms out.


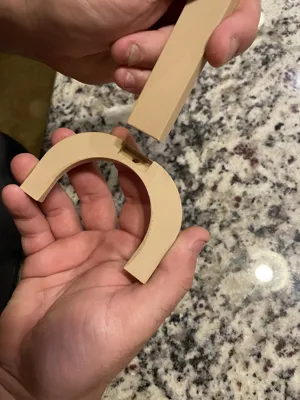
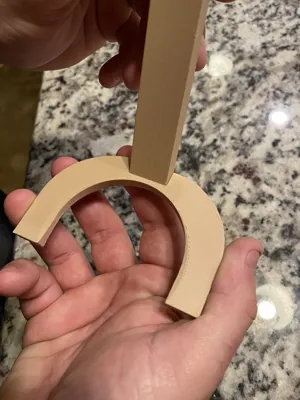
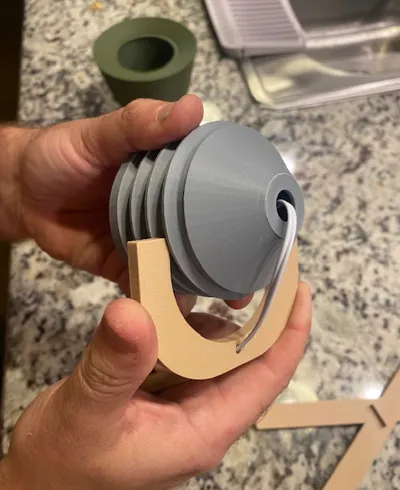
Next, Press the green “Light Bulb Lamp Head” in to the top of the grey “Light Bulb Lamp Base”. Its a tight fit and will bottom out on top of the light puck. Check that its seated evenly, then the clear diffuser can be glued on top. Print the diffuser in clear PLA with no infill and solid layers. Also, you can slide the stand “C” piece around the grey bulb base.


Lastly, press fit the stand to the “X” base. It can be glued if desired, to make it more stable.

Press-fit for most parts. Only parts i glued were the long vertical part of the stand with the “C” holder piece that holds the lamp assembly together. See picture below


License
You shall not share, sub-license, sell, rent, host, transfer, or distribute in any way the digital or 3D printed versions of this object, nor any other derivative work of this object in its digital or physical format (including - but not limited to - remixes of this object, and hosting on other digital platforms). The objects may not be used without permission in any way whatsoever in which you charge money, or collect fees.
Comment & Rating (2)