Search models, users, collections, and posts

Raspberry Pi - VESA100 Mount
IP Report
Print Profile(1)

0.2mm layer, 2 walls, 20% infill
Designer
2.1 h
1 plate
Open in Bambu Studio
Boost
14
53
2
2
39
24
Released
Bill of Materials
Maker's Supply Kits and Parts
Select all

Bambu Filaments
Select all

Description
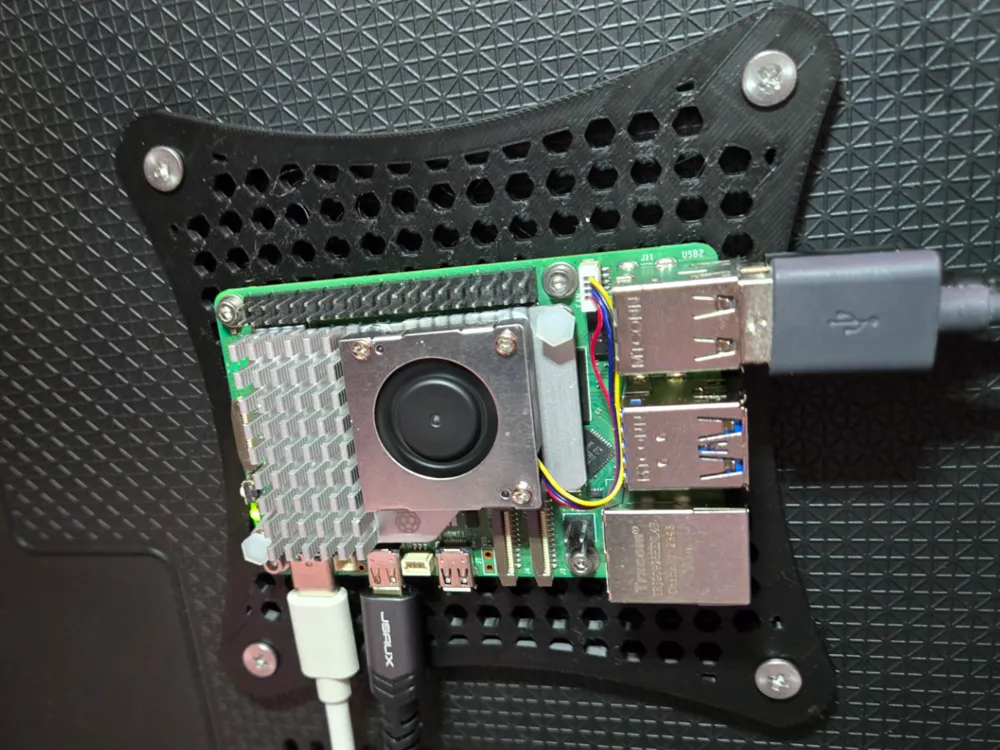
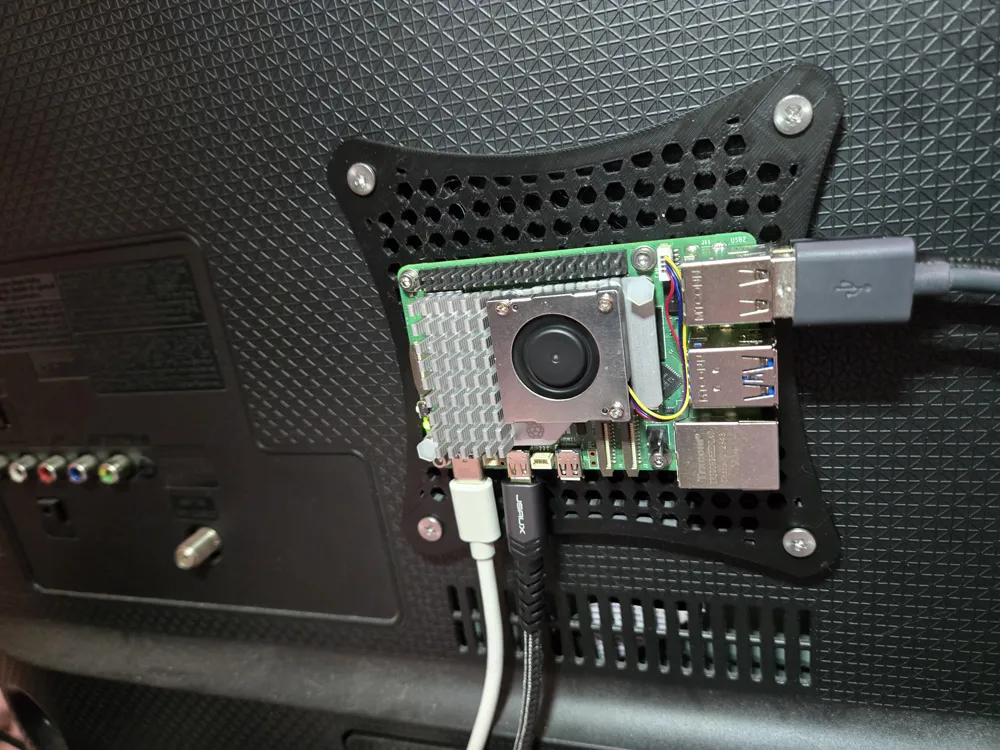
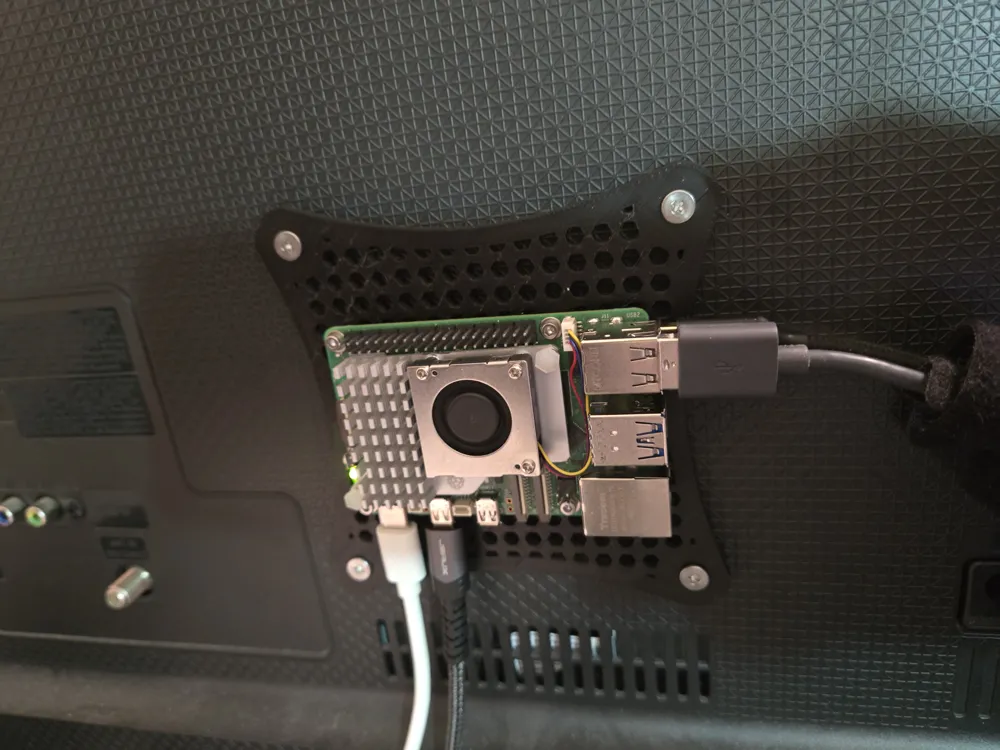
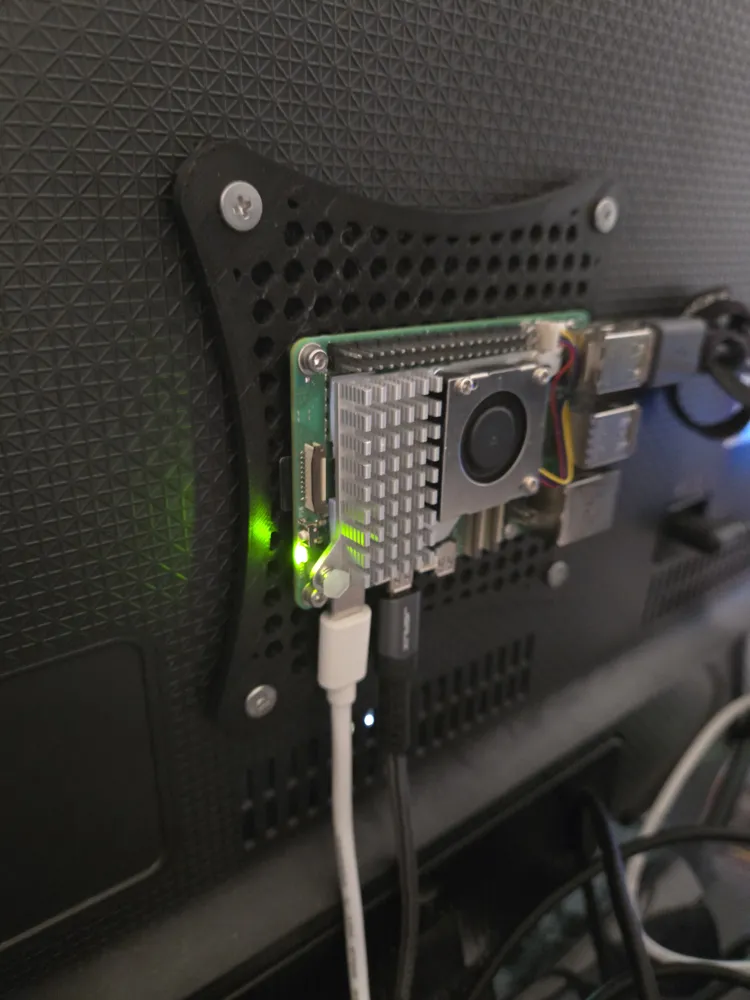
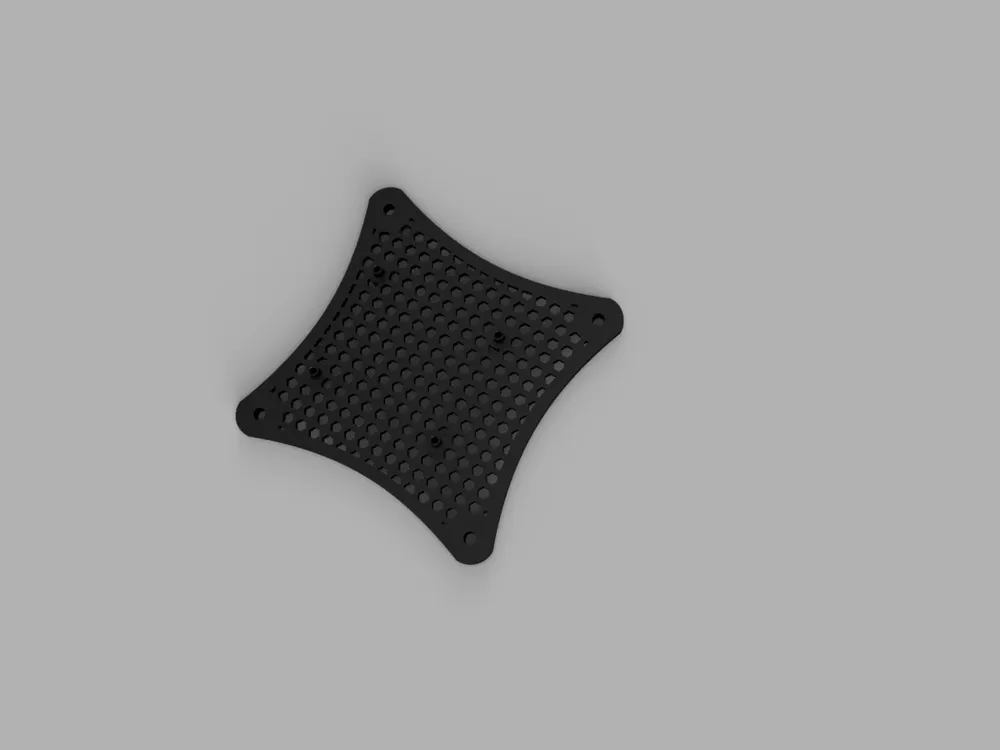
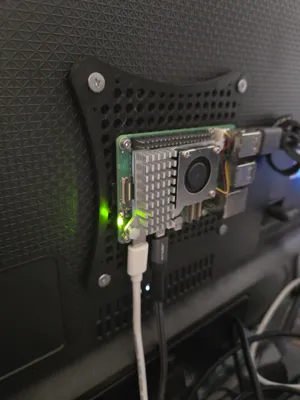
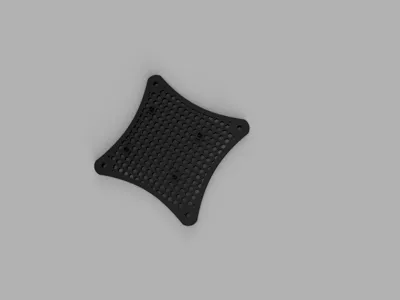
Raspberry Pi VESA 100 × 100 Mount
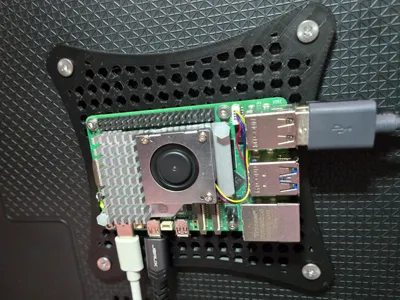
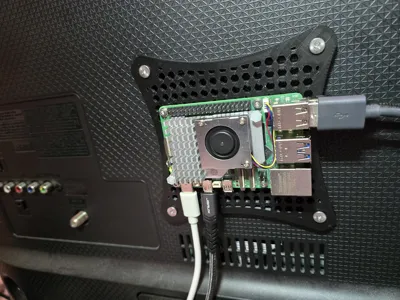
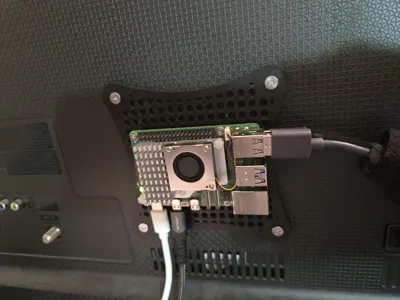
This model allows you to securely mount your Raspberry Pi to the back of a monitor or TV using the VESA 100 × 100 mm standard. It’s ideal for clean, hidden installations such as media centers, dashboards, or RetroPie setups.
- Compatible with Raspberry Pi 5, 4 Model B, 3 Model B, and 3 Model B+ (same 58 × 49 mm hole spacing)
- VESA 100 × 100 mm mounting pattern fits most TVs and monitors
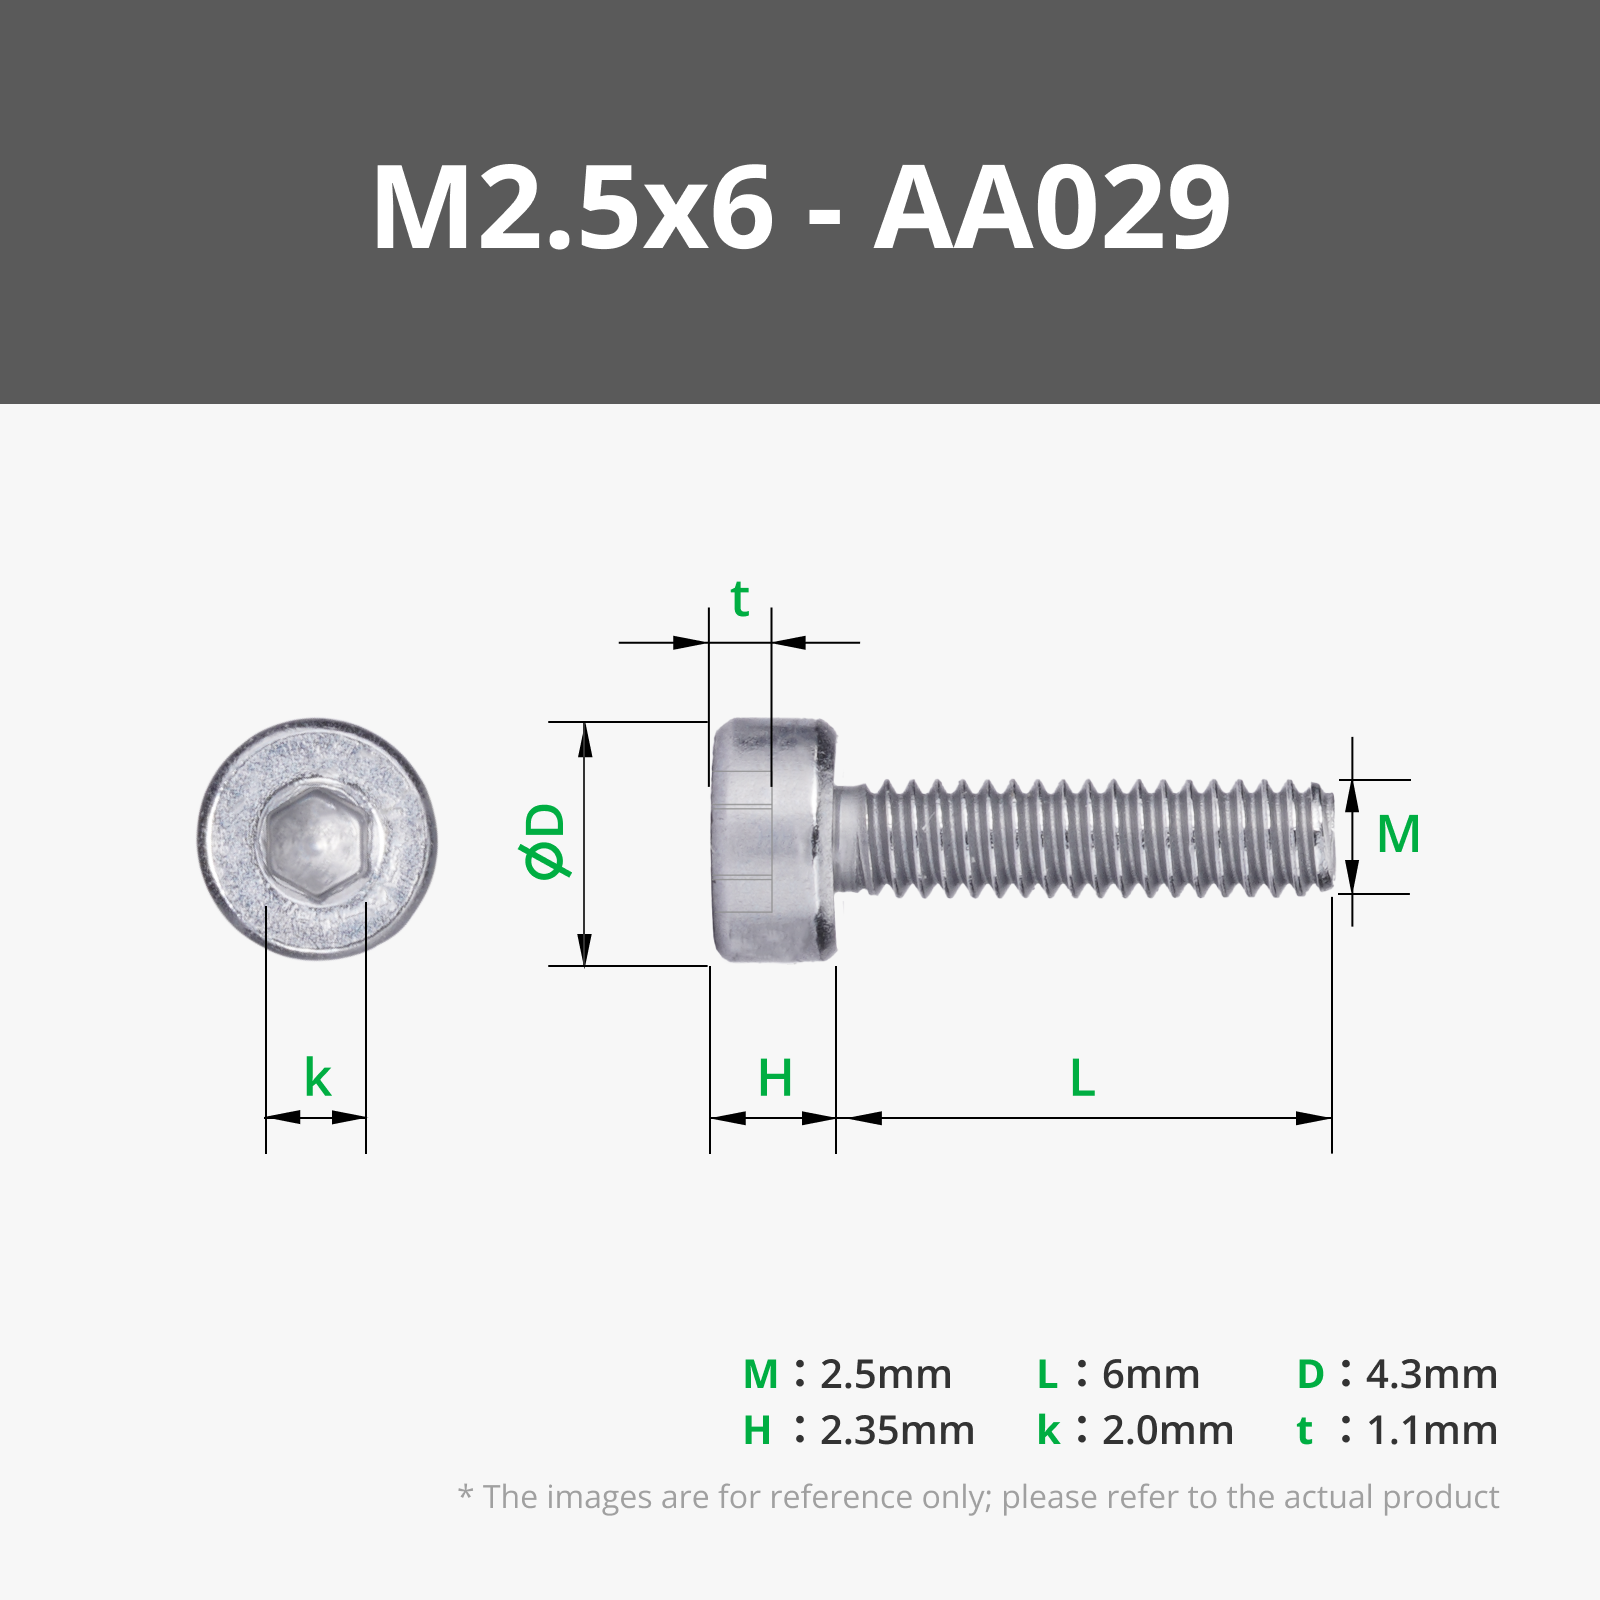
- Holes designed for standard M2.5 × 6 mm screws that form threads as they’re installed (no inserts or self-tapping screws required)
- Includes four 3.5 mm spacers to offset the mount from the display's rear surface
- Uses M4 screws for VESA mounting (tested with M4 × 25 mm)
Assembly Instructions
- Position the Raspberry Pi on the mount, aligning the holes on the board with the four mounting posts.
- Fasten the Raspberry Pi to the mount using M2.5 × 6 mm screws directly into the printed holes.
- The shape of the hole is designed to allow an Mm2.5 thread to tape the hole.
- Align the assembled mount and Pi with the VESA 100 × 100 mm hole pattern on your TV or monitor.
- Place the 3.5 mm spacers between the mount and the display.
- Secure the entire assembly using M4 screws (tested with M4 × 25 mm in my display).
- Do not overtighten.
- Verify that the screw length is appropriate for your display so they do not extend too far into the back panel.
Notes
- Screw length for the VESA mount may vary by display model; check your display depth before tightening.
- Mount holes for the Raspberry Pi are designed for standard M2.5 screws that cut threads as they’re installed — no inserts or self-tapping screws are needed.
- Works well for RetroPie, Home Assistant, Pi-hole, media servers, and other Raspberry Pi projects.
Example Uses
- Mount a RetroPie gaming setup directly behind a TV.
- Hide a Home Assistant or Pi-hole installation behind a monitor.
- Keep a media server, dashboard, or small network device out of sight while maintaining airflow.
License

This user content is licensed under a
Creative Commons Attribution-Share Alike


Comment & Rating (2)