
Arduino Uno Enclosure: UNO, 16x2 LCD & HX711
Print Profile(1)

Bill of Materials

Description
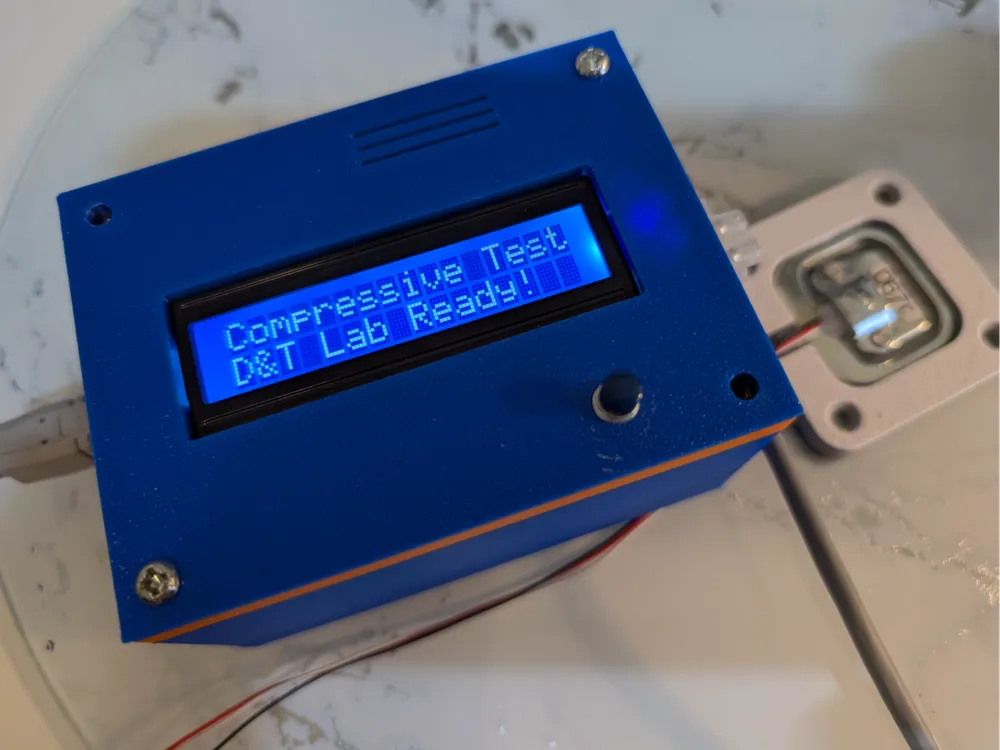
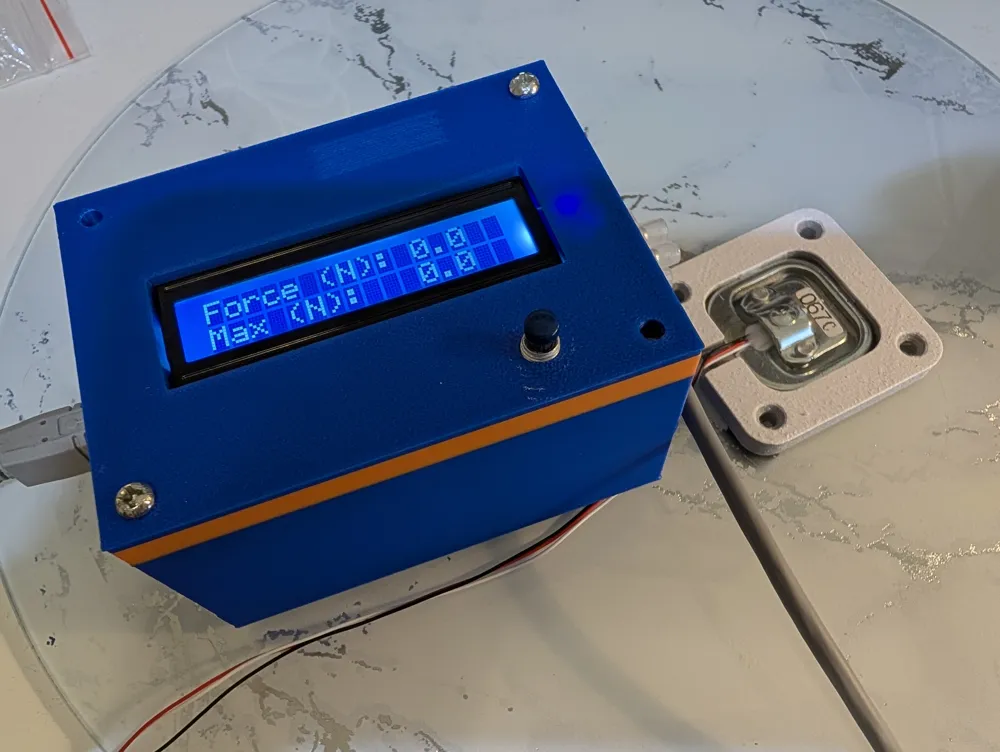
Arduino Force Gauge Enclosure: UNO, 16x2 LCD & HX711 Casing
Description
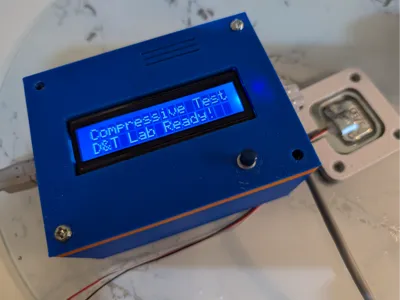
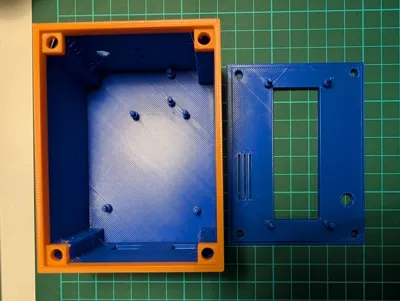
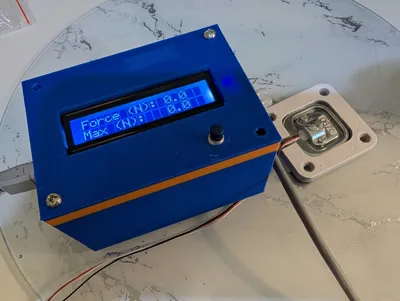
This is a robust, two-part (base and lid) 3D-printed enclosure designed specifically to house the essential electronics for a DIY digital force gauge, laboratory test stand, or high-precision weighing scale. It provides a clean, professional, and secure housing for your Arduino Uno, 16x2 I2C LCD screen, and HX711 load cell amplifier module.
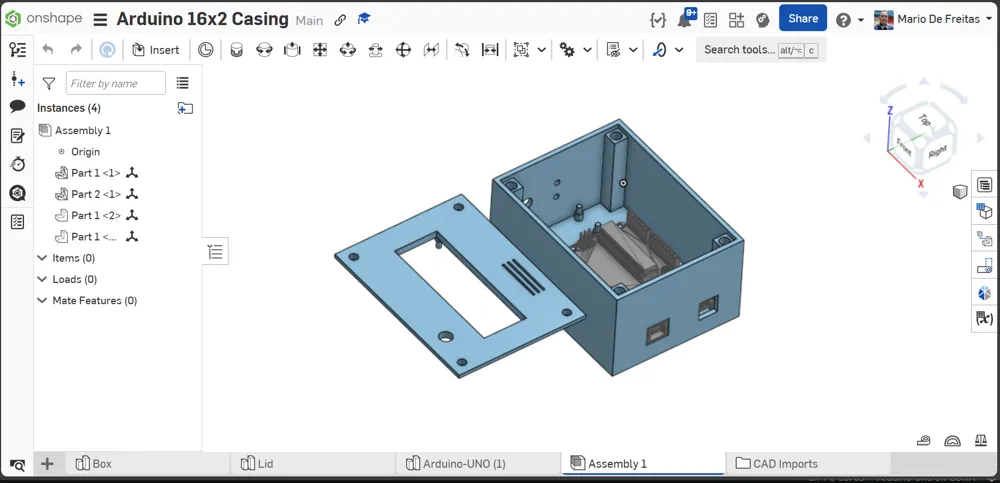
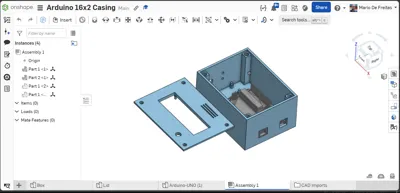
Created by an Engineering and Design & Technology HOD (for KS3-KS5 education), this design prioritizes strong, reliable construction using professional assembly methods, making it perfect for student projects, prototyping, and long-term use in a workshop environment. The design is simple, effective, and ready to be customized (CAD shown in images).
Key Features & Design Highlights
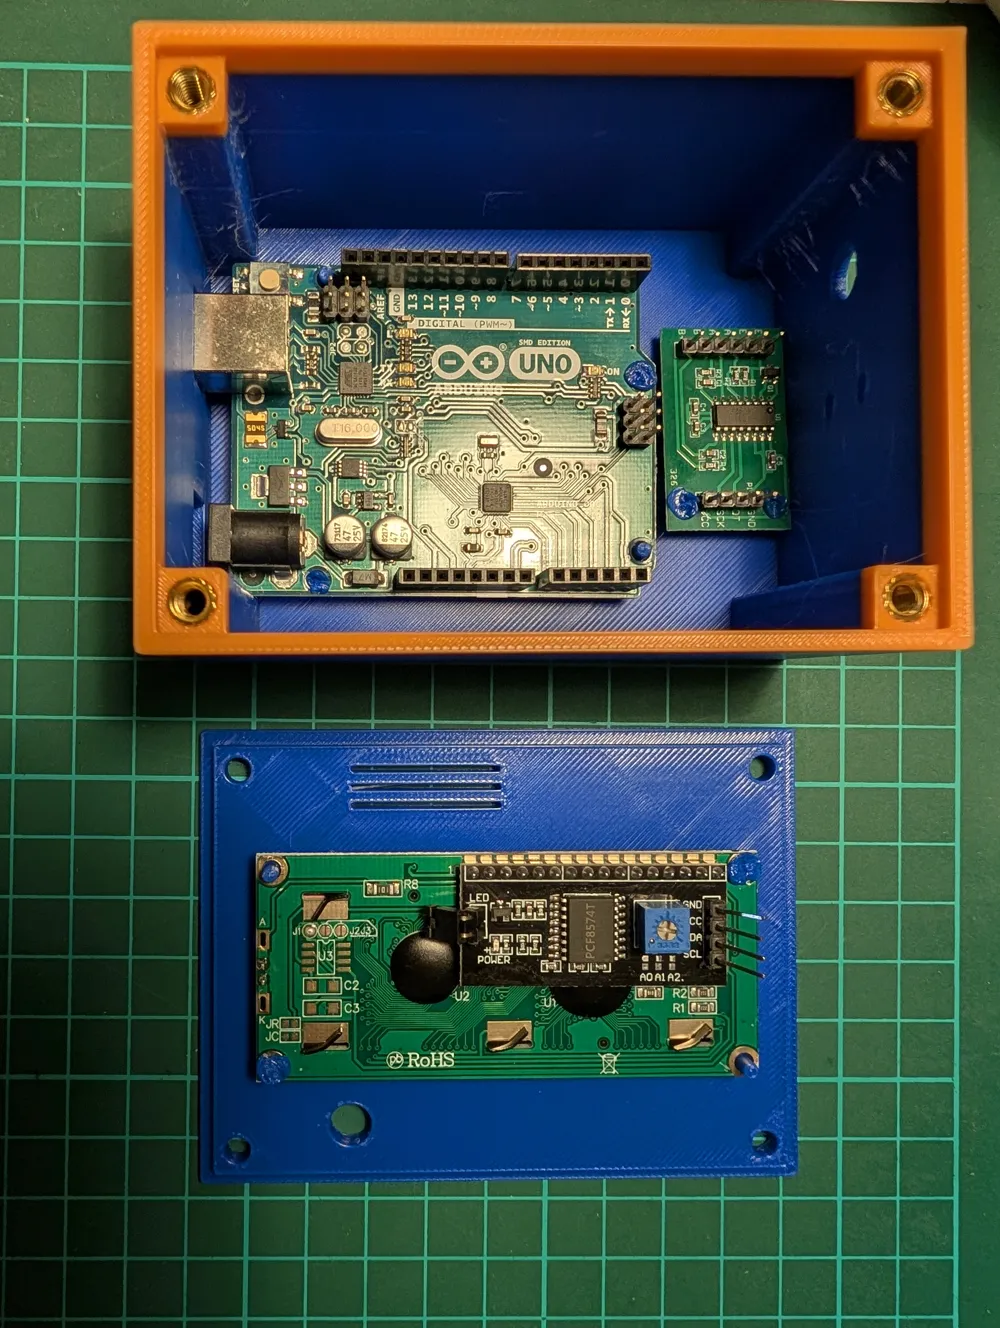
- Optimized for Core Components: Custom-fit mounting for the three primary components:
- Arduino Uno (Standard R3 footprint).
- 16x2 Character LCD with an I2C Backpack.
- HX711 Load Cell Amplifier Module.
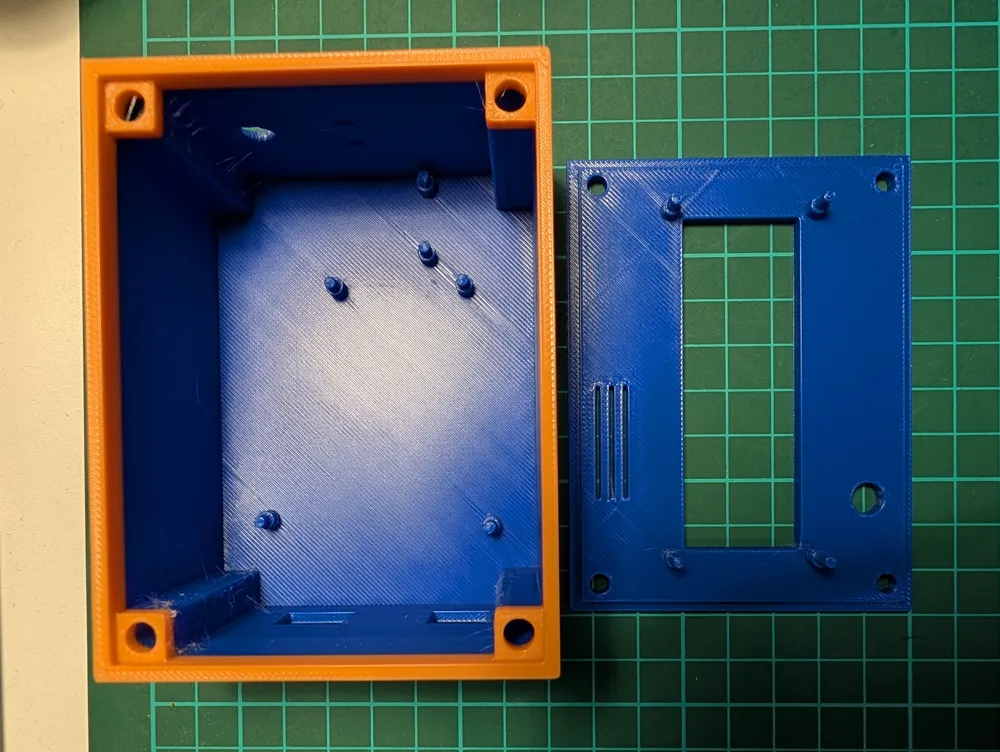
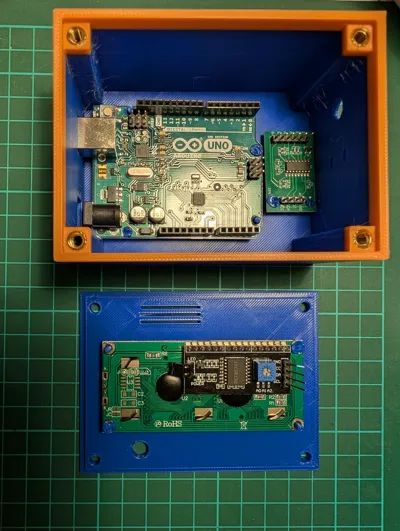
- Complete Weld-Mounted System: All three circuit boards (Uno, HX711, and the LCD screen) sit on integrated mounting posts designed for a weldable/heat-set mounting technique. This ensures a secure, low-profile, and vibration-resistant fit for all internal electronics.
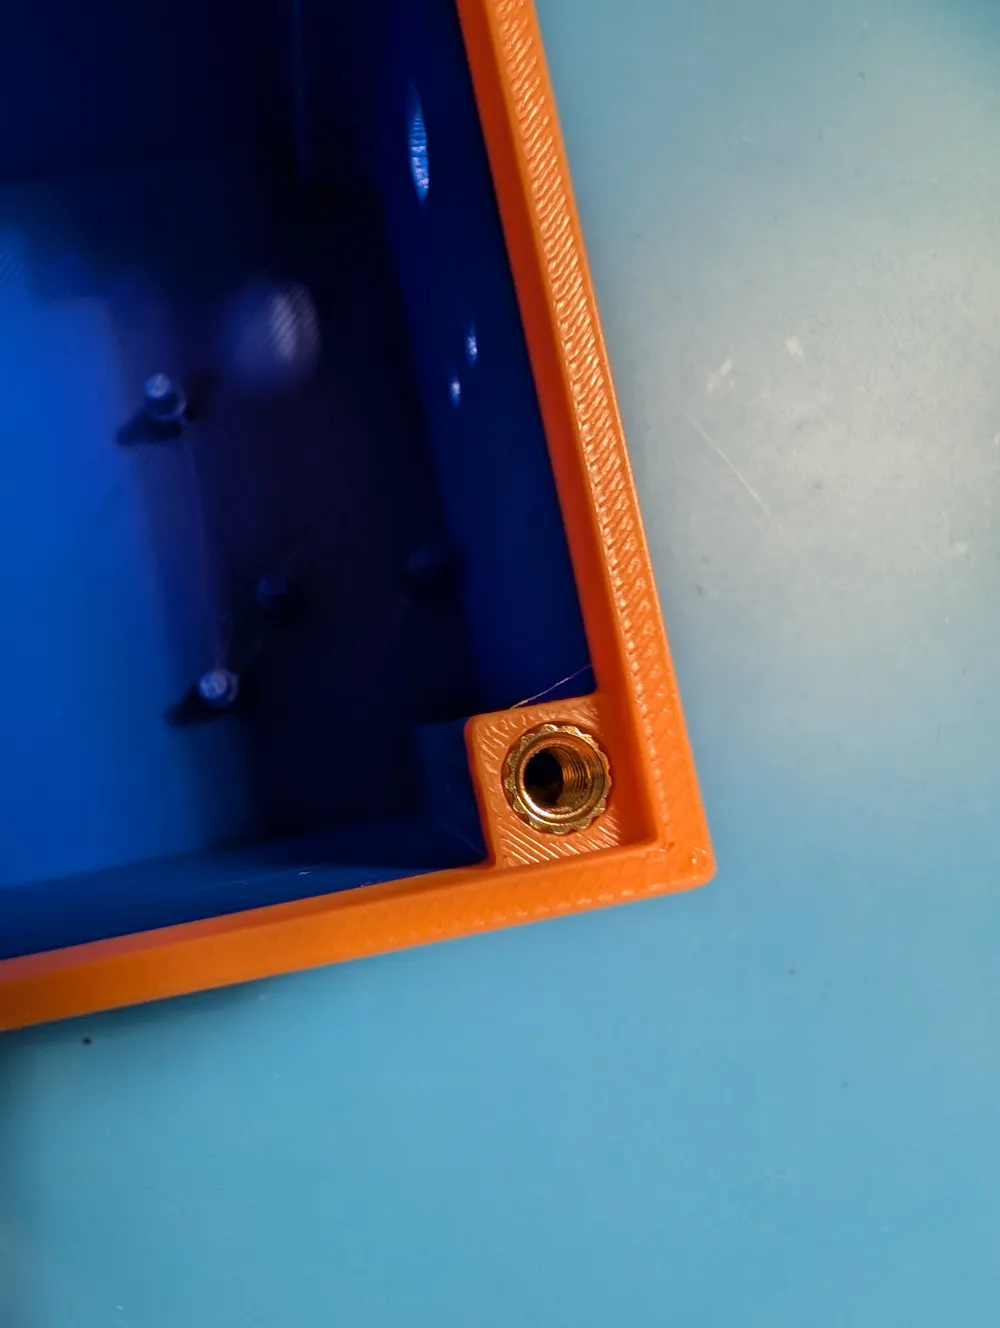
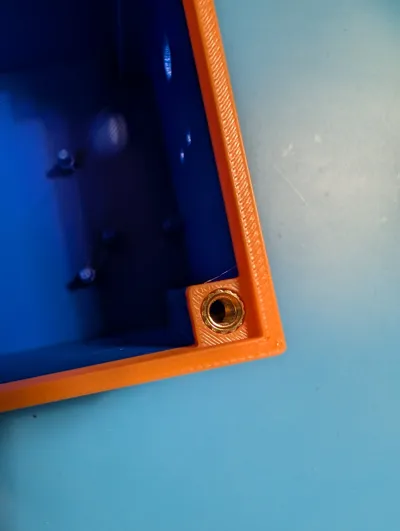
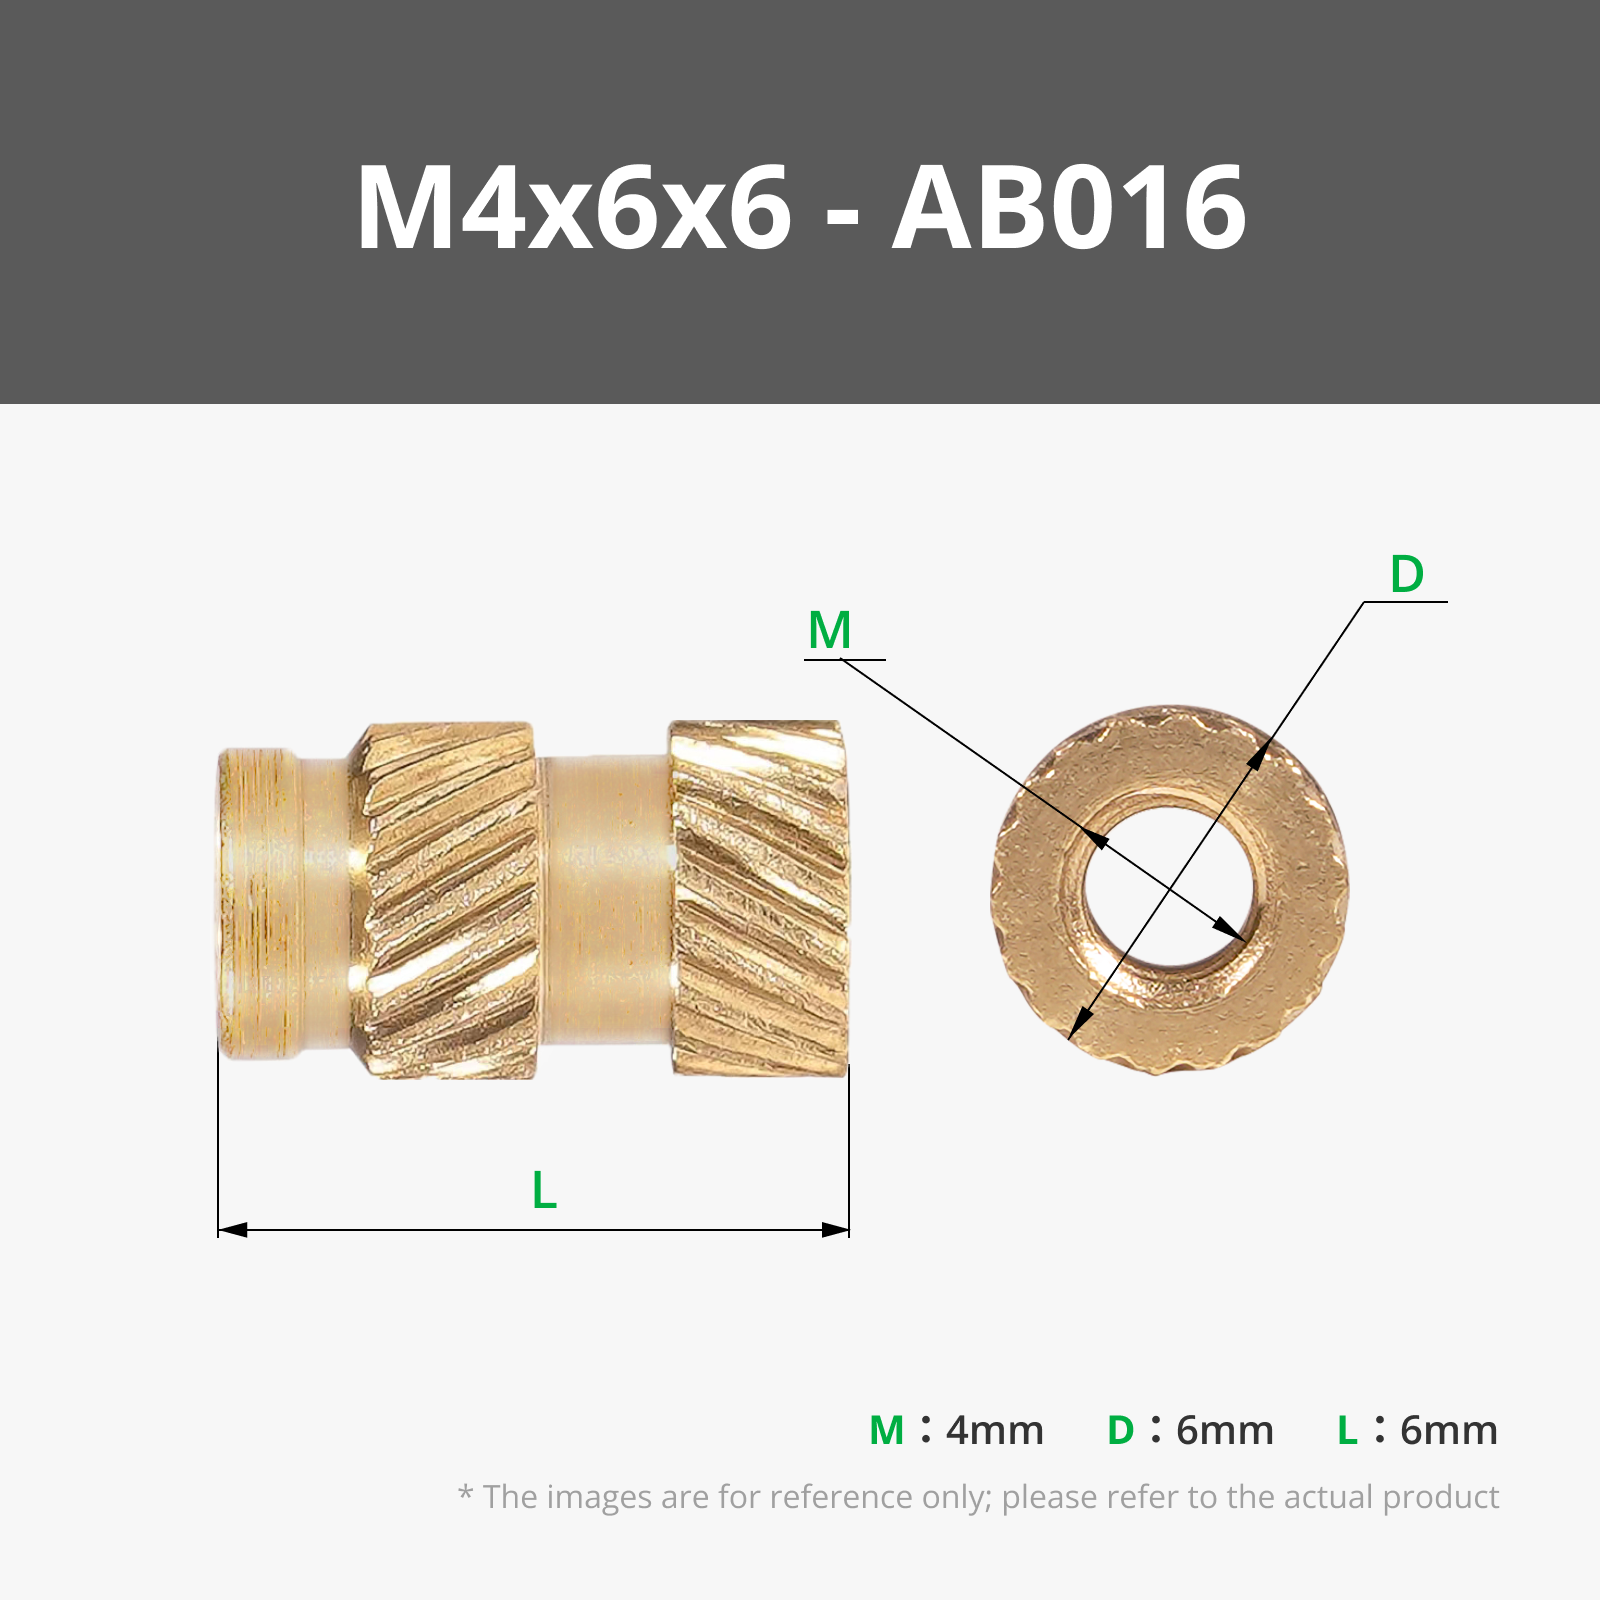
- Professional Fastening System: Screw holes are precisely sized for four M4 brass threaded inserts (heat-set), providing strong, reusable, and professional thread mounting points for securing the lid to the base.
- Ample Wiring Space: The base features high-volume internal space to neatly manage and coil excess wiring, keeping the electronics tidy and preventing stress on connections.
- Thermal Management: Integrated ventilation slots are strategically placed on the lid to allow for passive cooling and prevent heat build-up inside the enclosure.
- User Interface Access:
- A precision-sized hole with a 7mm diameter is provided on the lid for mounting a tactile reset/function button (e.g., to zero the sensor or clear the Max Force reading).
- A cut-out is included for running an extension cable to external peripherals, such as a load cell, external power, or other sensors.
Printing and Assembly Guide
1. Printing Recommendations
- Material: PLA is suitable, but PETG or ABS is highly recommended for increased durability, dimensional stability, and better heat resistance (especially when using heat-set inserts).
- Layer Height: 0.2mm for general prints.
- Infill: 15-25% Grid or Honeycomb.
- Supports: No supports are needed.
Component Quantity Specification Brass Inserts 4 M4 x 8.1mm (Recommended Standard Size) Screws 4 M4 machine screws, minimum 8mm length (to secure the lid) Button 1 Momentary tactile button (7mm shank diameter) Electronics 1 of each Arduino Uno R3, 16x2 I2C LCD, HX711 Module
3. Assembly Instructions
- Install Inserts: Using a soldering iron with a heat-set tip, install the four M4 brass threaded inserts into the corner mounting posts of the base.
- Mount Boards (Weld): Place the Arduino Uno, HX711, and the 16x2 LCD (into the lid) onto their respective mounting posts. Secure them by gently pressing a heated soldering iron tip onto the plastic posts to slightly melt/deform the plastic over the PCB holes (welding). Note: Ensure boards are wired before mounting.
- Install Button & Cable: Install the 7mm button into the lid hole and feed the load cell/peripheral cable through the designated hole.
- Final Assembly: Align the lid with the base and secure with the four M4 machine screws into the brass inserts.
License

You shall not share, sub-license, sell, rent, host, transfer, or distribute in any way the digital or 3D printed versions of this object, nor any other derivative work of this object in its digital or physical format (including - but not limited to - remixes of this object, and hosting on other digital platforms). The objects may not be used without permission in any way whatsoever in which you charge money, or collect fees.


Comment & Rating (5)