
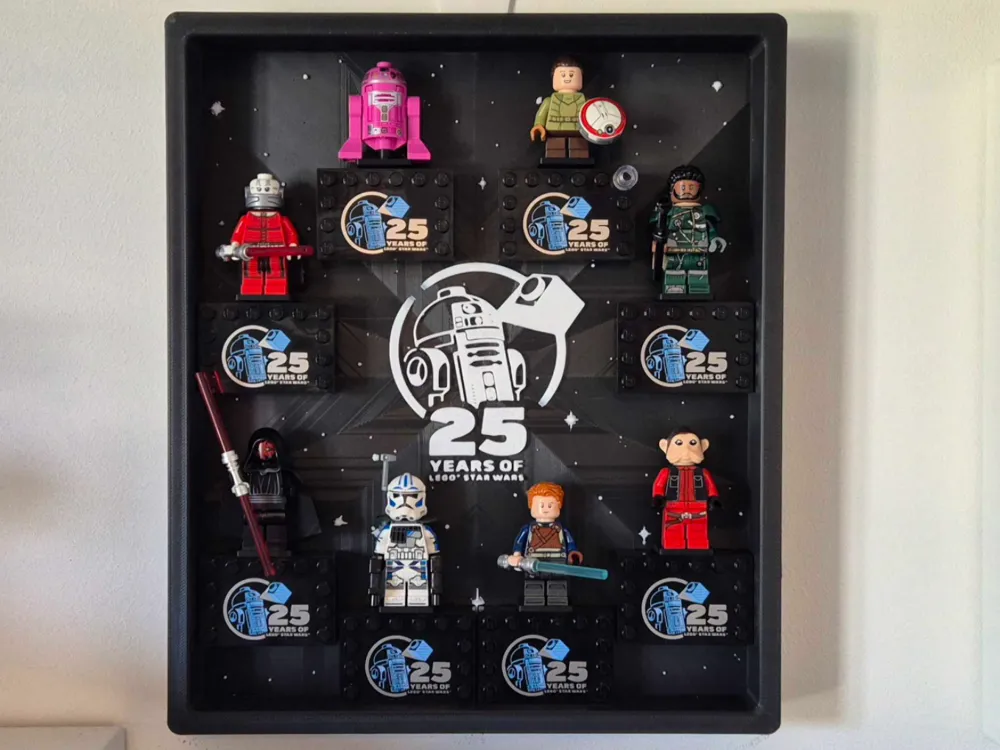
Star Wars 25th Anniversary Legos Minifigure Frame
Print Profile(1)
Description
Update 26/04/26 - I have re designed this so it is now compatible with all my other minifigure frames Here, and importantly requires no hardware, completely 3D printed.
--------------------------------------------------------------------------------------
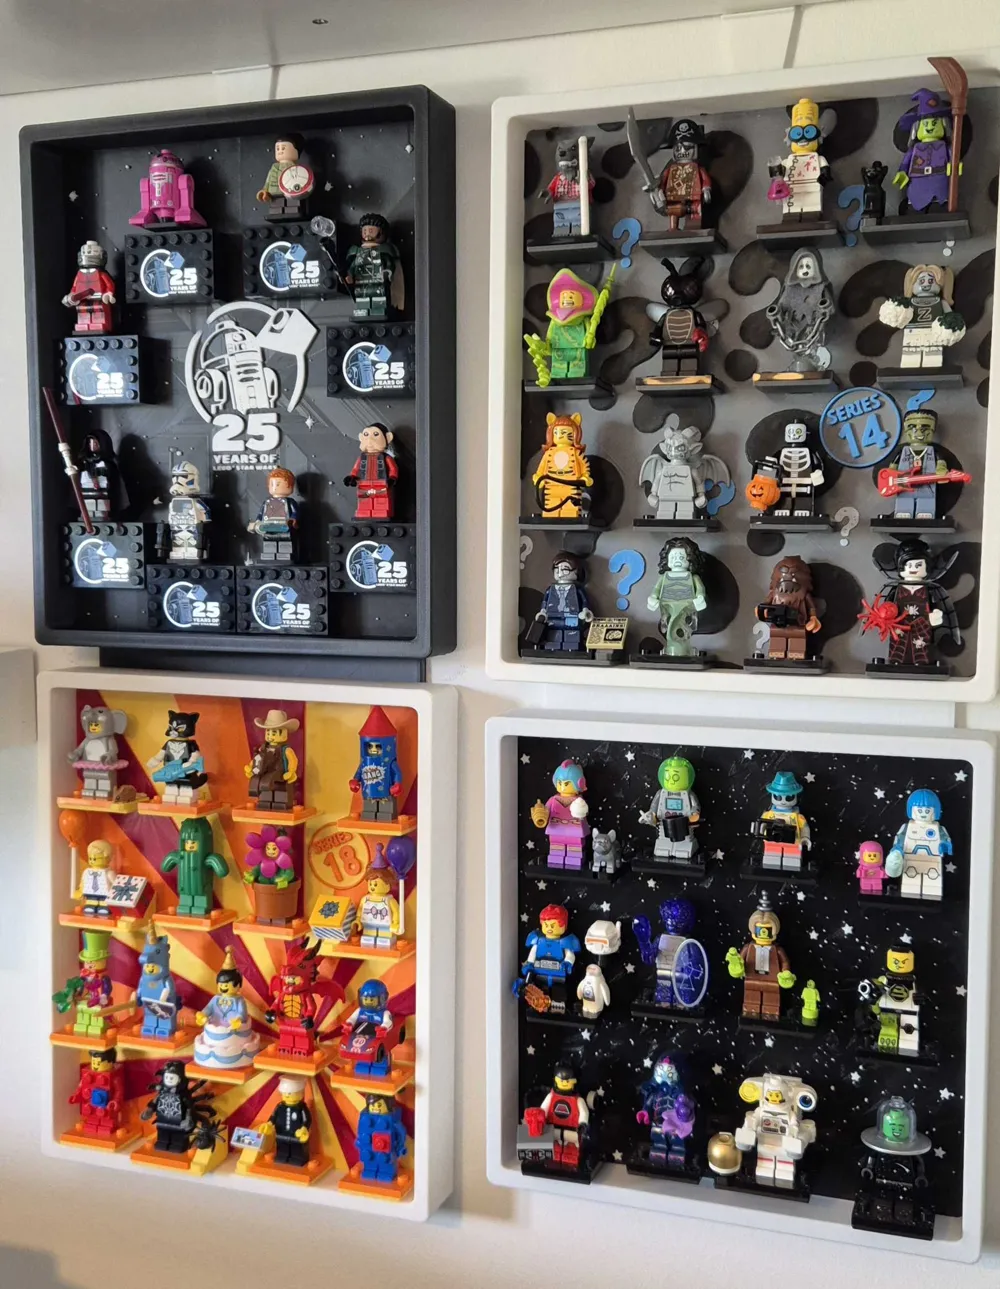
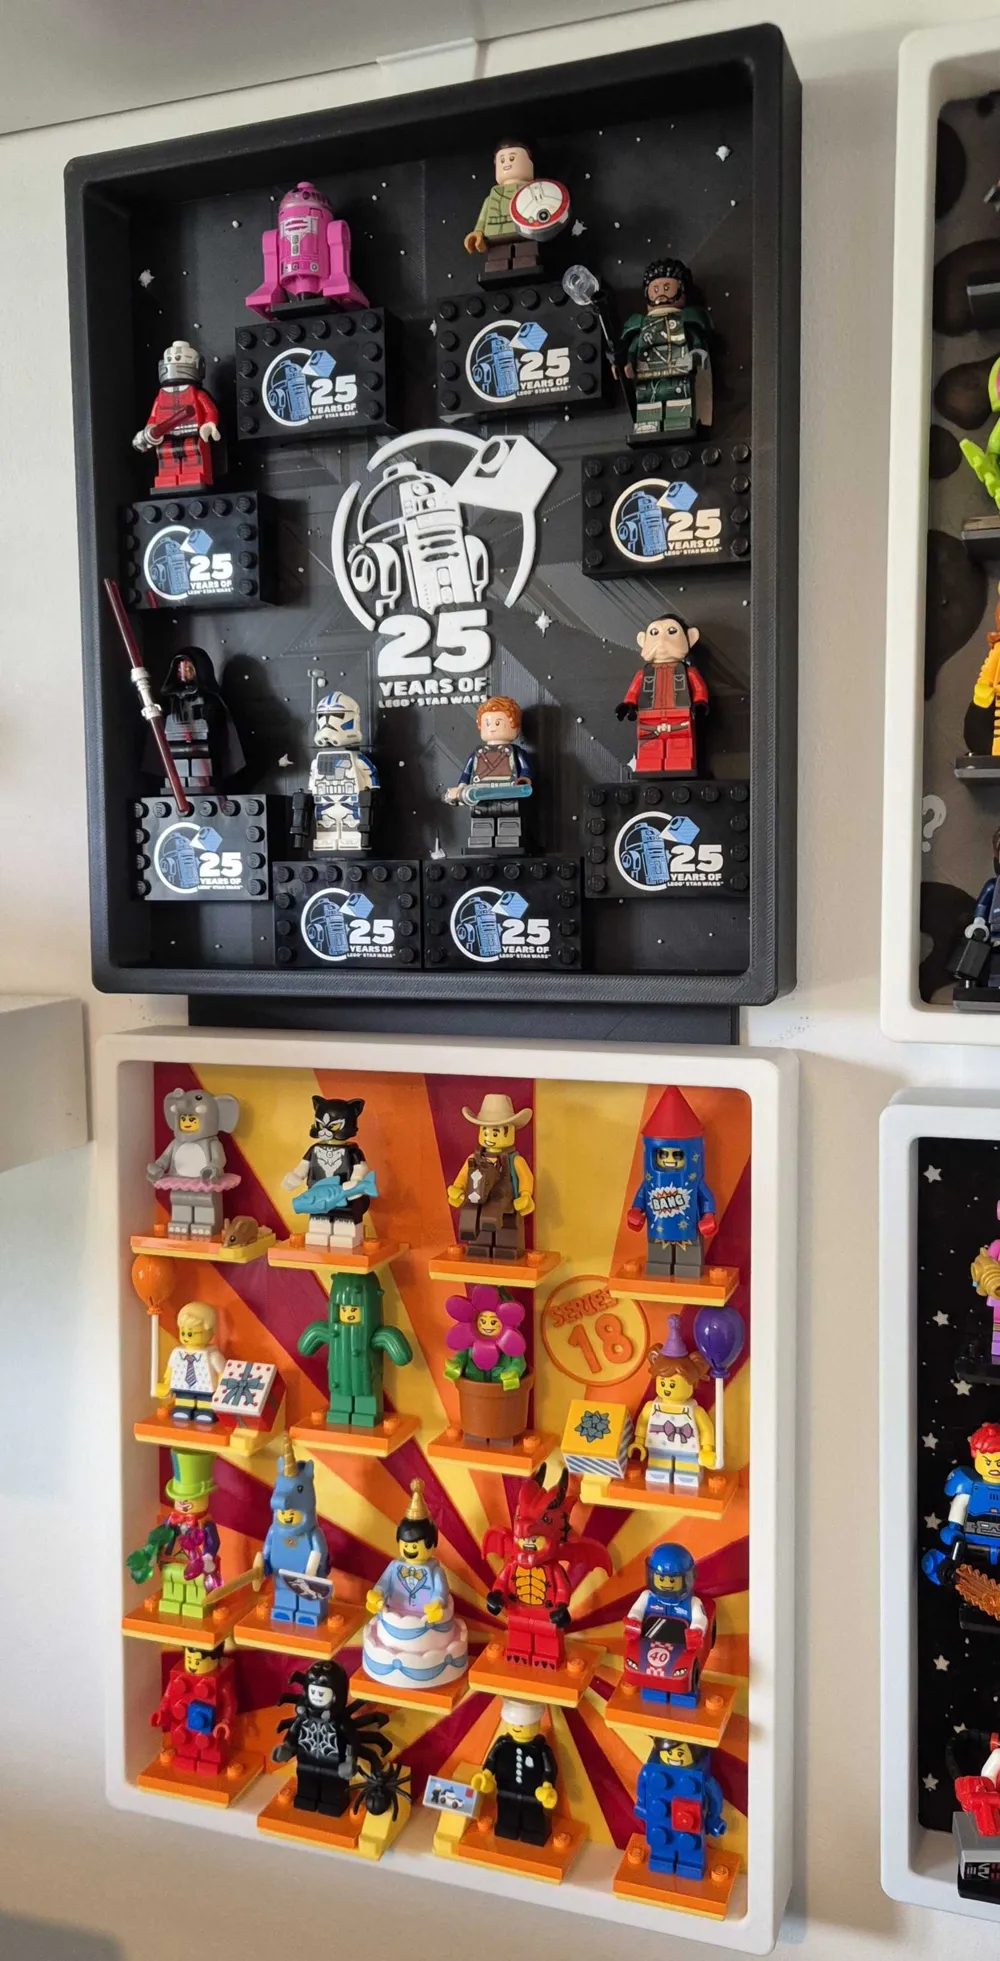
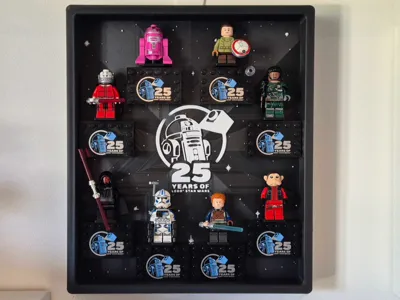
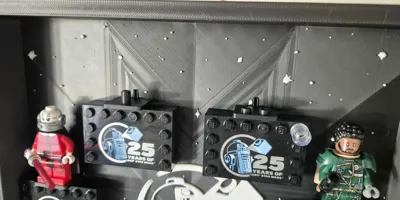
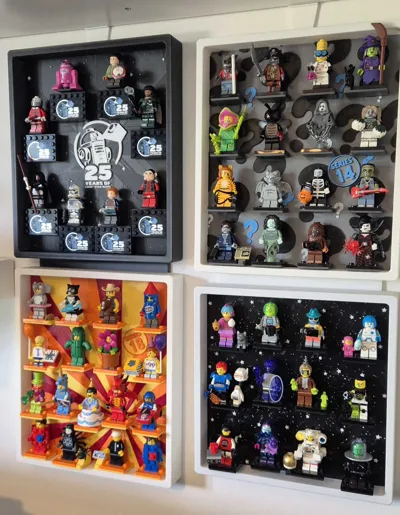
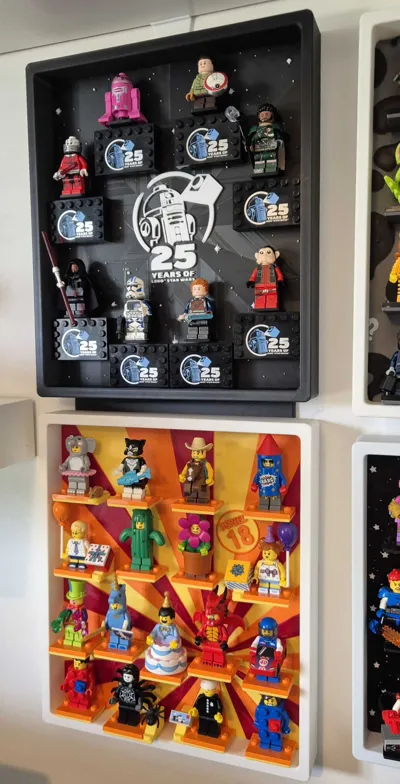
Picture frame display for your all 8 of the brick Star Wars 25th Anniversary minifigures and their 6x4 printed plate.
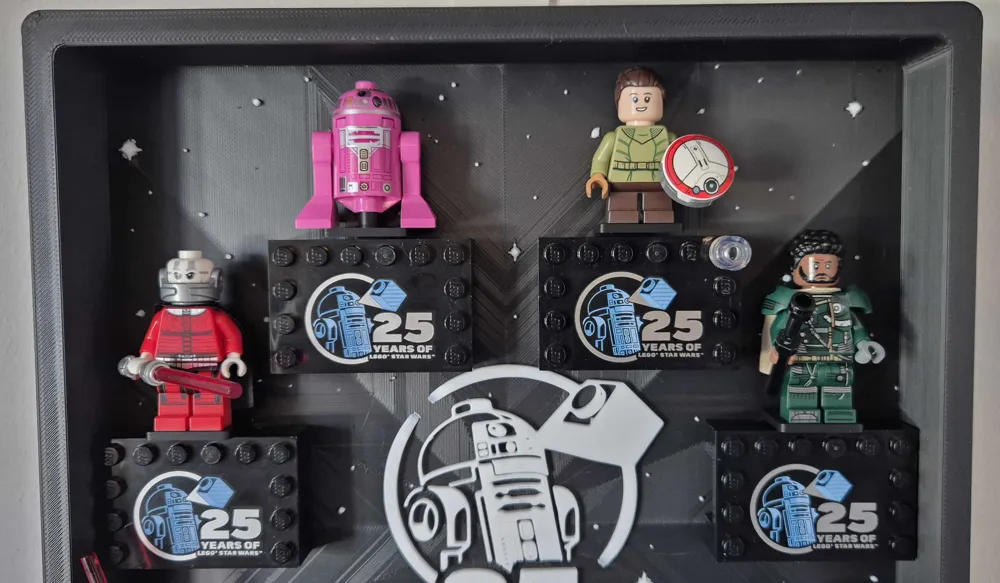
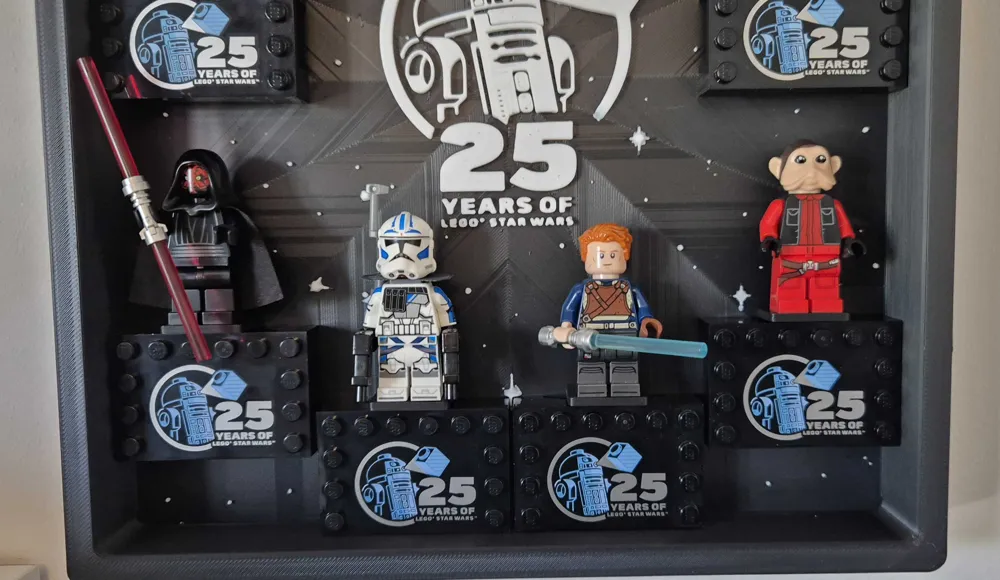
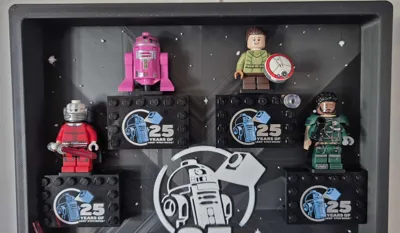
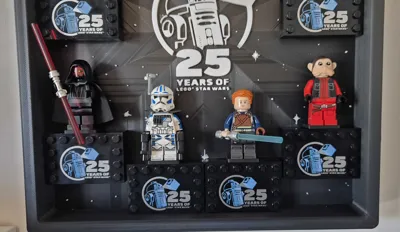
Holds all 8 minifigures, Leia and QT-KT sit at the top and the others minifigures should fit nicely in the other slots!
If you don't have an AMS you can still print this, just pause at about layer 27 and switch to white.
----------------------------------------
Updates:
30/05/26 A new addition to the collection - a protective dust cover for these frames to keep your minifigures clean and dust free: https://makerworld.com/en/models/2864798-protective-dust-cover-for-minifigure-display-frame
See my other models for variations on this design holding different amount of minifigures: https://makerworld.com/en/collections/22219162-legos-minifigure-display-frames
I have updated the frame design so it uses less support material and will print fine with normal PLA supports and with the settings in the profile.
----------------------------------------
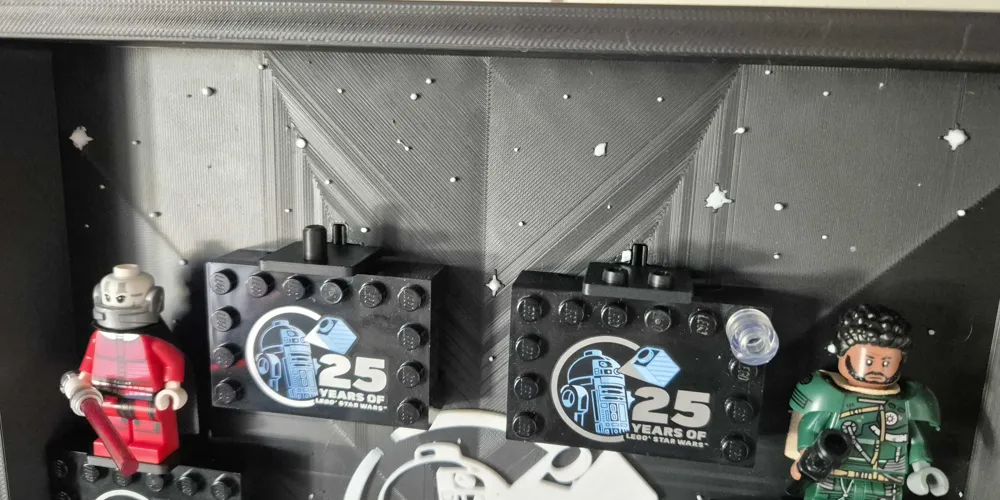
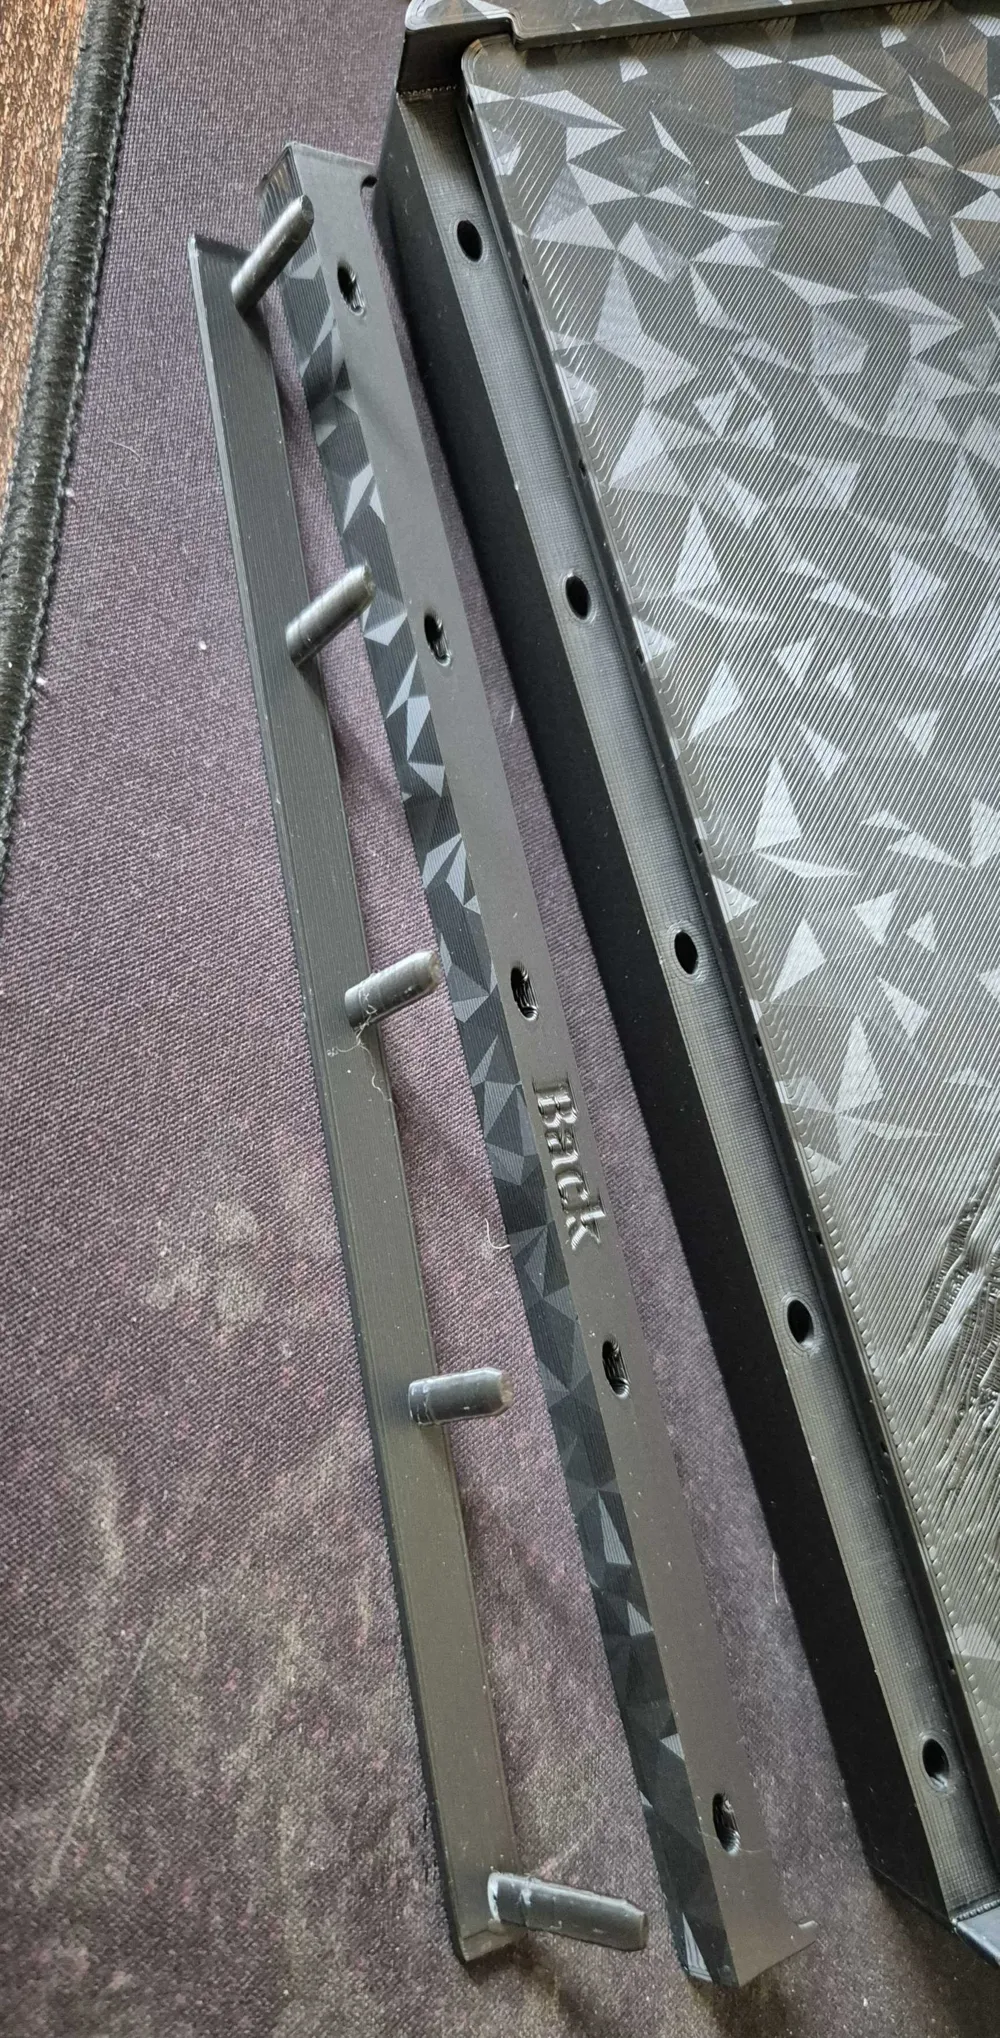
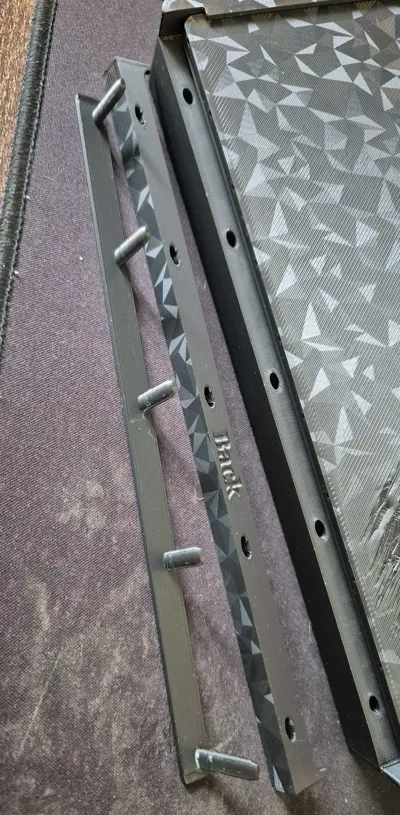
Easy to assemble, the Background should slide in snugly to the frame first before adding the minifigure bases, slot in the lower piece and then push the 5 pin plate through - I have included different back plates so if you want to keep paper checklist safe you can do this with one of the taller back plates - also included the stacker adapter so you can stack these frames when hung.
Once this is assembled you can press into place the minifigure holders and then add the minifigures - there is one with a round peg for QT-KT and a 2x1 base for Leia.
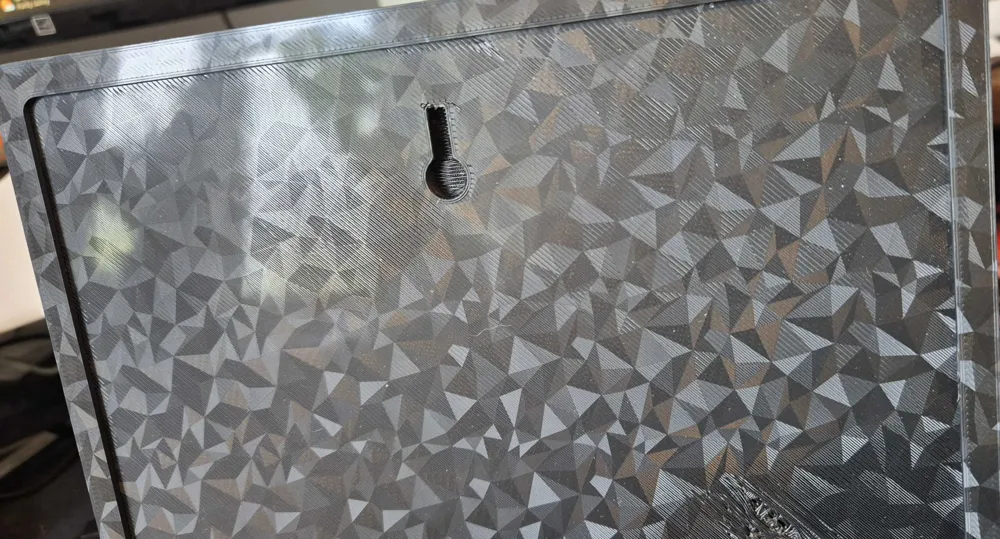
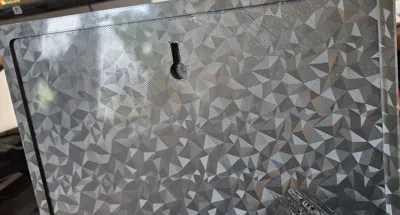
There is an integrated screw hook on the back to hang it (remember to remove supports), or just free stand it.
If you do not have an AMS and want 2 colours you can pause at layer 31 on the background to change colour to White.
The top 19 or so layers have been set to 0.08mm layer height to enable enough layers for the colour change, so avoid changing this.
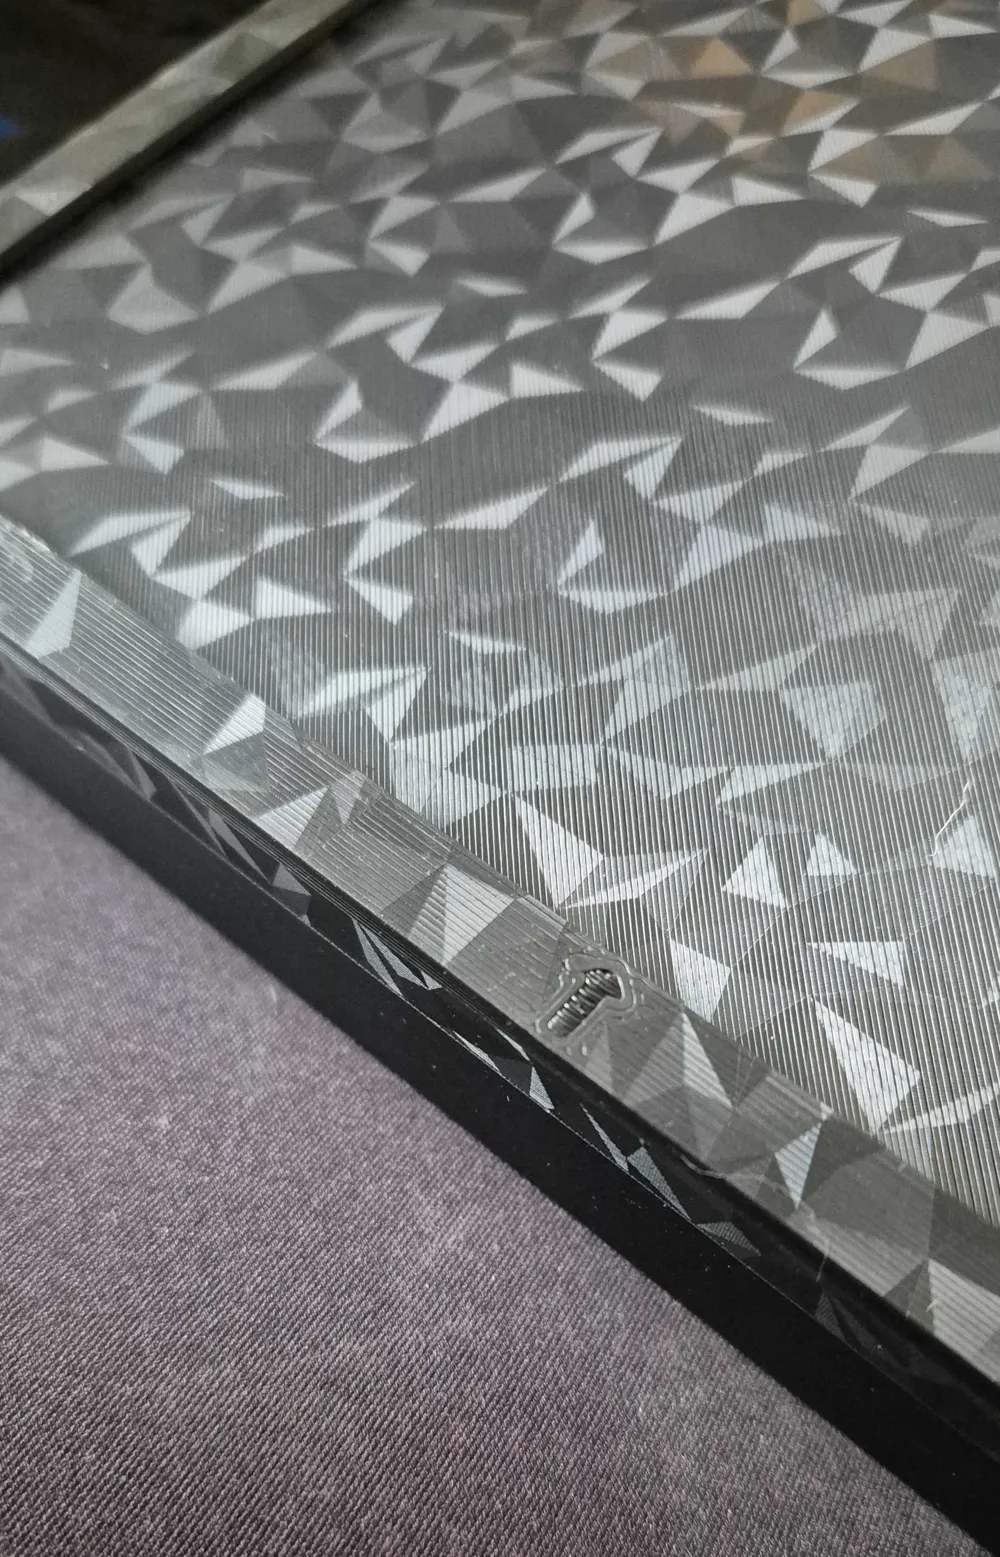
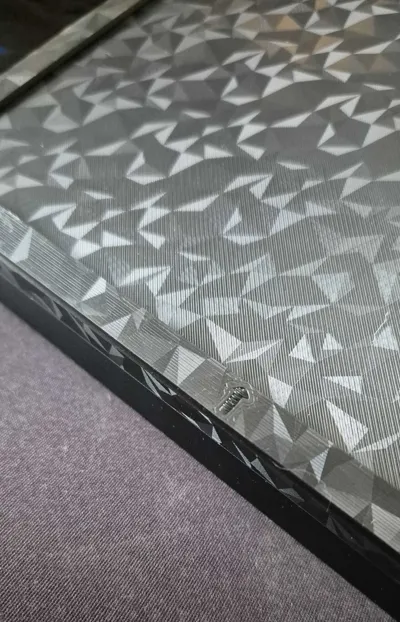
The background has designed in reliefs to help prevent the corners curling, it only adds a bit of time and extra filament but I have found it to be very effective, but ensure there are no drafts and the print bed is clean.
Last important thing is to make sure your build plate is clean, printing over a large are like this can cause warping at the edges, but I have designed in reliefs after the first layer that will hopefully help with this, before adding these reliefs it would warp constantly but this helped massively and only adds a bit of time to the print.
Note: Since I took the images shown, I have slightly re arranged the minifigure bases so they sit a bit more evenly around the frame, mainly the left and right ones are a bit higher and the lower two have some separation, once I re print I will re upload the images for accuracy.
Boost Me (for free)
Share your results in the comments and if you liked this leave me a boost to show your support!
License

You shall not share, sub-license, sell, rent, host, transfer, or distribute in any way the digital or 3D printed versions of this object, nor any other derivative work of this object in its digital or physical format (including - but not limited to - remixes of this object, and hosting on other digital platforms). The objects may not be used without permission in any way whatsoever in which you charge money, or collect fees.


Comment & Rating (12)