
Air Brush Spray Booth
Print Profile(2)


Description
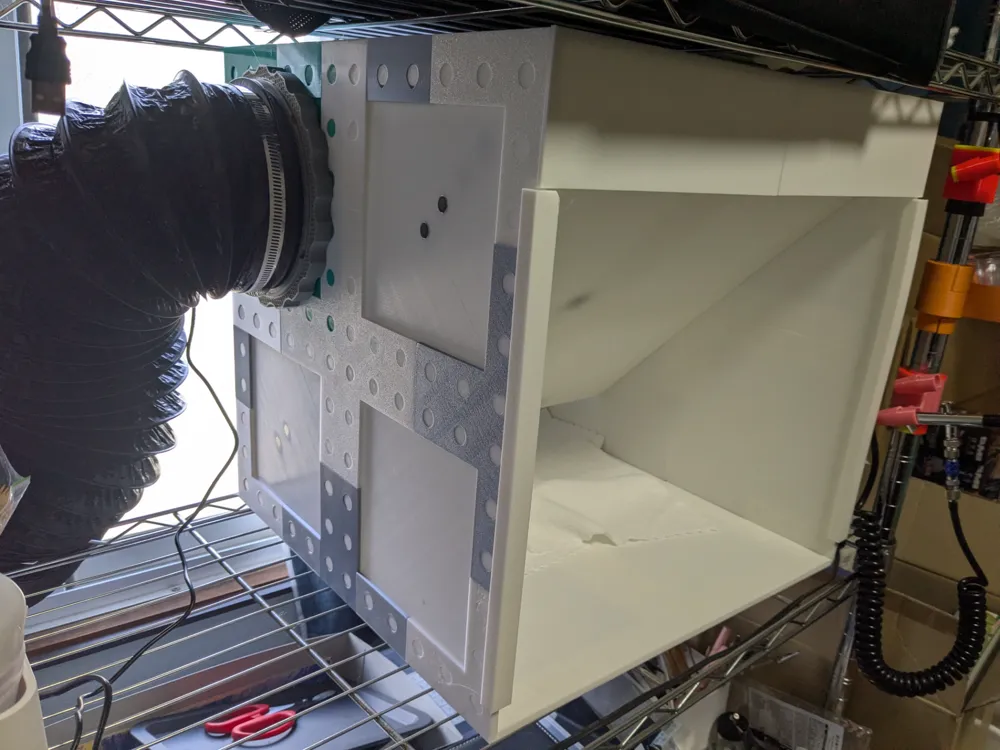
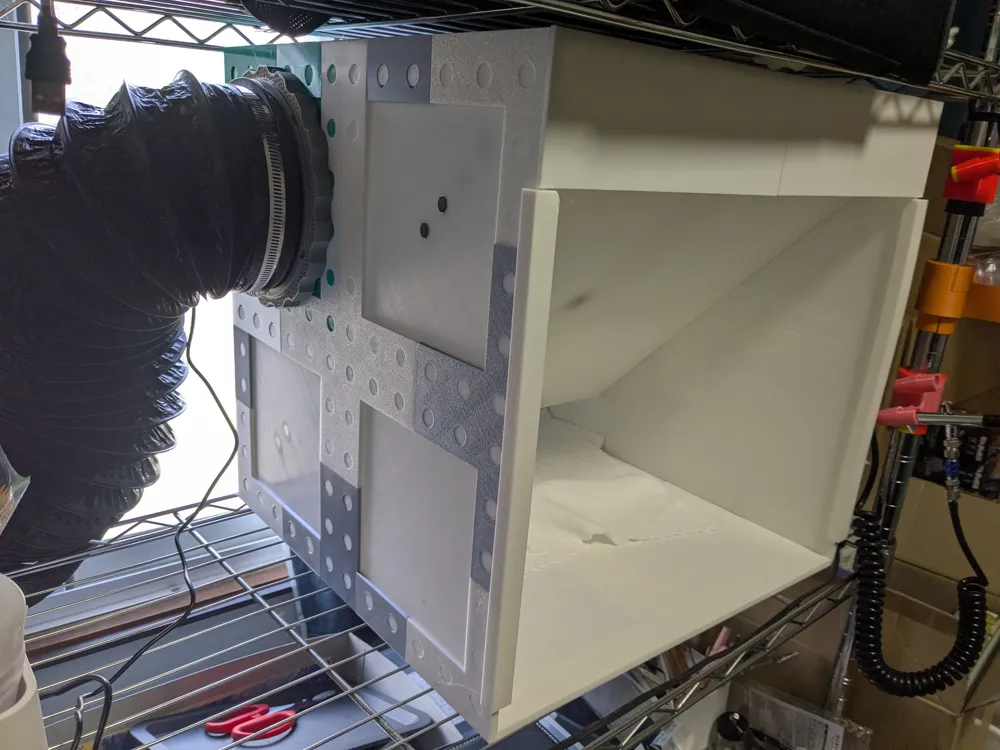
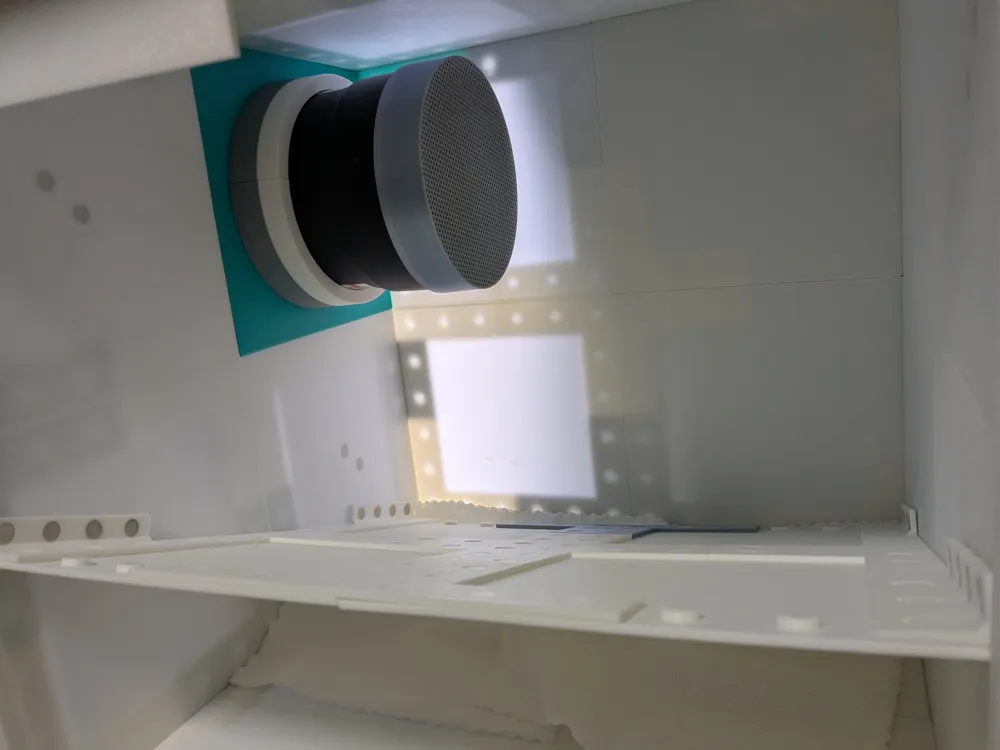
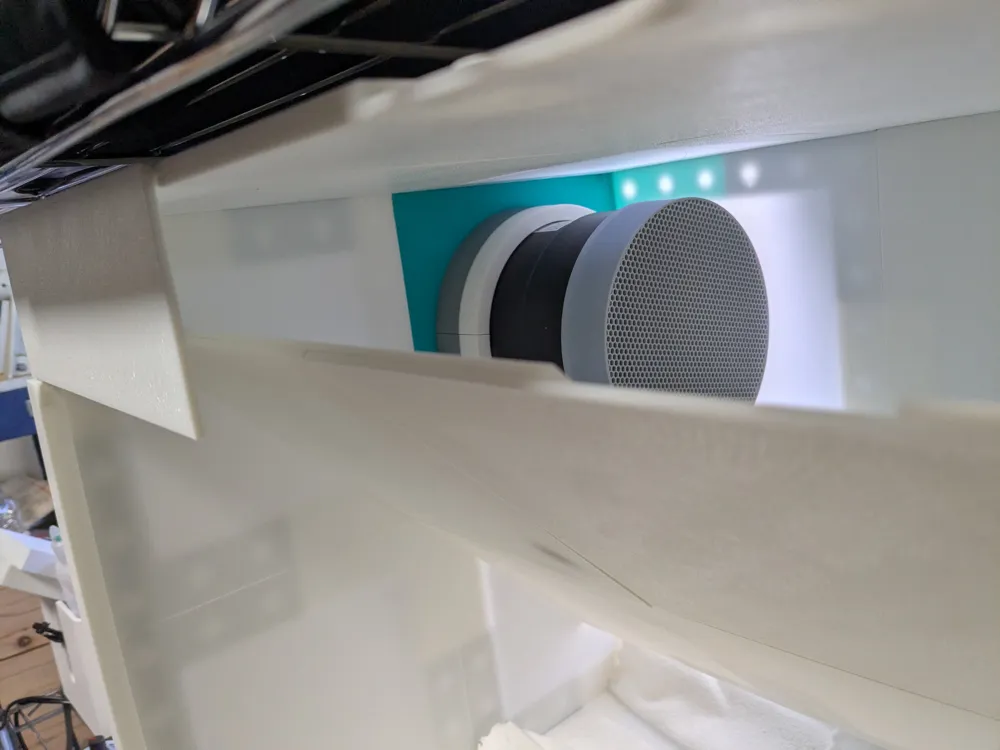
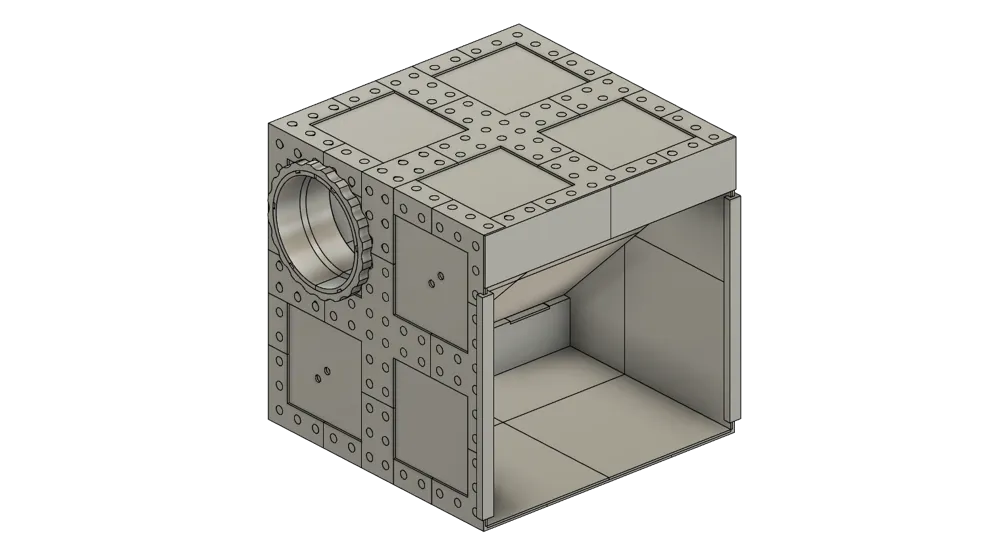
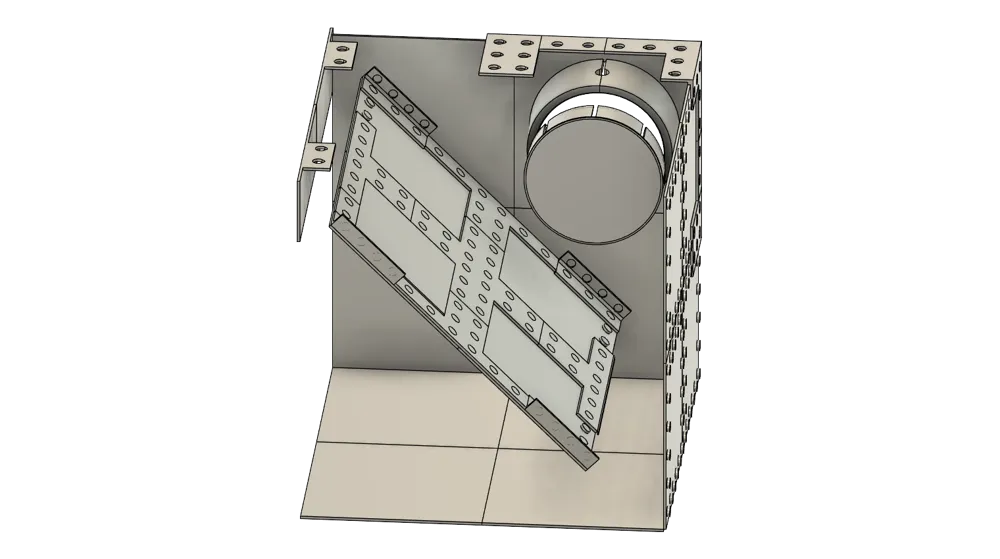
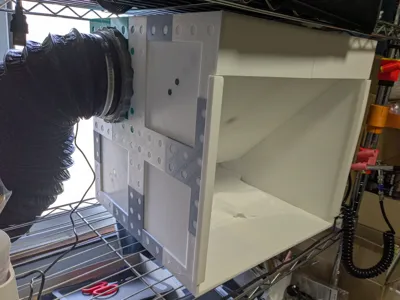
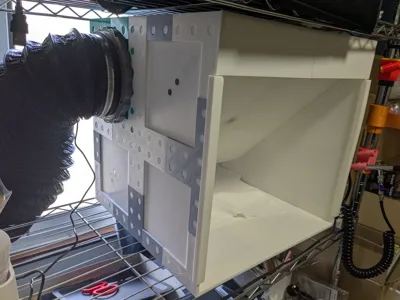
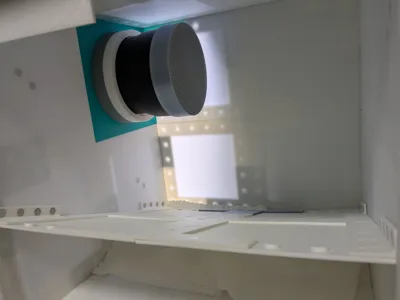
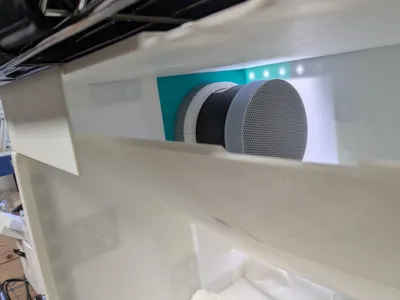
This spray booth uses a 150mm (6-inch) duct fan, available on Amazon.
I used the following : Hon&Guan HI-150SD (Amazon JP)
I used a product that was 147mm x 185mm.
External dimensions : 406mm, Internal dimensions : 400mm
Use a 10 x 2.5mm magnet.
It depends on the price of PLA, but it should cost around $100 to make.
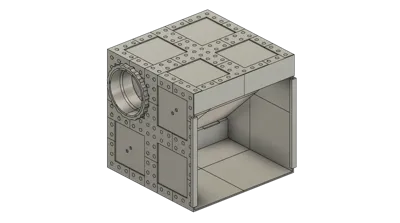
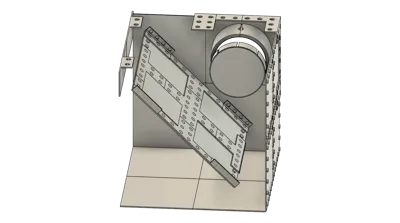
"Spray Booth assembled.step" is a STEP file of the assembled parts.
Please use this as a reference if you are unsure of the shape of the finished product.
Because we prioritized durability, it required a lot of material and took a very long time to print.
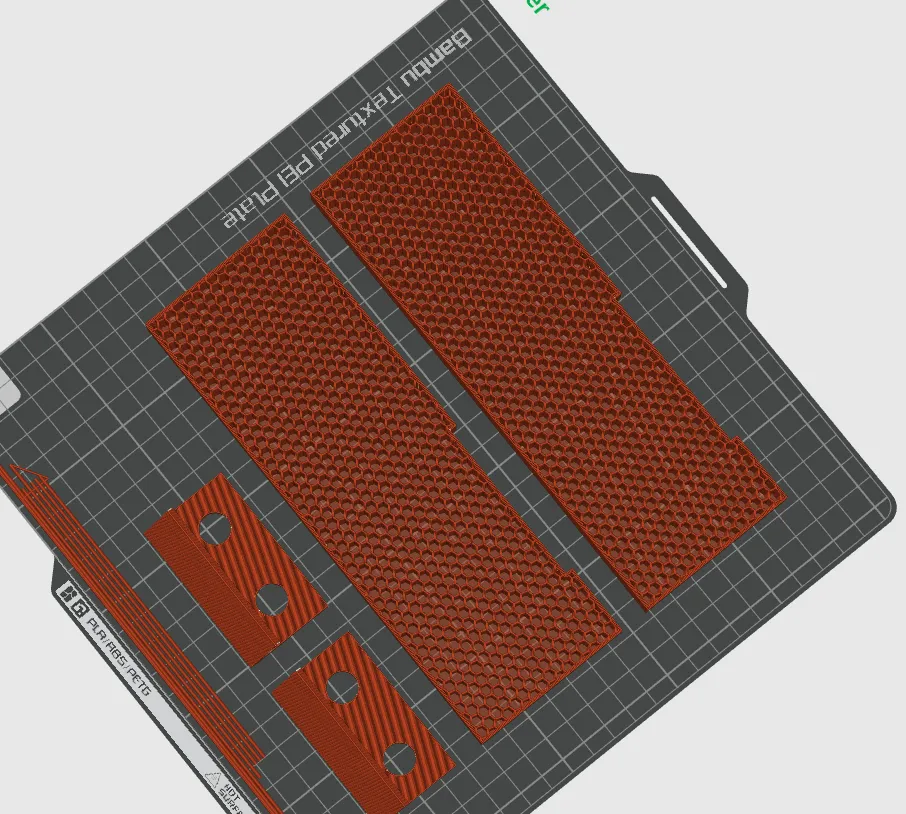
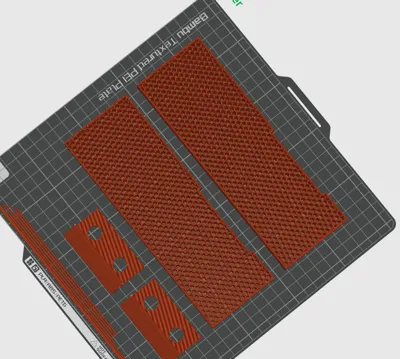
I've placed all the minimum parts in the second profile.
It looks like I'll be using 4.4kg for about 107 hours.
The holes for each connection are 12mm.
There is no clearance, so if they are loose, use glue.
If they are narrow, print the "Panel" using XY correction.
- Attach three "Panels" to the "Rear Corner". Create four.
- Combine the four corners with "Cross".
- Combine using "L Big".
- Use "L Small".
- After completion, insert the "reinforcement rod" into the left and right sides of the front to reinforce it.
If you use thinners with an airbrush, we recommend using PLA filament.
ABS has low solvent resistance, so problems may occur.
The front left and right sides will bend, so we recommend using a harder material.
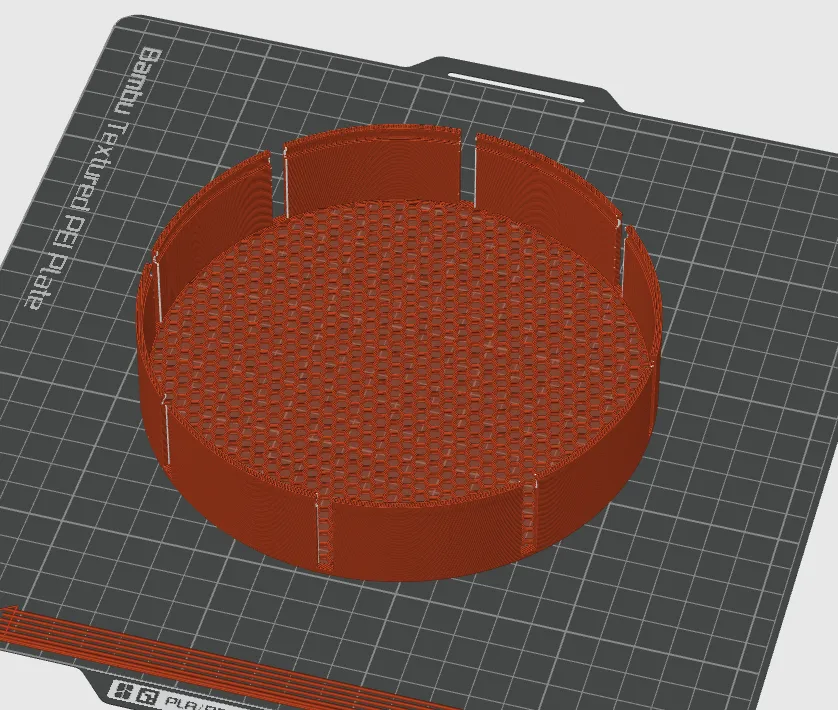
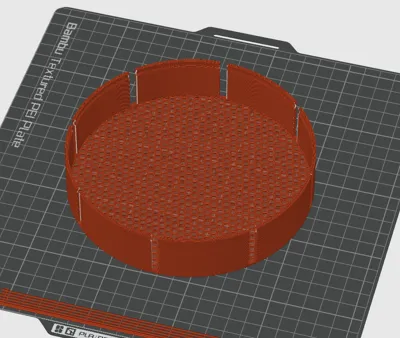
The top and bottom of the Fan Guard and Filter should be layer 0.
Since we don't want to use supports, we've added a recess to the top of the hole.
If you want a full hole, use the contents of the Round hole folder.
The use of filters and filter brackets is not recommended.
We recommend cutting and arranging cardboard.
This is a STEP file, so please change it as needed if you have any problems.
If you want to use a 100mm or 75mm fan, please make one yourself.
License

You may create derivative works based on this object, provided that all such derivative works are published exclusively on the MakerWorld platform and include proper attribution to the original creator. You may not share, upload, host, distribute, or publish this object—or any derivative work of this object—on any other digital platform, marketplace, or distribution channel. Commercial use of this object and any derivative works is strictly prohibited. This includes, but is not limited to, selling, renting, sublicensing, or using the object in any context in which you receive monetary compensation or other financial benefits.


Comment & Rating (2)