
Sherma Singing- Silksong



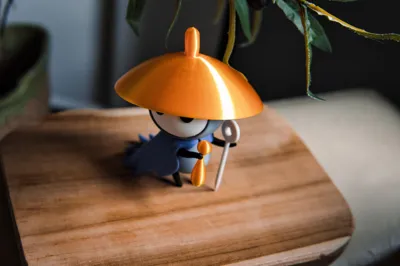








Print Profile(1)

Bill of Materials





Description
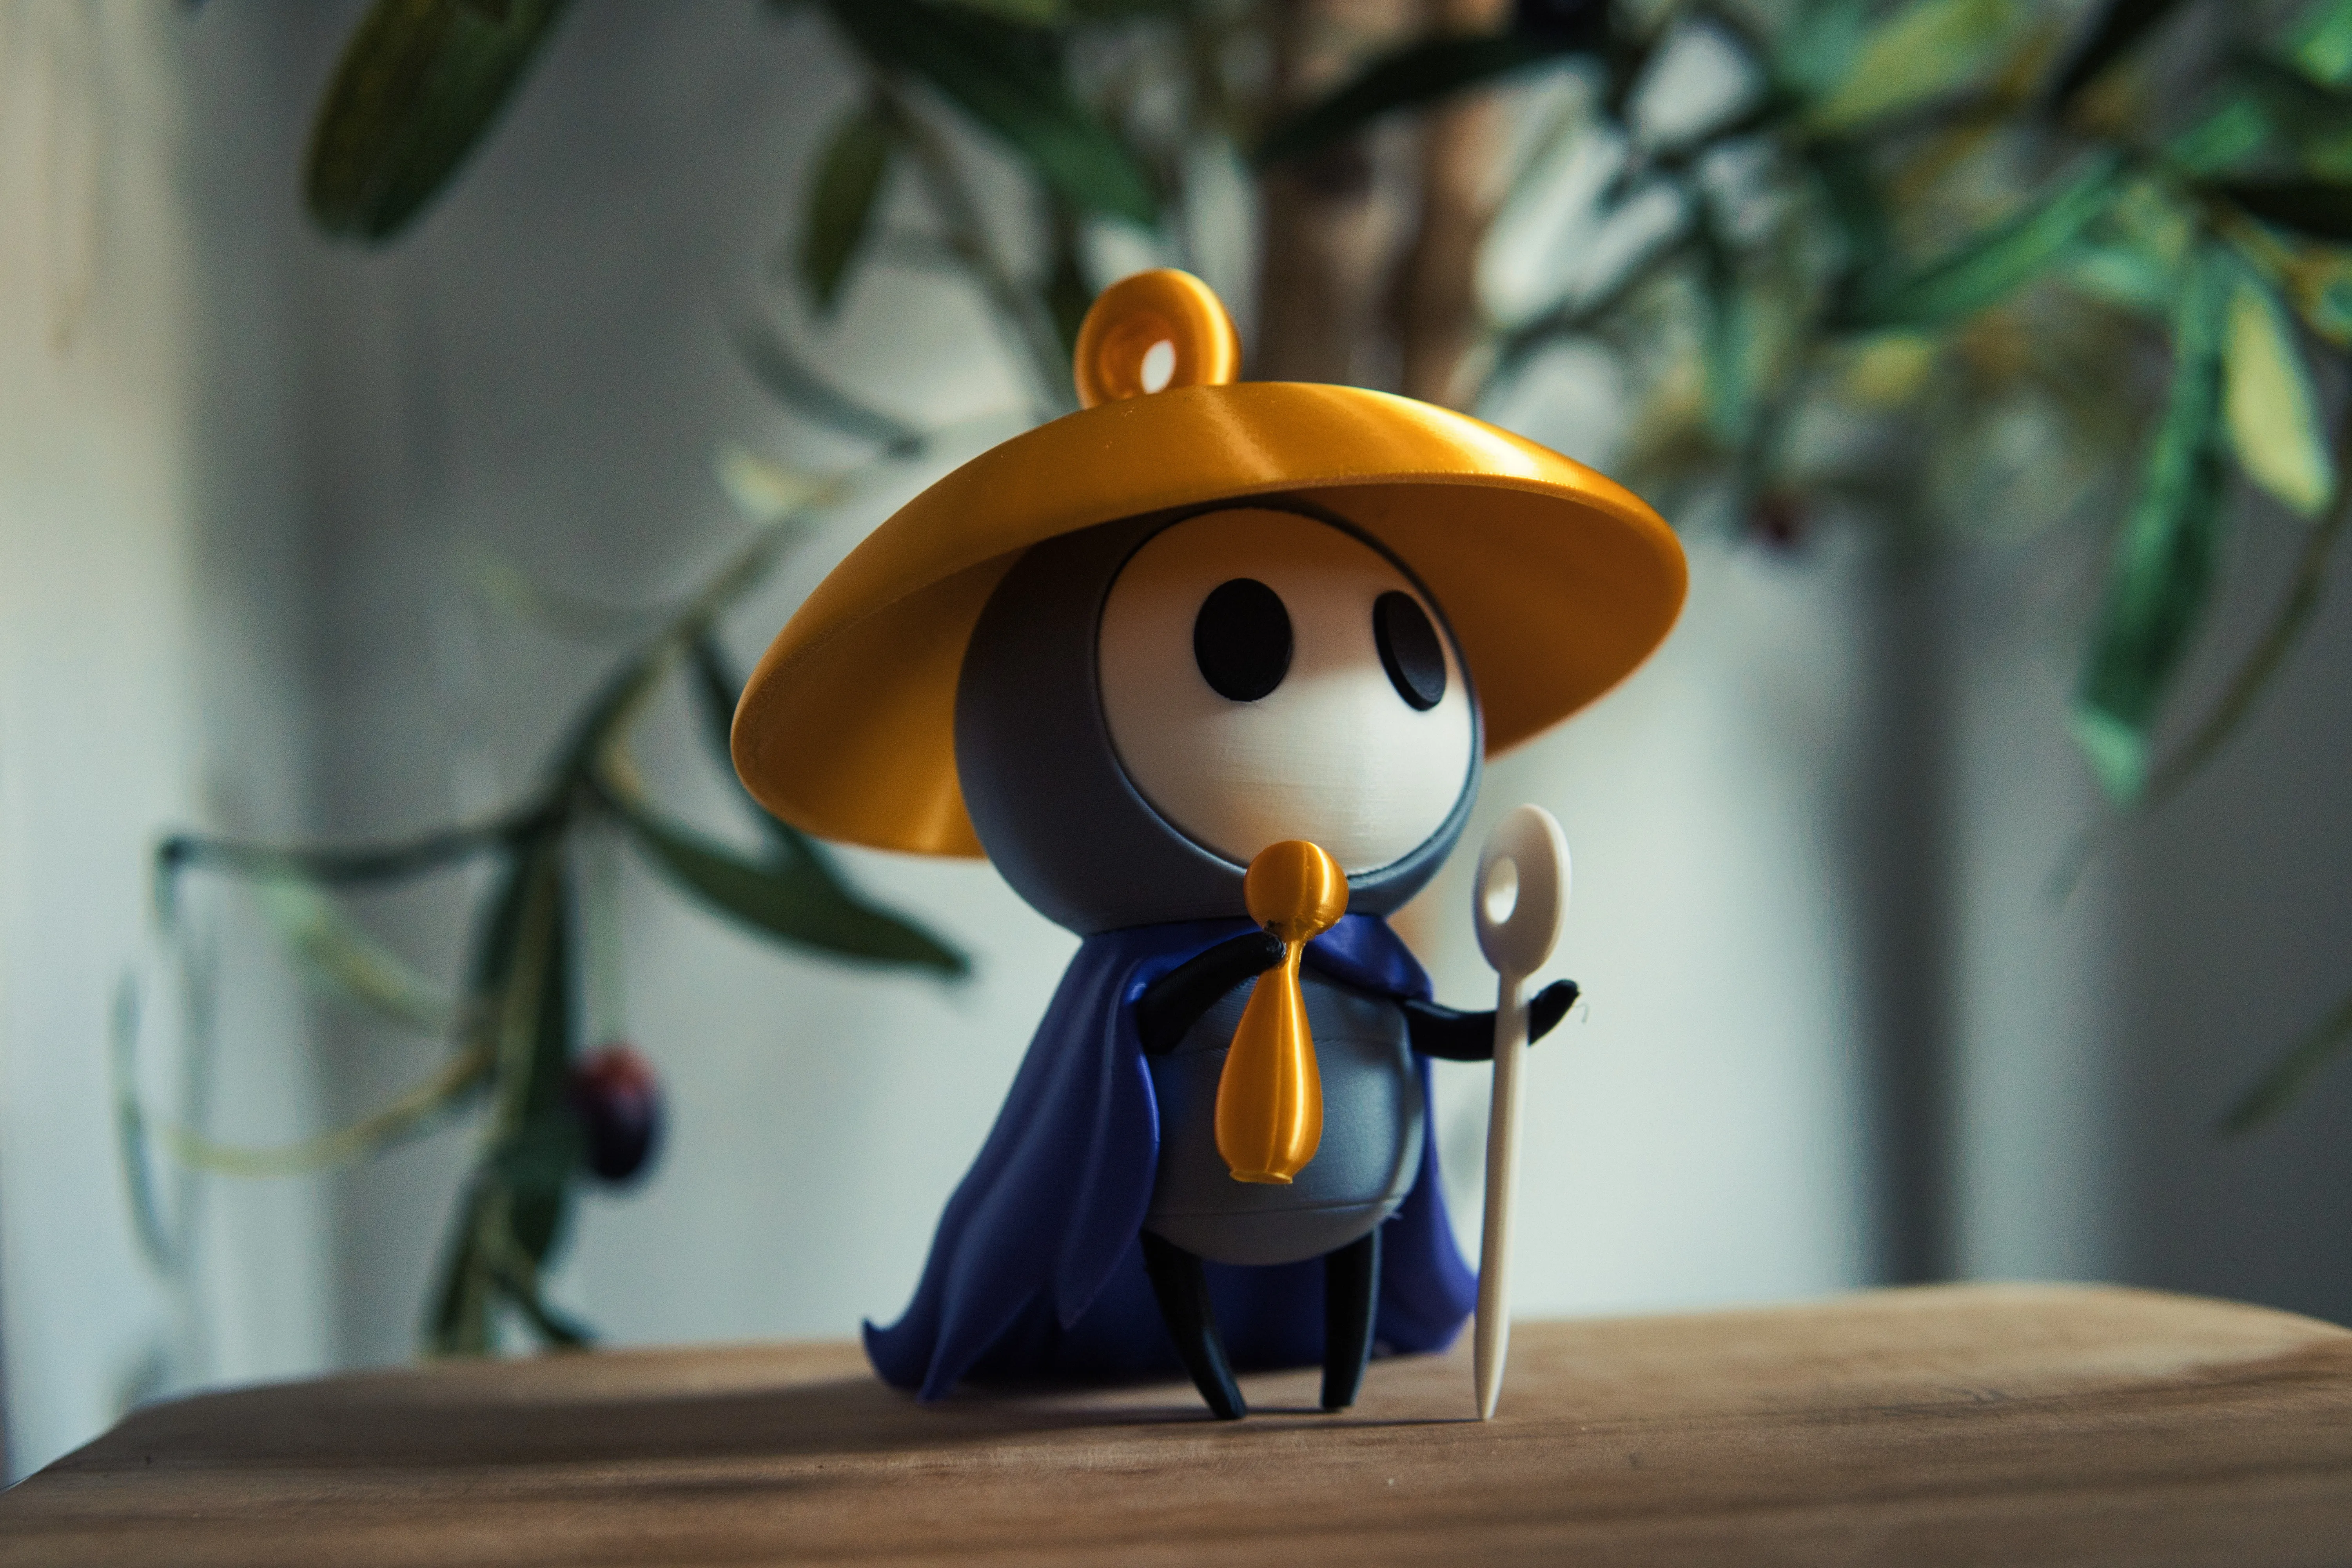
Oh hear me pray, please hear me sing, My path's ahead, but here's the thing, I can't squeeze past, o gate of bone, so please wake up, and help... oh?

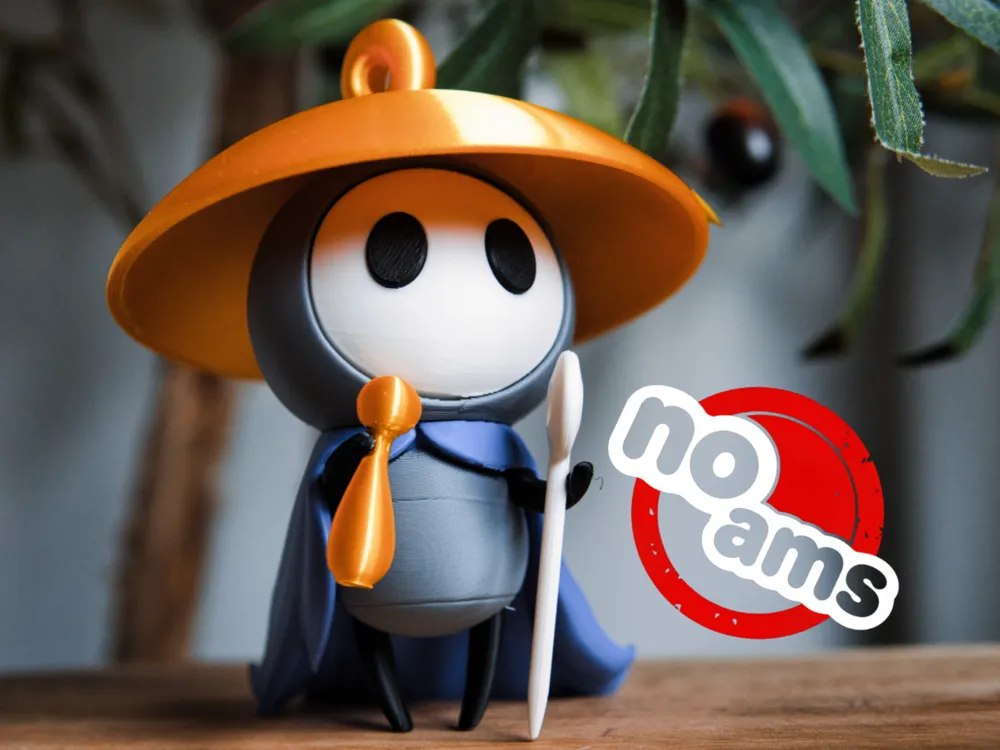
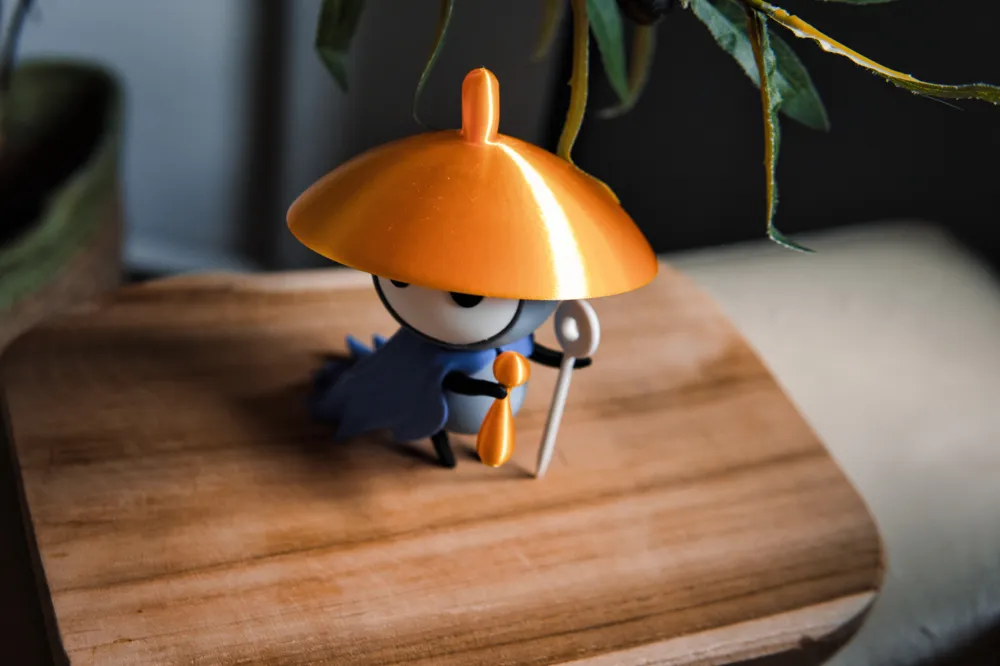
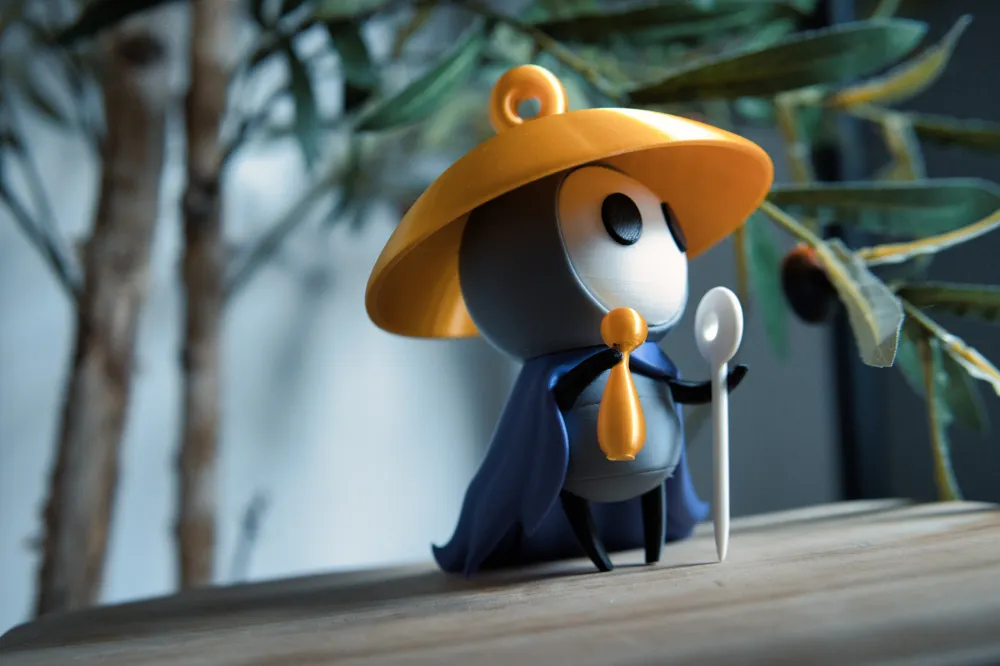
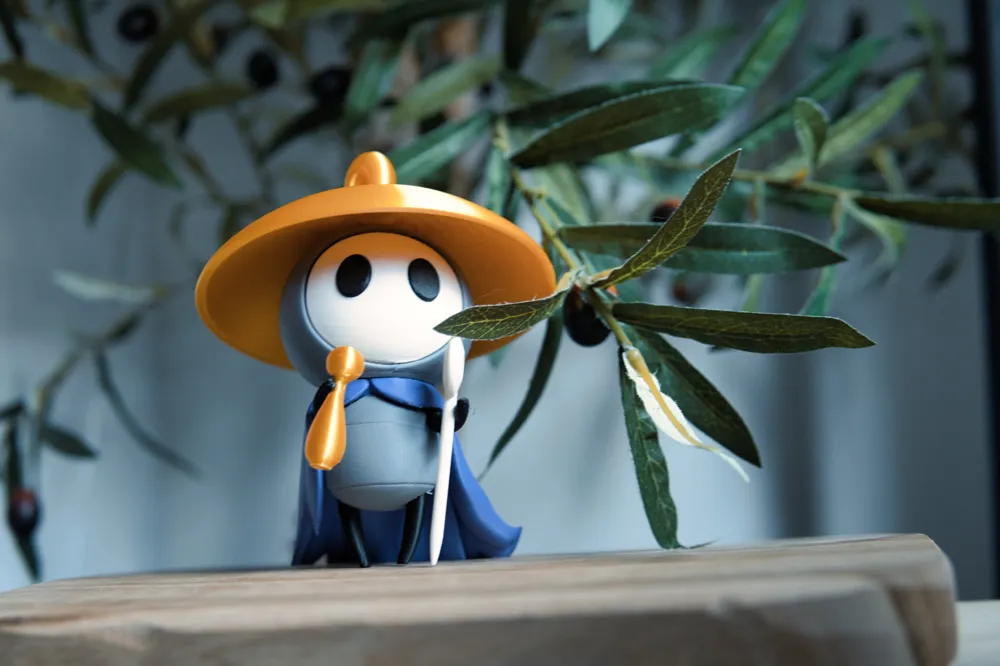
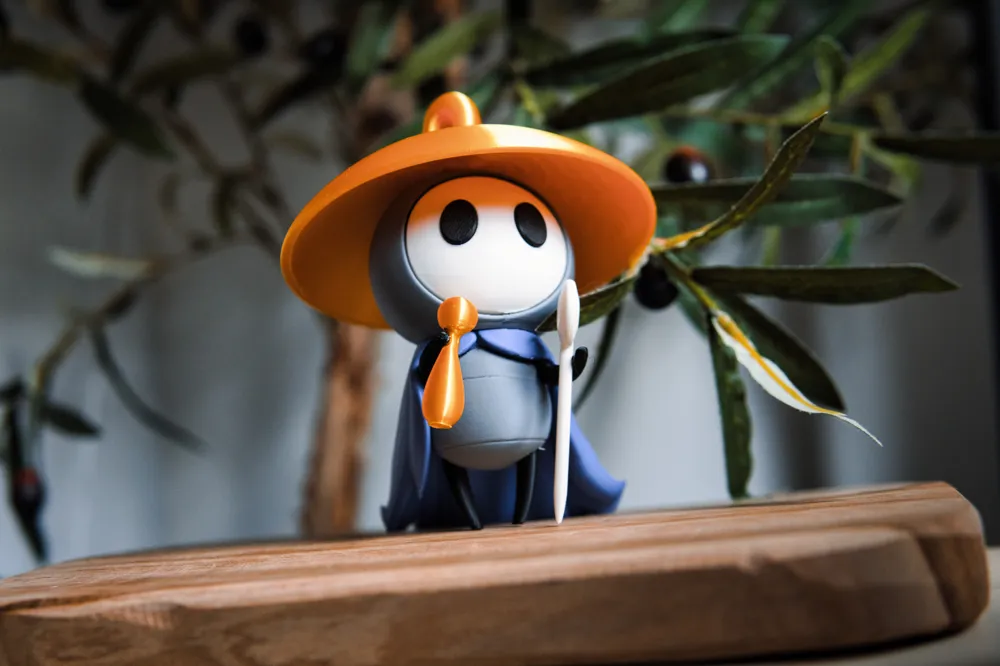
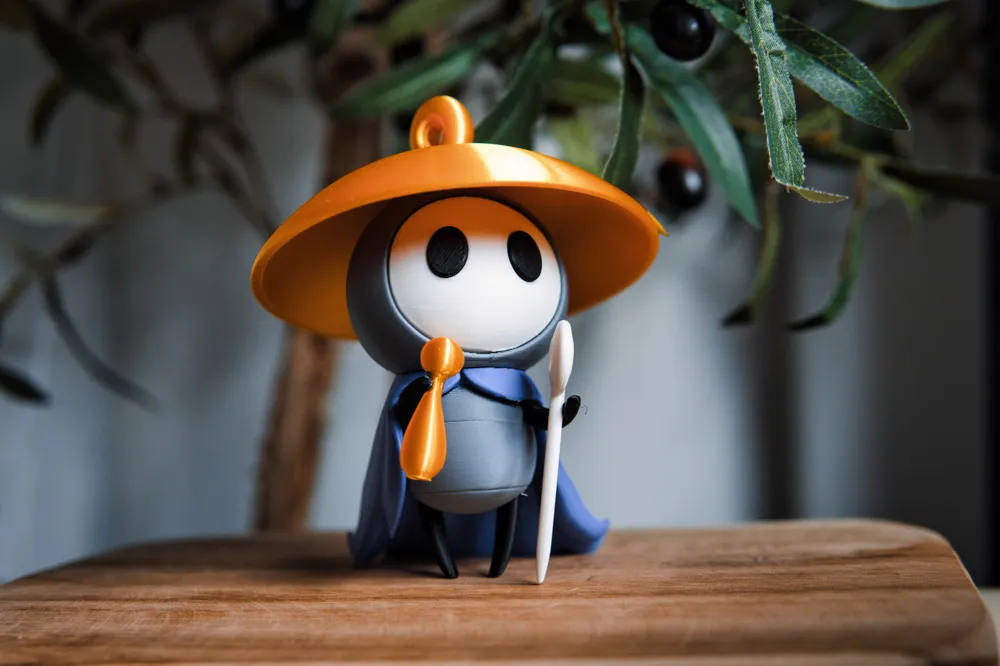
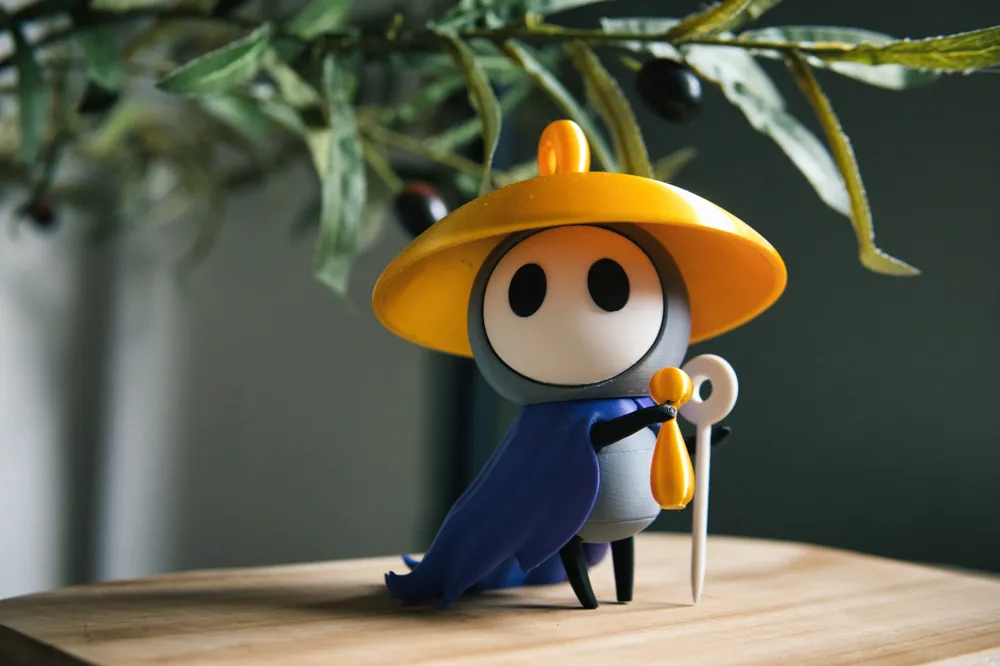
A mini of Sherma singing. Sherma is an optimistic pilgrim on the path to the Citadel. He wields a chime, which he uses on several occasions, while singing. He is occasionally seen near Benches or certain settlements, accompanying Hornet on her journey to the Citadel during Act 1, and aiding fellow pilgrims at Songclave for the majority of Act 2 and Act 3.
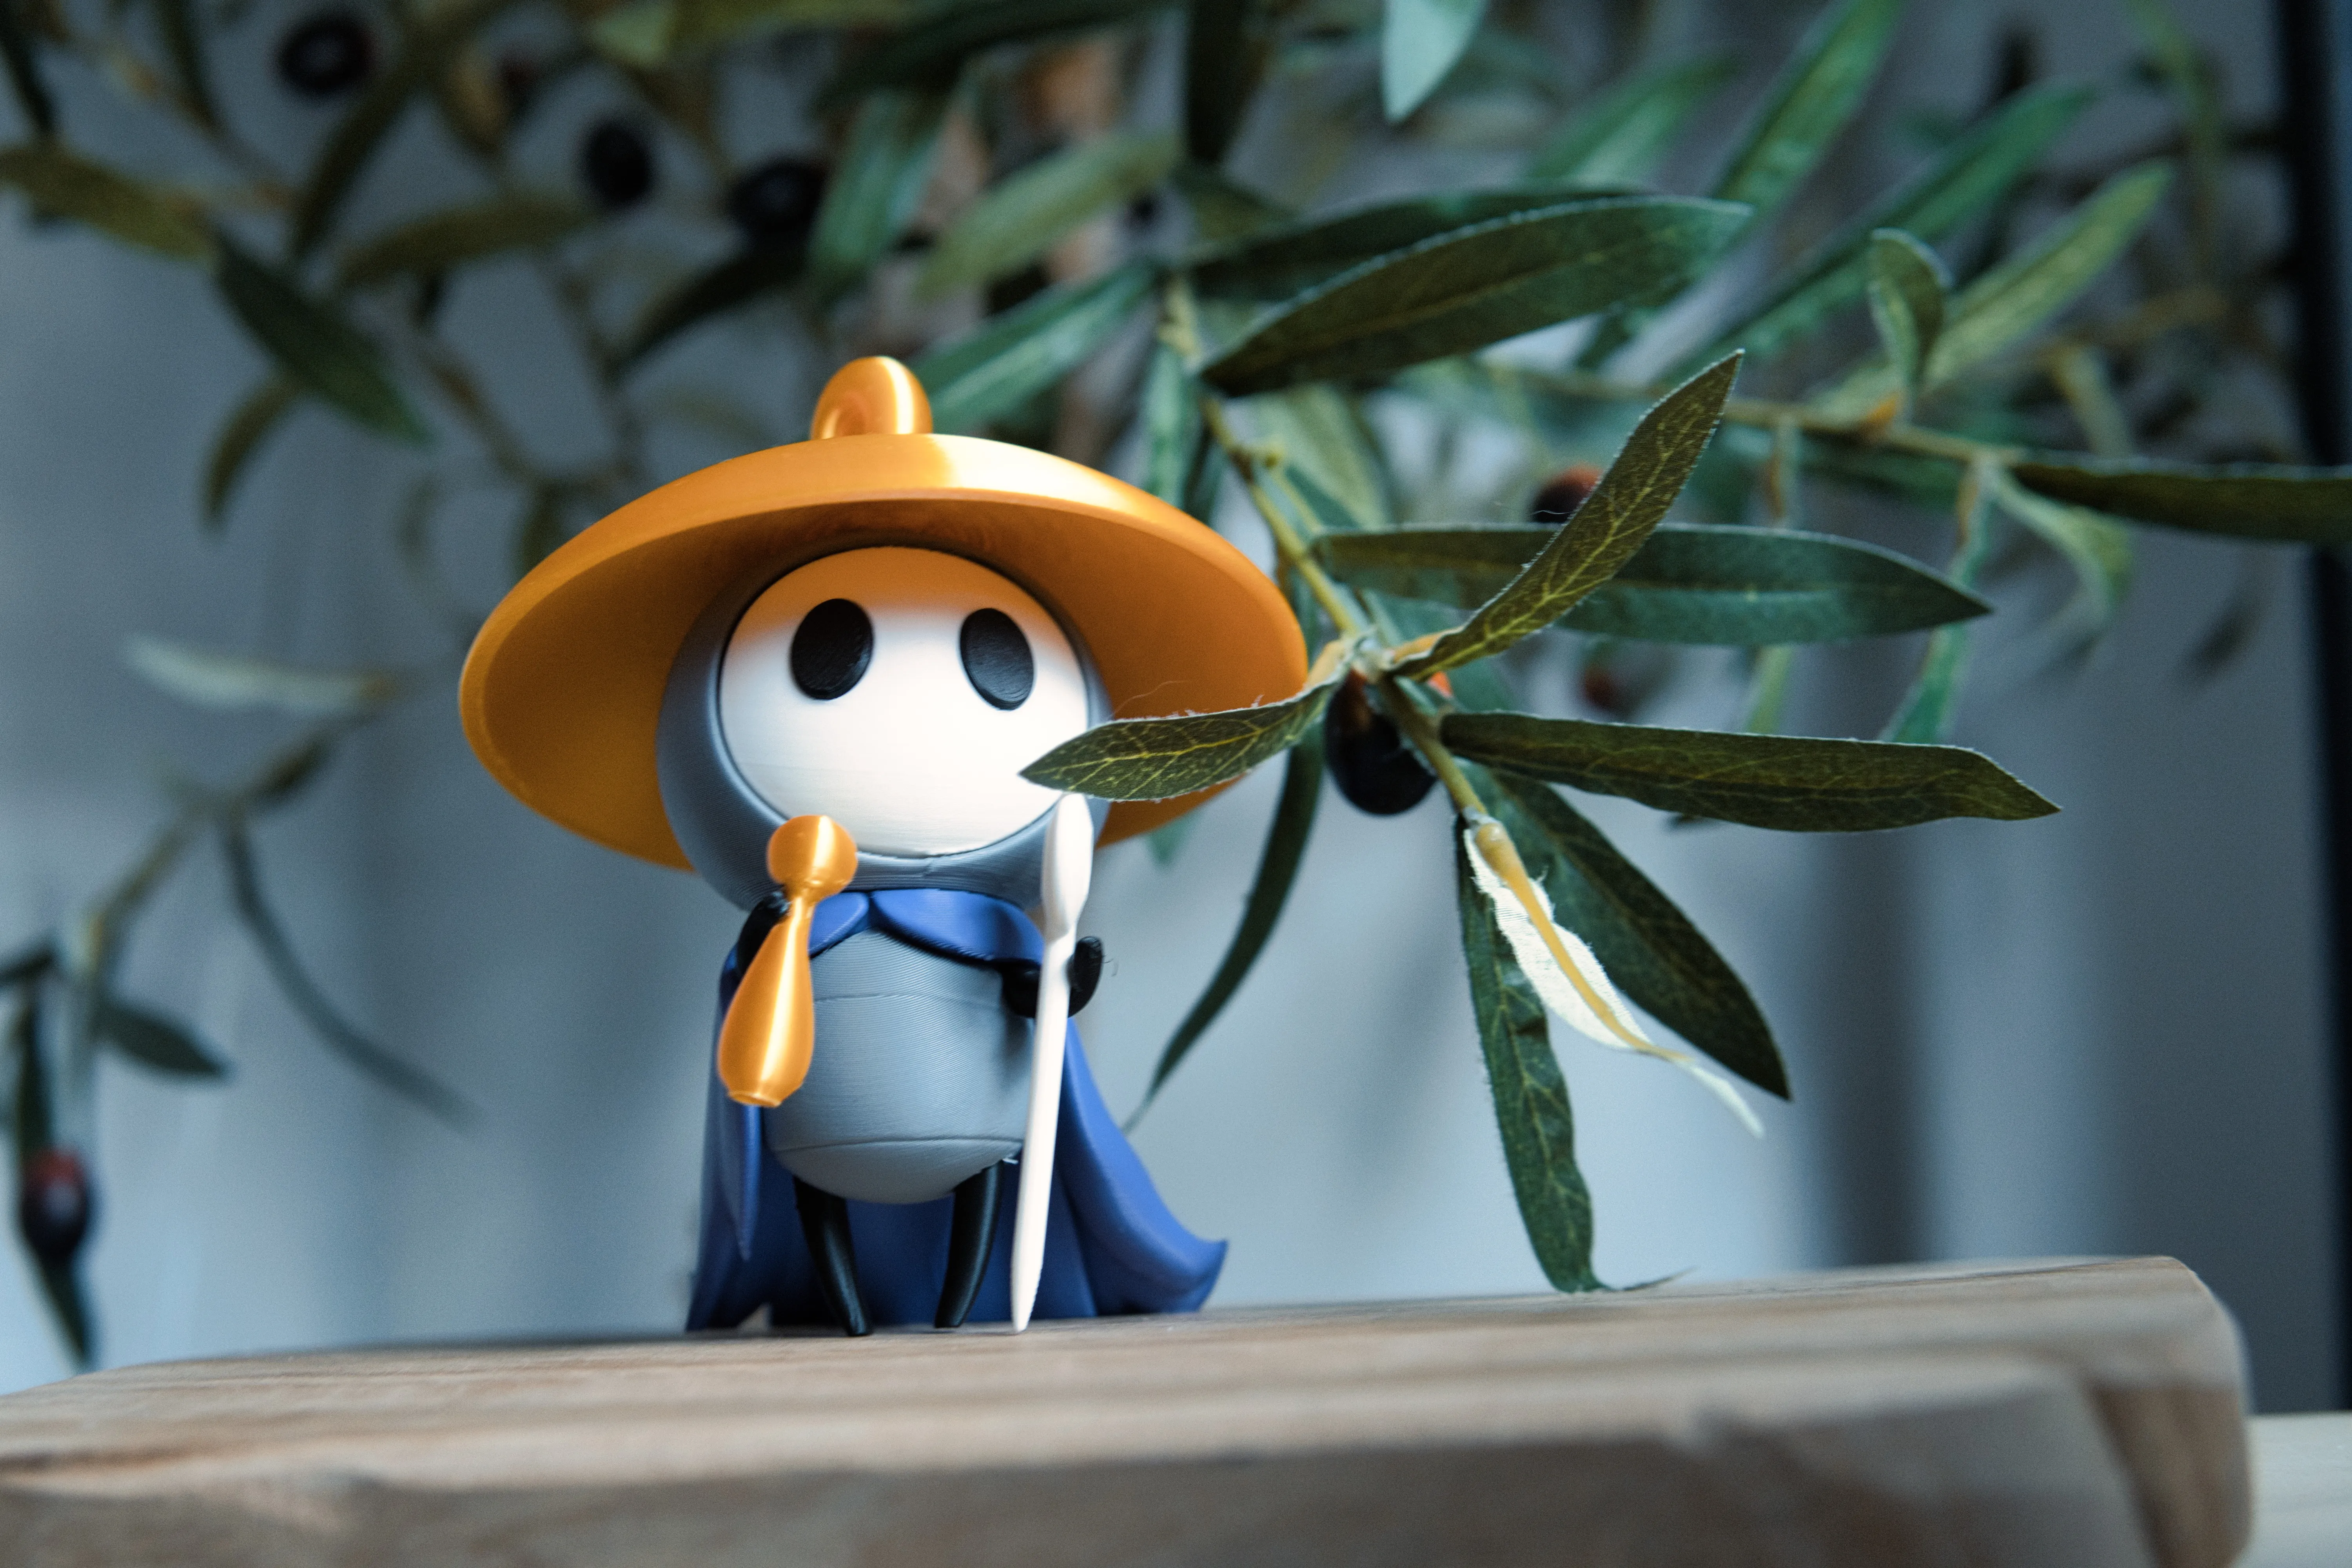
Sherma is always very positive and likes to sing, he is also very friendly. During the game, he refers to Hornet as "red maiden", and Hornet seems to begin to care for him due to his innocence and lack of combat prowess, though he begins to become less naive later in the game, especially in Act 3.
Boost Me (for free)
Assembly:
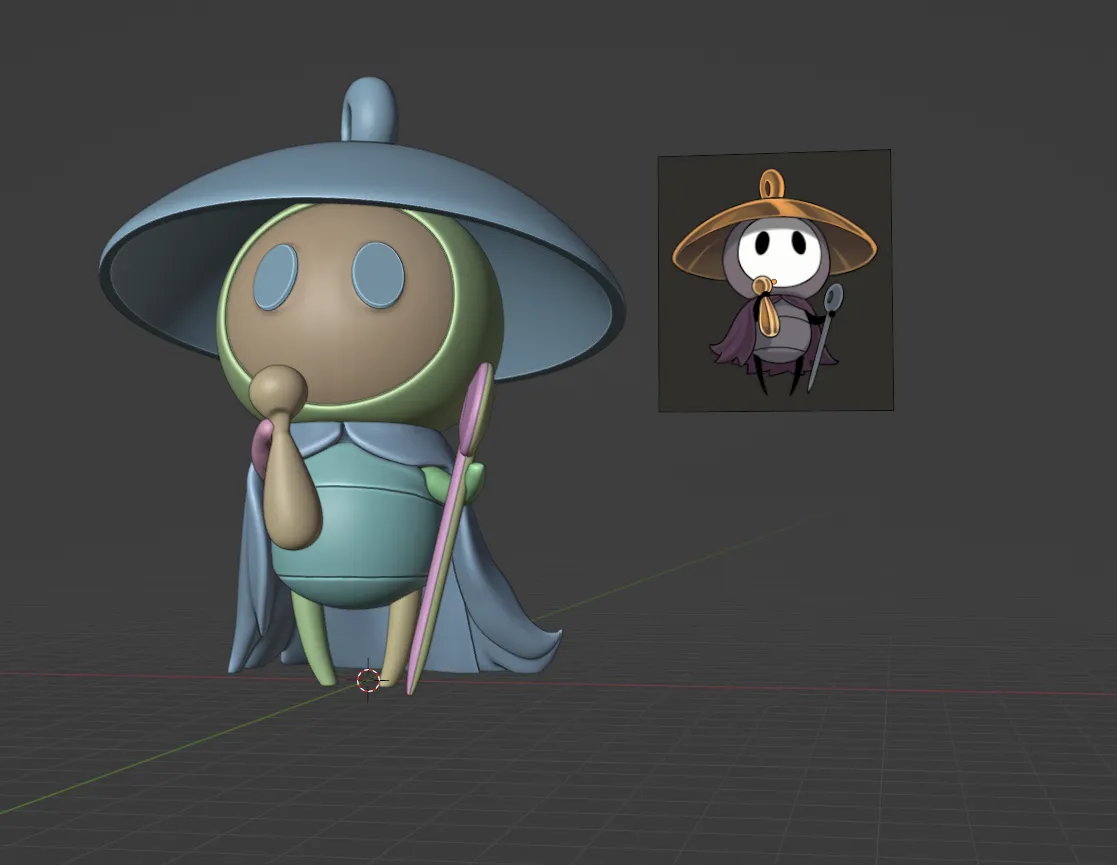
Relatively easy to assemble, with the legs and arms being a bit tricky to glue
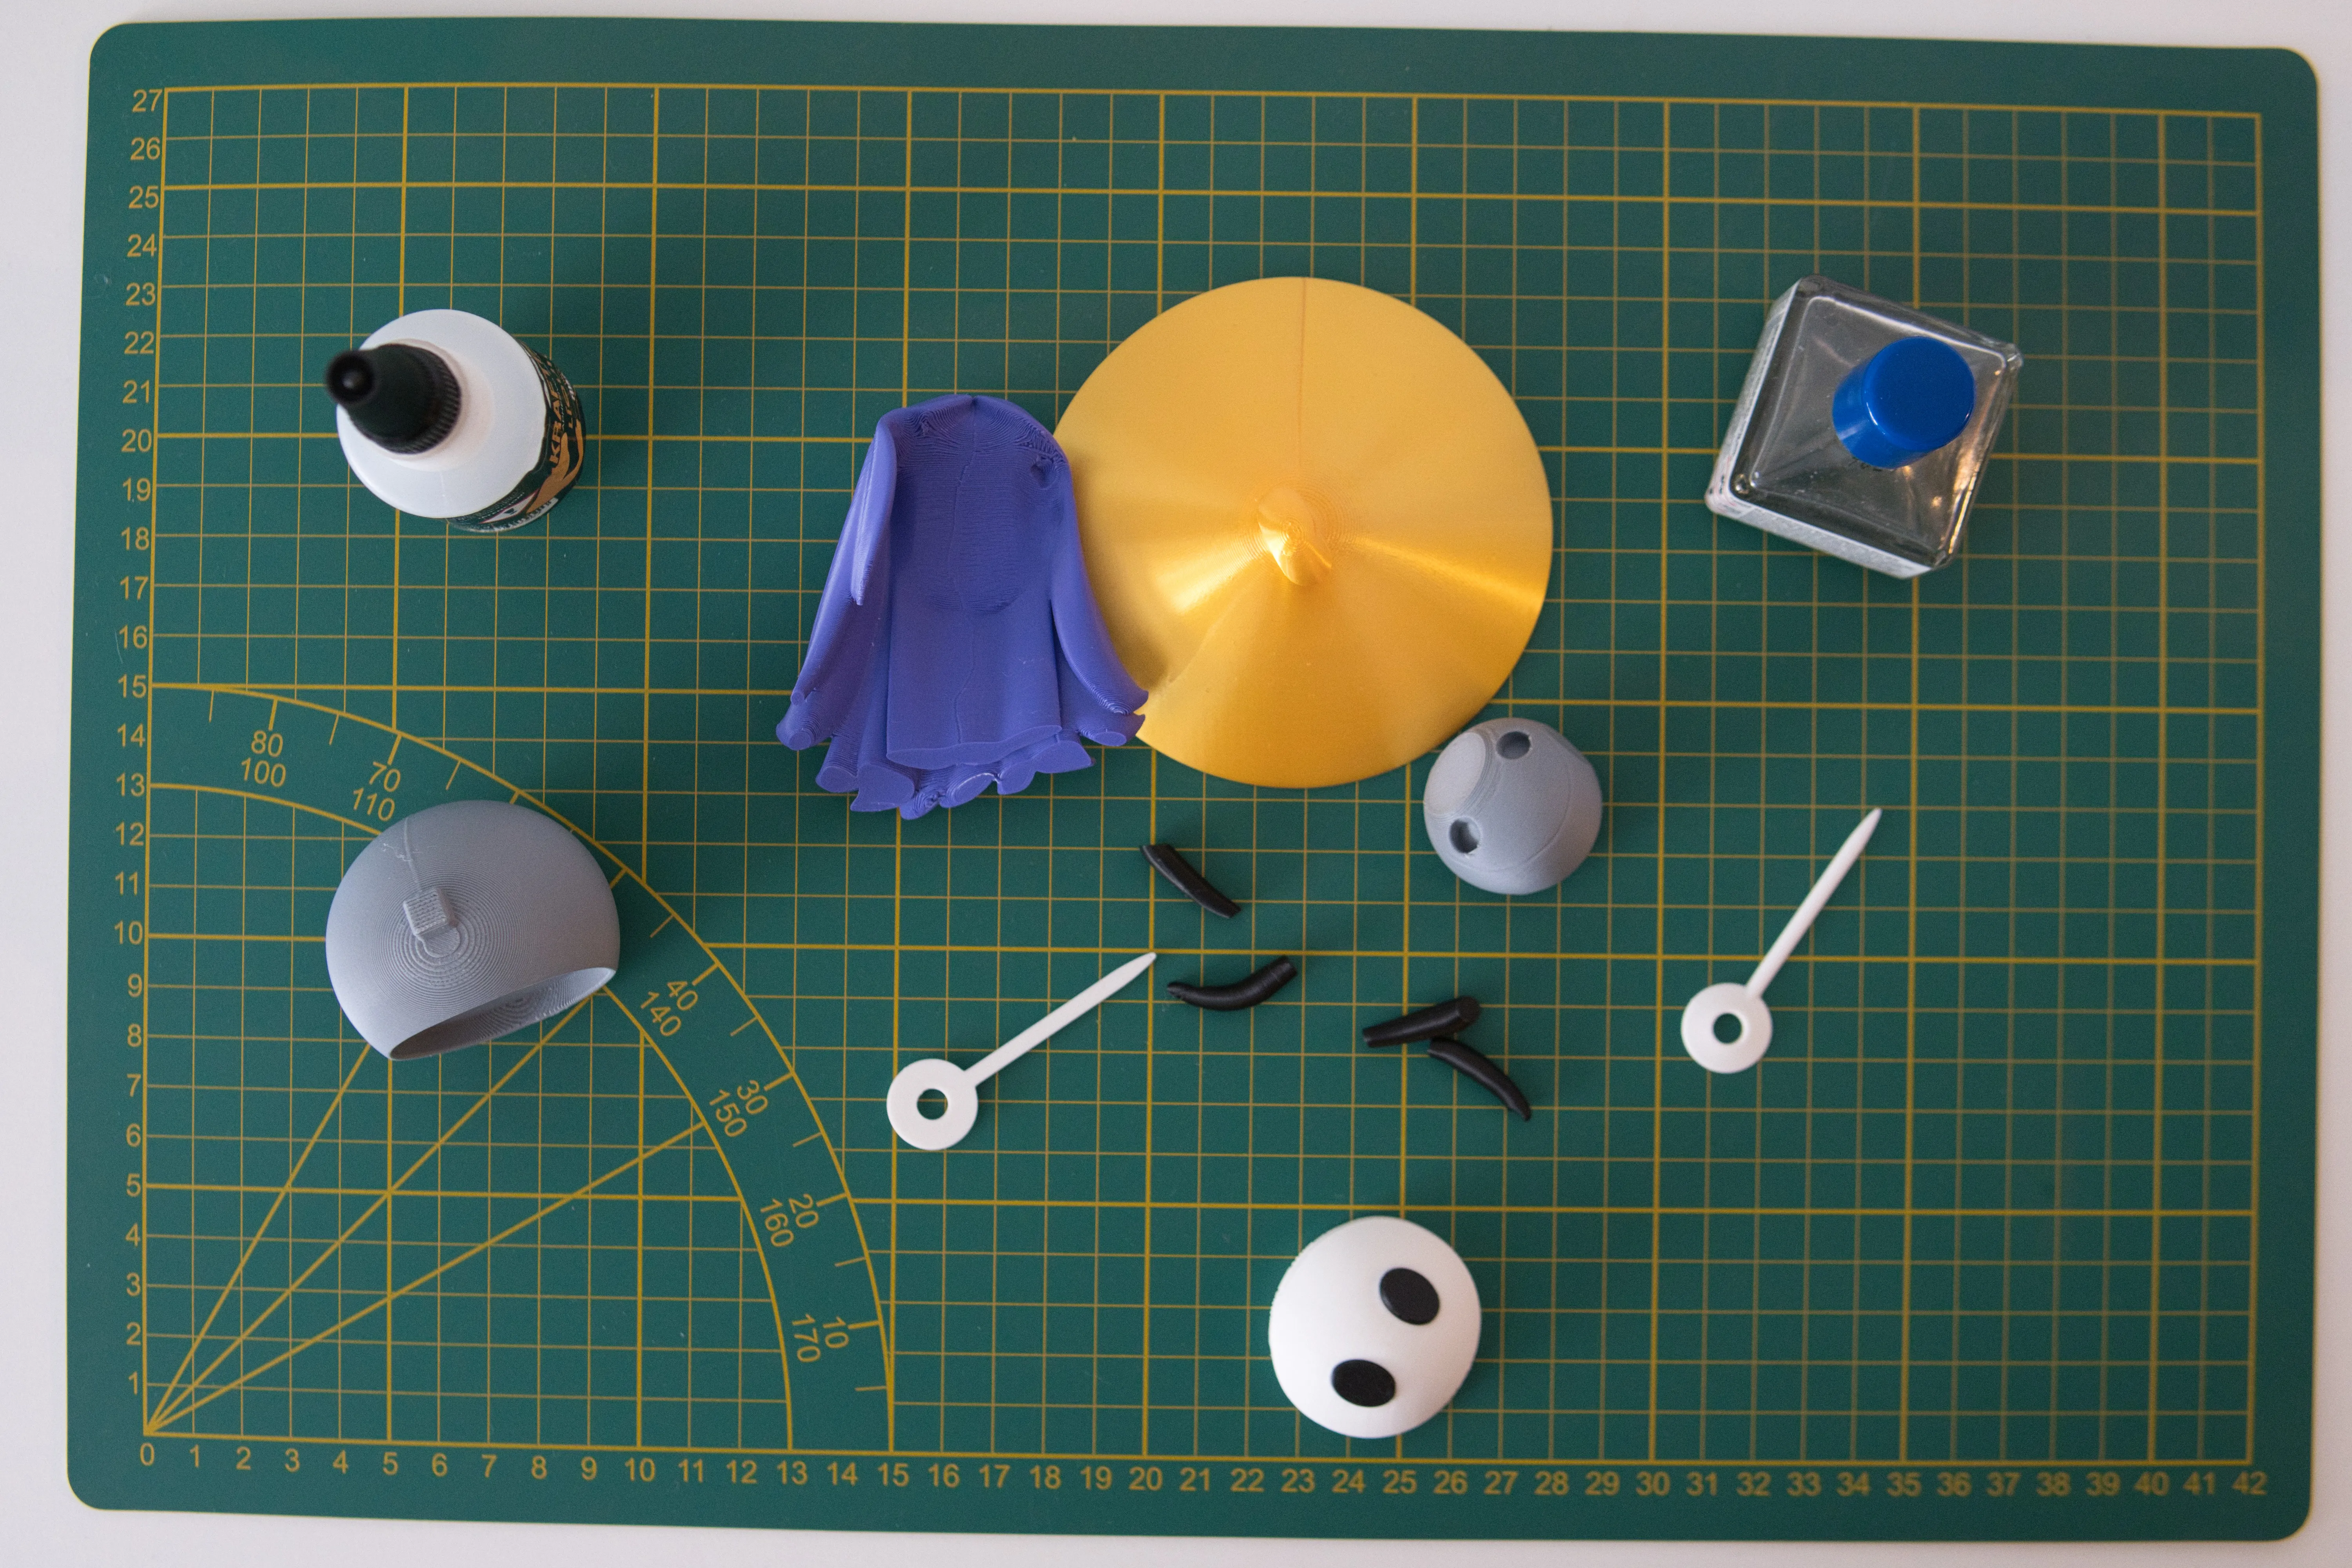
These are the pieces you will be presented with. The eyes pop in, no glue necessary.
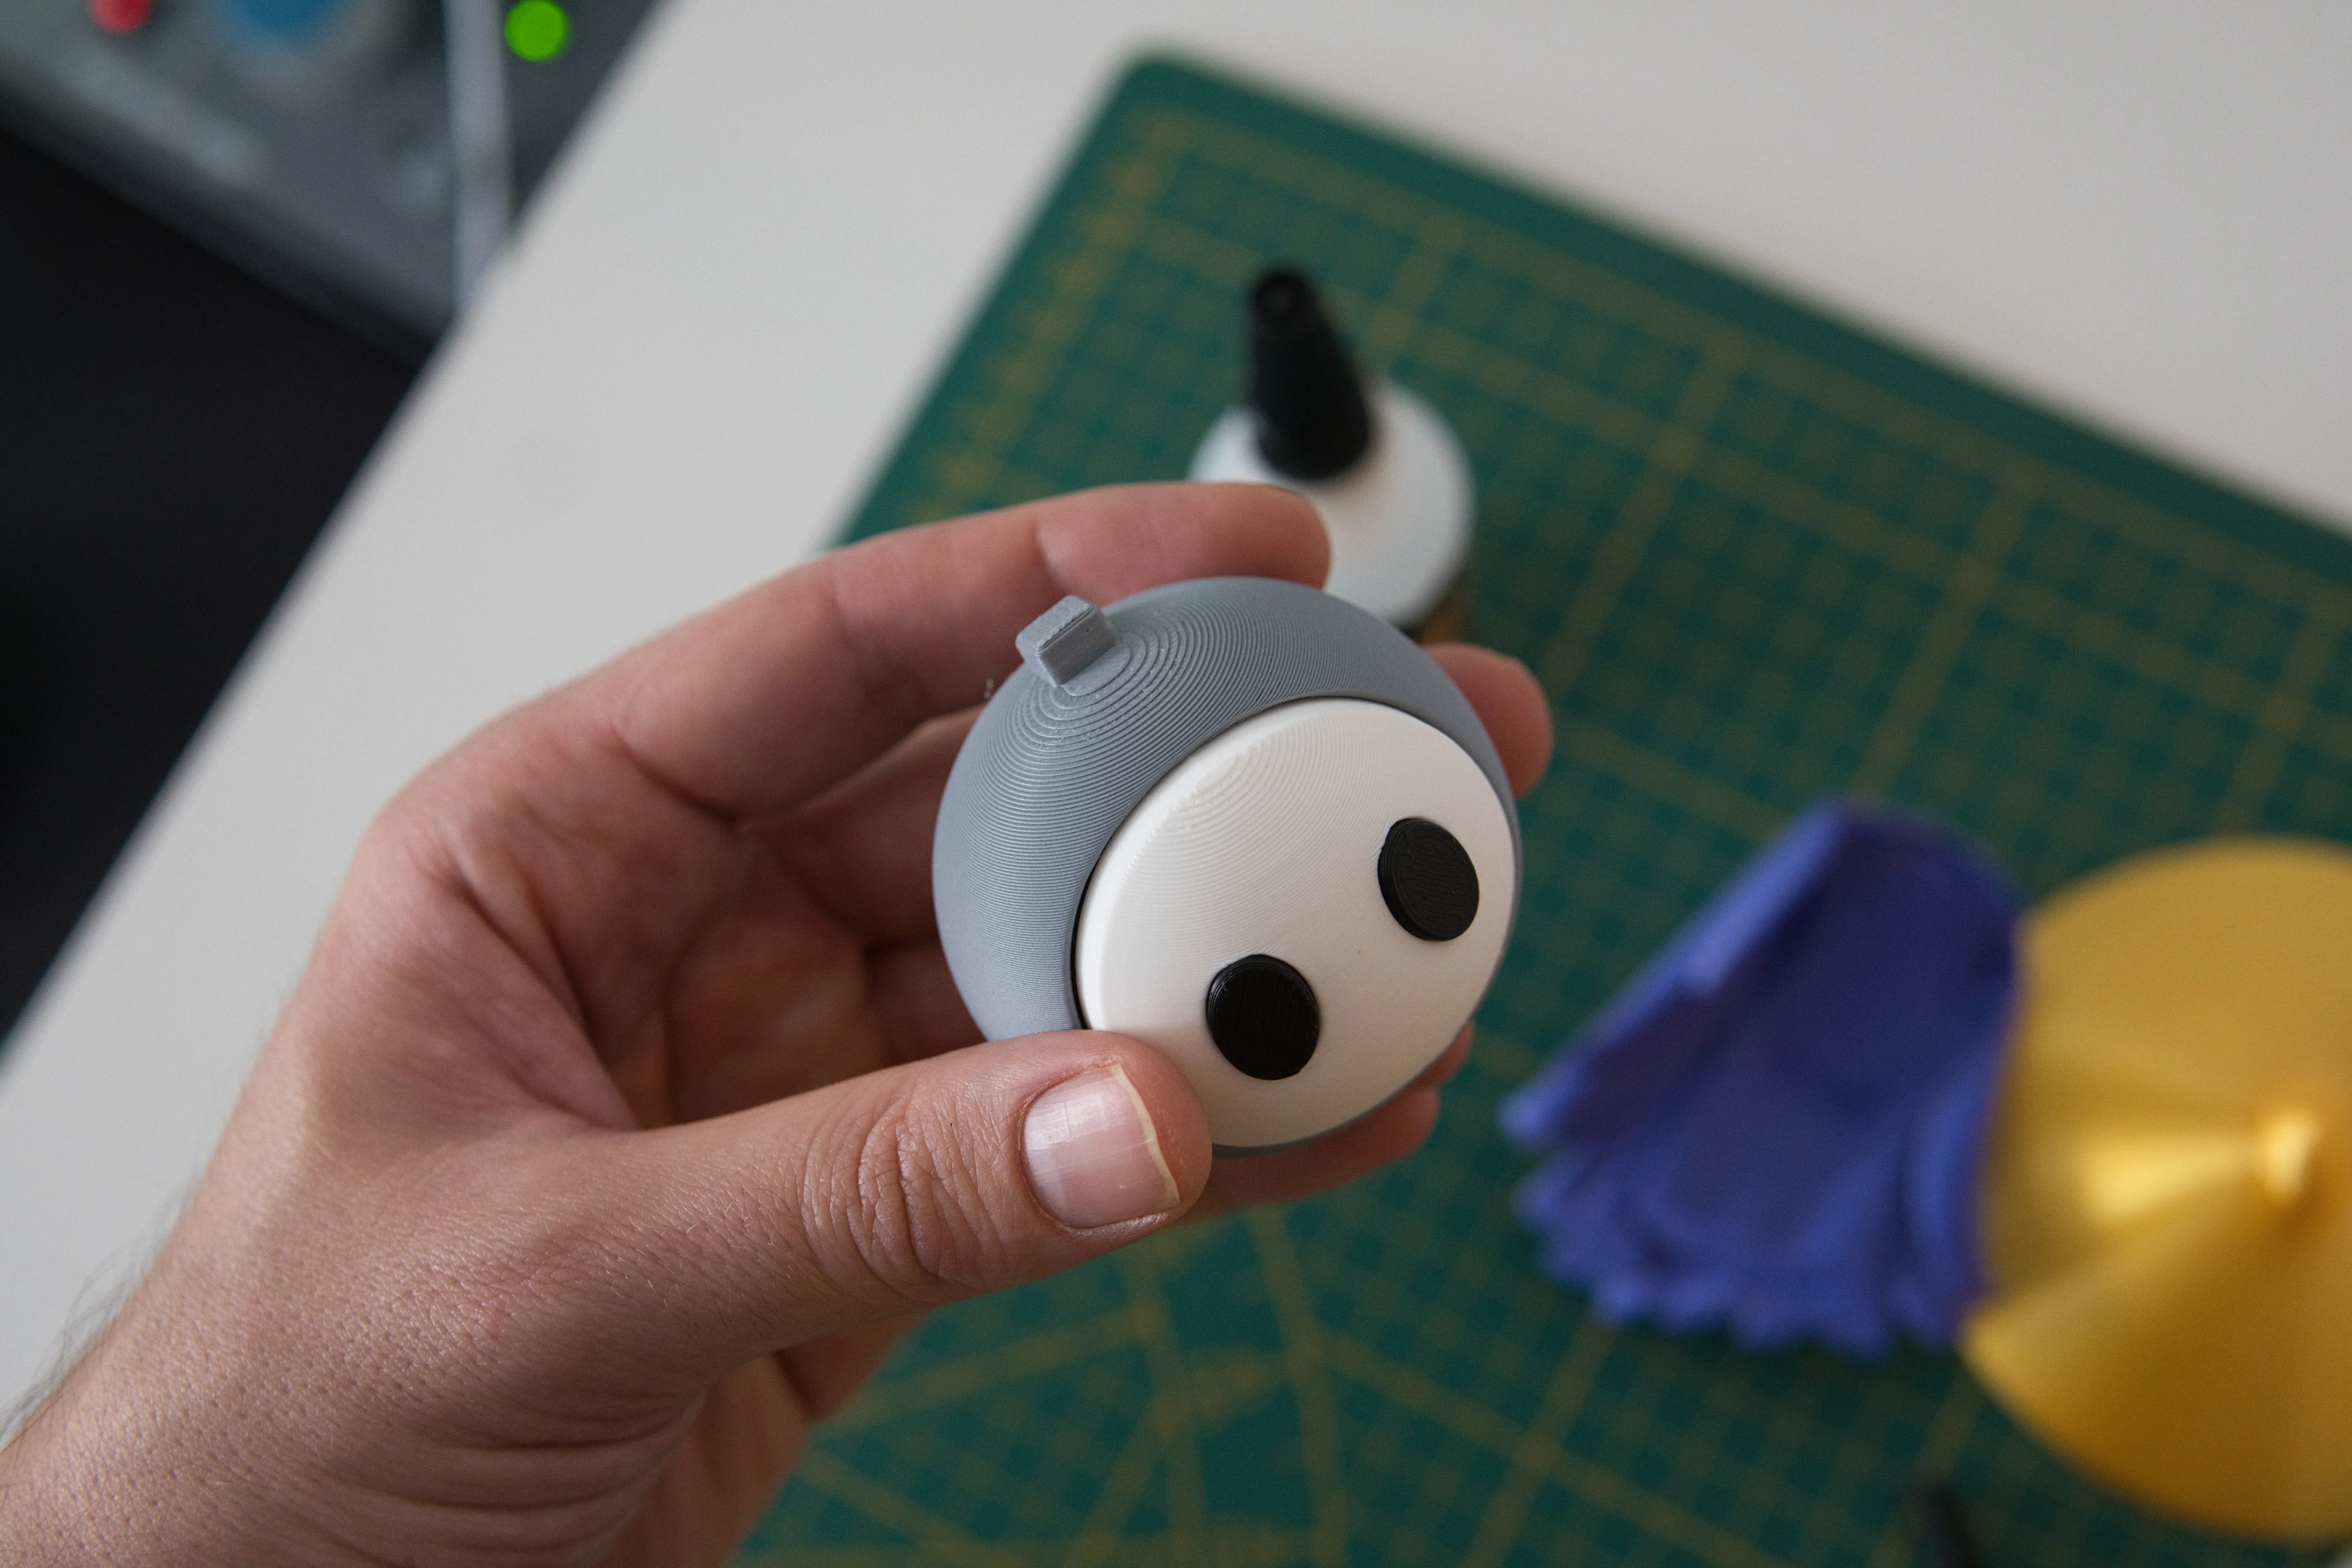
Insert the face into the head cavity. There is plenty of wiggle room so no issues arise with fit, make sure it is aligned properly, the part with more visible layer lines are up.
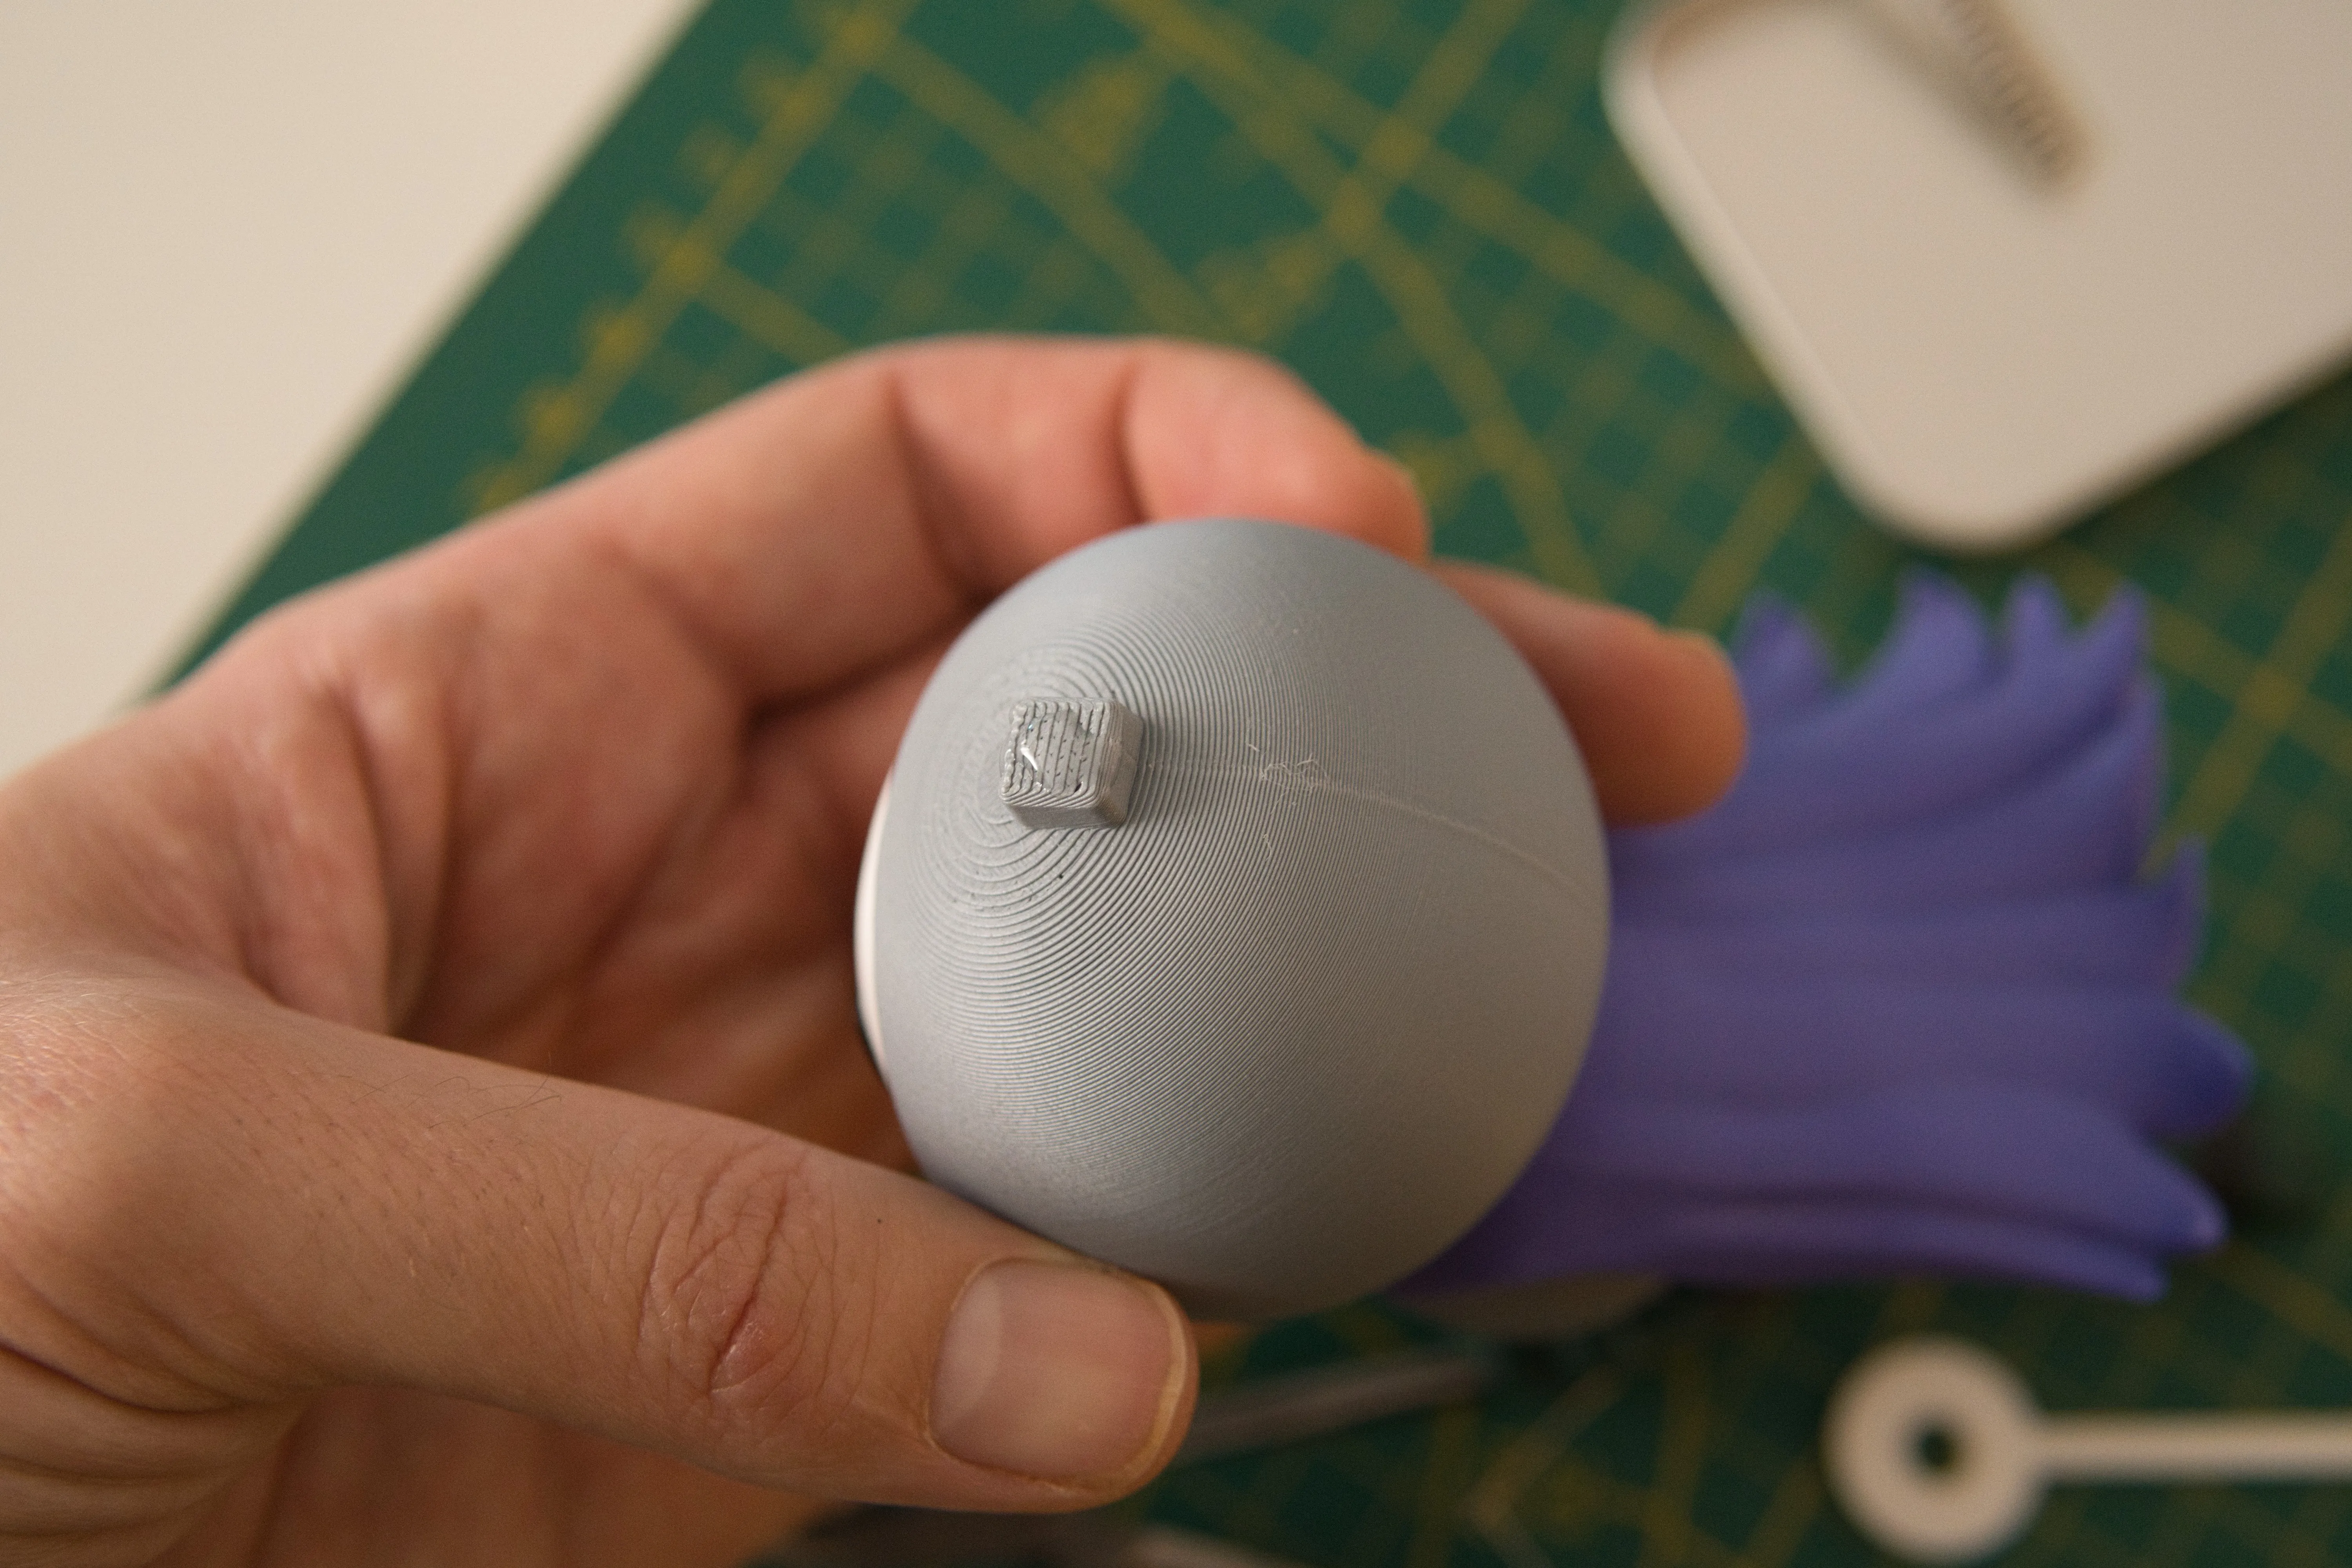
Apply a drop of glue, the fit to the hat is not snug, you have a couple of seconds to decide what tilt of the hat you desire. Flat, means most of his face will not be seen, angled a little more towards the back will mean more of his face is revealed. Hold the desired angle for 10 seconds, and you are done.
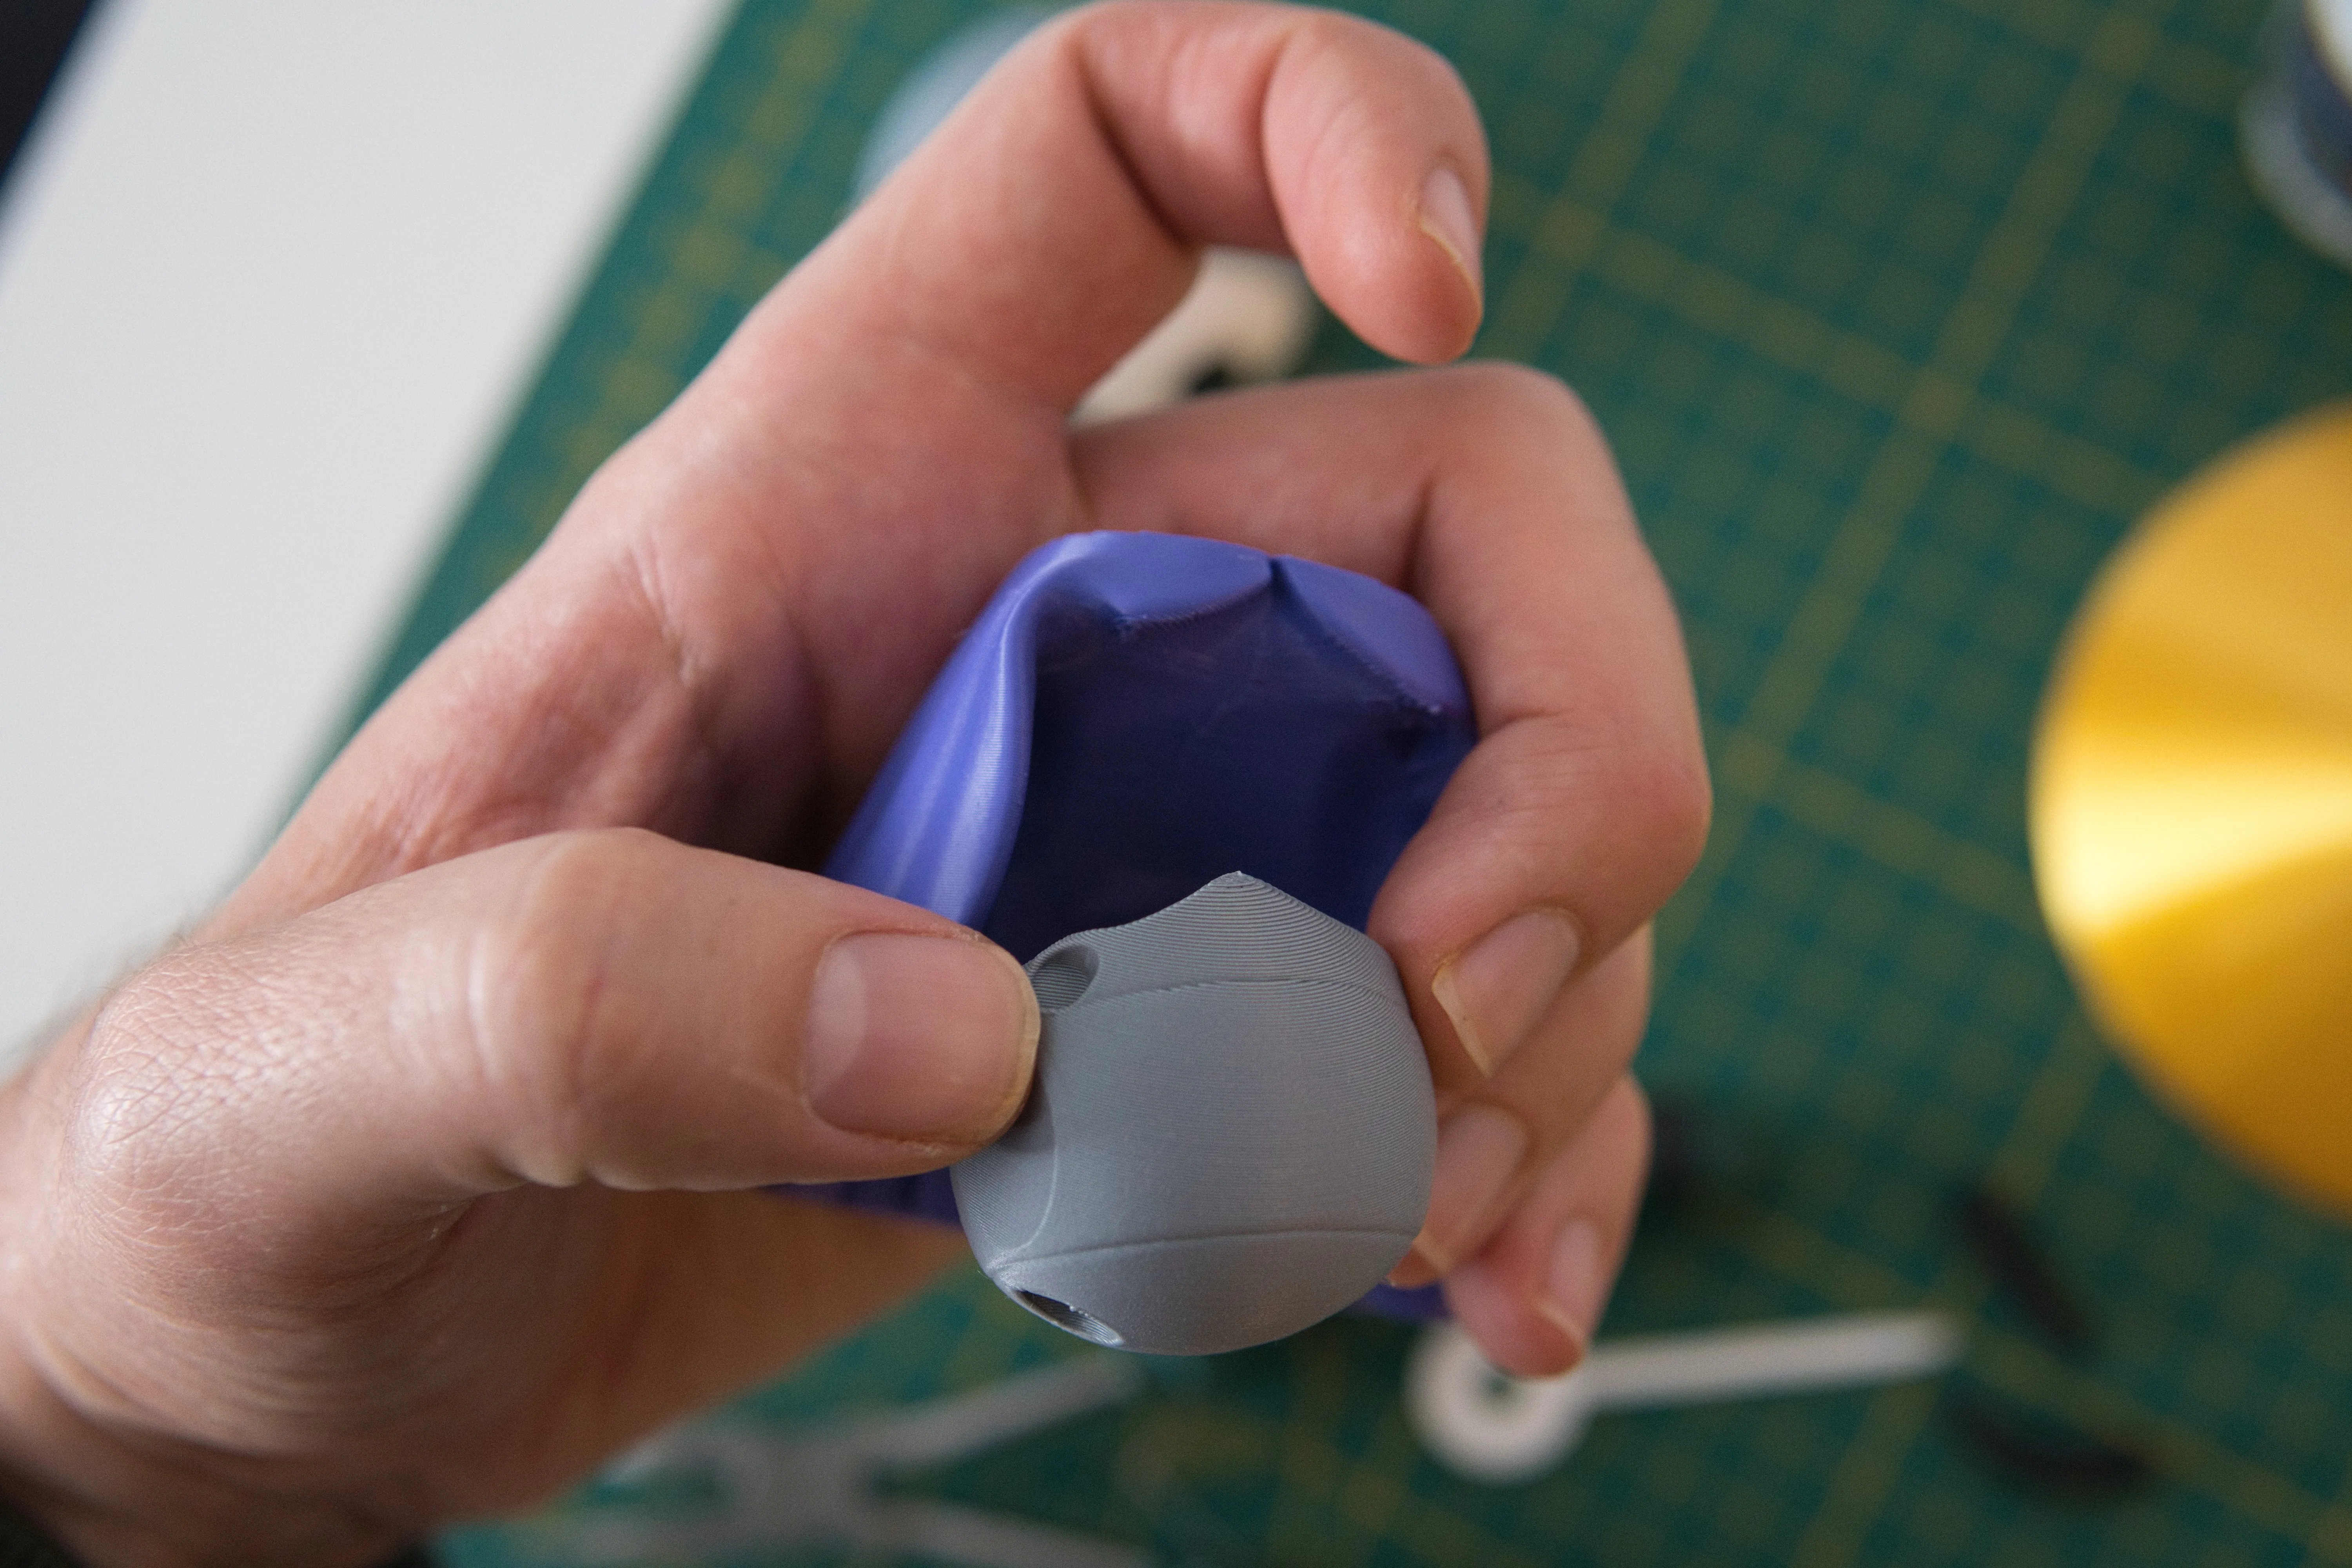
The body fits the cloak perfectly. Move it around until you get a feel on where is it suppsed to fit, then apply a few drops of glue and press.
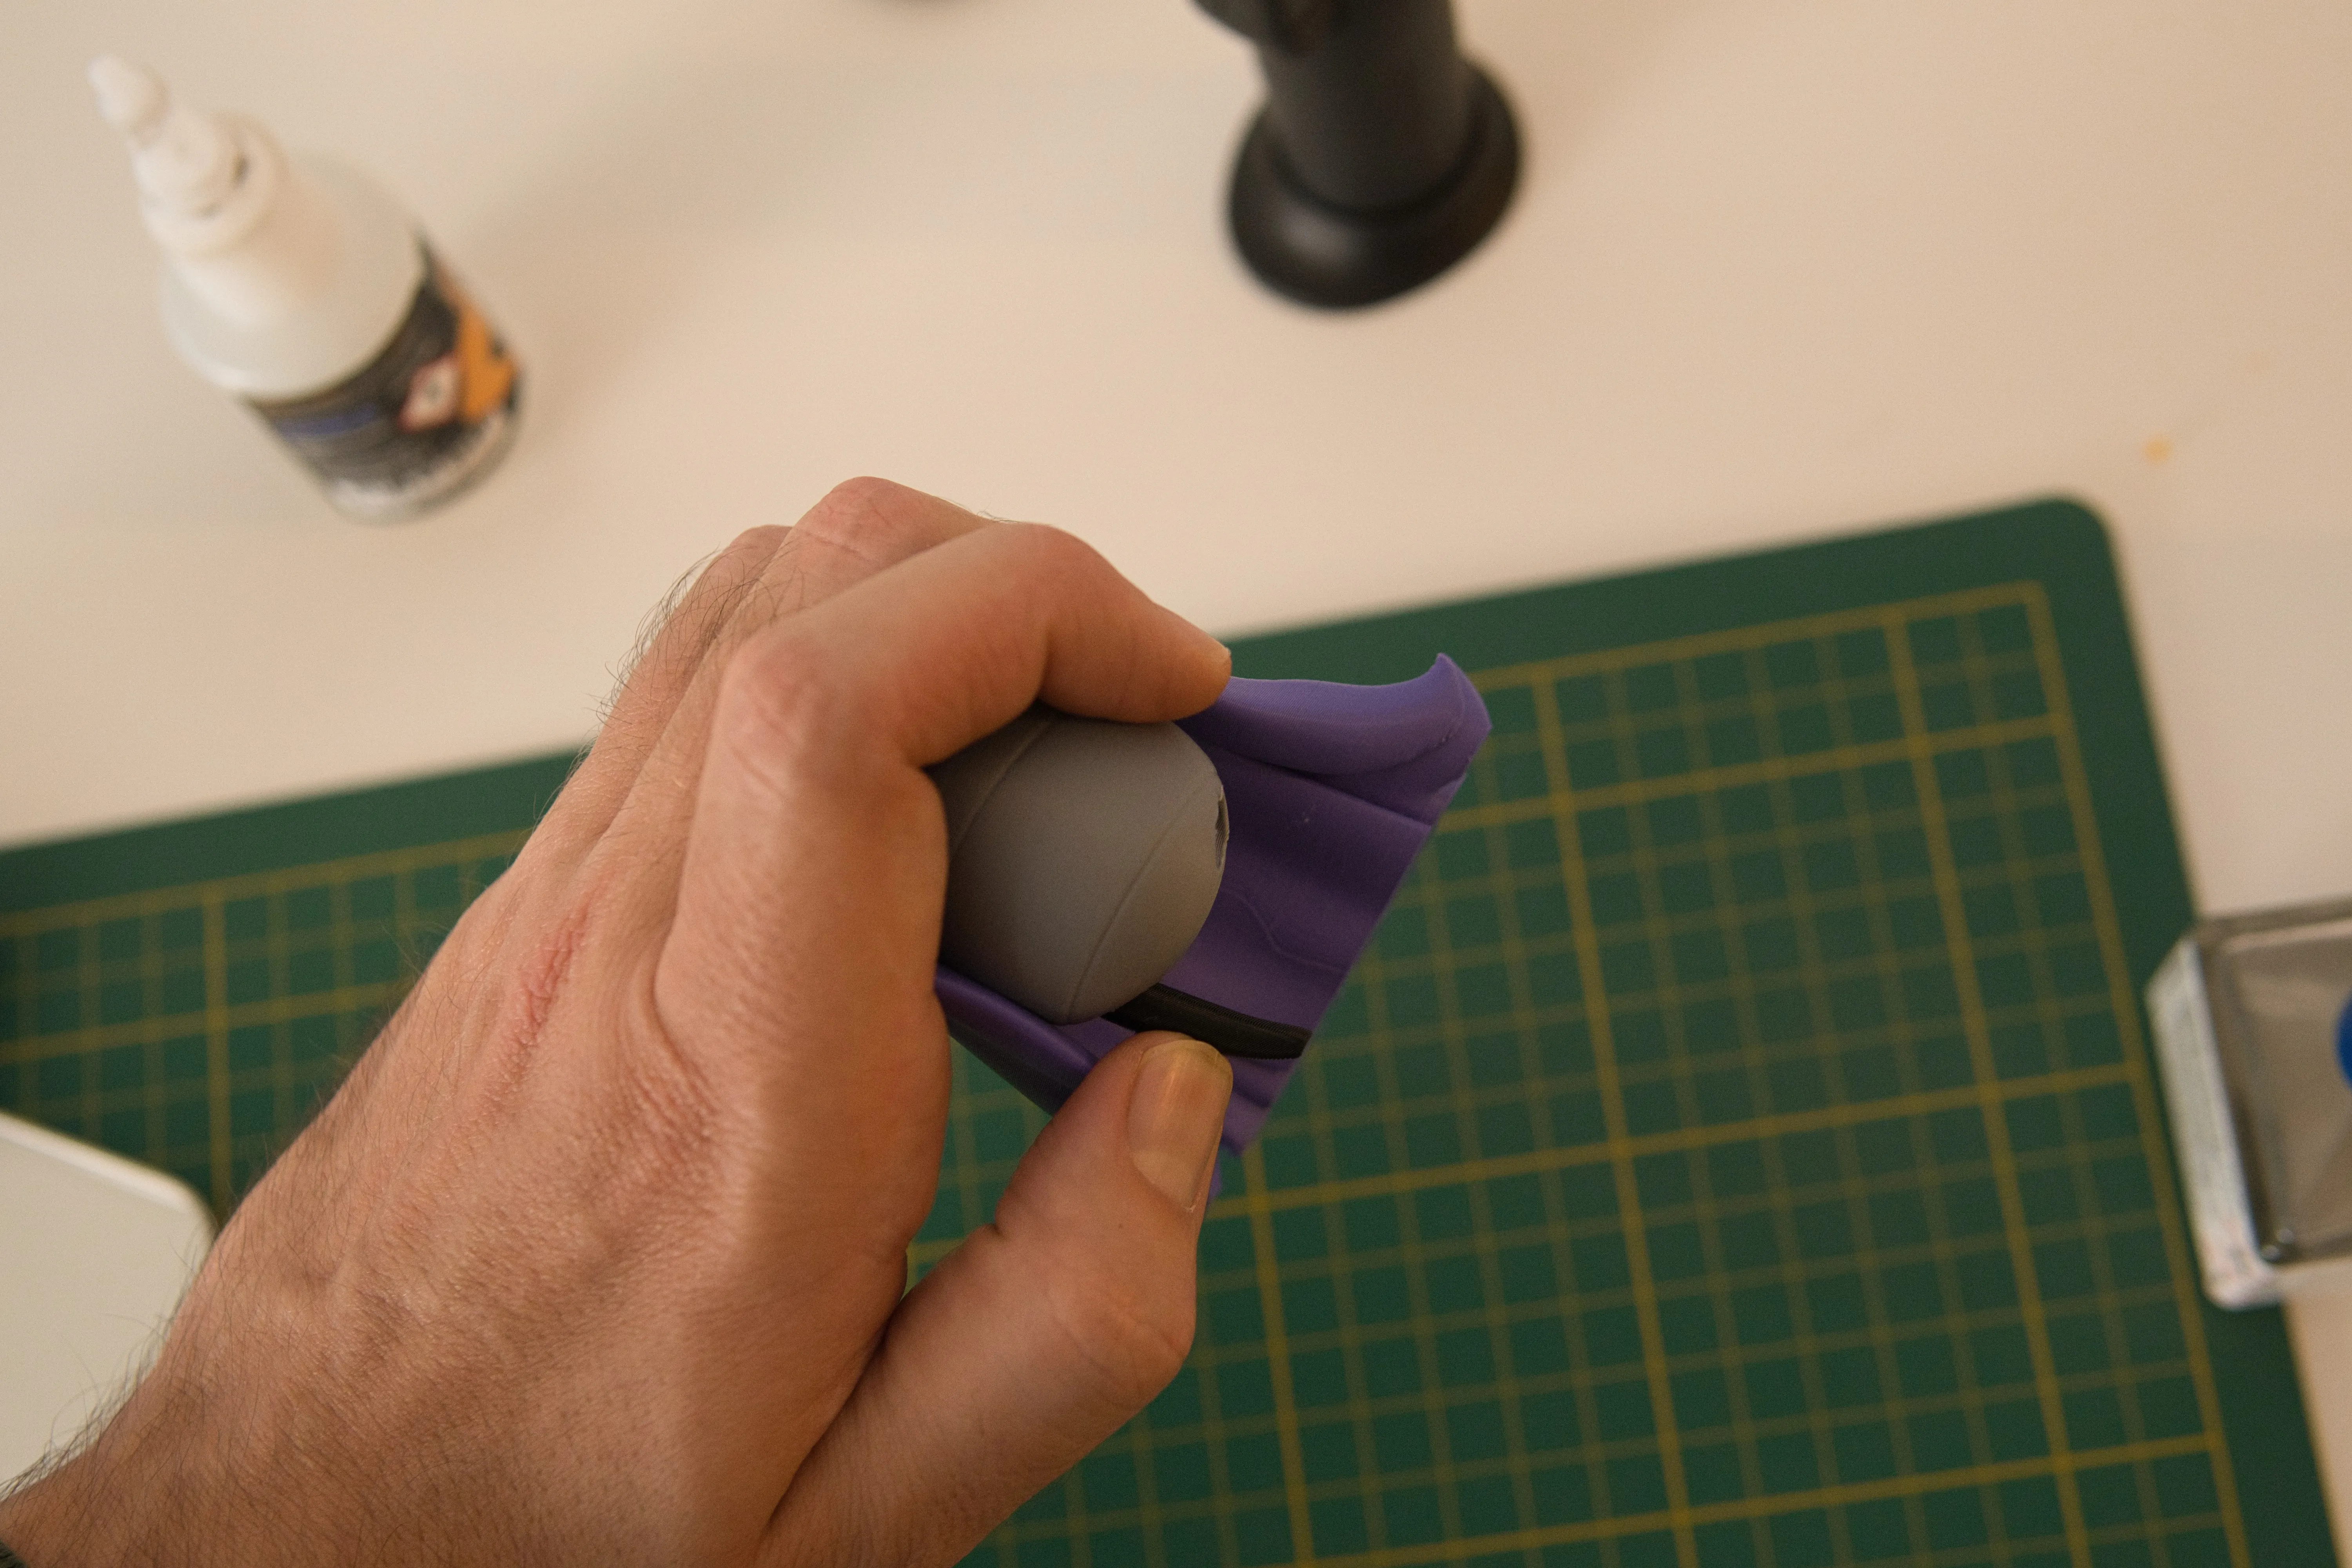
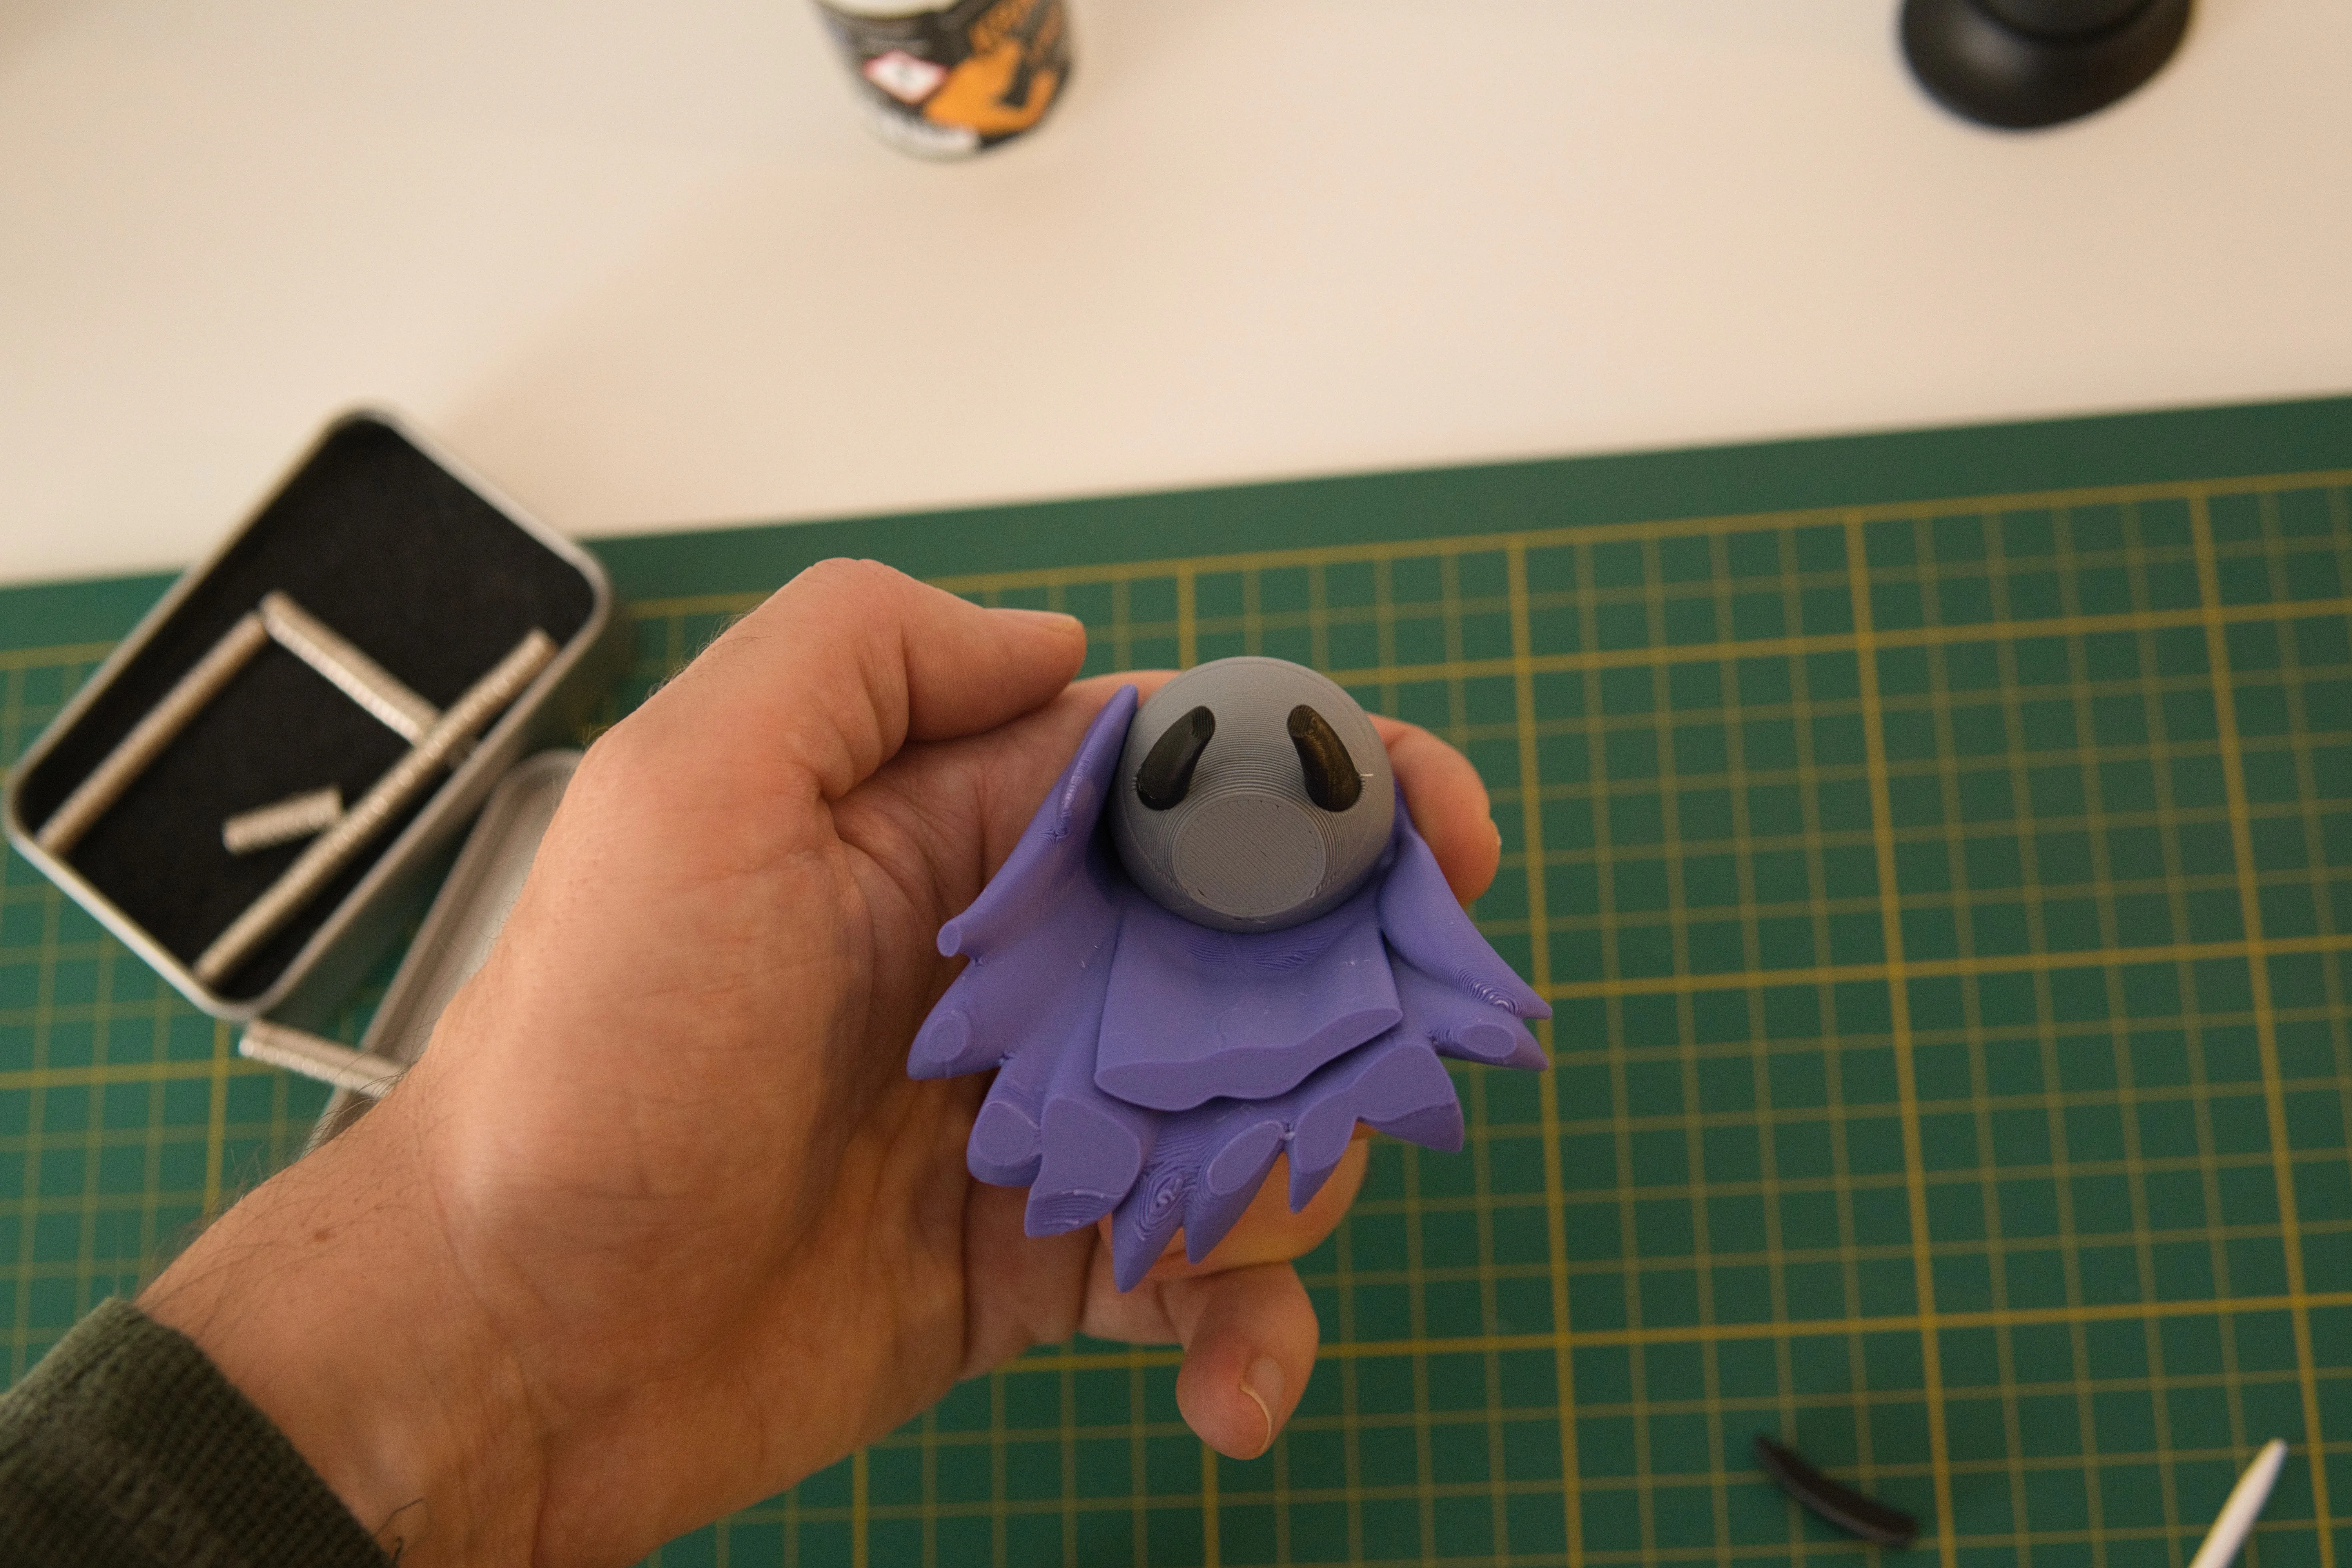
Insert the legs, they should be oriented as seen on the photos. Again, wiggle them around until they “sit”, then apply a bit of glue and secure them. They also need to be flat relative to the cape, so place them on a level surface to verify they are indeed flat.
Repeat the same process with the arms, verifying the fit before applying glue. Use the images as references (good clue is what hand holds the weapon and the orientation of the hole for it)
Attach the weapon and the bag.
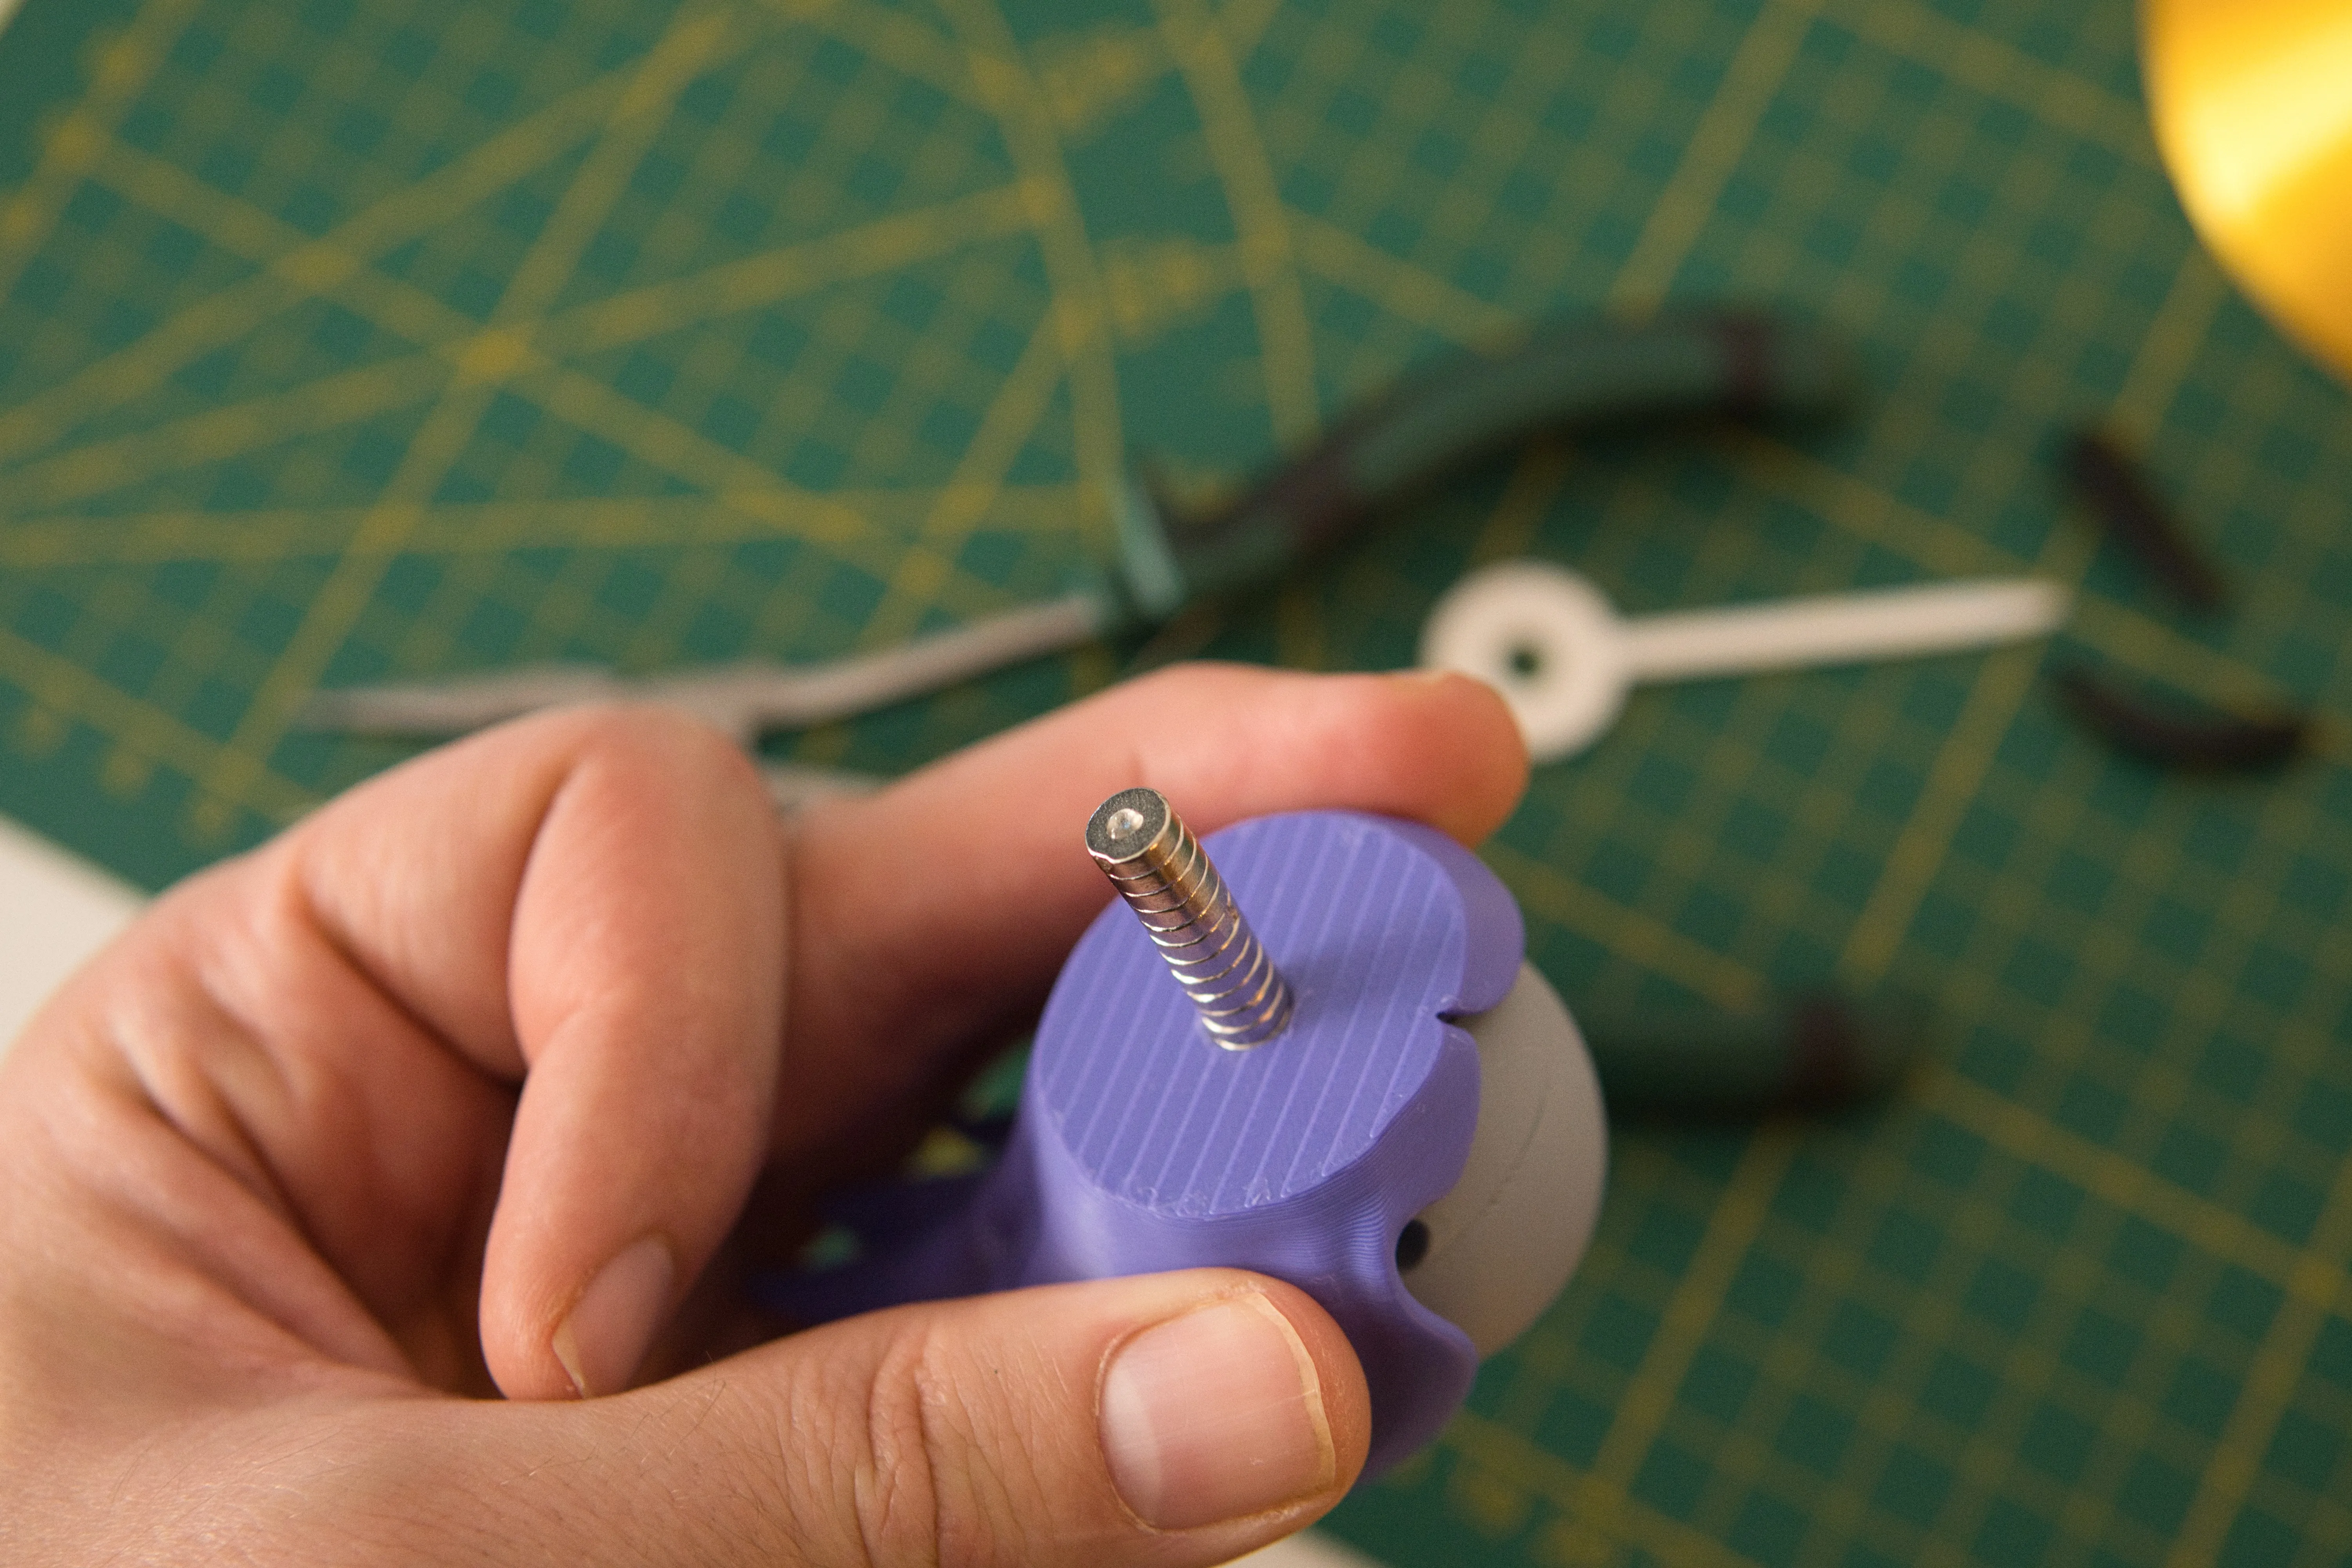
Finally, glue two magnets in the head and cape (dont mess up the polarity!) If you dont have it, you can use my Infamous Pin (which I forgot to add again, sorry!)
Any issues, shoot me a comment!
If you want to support me, you can join my Patreon page to support me and sell physical prints of my models with a clear conscience :D
License

You shall not share, sub-license, sell, rent, host, transfer, or distribute in any way the digital or 3D printed versions of this object, nor any other derivative work of this object in its digital or physical format (including - but not limited to - remixes of this object, and hosting on other digital platforms). The objects may not be used without permission in any way whatsoever in which you charge money, or collect fees.


Comment & Rating (59)