
Infinitely Modular Pegboard, 100% Usable Holes, The Best SKÅDIS IKEA Pegboard
Print Profile(6)


Description
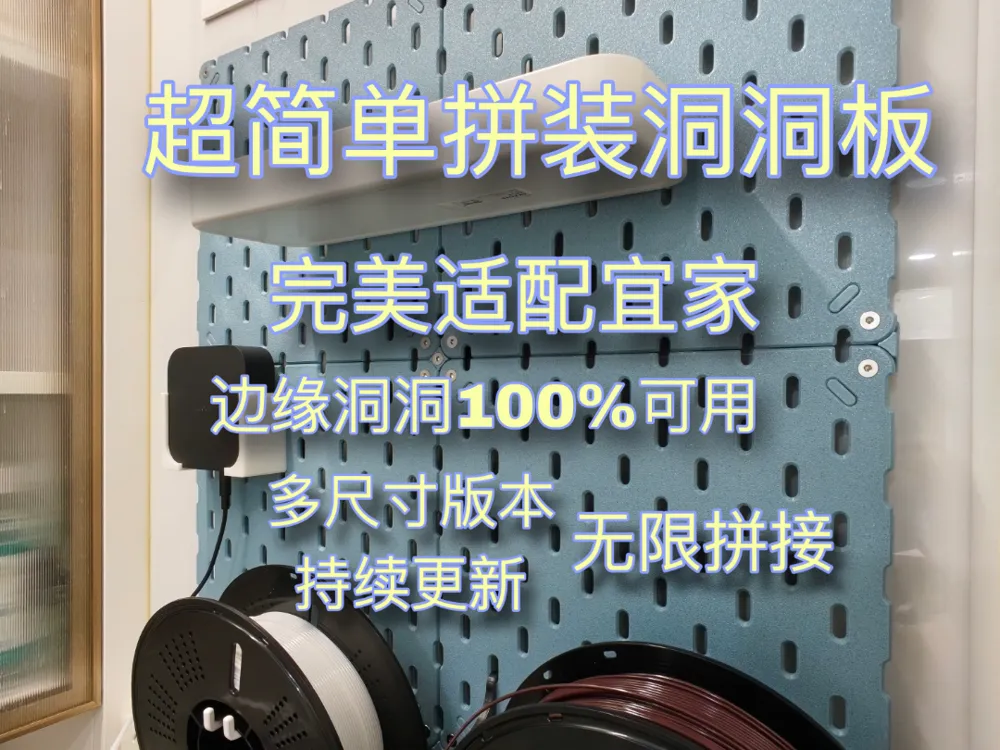
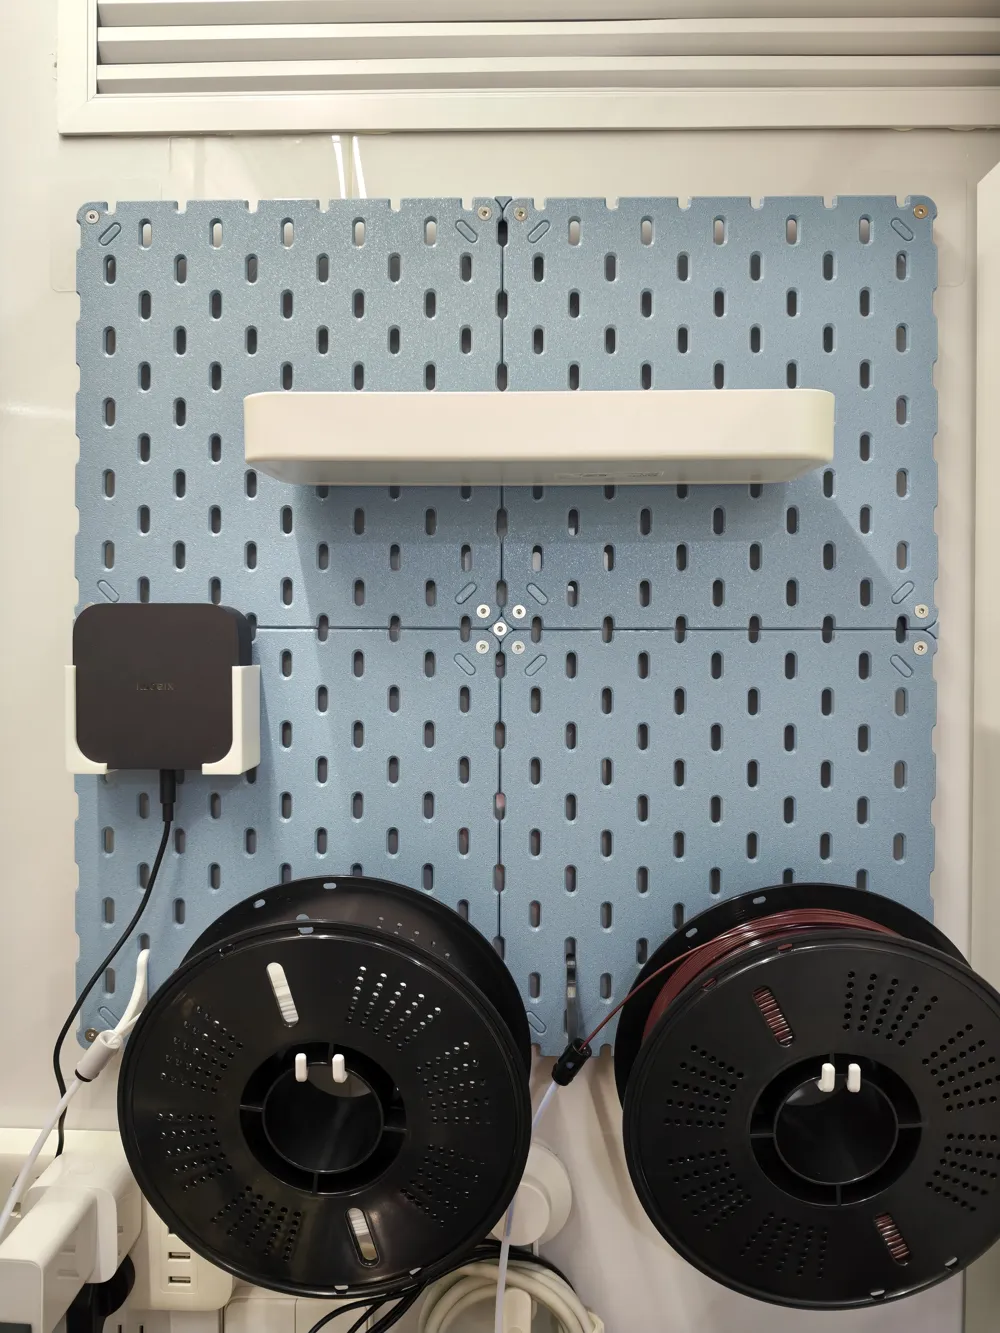
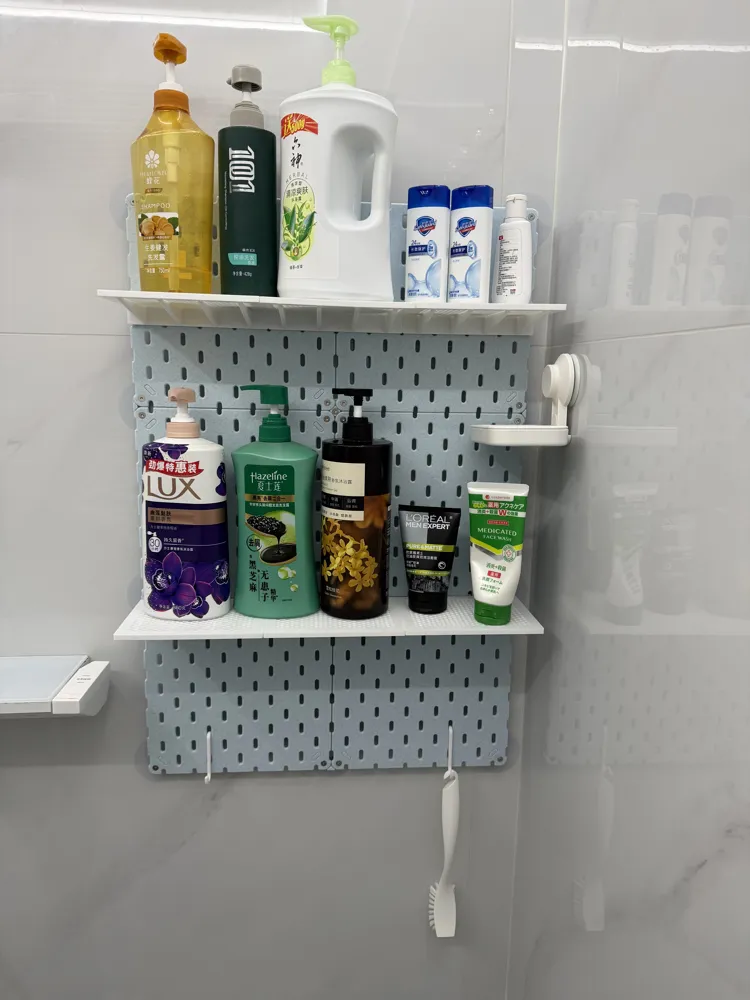
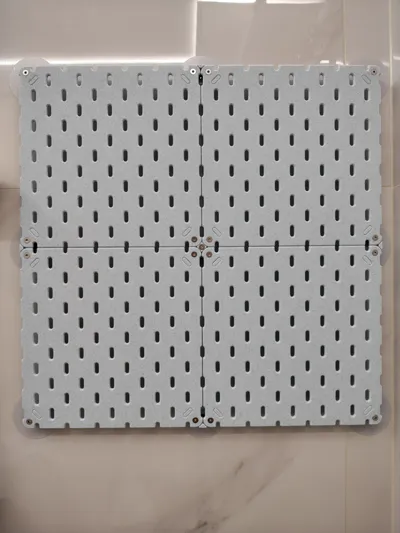
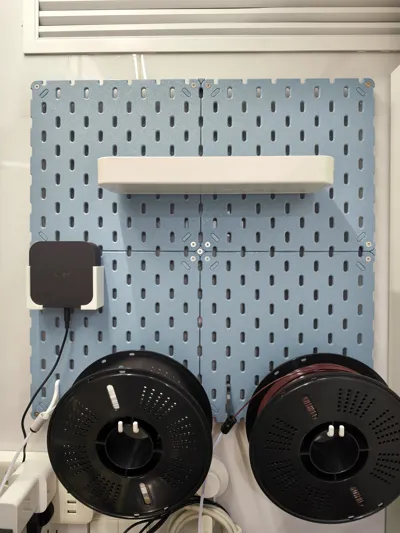
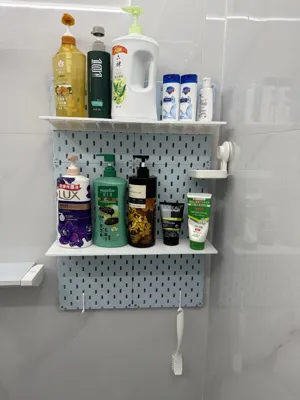
A brand new design aiming to be as close to the original experience as possible and compatible with all IKEA SKÅDIS accessories, an infinitely modular pegboard where all corner holes are usable after assembly, the most extreme and best-to-use pegboard on the whole site
Here are the advantages
- Multi-size, free and infinitely modular, printable by all printers, DIY your own pegboard wall
- Optimized hole size and chamfer, providing a user experience as close as possible to the official IKEA pegboard
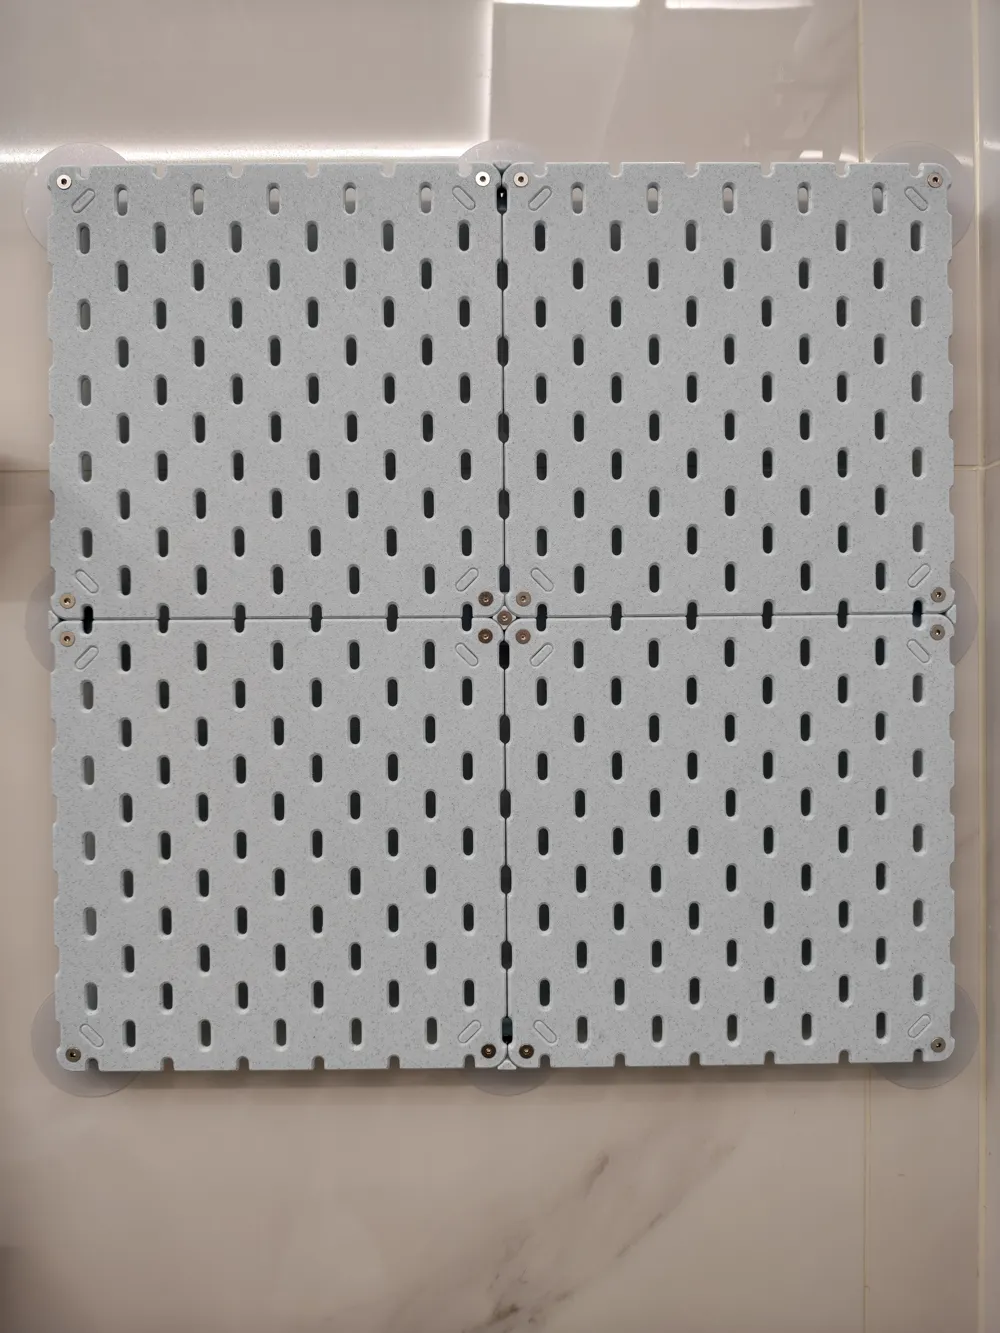
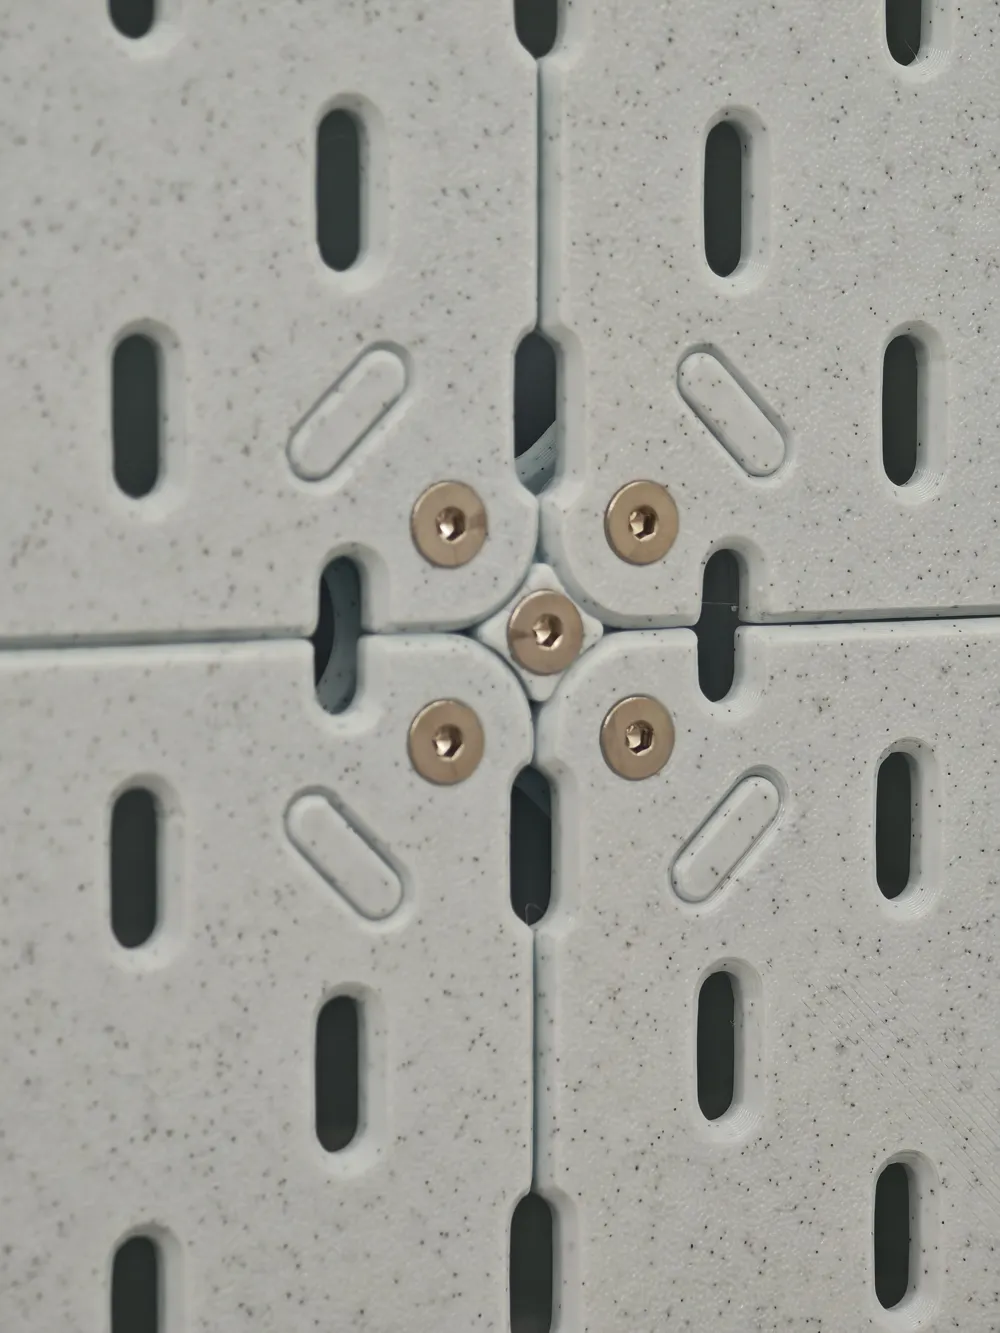
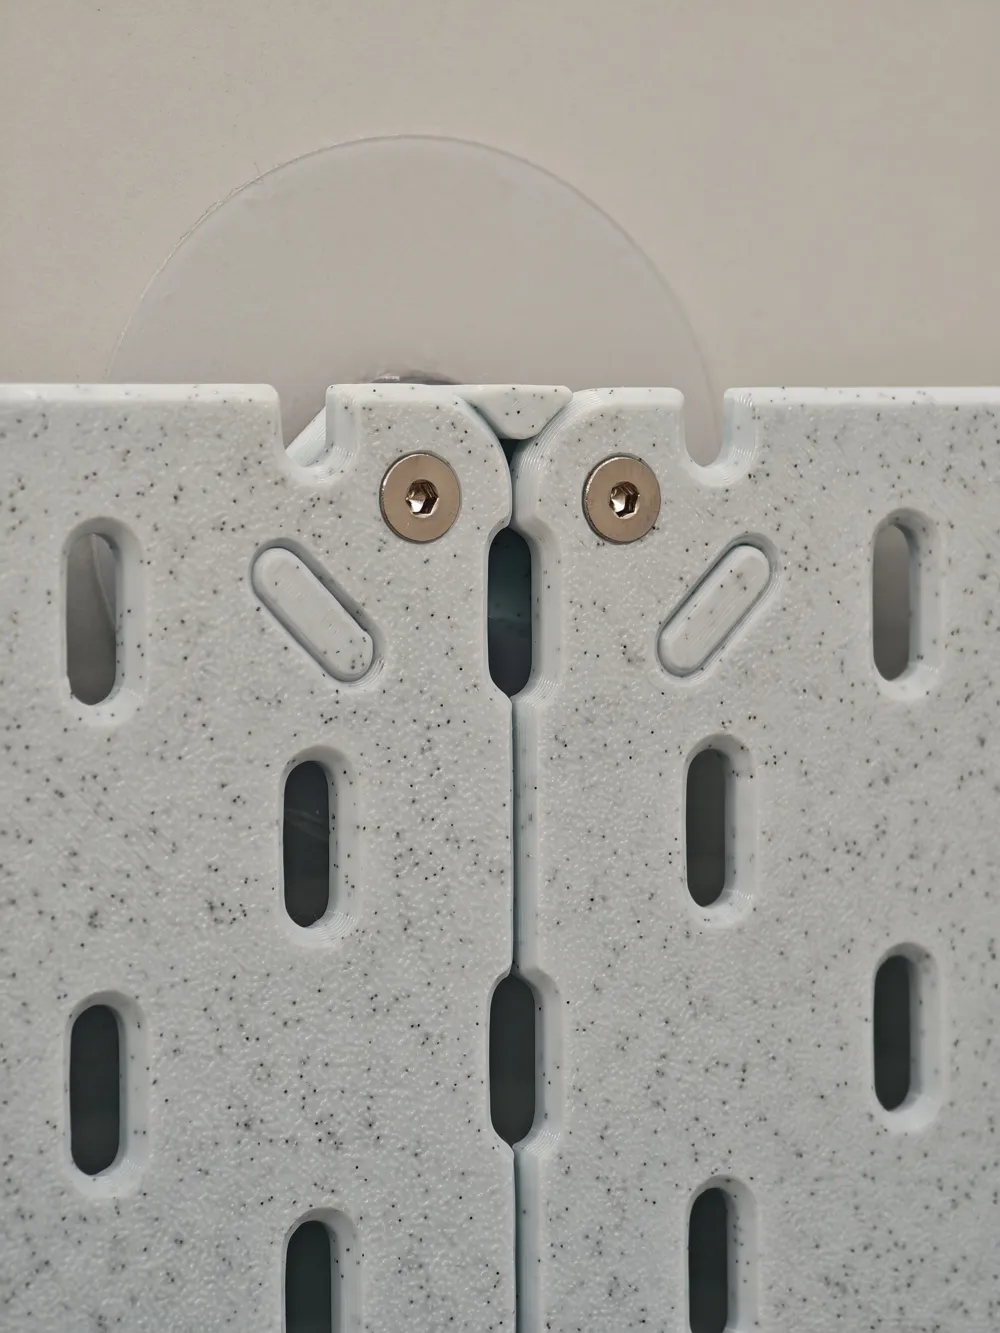
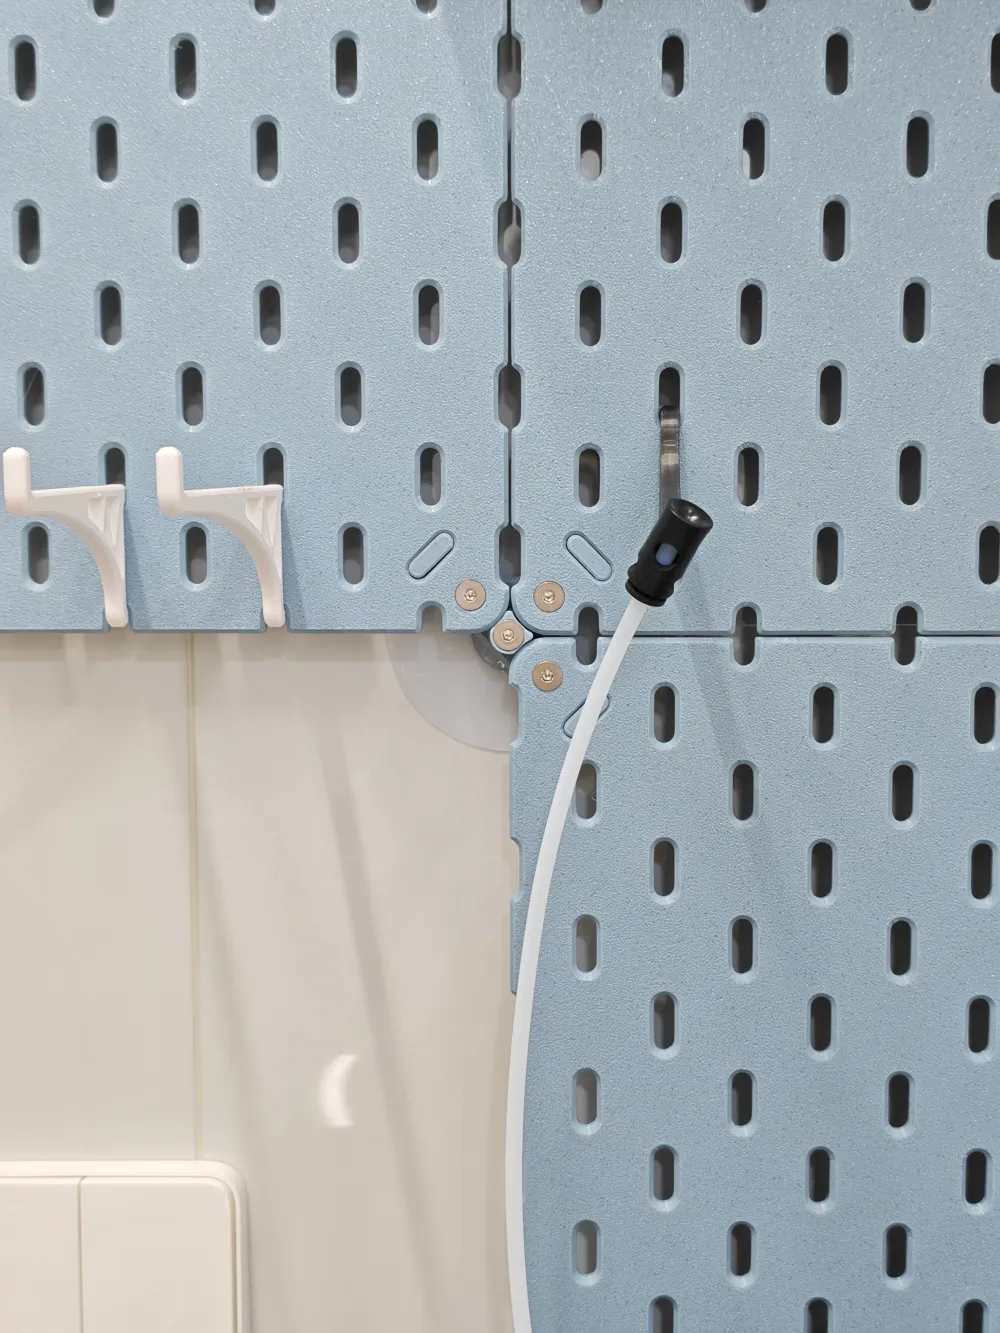
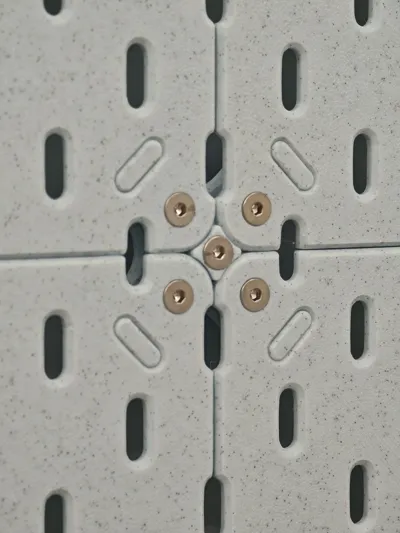
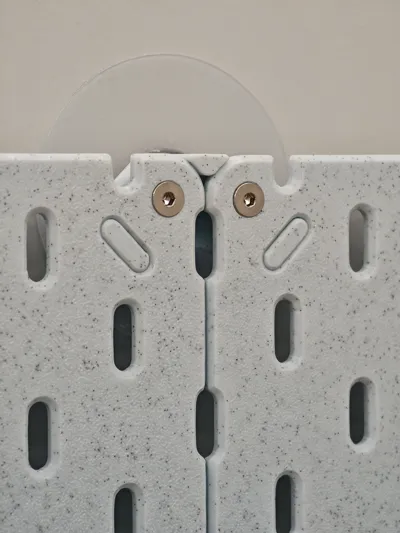
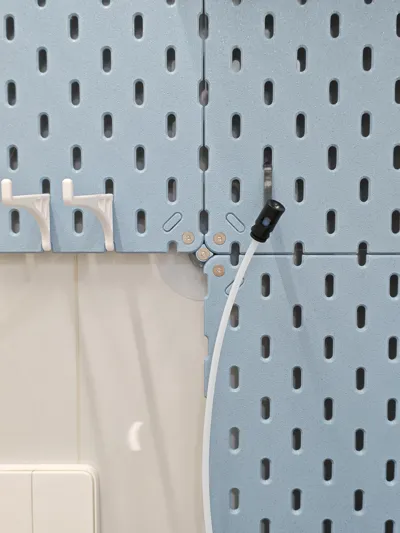
- Optimized corner bracket design, stronger load-bearing capacity, with no loss of holes at corner joints, 100% usability rate
- Multiple easy installation methods, can be installed on aluminum profiles or directly with traceless adhesive mounts without drilling, can also be fixed directly with expansion screws
- After repeated print verification, a small support is added to be used as a purge tower, eliminating defects
Since I was still dissatisfied after printing pegboards designed by others, I decided to redesign one myself. No exaggeration, this should be the best pegboard on the entire site. I considered almost all possible installation methods and optimized the corner bracket design accordingly, achieving compatibility with all installation methods using only three types of corner brackets, making installation not only easier but also simplifying the required hardware purchases
Here are several installation methods
- For walls with high adhesion, such as tiles, cabinets, or metal panels, we recommend using traceless nail-free M4 nut wall stickers. While traceless screw stickers can also be installed, they will protrude after installation, and the front will not achieve the effect of countersunk screw installation, so nut wall stickers are recommended. If you buy screw wall stickers, the specification is also M4. If you buy nut stickers, you need to purchase M4 countersunk screws according to the thickness of the nut stickers. A total of three specifications of countersunk screws are required: M4*14 (needed for side and center connection brackets) and two other types that need to be calculated with the formula:
Screws needed for side connection brackets: nut sticker thickness ~ nut sticker thickness+2, choose the longest possible screw. For example, if the nut sticker I bought is 7mm thick, 7+2=9, but there is no 9mm screw on the market, then M4*8 screws should be purchased
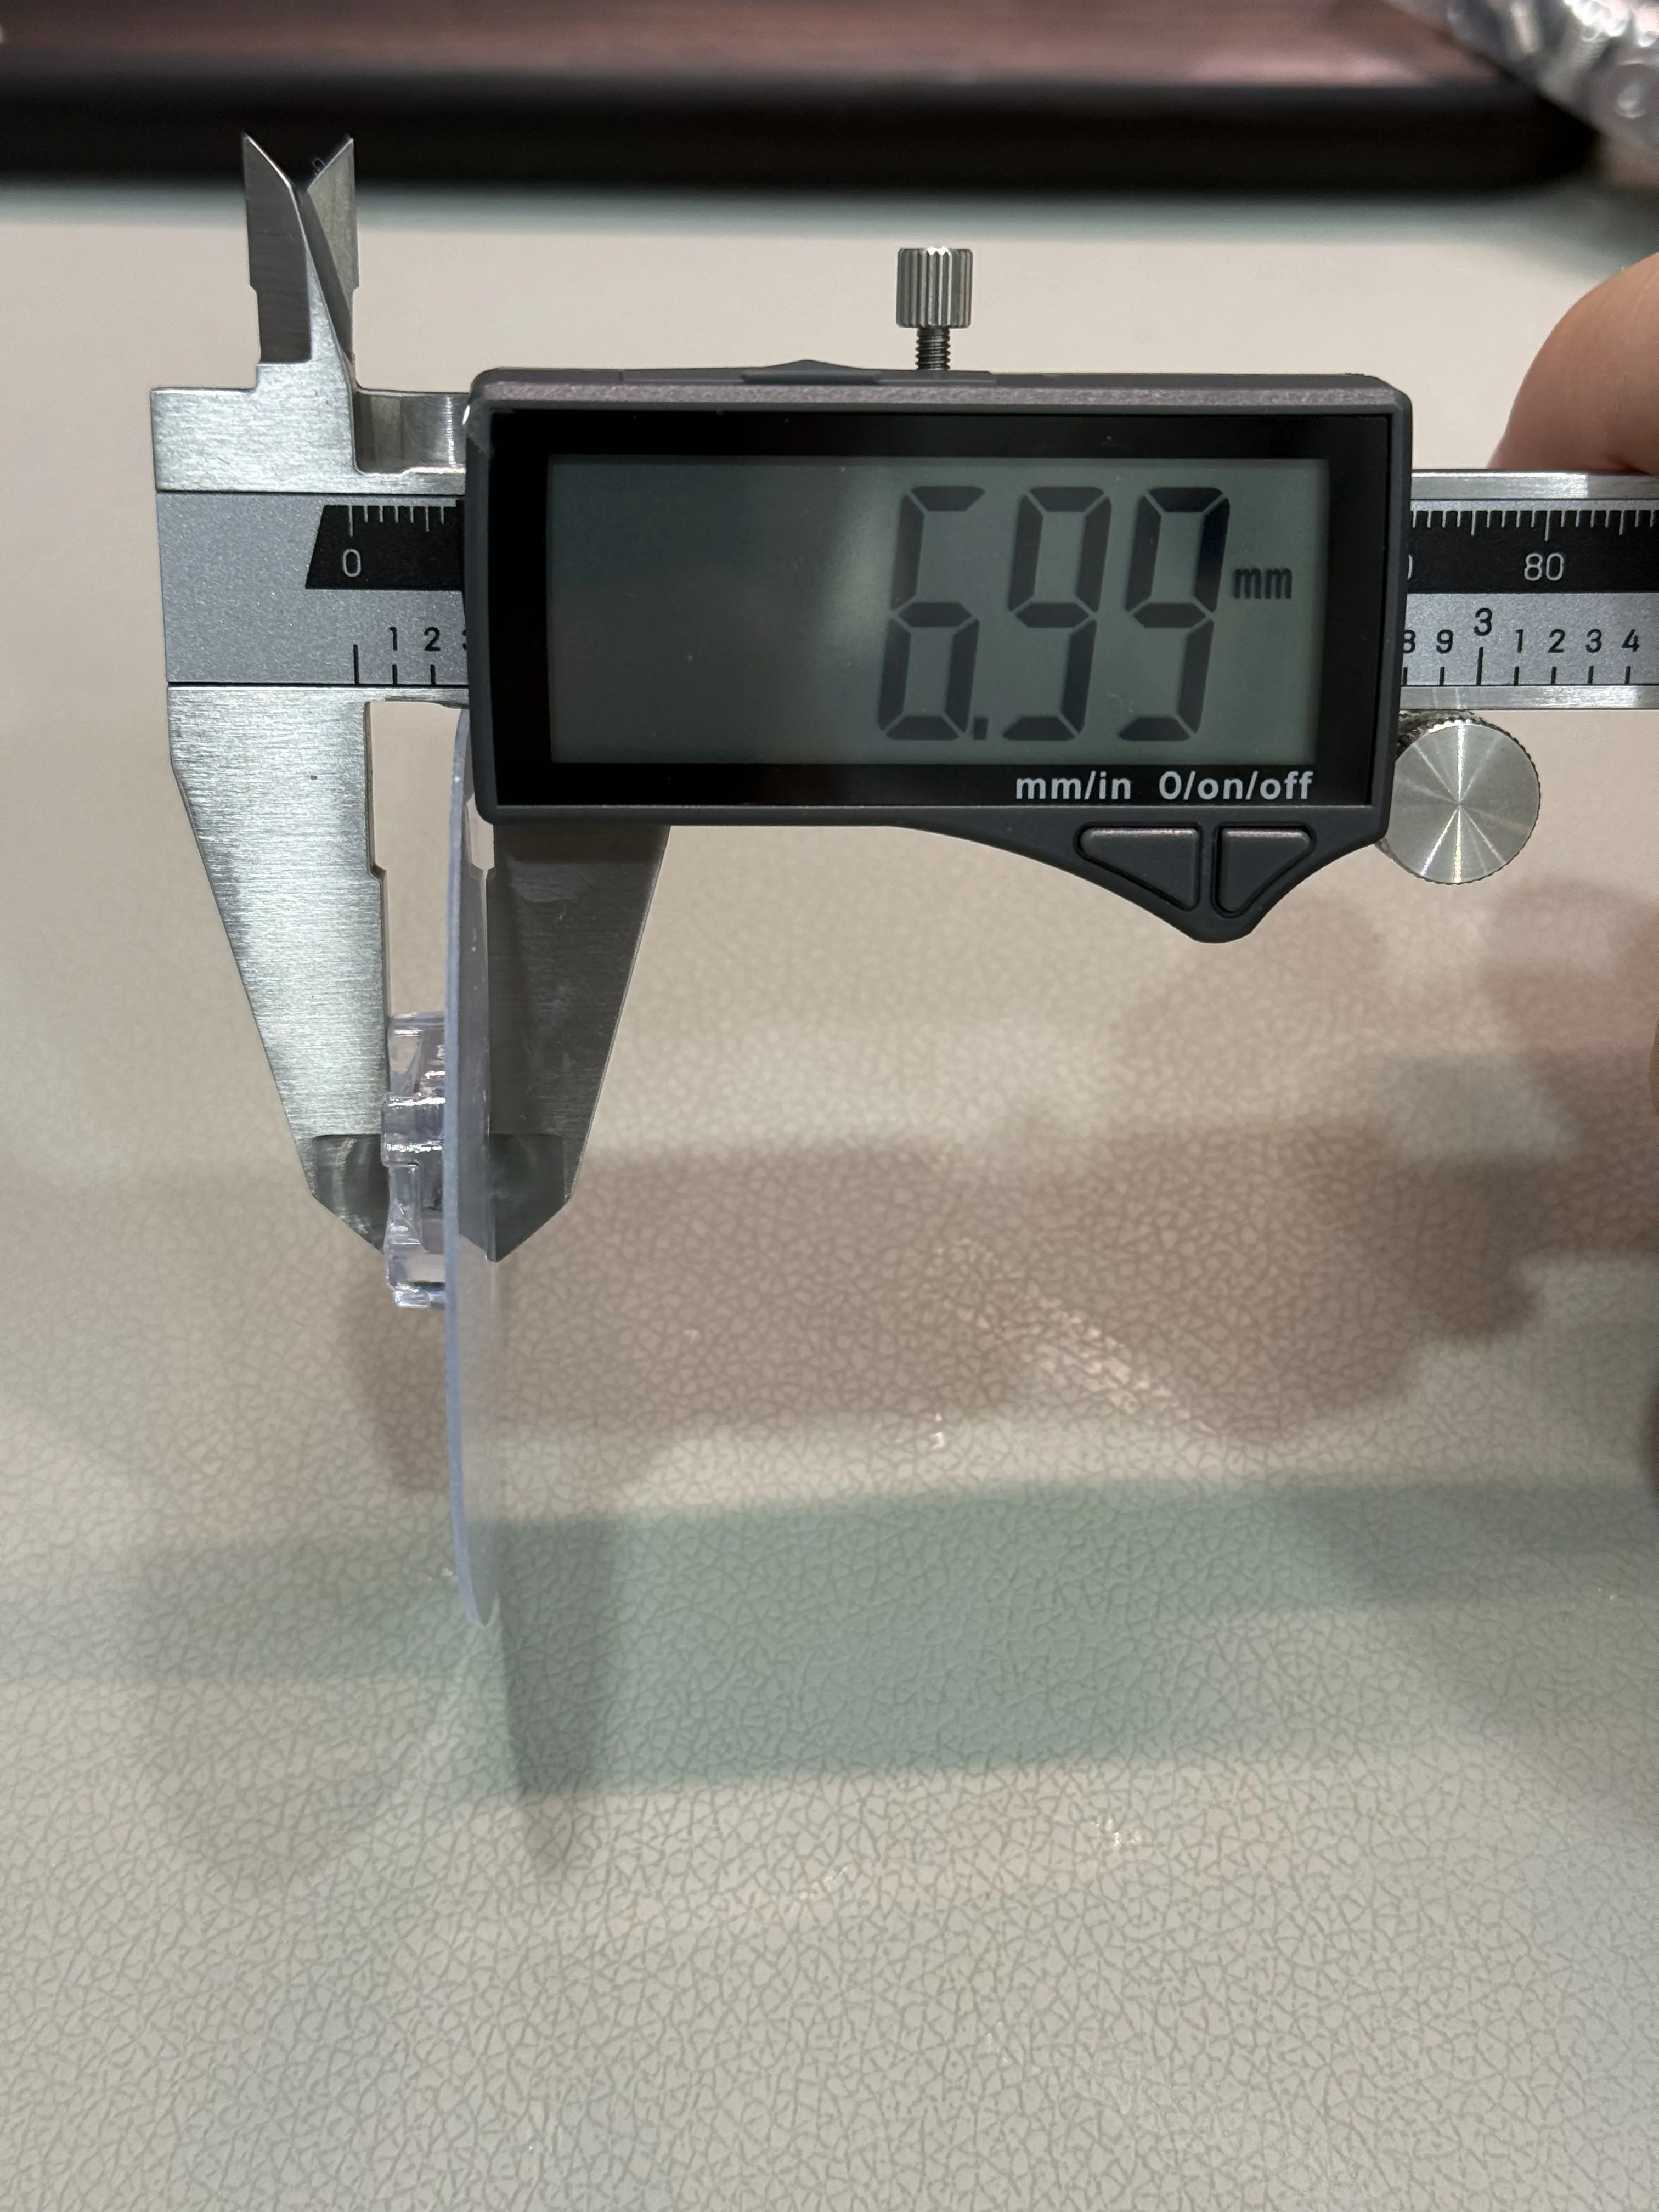
- Screws needed for corner brackets and center brackets: nut sticker thickness ~ nut sticker thickness+14, choose the longest possible screw. For example, if the nut sticker I bought is 7mm thick, 7+14=21, but there is no 21mm screw on the market, then M4*20 screws should be purchased
- For walls with low adhesion, such as wallpaper or latex paint, we recommend using aluminum profiles for base installation. We recommend using 1020 aluminum profiles. Ask the vendor to pre-drill M4 wall mounting holes in the middle of the aluminum profiles, with arbitrary spacing. Use expansion screws to fix the aluminum profiles, then use 20M4 slider nuts to fix the pegboard. At this point, three specifications of countersunk screws are still needed: M4*6 (1 screw for each side bracket), M4*14 (2 screws needed for each side bracket and 4 screws for each center bracket), and M4*18 (needed for corner brackets and each center bracket)
- Fix directly with expansion screws. After determining the size of the pegboard, one expansion screw is needed to fix the corner brackets at all four corners, each side connection bracket, and the center bracket. Please calculate the quantity yourself. The diameter of the screw inside the expansion screw should be M4. And several M4*14 countersunk screws are also needed to fix the pegboard
- Install with nail-free adhesive. After joining all panels and corner brackets with M4*14 countersunk screws (the inner diameter of the corner brackets is larger than M4, so a little nail-free adhesive needs to be injected into the hole beforehand to fix the screw), just apply nail-free adhesive to the back of all corner brackets. This method is also limited to walls with high adhesion, and load-bearing capacity cannot be guaranteed, so it is not recommended
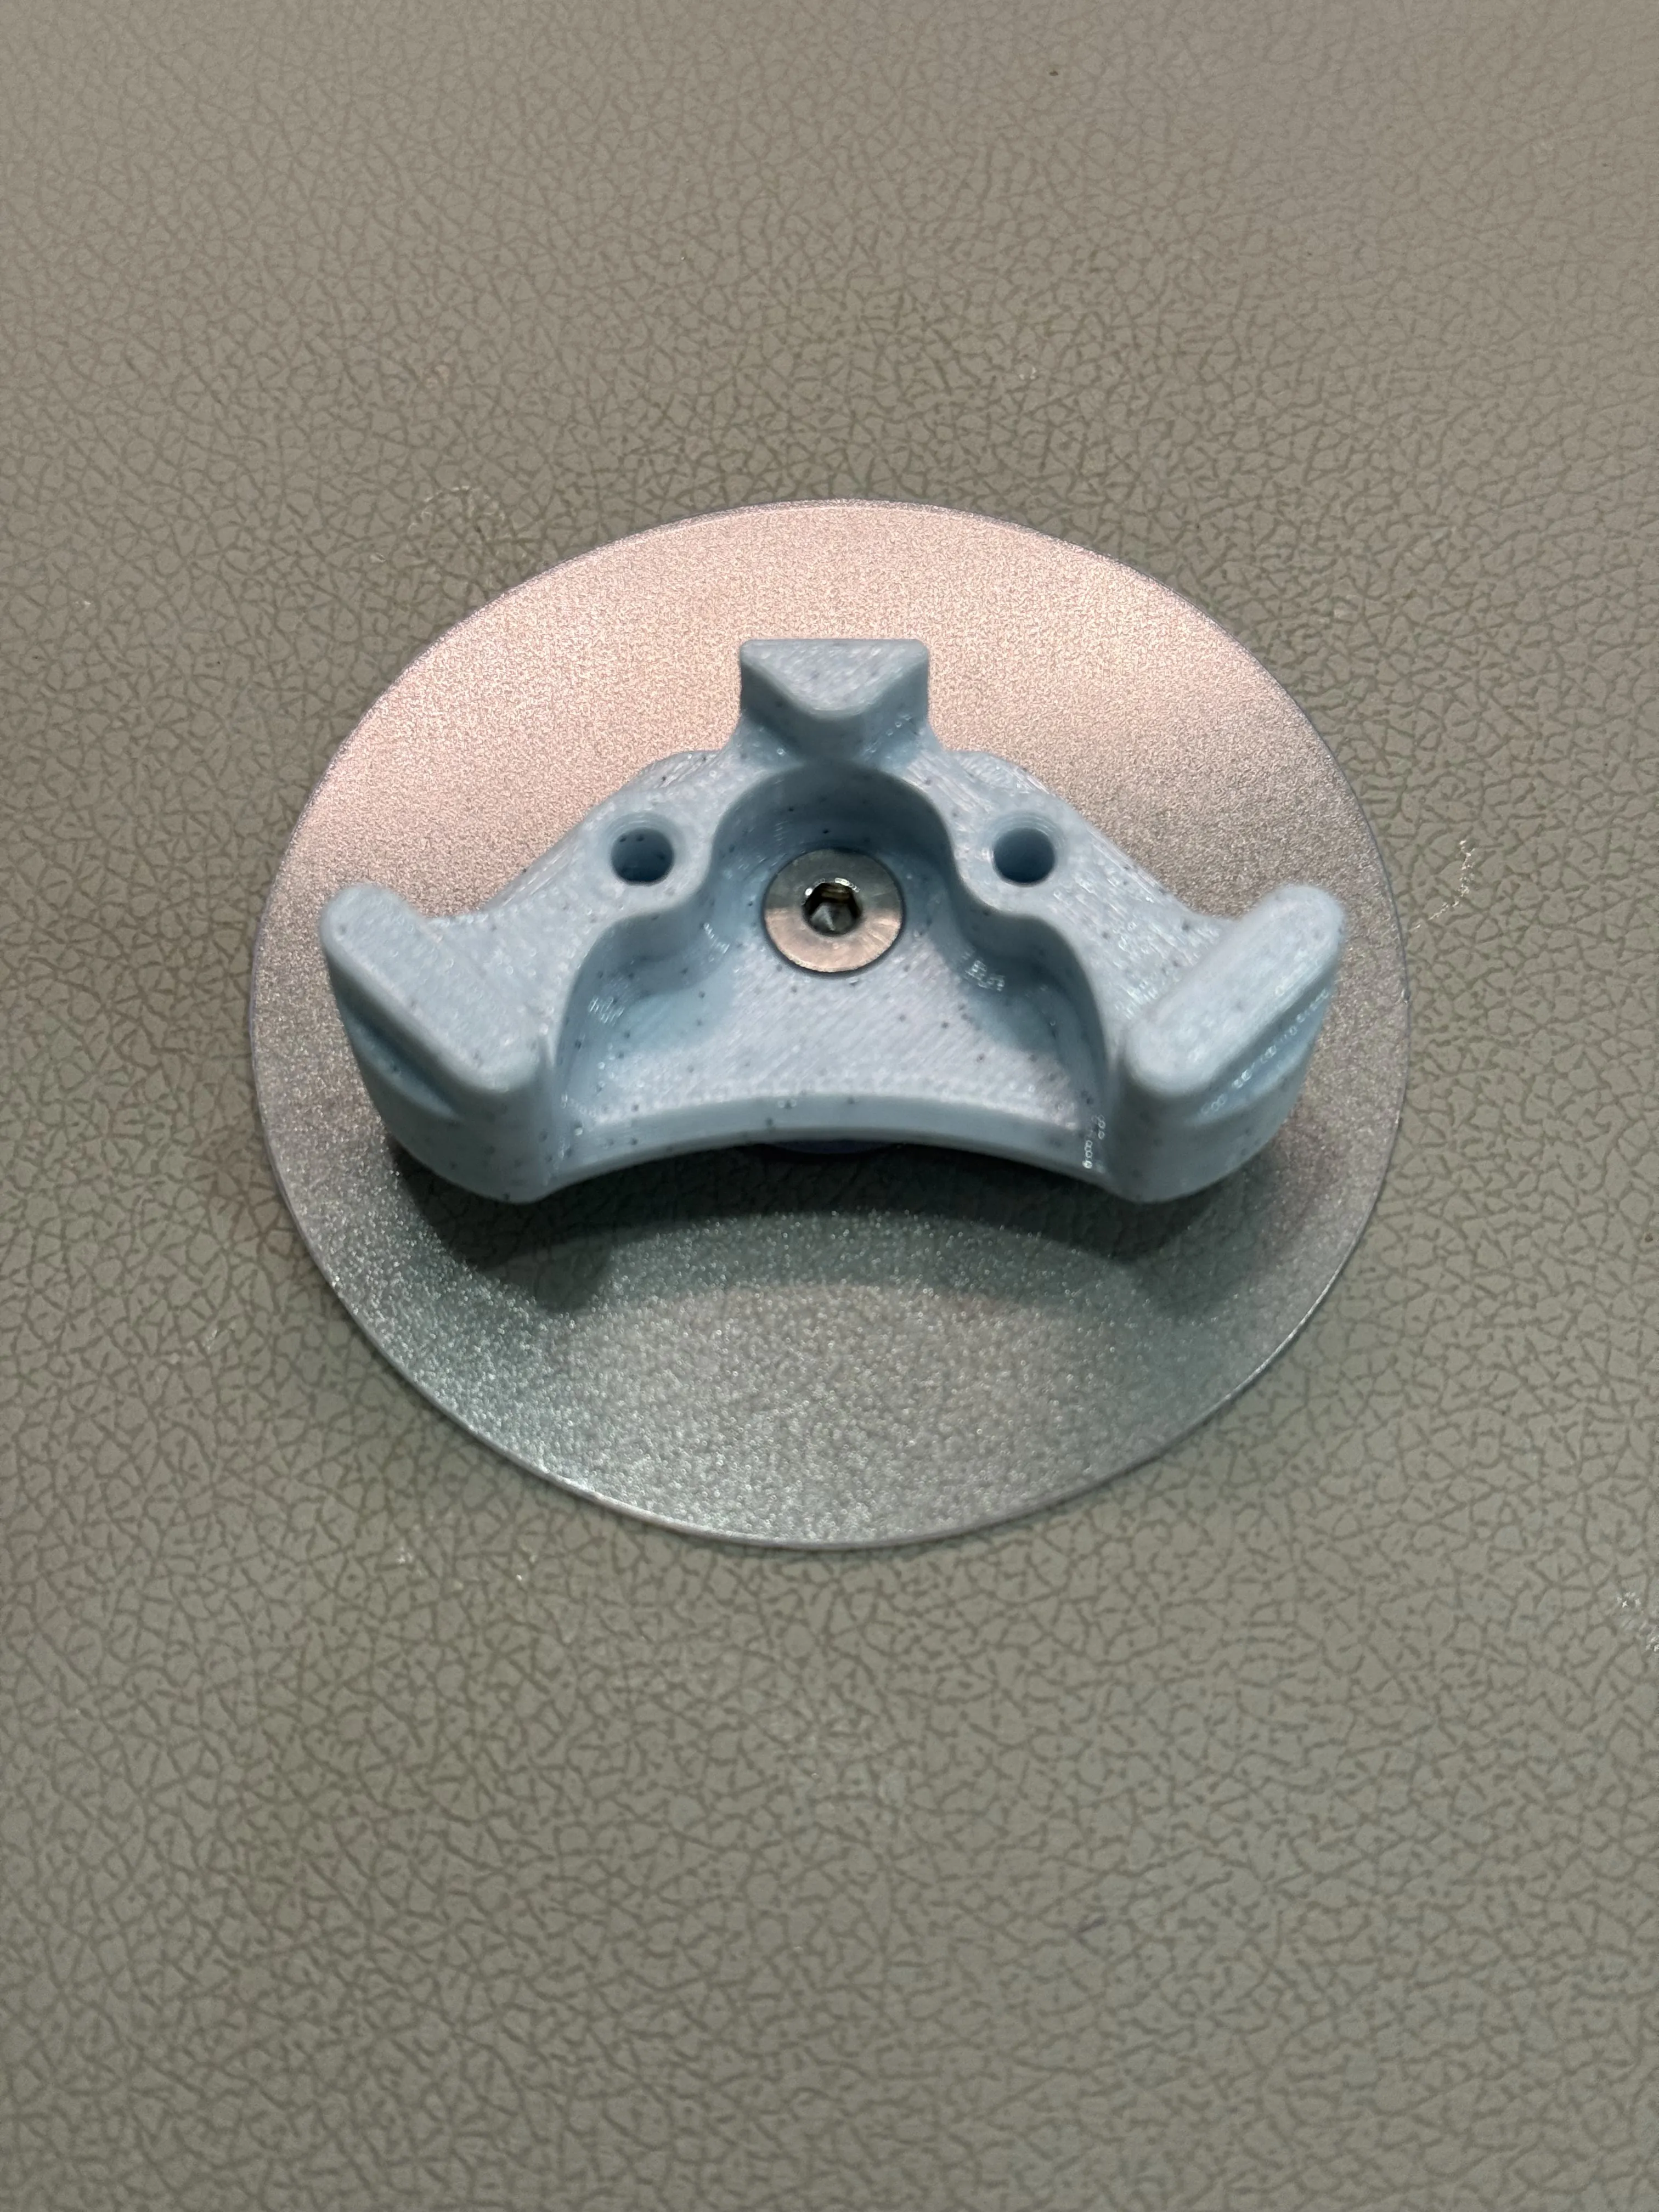
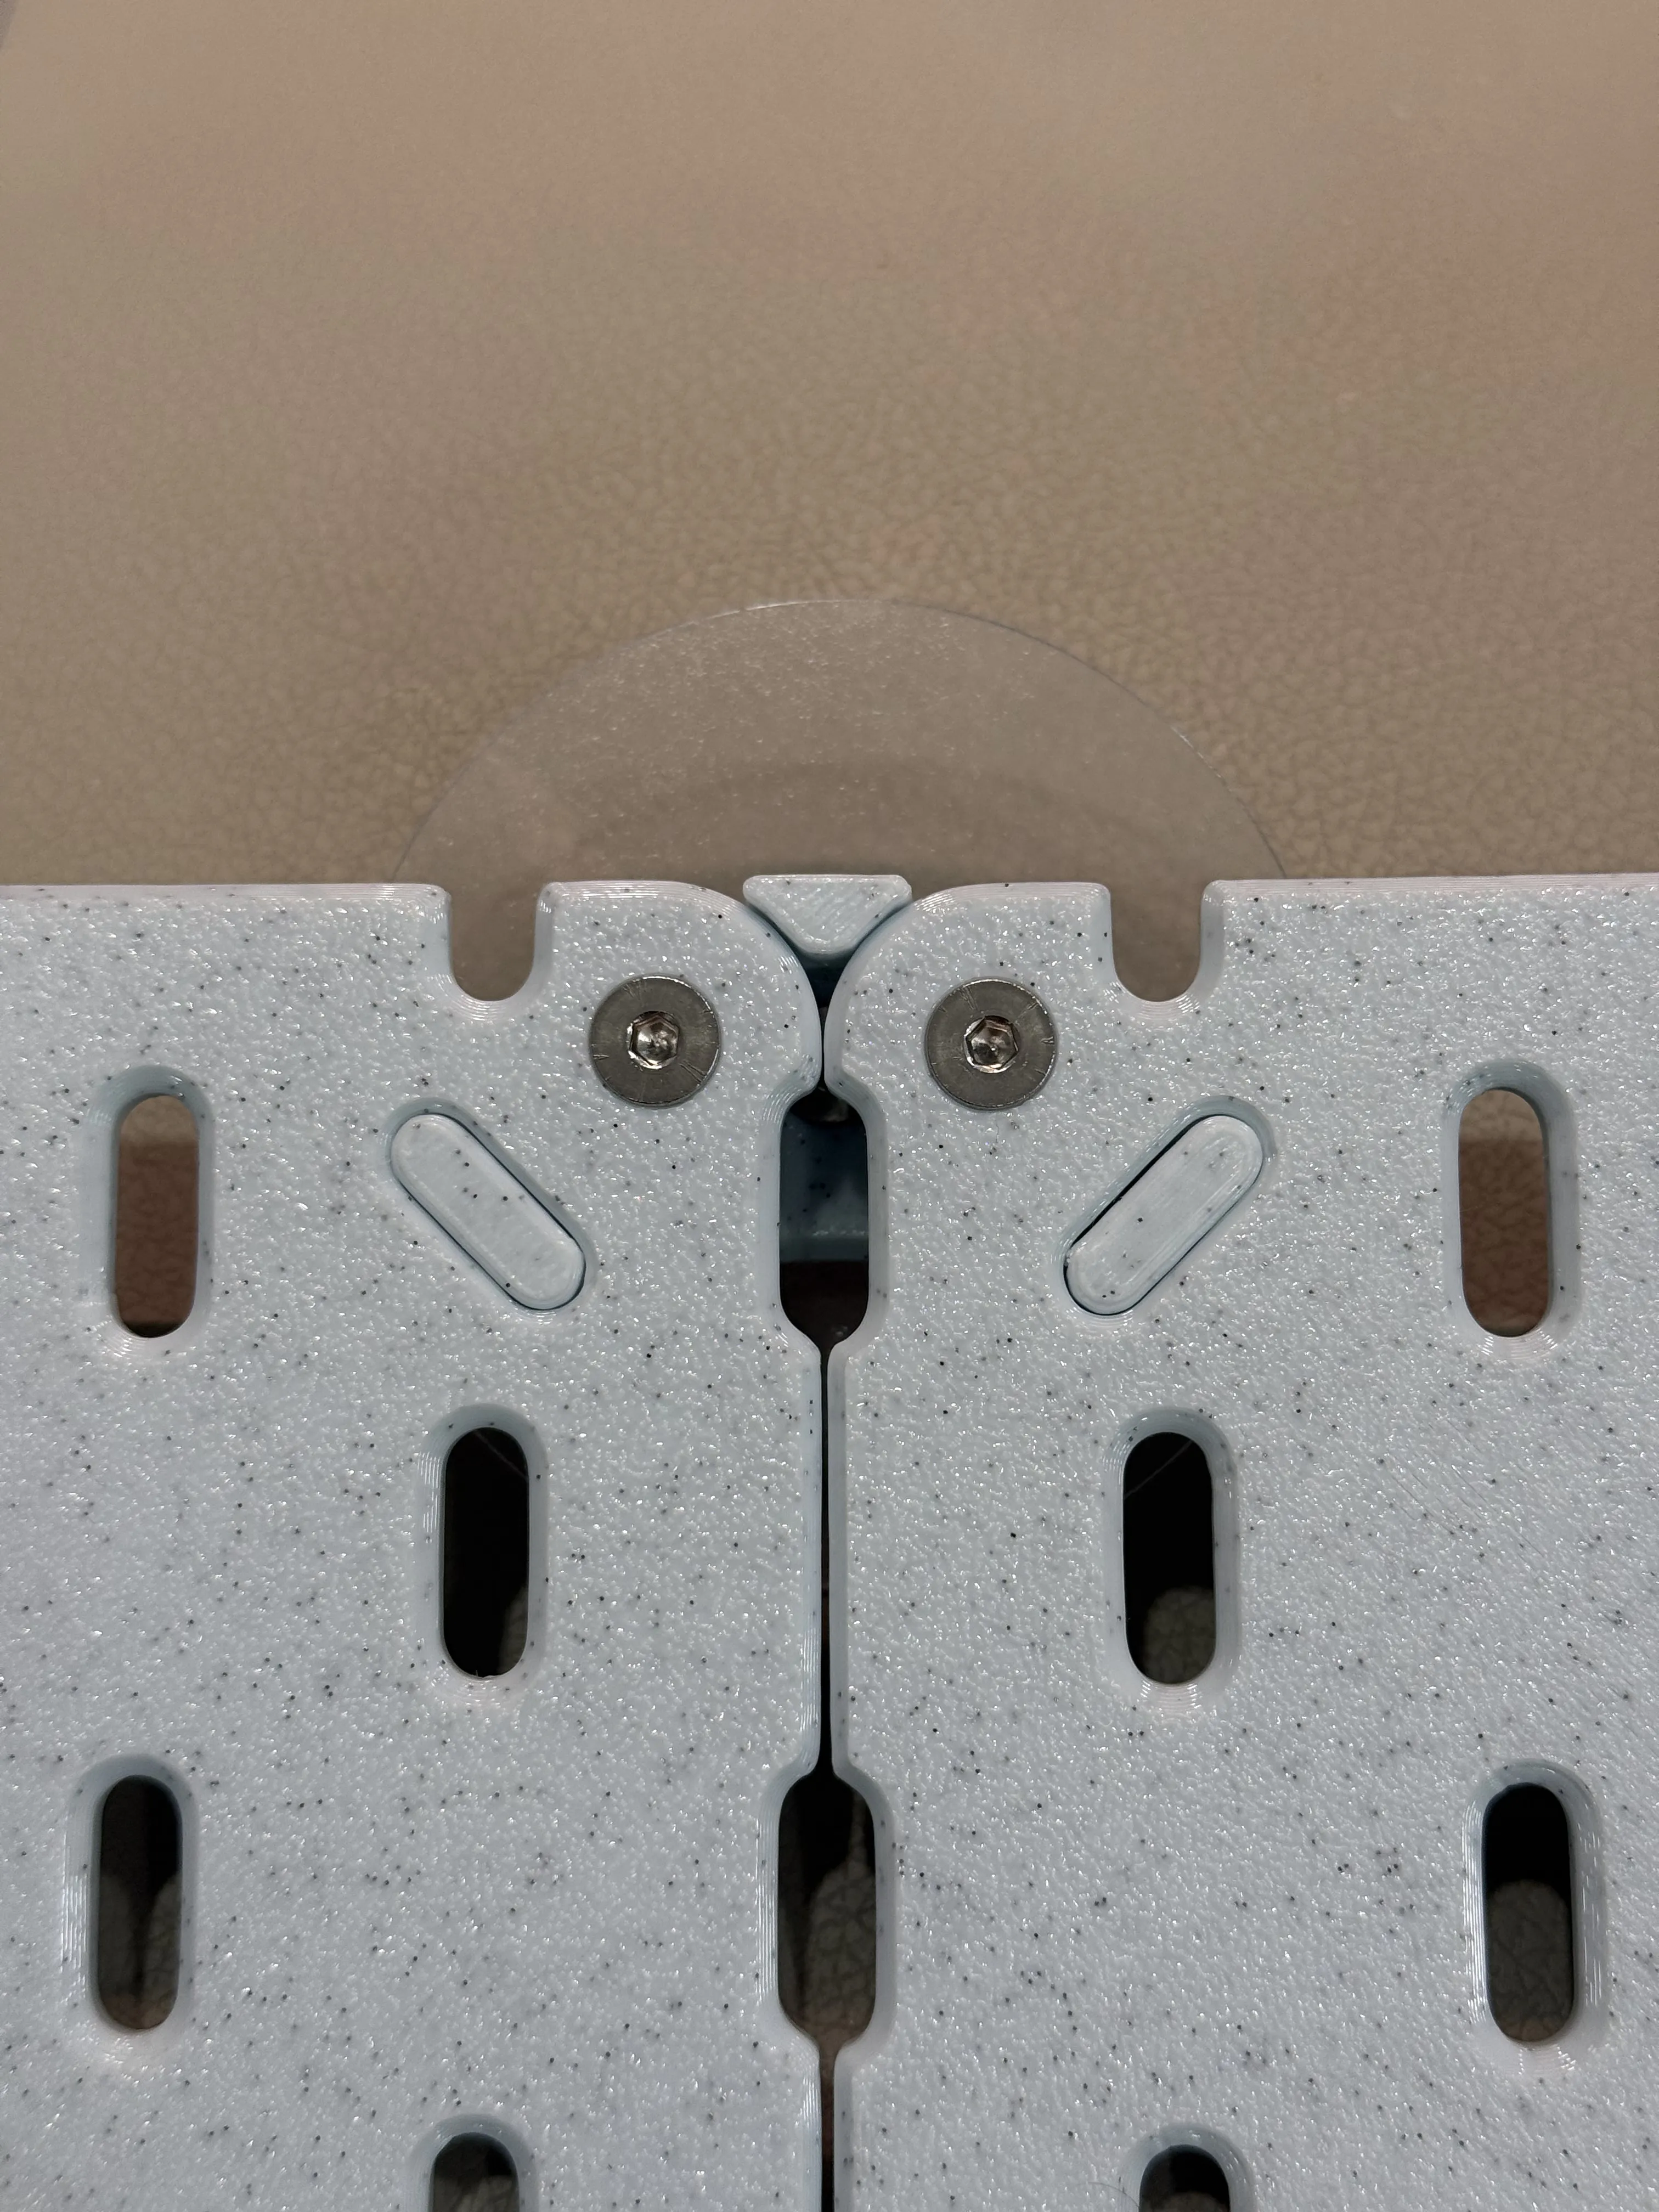
For side brackets, the brackets need to be fixed with traceless adhesive mounts before attaching the pegboard
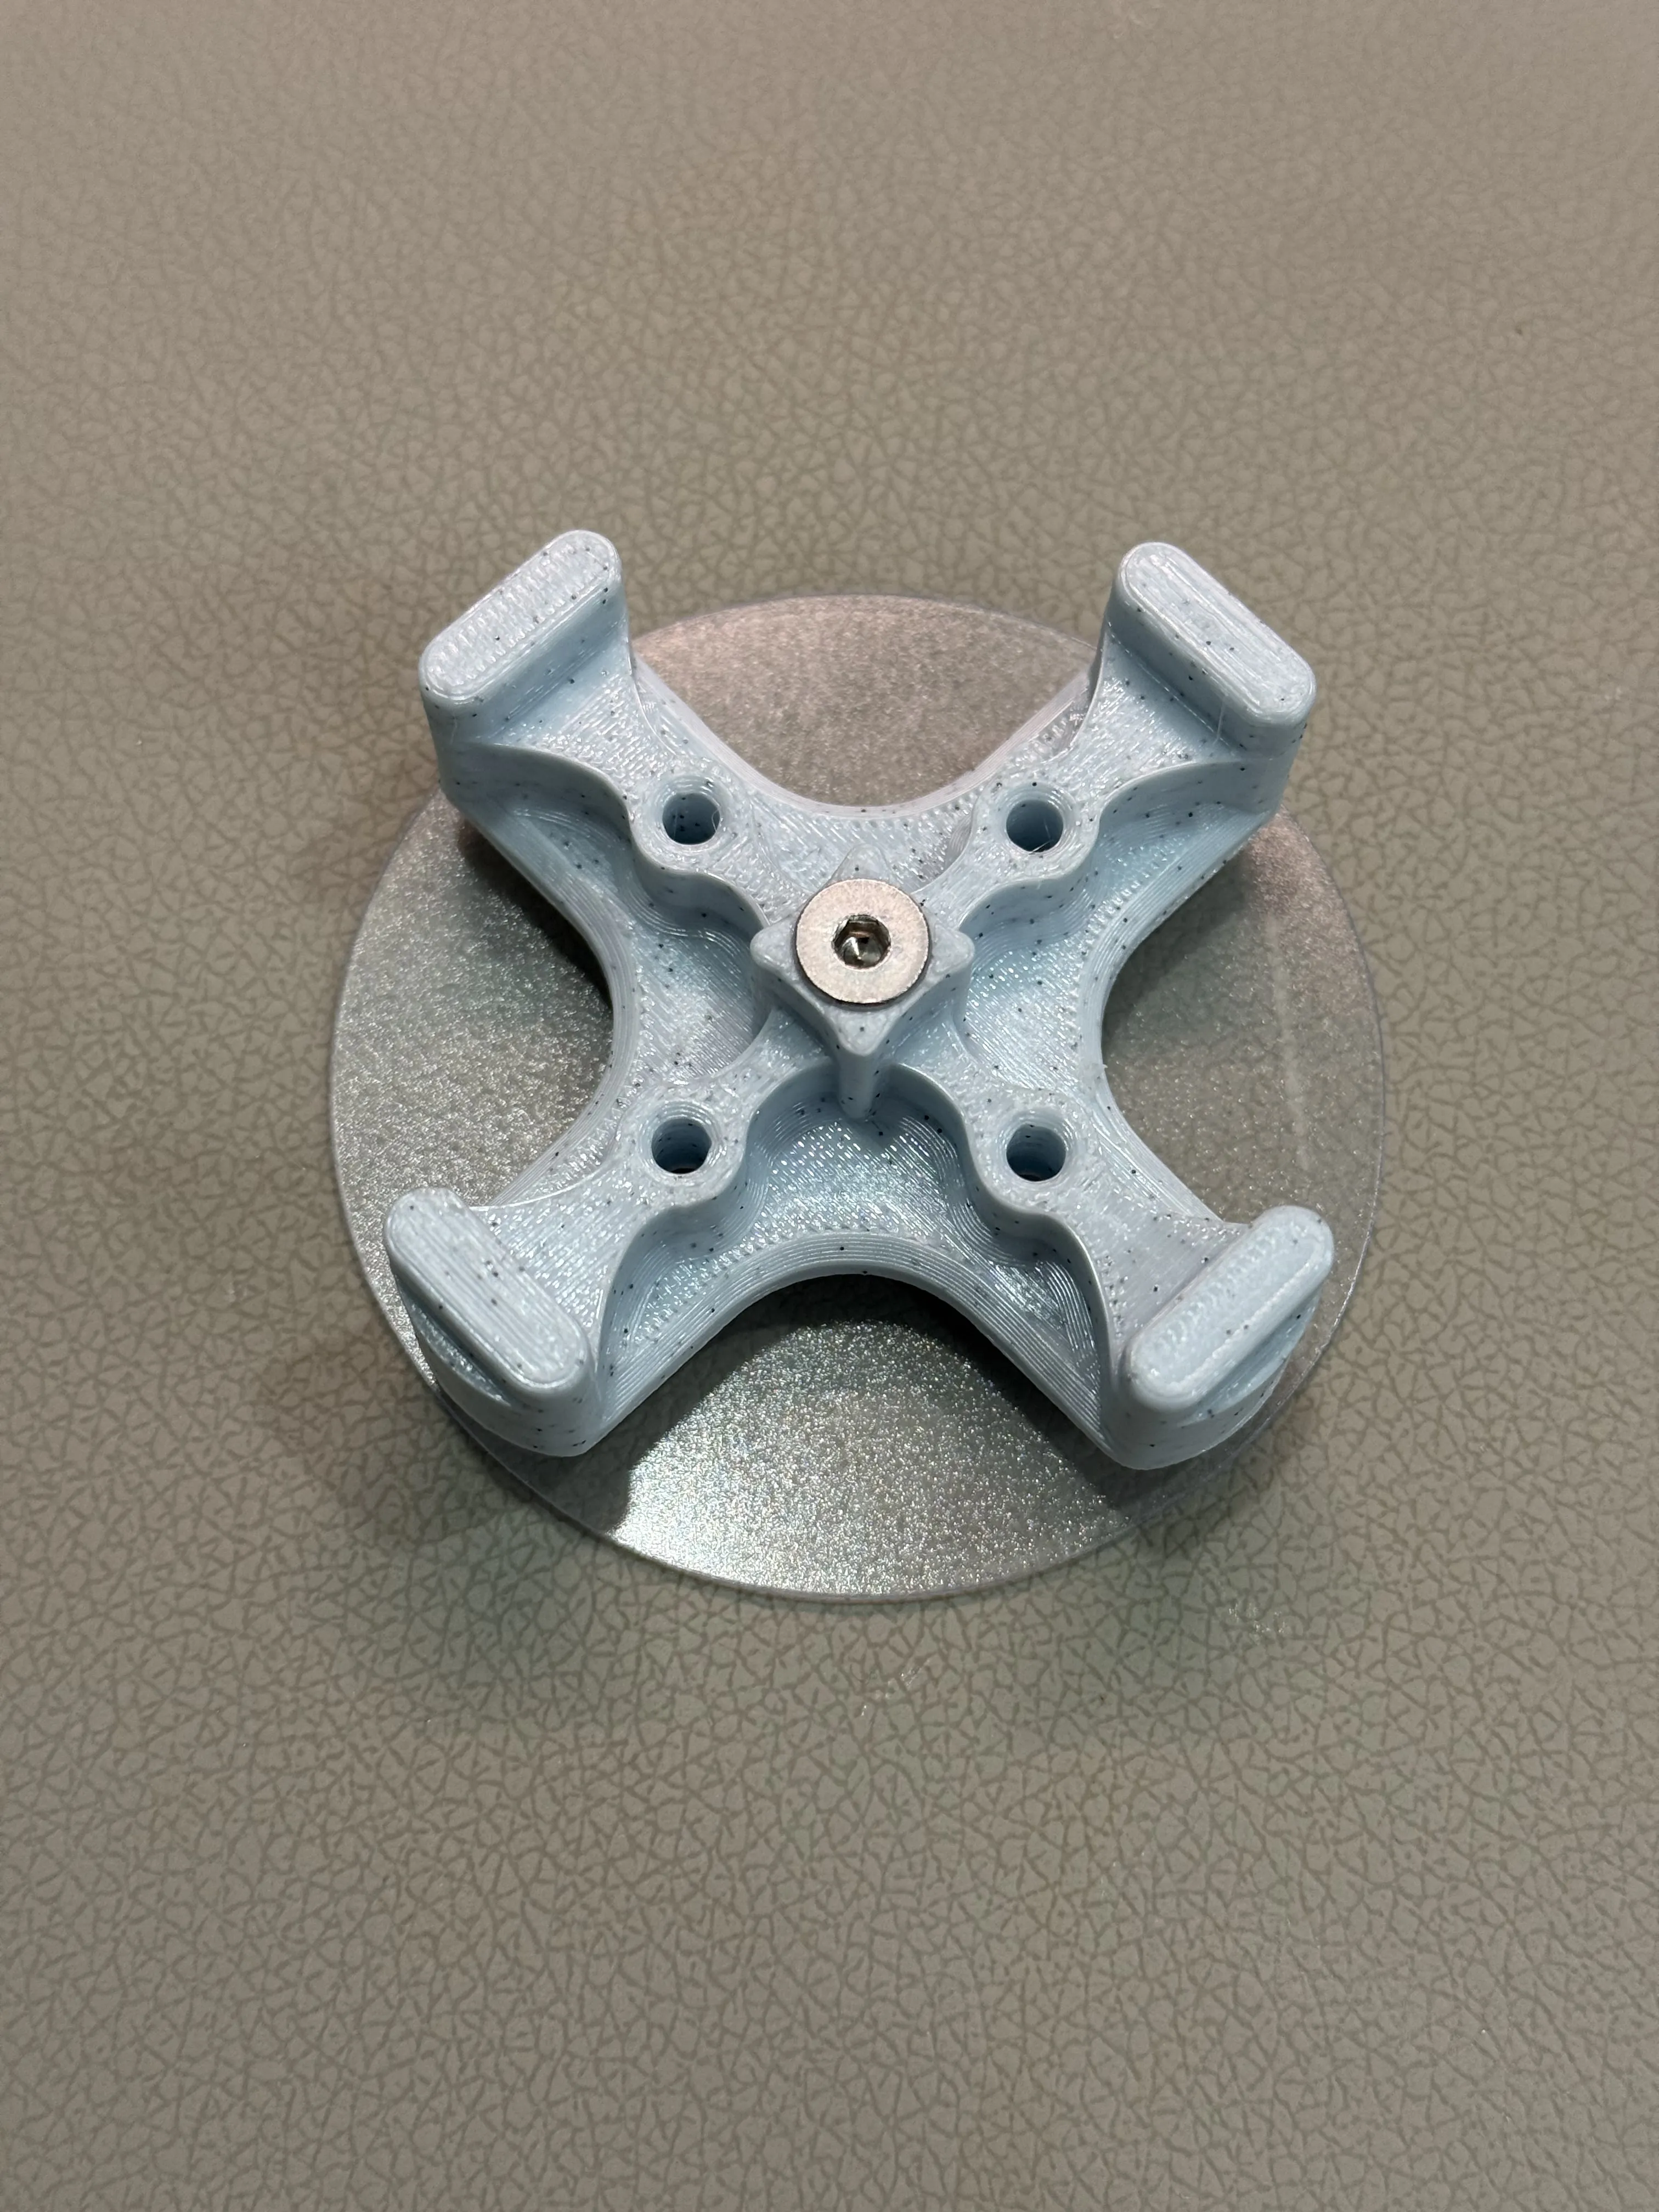
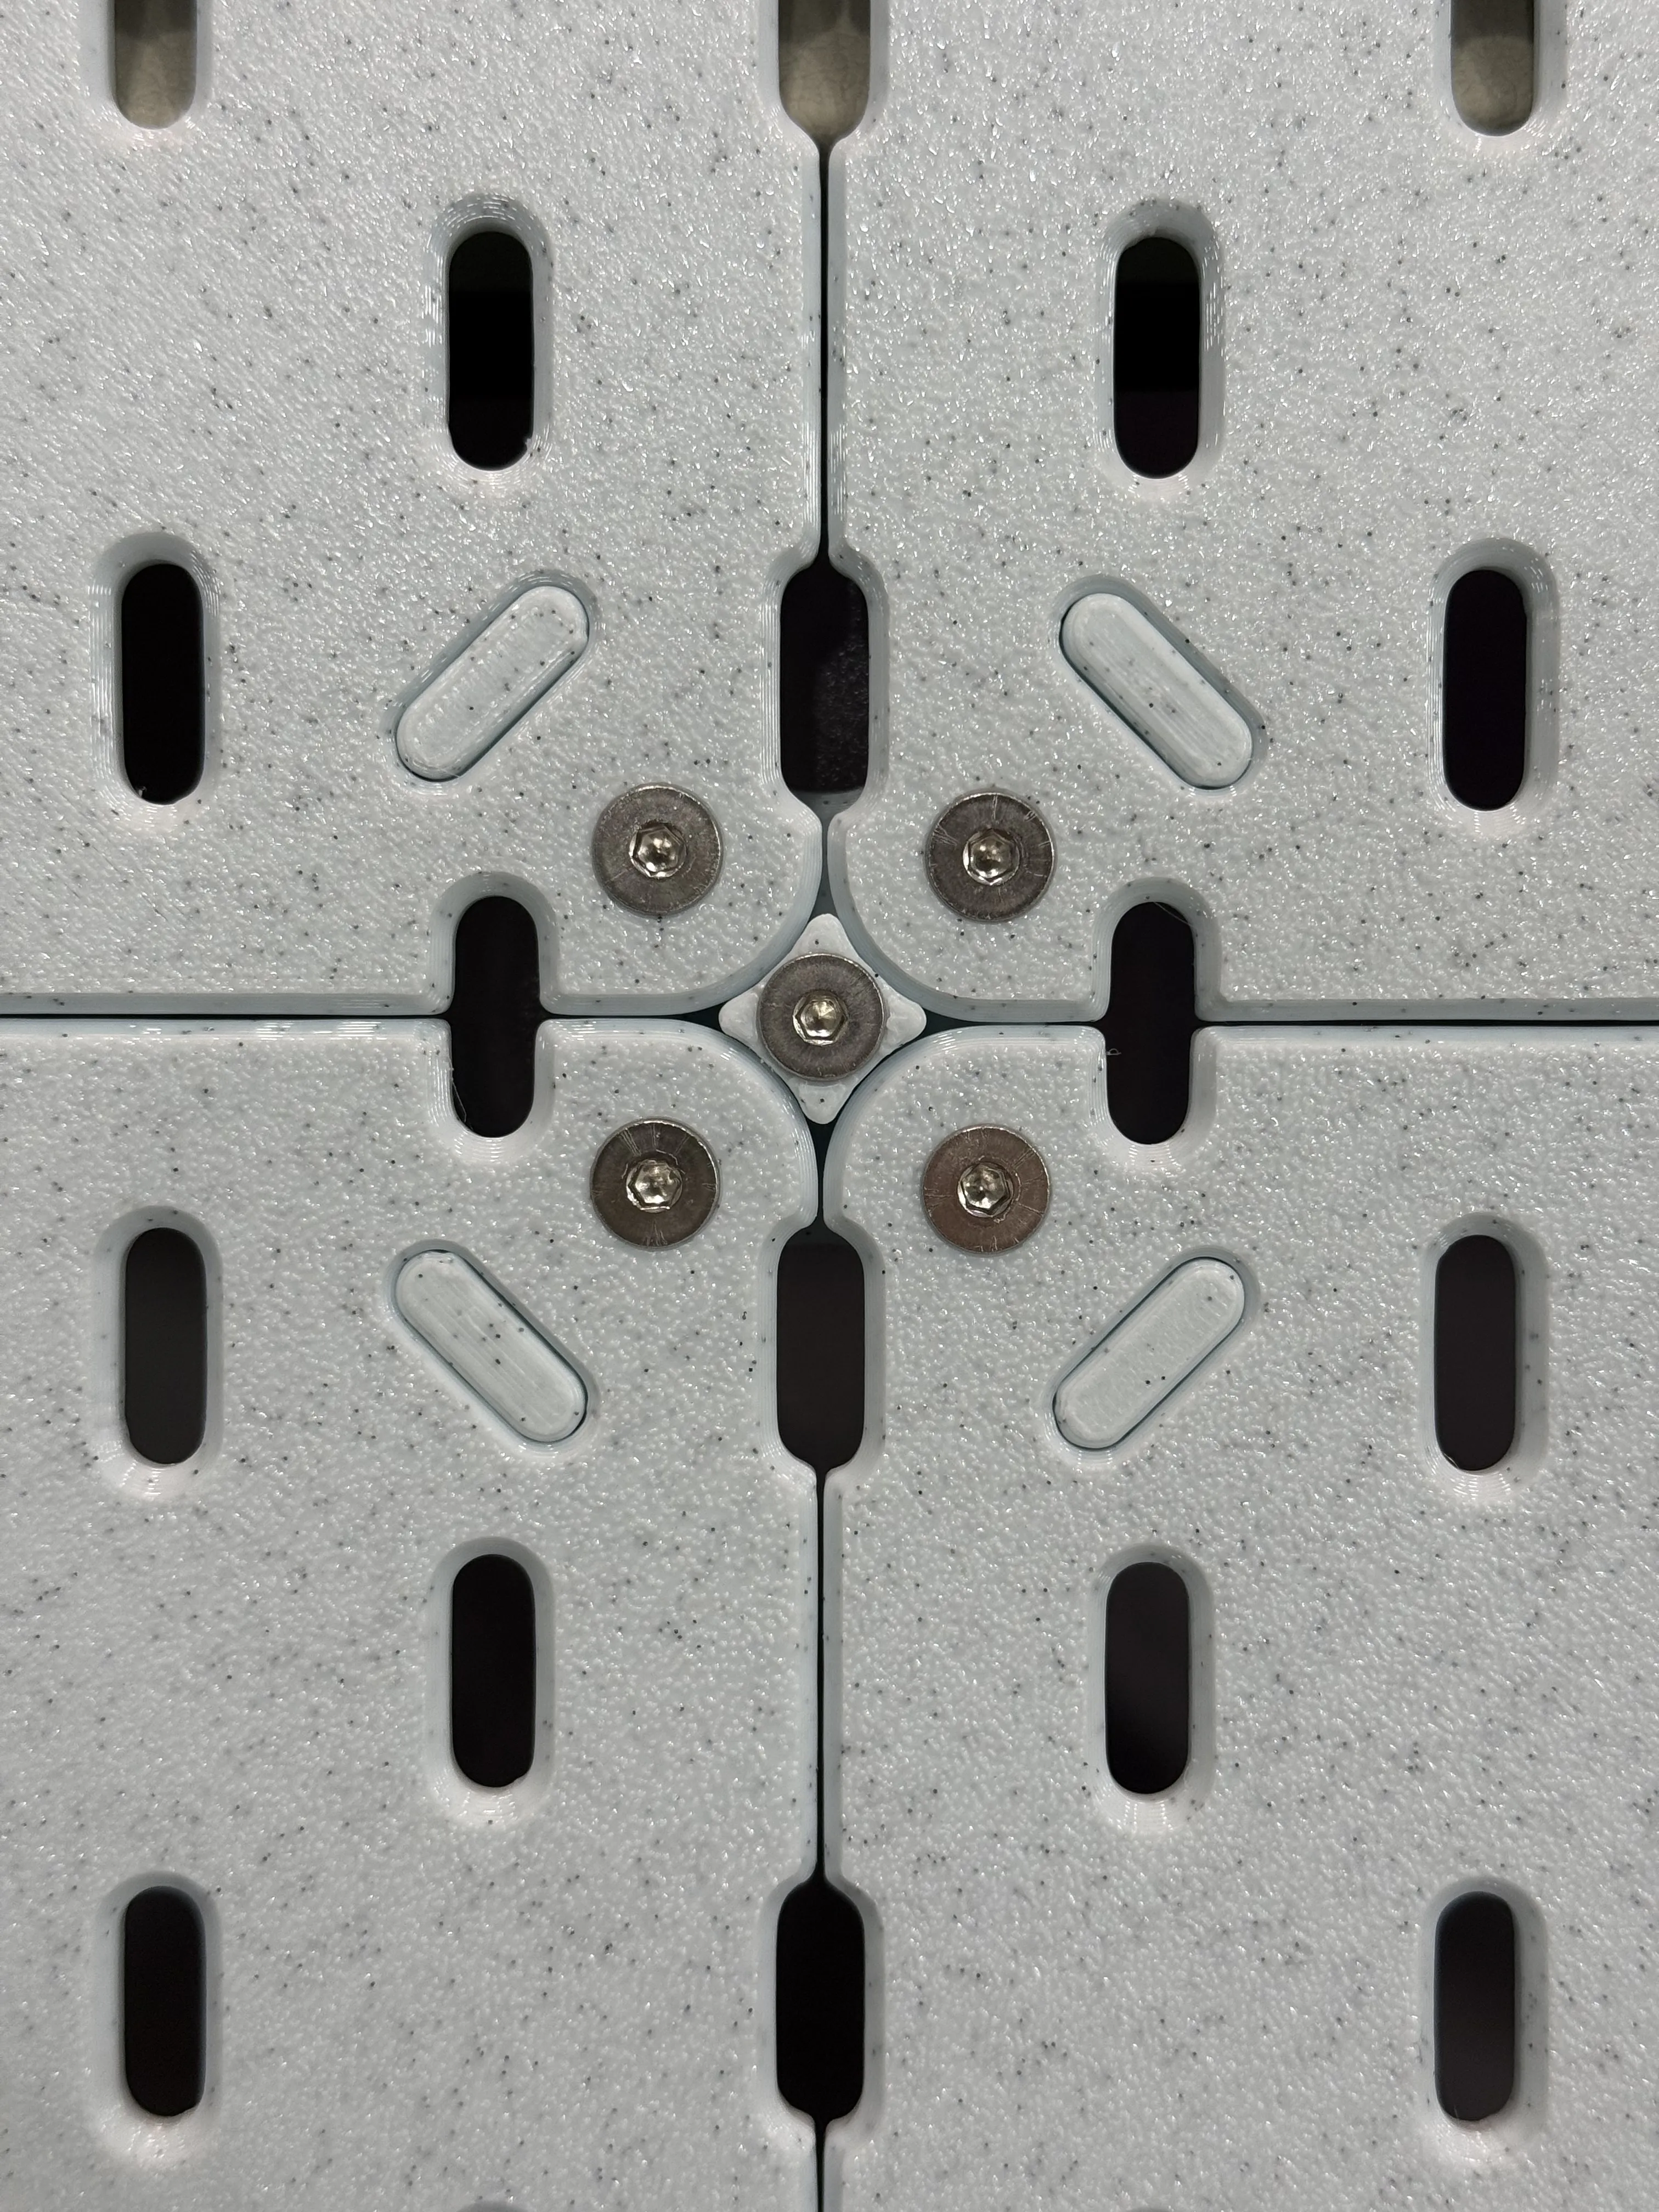
The same applies to center brackets
The following print sizes are provided
- 16×16CM (for A1 mini)
- 20×20CM (for P1 series and X1 series)
- 24×24CM (default recommended size, for A1 and P2S)
- 28×28CM (for H2 series)
For P1 and X1 series, it is theoretically possible to print 24×24CM pegboards, but the preparatory work is more complex and requires referring to the official documentation for preparation: https://wiki.bambulab.com/zh/knowledge-sharing/print-volume-limitations
Update 2025/11/14
Changed default infill to gyroid, avoiding static accumulation and clogging caused by large area grid infill. Planning to make aesthetic trim accessories and desk clamp accessories for the pegboard
2026/1/7
Added tripod corner brackets for irregular pegboard splicing
Q&A
Why is there a weird support? Regarding the support, it is explained here that in the final stage of the first layer of P2S's Gcode, hundreds of retractions are generated consecutively at once, which will inevitably cause the nozzle to be empty. And because the second layer starts with an overhang, if this support is not added, there will inevitably be missing steps, which will eventually lead to a large defect in one of the pegboard holes. So I added a small support to be used as a purge tower. This ensures that print quality is not affected even after hundreds of retractions. For other printer models, this support also has a positive effect. If you check the Gcode yourself and ensure that the first layer is not as abstract as with P2S, then you can also turn off the support
License

You shall not share, sub-license, sell, rent, host, transfer, or distribute in any way the digital or 3D printed versions of this object, nor any other derivative work of this object in its digital or physical format (including - but not limited to - remixes of this object, and hosting on other digital platforms). The objects may not be used without permission in any way whatsoever in which you charge money, or collect fees.


Comment & Rating (4)