
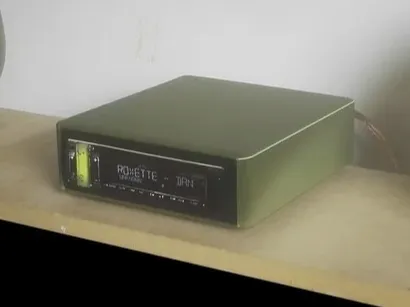
Car / Marine Radio & Stereo Case - Single DIN
Print Profile(1)

Description
Thanks to dr_front_dk who uploaded this case to Thingiverse!
Here is his original description:
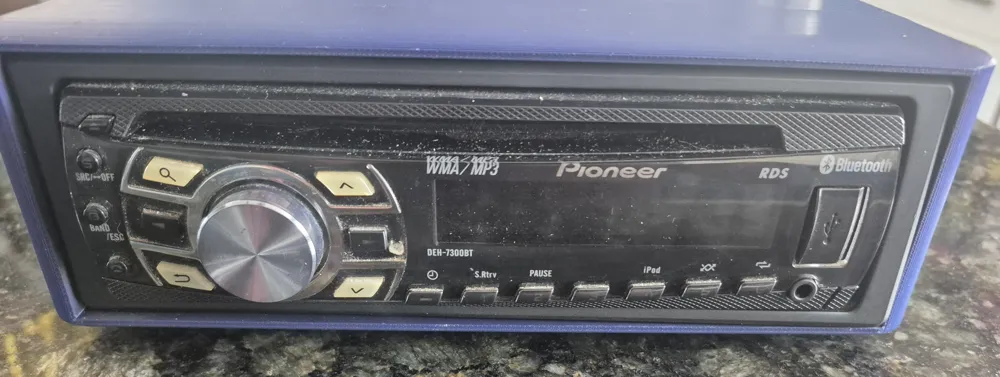
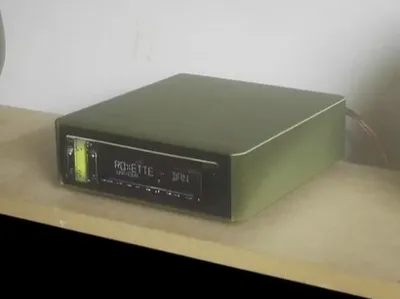
"Car/Marine Radio Case for various sizes, don't have all kinds of radios so can't say if it will fit very deep radios
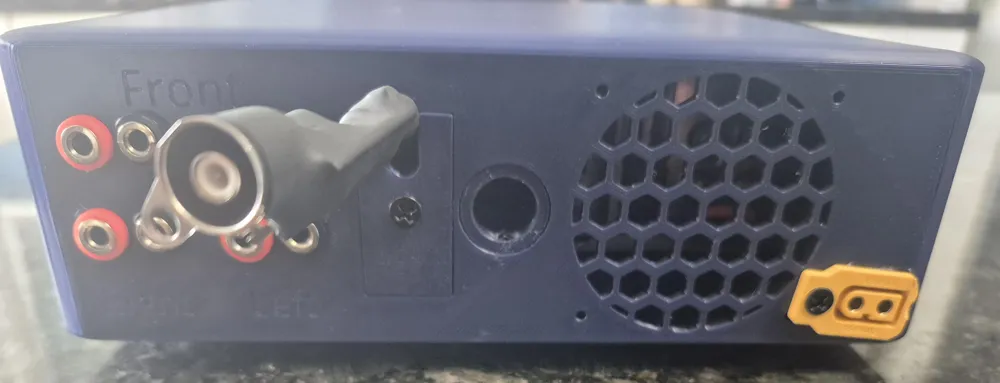
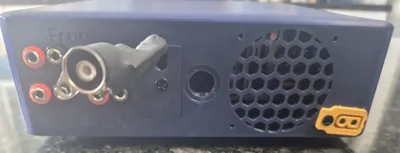
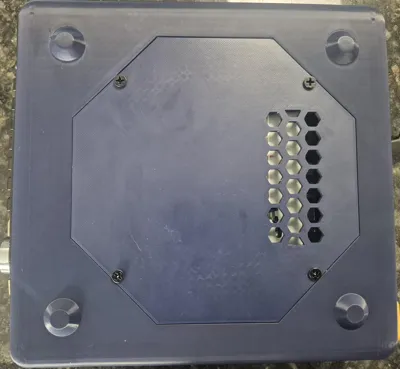
This design uses 4mm connectors for speakers, XT60 for power and a hatch in the back for all other connections from behind the radio
The center peg has to be screwed to the back of the radio, you can print the case first, put the radio you have into it and measure with caliper from the back of the case to the back of the radio inside, from here you can chose the peg you need or one that is longer, cut longer peg down in slicer (stop print after height) to fit your radio.
When you have the right peg length then screw it to the radio and lower radio in case, here you can glue it in when it is in place.
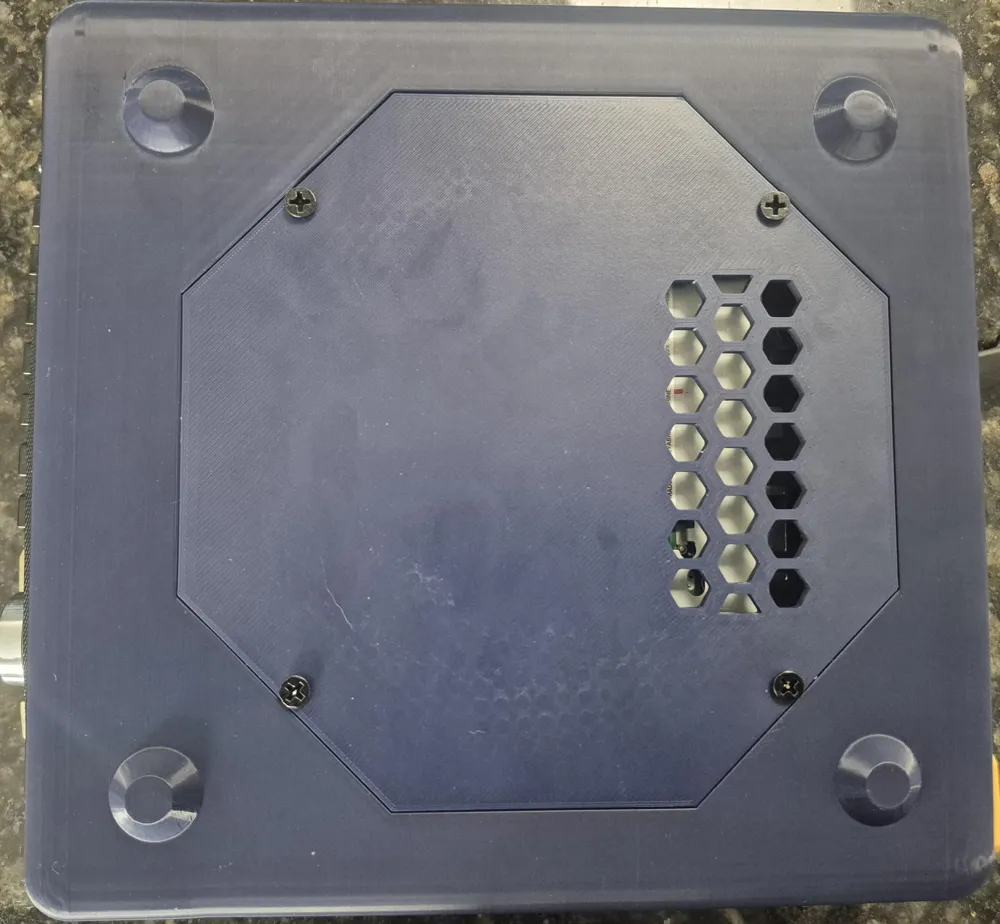
60mm Fan can be attached to a DC-DC buck step-down converter that is attached to "antenna power" from the radio, this turns on the fan when radio is on, set the DC-DC to a low voltage so fan spins slowly, fan is just needed to keep the case from becoming a heat box, make sure that the low setting you set the fan to is not to low so it wont start when power is applied.
Fan gasket is just to decrease sound further, try without first.
I use this fan, really quiet and cheap
https://www.tme.eu/dk/en/details/ha60151v4-a99-a/dc12v-fans/sunon/ha60151v4-1000u-a99/"
My remix:
First, I imported all of the components into Bambu Studio, and set up everything for printing on multiple plates on my P1S.
I increased the size of the XC60 connector hole (used for power), since the original hole was too small for the sockets I purchased from Amazon: https://www.amazon.ca/dp/B0C5X5Q1NN
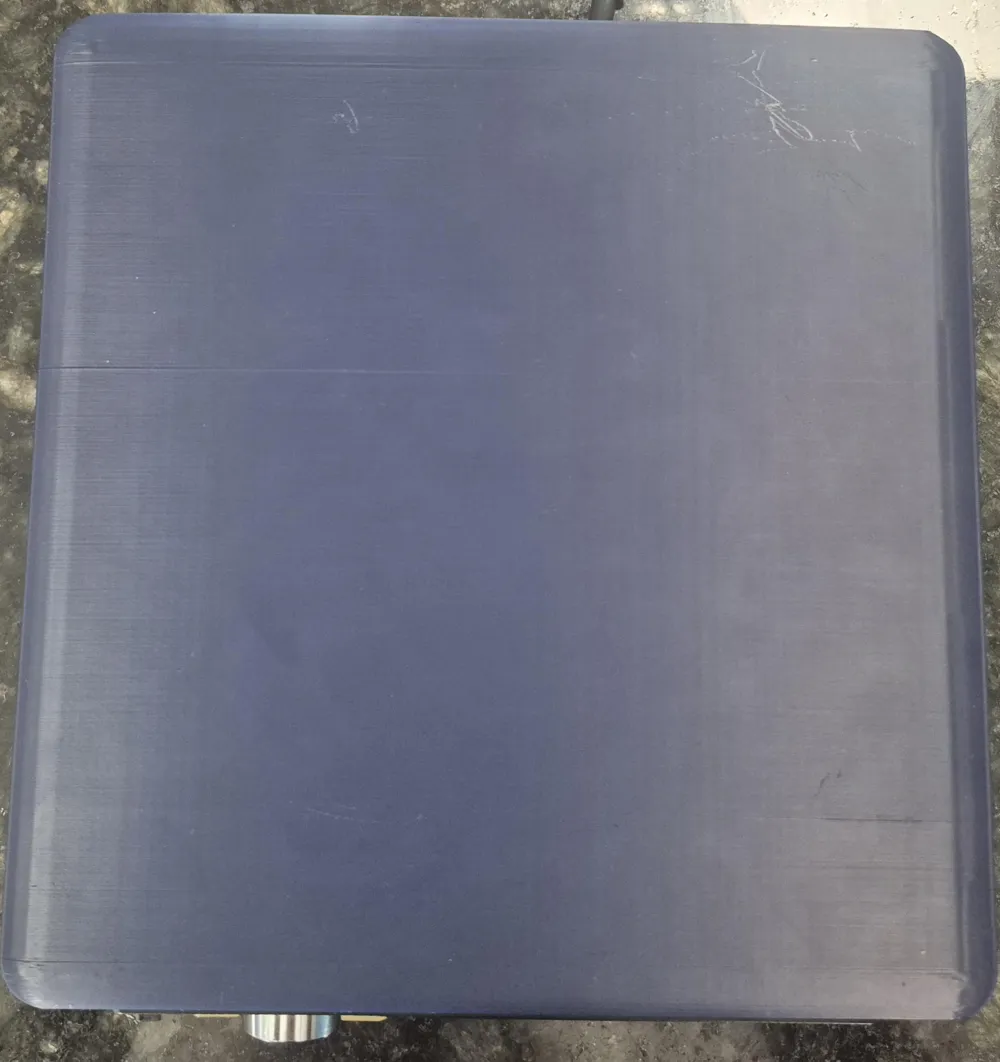
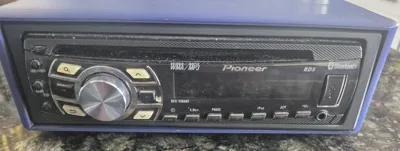
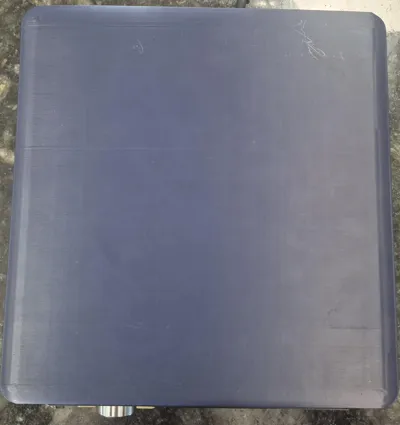
My print:
I used ABS for higher heat-resistance.
I did not use a fan (or the fan gaskets) - if heat buildup becomes a problem, I can always go back and install one!
I used a small (M3) screw (I predrilled a hole first) to retain the stereo in place, using the correct length of peg. (You can glue it, but I want to be able to open this easily again, just in case I want to add a fan later.)
I used the following banana plugs and sockets set for the speakers: https://www.aliexpress.com/item/1005008931731241.html
Check out my other 3D models - I have added some 6.5" car speaker boxes, and will be adding a power supply box very soon (which will be used to power this stereo!)
If you make any interesting tweaks, don't hesitate to post some pictures and upload a print profile!
This remix is based on

License



Comment & Rating (3)