Galen Merek Starkiller's Lightsaber


Print Profile(3)

Bill of Materials


Description
Boost Me (for free)
If you like my models, please consider dropping me a boost, comment and rate the profile! Any of these things keeps me motivated to Keep going! Thank you!
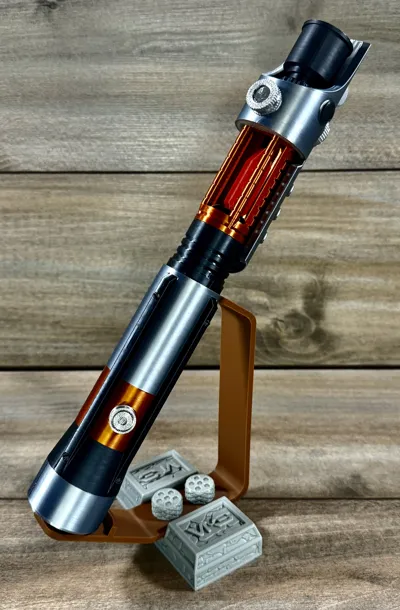
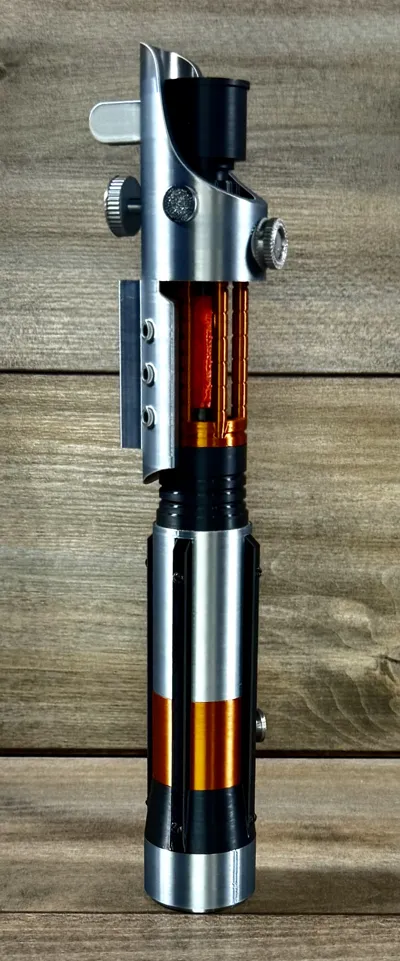
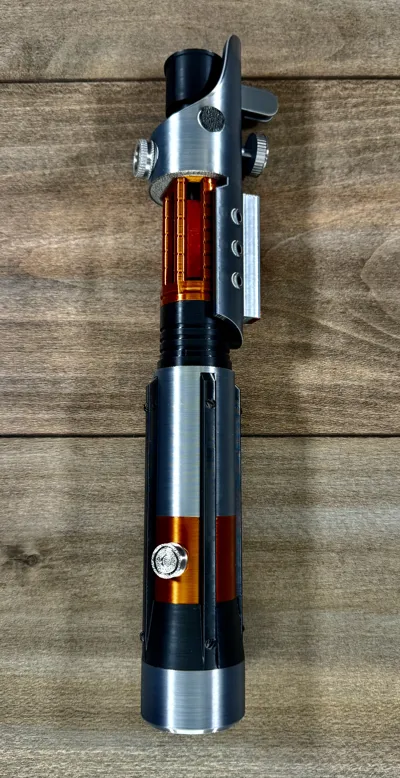
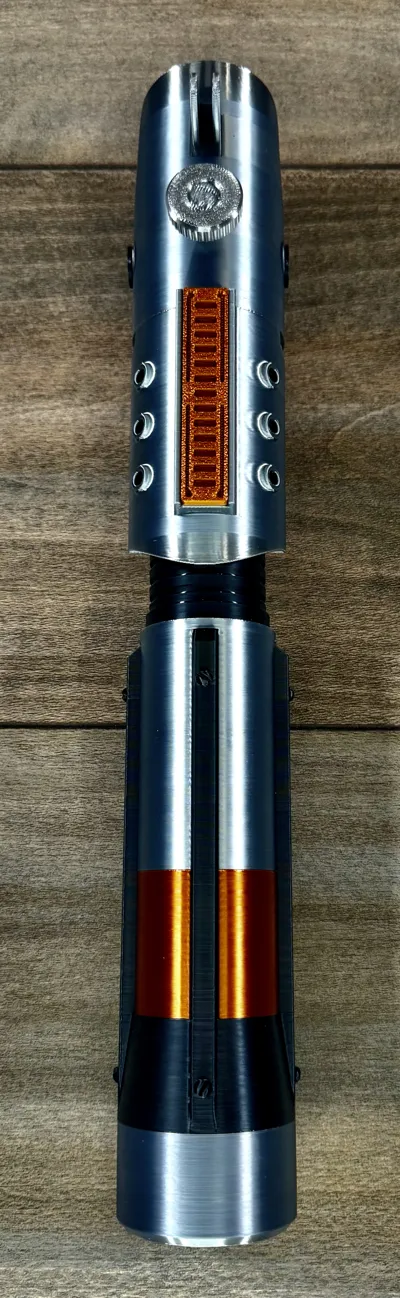
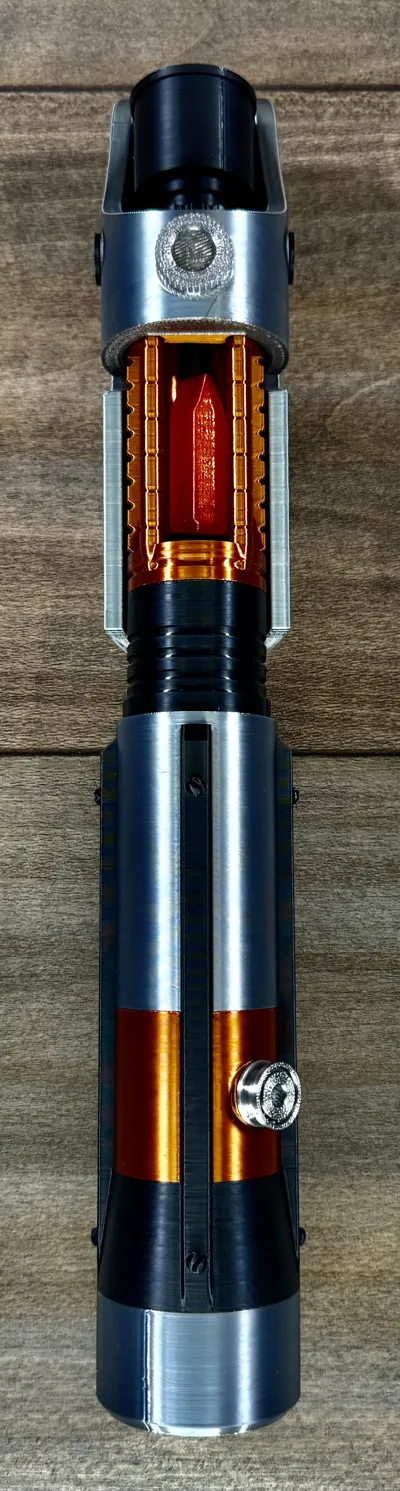
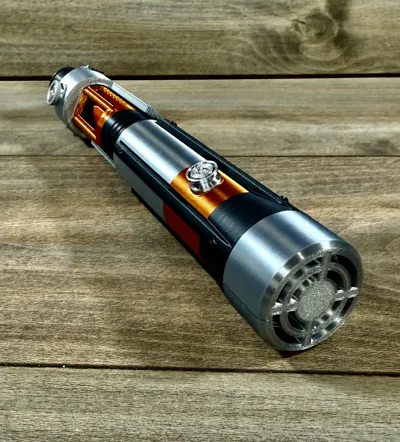
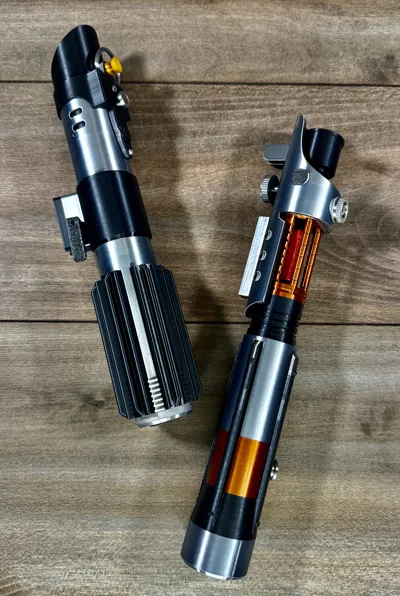
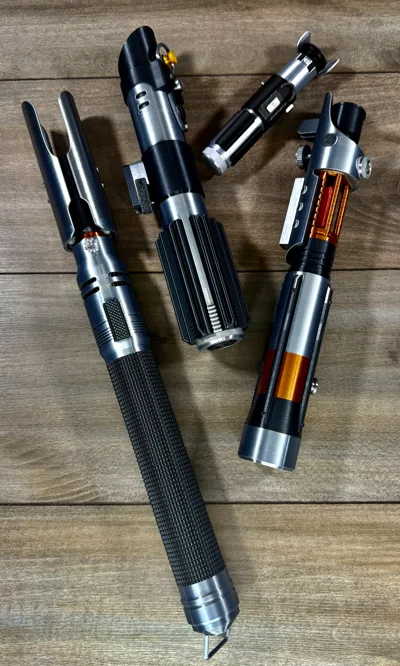
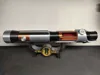
Unleash the force with Starkiller's lightsaber.
Also known as Galen Merek, this saber features an exposed
kyber crystal and is 318mm (12.5 inches) when fully assembled.
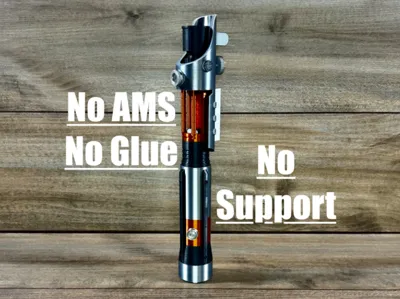
This saber prints without the need for AMS supports or glue with well calibrated filament.
For display blade
https://makerworld.com/en/models/2279067-lightsaber-blade-screw-on-sections#profileId-2485136
Be sure to check out my other models and sabers!
https://makerworld.com/en/collections/14478910-lightsabers
Filaments used:
Sunlu silk grey, Sunlu silk black, Sunlu silk copper, Translucent red
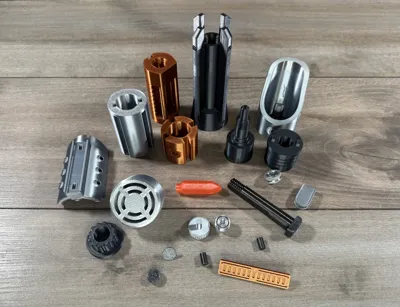
To assemble


Screw the pommel onto the bottom of the grip.
Slide the small round and large round cylinders down the grip piece.
Make sure the two alignment recesses are 90 degrees from the hole in the lower cylinder.

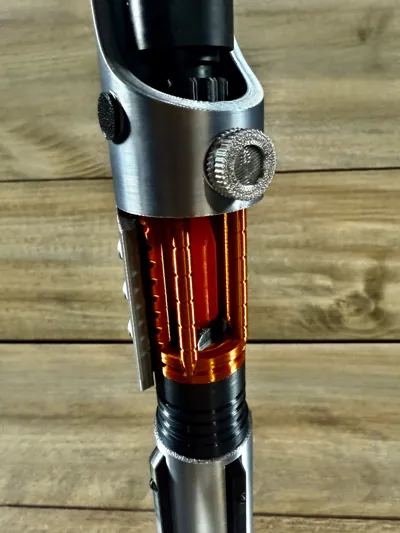
Insert the bolt through the side of the chamber as shown.

Insert the two alignment pins between the chamber and upper handle.
then make sure to align the pins when assembling so that the chamber points to the
side of the handle with the hole in the front.
Use a 3/8 hex tool to tighten the bolt through the chamber. Theres a file for the hex tool in case one is needed.

Align the dovetail on the lower shroud and slide it down the back of the chamber.
Repeat for the upper shroud.

Place the crystal into the chamber with the large round part to the bottom, then use the bolt and washer
to bolt the assembly together. Be sure to align the top of the crystal to the bottom of the bolt.
The crystal can be a bit tricky to align.

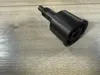
Press the parts shown into the saber. The black round part is the same on the other side.

Press the remaining two parts in as shown.
Membership
Thank you for checking out my models. If you enjoy them or want to sell prints, please consider joining. Everything helps to continue to create new models!
License
You shall not share, sub-license, sell, rent, host, transfer, or distribute in any way the digital or 3D printed versions of this object, nor any other derivative work of this object in its digital or physical format (including - but not limited to - remixes of this object, and hosting on other digital platforms). The objects may not be used without permission in any way whatsoever in which you charge money, or collect fees.
Comment & Rating (105)