
Print Profile(1)

Description
BOLD — Where Function Meets Elegance - Welcome!
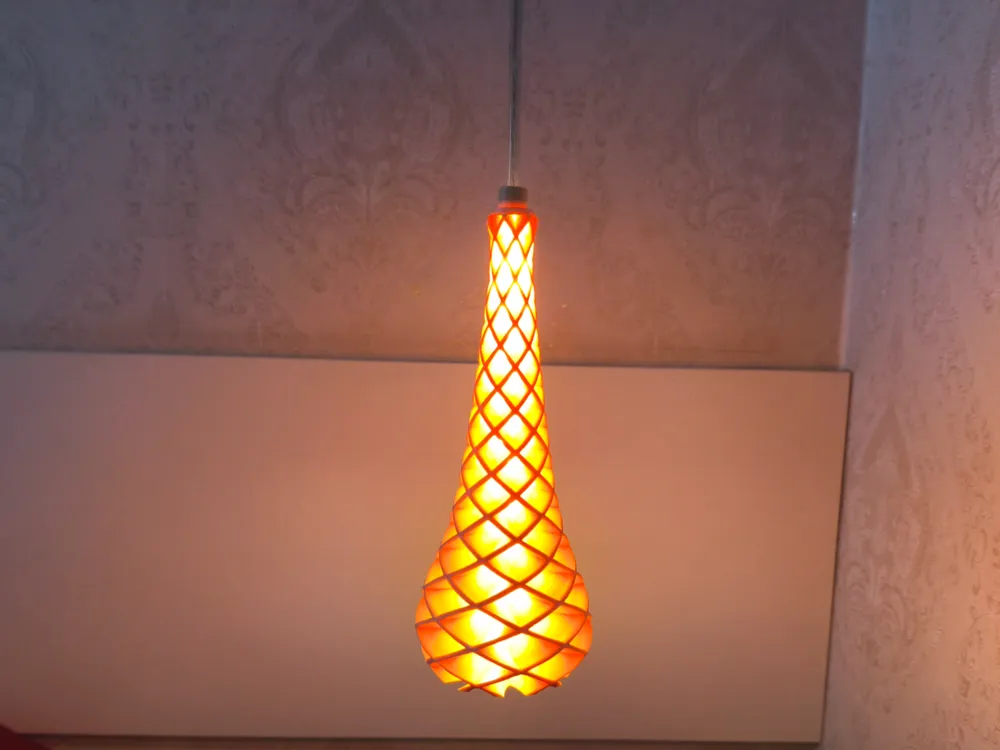
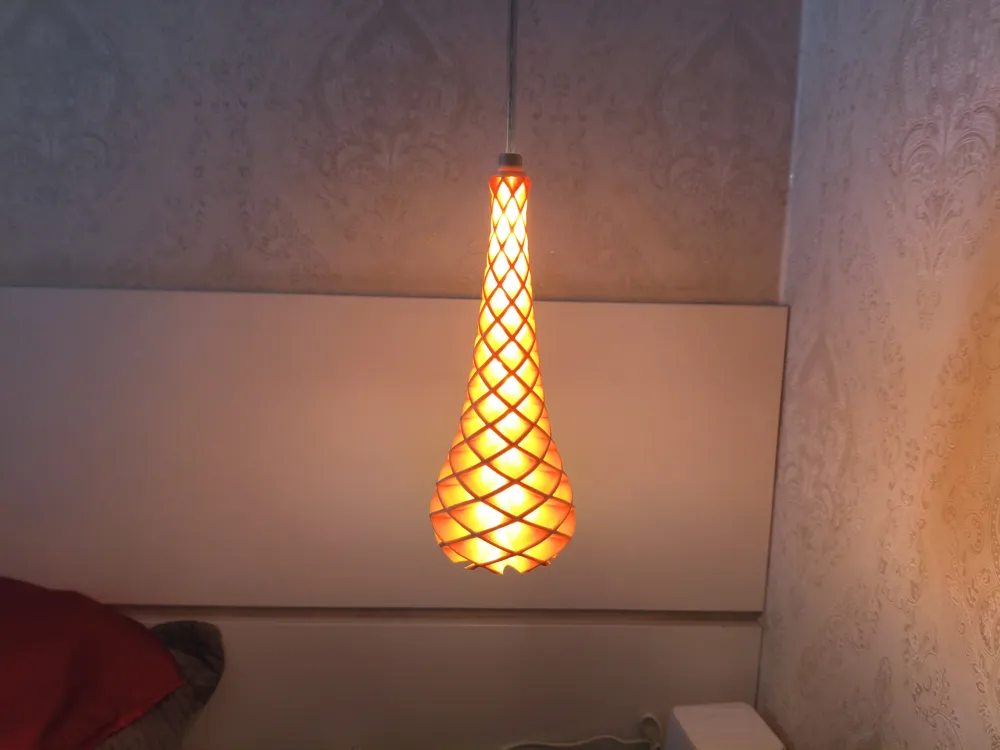
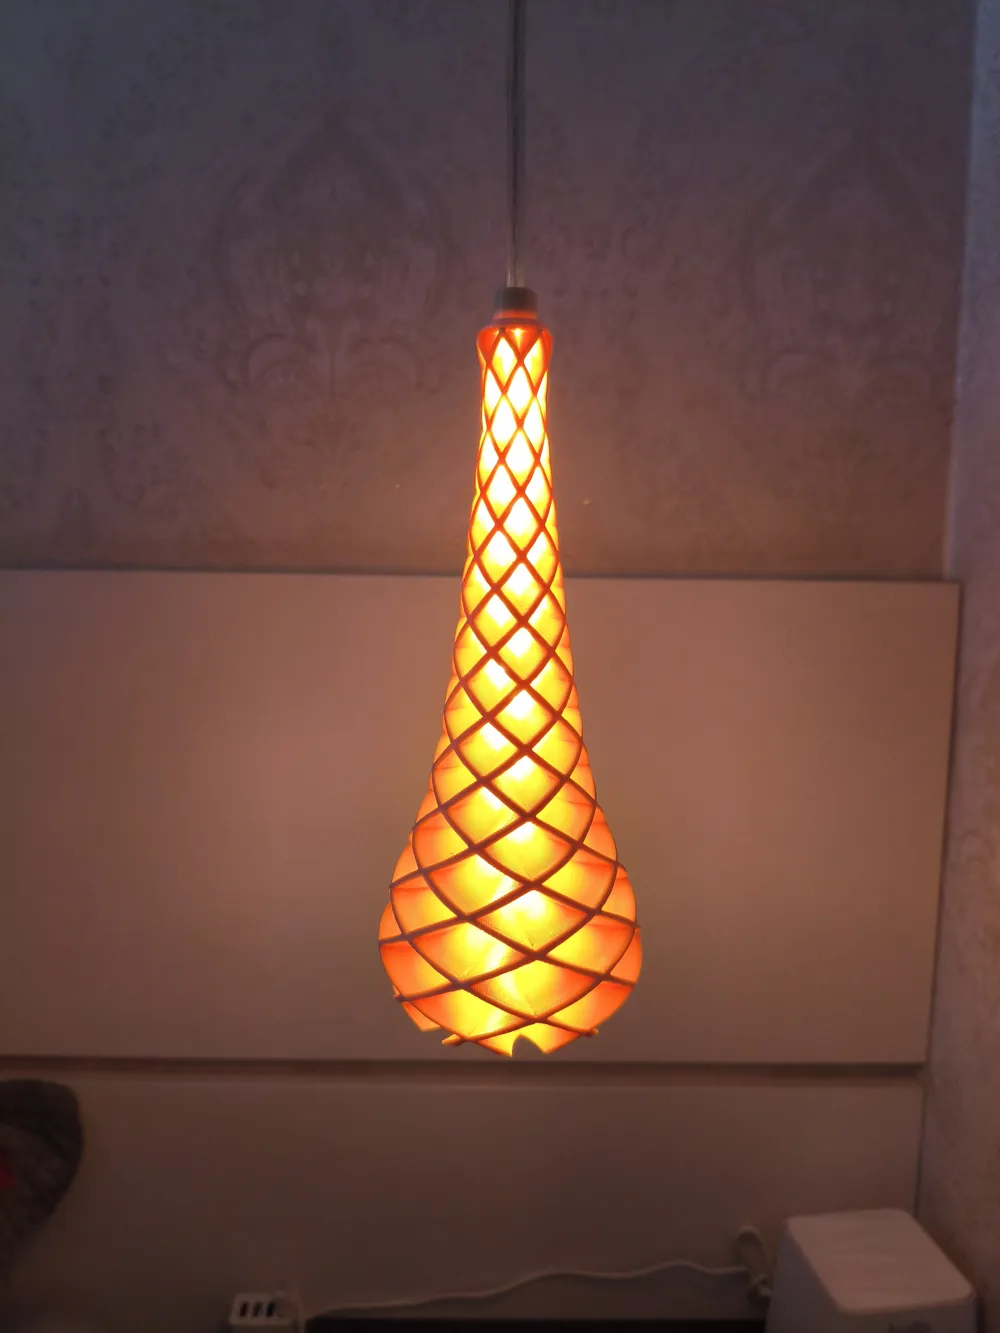
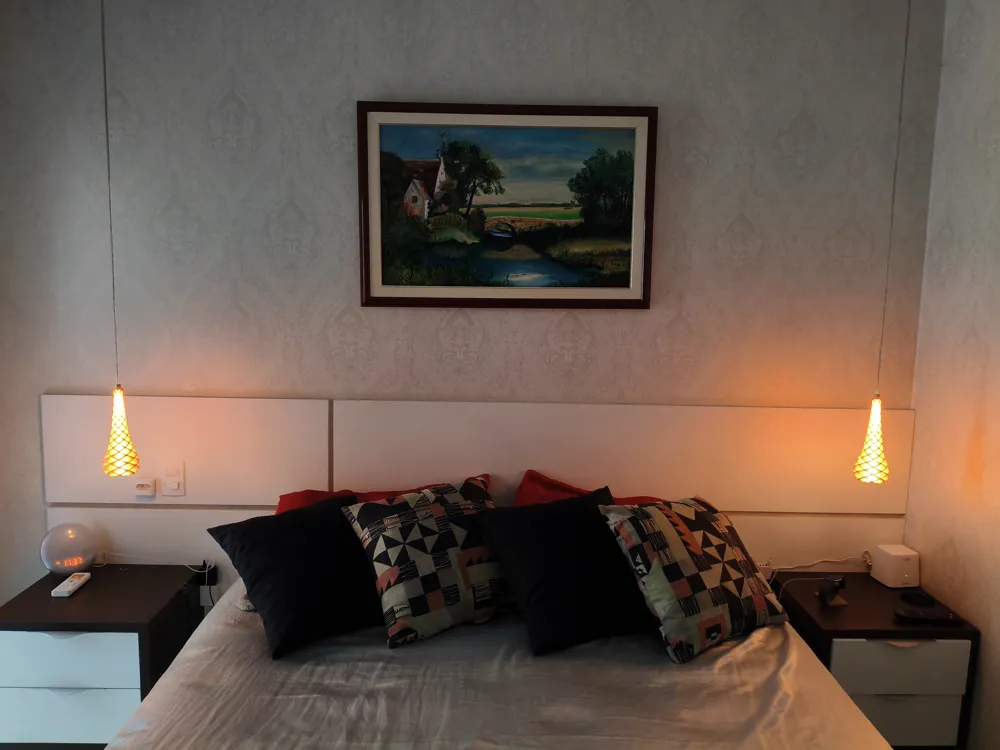
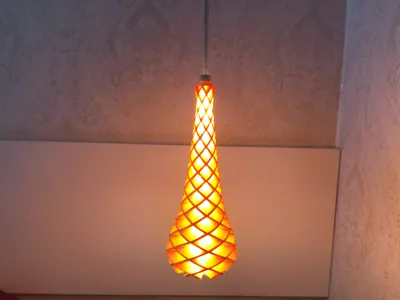
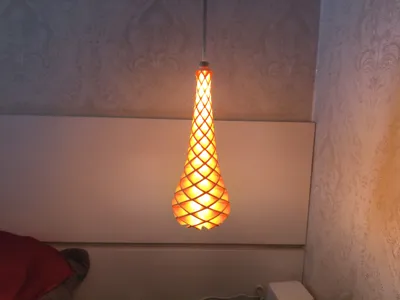
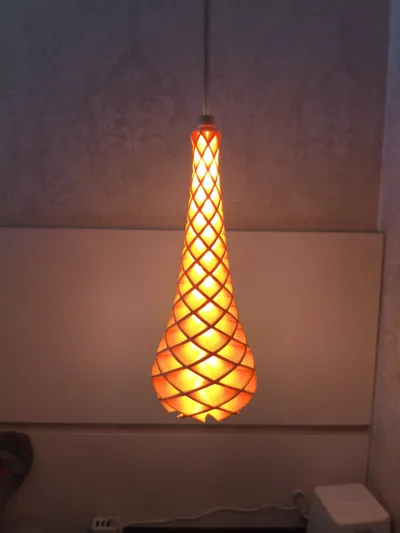
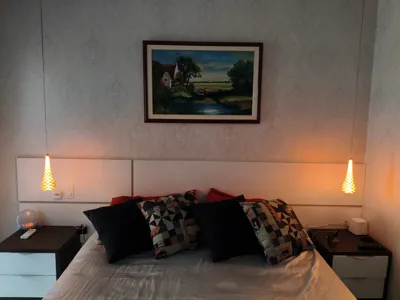
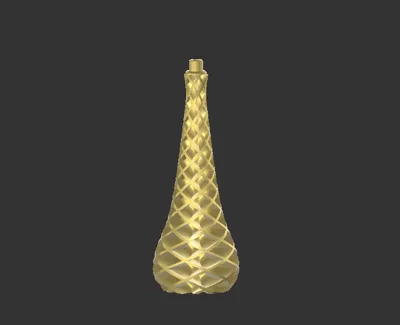
This is a handmade LED lamp with a decorative function. It looks very nice in bedrooms, living rooms, restrooms, and offices.
It is a combined 3D printed project with LED lighting.
Features:
- decorative function, soft lighting;
- low power consumption (~2W);
- original slim model;
- can be 3D printed in PLA, ABS, PETG, and others.
Required knowledge:
- basic knowledge of 3D printing;
- basic knowledge of electronics;
Required materials:
- a 30cm flexible LED strip;
- a 1.5m colorless power cable;
- a 1-3w LED lamp power supply;
Links to products (suggestion only, any similar model can be used):
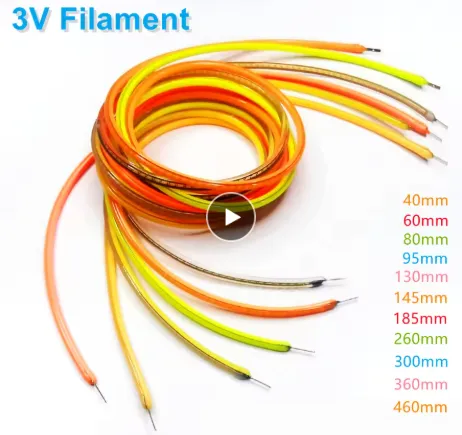
For the LED strip, I recommend the 2200k model, as it provides very beautiful lighting. The length needs to be 30 cm.
See model below:
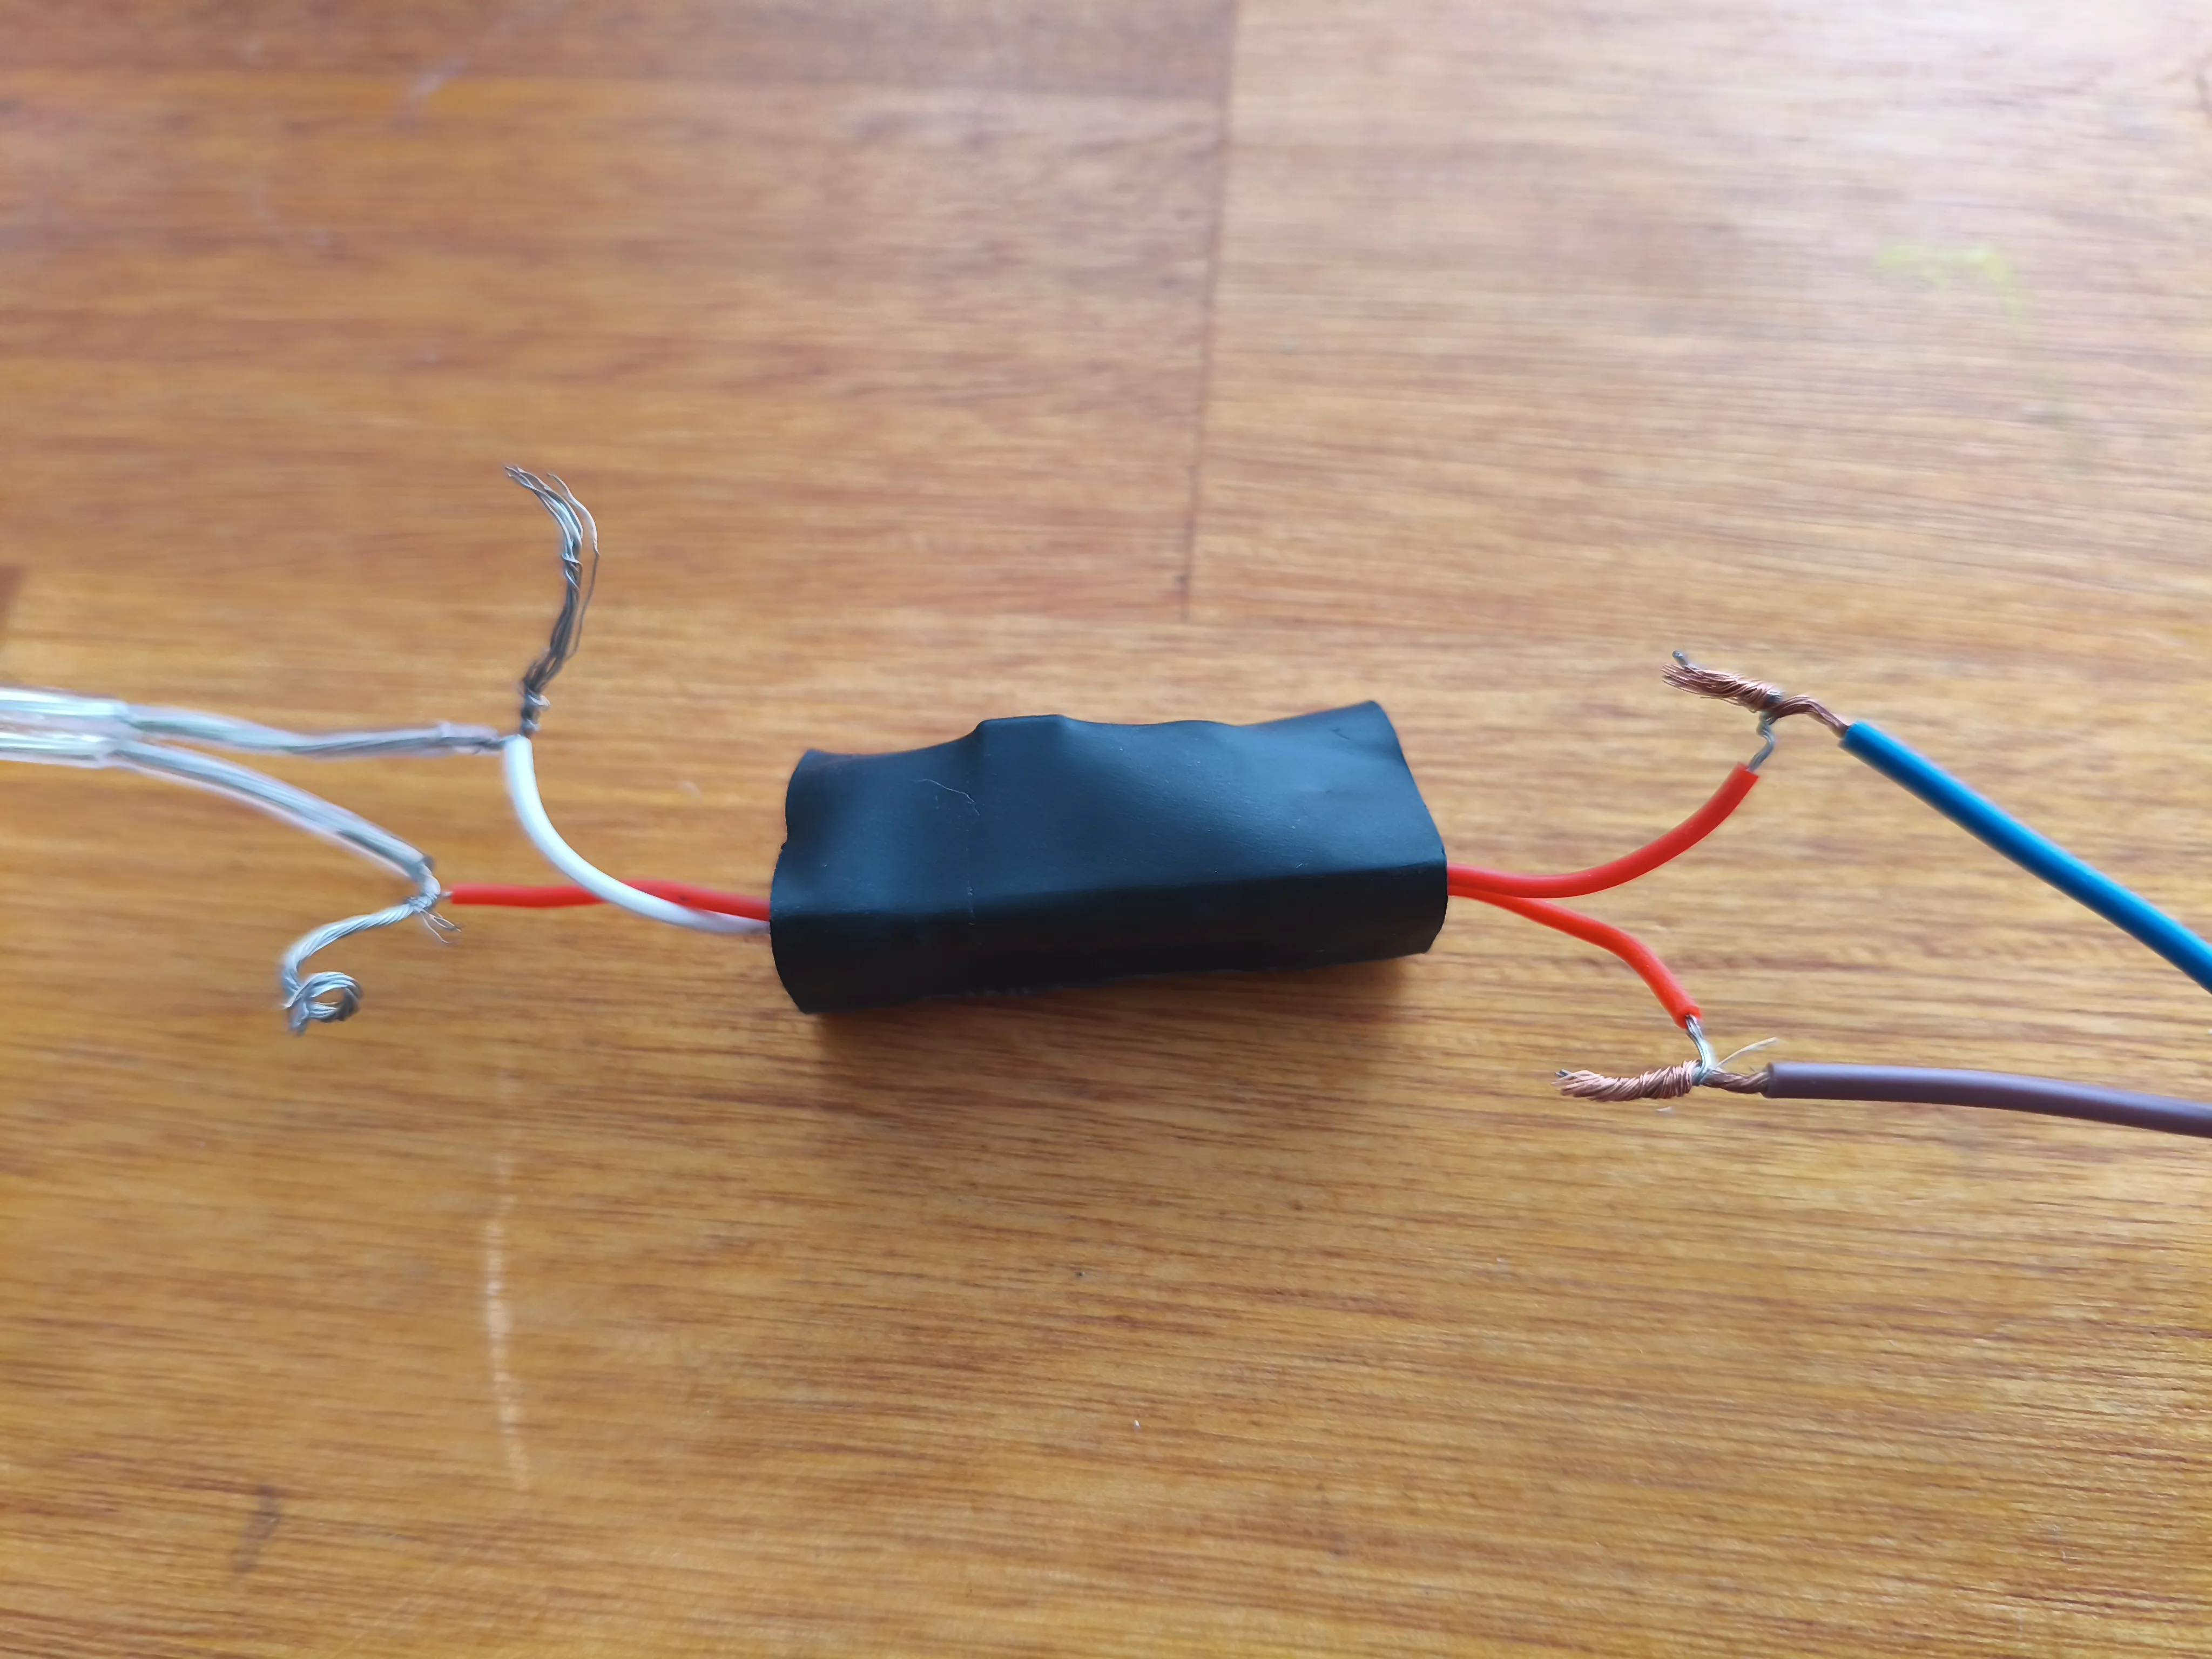
The model should be the lowest power, between 1w and 3w. I used the power supply I took from a used LED bulb I had at home, and it worked very well. See photo below:
Parts:
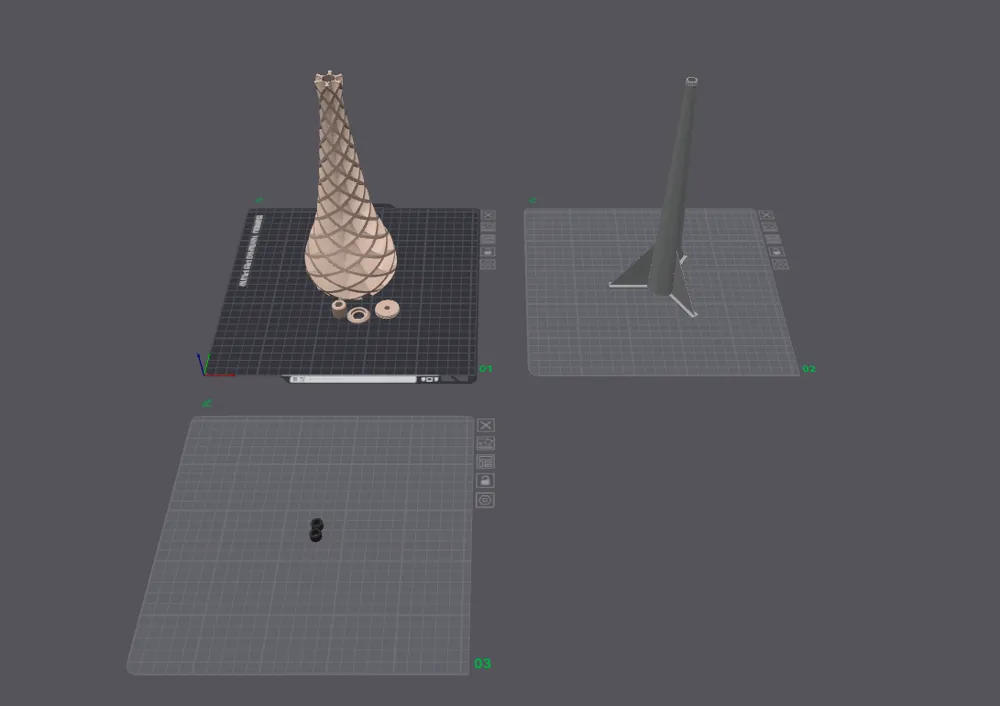
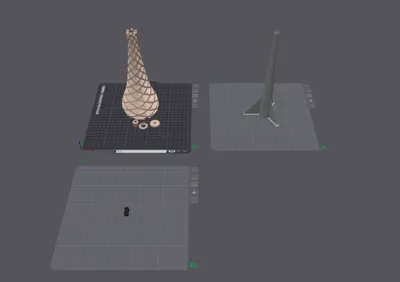
Print all parts according to the attached 3mf project.
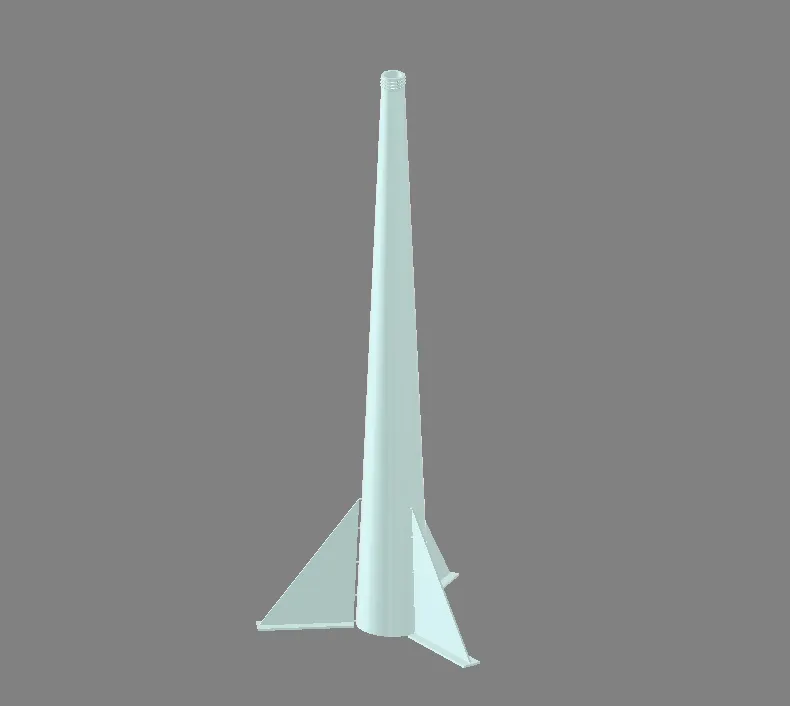
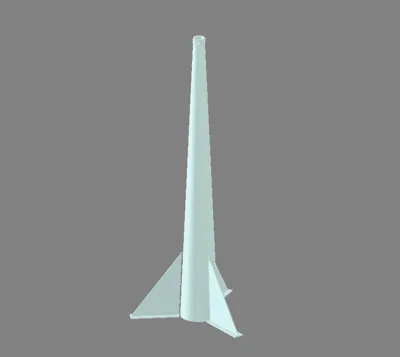
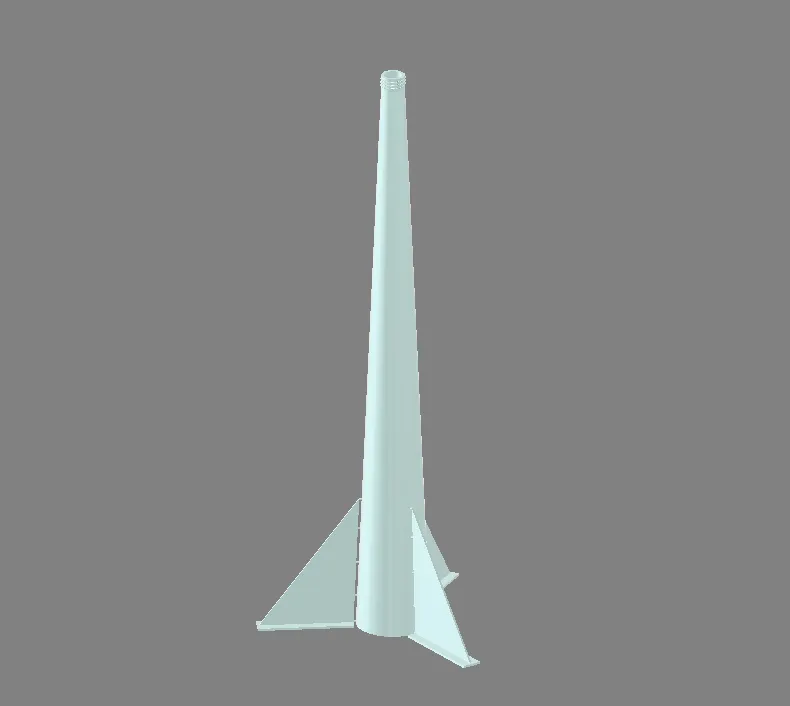
1)Cone
It is the part where the LED filament is mounted. Its interior is hollow. The three support feet must be removed after printing.
The ideal for this part is to 3D print it in a colorless color, to allow more LED light to pass through.
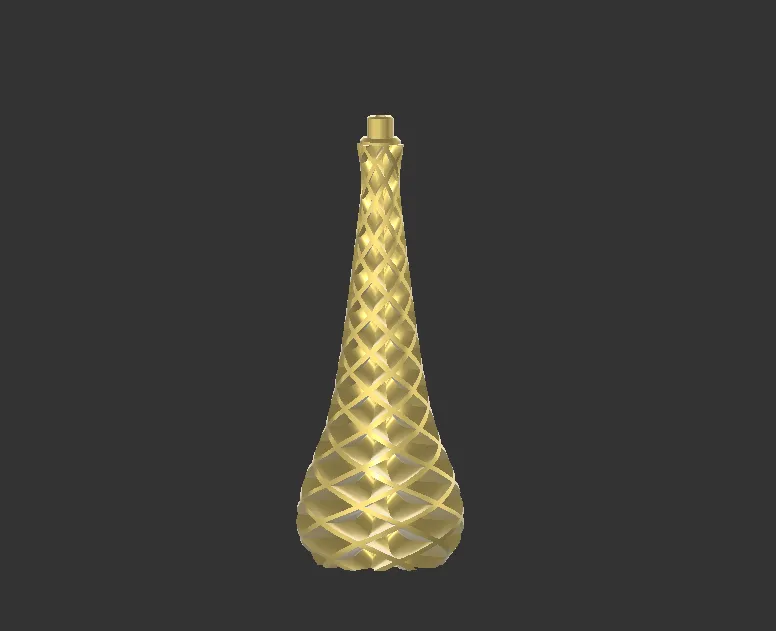
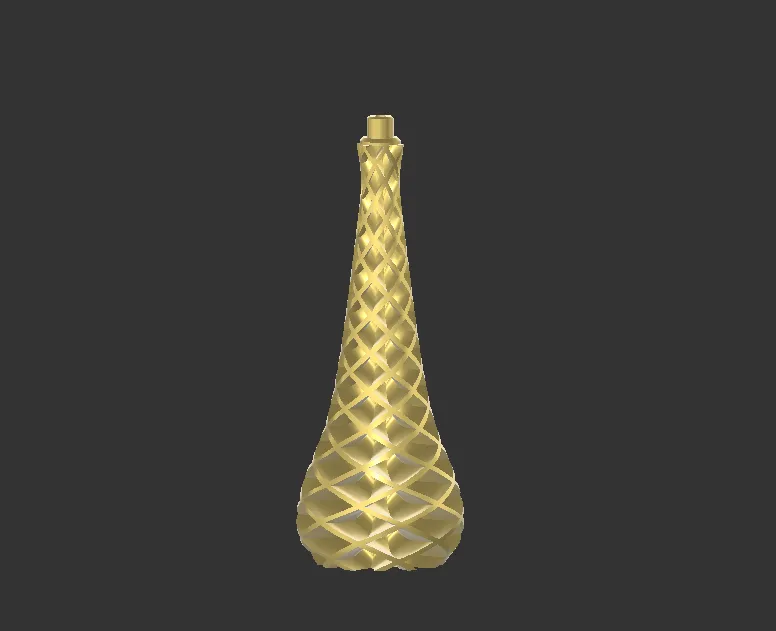
2)Body
It is the main part of the lamp. I used skin color (Caucasian) and it looked very good. But it's up to your personal taste.
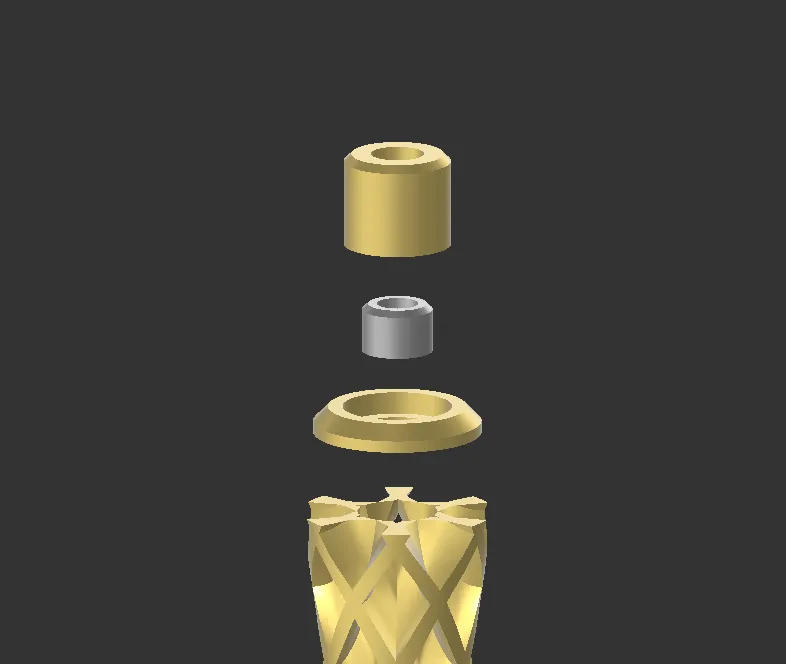
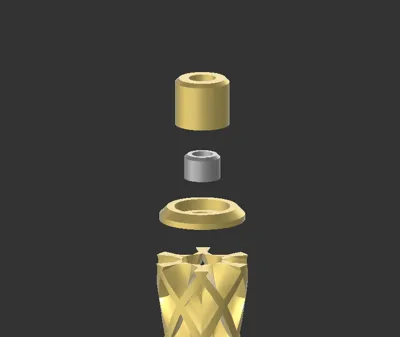
3)Fixing rings
In the photo, we can observe a nut, a limiter, and a washer. The nut and washer should be the same color as the body; the limiter can be any color, as it will be hidden. If you have TUP available, use it to 3D print the limiter.
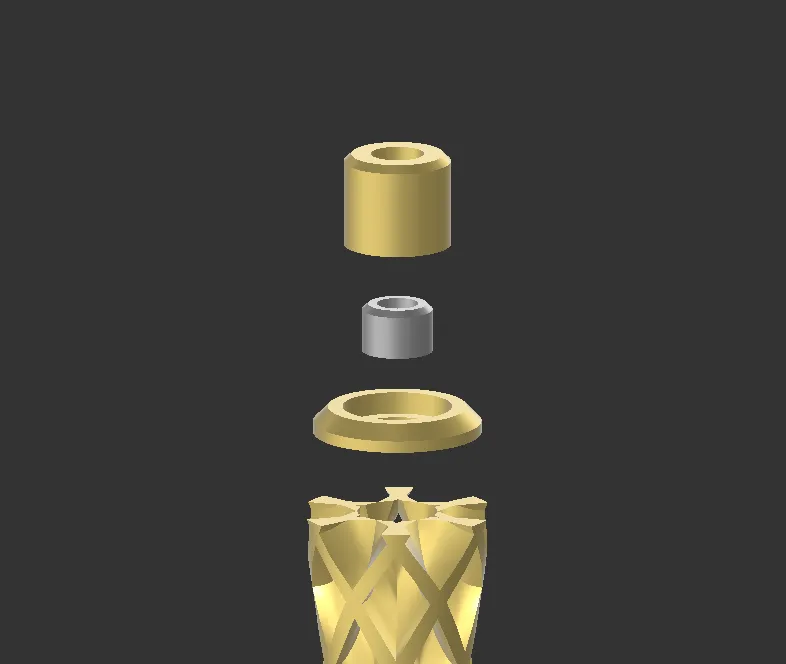
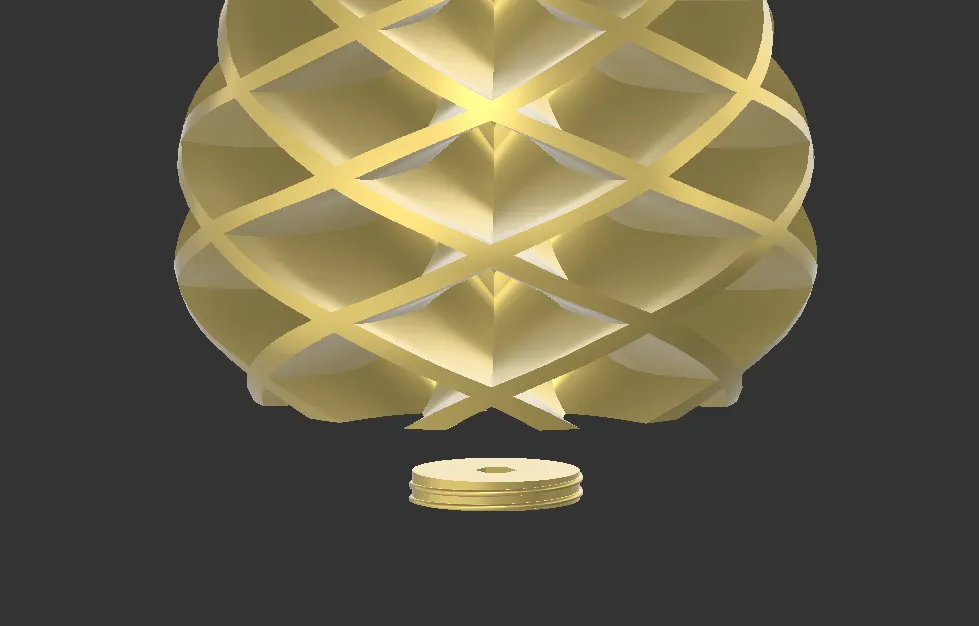
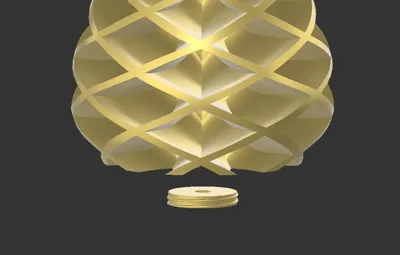
4)Bottom closure
Right below the body there is a nut for closure.
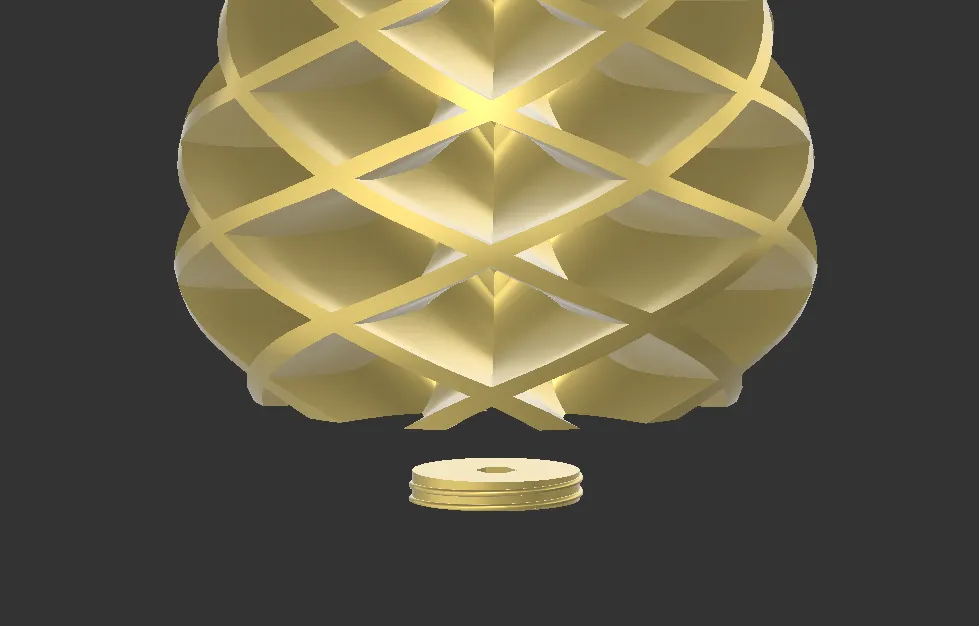
Assembly:
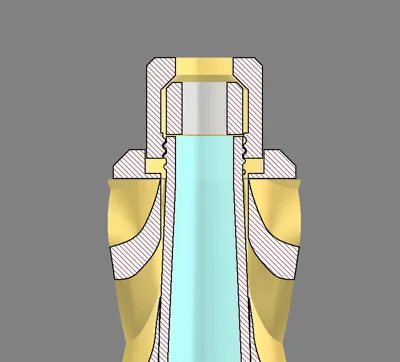
Fit the cone inside the lamp body. Press firmly to secure it.
Pass the LED filament inside the cone (rotate the filament to facilitate entry from the top). Also, pass a thin cable for connecting the filament at the bottom.
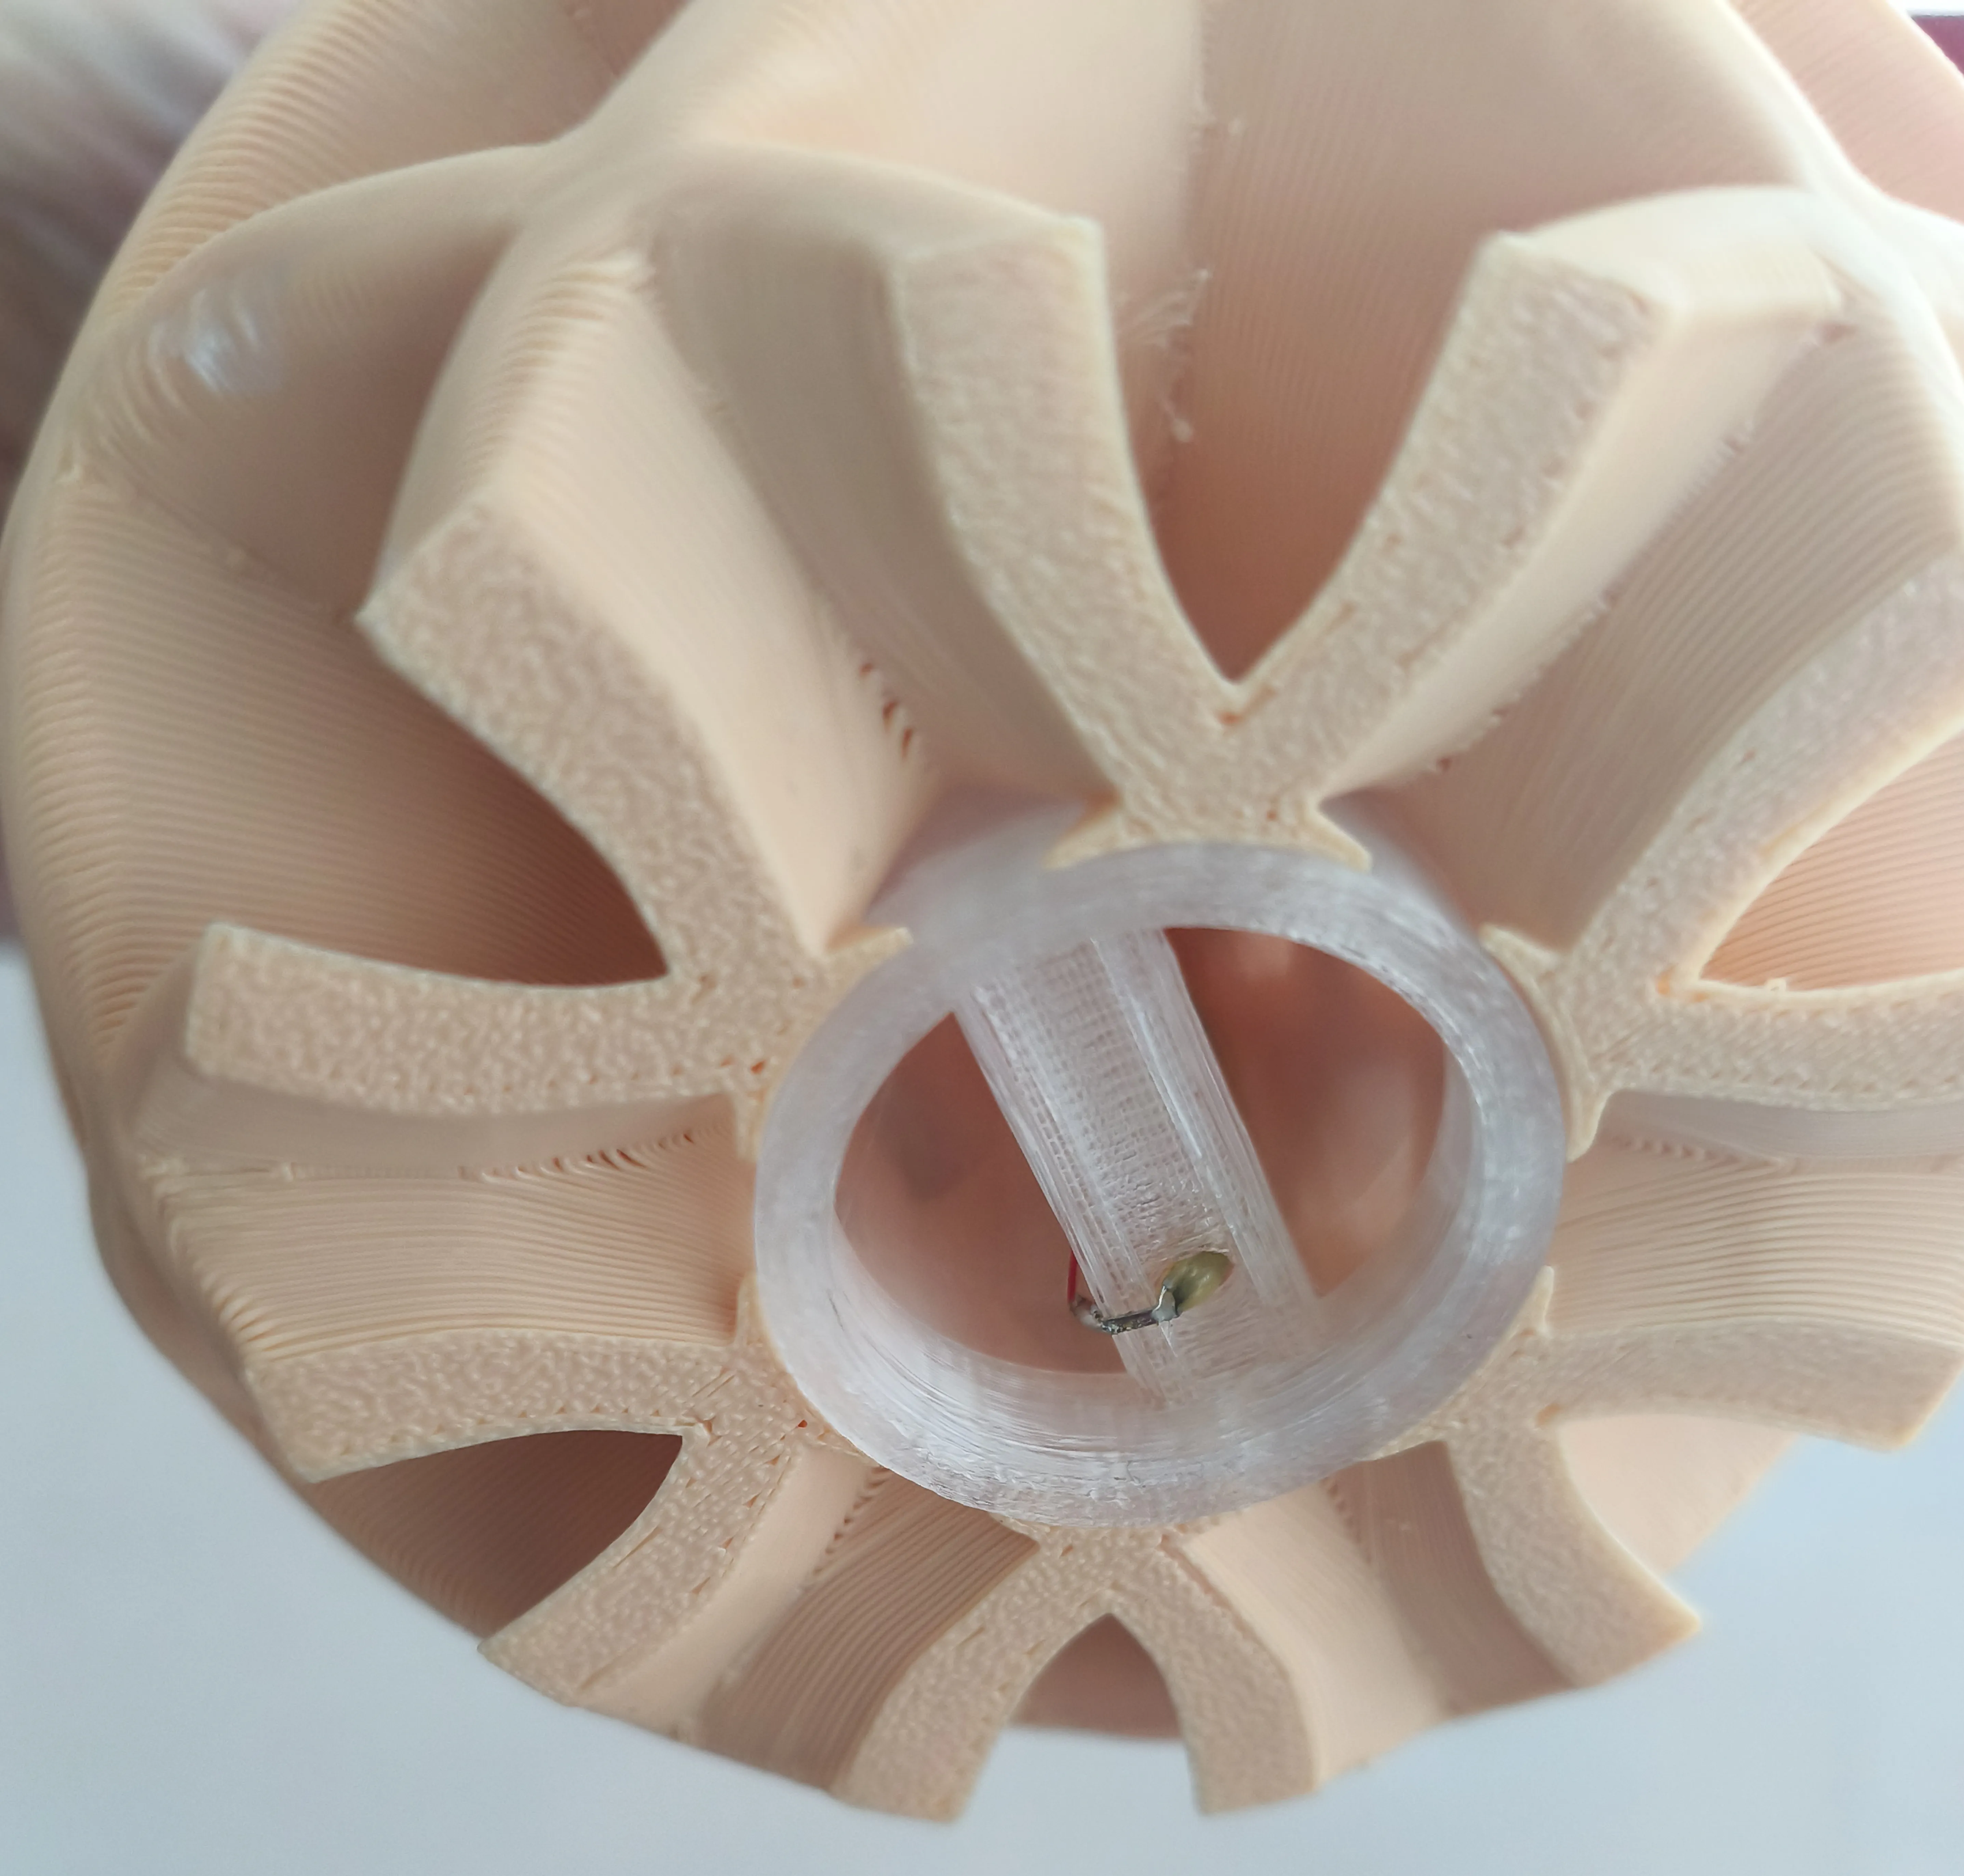
There is a hole at the bottom of the cone, where the tip of the LED filament connects to the small cable - at this point, use a soldering iron to join the small cable to the LED filament. Do not worry about polarity at this time.
After completing this part, close it with the bottom closing nut.
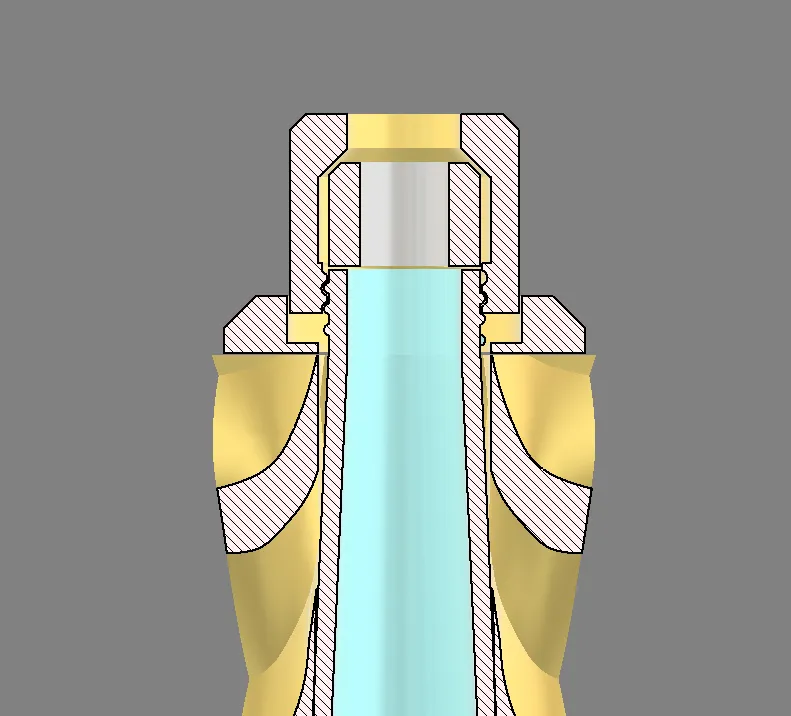
At the top, pass the power cable through the washer, nut, and limiter. Use a drop of super glue to fix the end of the wire to the limiter (in the figure below, it is black). Then, solder the two wires of the power cable as shown below: one wire to the LED strip, and the other wire to the thin cable that goes down to the base.
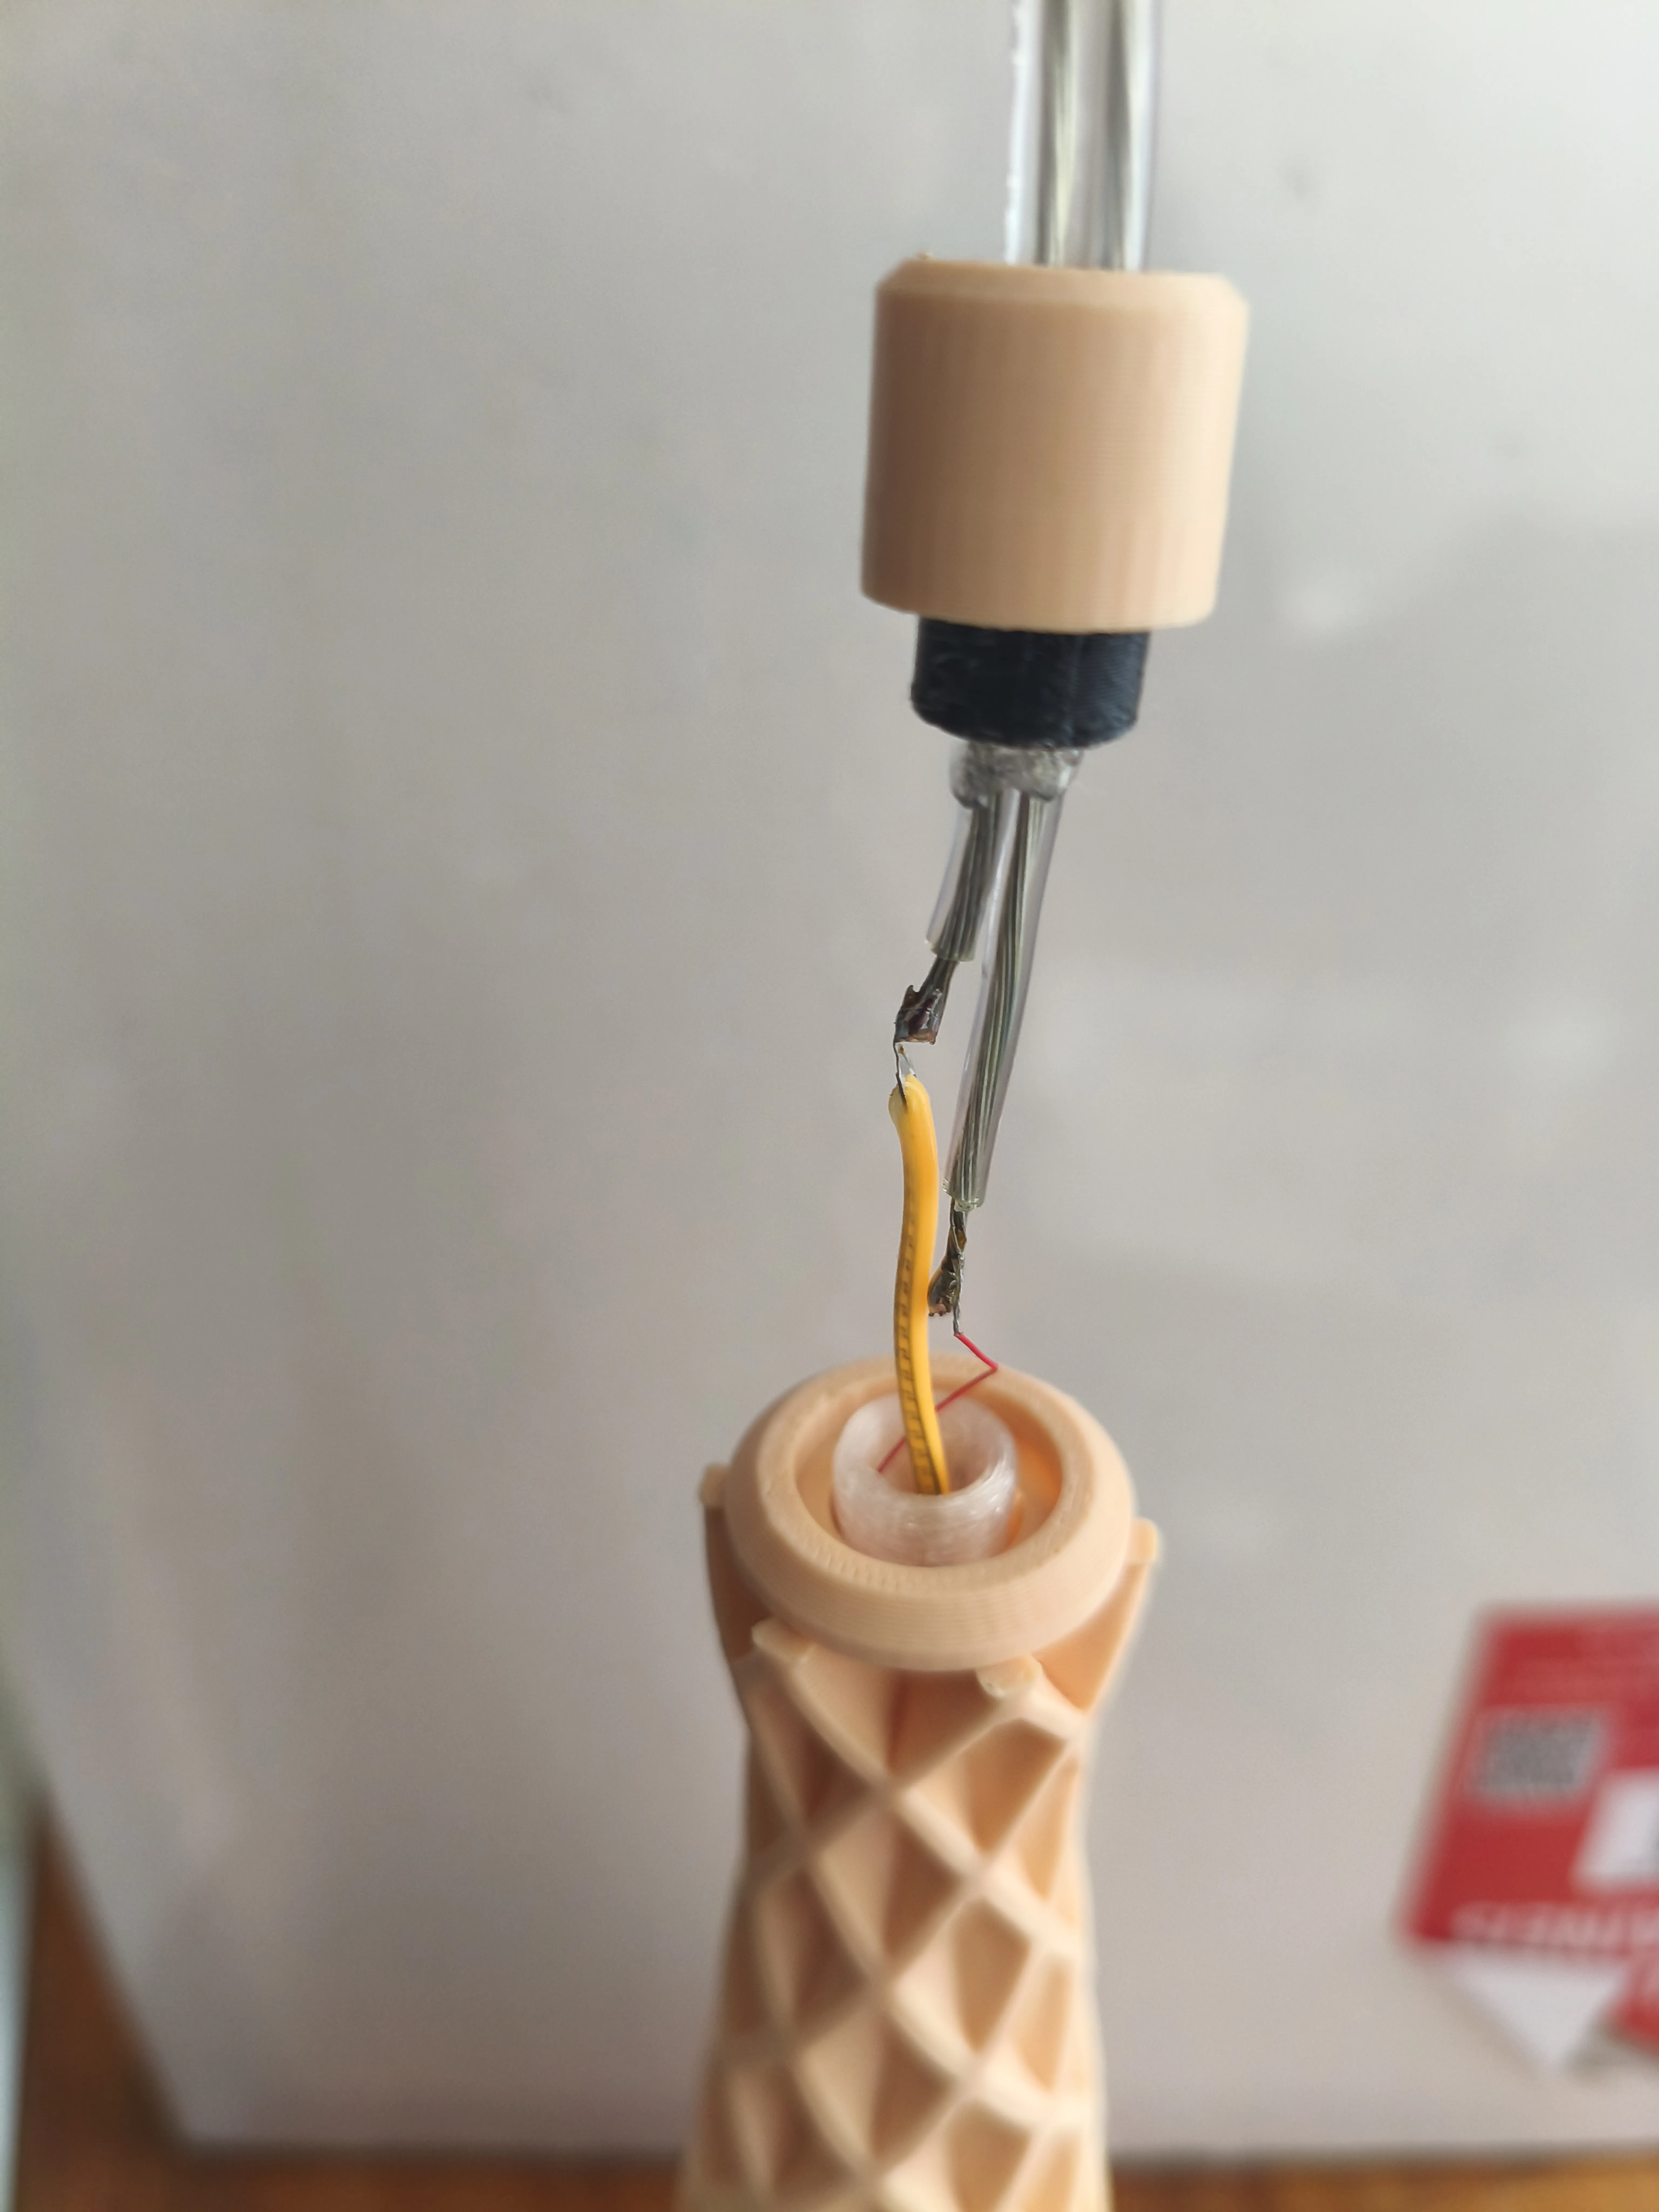
Now, gently twist the LED filament and the small cable so they go down inside the cone, and finally screw the top nut onto the cone.
Now only one step remains. On the other side of the lamp cable, the LED power supply is connected. In the figure below, see the connection: the two red wires (right side) are connected to power, and the red/white wires (left side) are connected to the lamp cable.
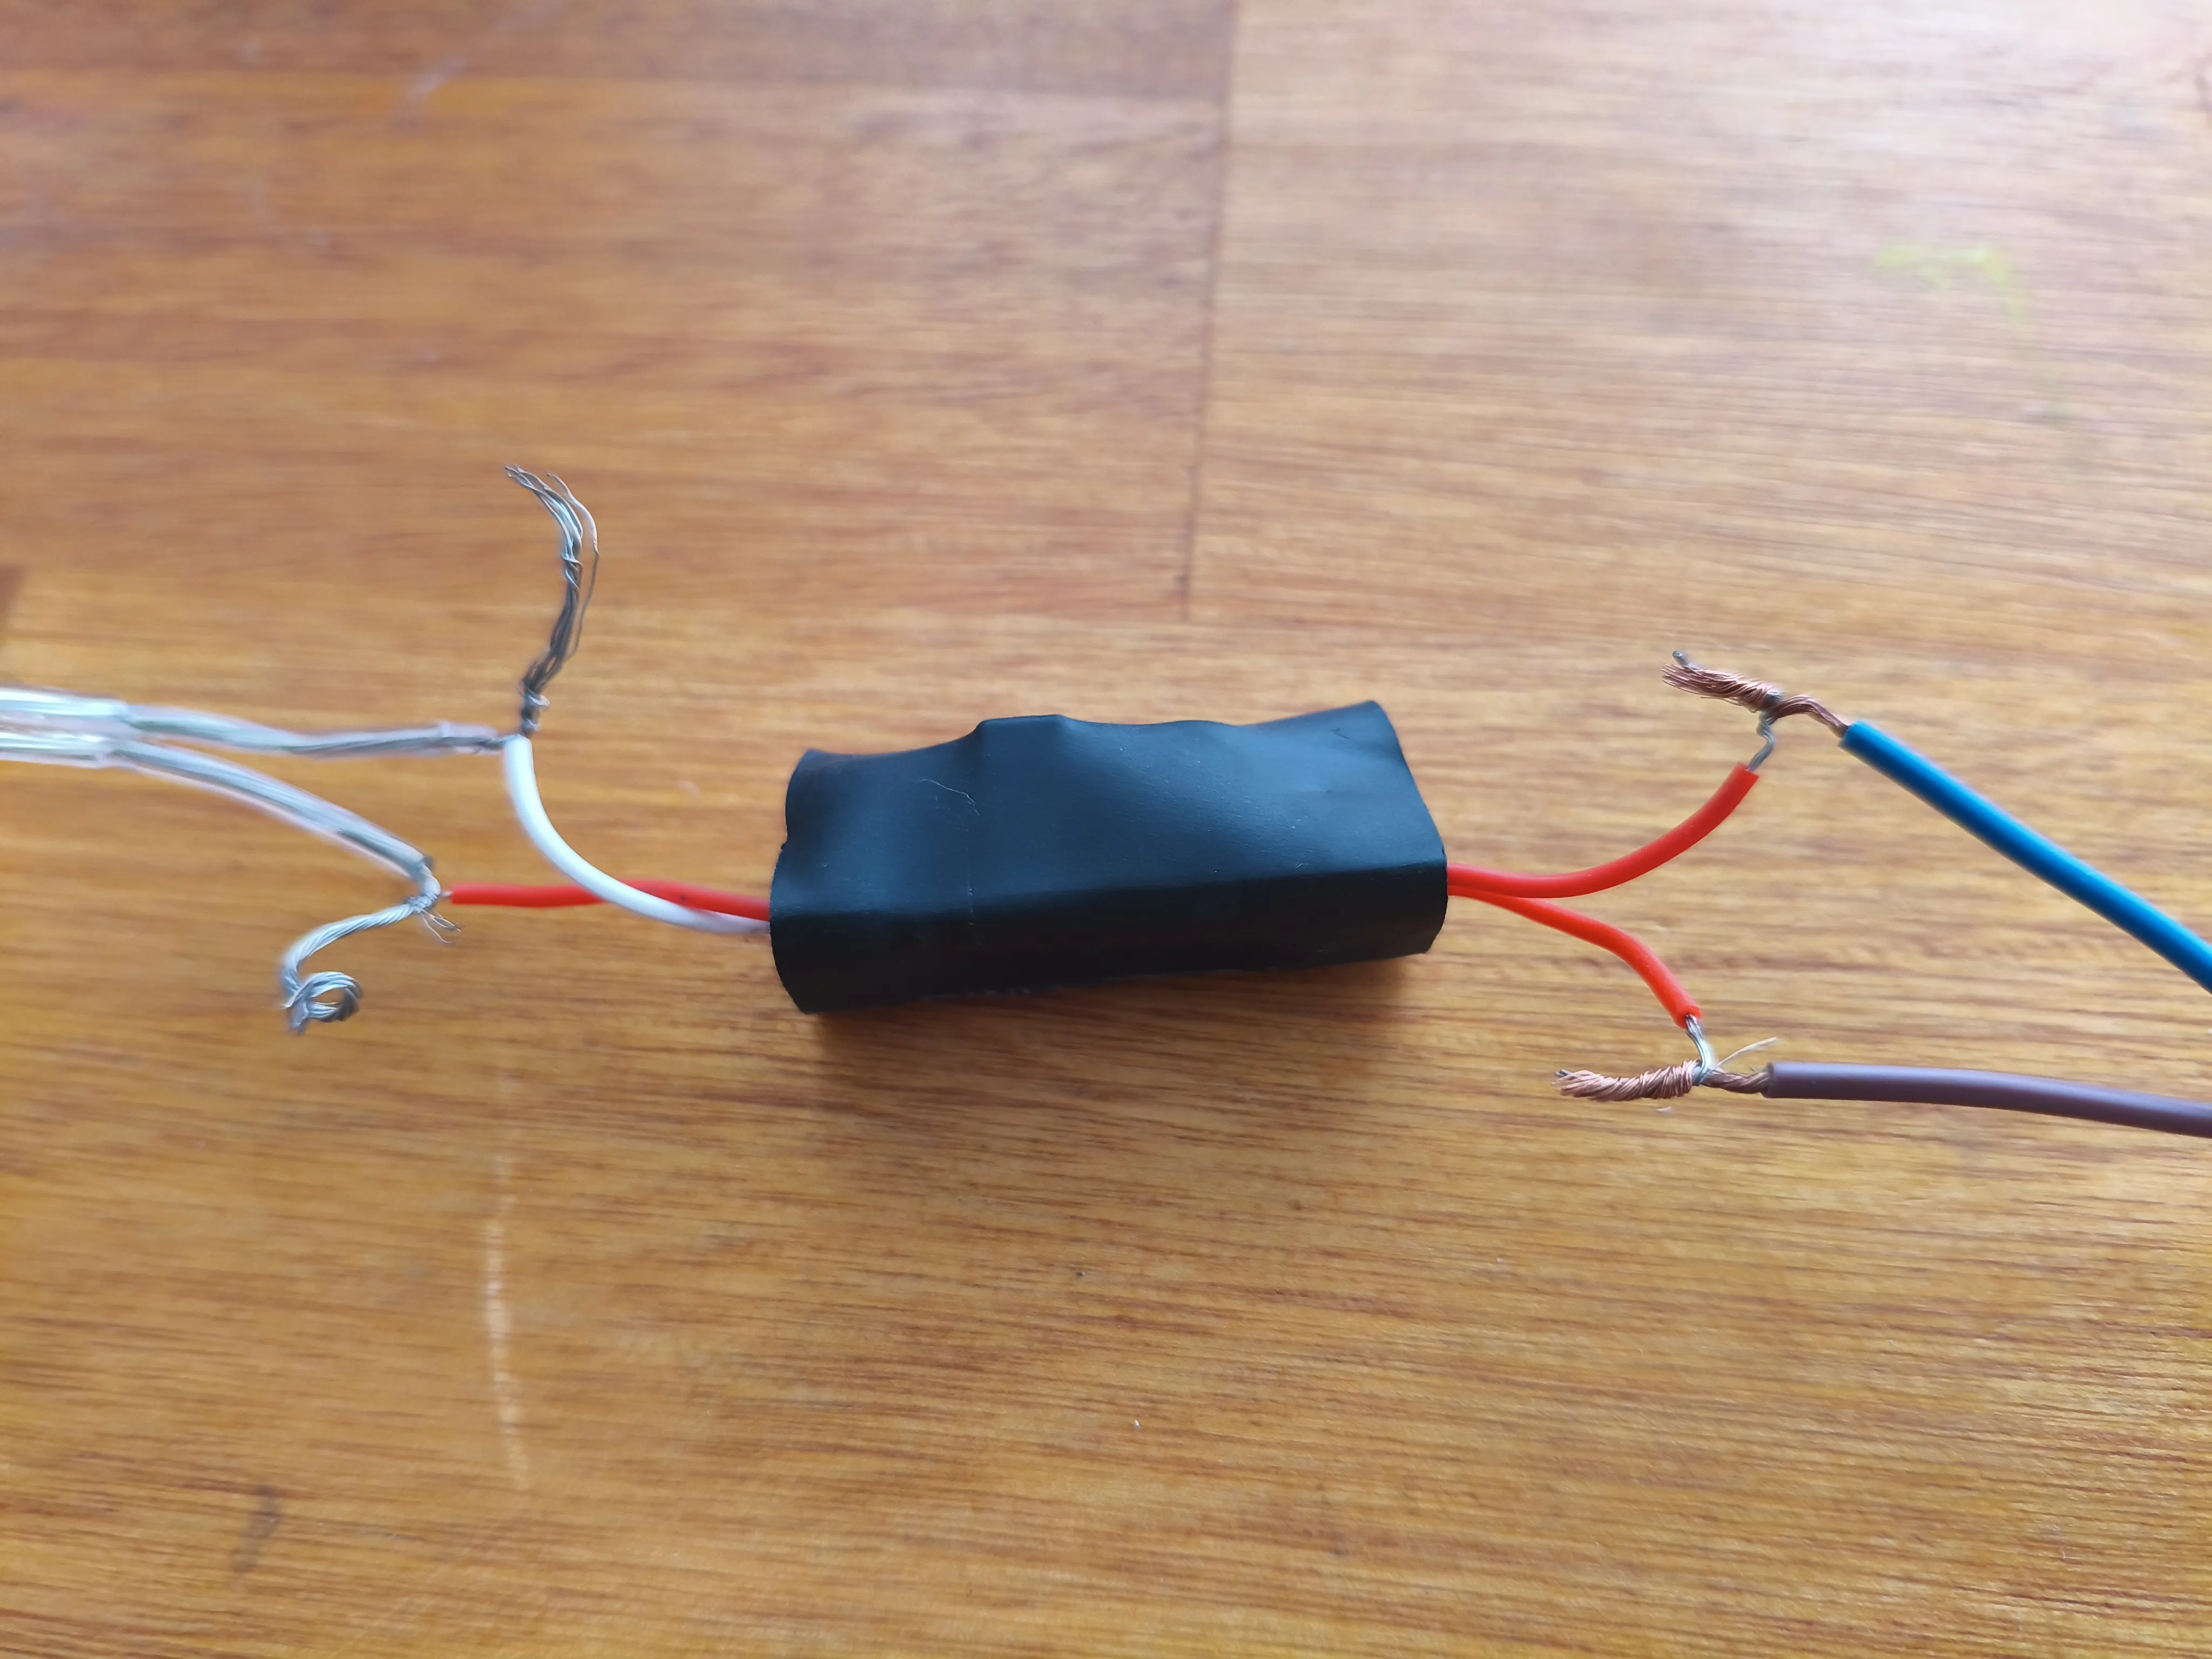
At this point, polarity is important. The LED only works with the correct polarity, but if reversed, it will not burn out. That's why I said earlier not to worry about polarity.
So make the connection as shown in the photo and turn it on. If the LED filament does not light up, it is because the polarity is incorrect. To correct this, reverse the connection of the red/white wires and test again.
Liked the design? Drop a like — it motivates me to create more!
Not printing yet? Save it to your collection so you don't lose it. And if you do print it, show me! I love seeing my creations come to life on the other side.
Want to support my work? A Boost makes all the difference — think of it as a little coffee for creativity!
And don't forget to rate with stars and leave a comment. Honest feedback is always welcome.
Thanks for stopping by — happy printing!
For commercial use, check out the licensing options:
https://patreon.com/BoldGifts?utm_medium=unknown&utm_source=join_link&utm_campaign=creatorshare_creator&utm_content=copyLink
The USER & SELLER LICENSE lets you commercialize all models here on MakerWorld.
Thank you,
Bold Team / Decio
License



Comment & Rating (0)