
Print Profile(1)

Description
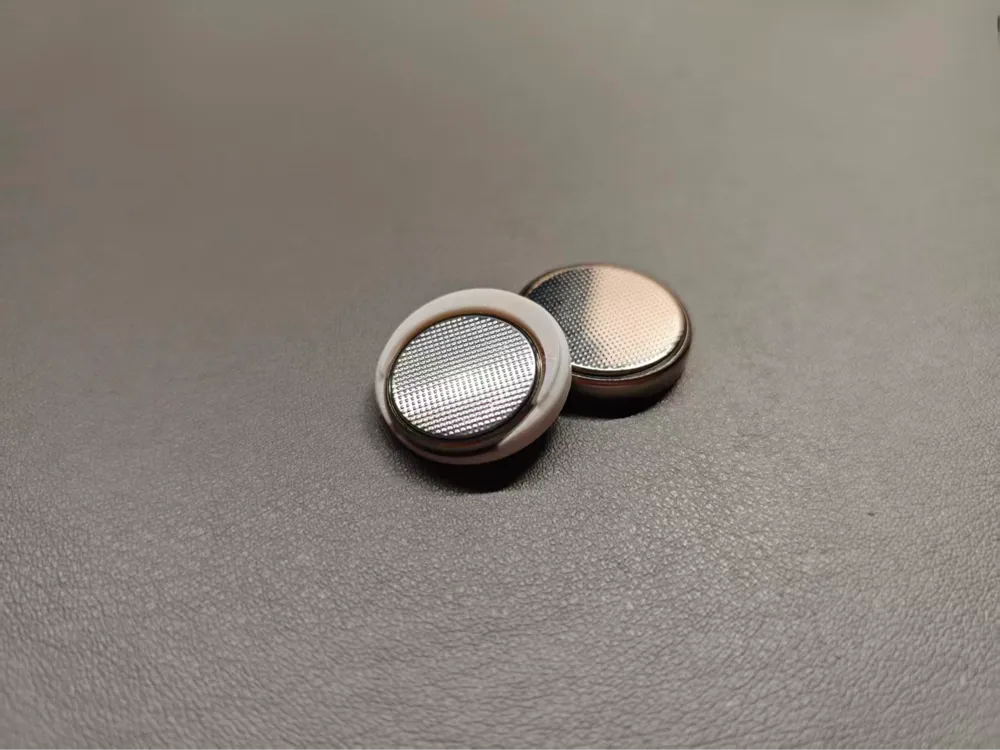
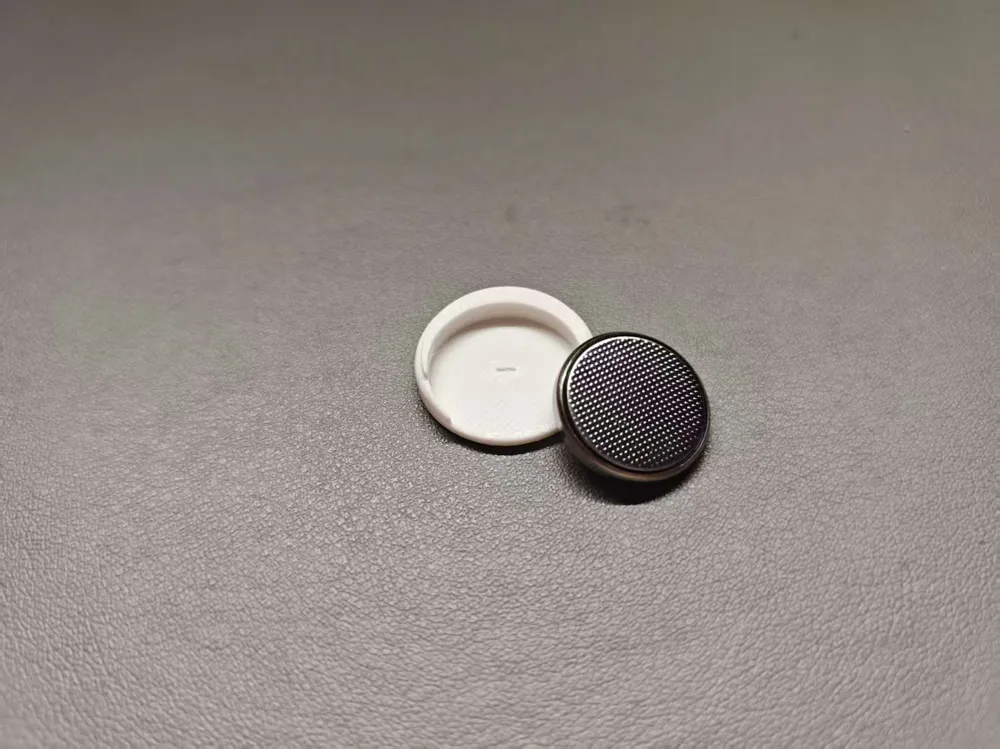
This is a meticulously designed CR2032 to CR2450 coin cell converter tray. Its core feature is that the overall shape of the converted assembly is highly consistent with a standard CR2450 battery, fully retaining the raised boss structure on the battery top. This design ensures perfect compatibility with most devices, completely resolving the issue of improper installation in battery compartments (especially for devices with corresponding slots or limiting structures) due to the absence of the raised boss on the converter's top
This design originated from a real predicament I faced when replacing the battery in my Mijia human body sensor. At the time, I discovered that relevant models available on open-source platforms or in the market overlooked the reproduction of this crucial boss, rendering them unusable in my device. Given the vast user base of Mijia smart devices, many users encountered installation failures because generic converters neglected this critical boss detail in their design. Therefore, I decided to develop this converter that can be perfectly installed and offers excellent compatibility. The model has undergone multiple adjustments and can perfectly embed the CR2032 battery
For printing, it is recommended to use Bambu Lab filament. For non-Bambu Lab filaments, please confirm the material's shrinkage to avoid improper installation due to material expansion and contraction. When printing, please try to use the default print profile
Installation Instructions
Version V1.0
The negative pole of the CR2032 battery (the side with the raised dot) is placed on top of the converter, and the positive pole (the smooth side) is placed underneath, contacting the side of the converter marked with a '—' symbol
License

You shall not share, sub-license, sell, rent, host, transfer, or distribute in any way the digital or 3D printed versions of this object, nor any other derivative work of this object in its digital or physical format (including - but not limited to - remixes of this object, and hosting on other digital platforms). The objects may not be used without permission in any way whatsoever in which you charge money, or collect fees.


Comment & Rating (0)