
ESP32 NFC Mini Record Player - Vinyl Tag Reader
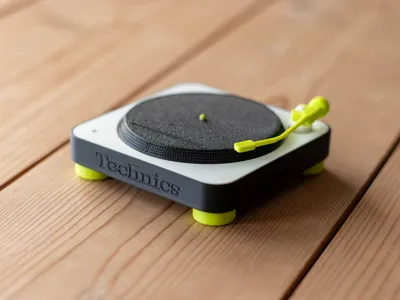
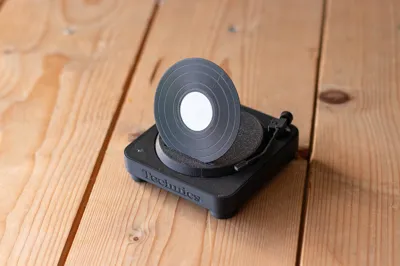
Print Profile(2)


Bill of Materials






Description
Updated Version 2: No glue required, I updated all the parts to snap fit together.
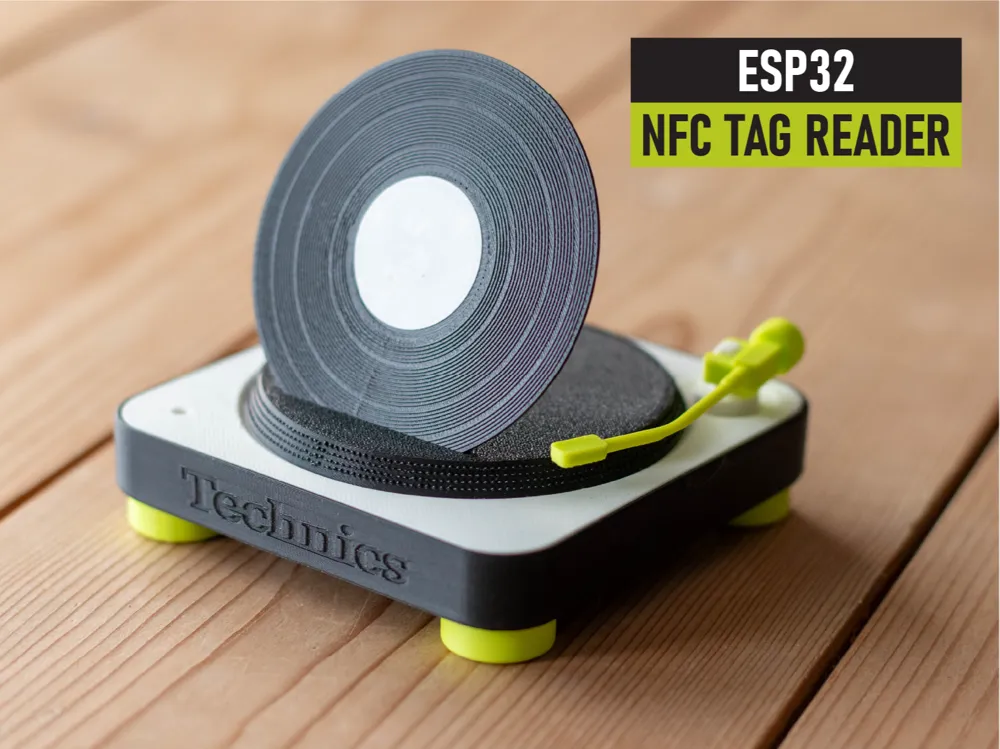
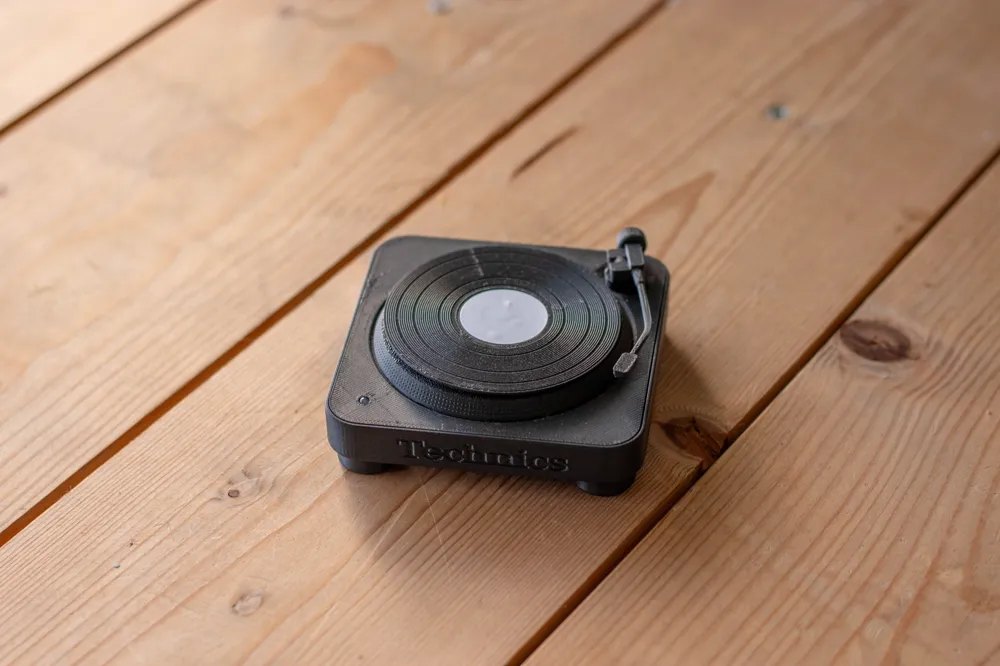
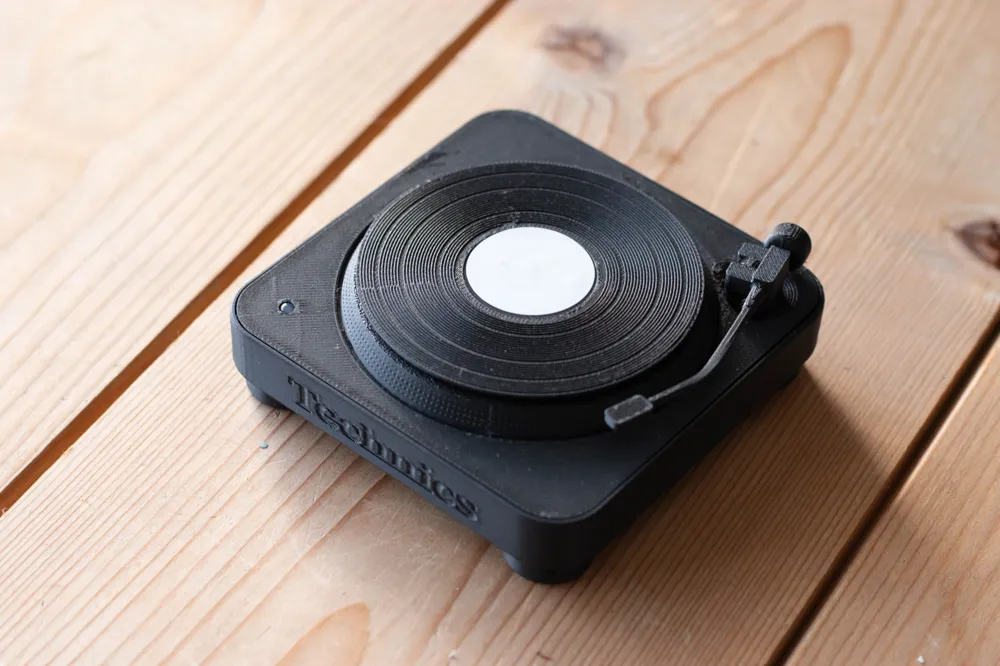
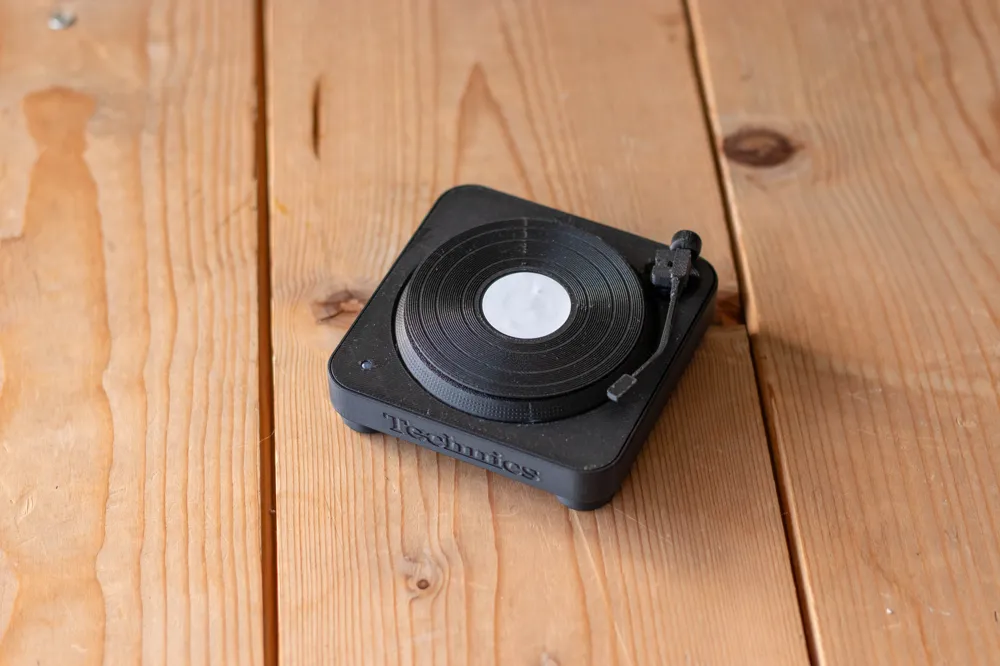
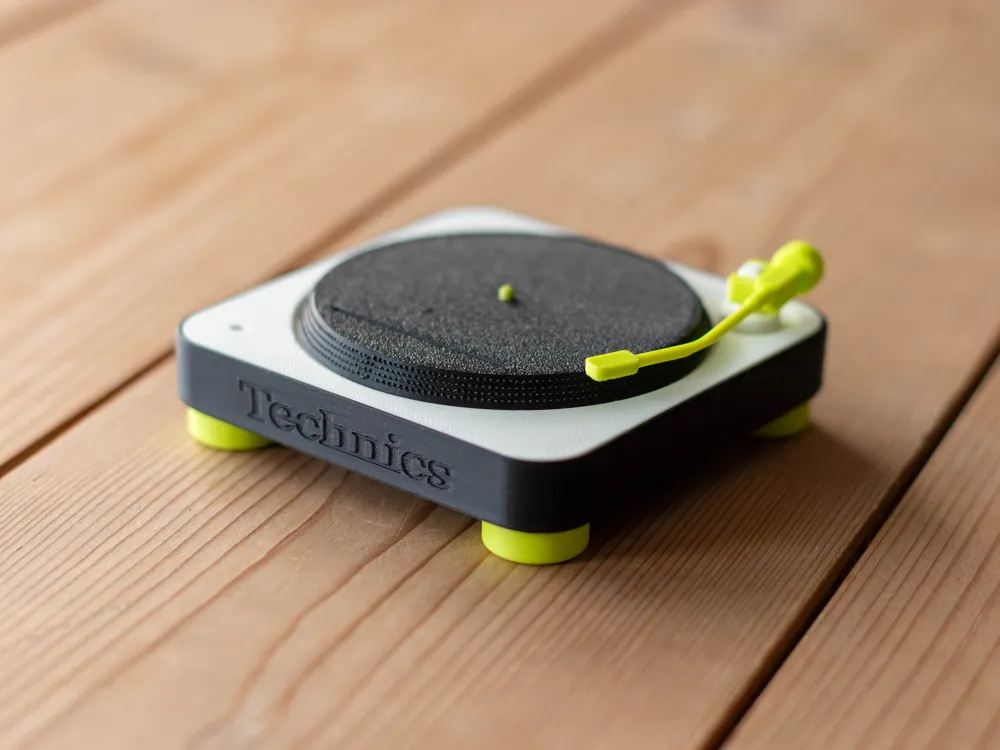
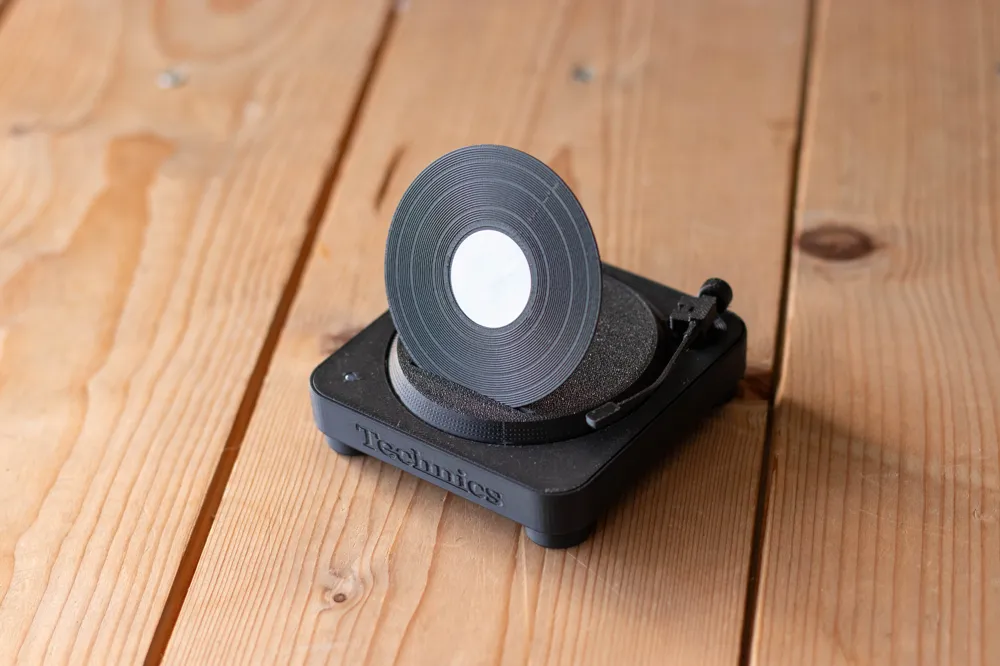
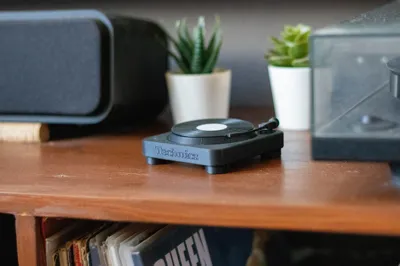
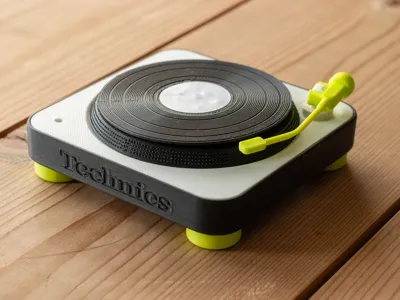
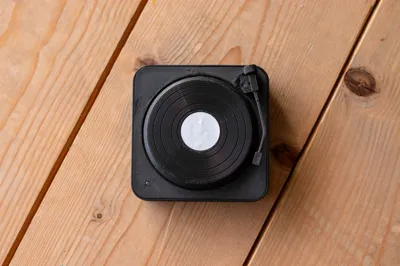
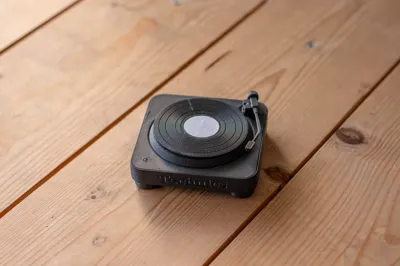
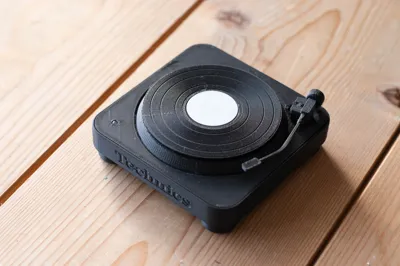
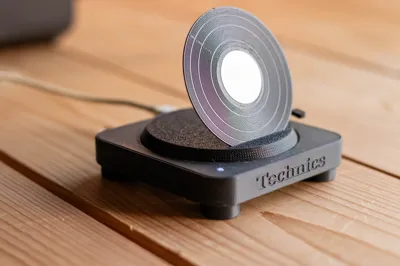
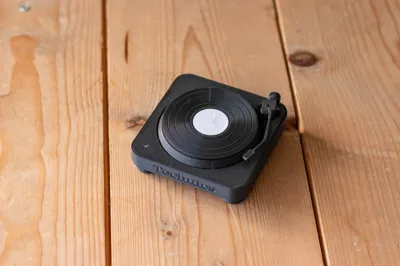
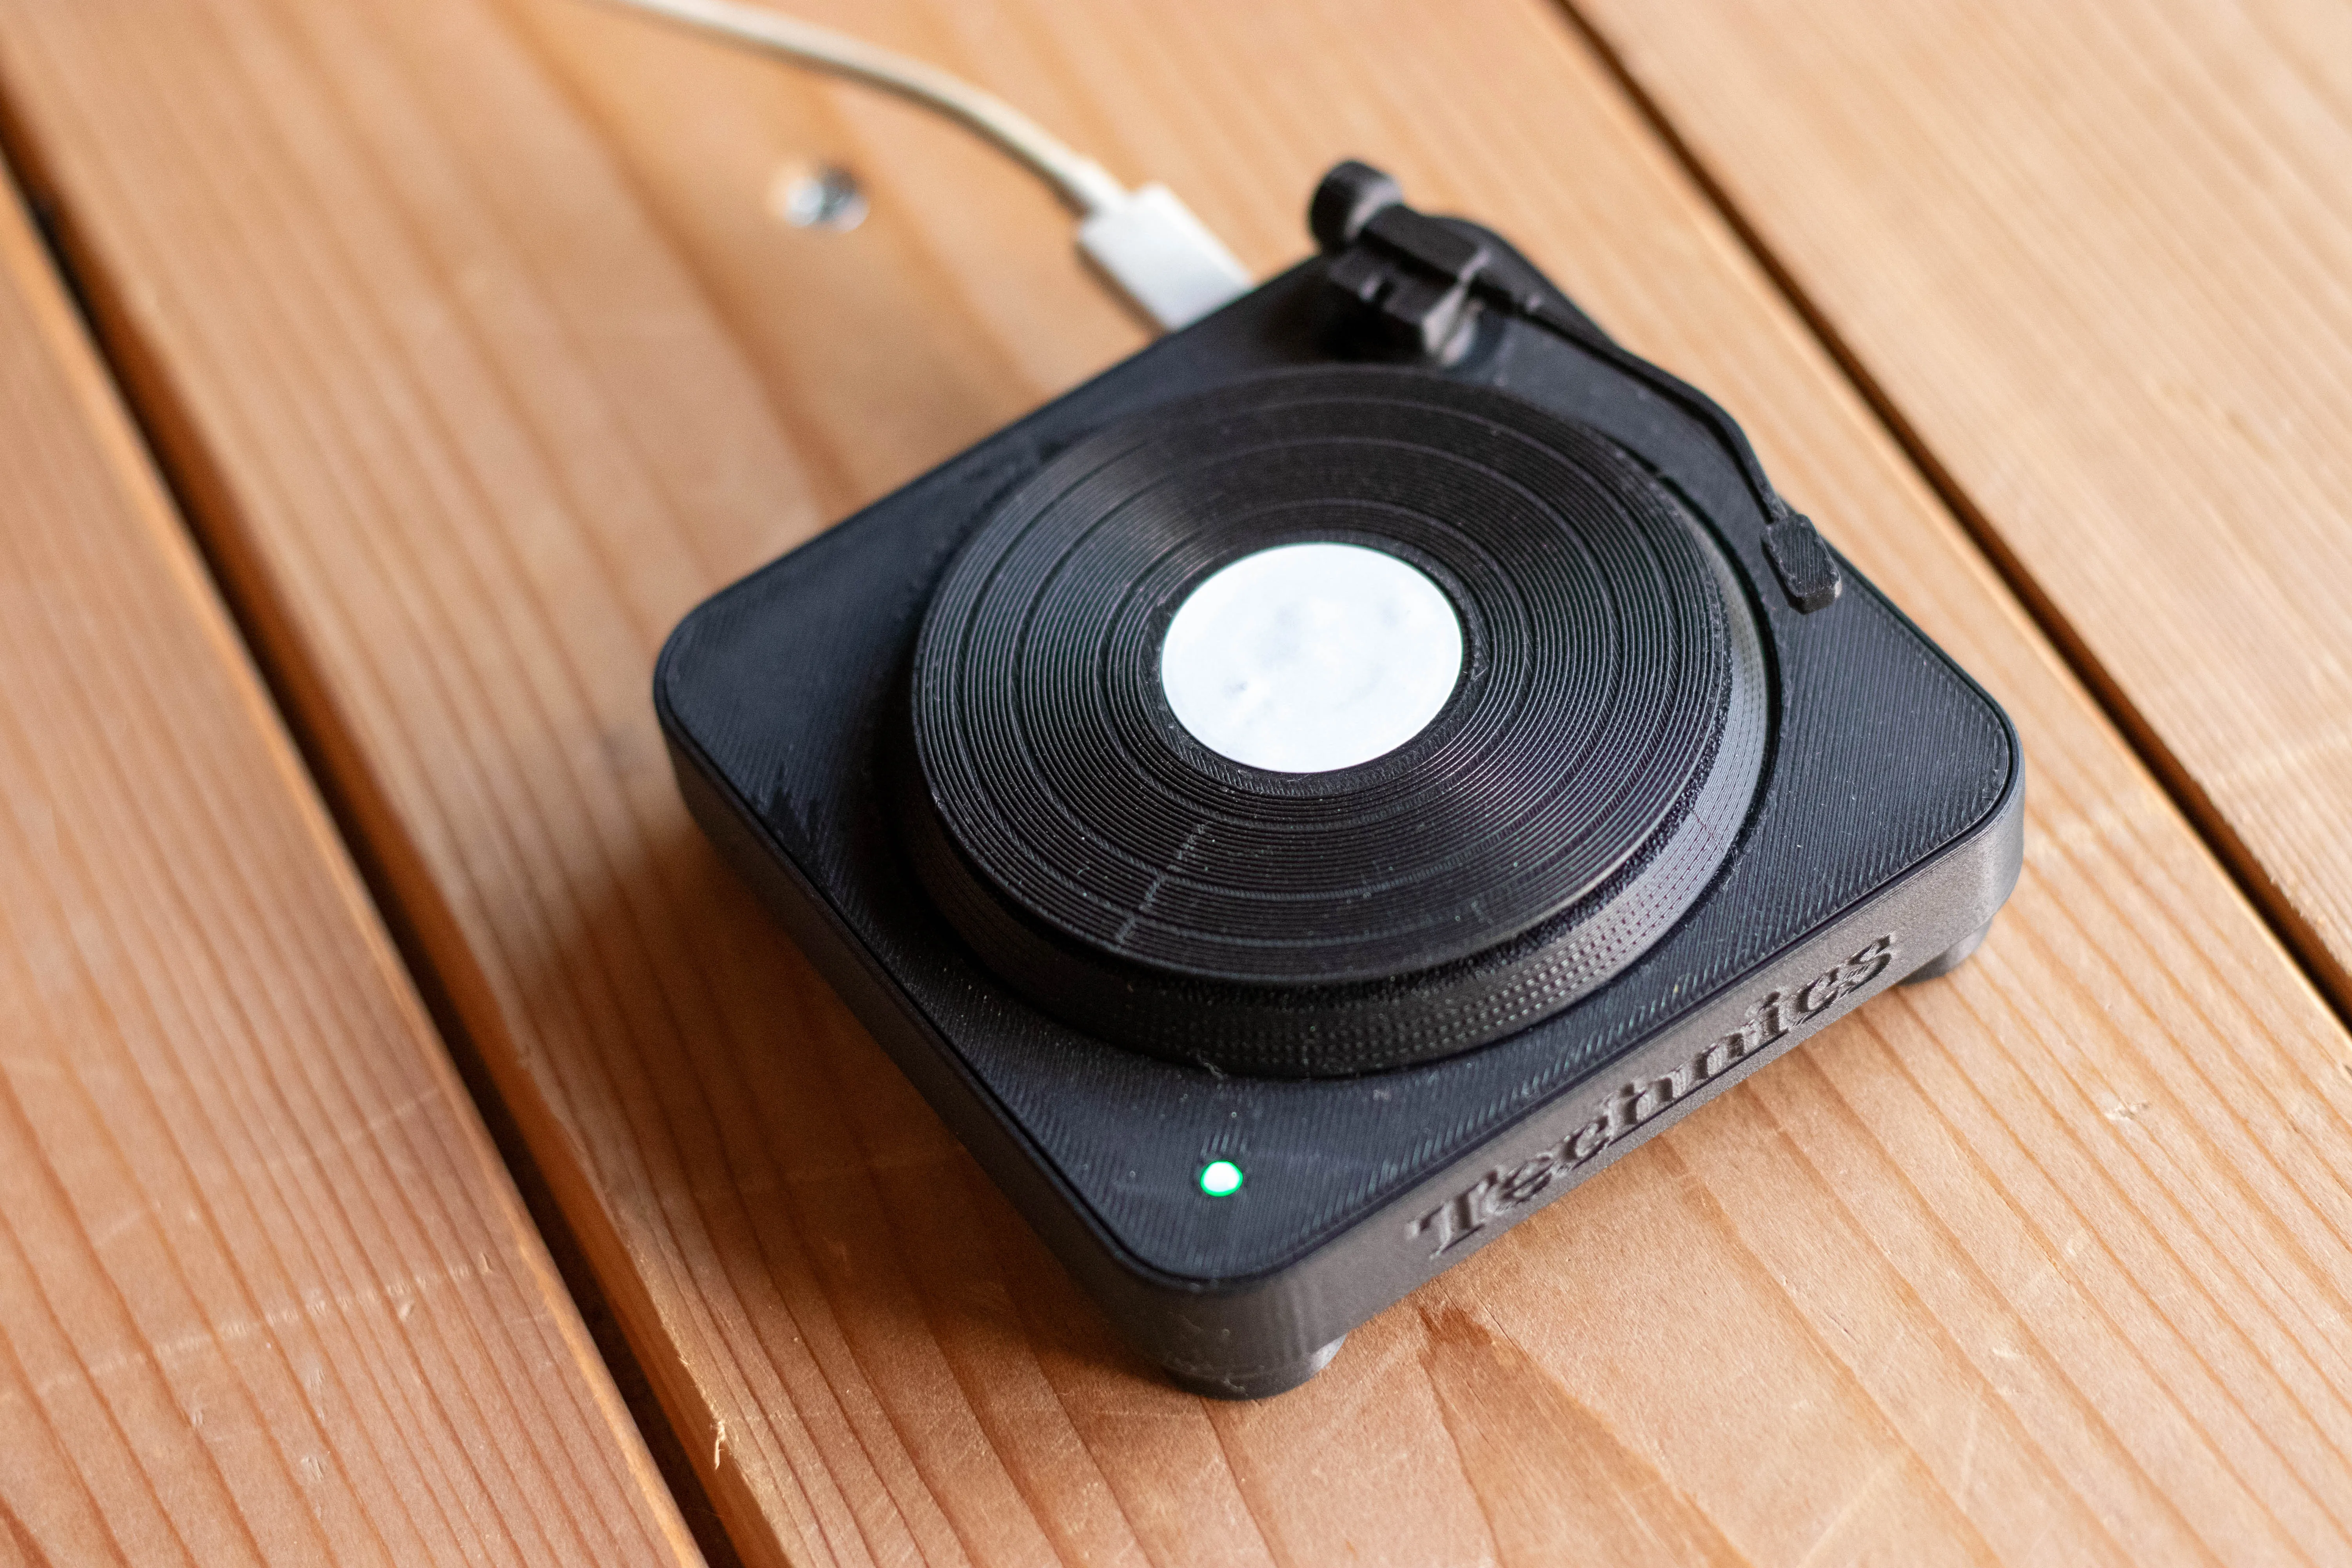
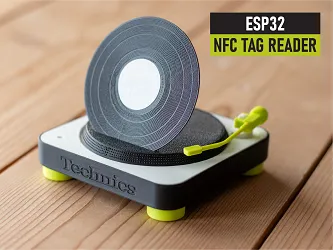
This is a NFC/RFID Tag Reader enclosure powered by ESP32. It uses NFC stickers on the Vinyl to send the tag to Home Assistant.
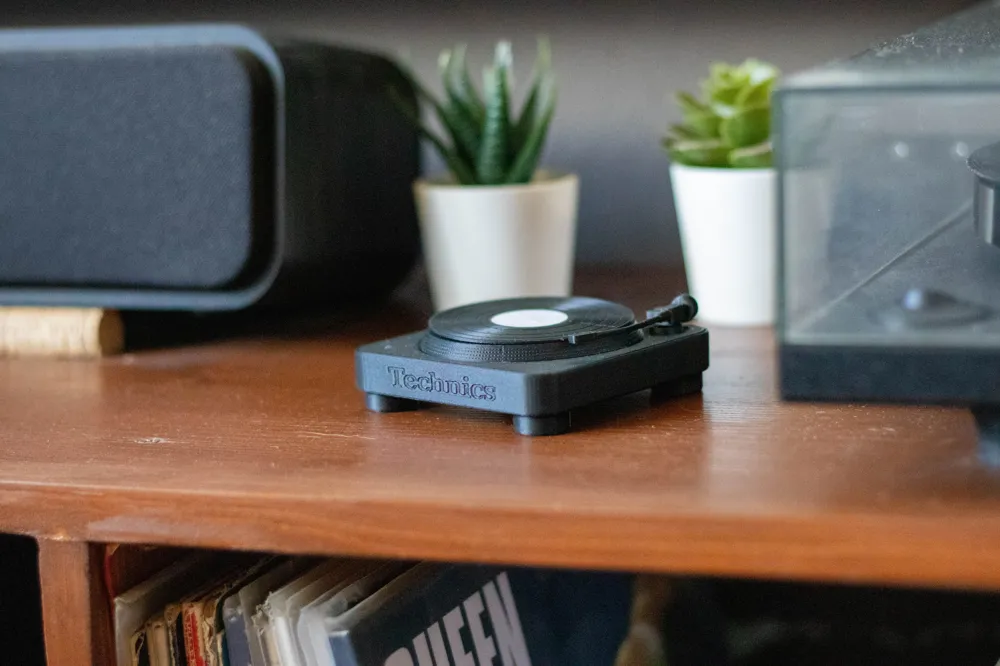
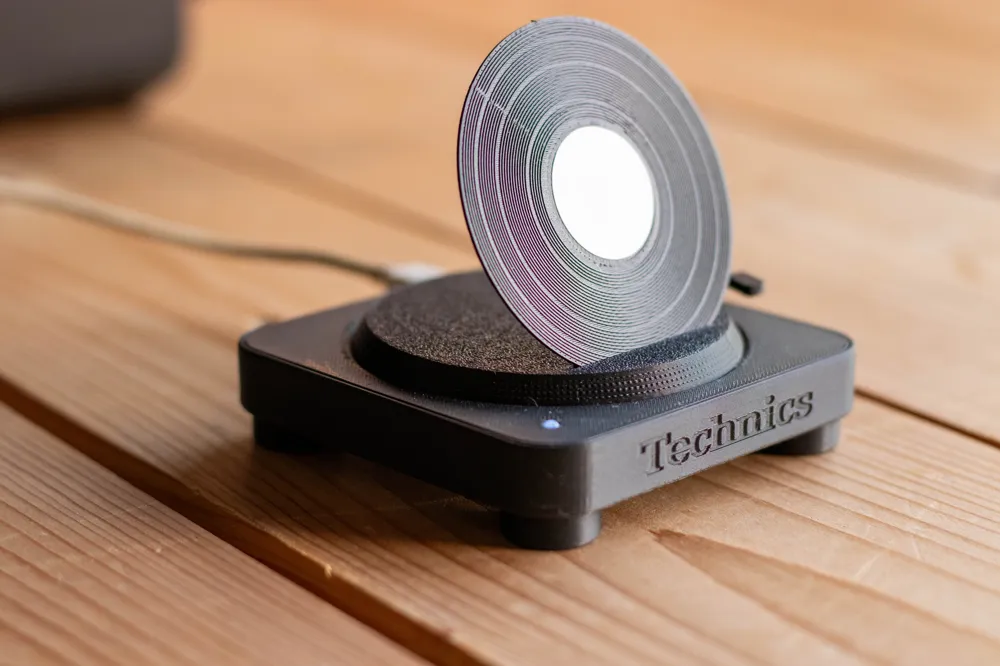
With this Mini Record player you can scan your mini vinyl and listen your music playlist on your Spotify/pc/tablet.
Tutorials and similar projects:
- https://github.com/adonno/tagreader
- https://www.instructables.com/Albums-With-NFC-Tags-to-Automatically-Play-Spotify/
- https://github.com/janjanmedinaaa/nfc-spotify-player
This is not a tutorial on this project or how to configure it. There are a lot of recourses out there that do a far better job than I could. I am providing the enclosure files and my ESP Home yaml file so you can modify according to your needs.
The code is based on this projects https://github.com/adonno/tagreader, but simplified a lot.
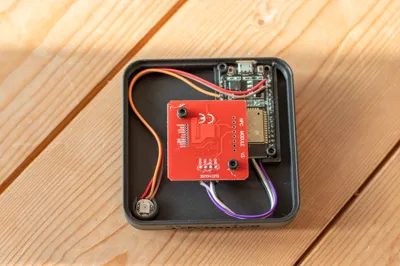
Hardware/Parts:
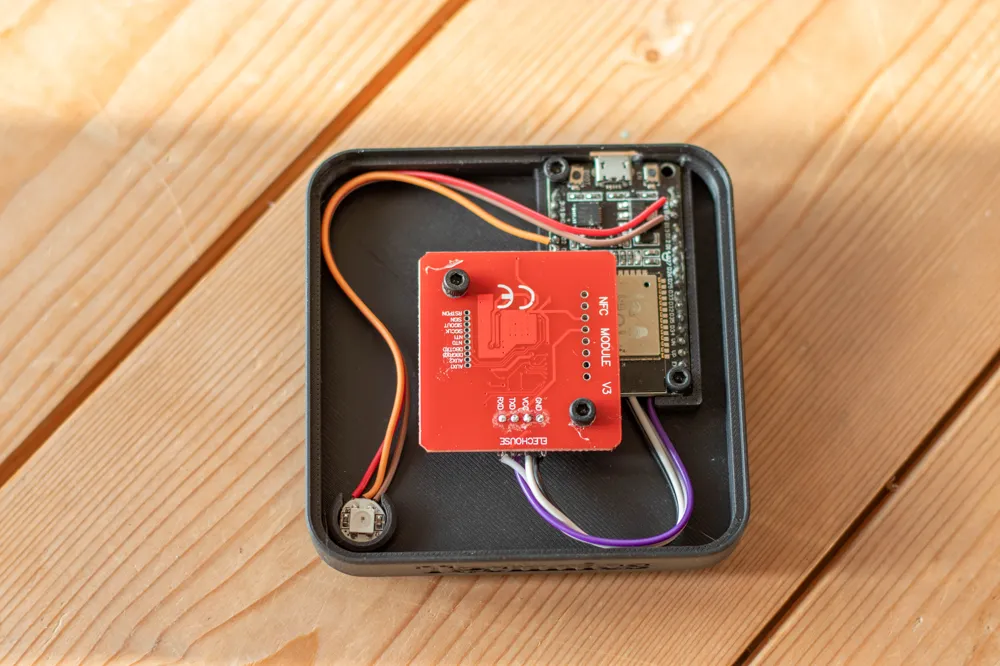
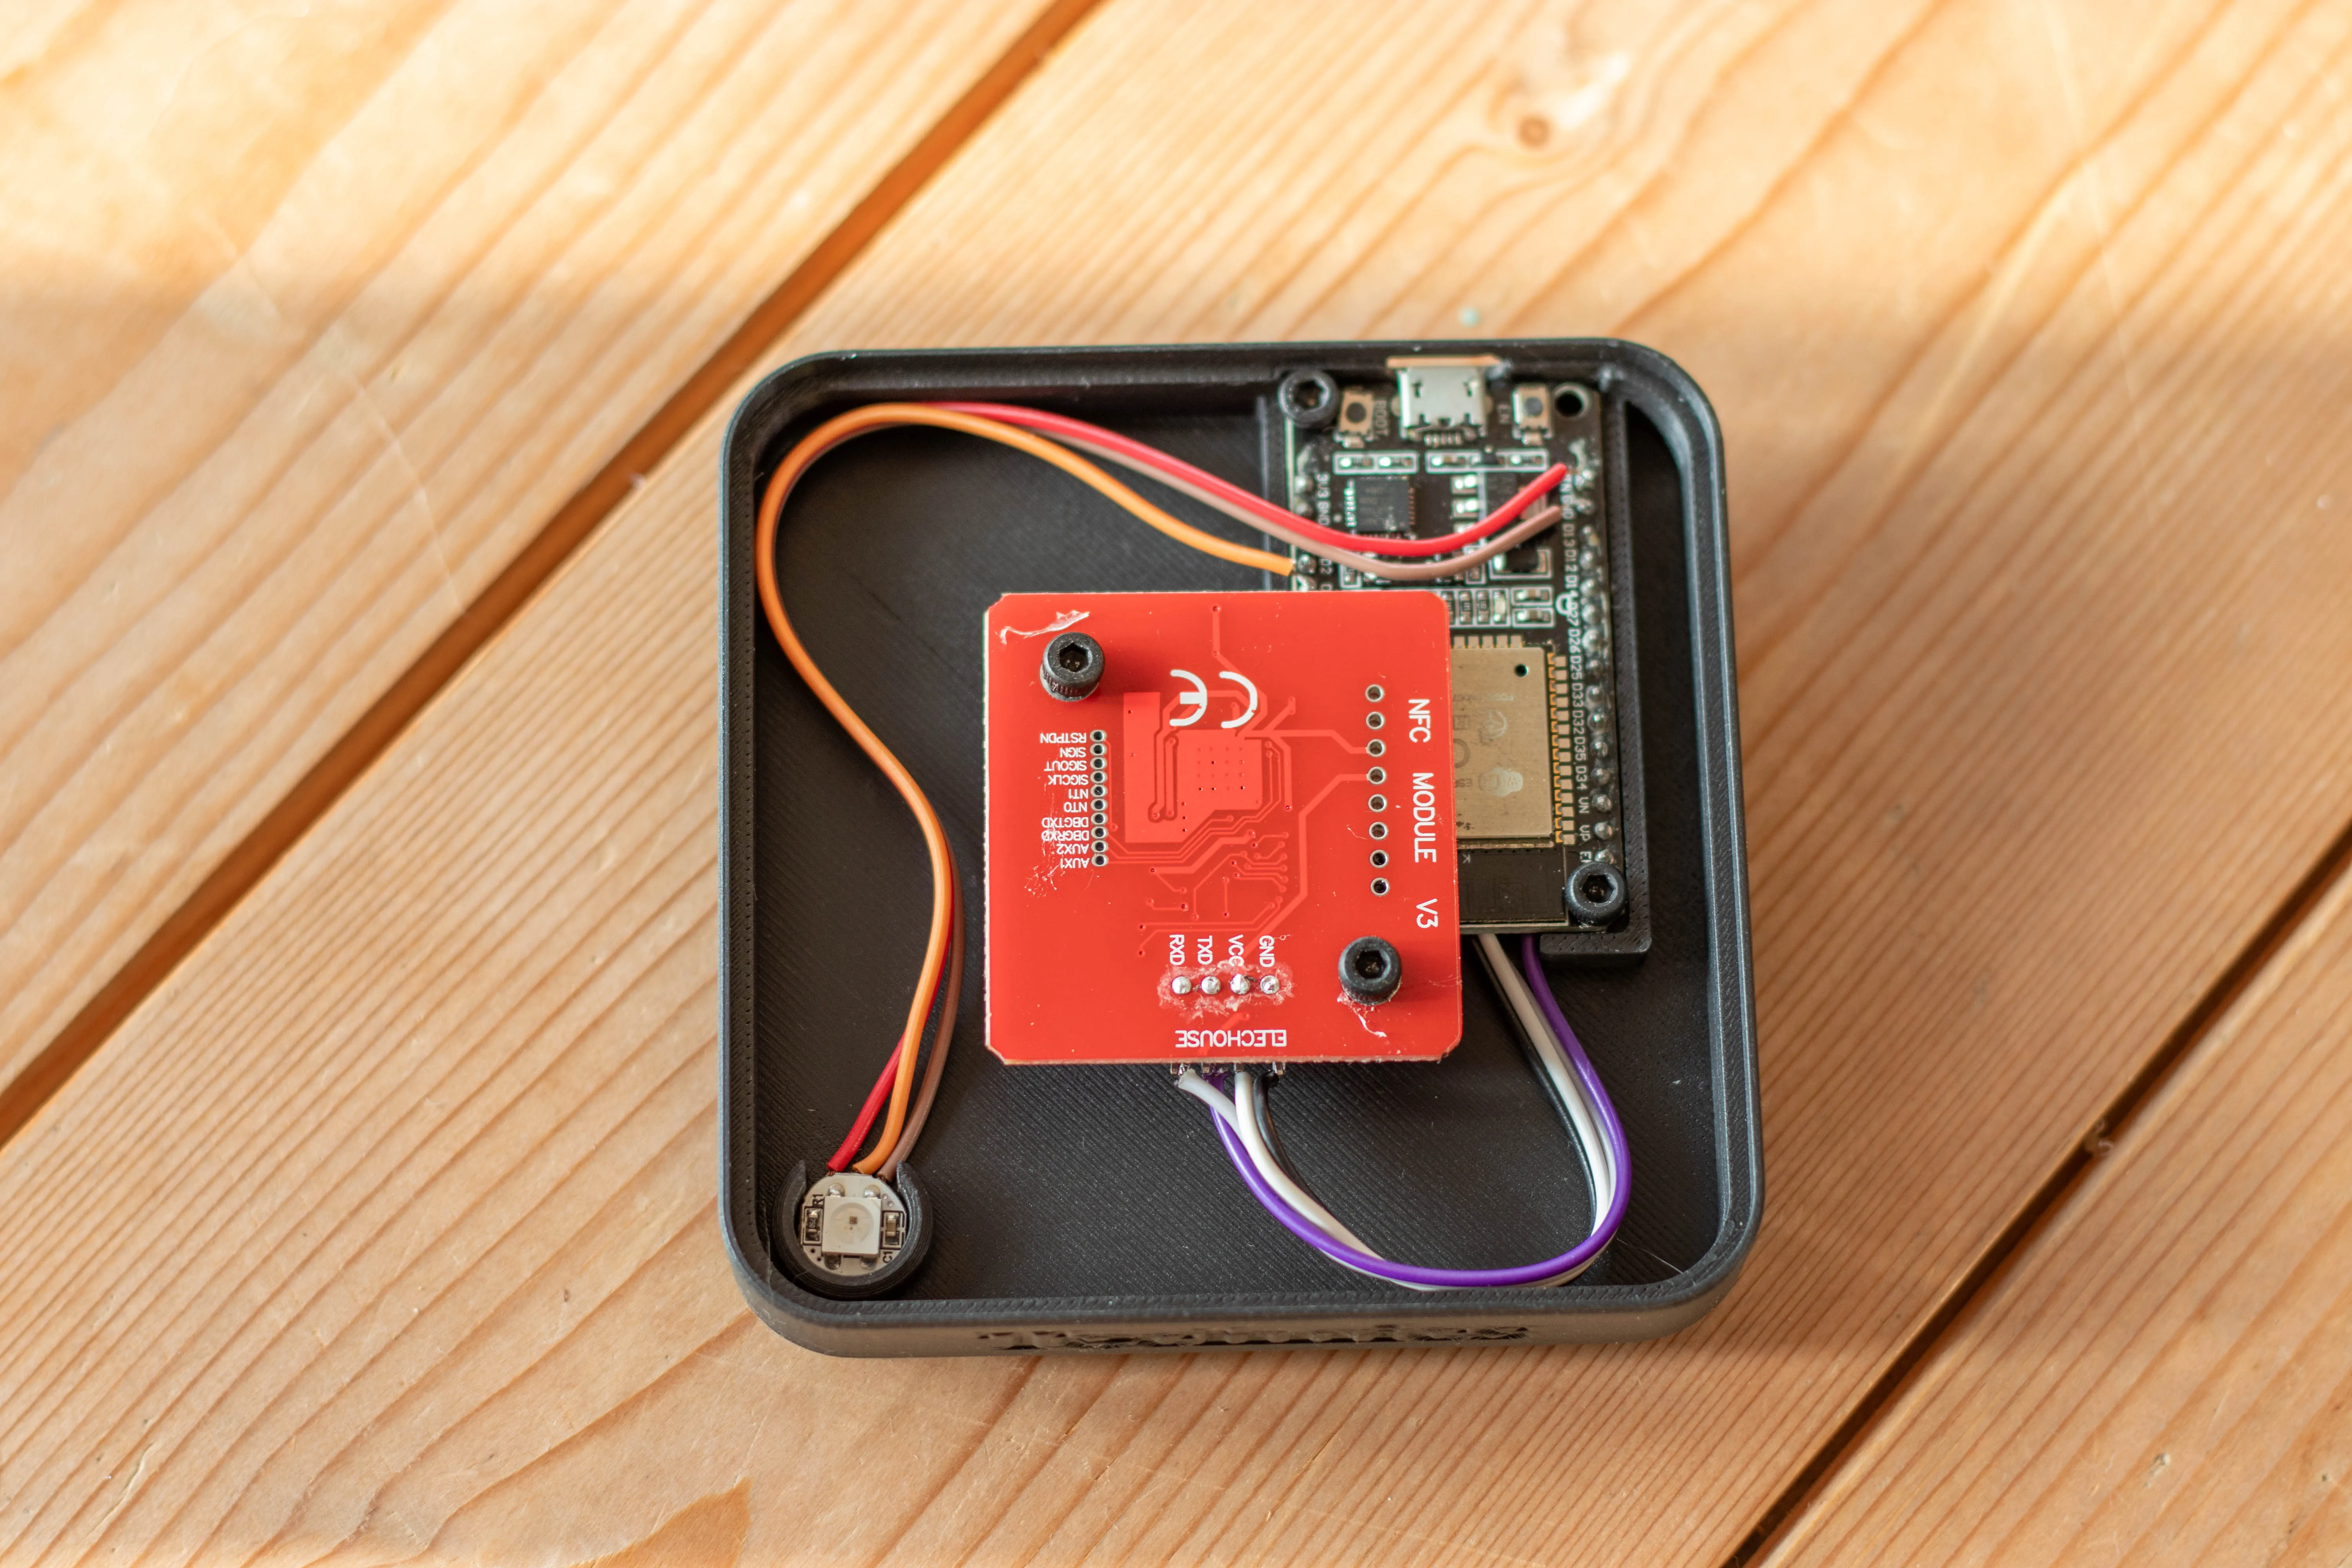
- ESP32-WROOM-32 Development Board
- NFC RFID Module PN532
- LED SMD 5050
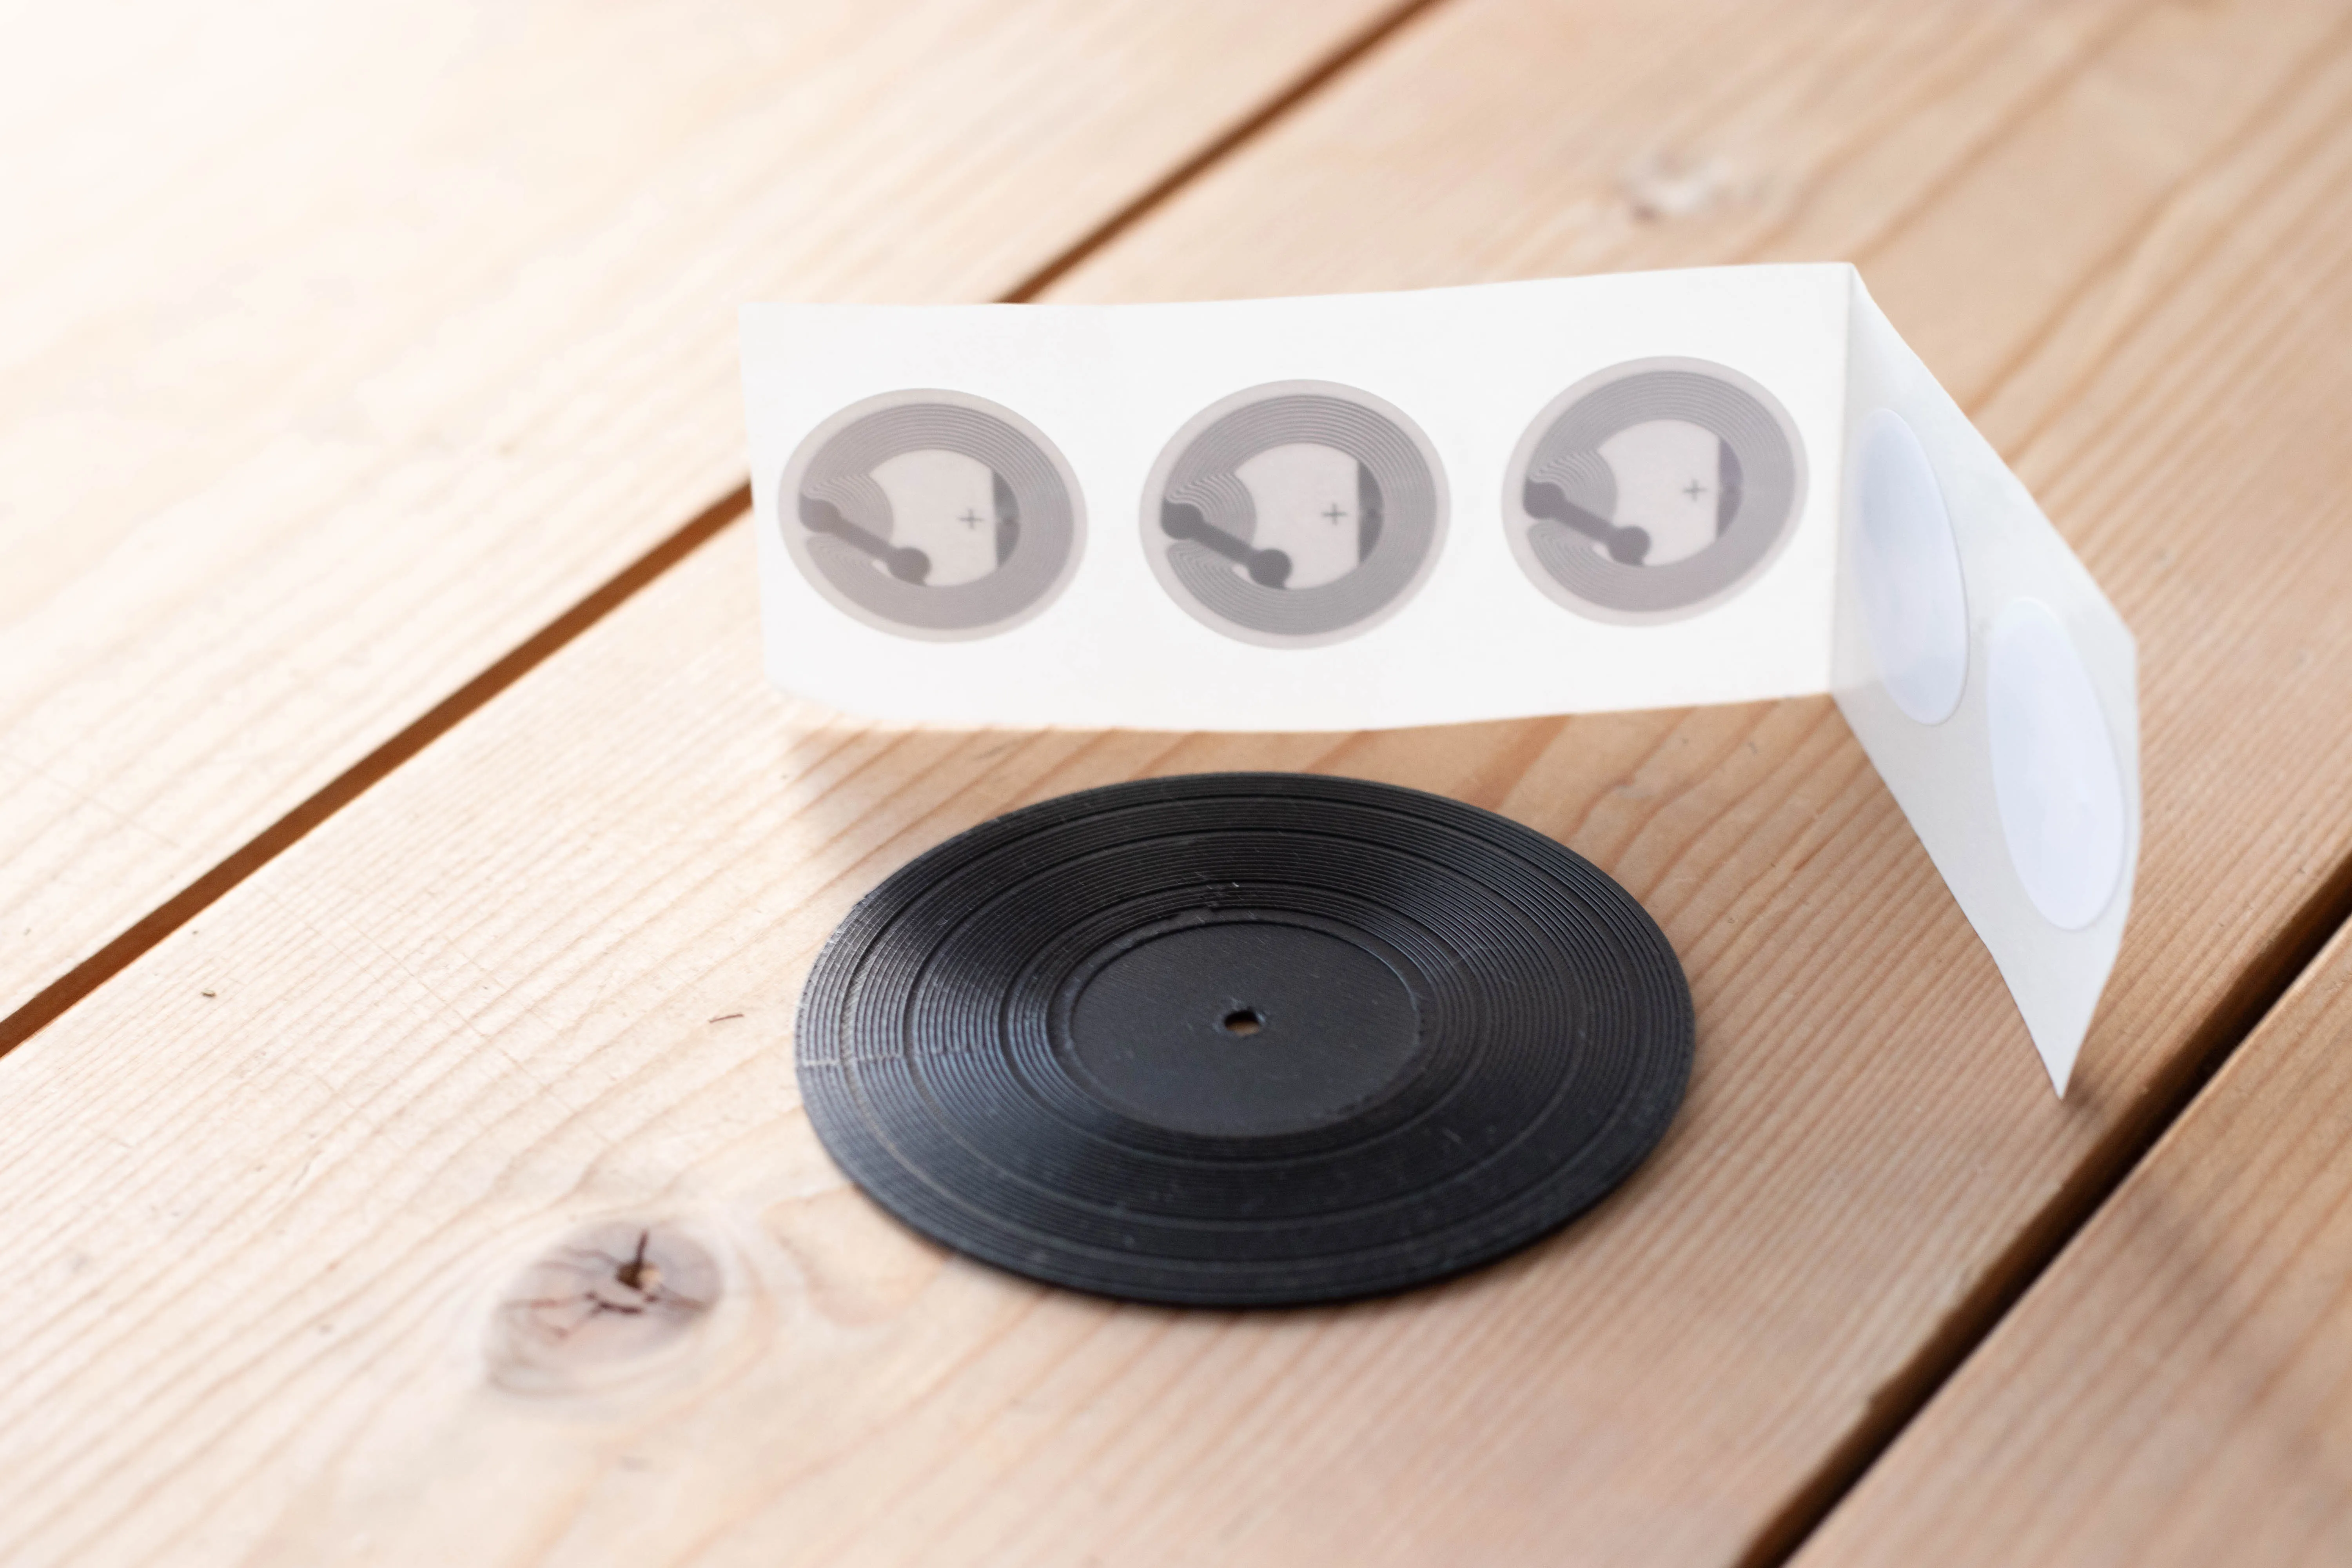
- NFC/RFID Stickers (25mm)
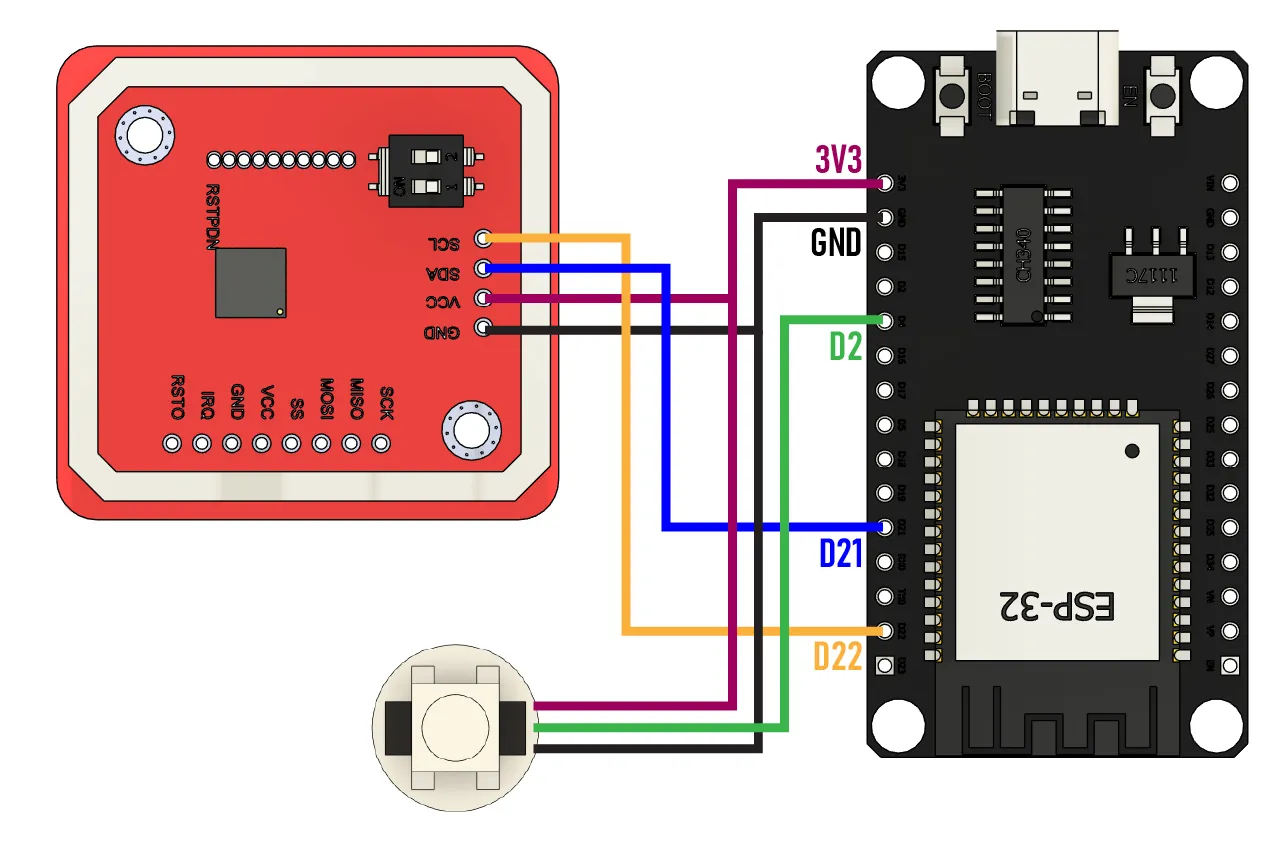
Wiring (On my setup):
- ESP32 VIN → PN532 VCC
- ESP32 GND → PN532 GND
- ESP32 D22 → PN532 SCL
- ESP32 D21 → PN532 SDA
- ESP32 D2 → LED DATA
Assembly
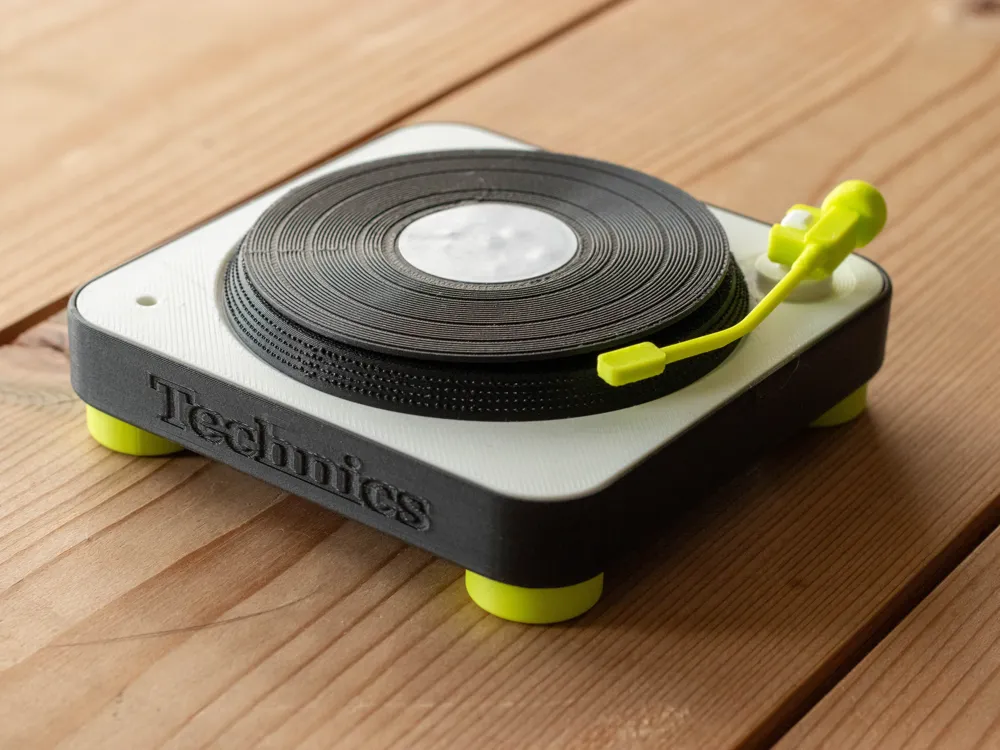
Most of the parts snap together.
- Snap the Pin into the Platter.
- Snap Platter to Top plate.
- Snap the the Arm to the Top Lid.
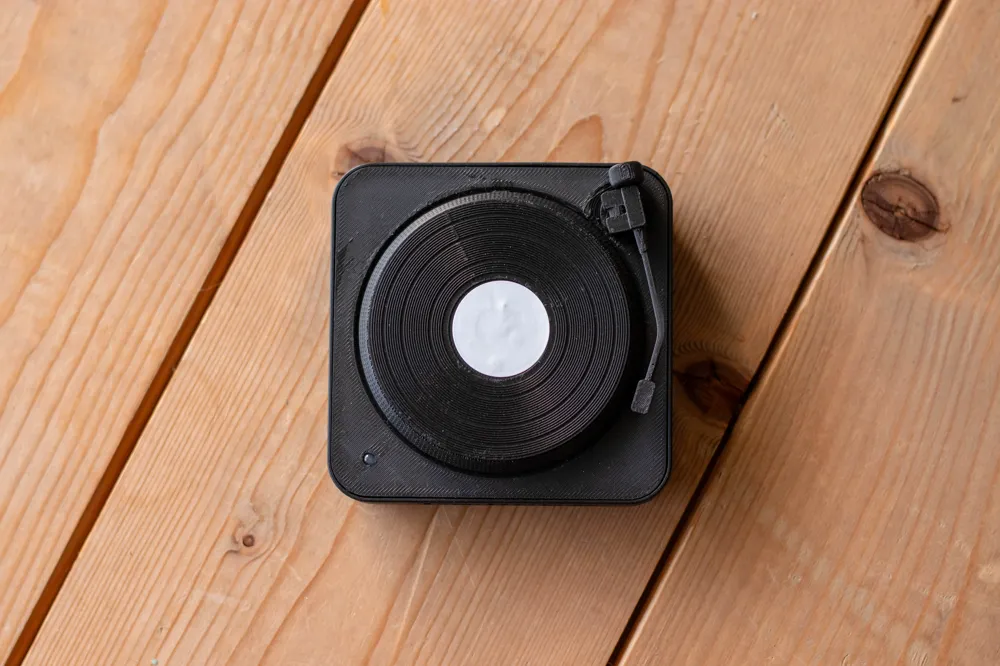
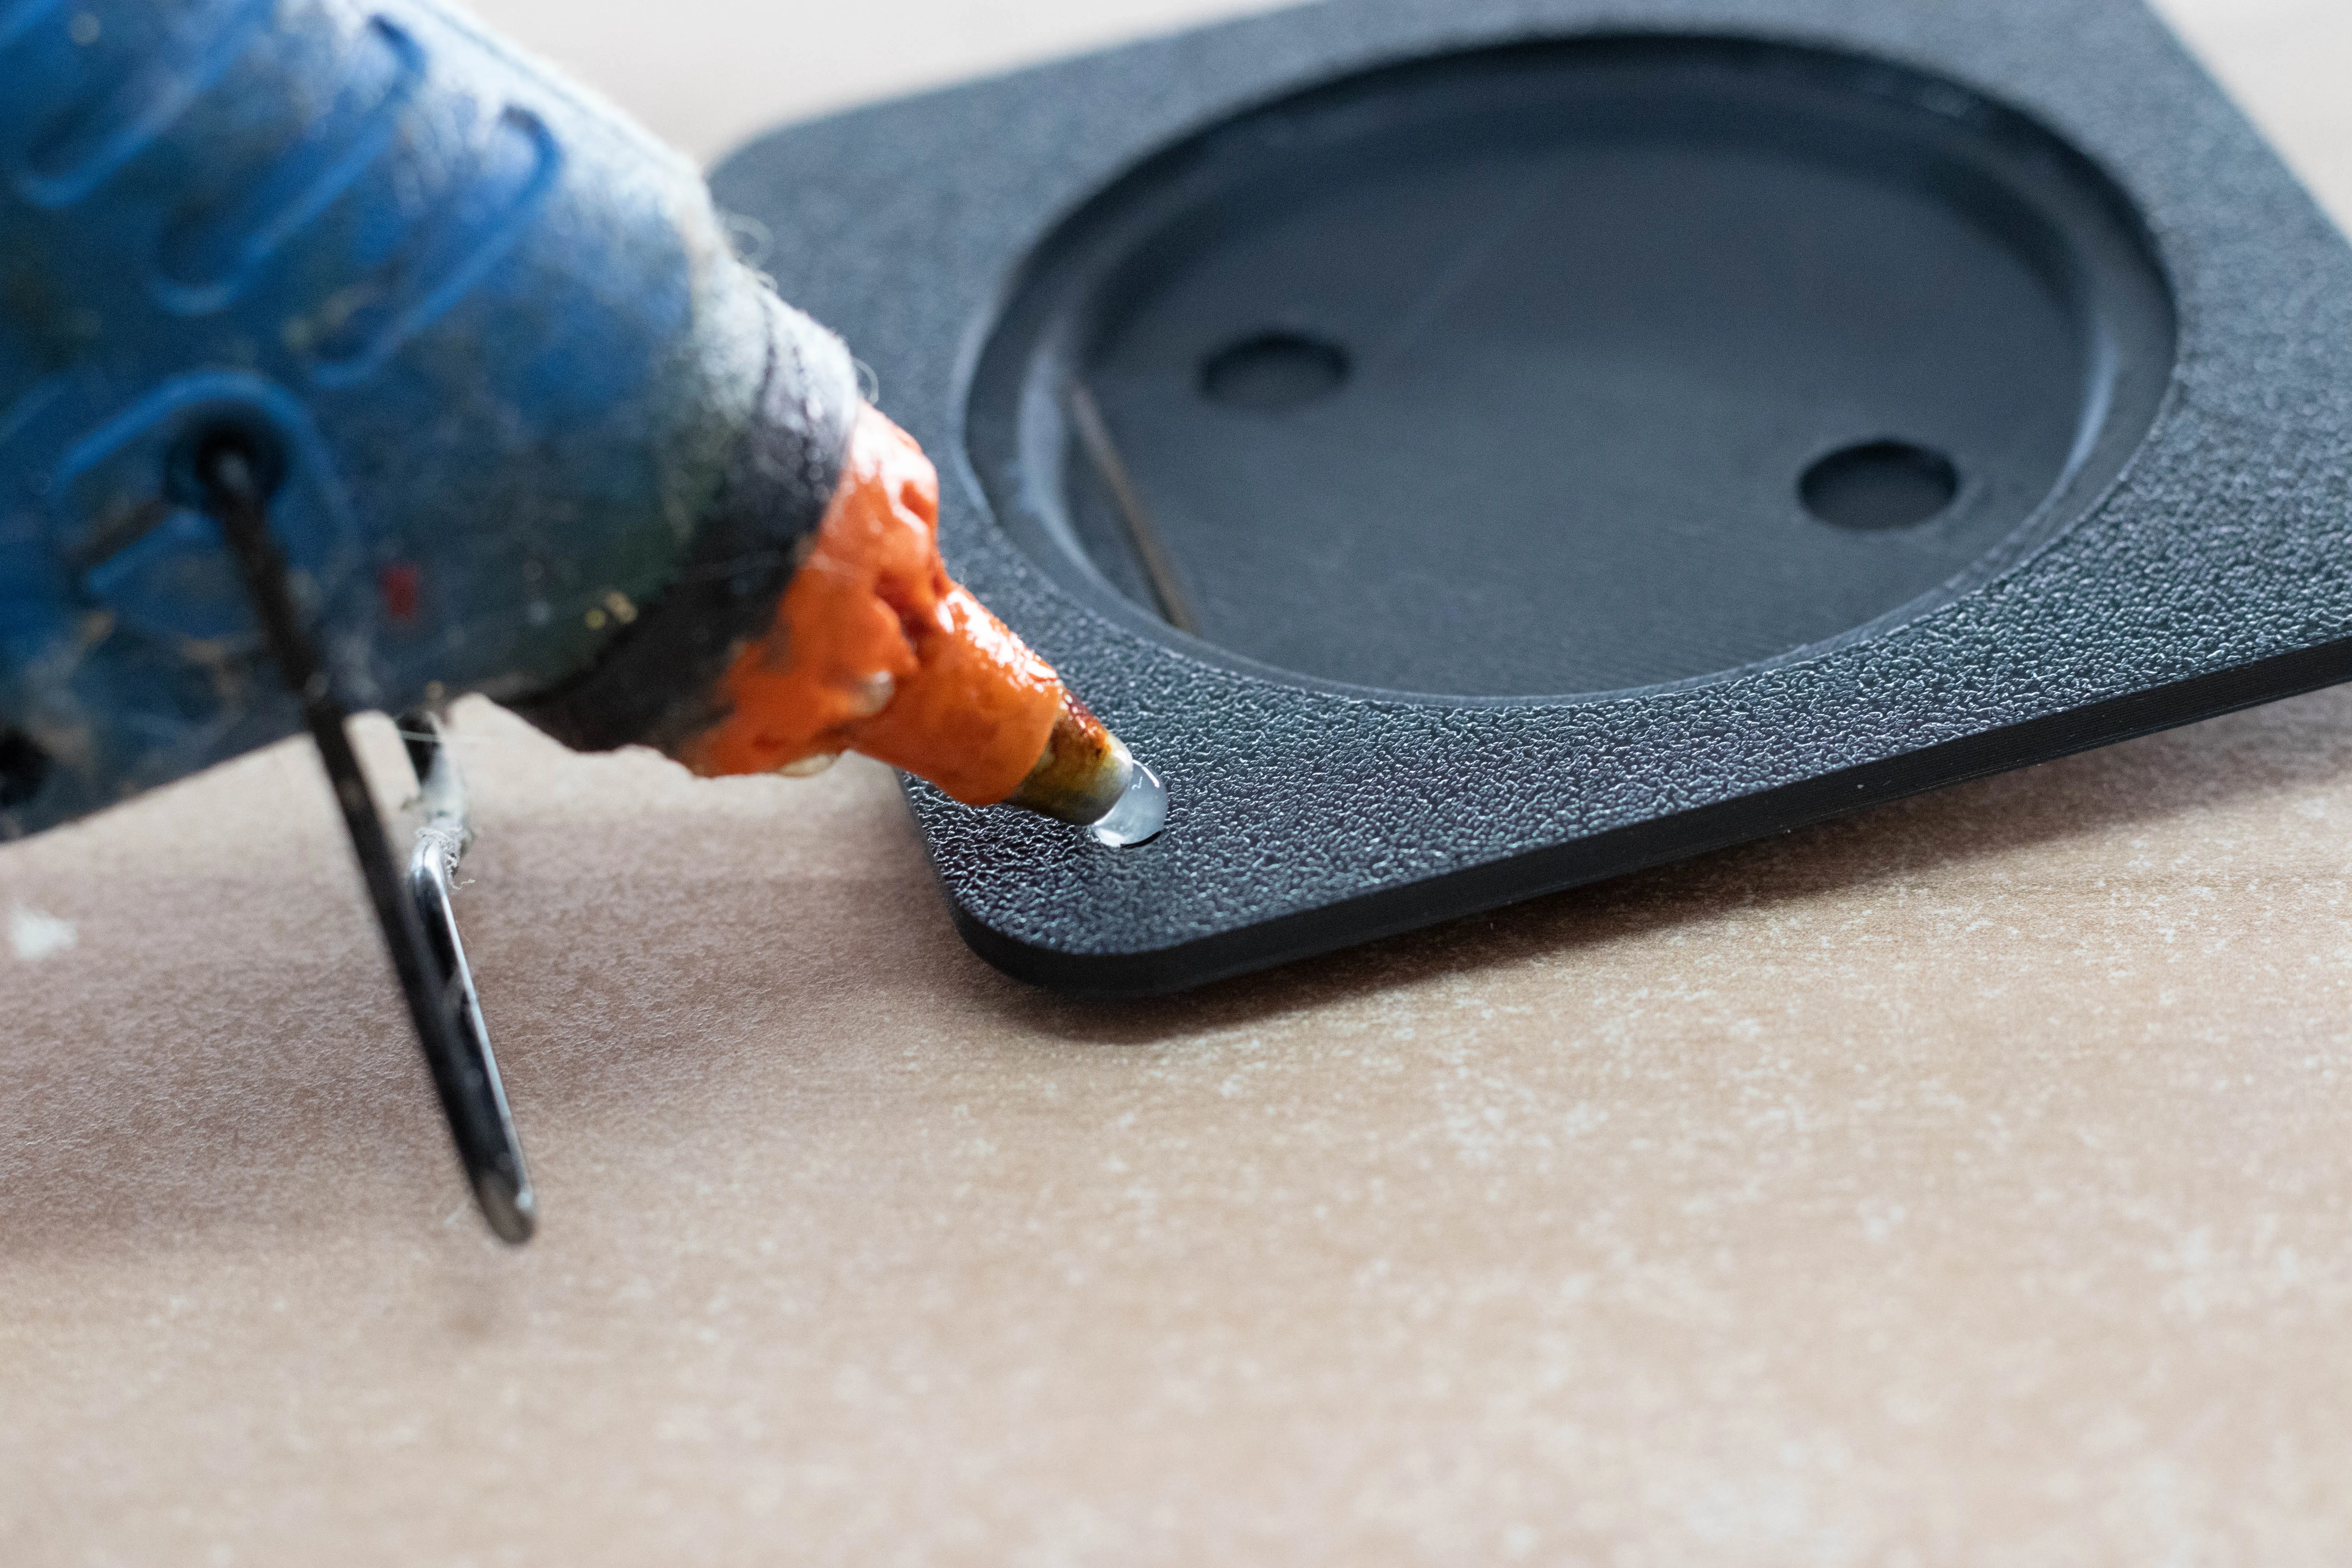
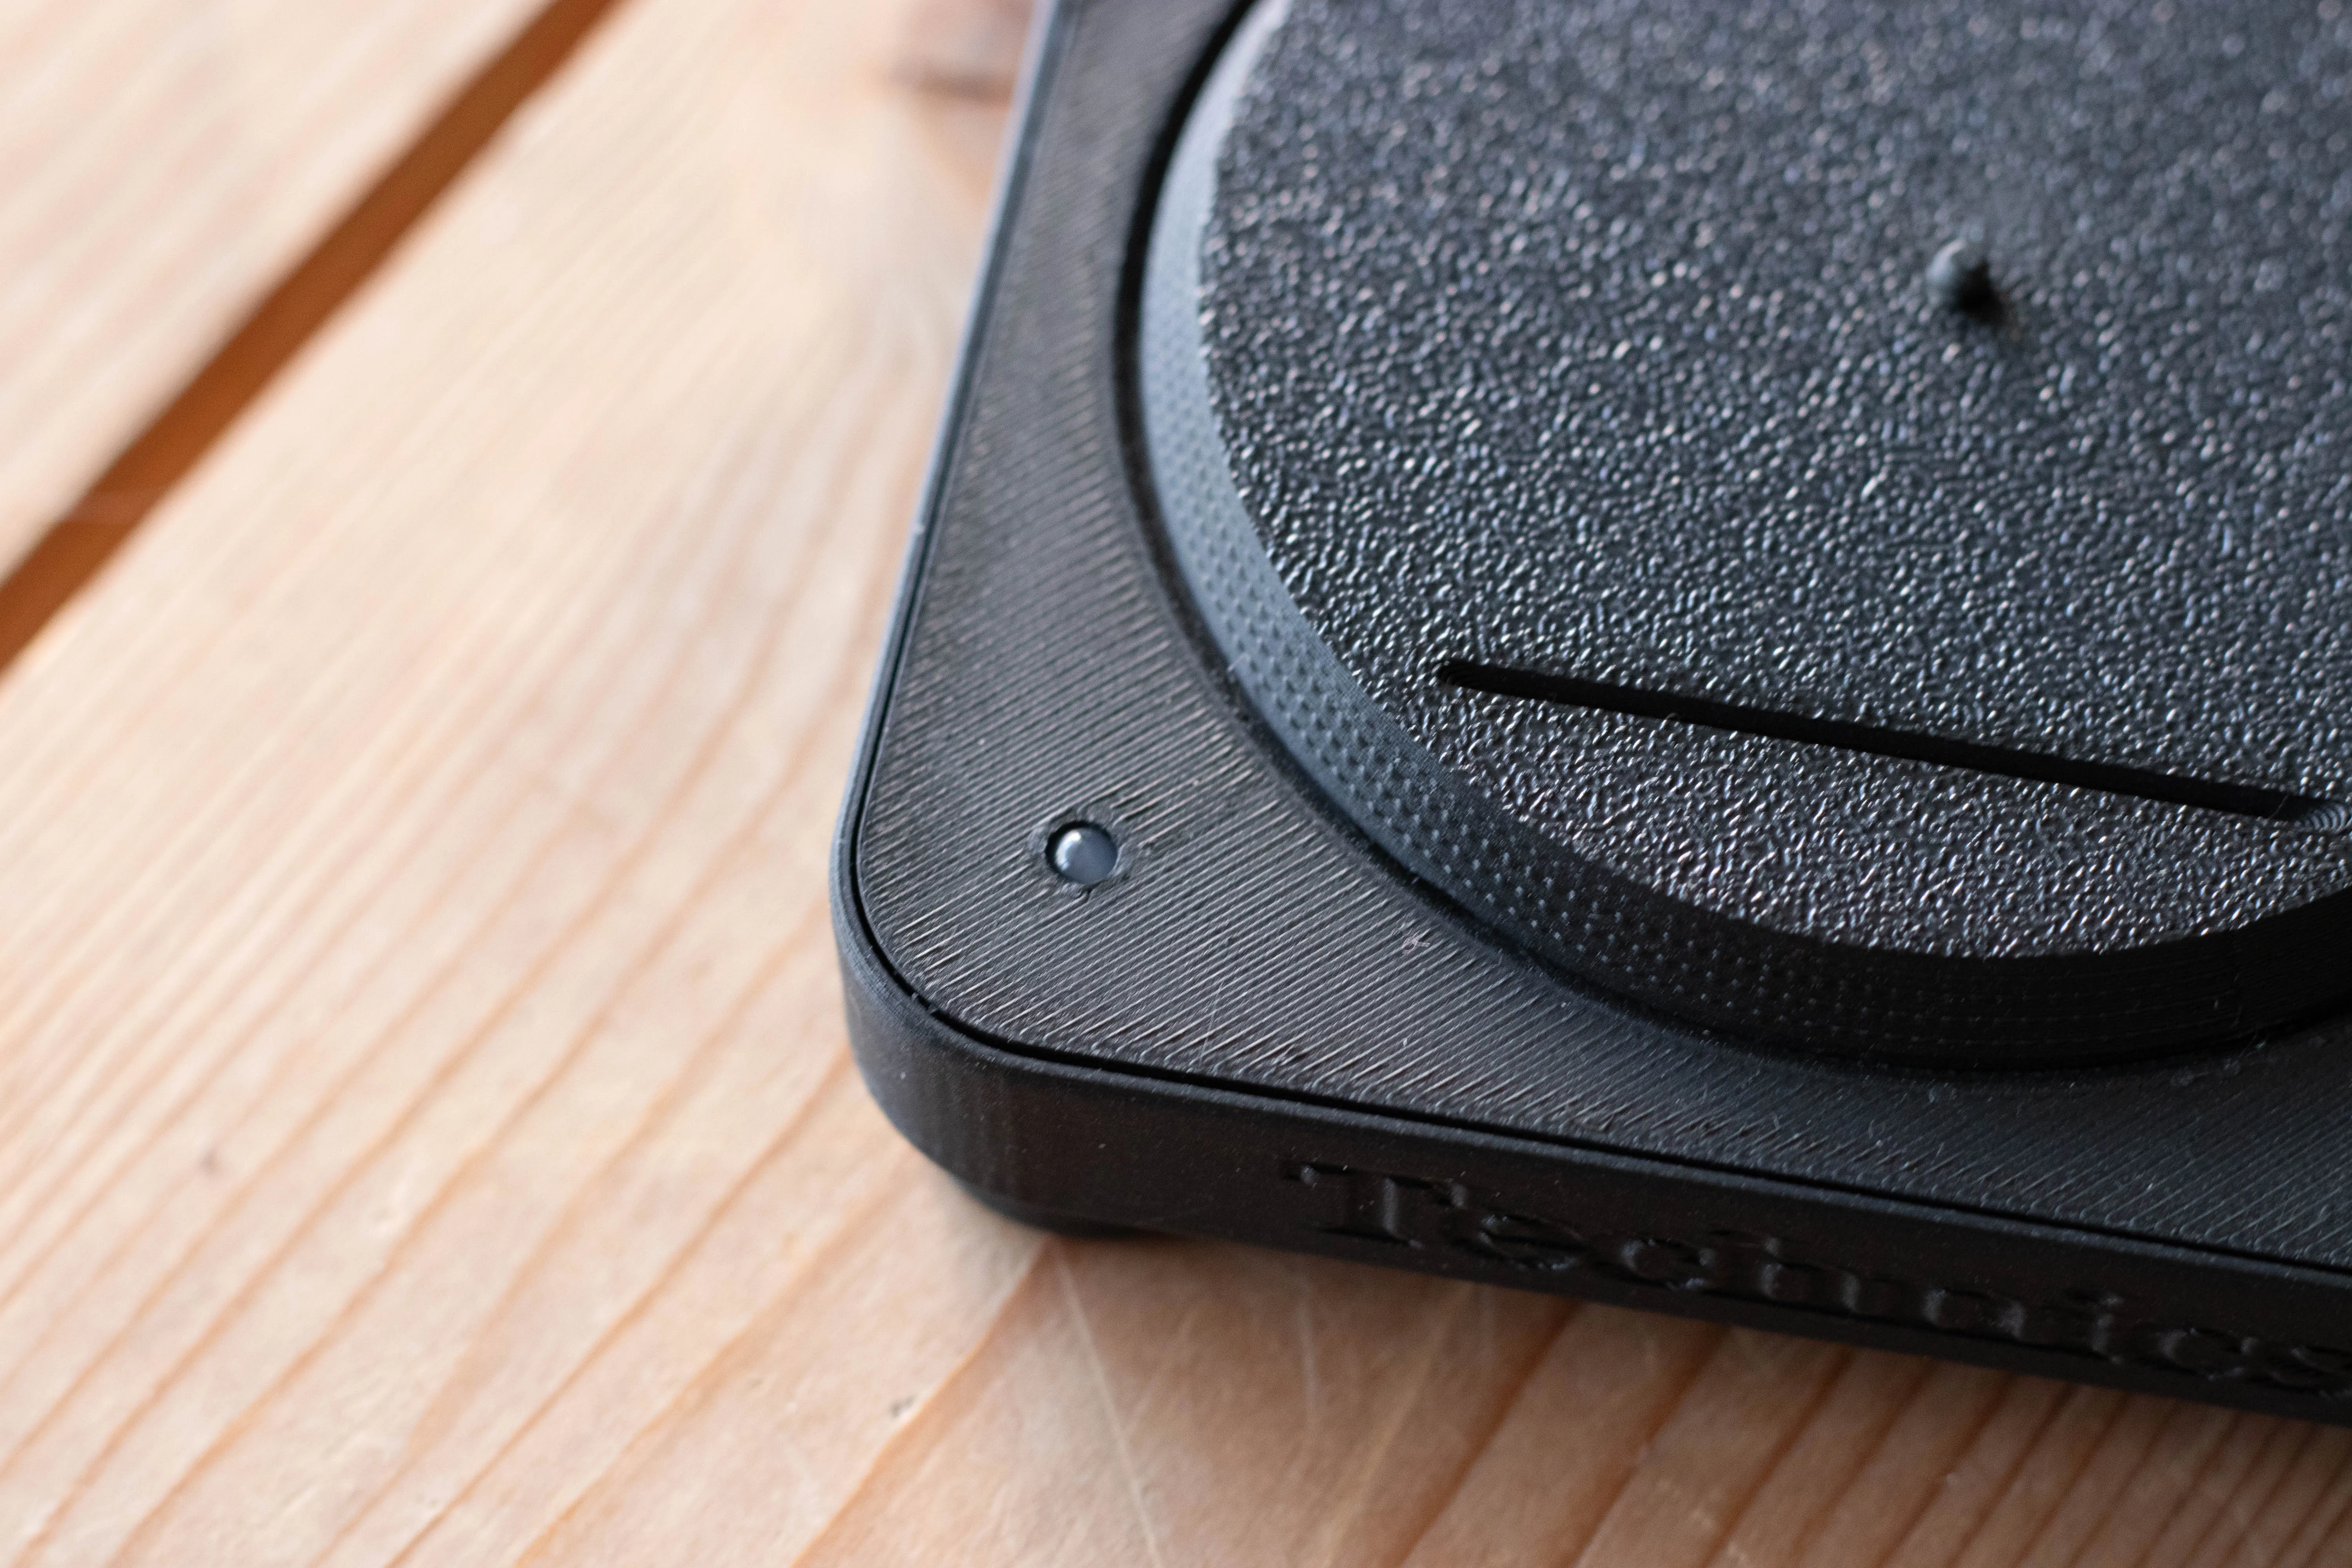
- Fill the LED Hole with Hot Glue.
- Screw the Feet onto the Base.
- Install the Electronics.
- Snap Top and Base together.
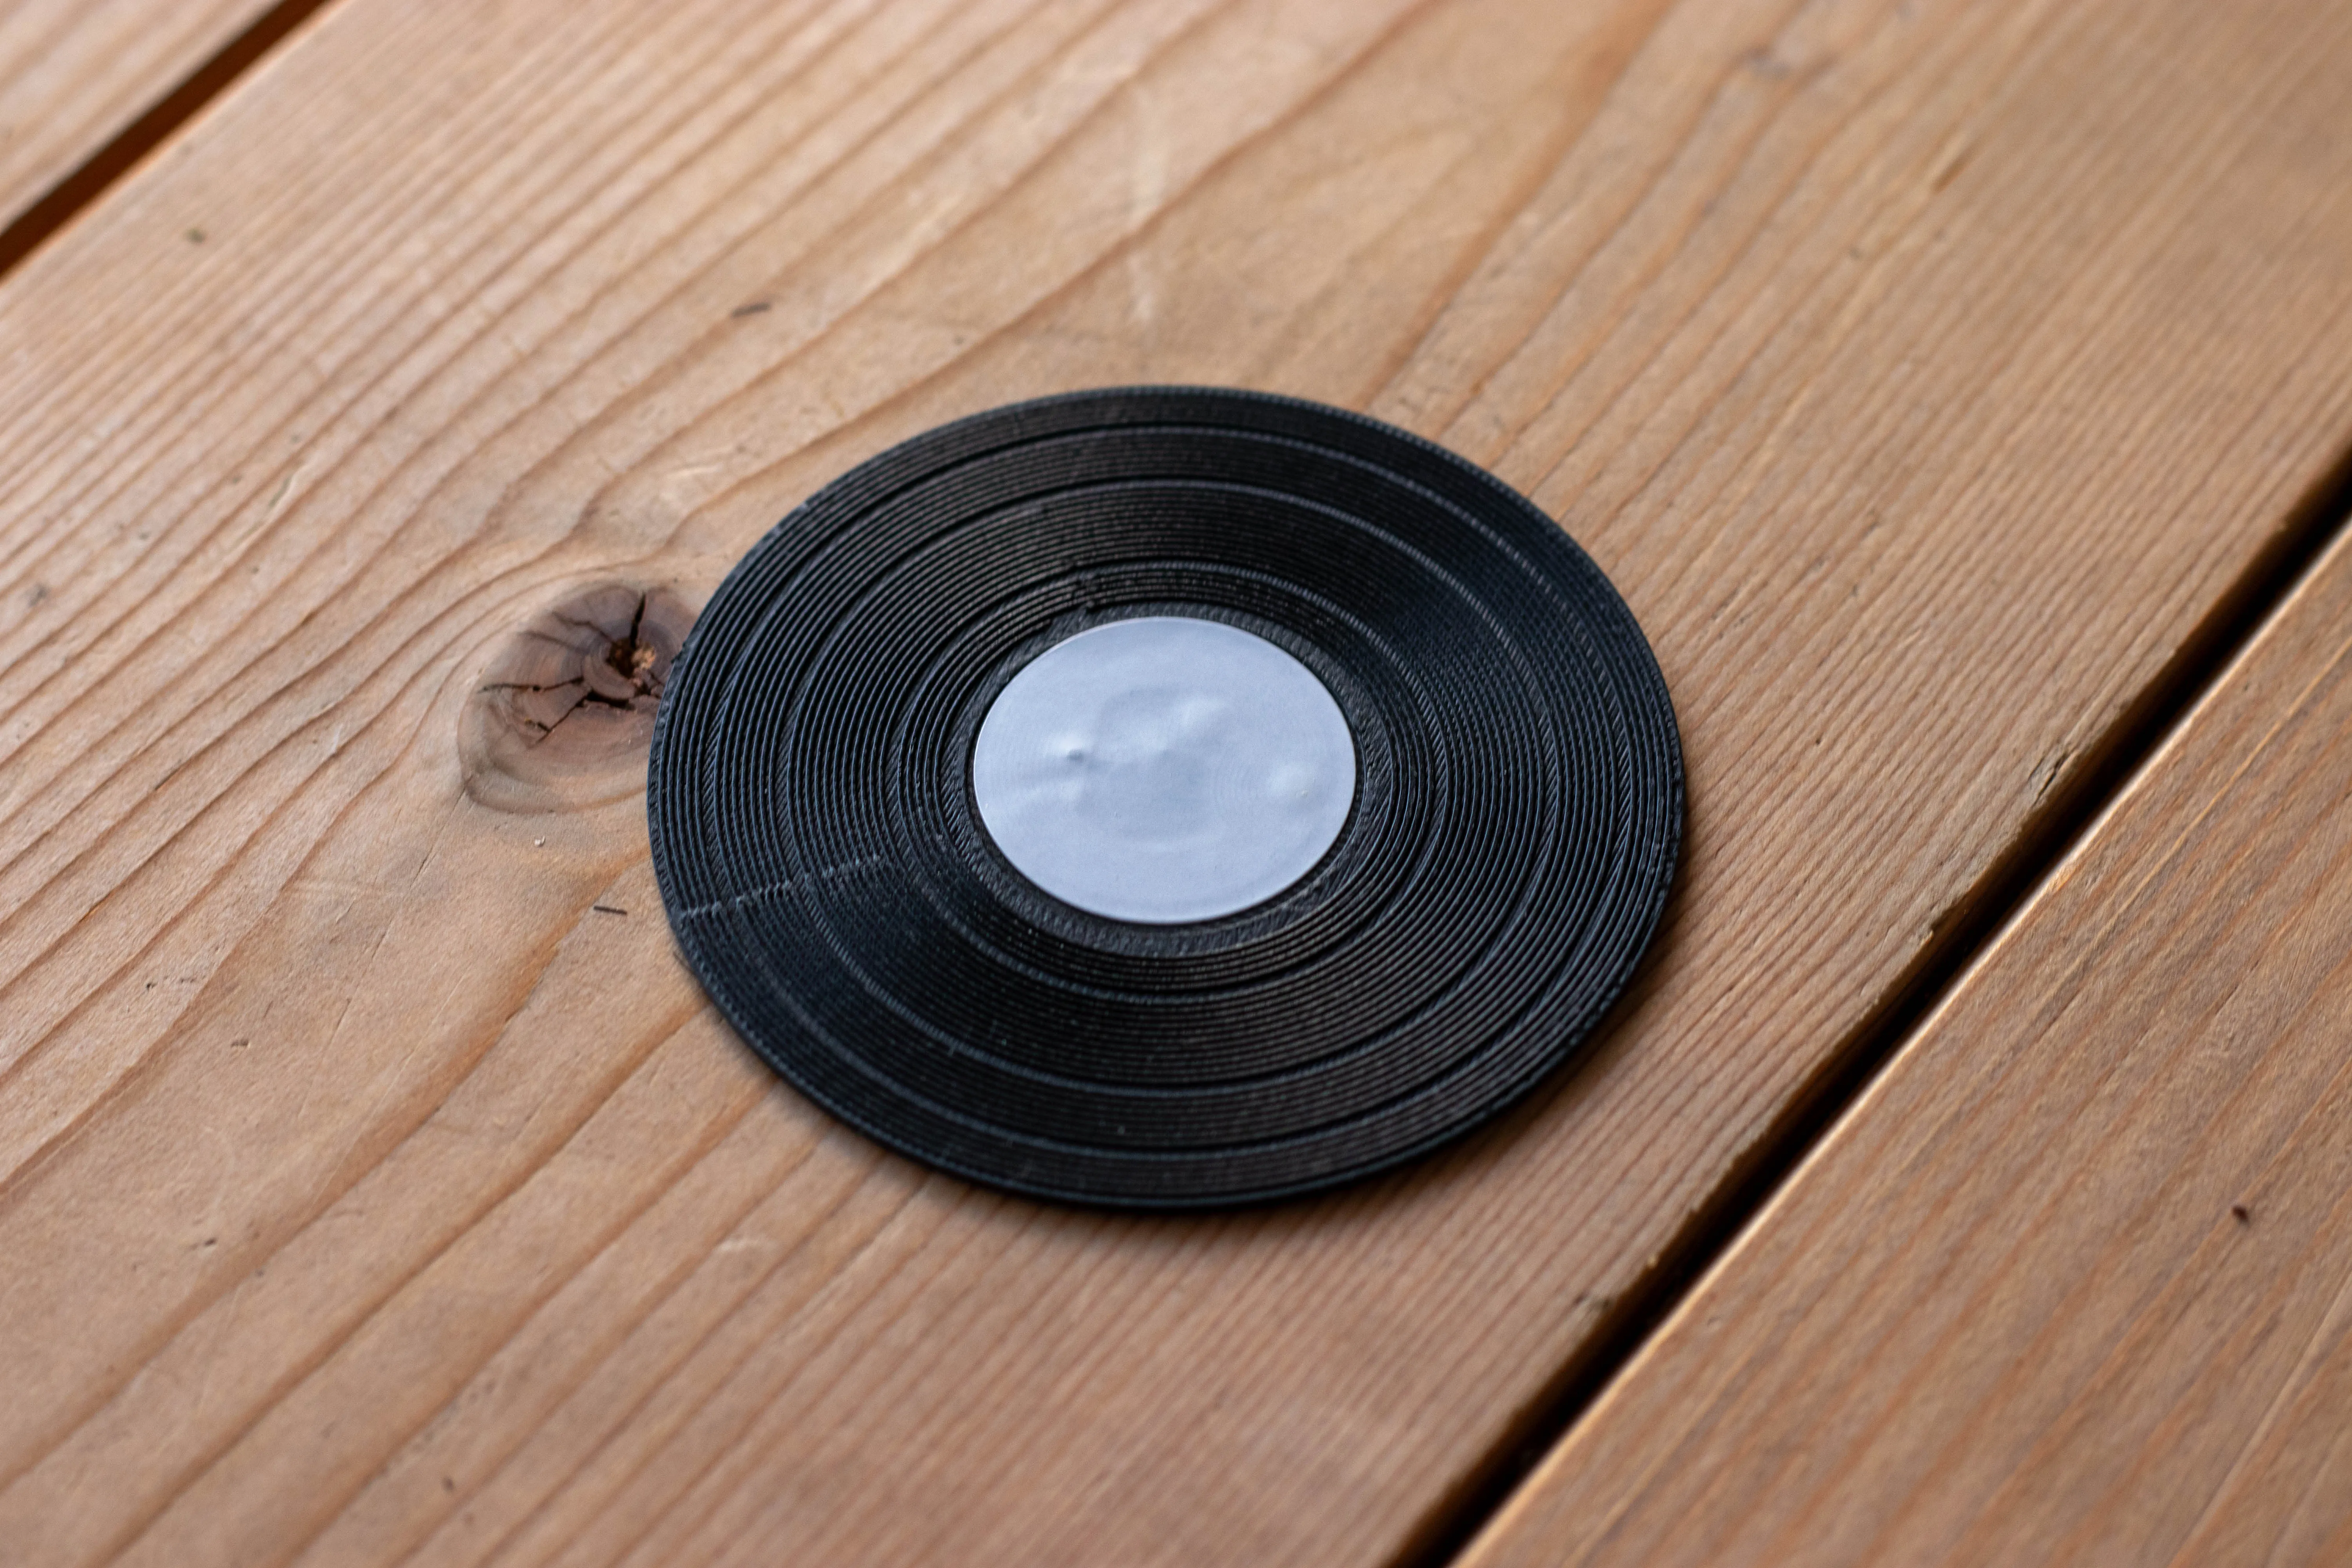
- Add the NFC Sticker to the Vinyl Record.

For the LED hole you should use a Melt Glue Gun to fill the hole from the bottom side. This would give a very nice professional looking LED.
TIP: You can print small circle Cover Art 25mm to glue to the other side of the record player.
ESP Home YAML:
The yaml code I provide just scans any new NFC/RFID Tag and sends it to Home Assistant as an event.
From there you can use Home Assistant Automations to play music depending of the tag scanned.
You need to change these values in the code:
- YOUR_WIFI_SSID
- YOUR_WIFI_PASSWORD
- STATIC_IP
- ROUTER_GATEWAY_IP
- SUBNET
- HOME_ASSISTANT_API_KEY
Support me: https://ko-fi.com/geroulas
Build More:
Documentation (1)
License

You shall not share, sub-license, sell, rent, host, transfer, or distribute in any way the digital or 3D printed versions of this object, nor any other derivative work of this object in its digital or physical format (including - but not limited to - remixes of this object, and hosting on other digital platforms). The objects may not be used without permission in any way whatsoever in which you charge money, or collect fees.


Comment & Rating (27)