
Snowman Christmas Lightbox 5V LED
Print Profile(1)






Description
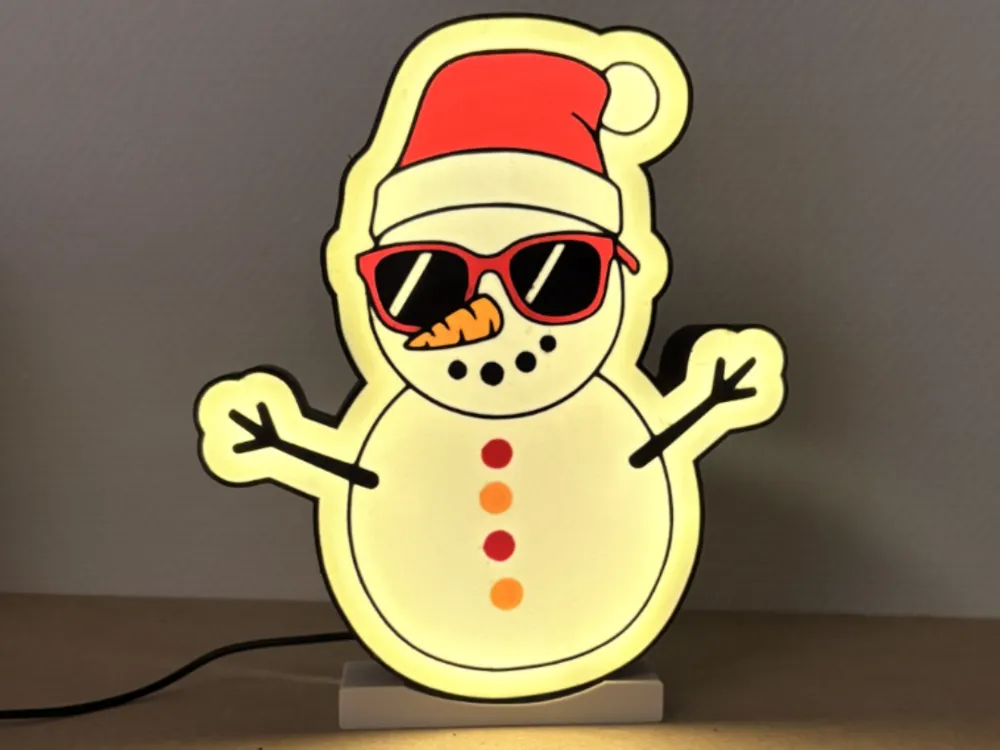
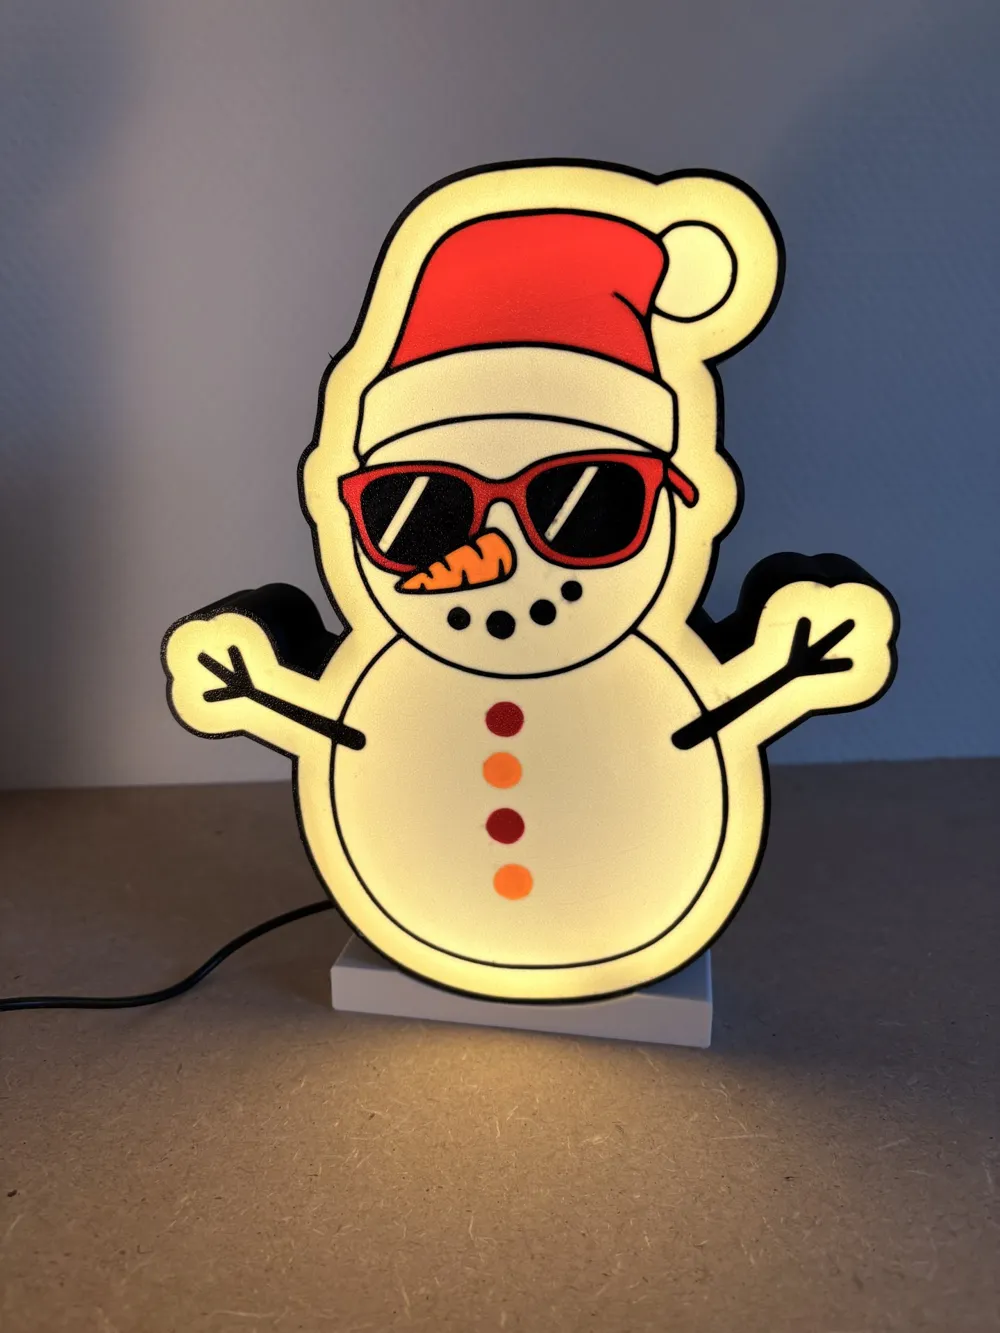
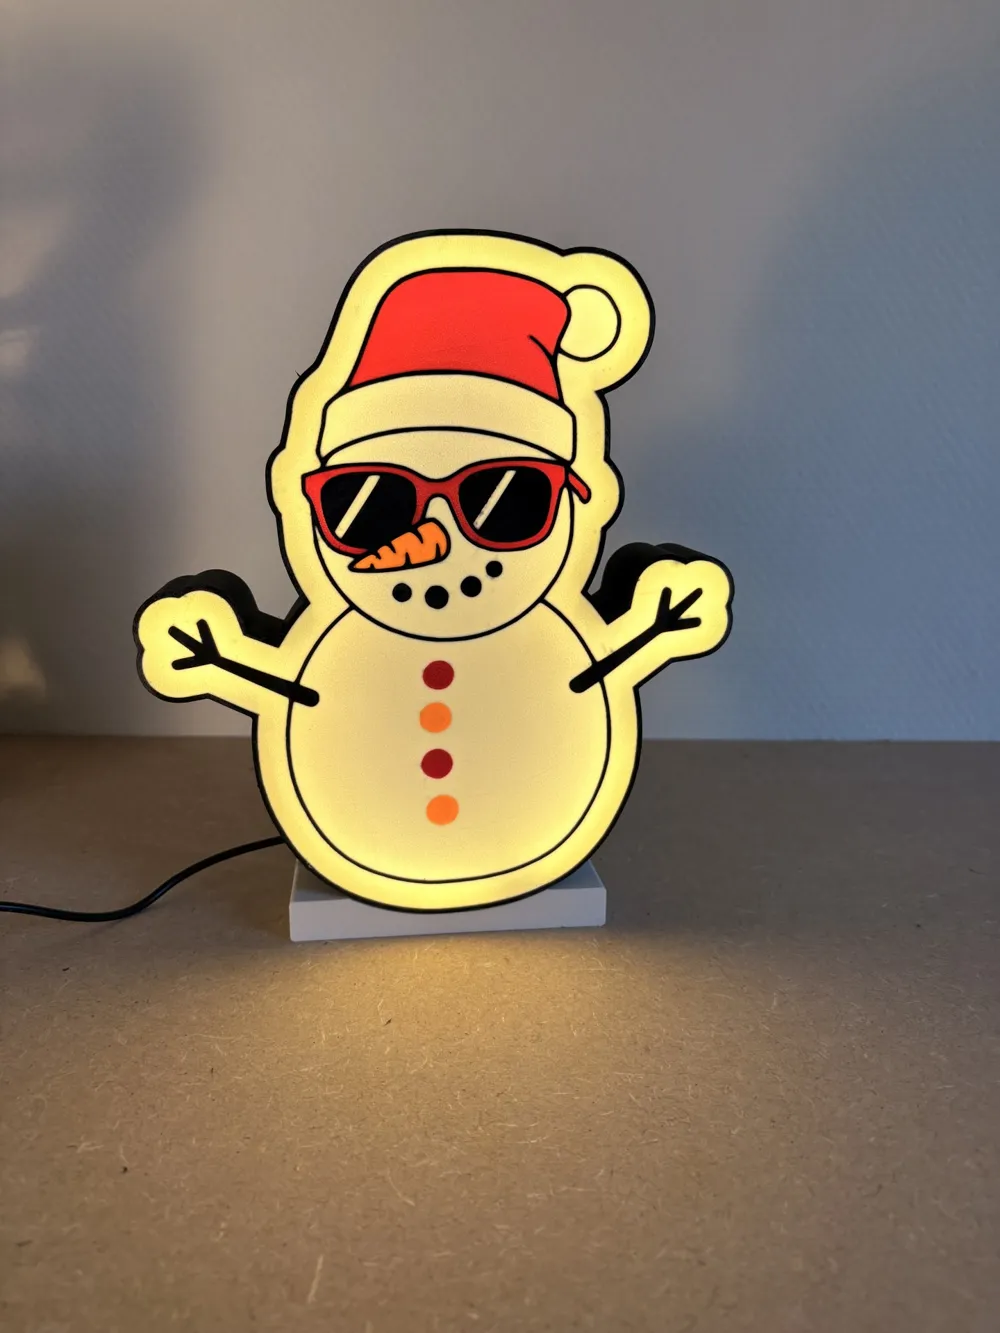
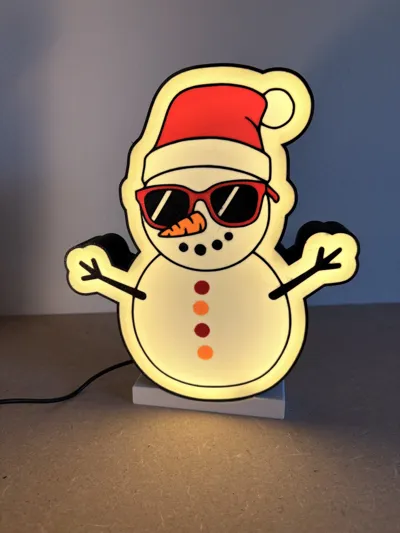
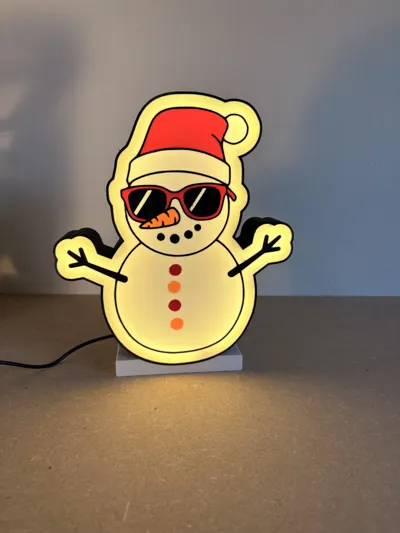
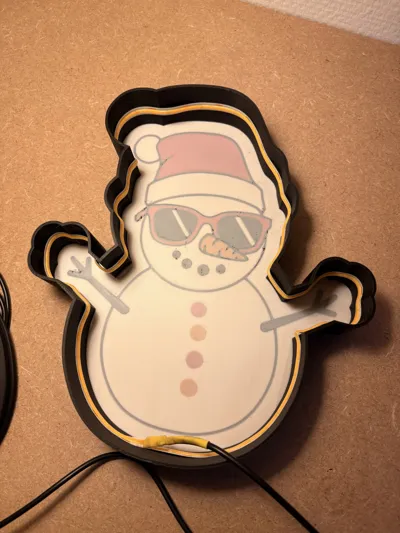
⛄ 3D Printed Snowman Lightbox (4-Color – AMS Lite Compatible)
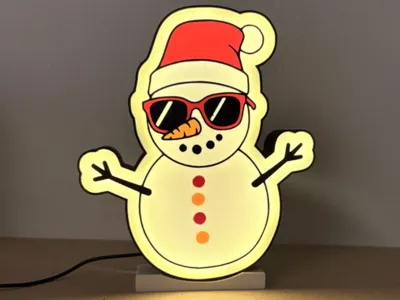
Bring a touch of winter cheer to your home with this 3D printed Snowman Lightbox!
Designed for multi-color printing with AMS Lite, this festive lightbox lets you fully customize your color scheme in Bambu Studio (Bambu Slicer). Perfect for cozy indoor lighting or a cheerful holiday decoration.
✨ Features
- 3D printed in 4 colors, customizable in Bambu Studio.
- Made from PLA (not suitable for outdoor use).
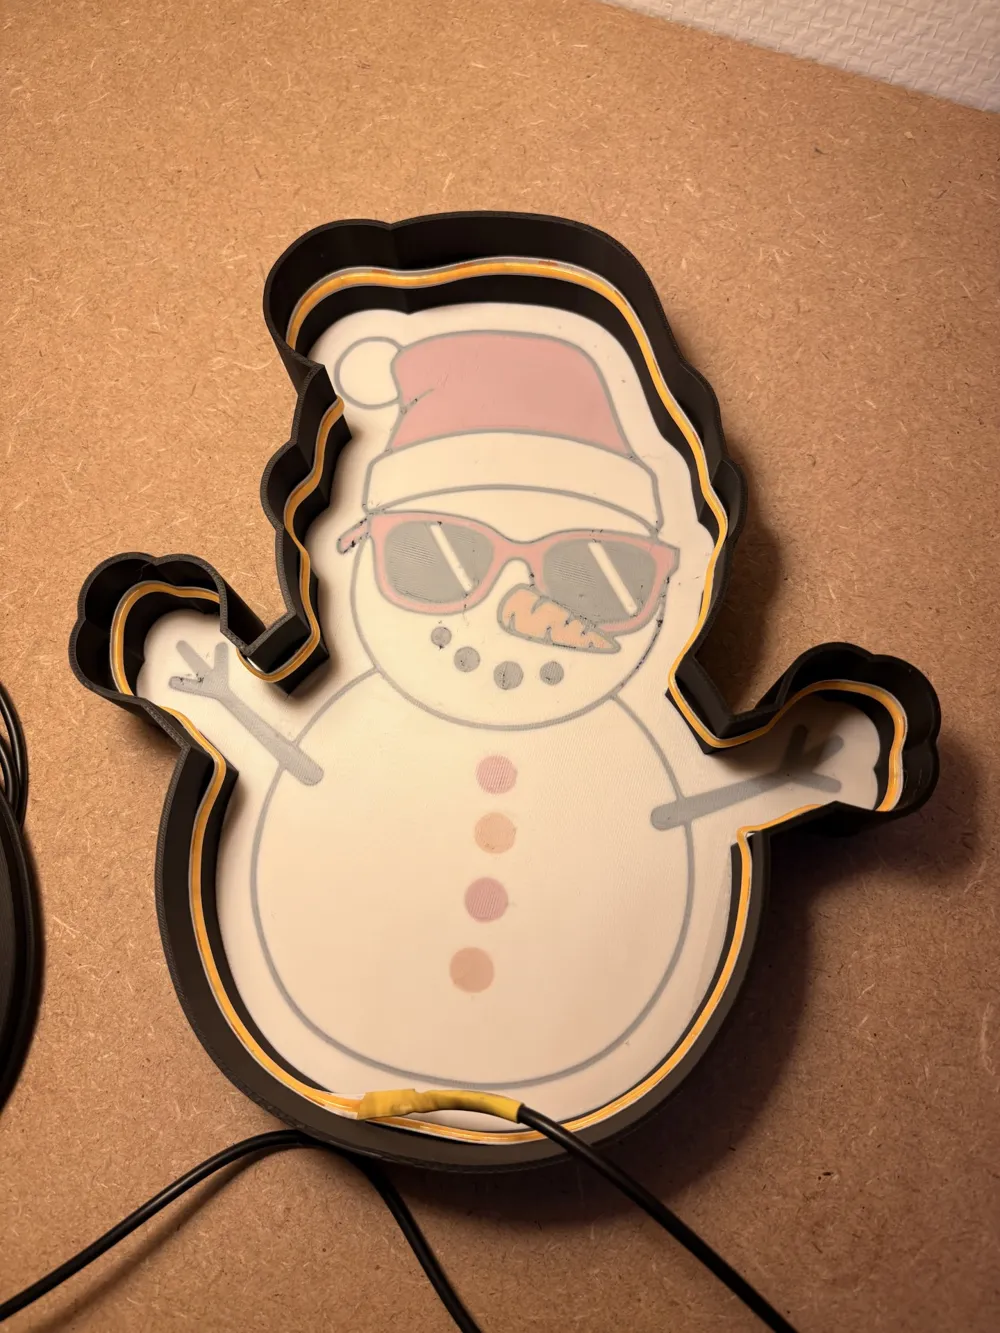
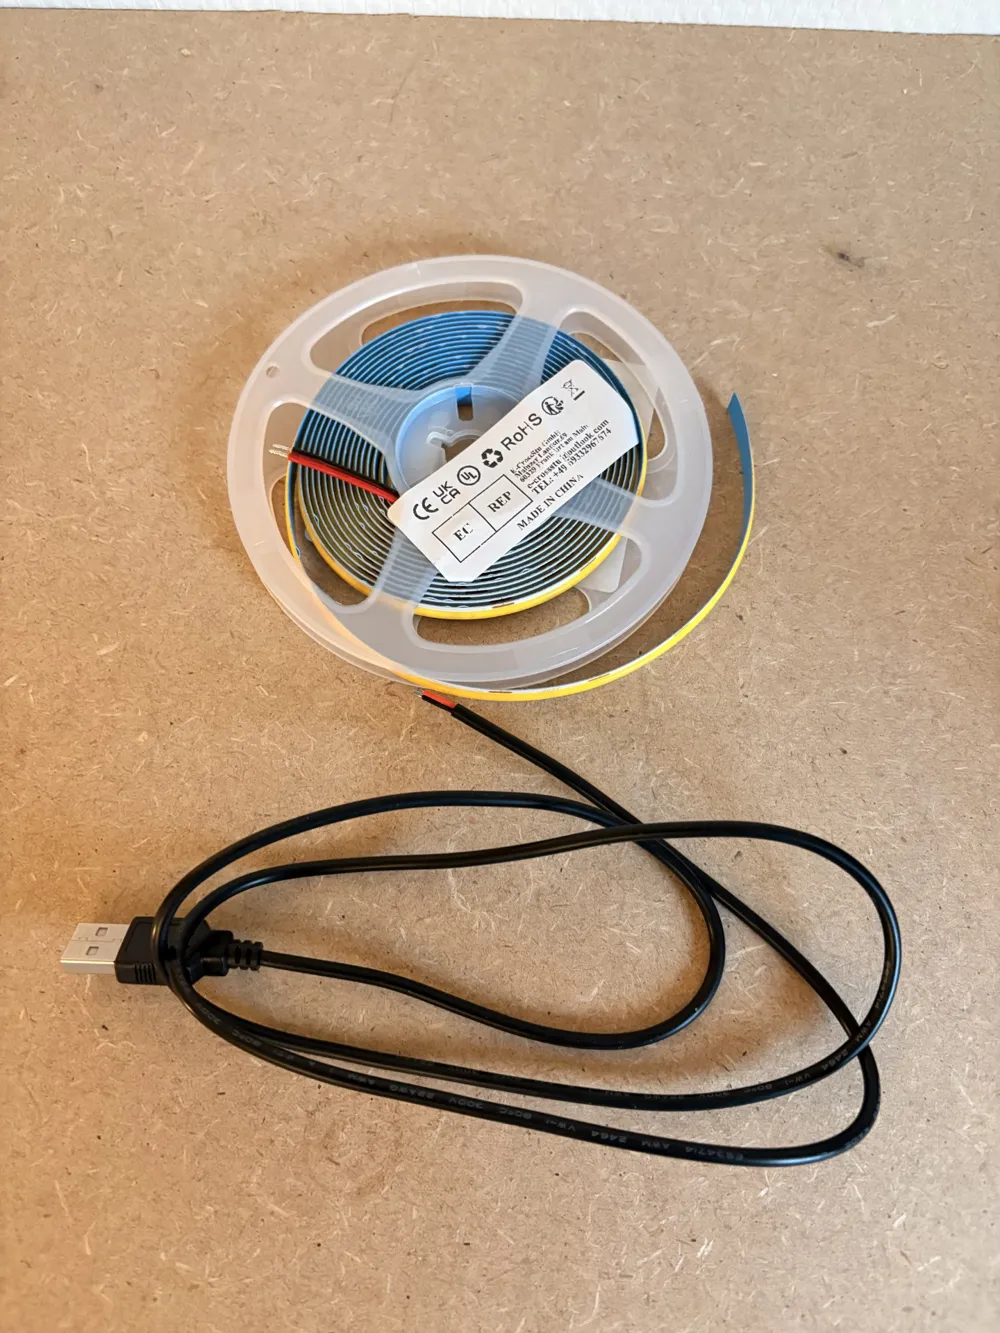
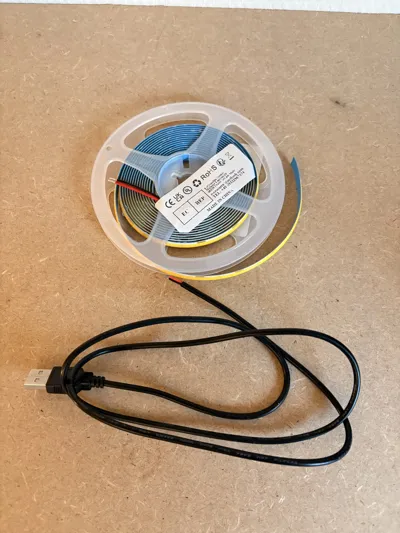
- Illuminated with a 5V warm white COB LED strip (60 cm, cut to size).
- Powered via USB – works with any 5V phone charger or power bank.
- Clean, modern design featuring a fun snowman with a winter vibe.
📦 Materials Used
- PLA filament (4 colors, AMS Lite compatible)
- 5V COB LED strip in warm white (60 cm, cut to fit) – https://ap.lc/NLacG
- USB cable https://ap.lc/GwtXE (length up to you I choose 100cm)
- Heat shrink tubing (approx. 4 cm by 6mm with)
- Solder and soldering tin
- Super glue (for sealing the lightbox)
🧰 Tools Required
- Soldering iron
- Heat gun or warm air blower (for shrinking tubing)
- Wire stripper or cutter
- Tweezers (optional)
🛠️ Assembly Instructions
Step 1:
Print all STL files in your desired colors using Bambu Studio with AMS Lite.
Step 2:
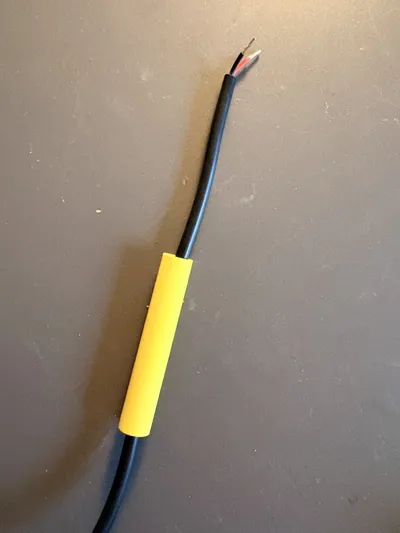
Feed the USB cable through the hole on the back of the snowman lightbox.
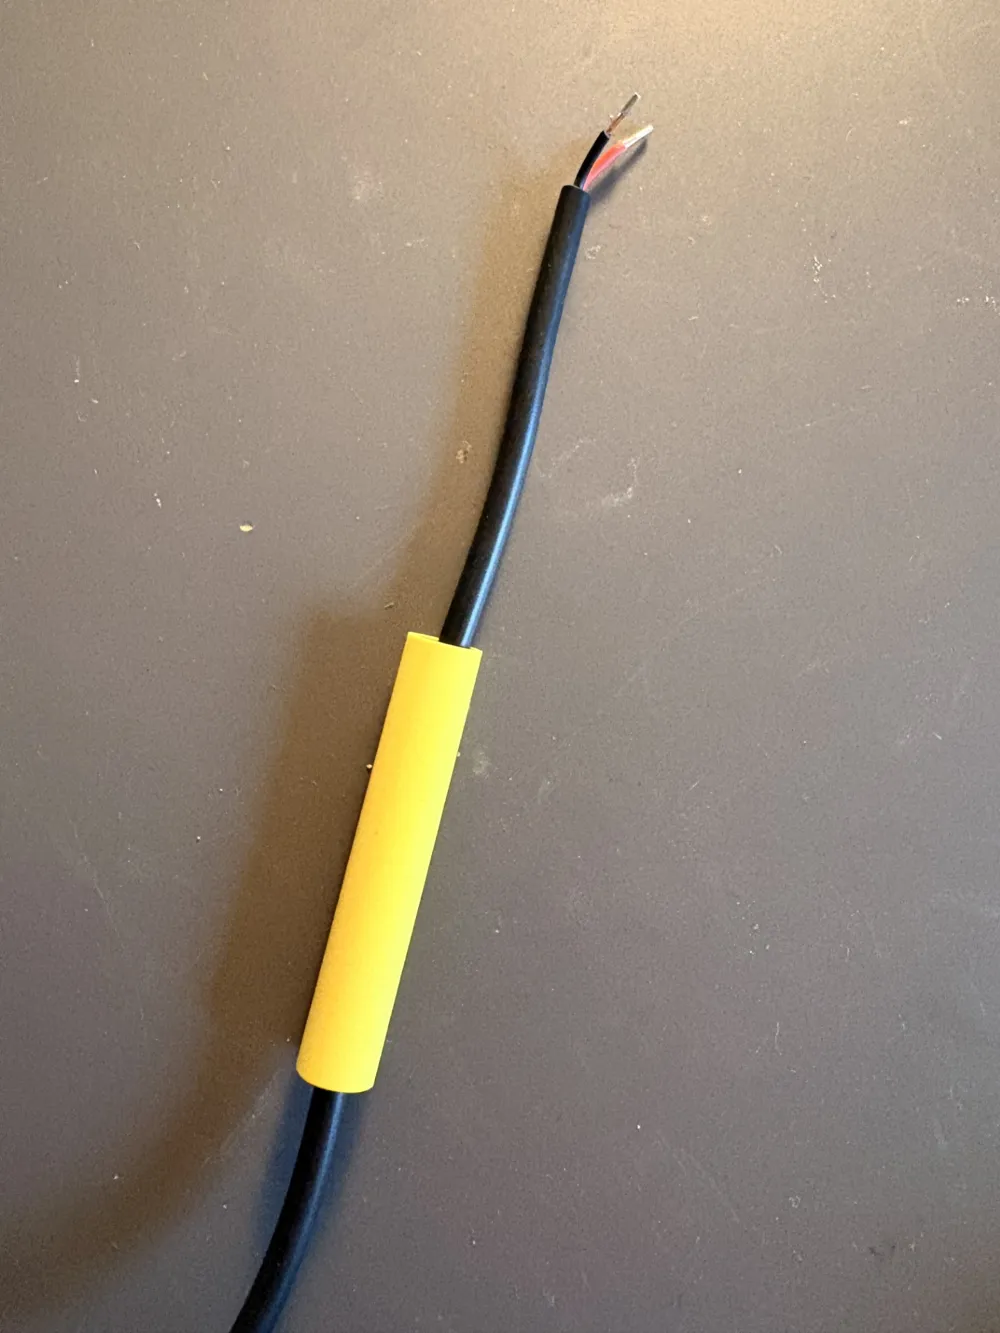
Slide the heat shrink tubing over the USB cable, but do not shrink it yet.
Step 3:
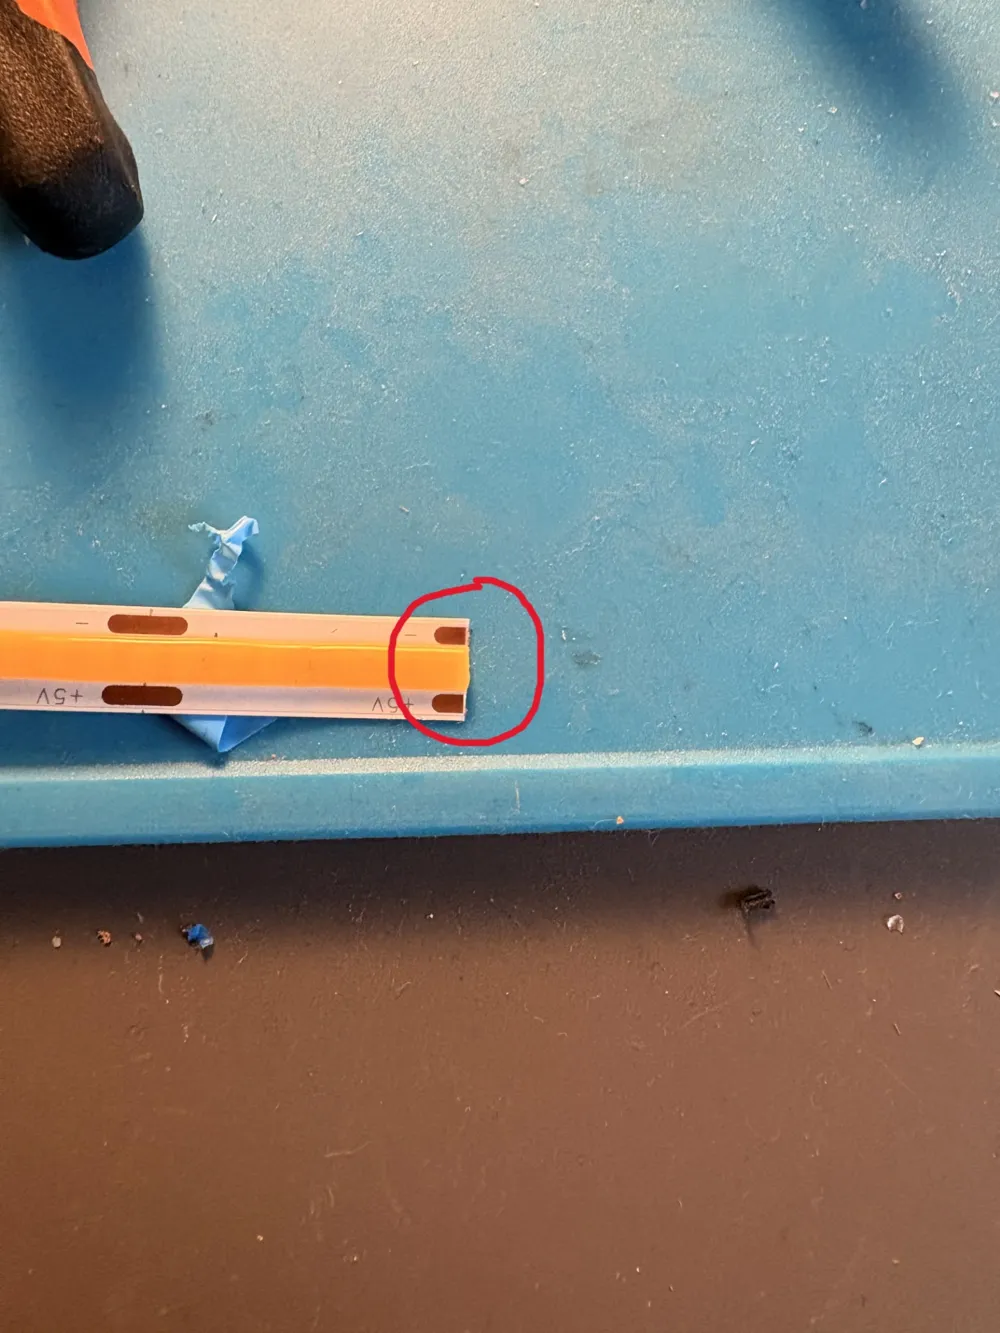
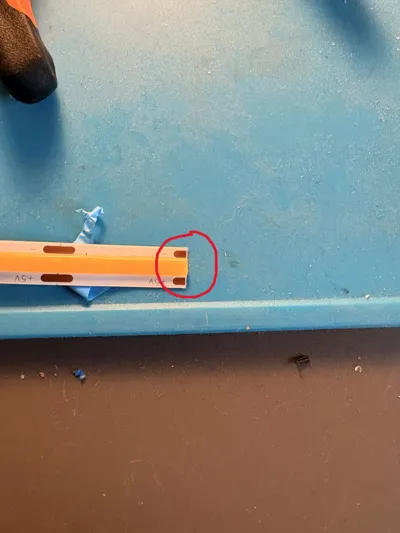
Pre-tin the wires and the LED strip contacts with solder.
Step 4:
Solder the connections – red wire to +, black wire to –.
Once soldered, slide the 1.5 cm heat shrink tubing over the joint and gently heat it to secure.
Step 5:
Test the LED strip to make sure it works properly (connect to a 5V phone charger or power bank).
Step 6:
Carefully place the LED strip inside the snowman outline and press it firmly in place.
Step 7:
Apply a thin line of super glue along the outer edges and gently press the front cover to close the lightbox.
💡 Tips
- Works perfectly with any USB power source (5V phone charger or power bank).
- Use warm white LEDs for a cozy glow, or change the color for a custom look.
- Ideal as a Christmas decoration, night light, or handmade gift.
- 🗨️ Feedback is always welcome! Your suggestions help improve future designs and builds.
⚠️ Safety Warning
This project involves soldering and working with electrical components.
- Always disconnect power before soldering.
- Use caution when handling a hot soldering iron or heat gun.
- Only use 5V USB power sources — do not connect to higher voltages.
- Keep away from moisture and indoor use only (PLA is not heat- or weather-resistant).
License

You shall not share, sub-license, sell, rent, host, transfer, or distribute in any way the digital or 3D printed versions of this object, nor any other derivative work of this object in its digital or physical format (including - but not limited to - remixes of this object, and hosting on other digital platforms). The objects may not be used without permission in any way whatsoever in which you charge money, or collect fees.


Comment & Rating (0)