
Poop Conveyor belt
Print Profile(1)

Bill of Materials

- https://www.digikey.com/en/products/detail/raspberry-pi/SC0917/16608257 x 1: raspberry pi Pico
- https://www.digikey.com/en/products/detail/sb-components-ltd/SKU21468/26694349 x 1: Pico Hat
- https://www.digikey.com/en/products/detail/olimex-ltd/SM-42HB34F08AB/21662229 x 1: Nema 17 STEP MOTOR
Description
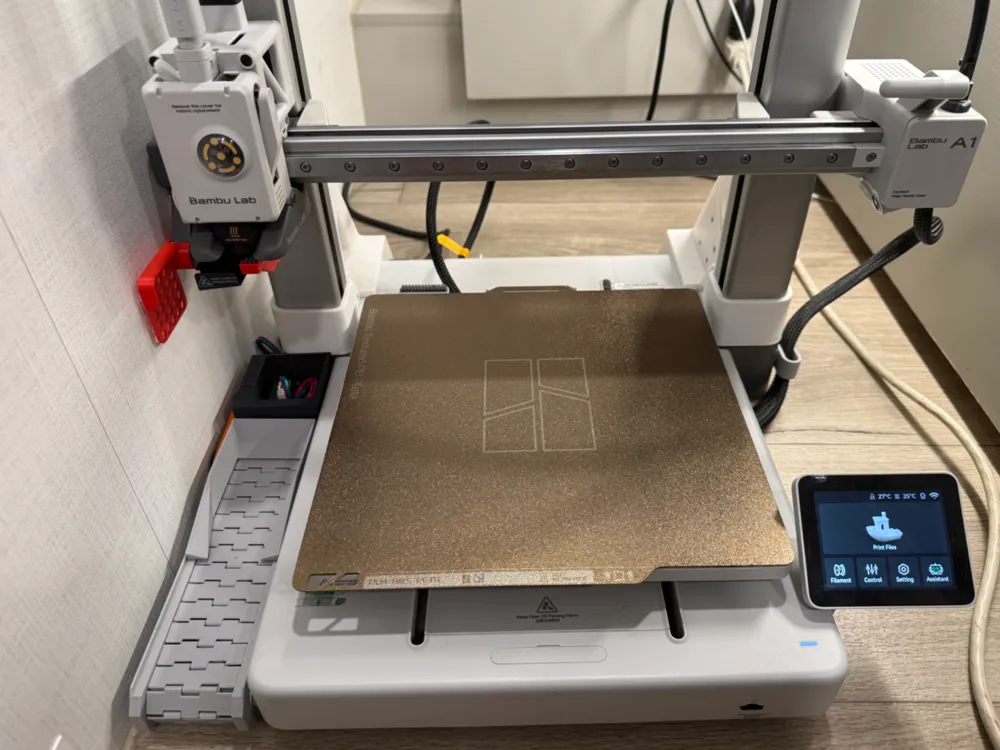
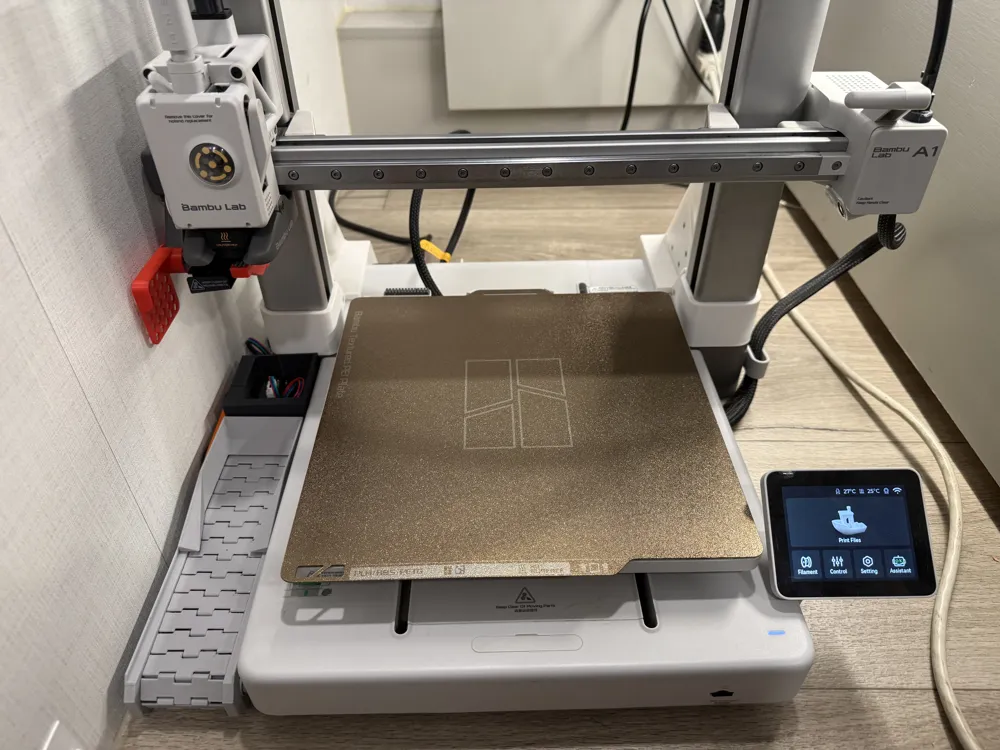
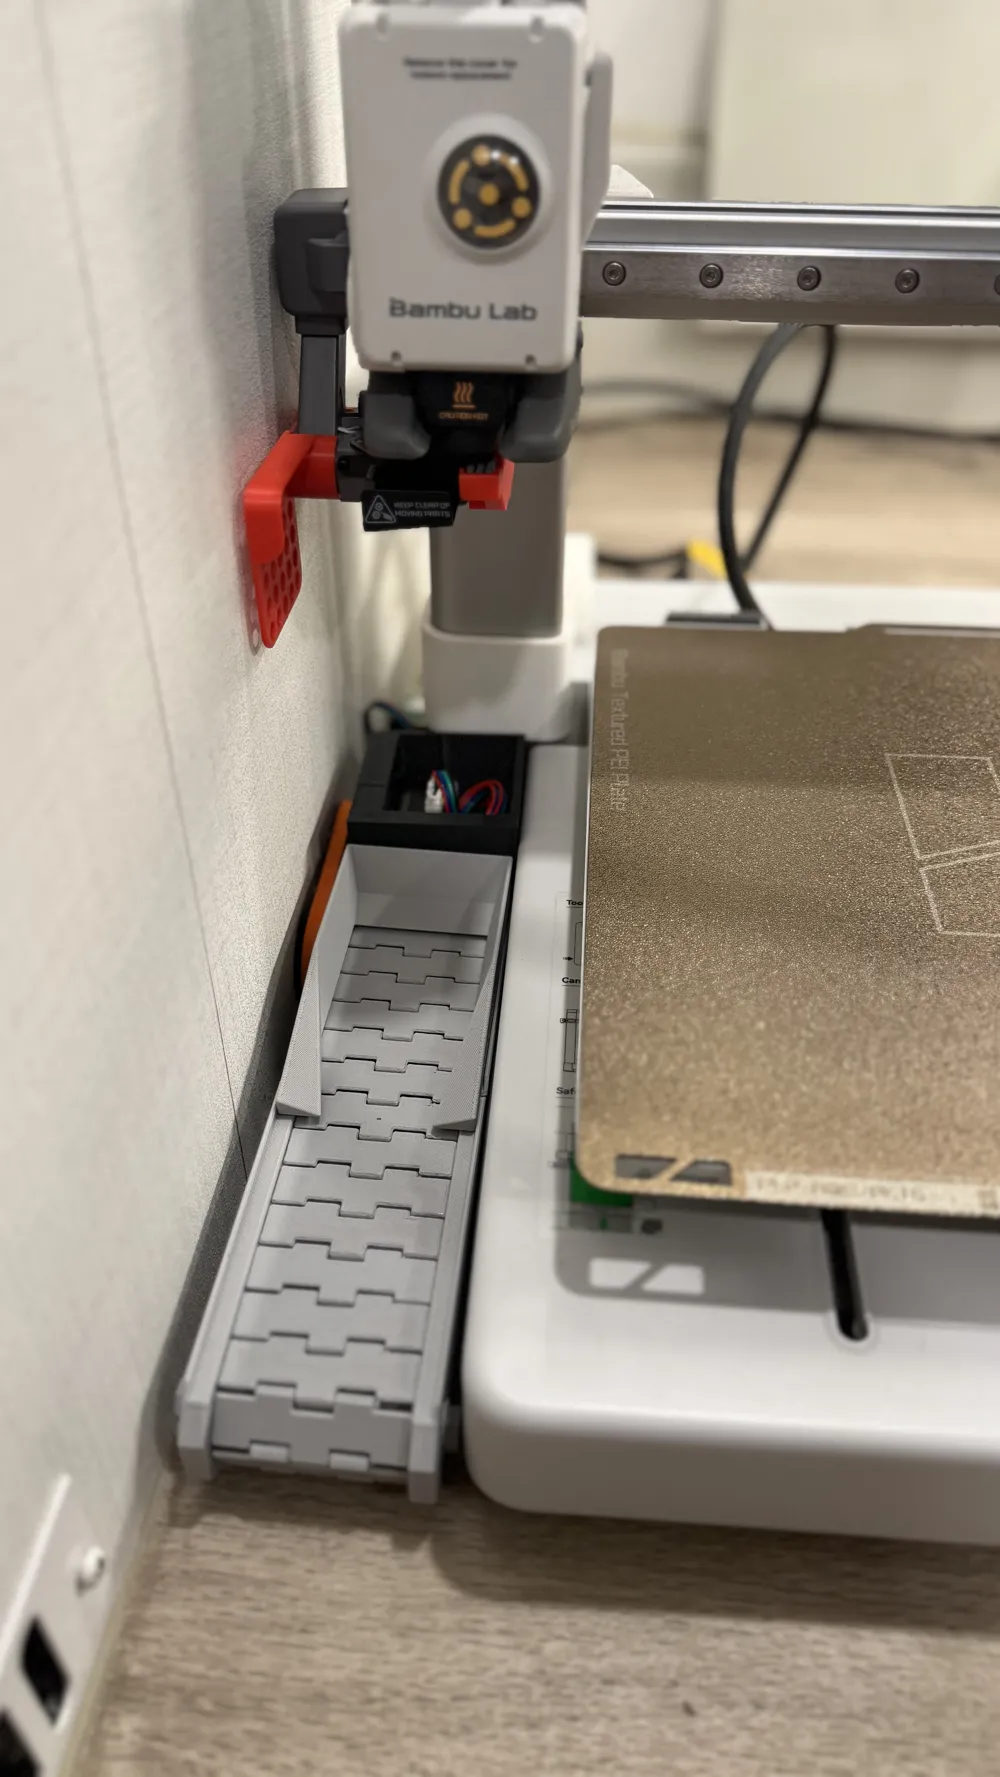
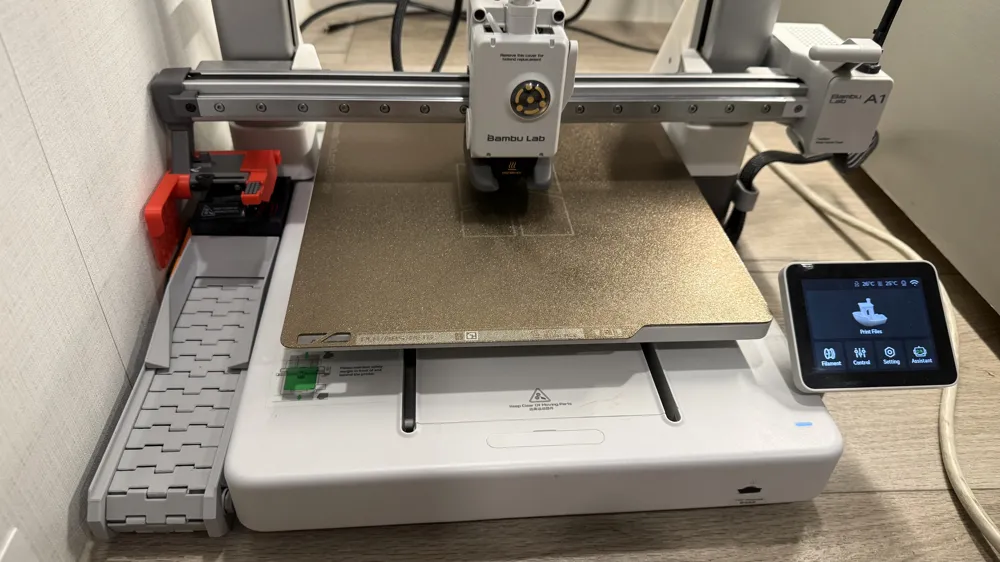
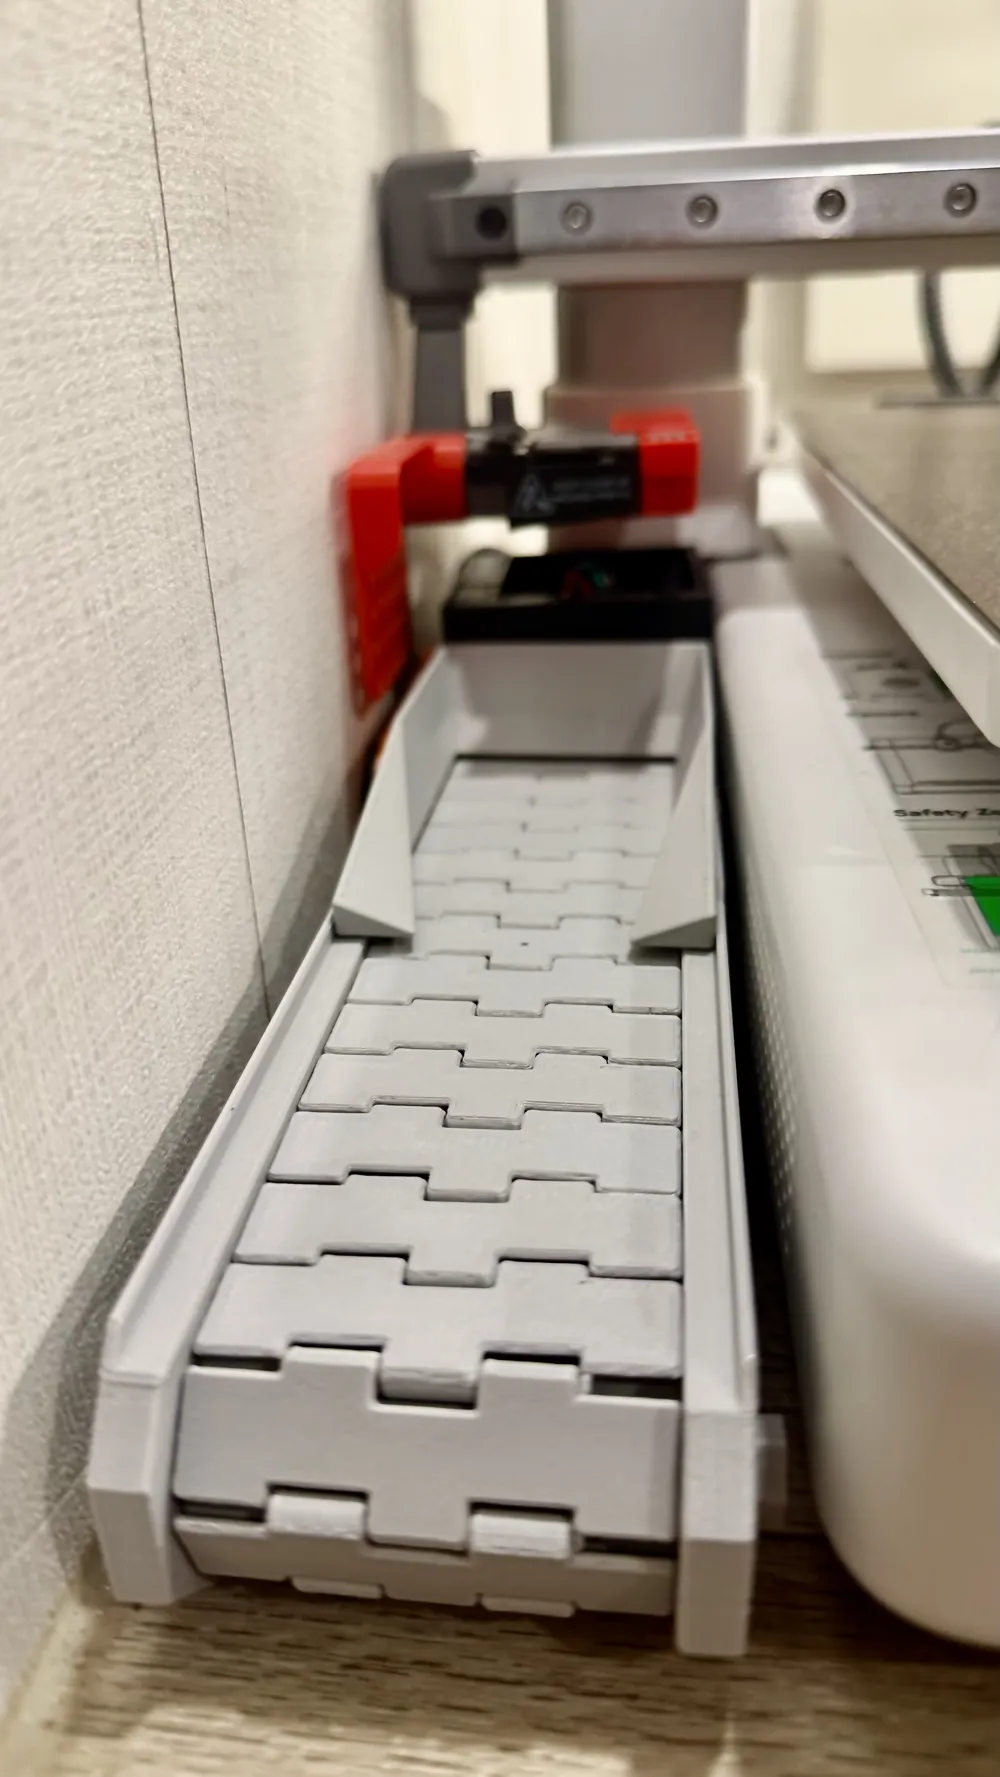
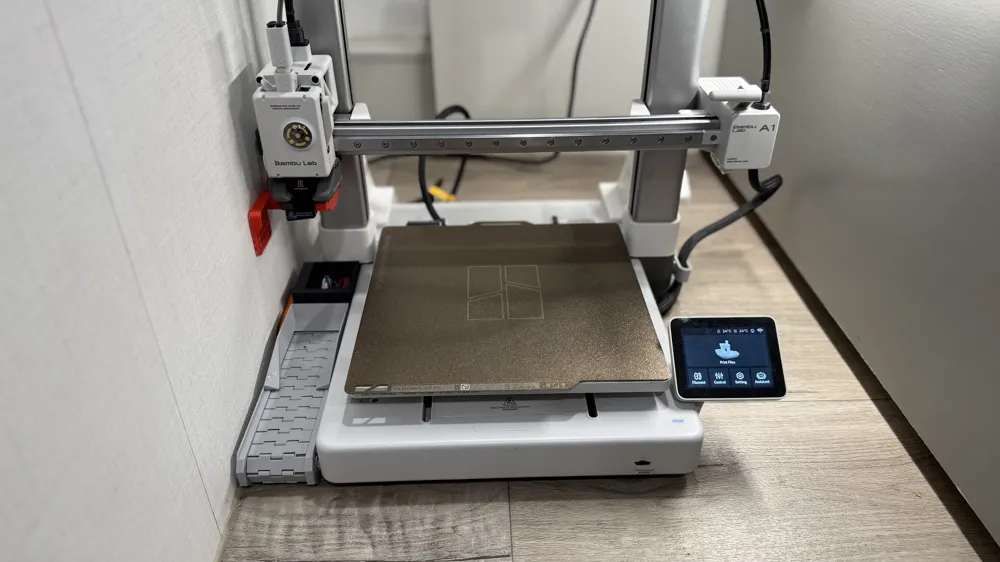
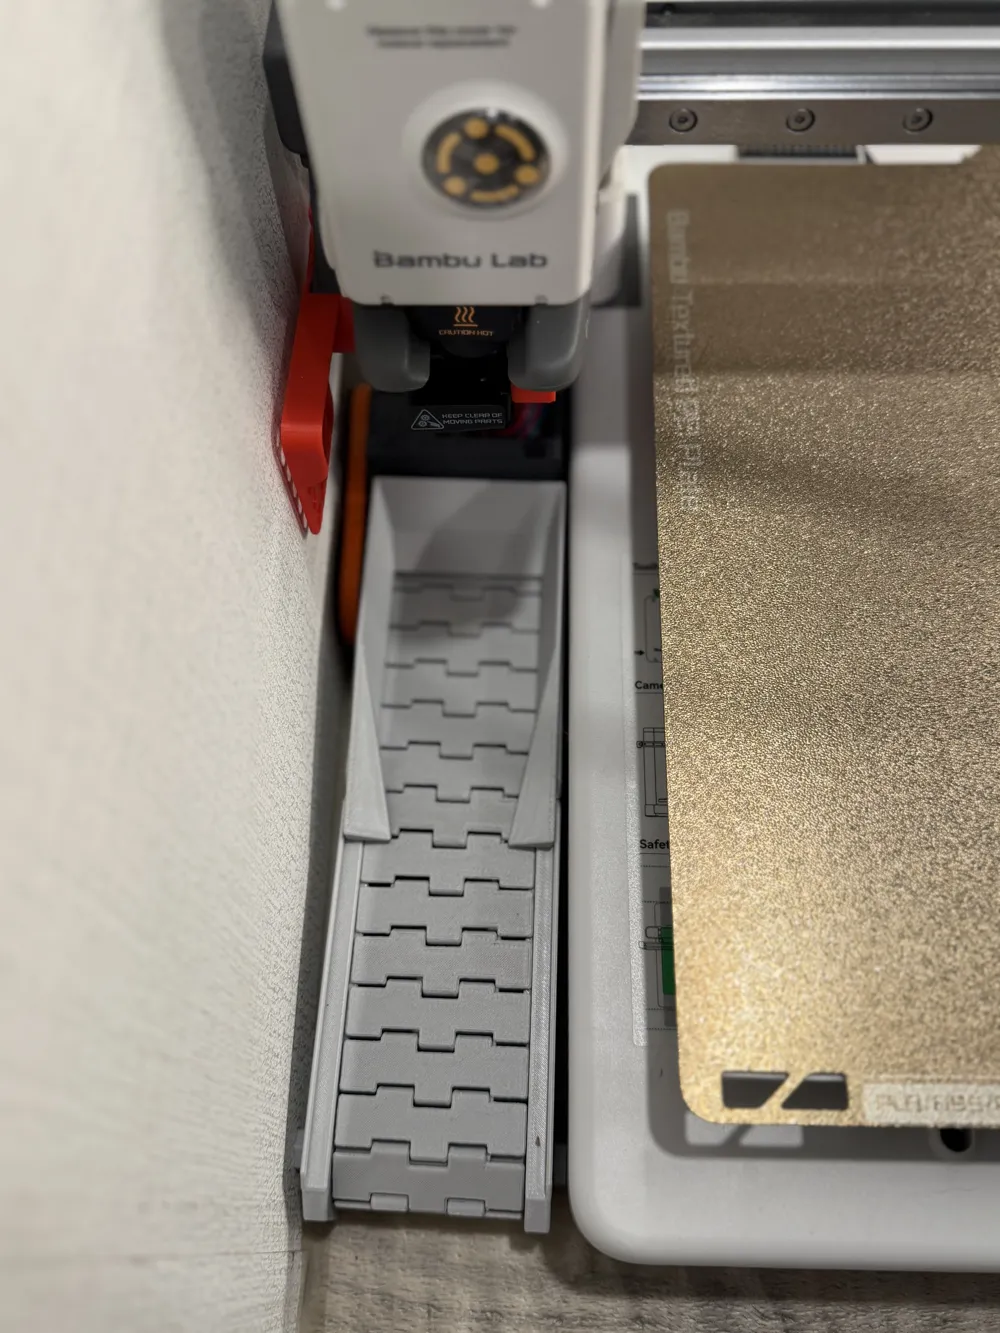
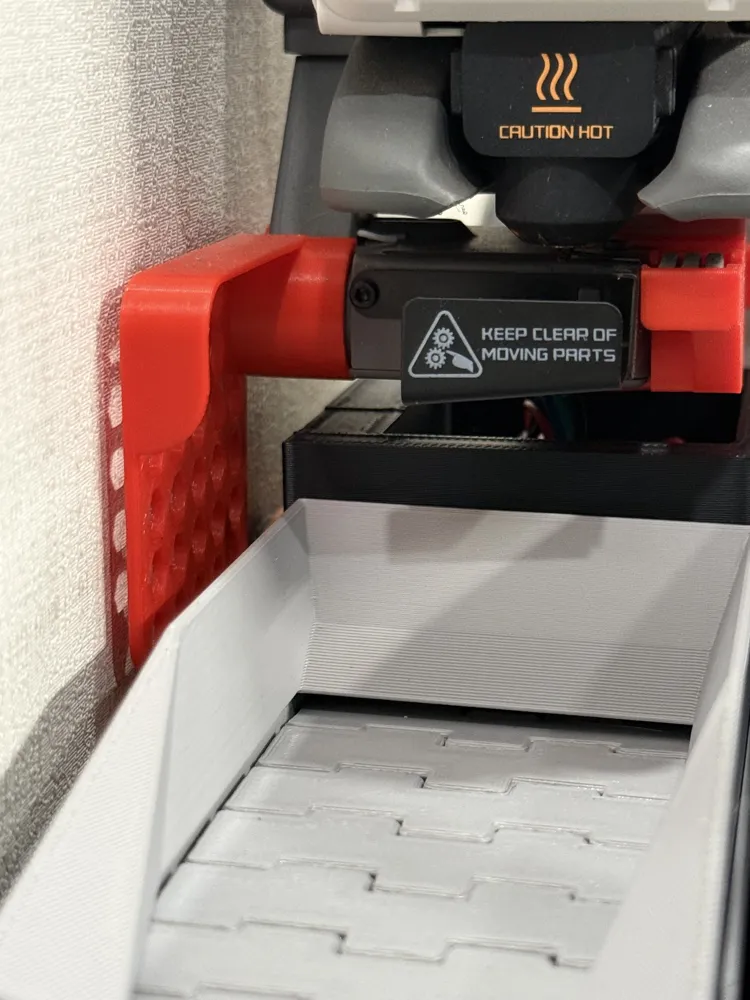
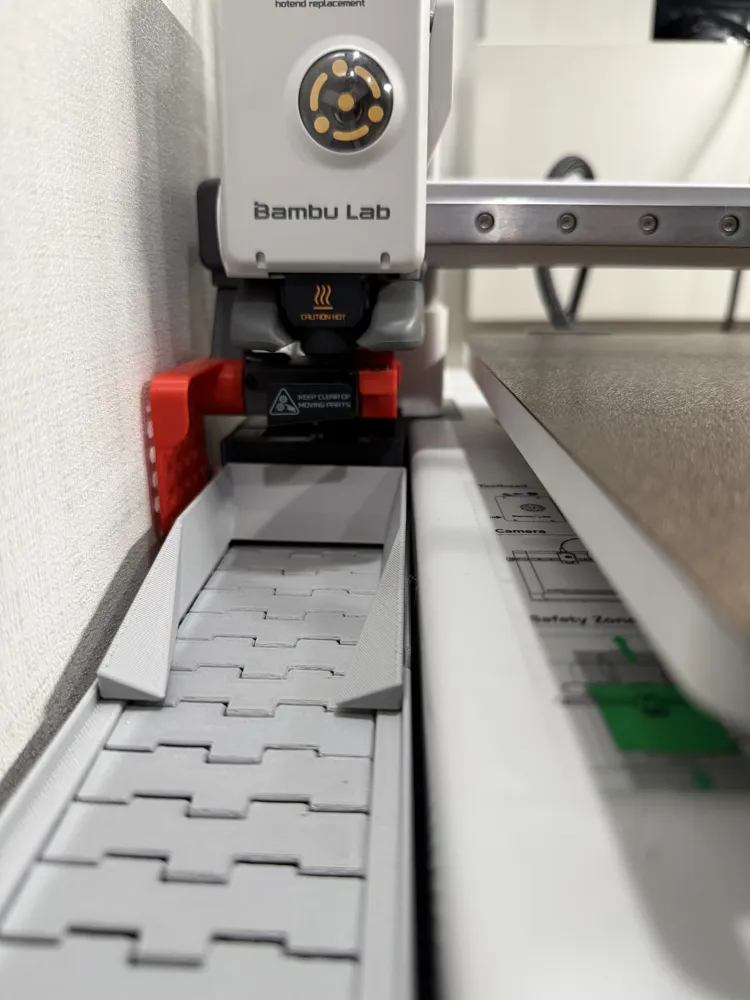
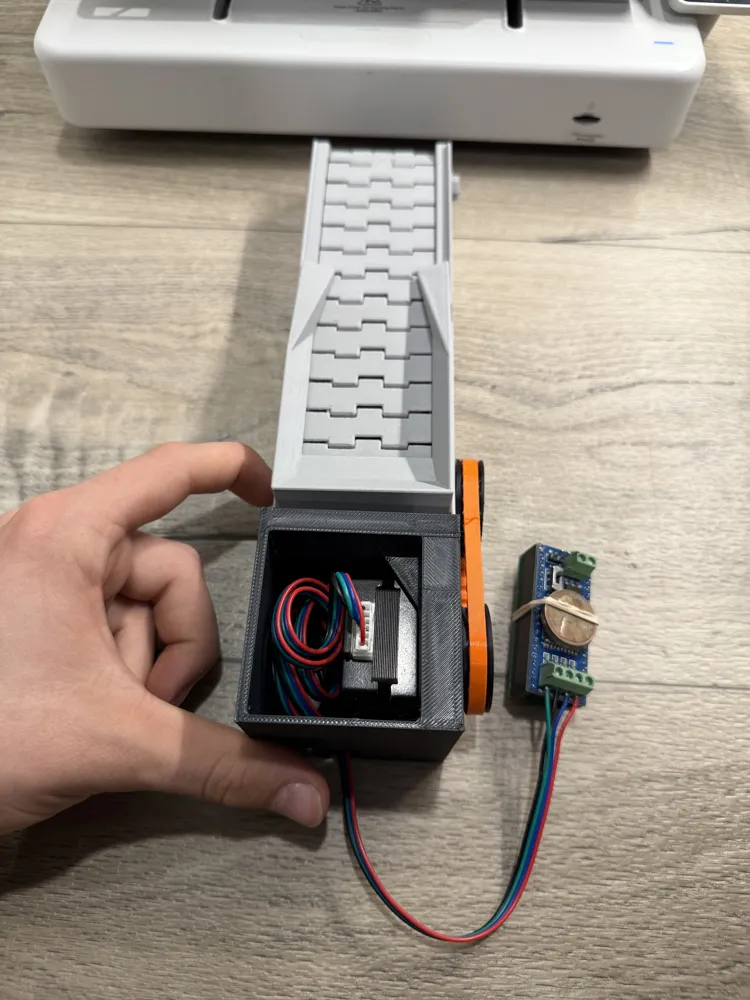
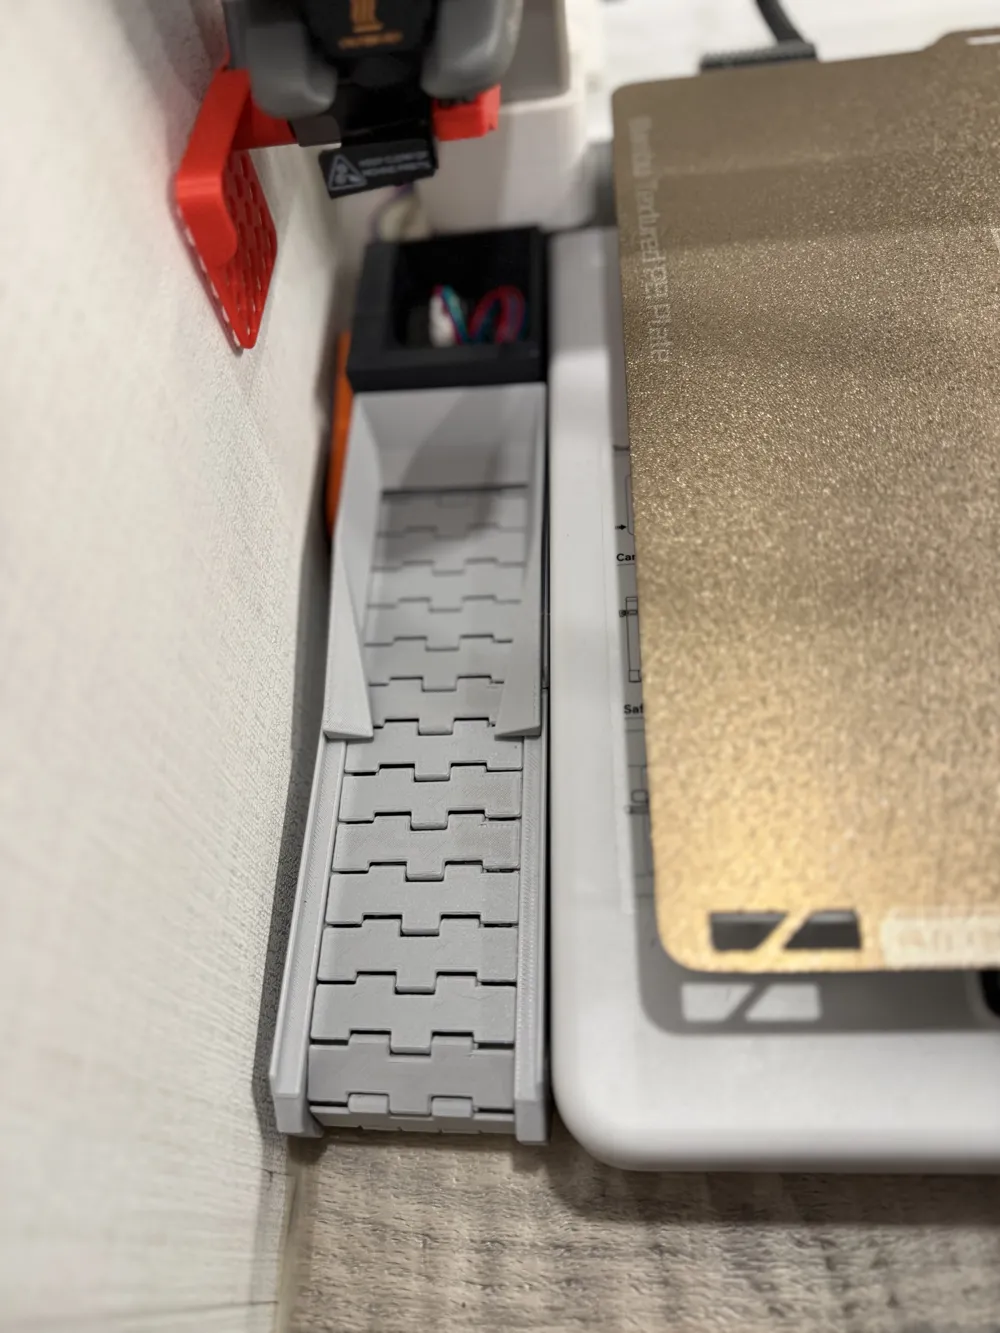
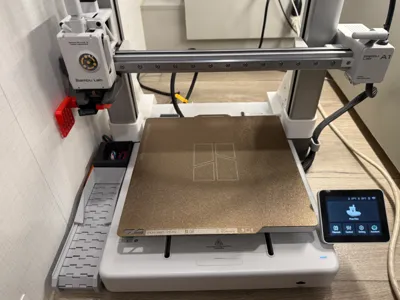
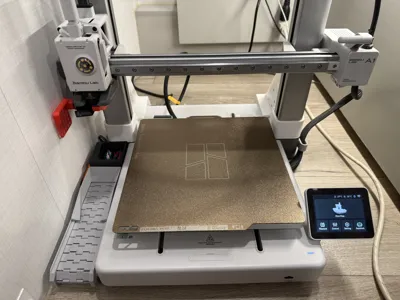
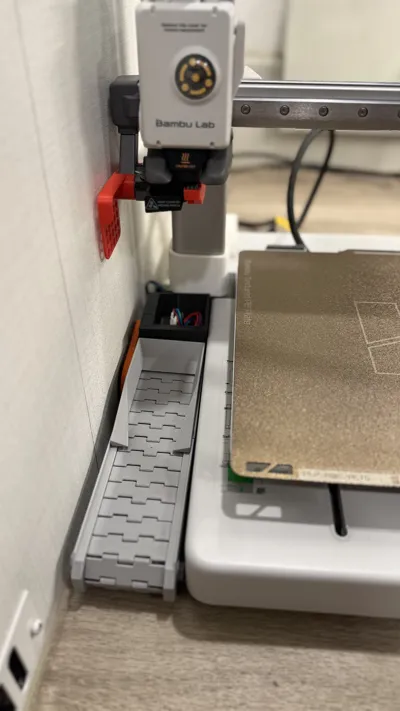
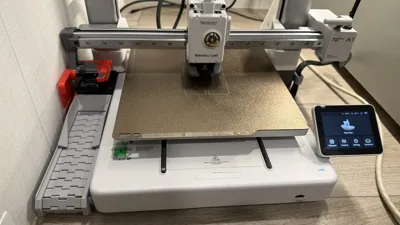
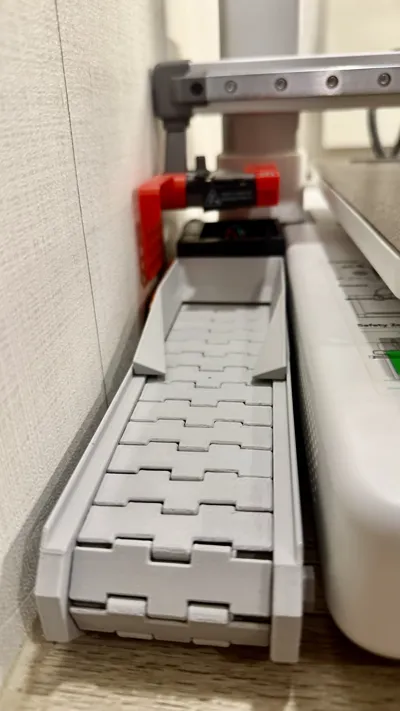
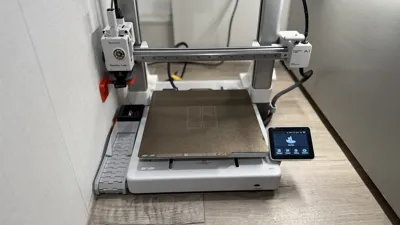
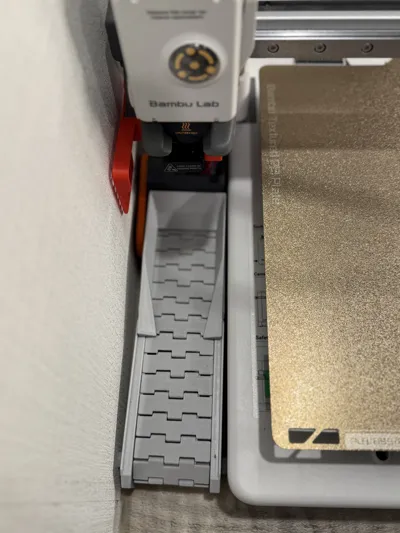
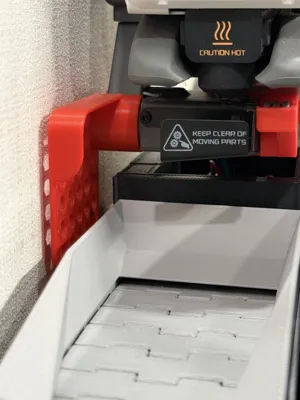
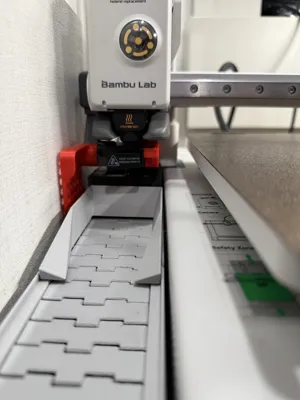
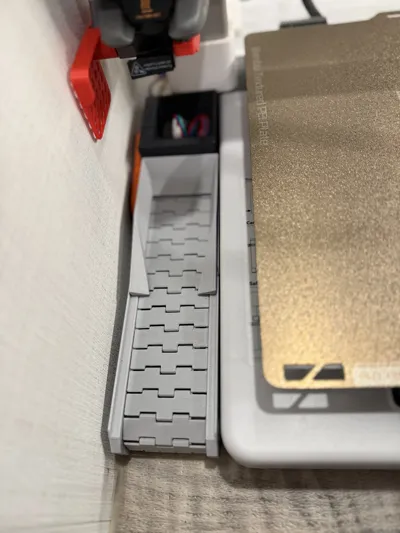
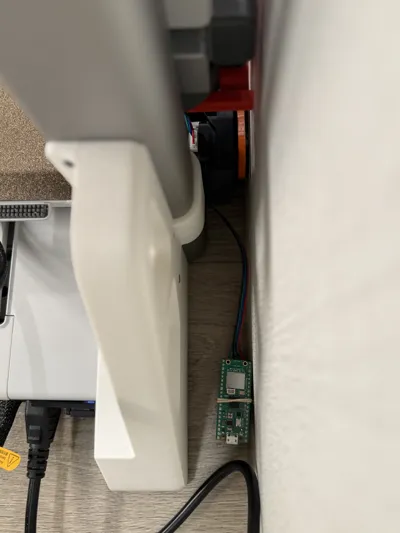
I really liked the idea of having a conveyor belt for my printer poop, but because of where I have my printer, I don’t have space for other designs I’ve seen, so I made this design. It is only 57.7 mm wide and fits perfectly beside the A1 and is no wider than the printer.
Item | Quantity | Notes |
| Conveyor housing (2 pieces) | 1 set | Interlocking halves |
| 90° elbow pieces | 2 | Insert into housing sides |
| Printed bearings | 4 | Press-fit into side holes |
| Shaft (long) | 1 | Rear drive shaft |
| Shaft (short) | 1 | Front shaft |
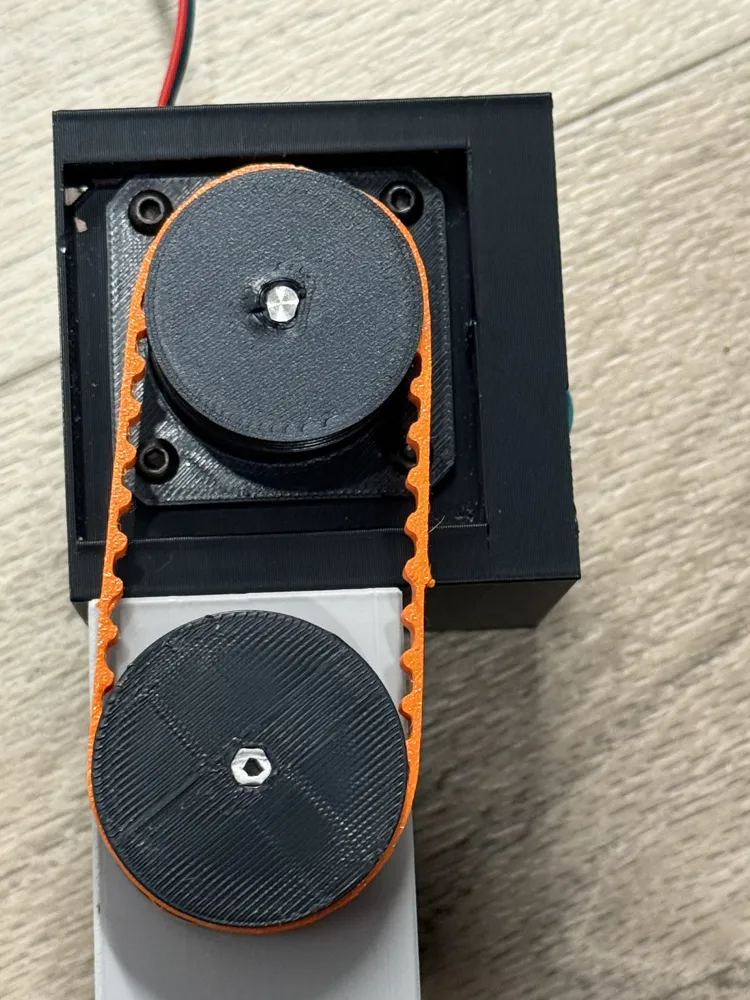
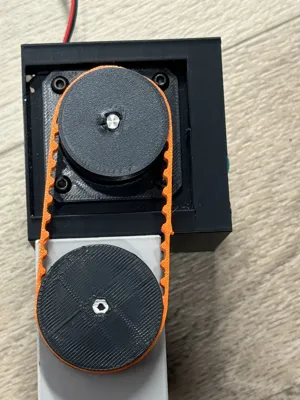
| Belt drive spindle | 1 | Attaches to rear shaft |
| Drive pulley | 1 | Mounted to rear side |
| Belt links | 32 | Only 31 required (1 spare) |
| End caps | 2 | Front of assembly |
| Spacer plate | 1 | Optional, for motor fit |
| Raspberry Pi Pico | 1 | Main controller |
| Pico Motor Driver HAT | 1 | Stepper driver |
| Stepper motor | 1 | NEMA 17 recommended |
| USB power cable | 1 | Power source |
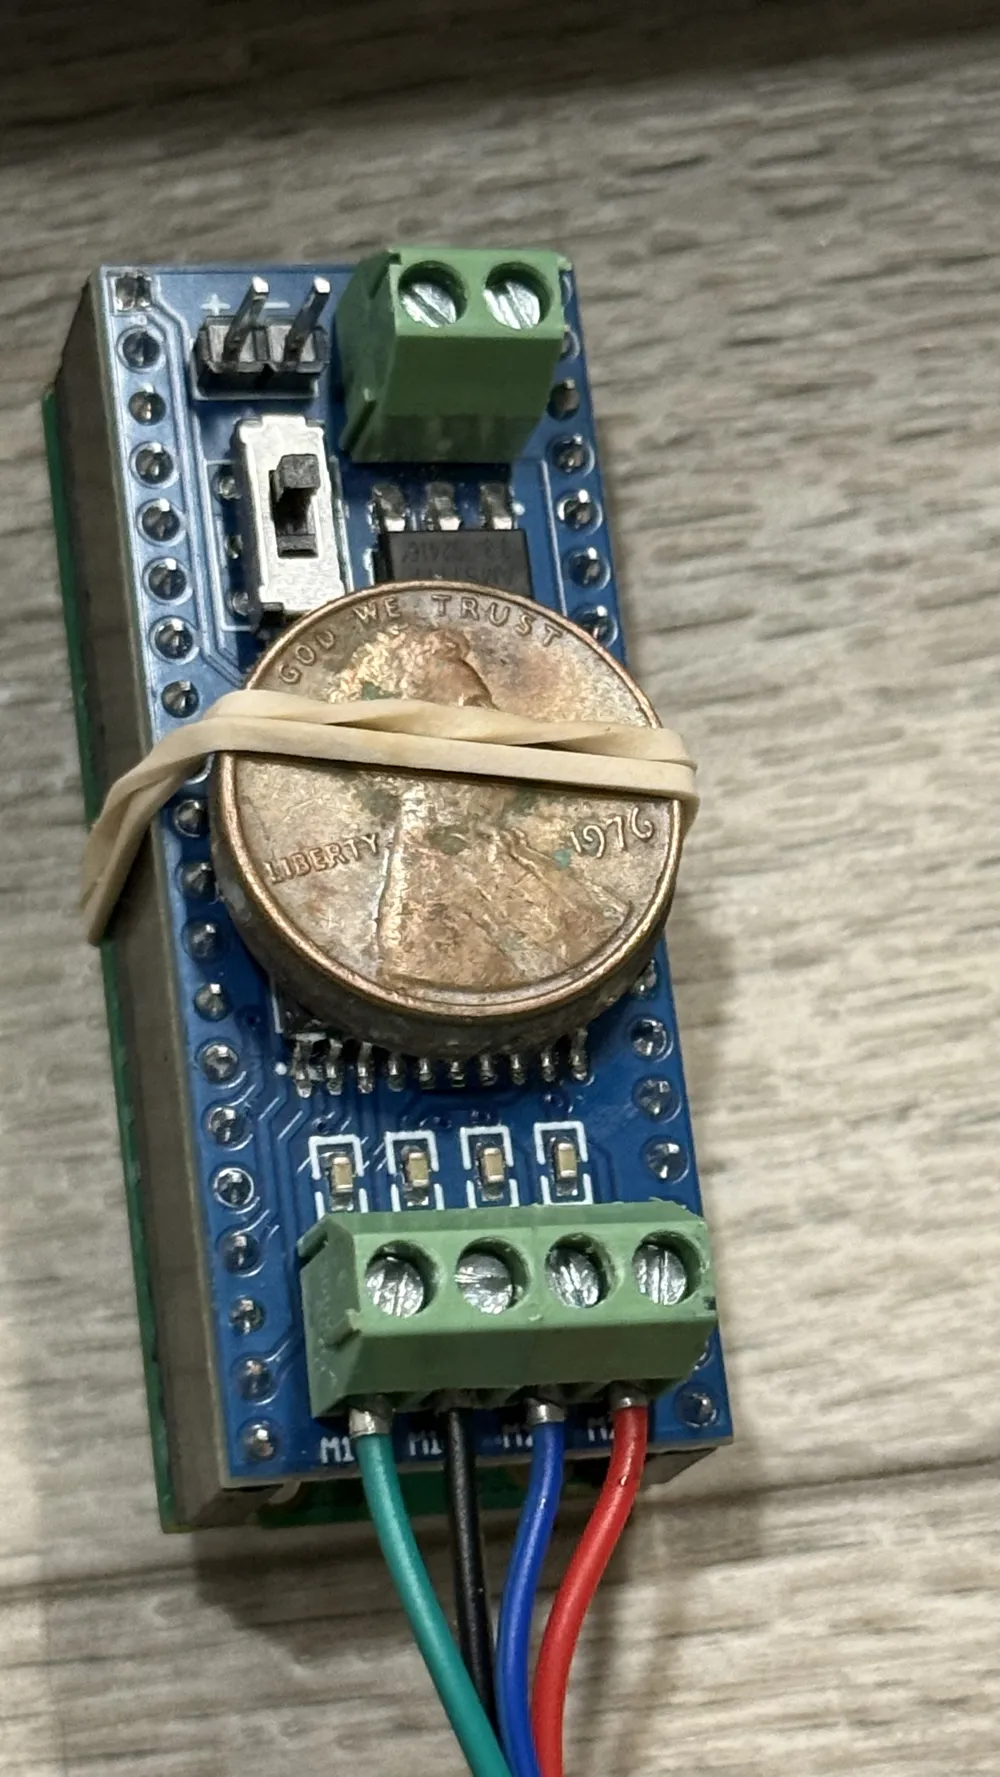
| 2x 1976 pennies (optional) | 2 | DIY heat sink |
| Toothpaste or thermal paste | — | For heat transfer |
🛠️ Assembly Guide
Join the Conveyor Housing
- Interlock the two housing halves.
- Insert the 90° elbow pieces into their side slots.
- For extra strength, secure joints with a small amount of hot glue if needed.
Bearings & Rear Shaft
- Press-fit the four printed bearings into the housing.
- Slide in the long rear shaft.
- Mount the belt drive spindle and attach the drive pulley to the outside end.
Build the Belt
- Print 32 belt links (you’ll use 31, plus 1 spare).
- Assemble using the pins and links.
- Wrap the belt around the rear drive shaft and over the front rollers.
Frame & Front Shaft
- Pull the housing together and insert the short front shaft.
- Secure with the two end caps.
Motor & Electronics
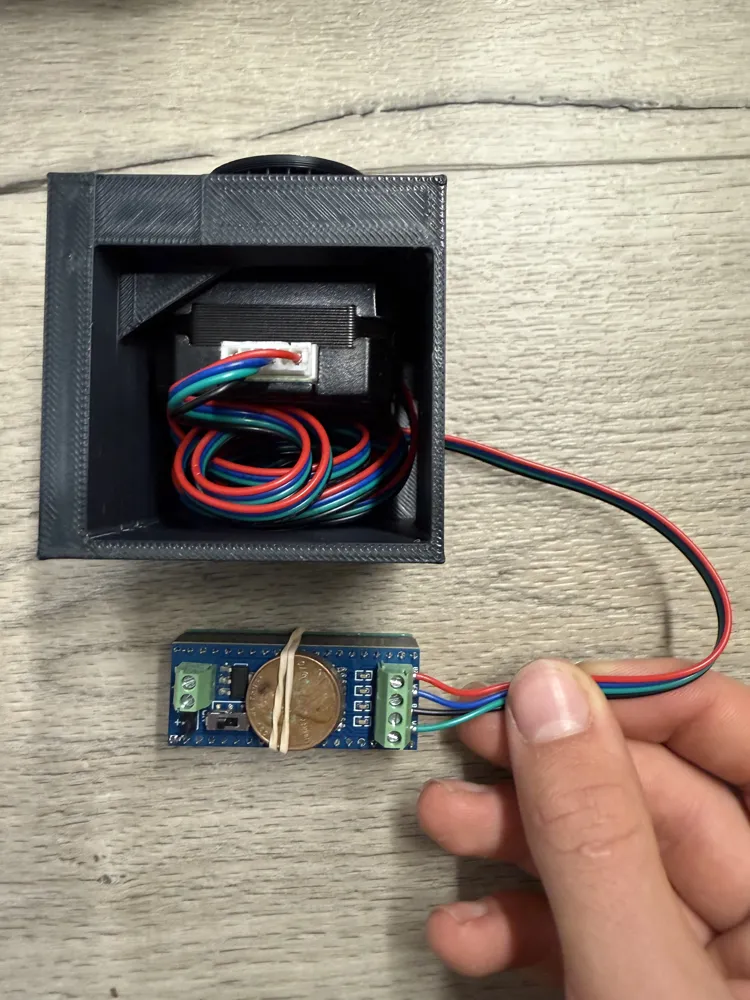
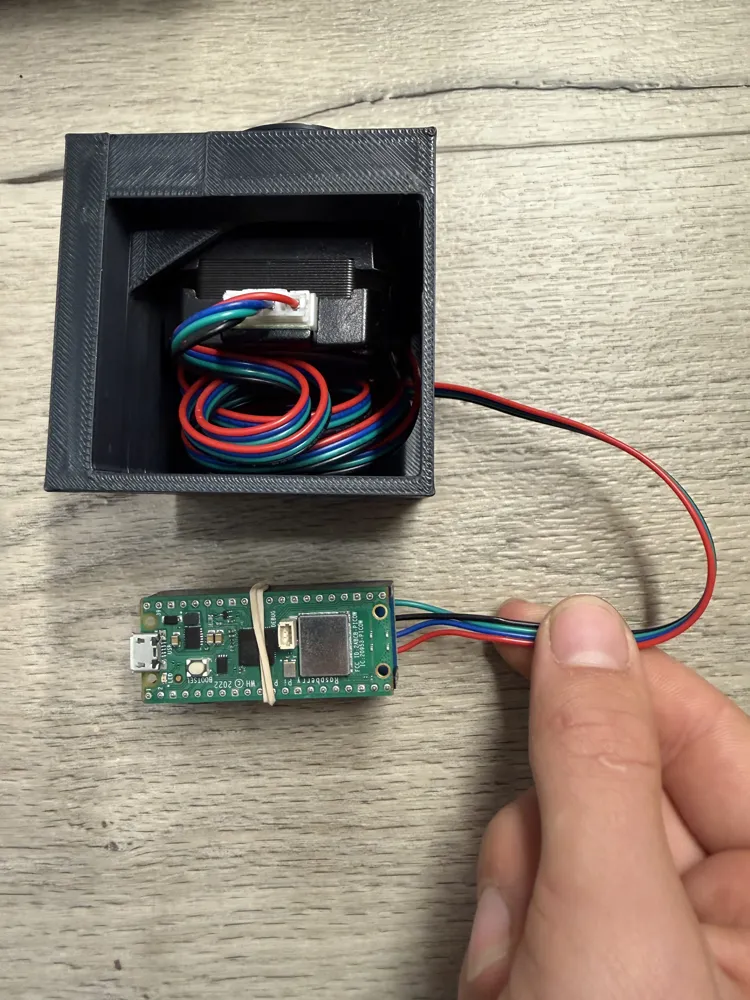
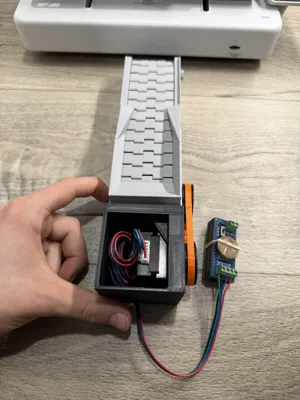
- Mount your stepper motor in the motor housing.
- Use the spacer plate if needed for a snug fit.
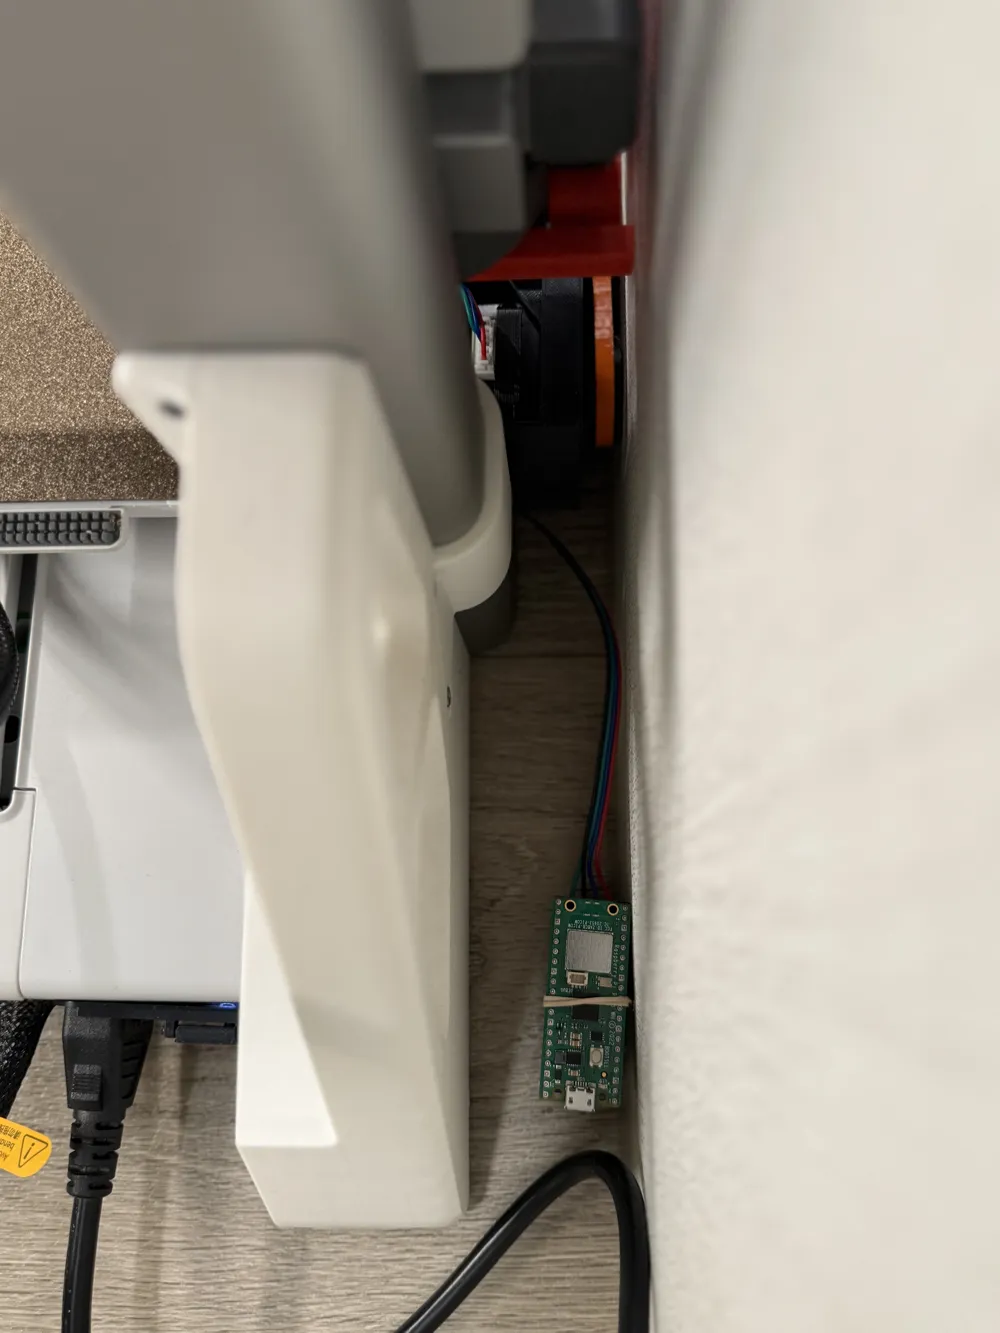
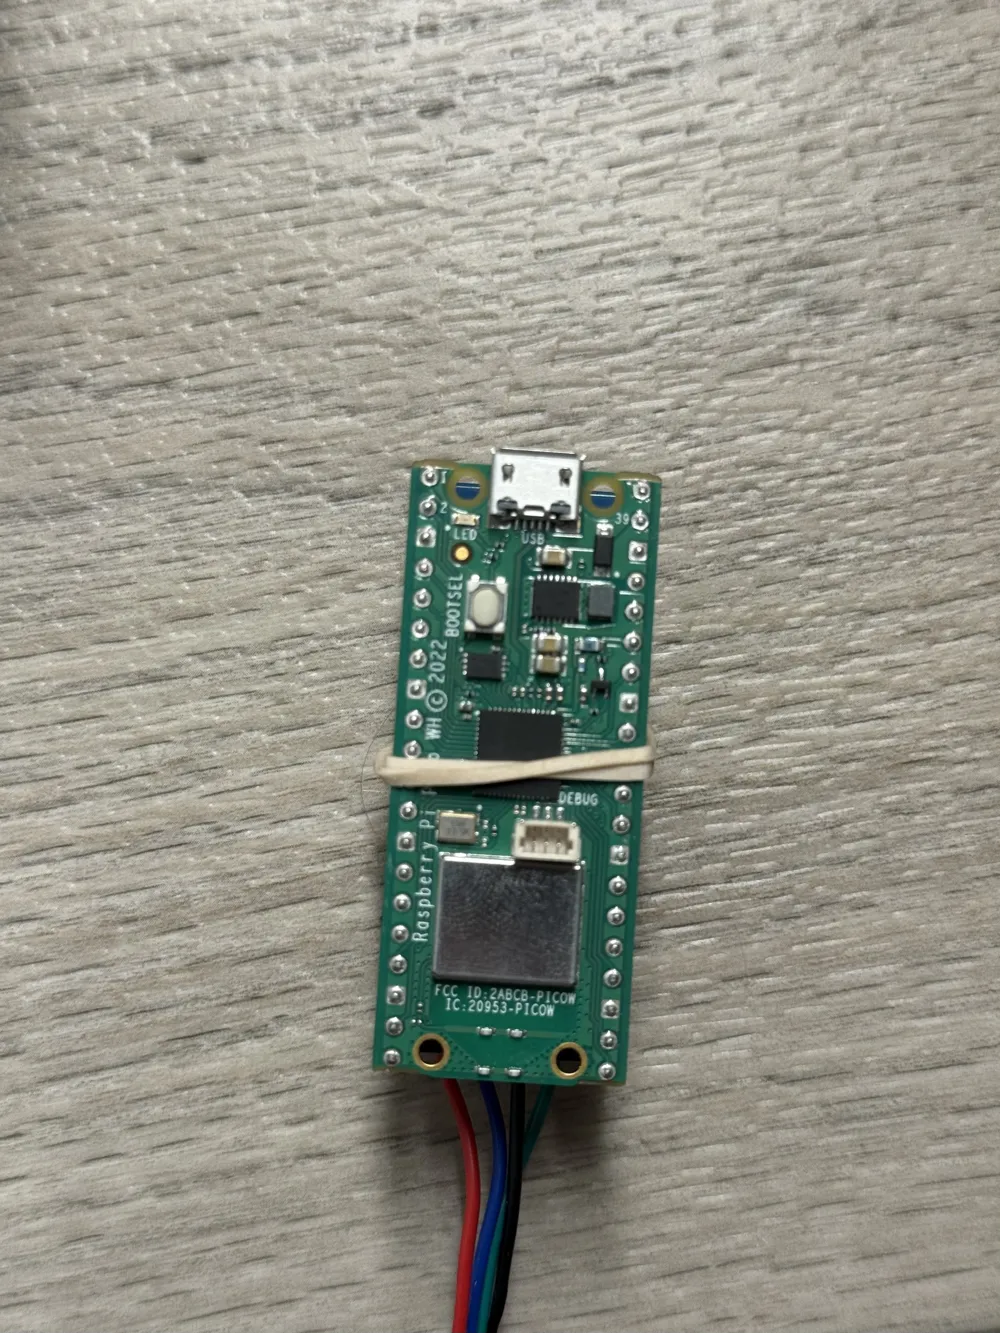
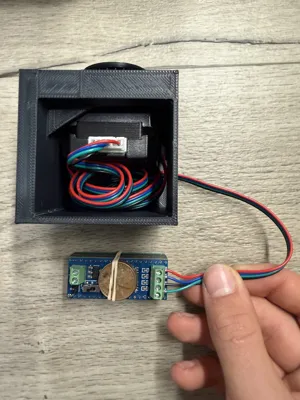
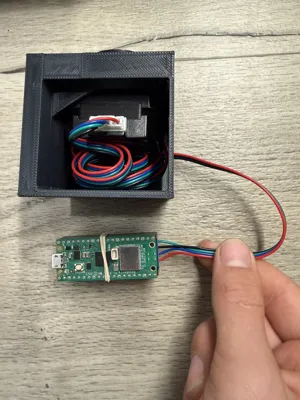
- Connect the motor to the Pico Motor Driver HAT, then stack it onto the Raspberry Pi Pico.
- Power via the Pico’s micro-USB port.
💡 Cooling Tip:
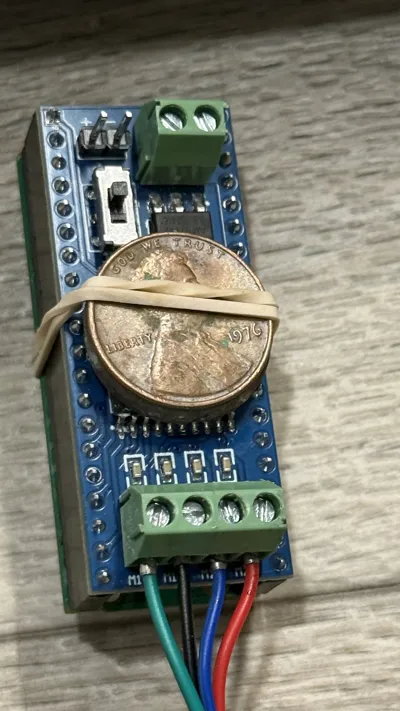
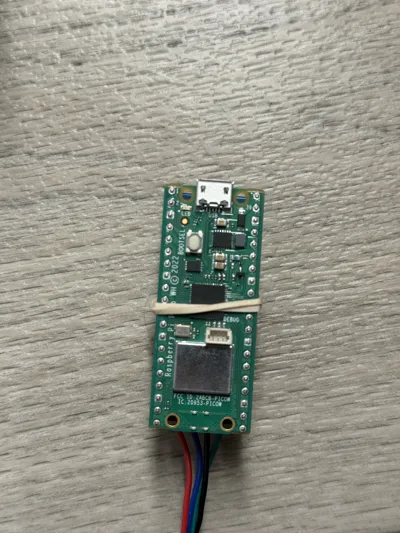
Apply a thin layer of thermal paste (or toothpaste if you don't have any) between two pennies. Use pennies made in or before 1976 as they conduct heat better being 95% copper and 5% zinc. Newer pennies are the opposite: 95% zinc and 5% copper.
Place them flat against the hat’s main chip and hold them in place with a rubber band.
It’s a quick, inexpensive DIY heatsink that works well for light-duty use.
The code runs it for 20 seconds every 30 minutes.
======================================
from machine import Pin
import time
# LED indicator
led = Pin("LED", Pin.OUT)
# Stepper driver pins (for Pico Motor Driver HAT)
M1E = Pin(17, Pin.OUT)
M1A = Pin(21, Pin.OUT)
M1B = Pin(20, Pin.OUT)
M2E = Pin(16, Pin.OUT)
M2A = Pin(19, Pin.OUT)
M2B = Pin(18, Pin.OUT)
# Enable both driver channels
M1E.value(1)
M2E.value(1)
# 8-step half-step sequence
steps = [
[1,0,1,0],
[1,0,1,1],
[0,0,1,1],
[0,1,1,1],
[0,1,0,1],
[0,1,0,0],
[1,1,0,0],
[1,1,1,0]
]
def setStep(p1, p2, p3, p4):
M1A.value(p1)
M1B.value(p2)
M2A.value(p3)
M2B.value(p4)
# Main loop — run forward then stop
while True:
for i in range(512): # one rotation (for 64:1 gearbox)
for step in steps:
setStep(*step)
led.toggle()
time.sleep(0.005) # 5 ms between steps → adjust for speed
print("Pause 30 minutes")
time.sleep(30*60)
======================================
Note: this design was based on “A1 Poop Conveyor” and used some parts from it. Credit to @nigeljohnson73l.
The drive system has been completely redesigned along with new code. I also added printed bearings and designed a motor housing and pins to hold the links together.
Boost Me (for free)
This is my first model and has taken over of 20 hours work if you like it please boost and like:)
This remix is based on


License



Comment & Rating (9)