Beginner-friendly Polymaker spool with built-in filament clips


Print Profile(1)

Description
Note: This spool is compatible with Polymaker cardboard filament spools, but not compatible with Bambu Lab filament, and I have not tested compatibility with other brands.
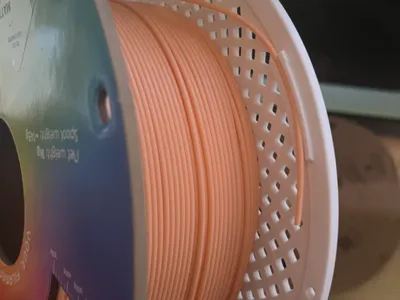
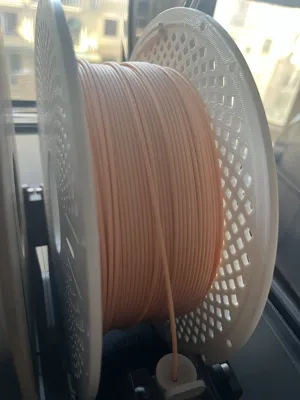
I bought a lot of Polymaker cardboard filament during a sale, and after opening less than 10 spools, 2 of them couldn't be loaded into the AMS due to bumps. Moreover, Polymaker's cardboard spools are not recyclable, and it's troublesome to remove and reuse the filament clips on them, so I modified a Bambu Lab spool model to fit Polymaker spools and added four filament clips.
Thanks to the original author for sharing the model file.
Modified from this model: 200MM - Spool from ZENMOKE MakerWorld: Free 3D Models, Compared to the original model:
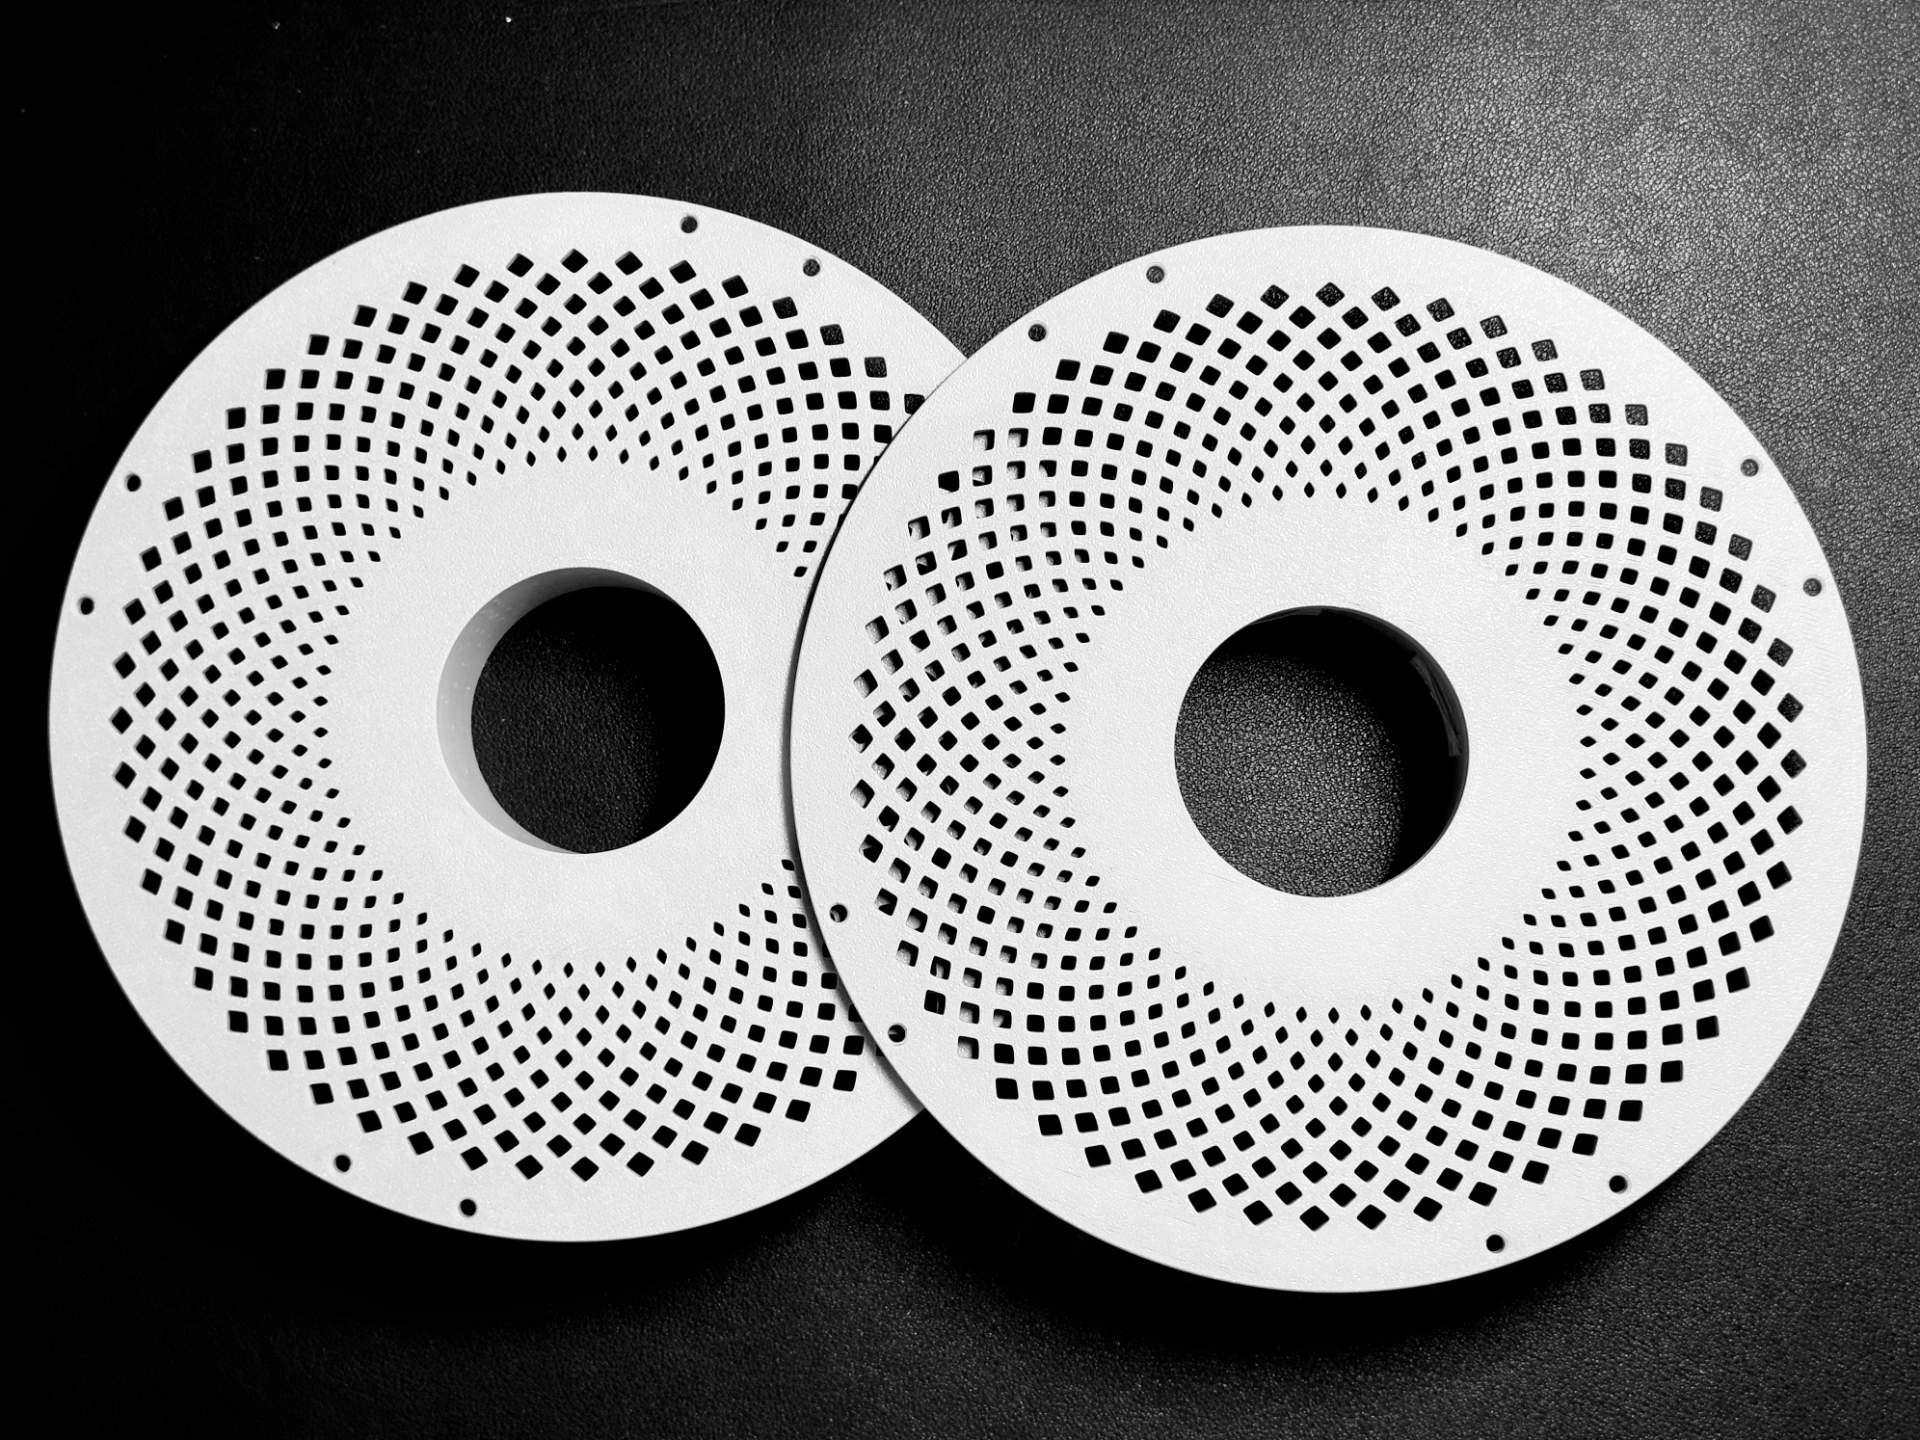
- Added four filament clips, the added filament clips have been tested and do not affect the normal use of AMS2 Pro and AMS, nor do they affect the drying function of AMS2 Pro.
- Adjusted spool dimensions to fit Polymaker filament.
- The original model's hole positions were not removed. You can add more filament clips as needed.
- Total weight approximately 222g
The original model compared to the factory spool:
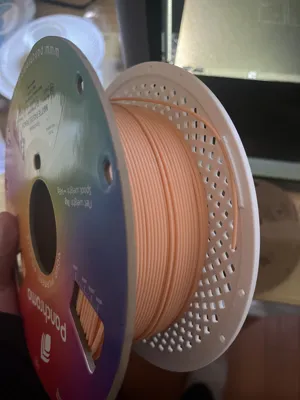
- Slotted at the label position, to more intuitively see the scale and remaining filament.
- Can be printed in different colors, for example, use a black spool for PLA filament, a white one for PETG filament, this allows for a more intuitive distinction between materials and you don't have to worry about mixing up materials during drying.
I tested it with Polymaker's PETG HF material, other brands or materials may require fine-tuning the size of the filament clips.
For diskless filament usage, please refer to Bambu Lab Academy - Course Chapters | Bambu Lab CN :
- Unpack the filament, install plate A onto the filament spool, ensuring the protrusion on the spool aligns with the groove on the plate. Press the filament so that it fits snugly against the plate.
- Install plate B onto the spool, press plate B and rotate clockwise until the spool plates lock together.
- Tear off the filament's protective tape and pull it out to start printing.
- When drying or storing filament, pull out the filament end and insert it into the nearest filament clip.
For cardboard filament spools, you need to forcefully tear off one side of the cardboard spool, observe the spool after tearing it open, if the indentation is on this side, install plate A and align the spool's protrusion with the indentation. Be careful not to let the filament unravel when tearing open the cardboard spool.

After installing one spool plate and pressing it snugly, install the other spool plate in the same way, a clear click will be heard when the spool plates lock together.
Tips for beginners:
- When removing after printing, take out the spool and build plate together, after cooling, gently bend the build plate to remove the spool.
- Some high-temperature filaments (such as Bambu Lab PPS-CF, ABS, TPU) have a higher drying temperature, sometimes exceeding 100°C. If this material cannot be used up in one go and requires drying, you need to ensure that the heat deflection temperature of the spool material is higher than the drying temperature.
- If the filament's protective tape has been removed, be sure to secure the filament when changing spools, if the filament gets tangled, you might have to cut off a long section or even re-spool it.
- Except for emergency use, it is not recommended to print spools using PLA.
Comment & Rating (0)