
Cryptex
Print Profile(3)





Description
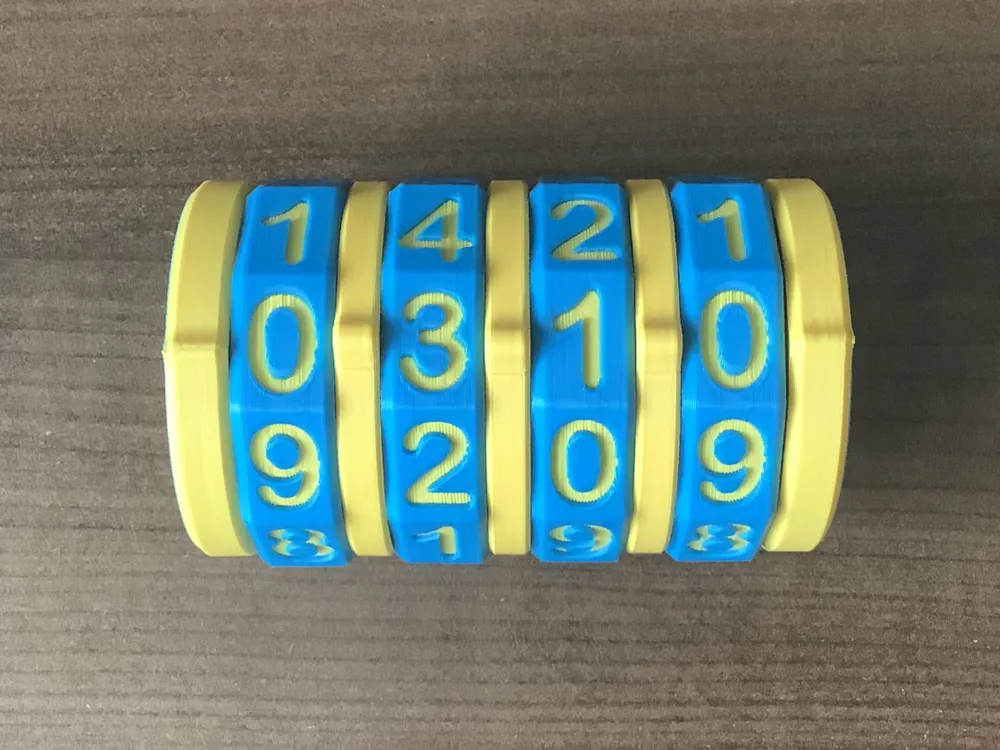
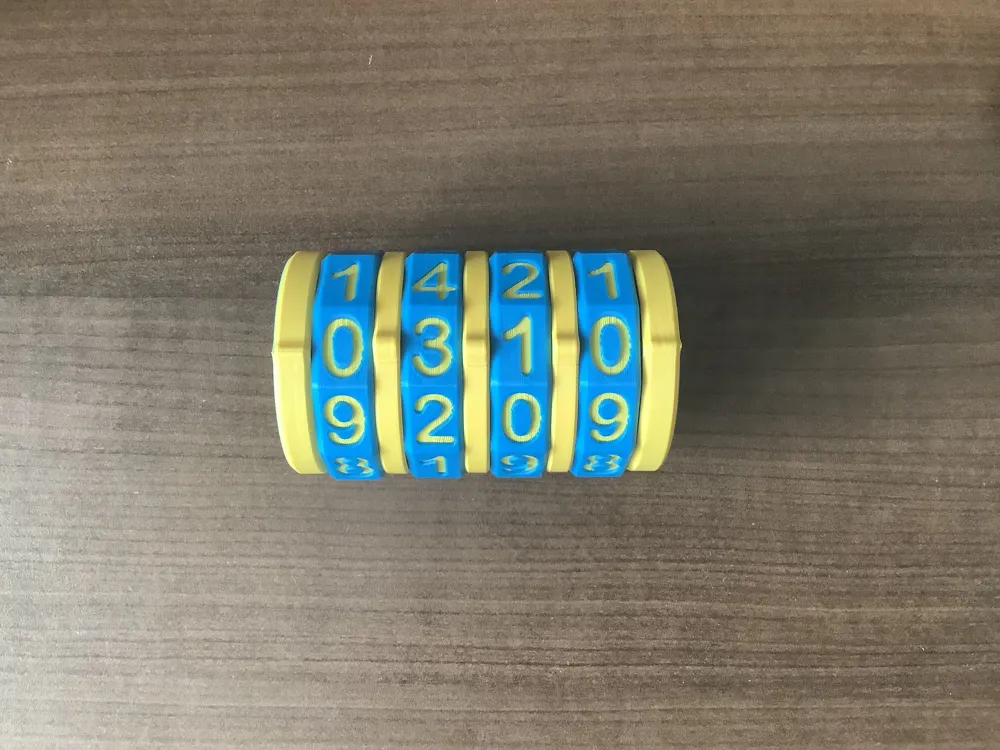
PLEASE NOTE: PICTURES SHOW VERSION WITH GRAPHICS. THIS FILE DOES NOT CONTAIN GRAPHICS ON BOTH ENDS.
I have provided spacers with larger inner diameters for those who feel their Cryptex fit is too tight.
All parts made from scratch. I spent many hours perfecting this.
It takes a 4 digit combination, which you can set yourself.
Assembly instructions:
1-Insert the locking ring inside the number ring with the opening facing the desired number. Ensure it is seated correctly.
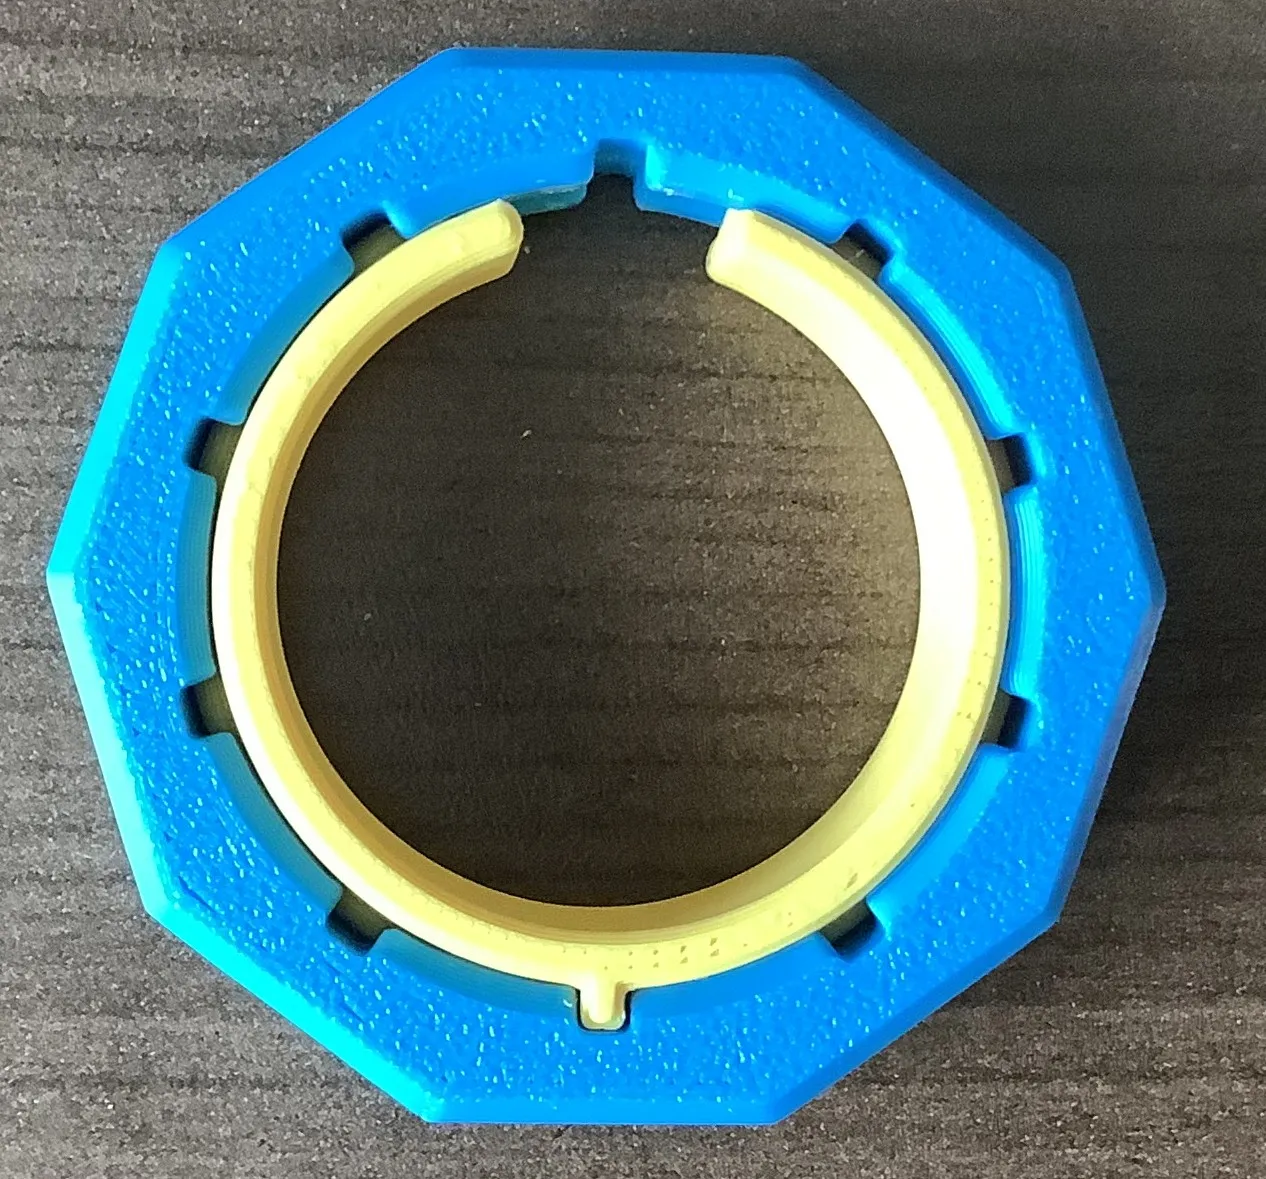
2- Place number ring onto outer shaft. Align the opening with the tab on the shaft to make it easier to install. Push down to the bottom.
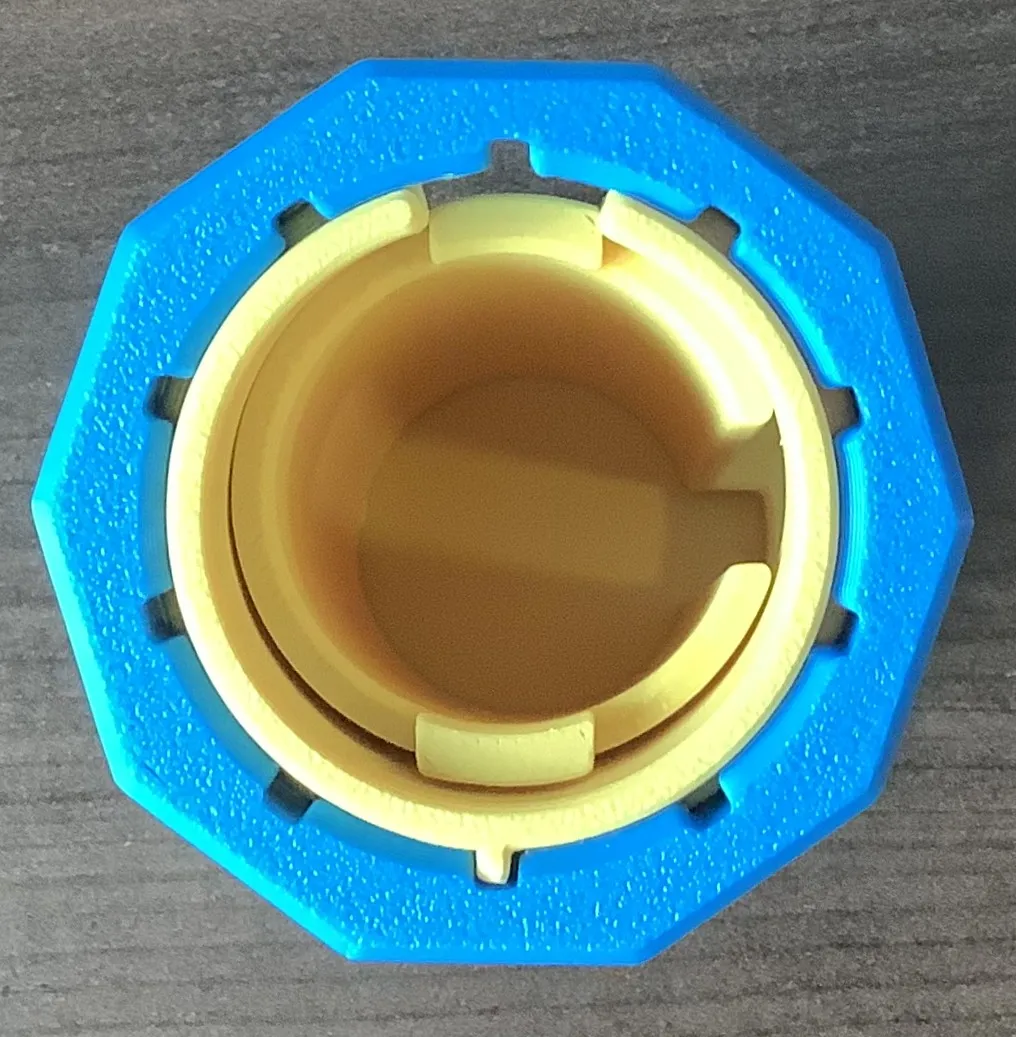
3- Place spacer ring onto shaft as shown. Please note the spacer ring has a flat edge, position it as shown. When in place, rotate ring 90 degrees clockwise to ensure its flat edge mates with the flat edge on the shaft. The slot in the spacer ring should now align with the slot in the outer shaft.
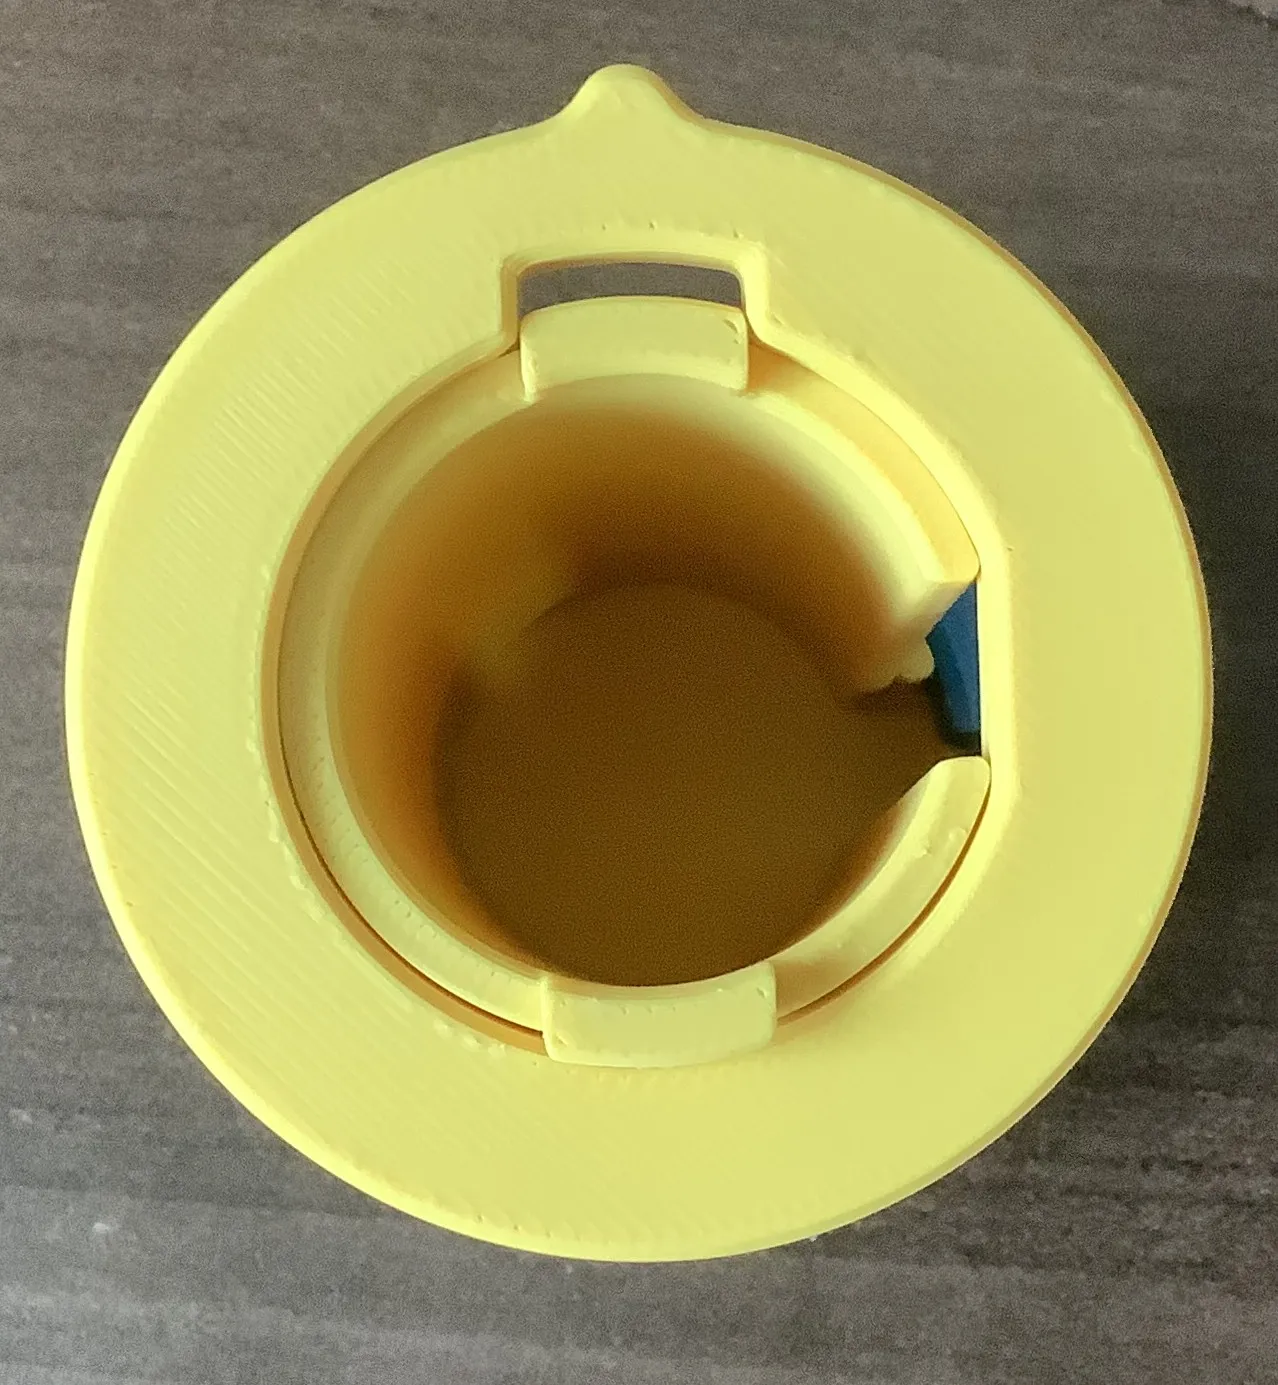
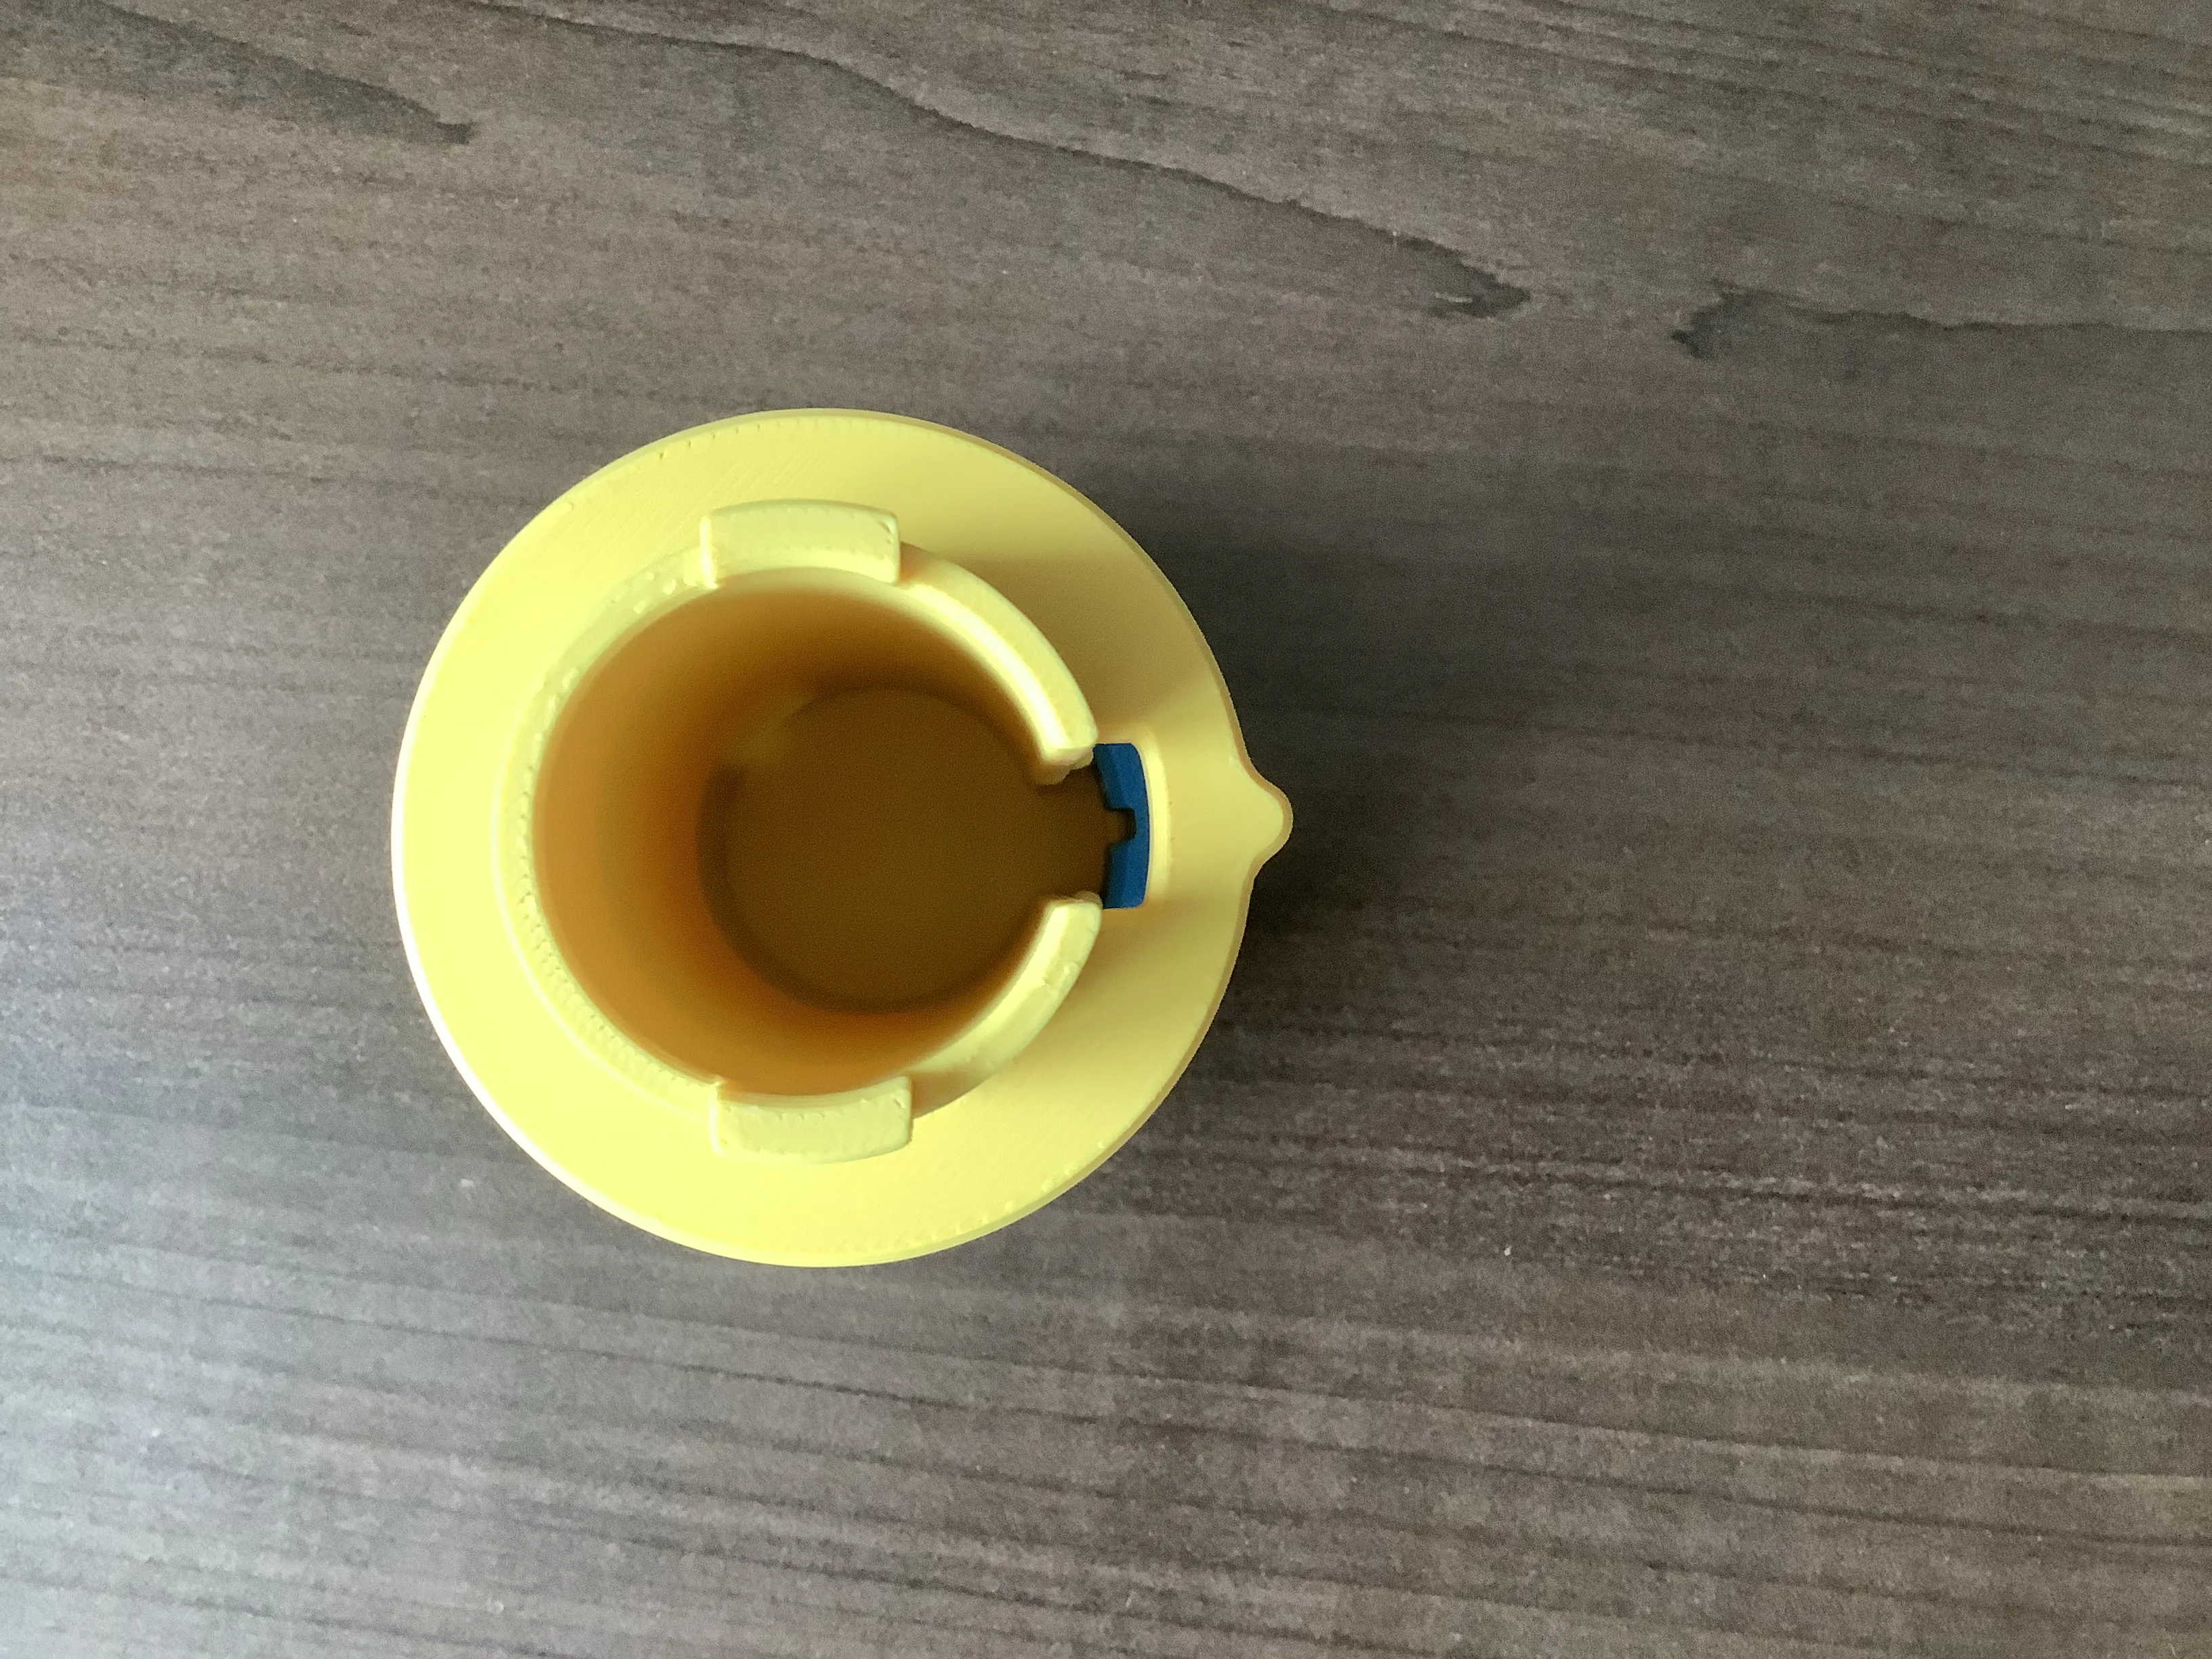
4- Follow the above instruction until your number dials, and spacers, are in place. Turn your numbers to the chosen combination. At this time there should be a visible slot for the inner shaft key to slide into.
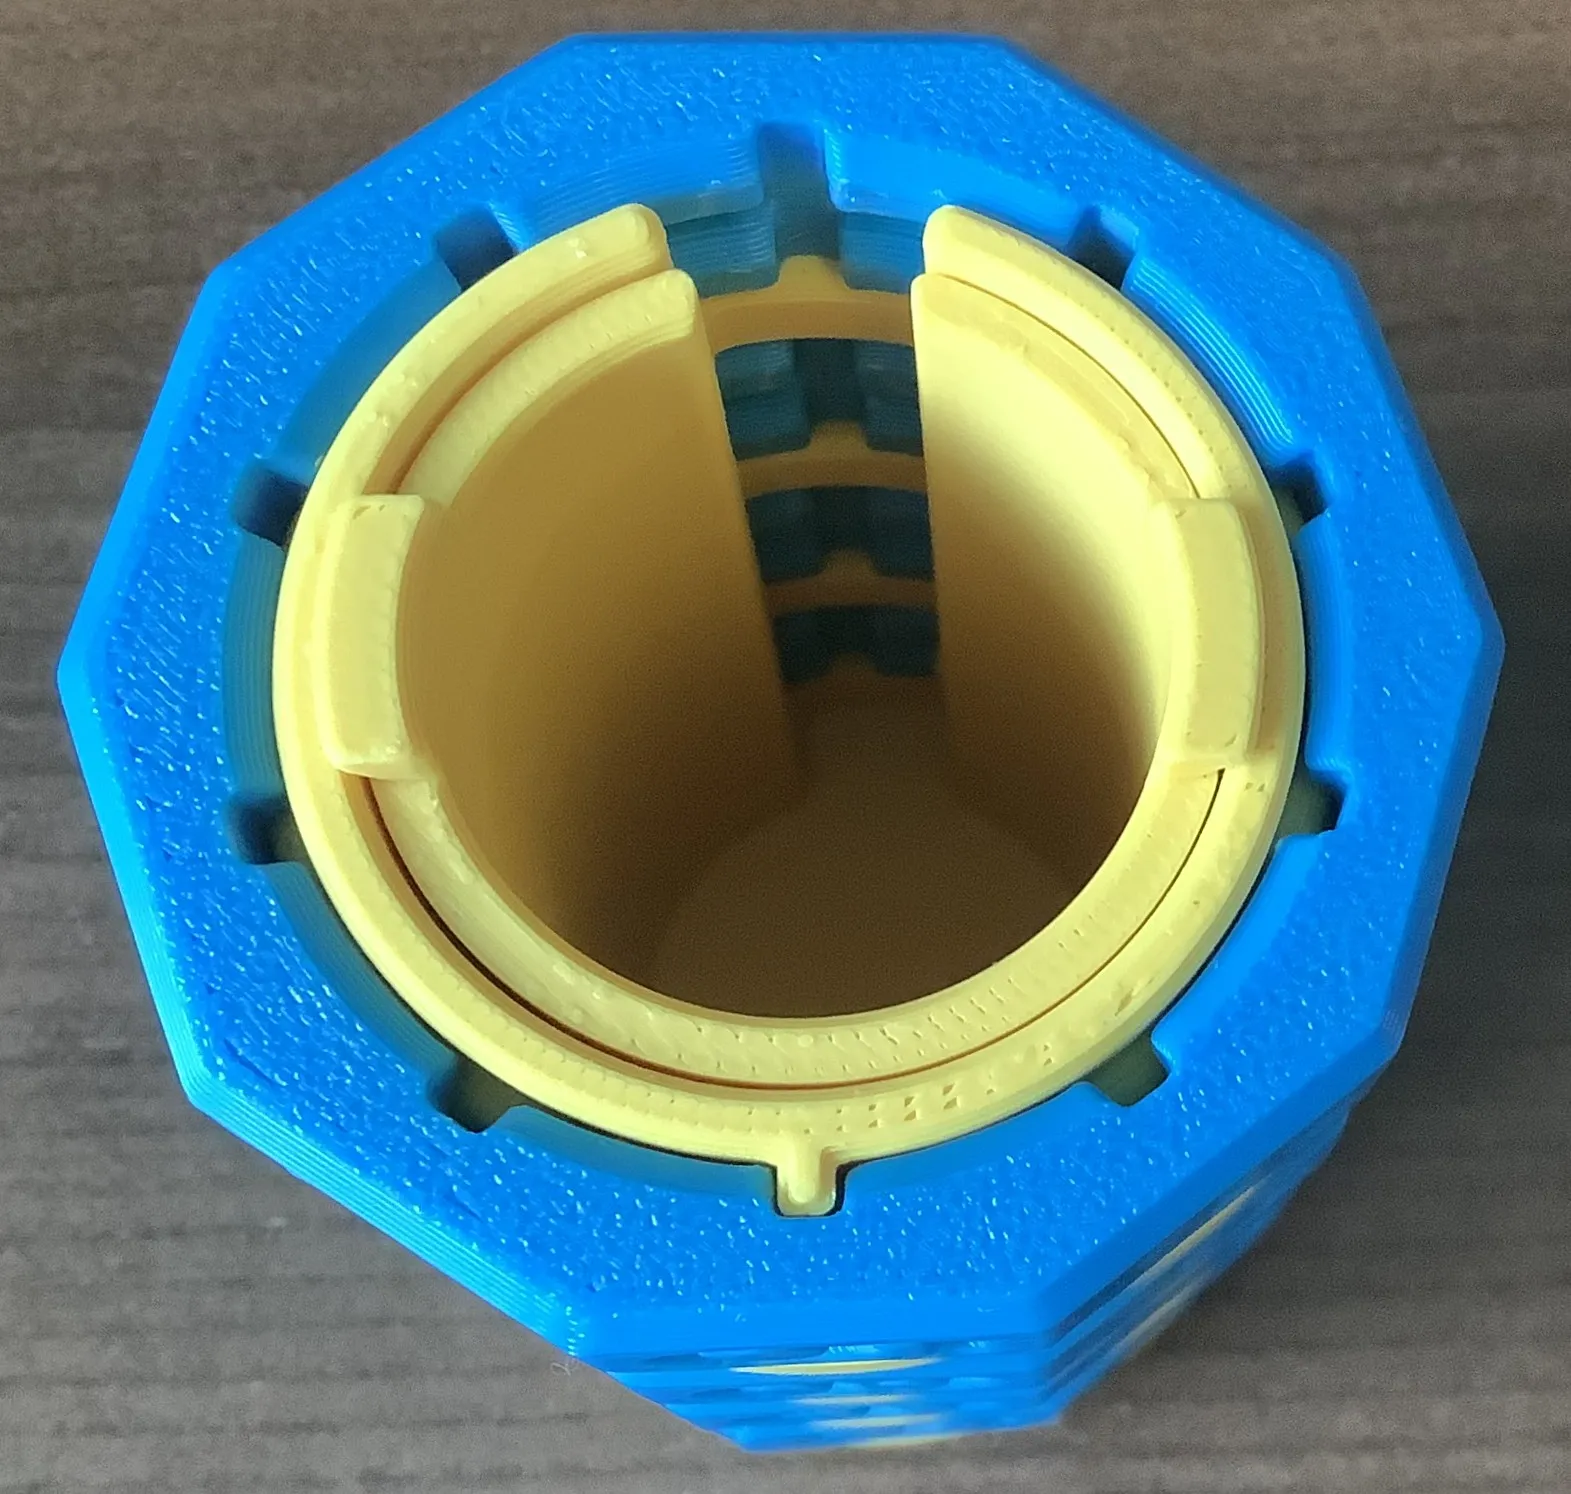
5- Align the inner shaft key with the slotted outer shaft and insert into place.
Rotate numbers to lock the Cryptex.
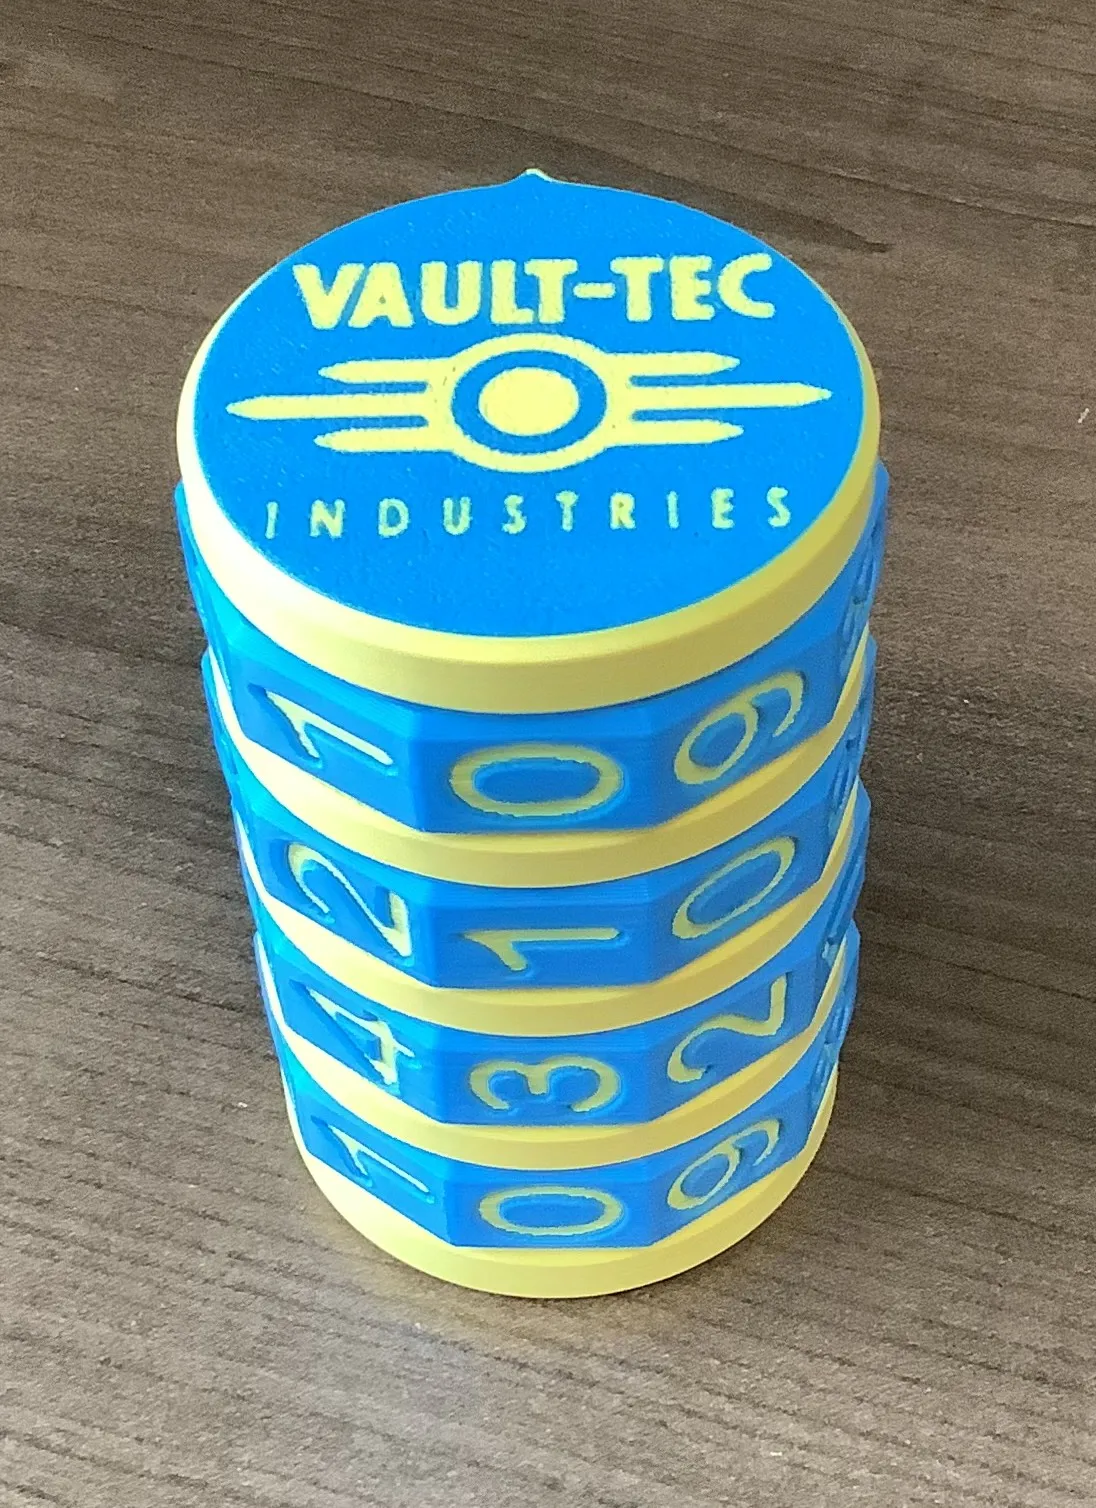
Hope you enjoy my model. It took many hours, but was worth it. Please leave a review.
Boost Me (for free)
All my models are designed and tested by me to ensure top quality prints. This takes a considerable amount of time and materials to perfect. Please help me out by leaving a review.
Happy Printing. :)
License

You shall not share, sub-license, sell, rent, host, transfer, or distribute in any way the digital or 3D printed versions of this object, nor any other derivative work of this object in its digital or physical format (including - but not limited to - remixes of this object, and hosting on other digital platforms). The objects may not be used without permission in any way whatsoever in which you charge money, or collect fees.


Comment & Rating (5)