
Tactical-Style EDC-Friendly Utility Knife II
Print Profile(5)


Description
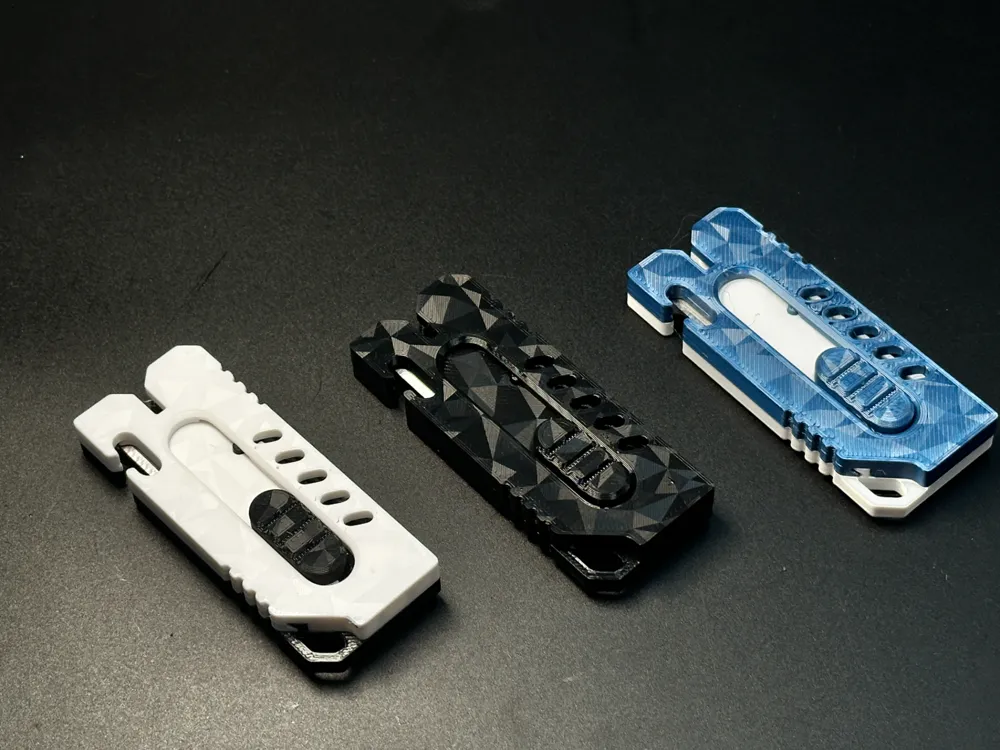
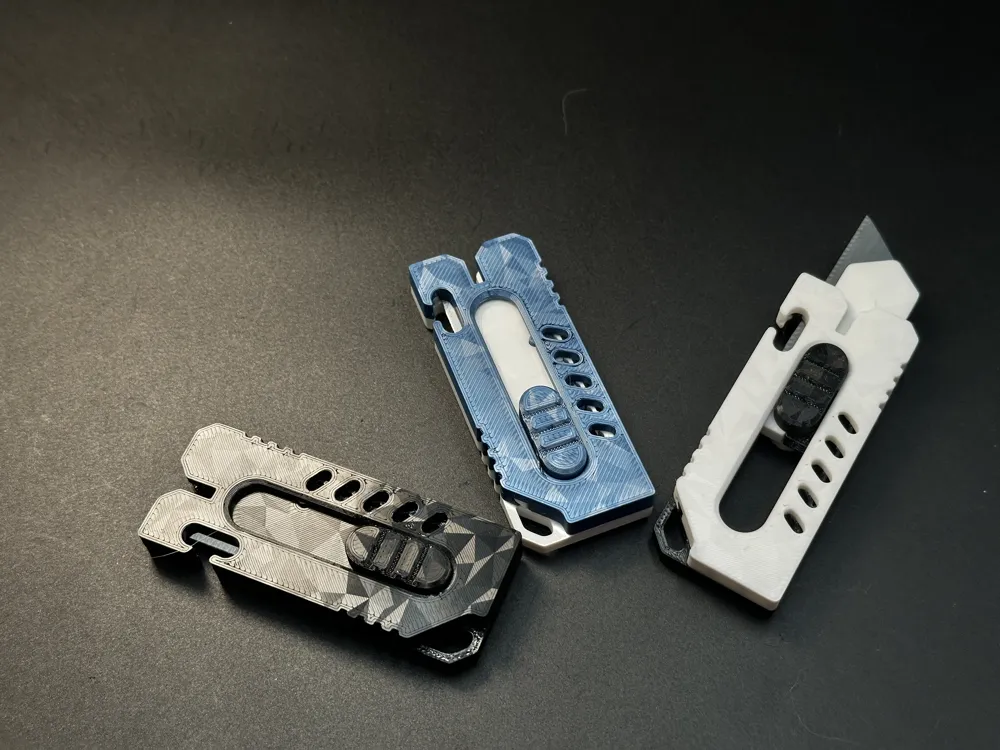
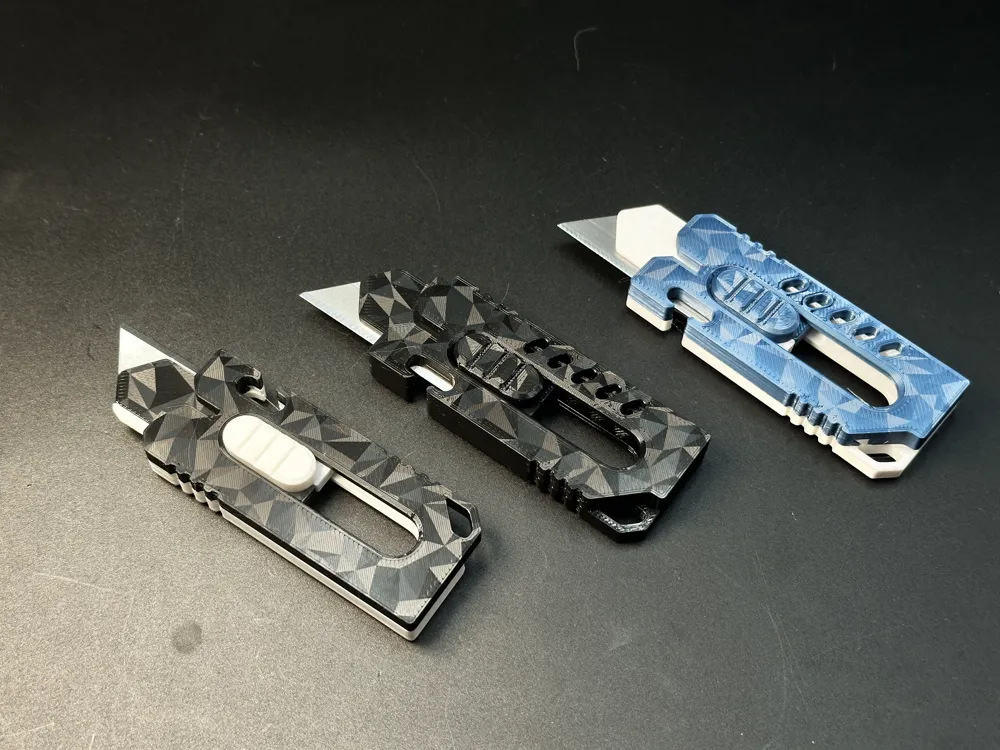
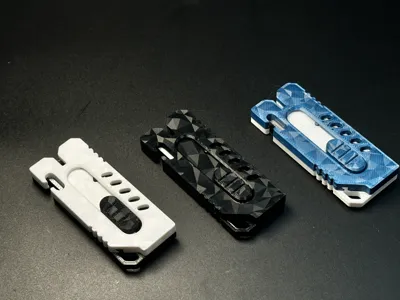
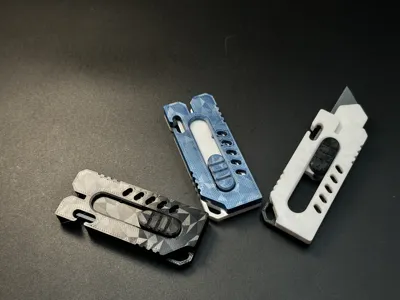
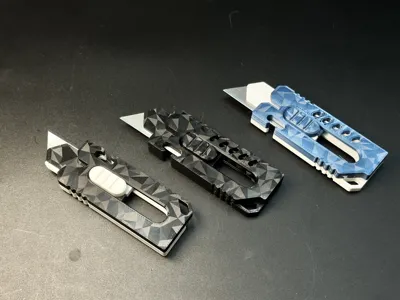
This is a redesigned version of a previous project. While maintaining the same design style, all internal structures have been completely re-engineered.
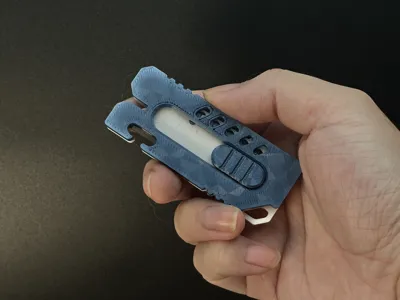
The external dimensions remain essentially unchanged from the original design, but the thickness has been increased by 1.5 mm, significantly enhancing its strength.
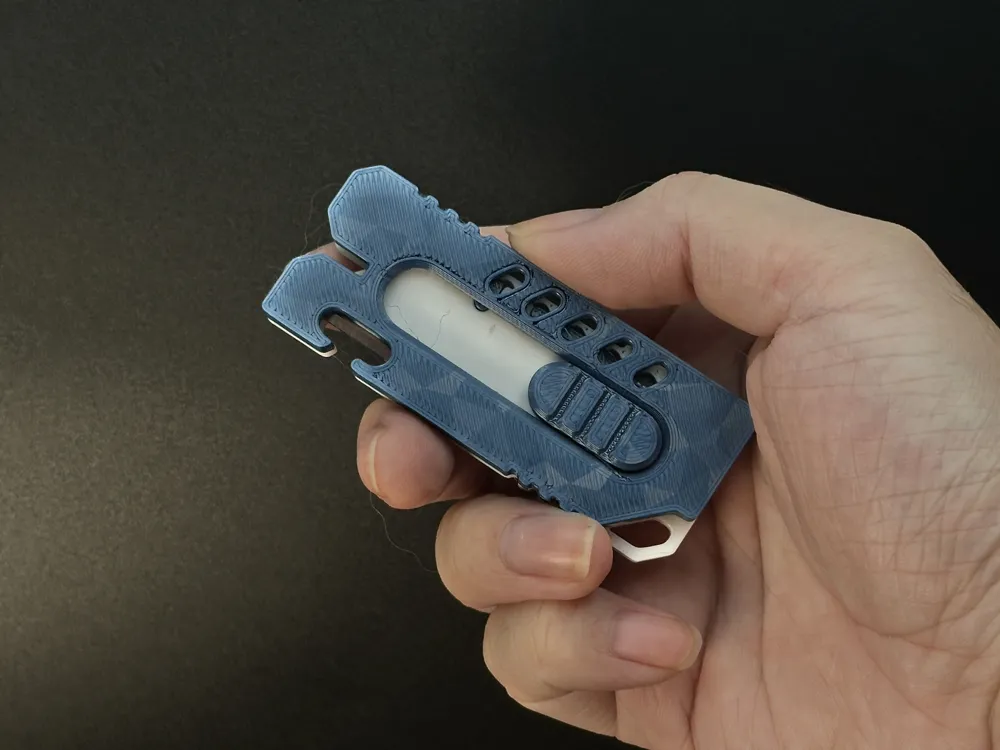
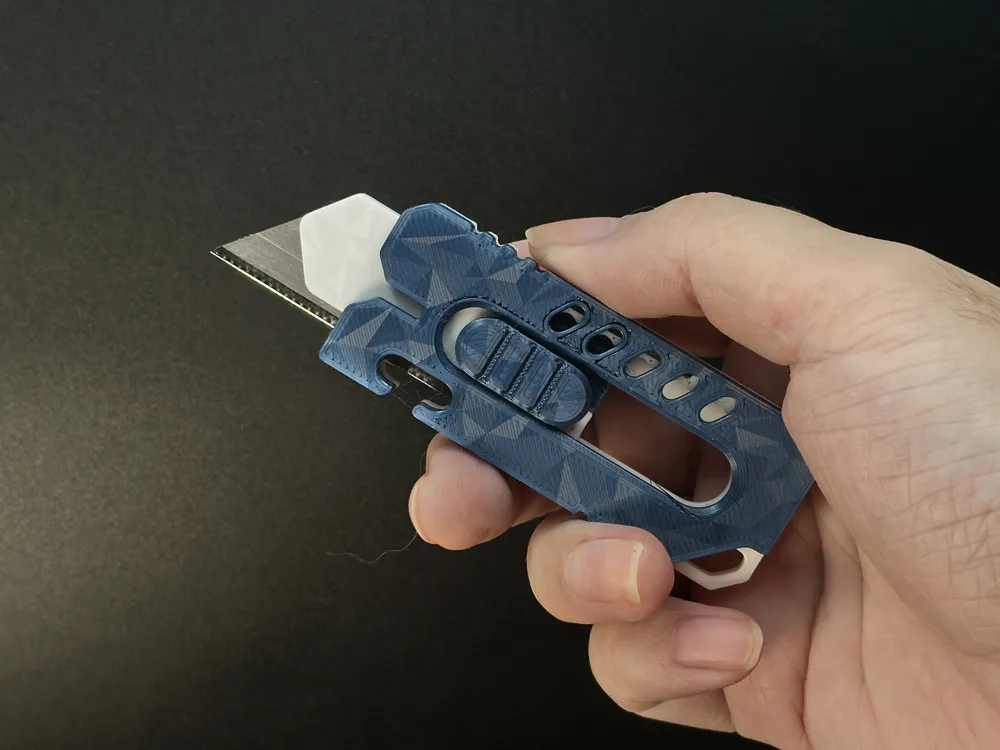
It provides clear tactile "click" feedback during blade sliding.
Easy to print – requires no supports.
Easy to assemble – no additional hardware, glue, or tools needed.
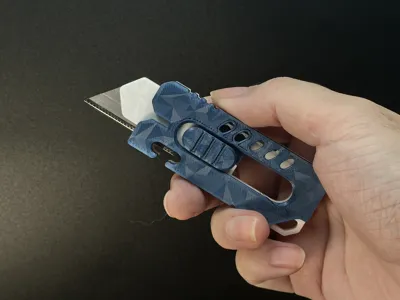
This project is designed based on the dimensions of Stanley-style blades, with a length of 62 mm. It can also accommodate slightly shorter blades.
Assembly Instructions:
1.Display all components.
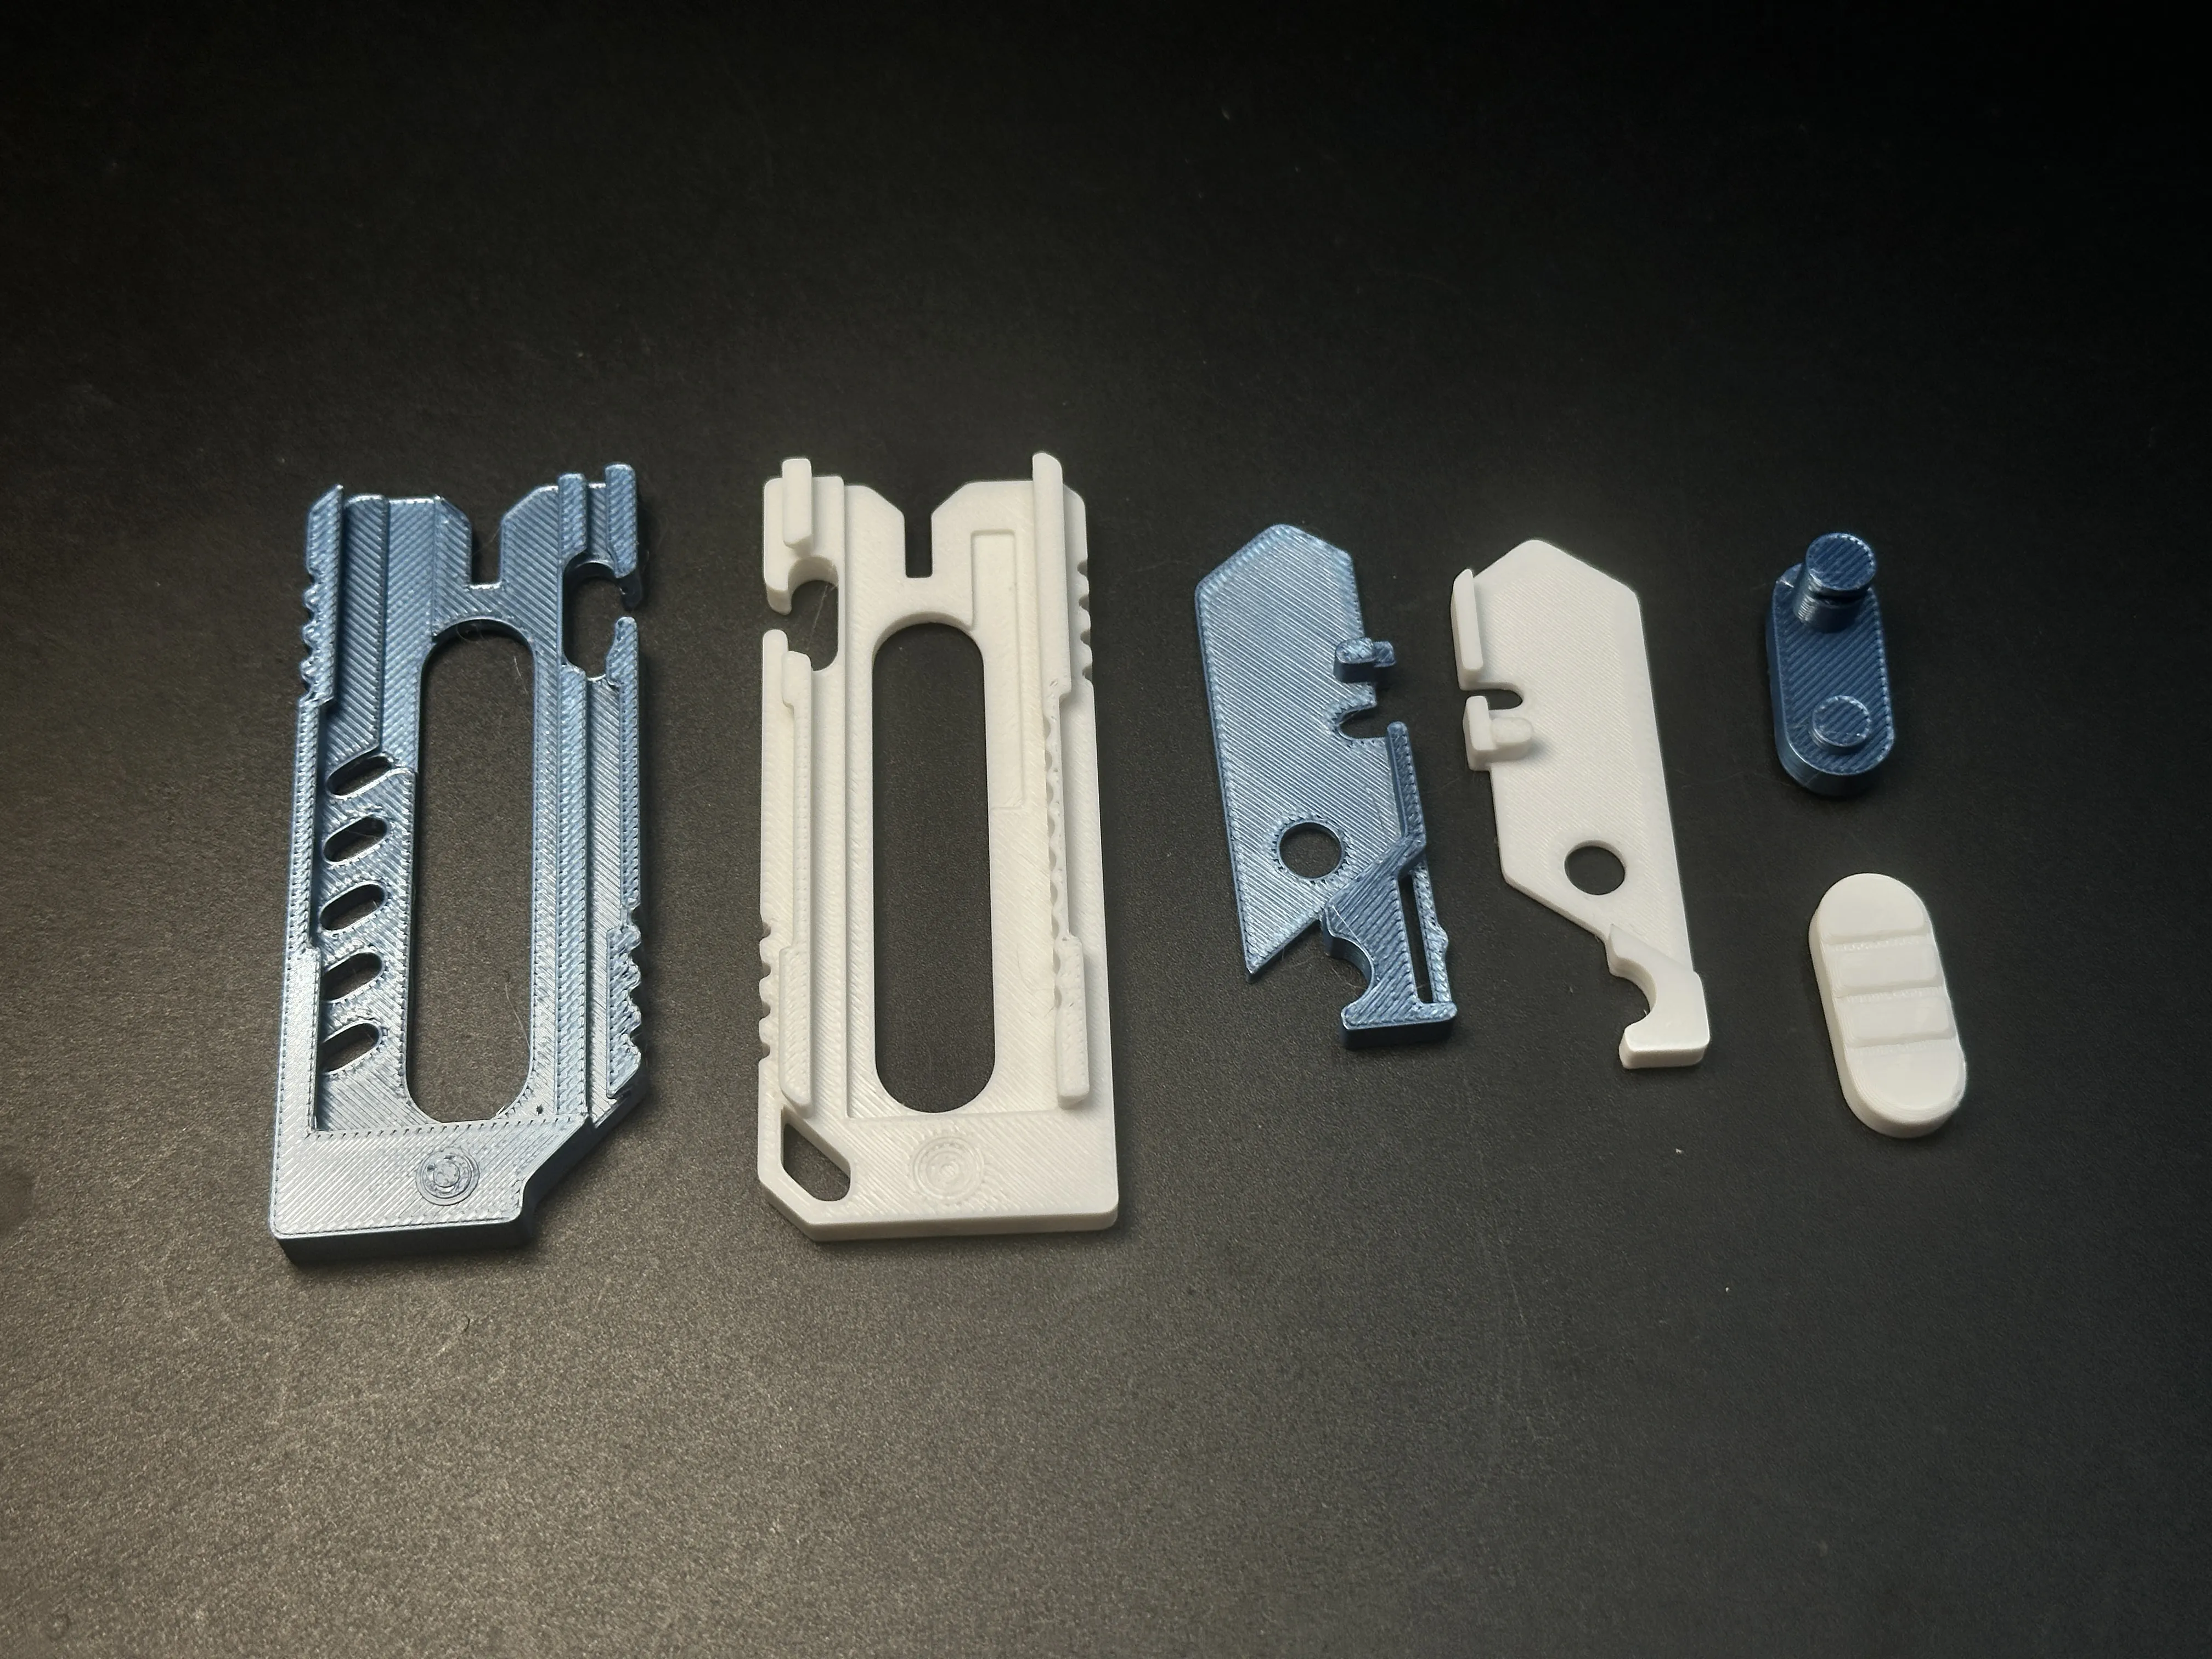
2.Interlock the two blade holder components (white and blue).
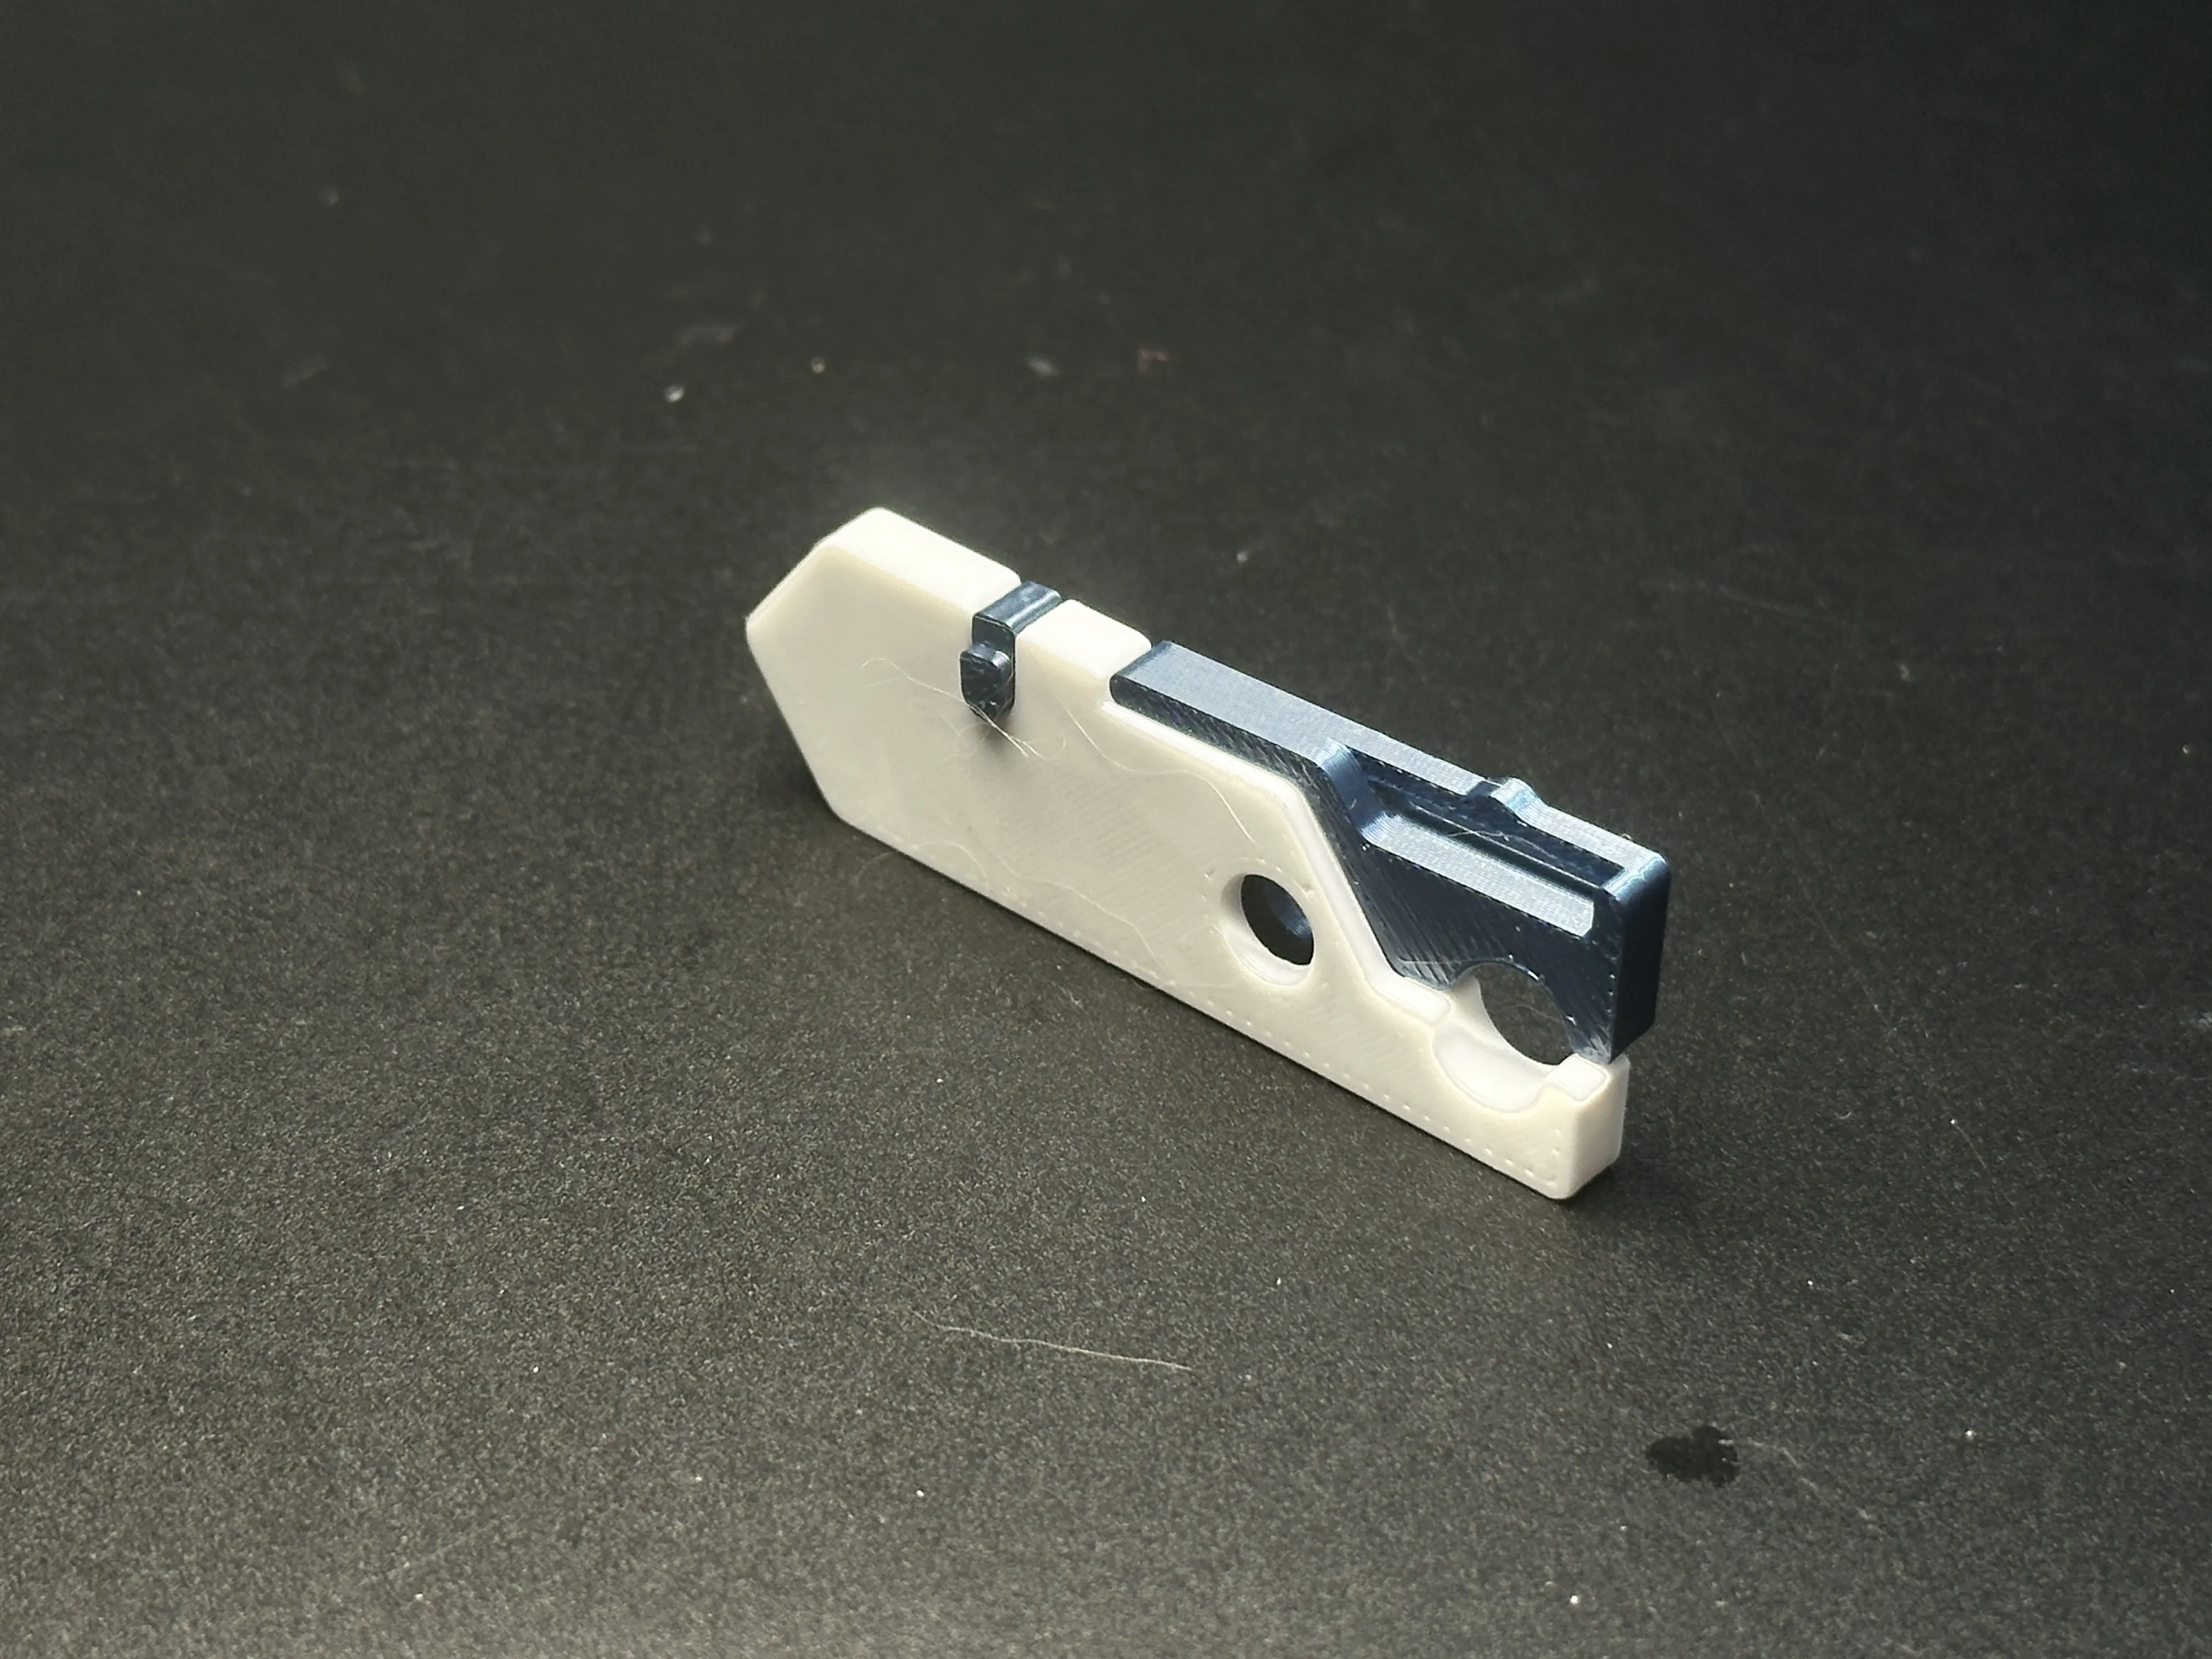
3.Insert the button with cylindrical pins (blue) into the blade holder. Pay attention to the orientation as shown in the image.
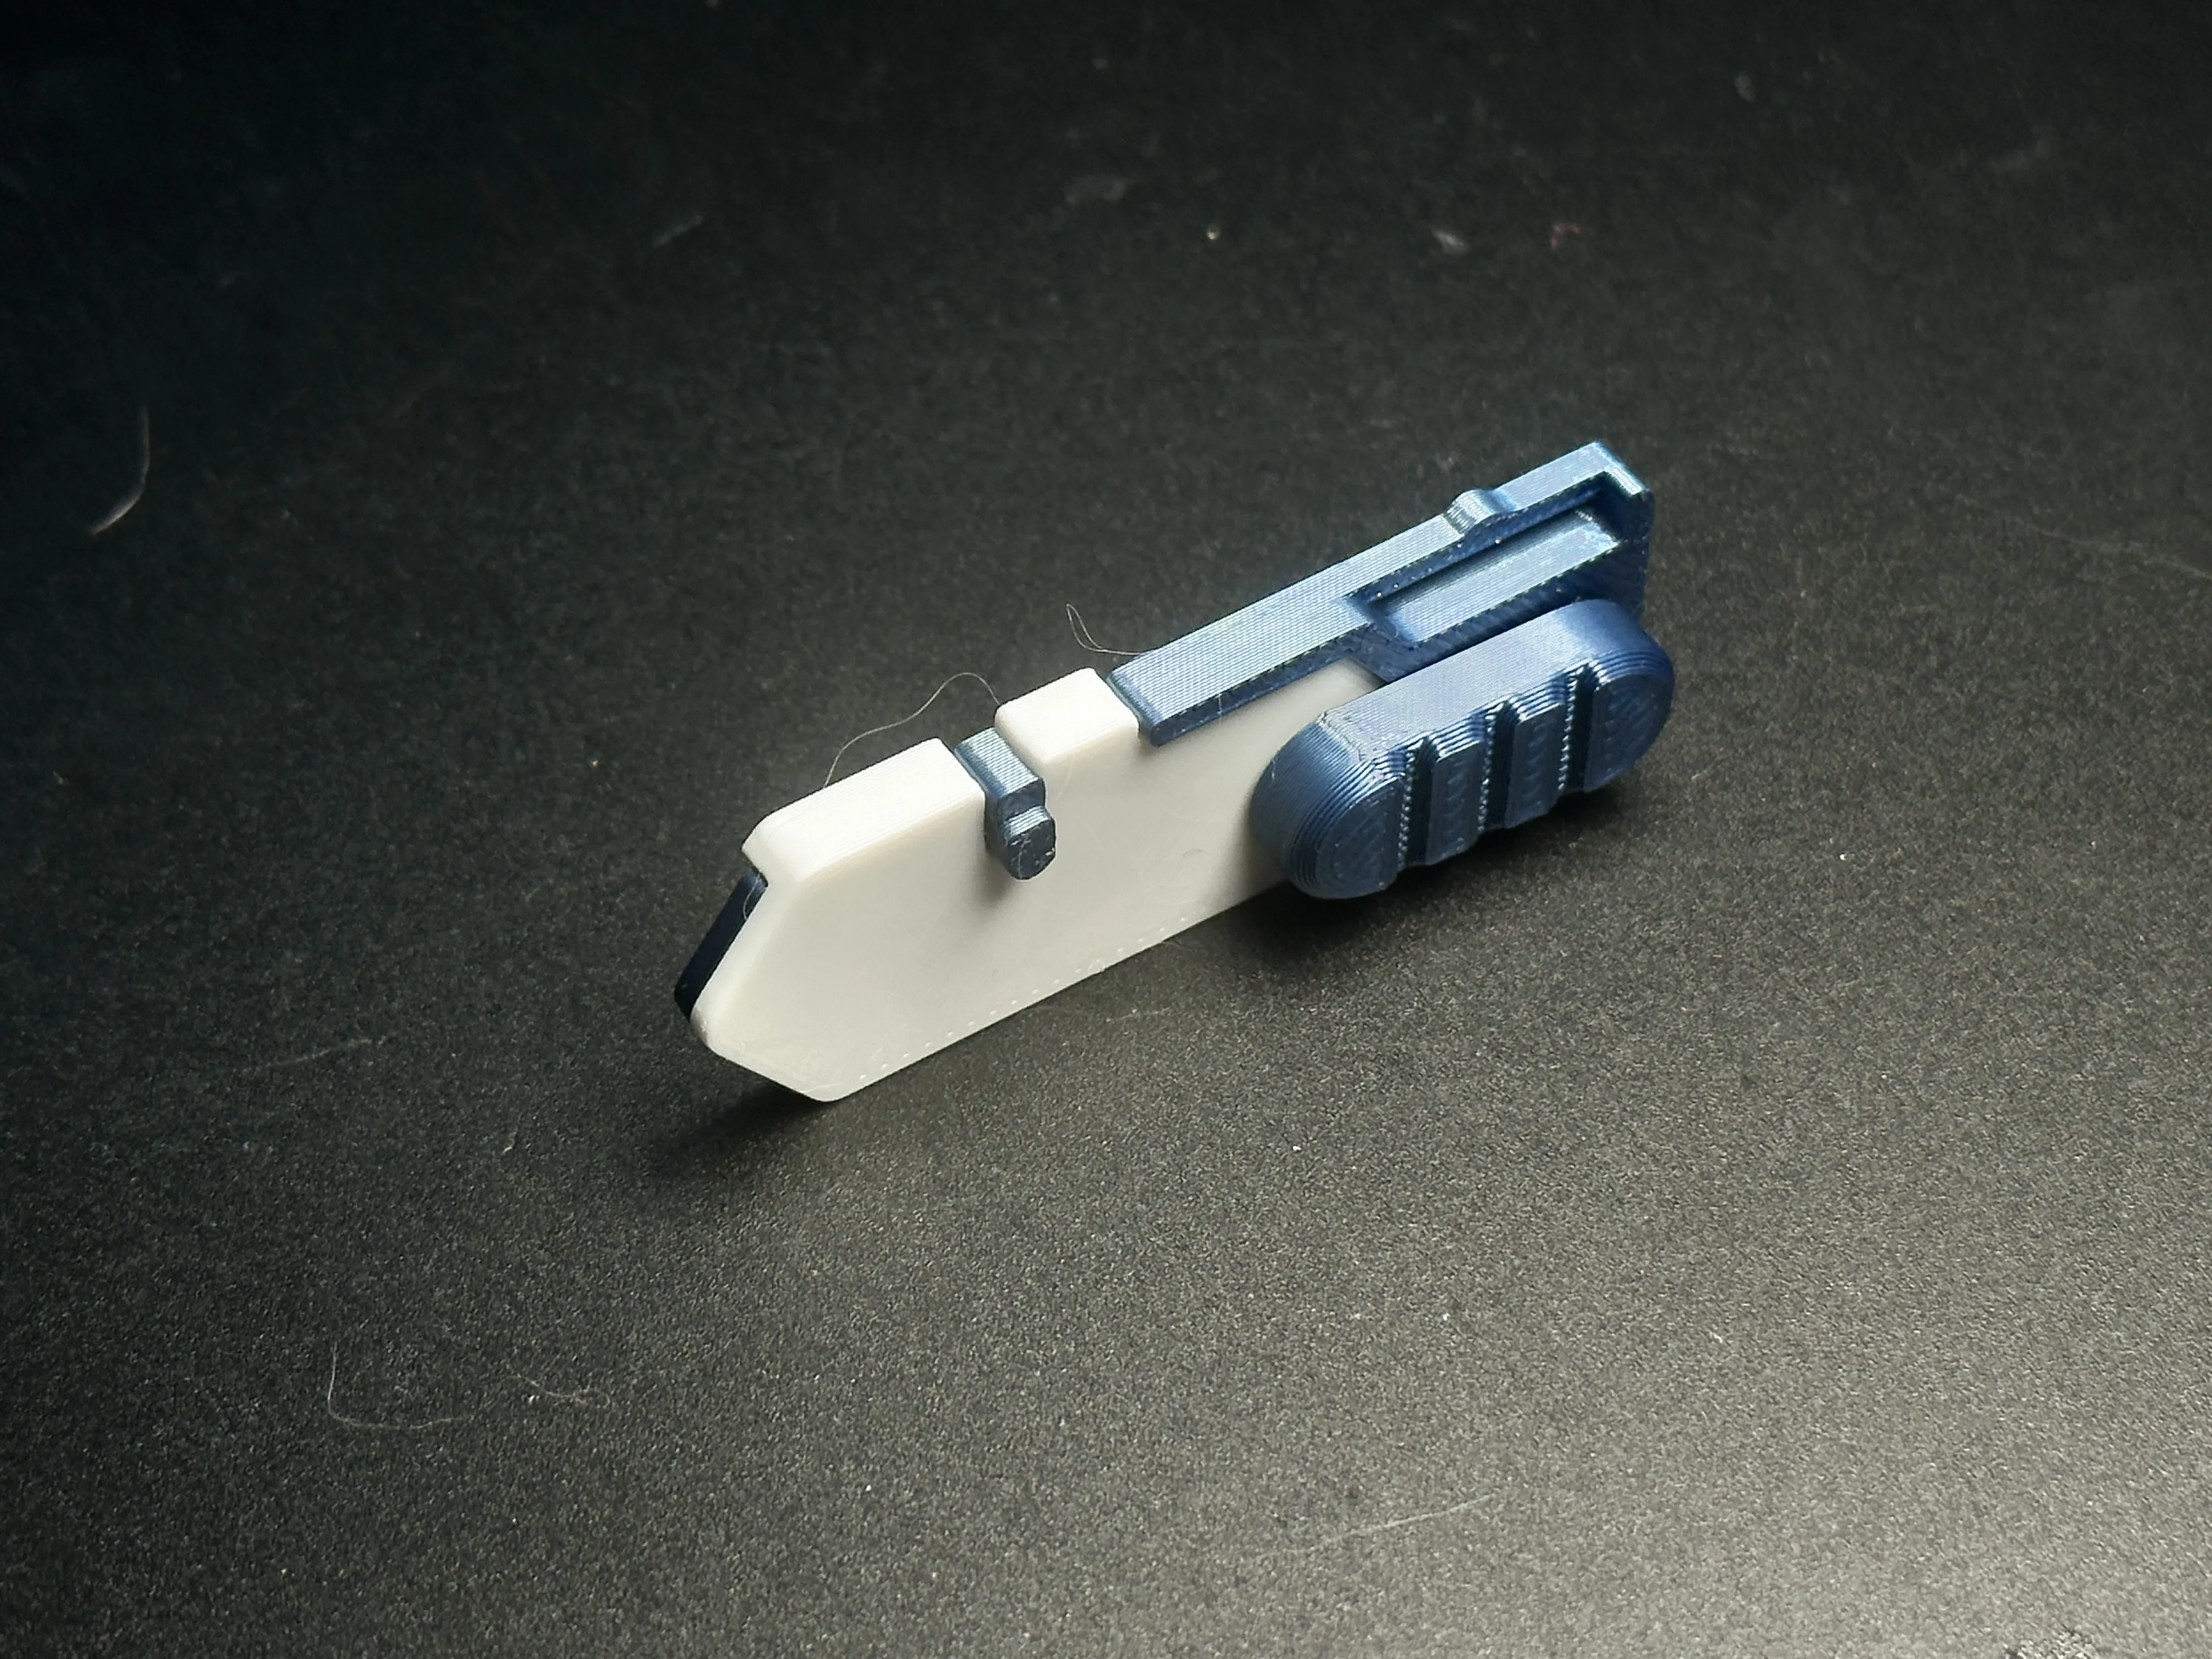
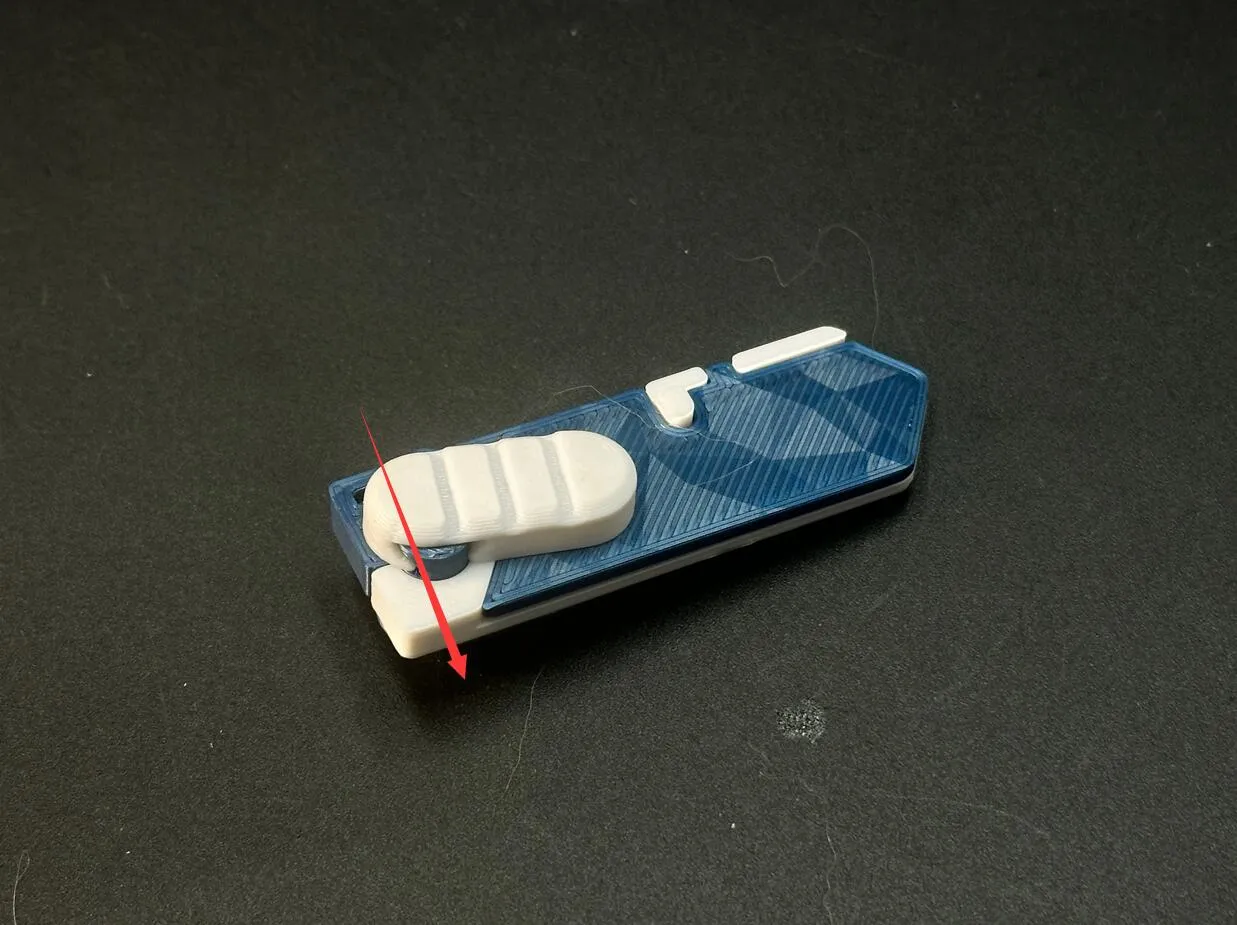
4.Insert one end of the other button (white, with slots) into the holder, then rotate it until both buttons lock together.
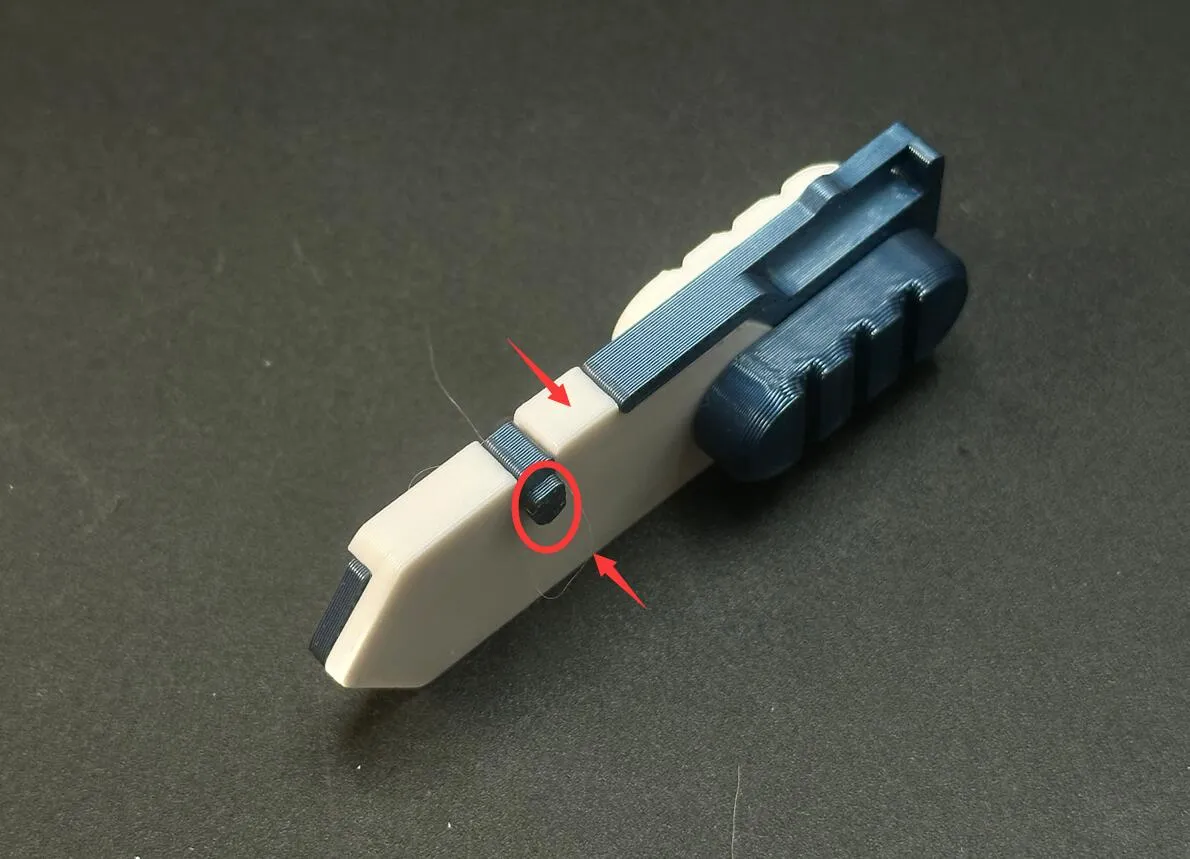
5.Press the two protrusions on the top of the blade holder to open the central gap, then insert the blade.
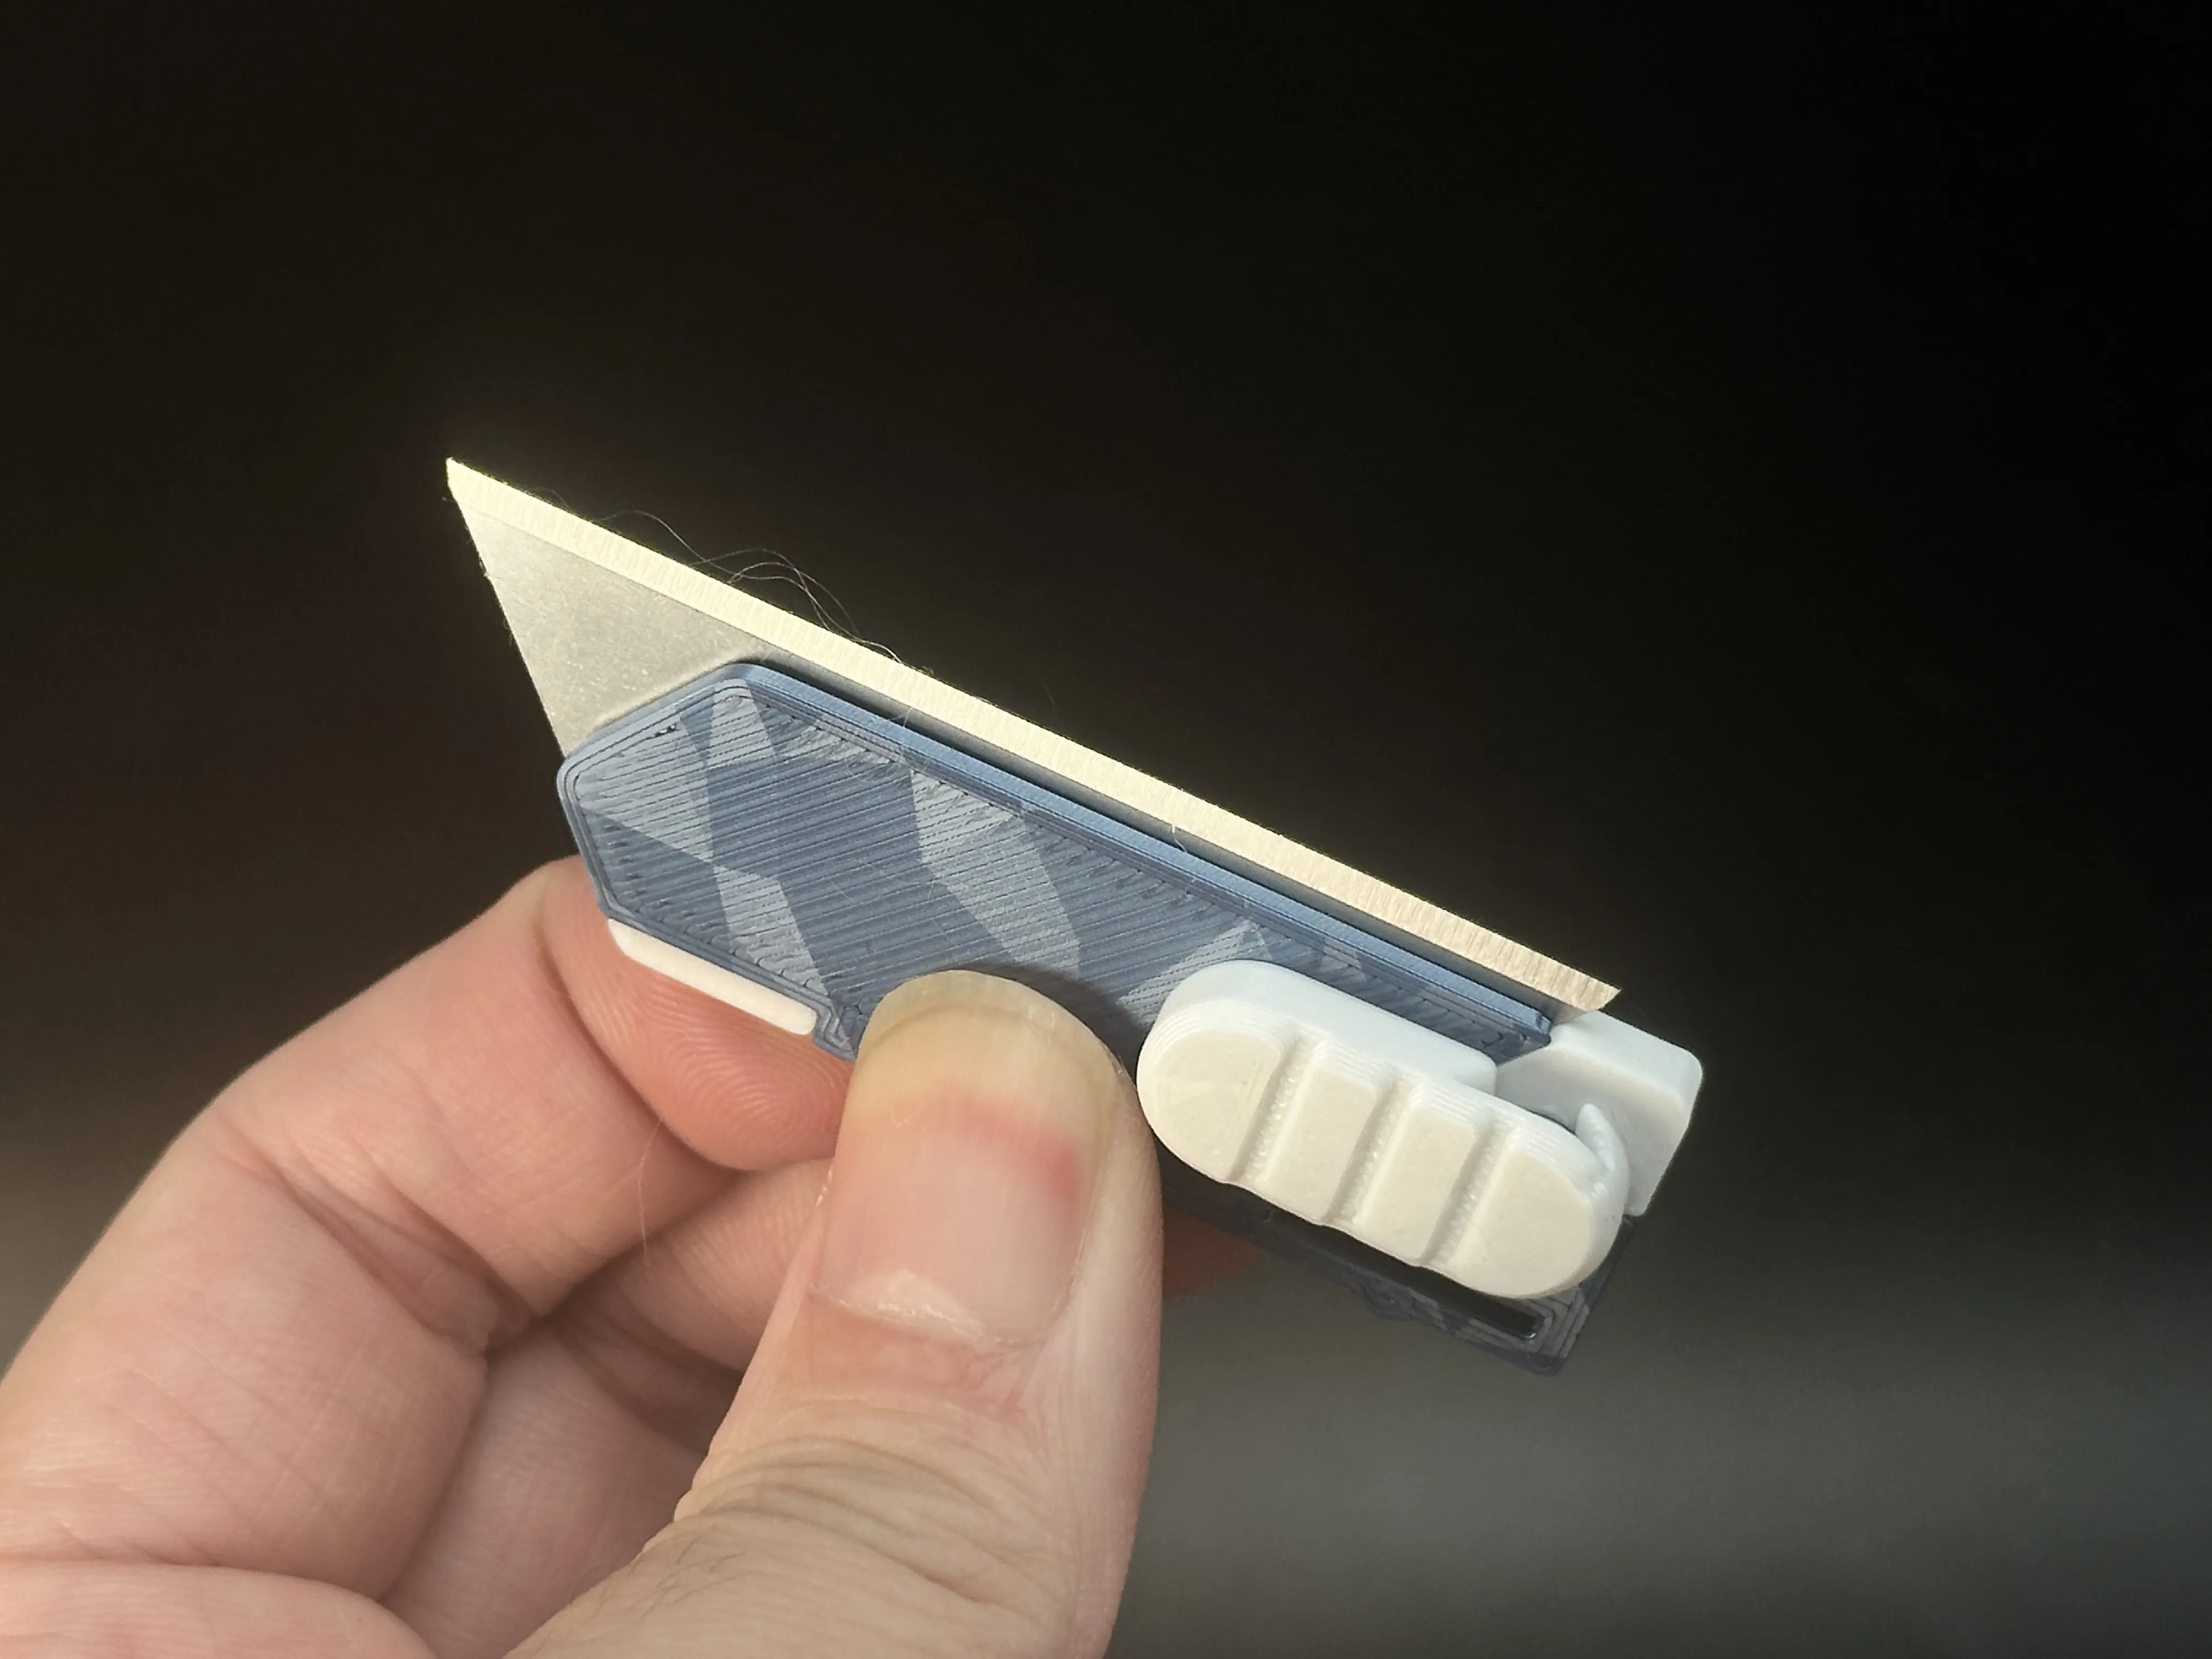
6.Place the blade holder assembly into the right-side shell, ensuring it is firmly seated against the innermost position.
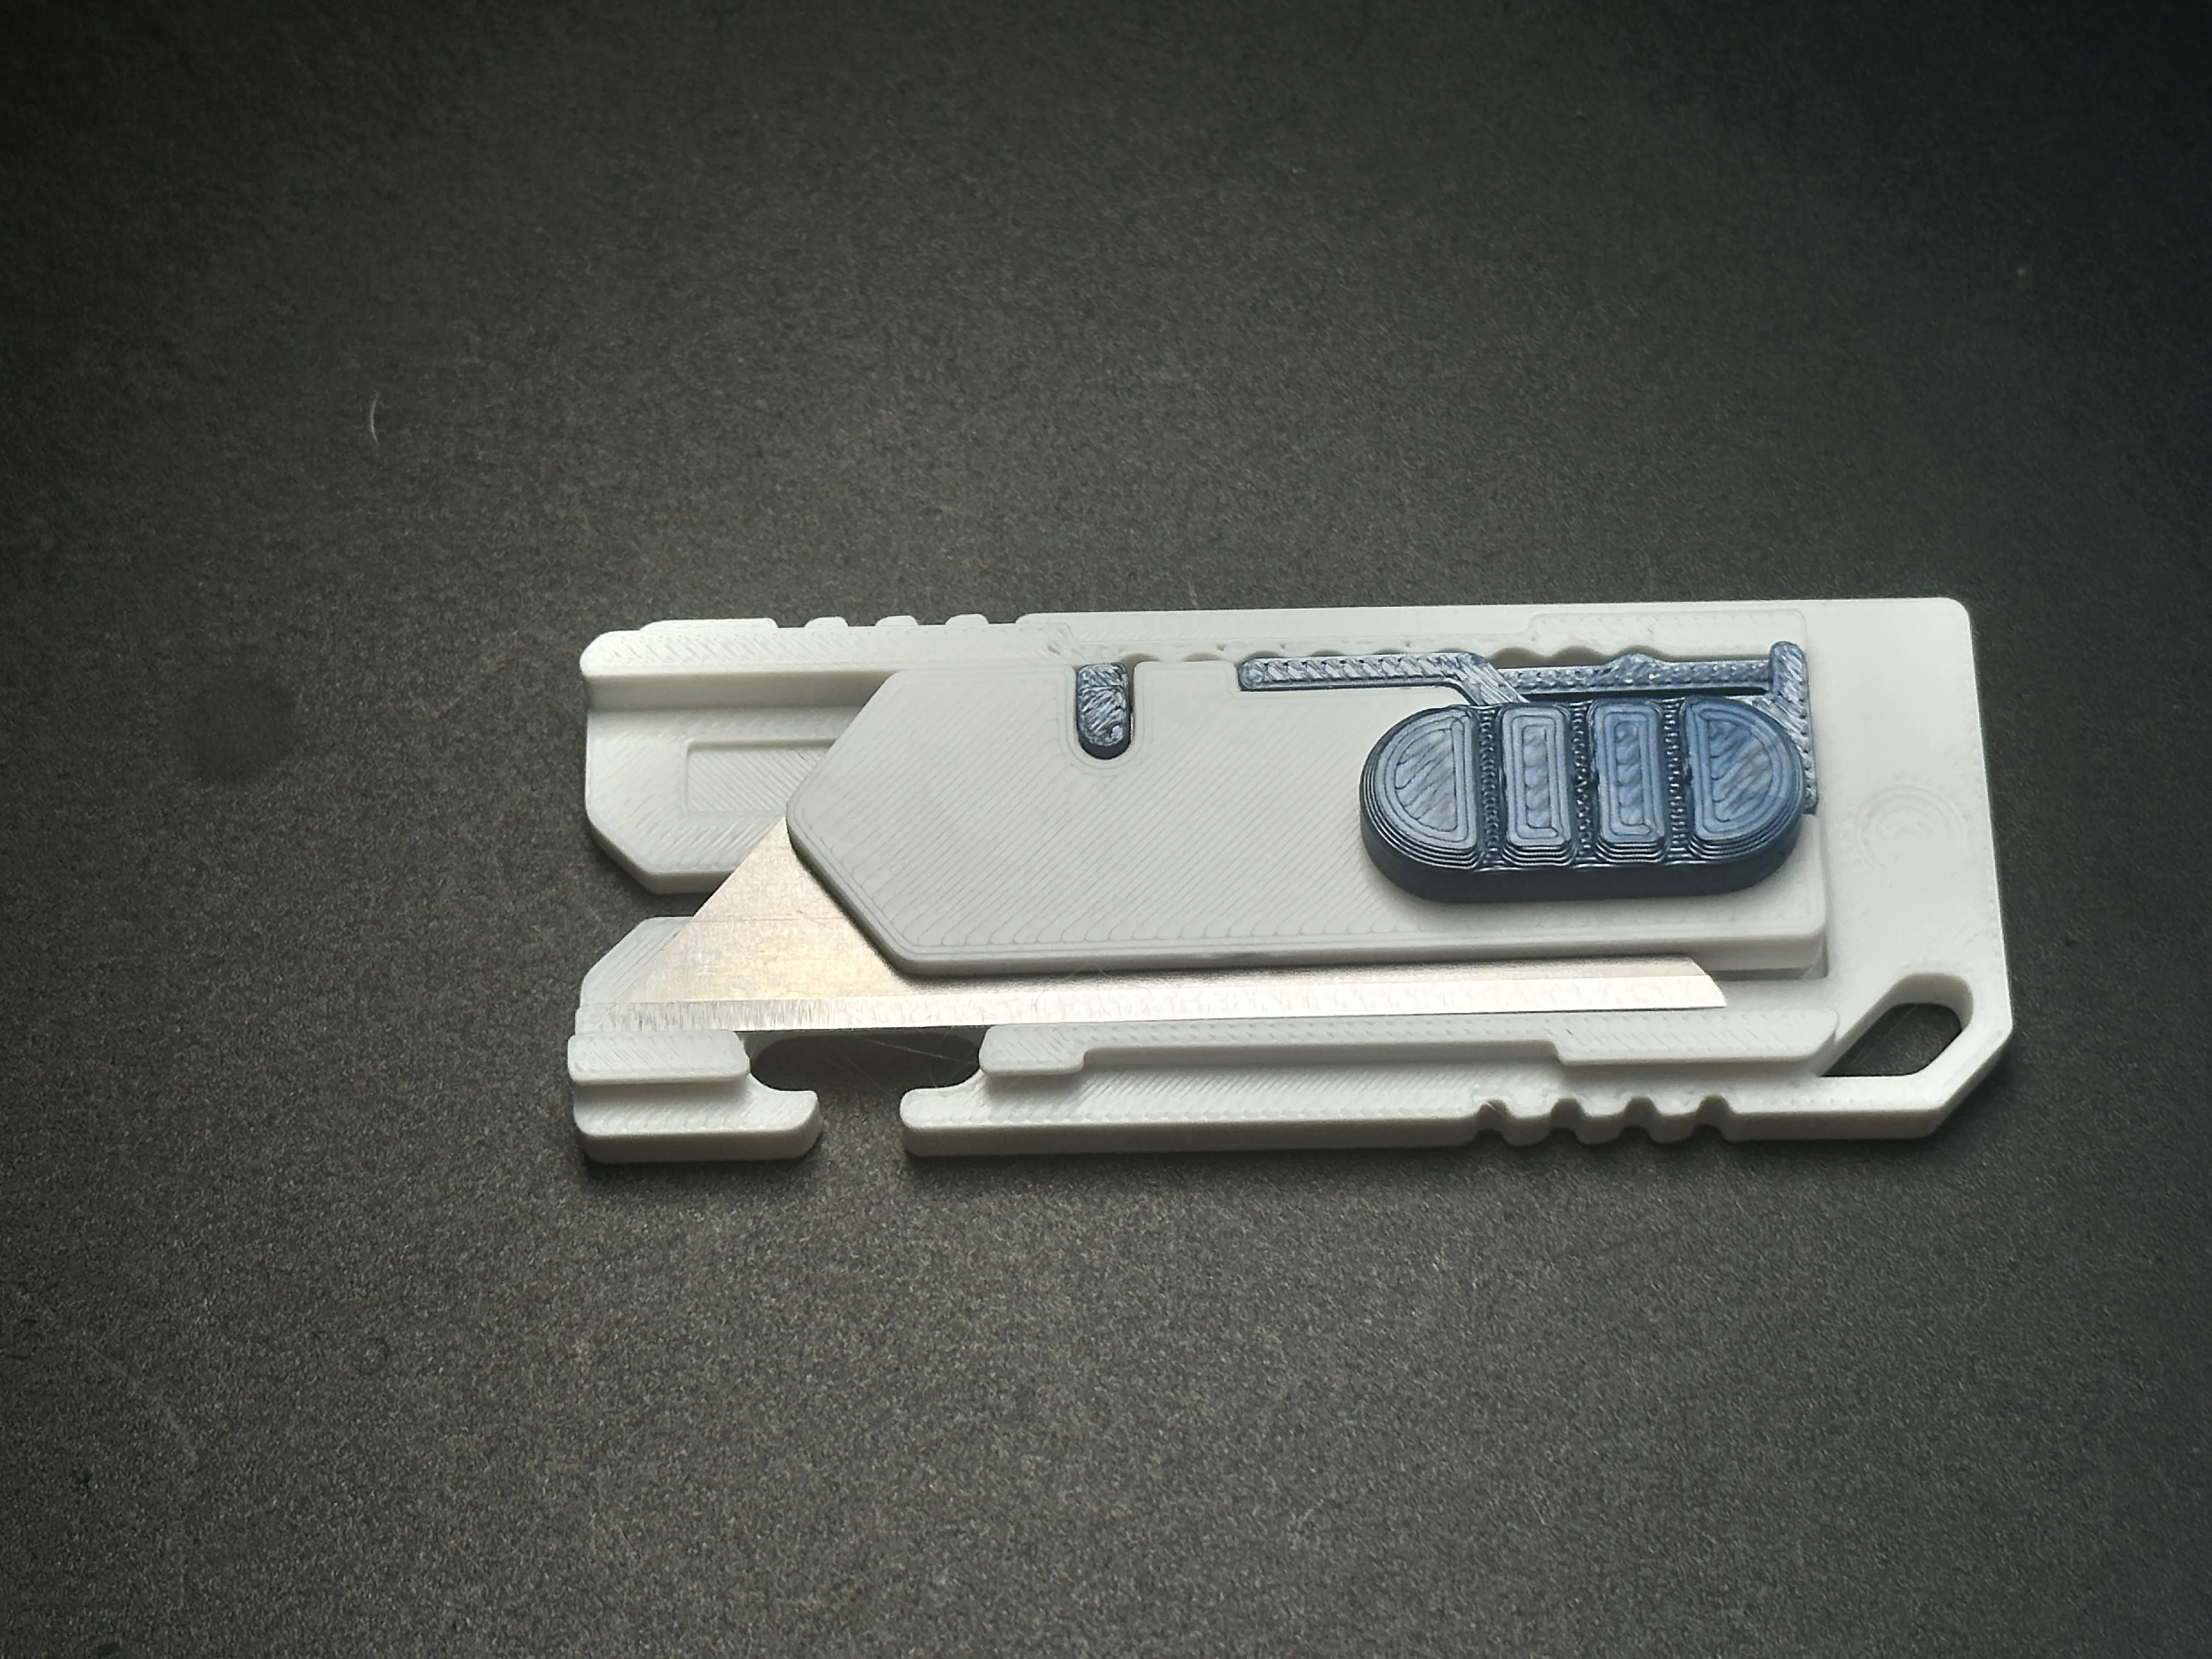
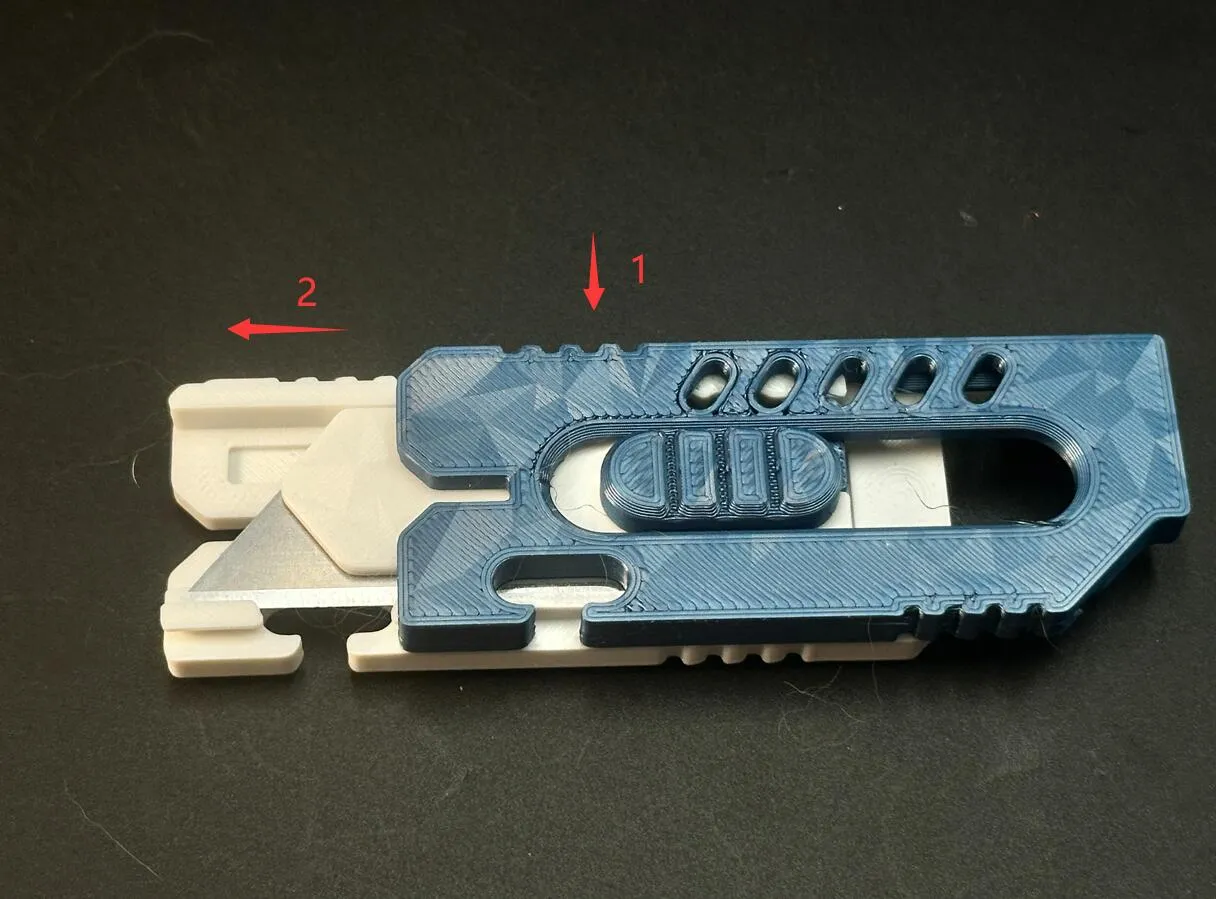
7.Join the left shell with the right shell. This is a two-step process – refer to the diagram below.
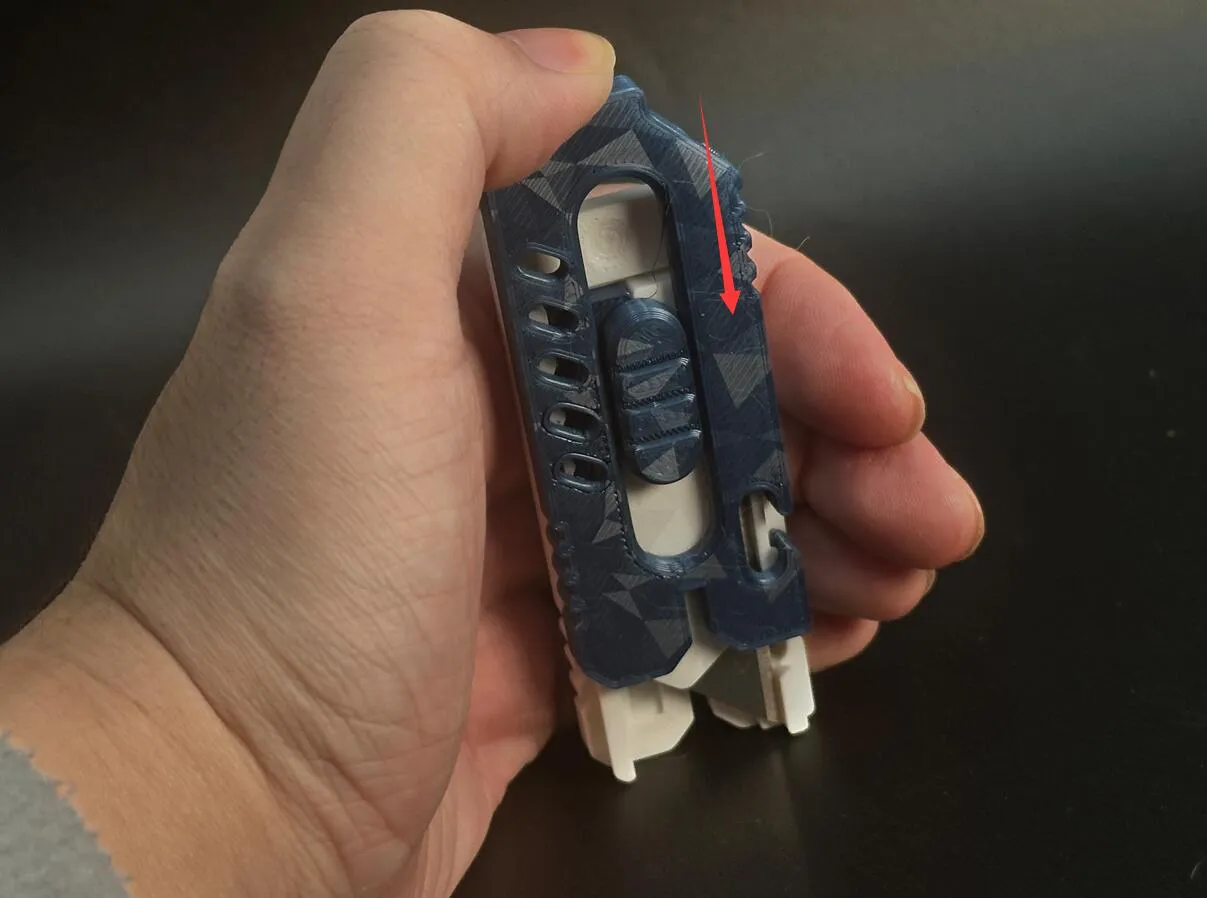
8.If shell assembly resistance is too high, follow the method shown in the illustration below. Note: Always keep the blade facing downward to prevent accidental injury.
The strength of 3D-printed knives cannot be guaranteed and they are suitable only for light-duty tasks, such as cutting paper or opening Amazon packages. Unless otherwise specified, all of my knife designs are intended for light-duty use only.
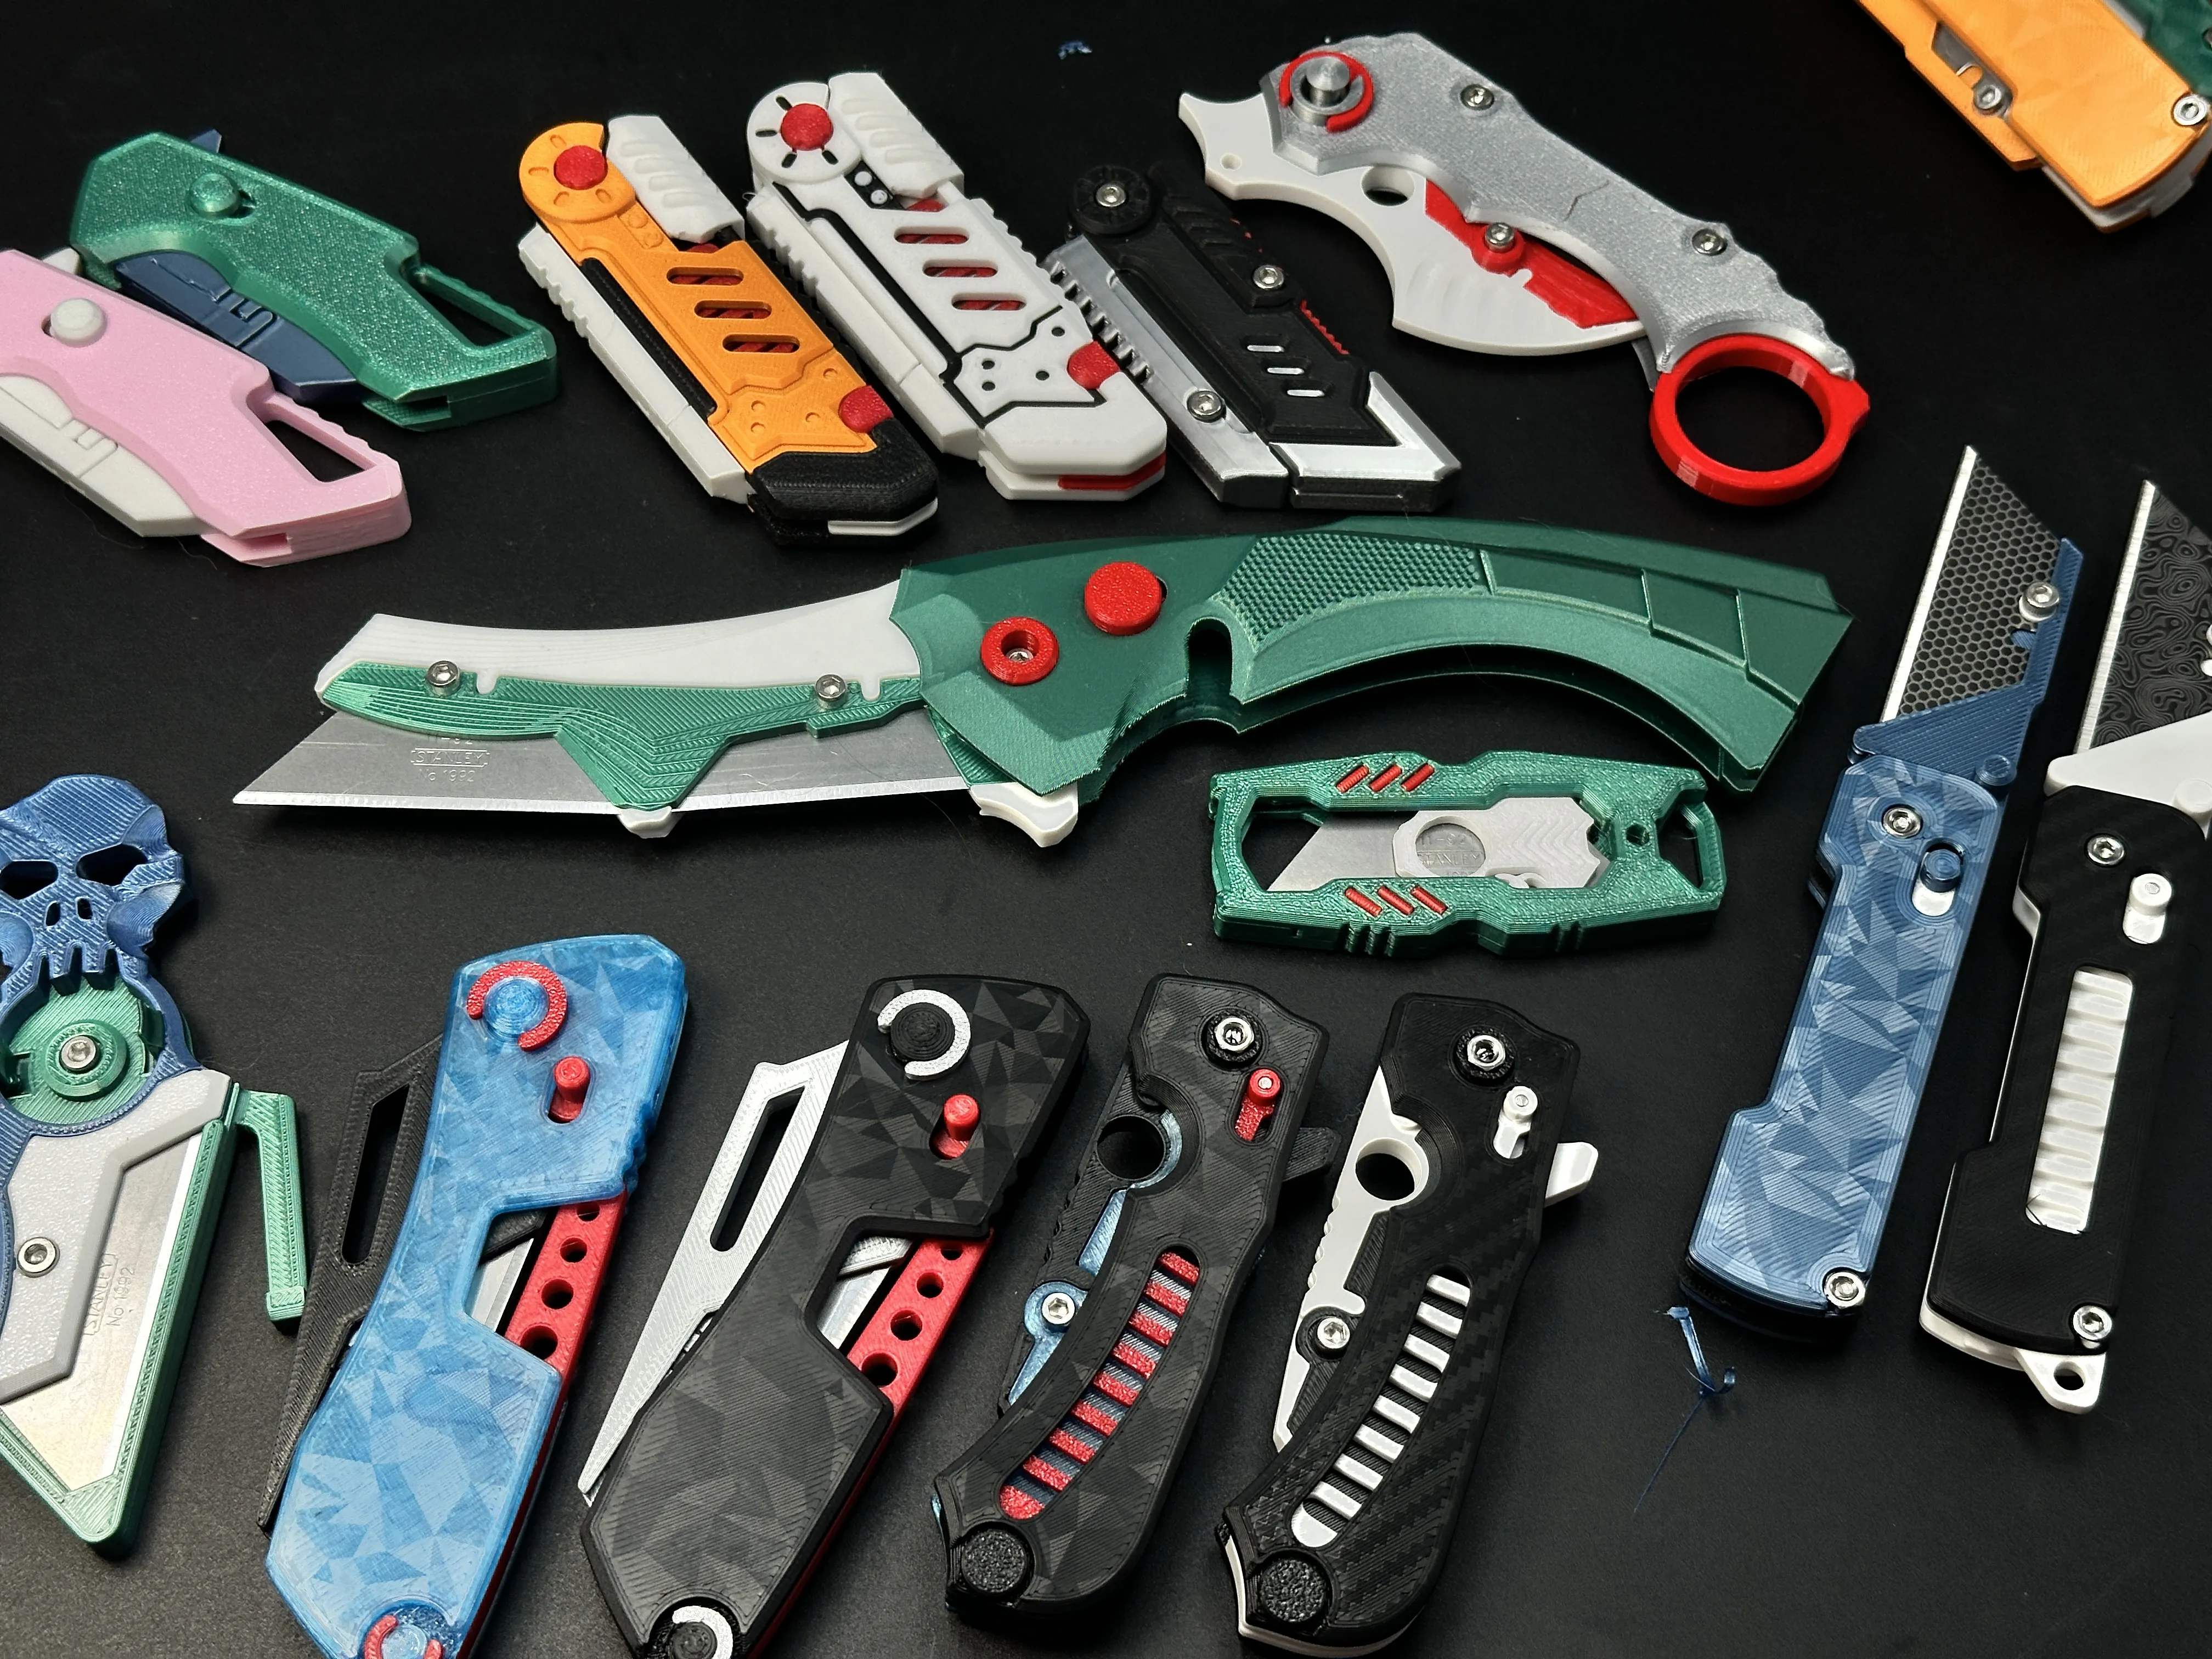
My similar projects, click on the picture
Membership
License

You shall not share, sub-license, sell, rent, host, transfer, or distribute in any way the digital or 3D printed versions of this object, nor any other derivative work of this object in its digital or physical format (including - but not limited to - remixes of this object, and hosting on other digital platforms). The objects may not be used without permission in any way whatsoever in which you charge money, or collect fees.


Comment & Rating (262)