

P2S Poop Pipe
Print Profile(1)

Bill of Materials



Description
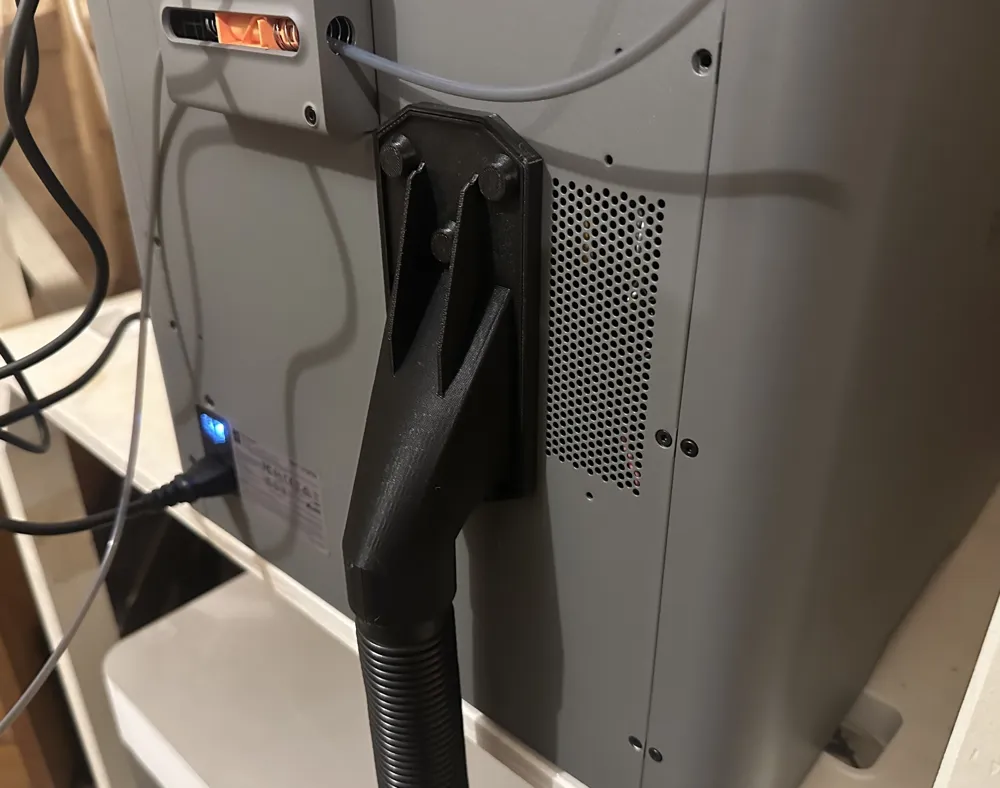
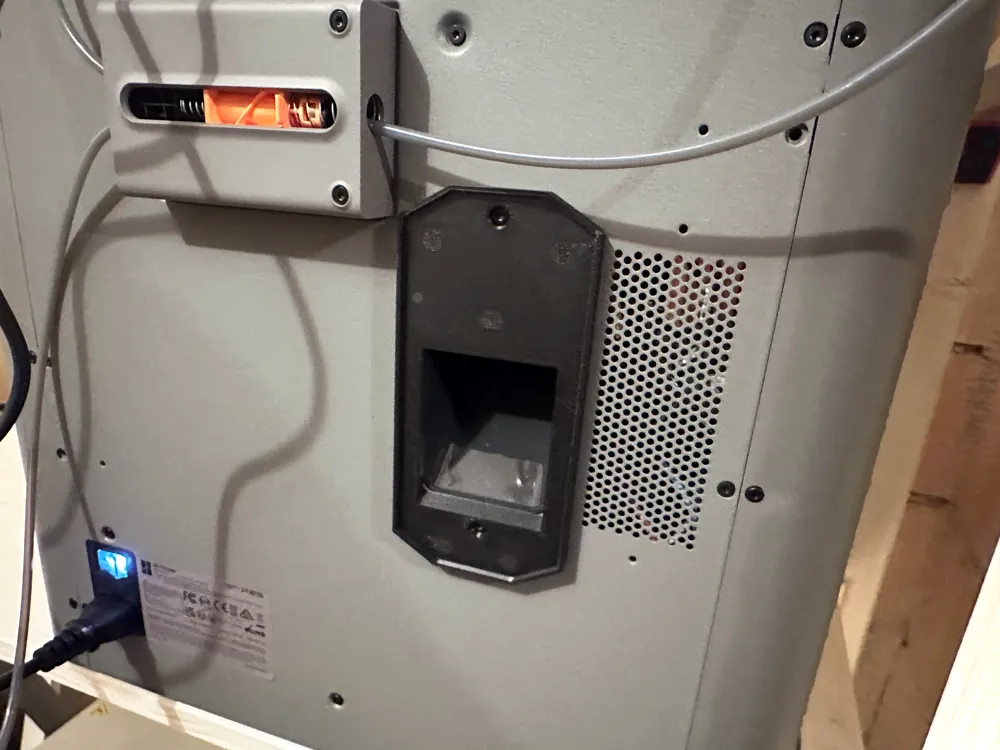
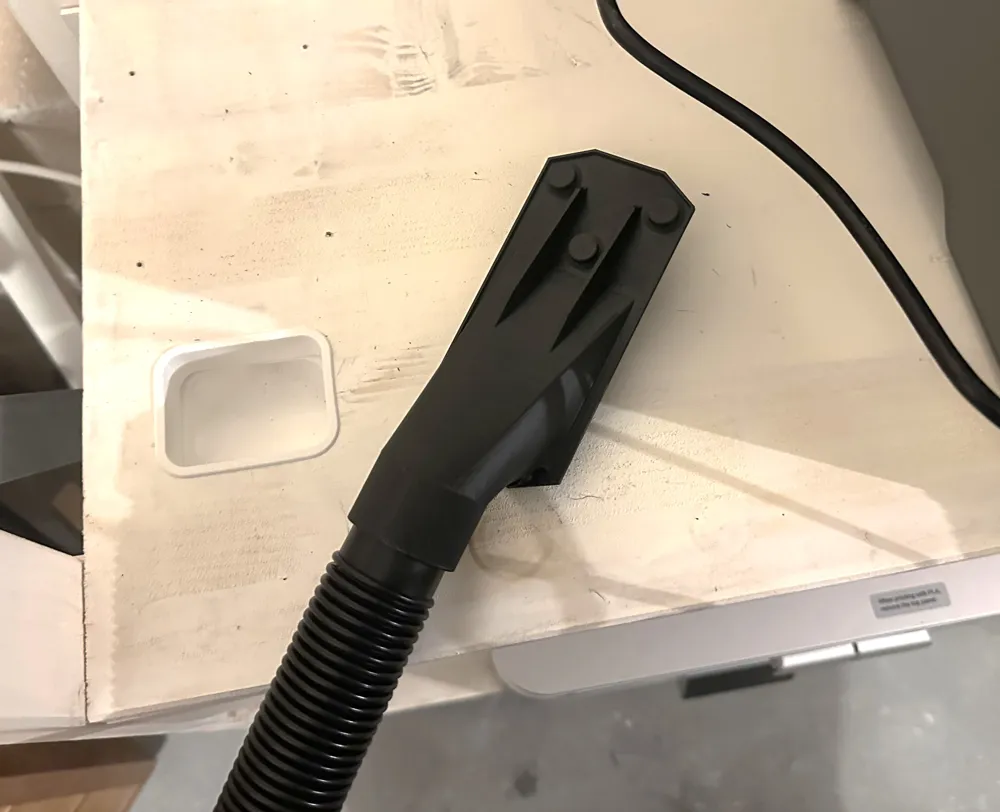
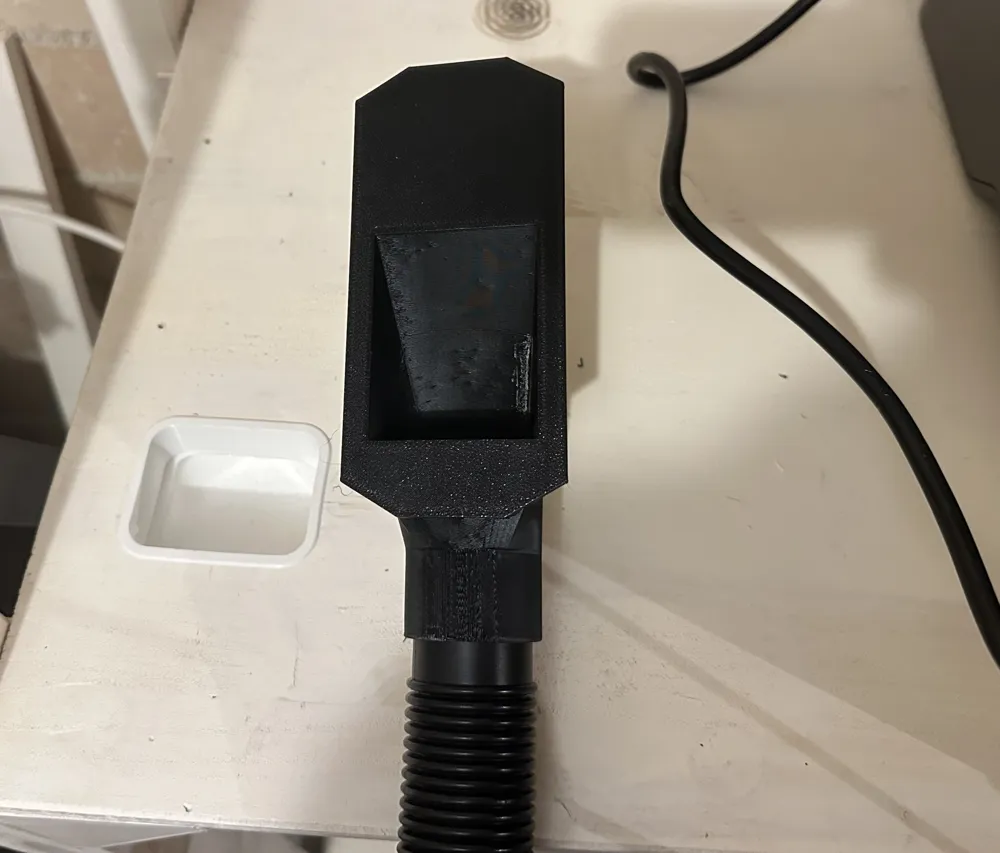
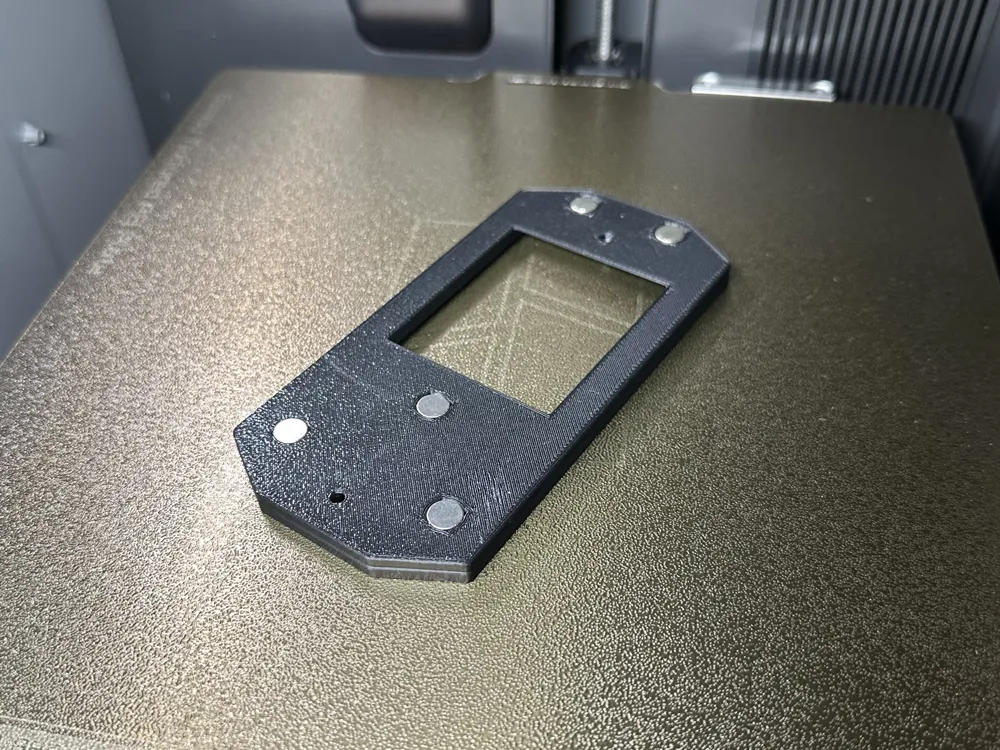
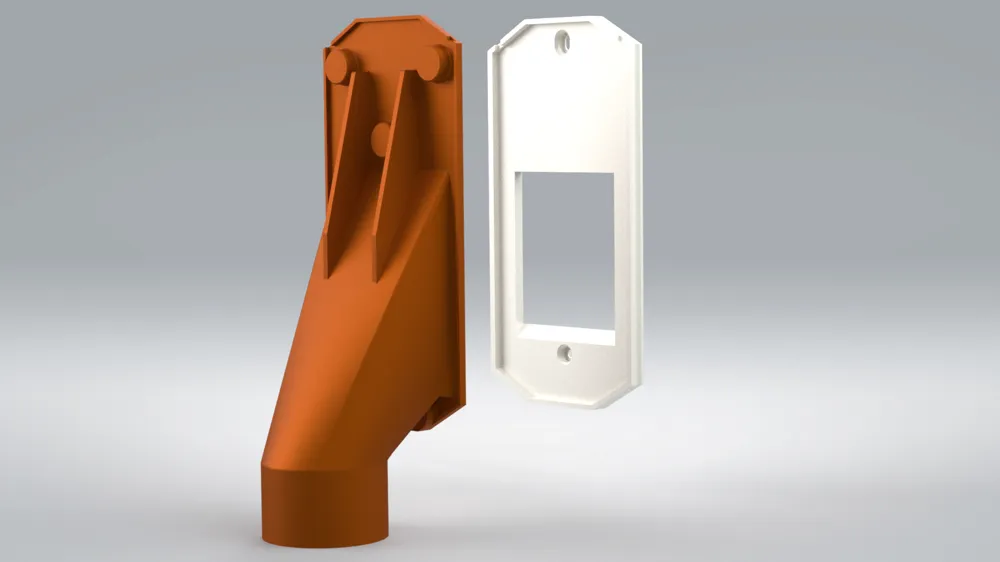
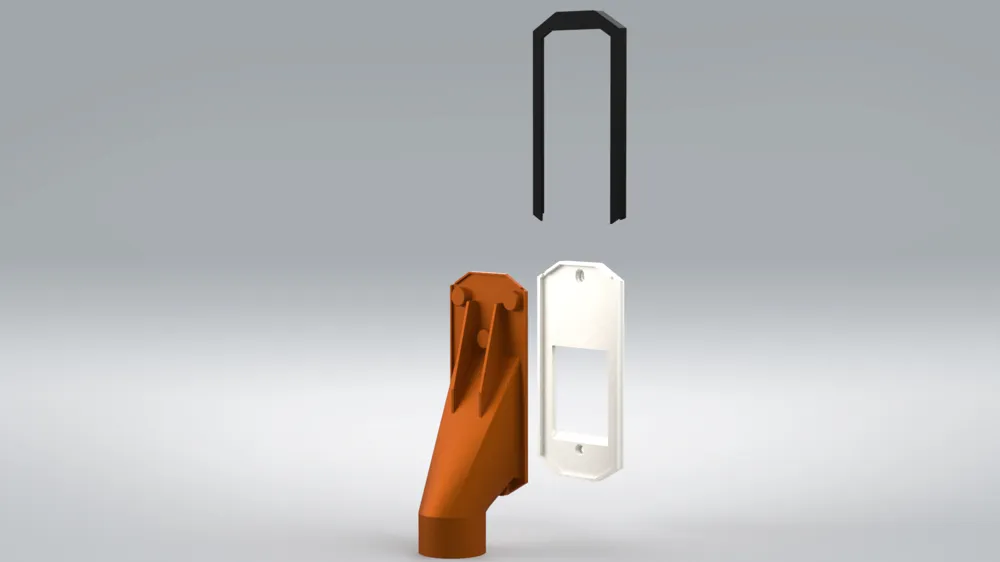
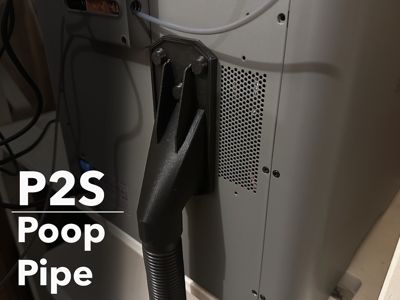
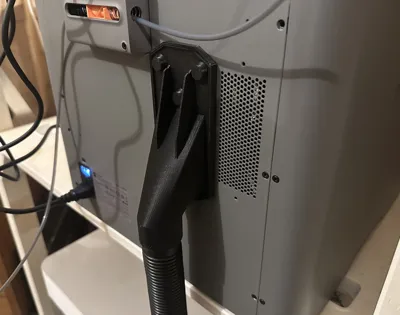
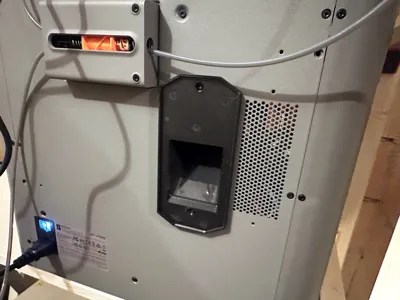
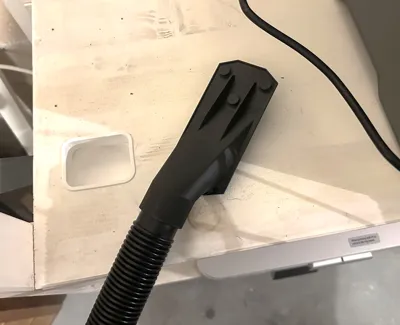
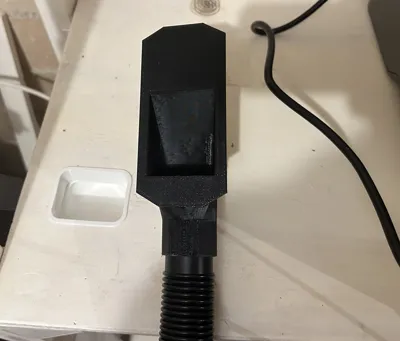
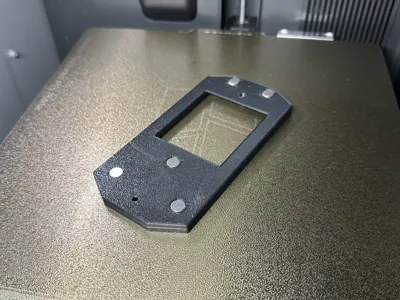
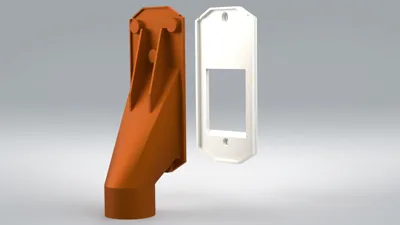
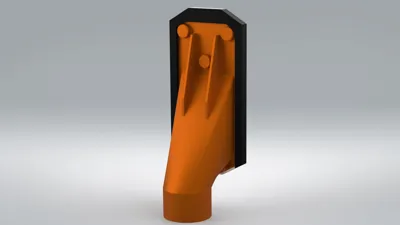
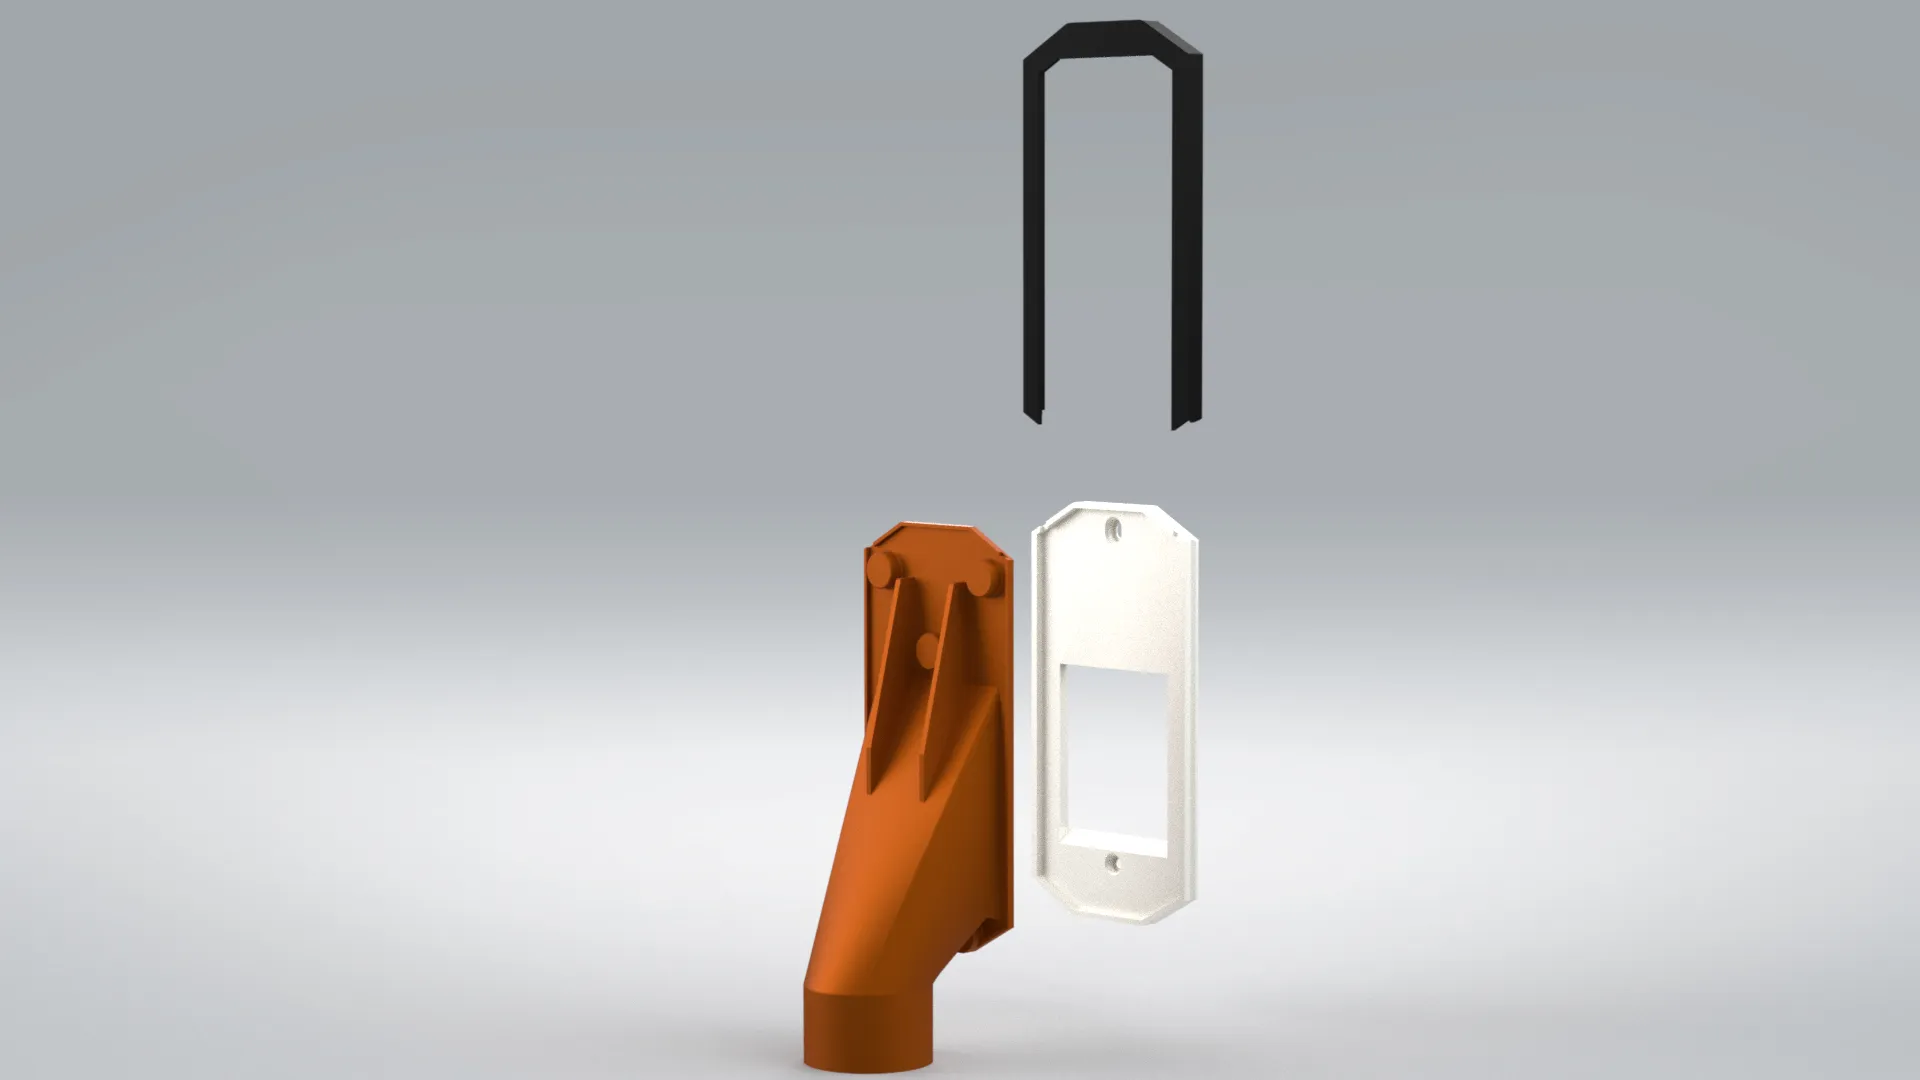
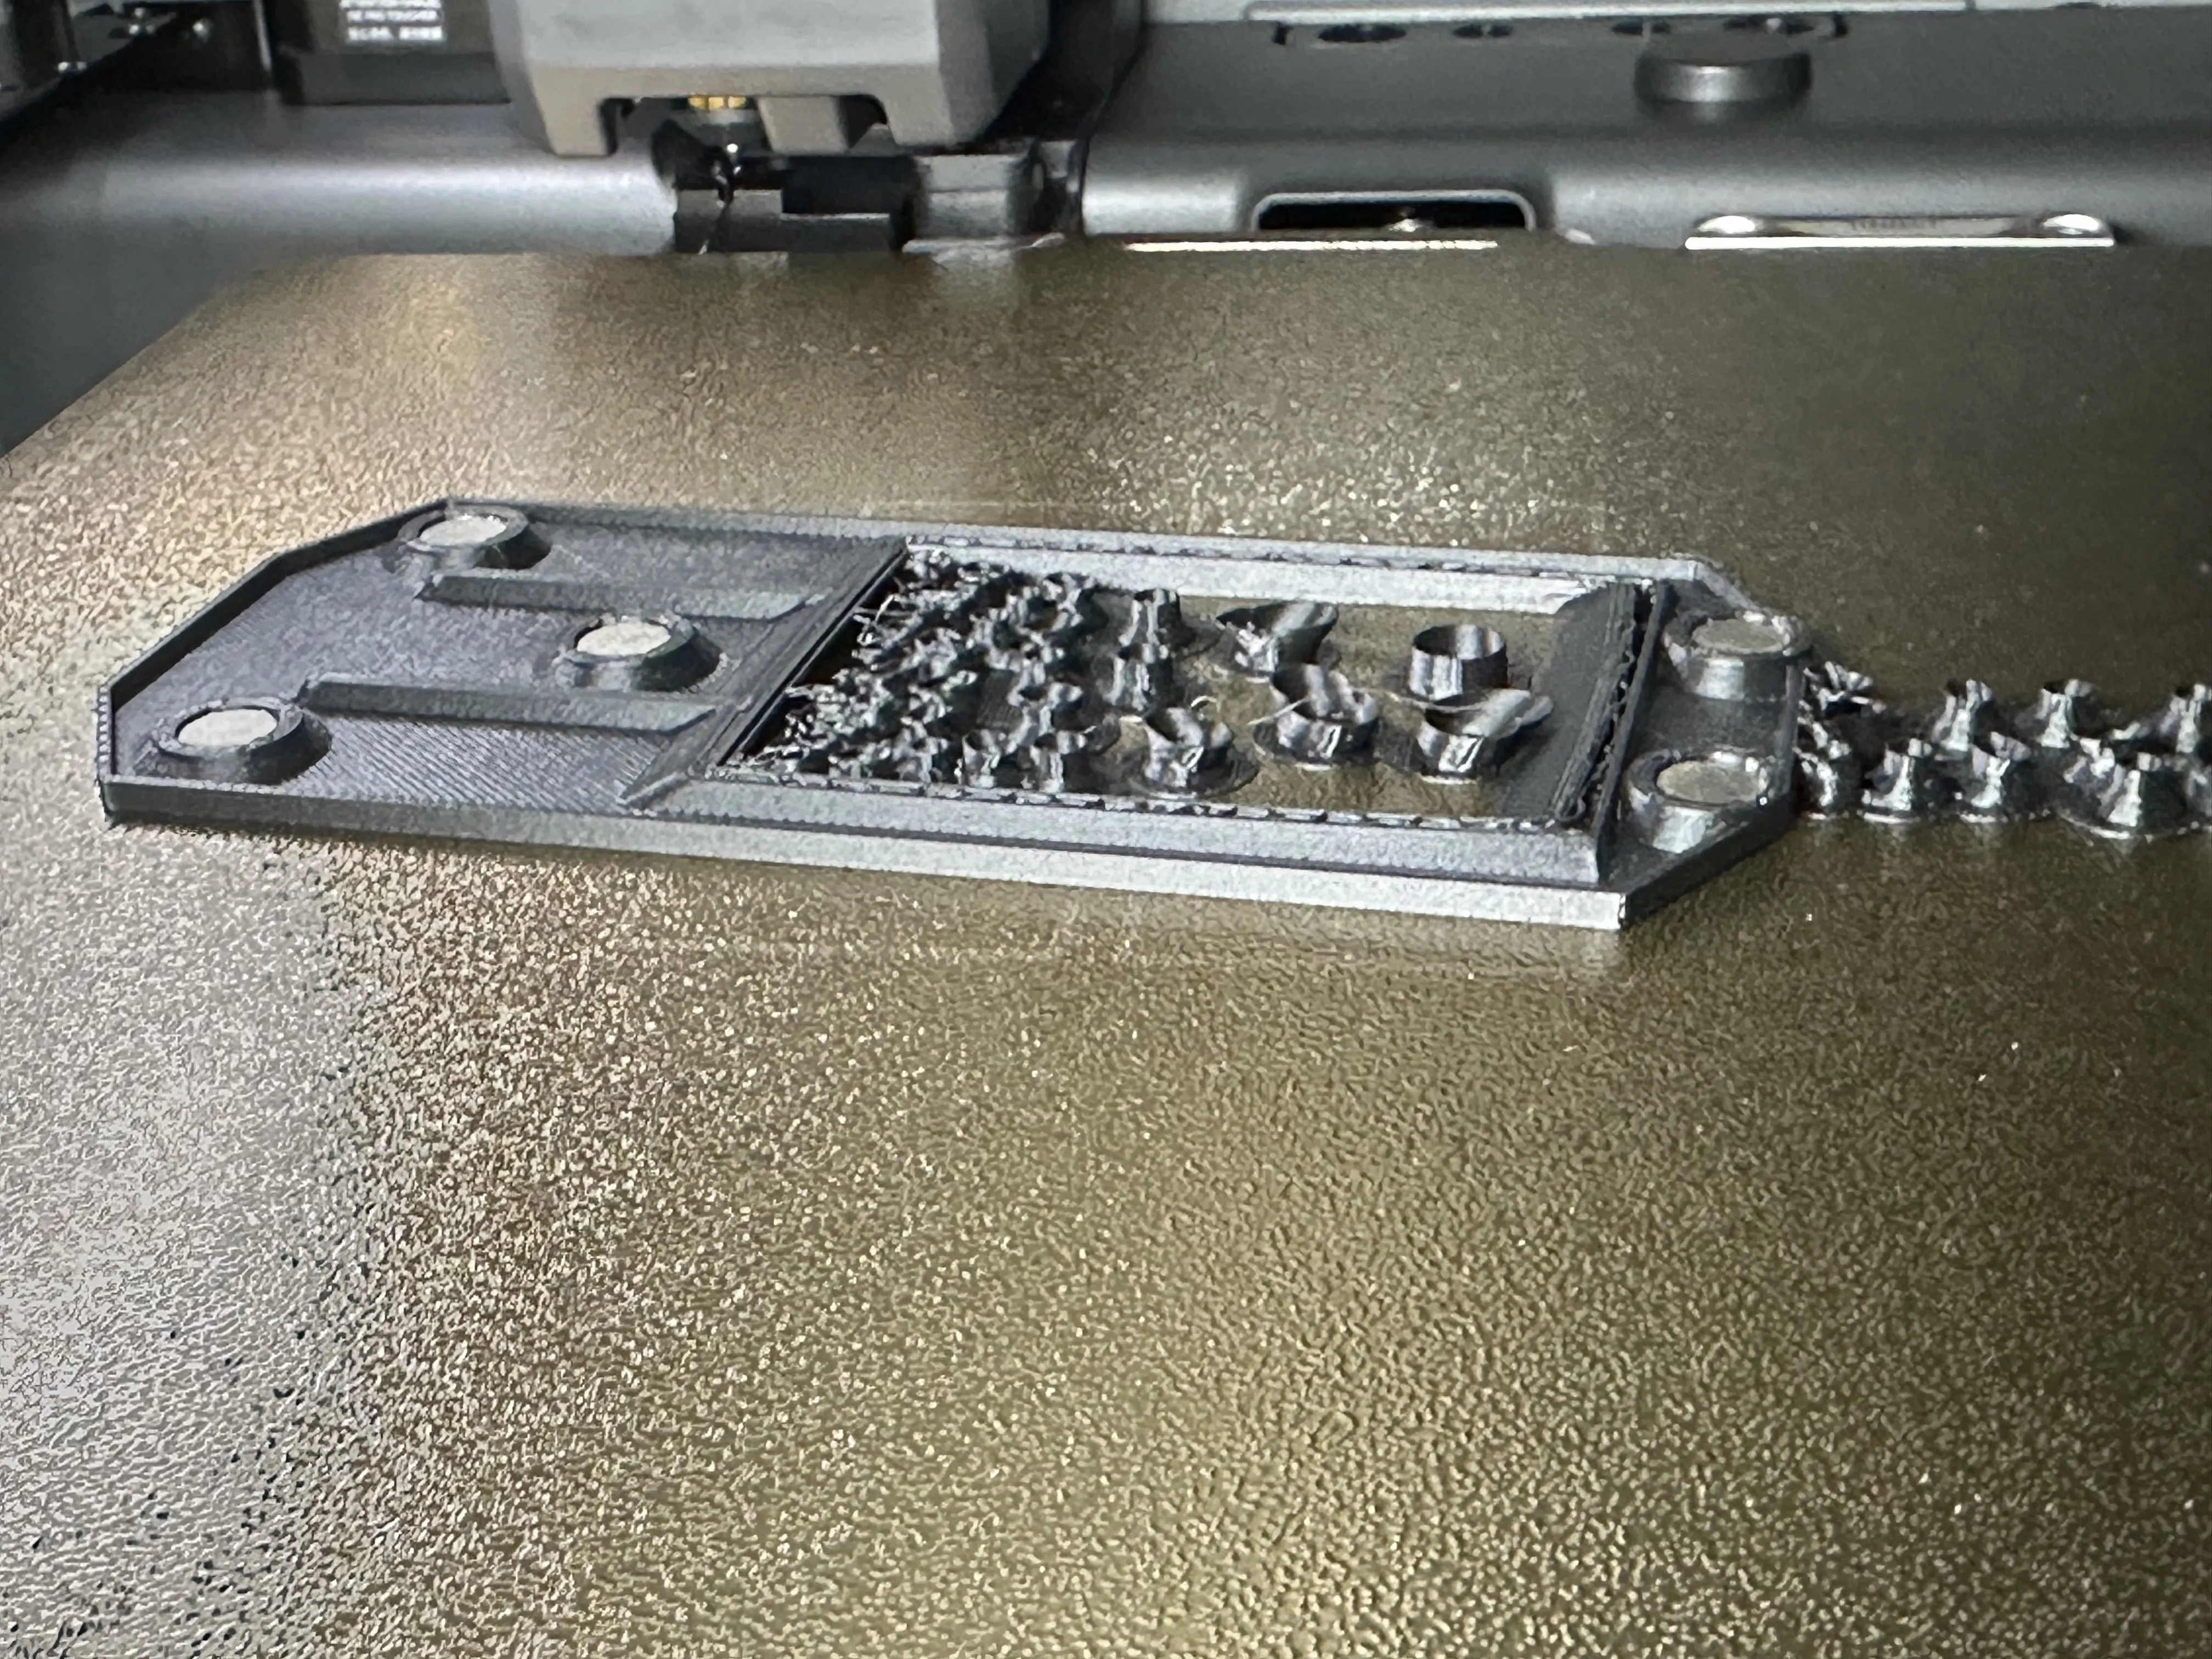
This Poop Pipe, designed specifically for the Bambu Lab P2S, ensures that filament waste is routed cleanly and efficiently out the back of the printer straight into the trash. The system consists of a sturdy mounting plate that attaches to the existing screws on the P2S, as well as a matching counterpart that is mounted directly onto a hose.
The two parts automatically connect using 10 magnets (8×3 mm) - five magnets on each side.
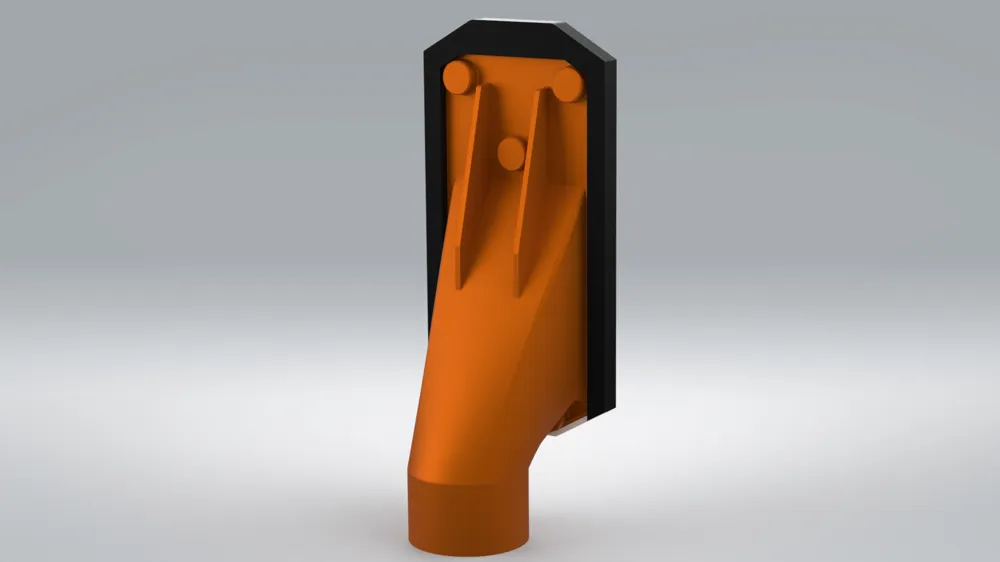
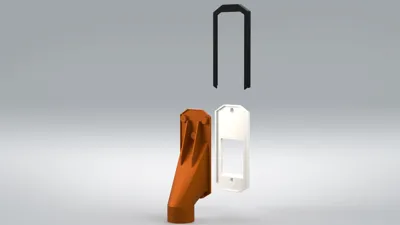
If desired, the magnets can be completely omitted, since the locking slide can secure the connection on its own just as reliably. This slide is inserted from above and prevents the joint from accidentally disconnecting due to pulling forces or leverage from the hose.
The magnet-assisted design allows for very quick, tool-free attachment and removal.
The hose can be connected or detached within seconds whenever needed—perfect for flexible use around the printer.
Hose Compatibility
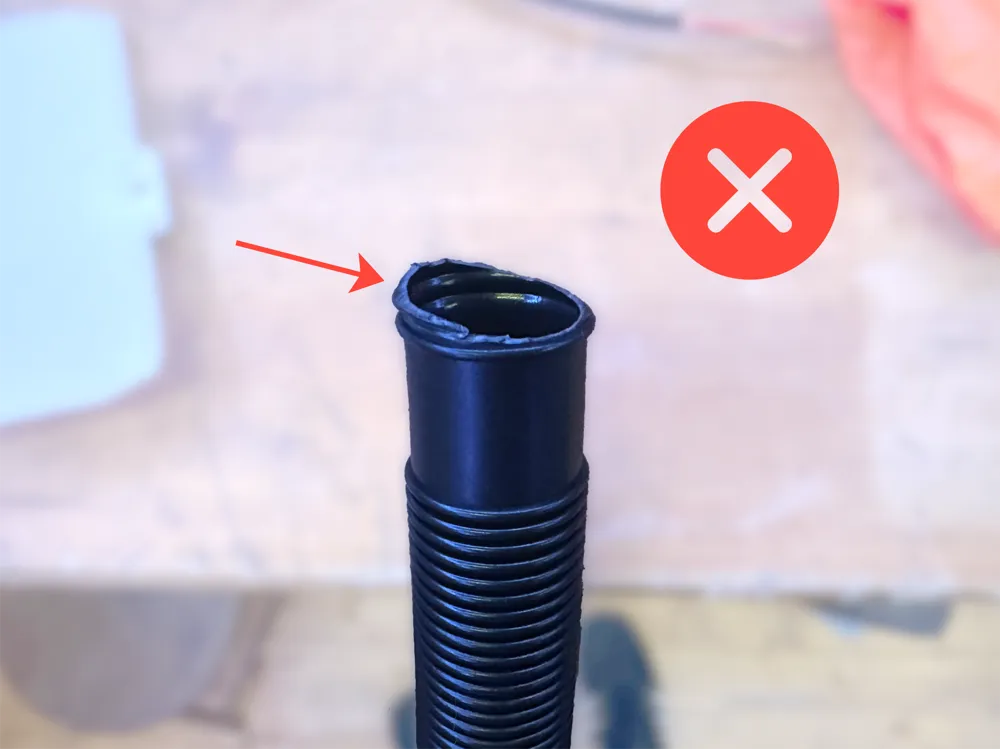
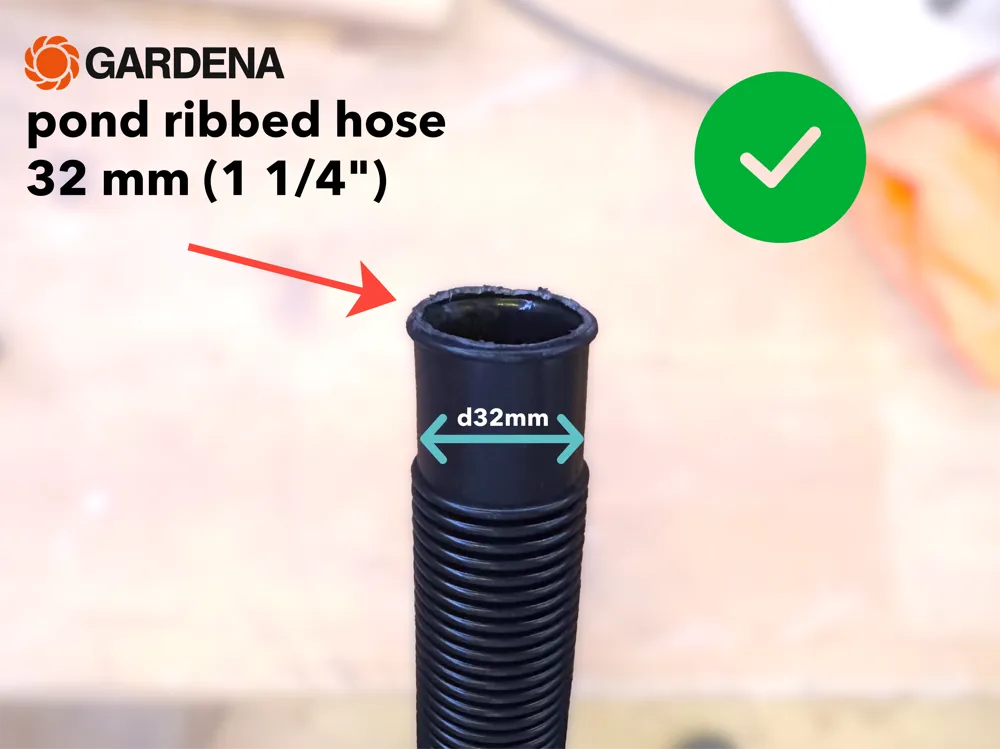
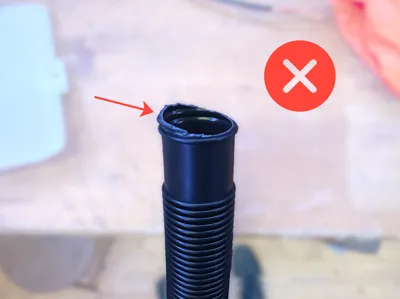
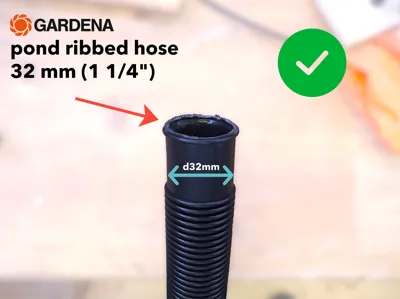
The model is designed by default for a Gardena pond hose, 32 mm (1 1/4"). This hose features a groove that fits perfectly into the adapter without needing any additional tools or clamps.
If you want to use a different hose, the diameter can be adjusted from 30-40mm via “Customize” on MakerWorld, and a matching 3D file can be generated automatically.
Hose larger than 40 mm:
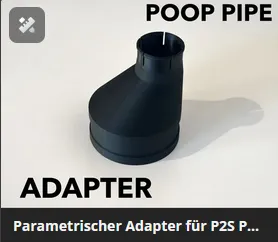
If you want to use a hose with a diameter larger than 40 mm, please use my adapter model. It can also be customized, within a diameter range of 40 to 120 mm. After that, you can combine the adapter with this model (standard version: 32 mm).
Between 30 and 40 mm:
1. Use the Parametric Model Maker by clicking "Customize" at the top.
2. Set the diameter you want, then download the file.
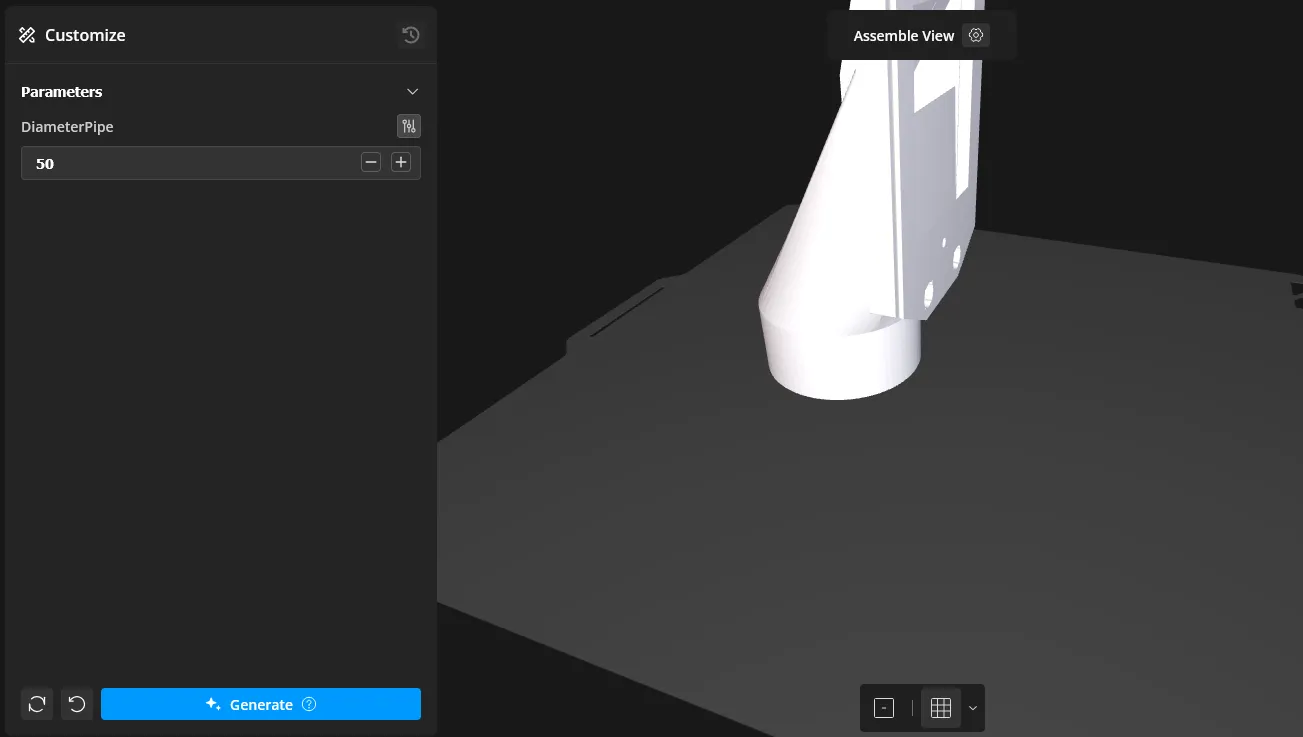
3. Load the default print profile (not customized) in BambuStudio. Delete the main component and import the one created in Parametric Model Maker.
4. Now align the whole thing on the plate.
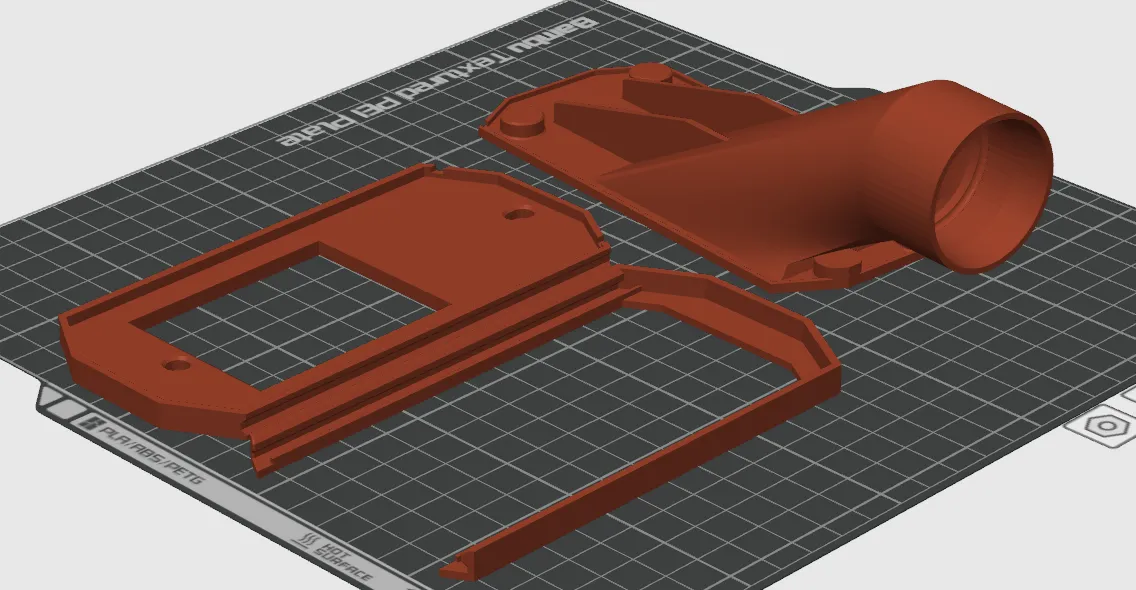
5. Insert a pressure stop at the height of each magnet. (See below for more information.)
Printing Instructions
- Material recommendation: PETG or similar
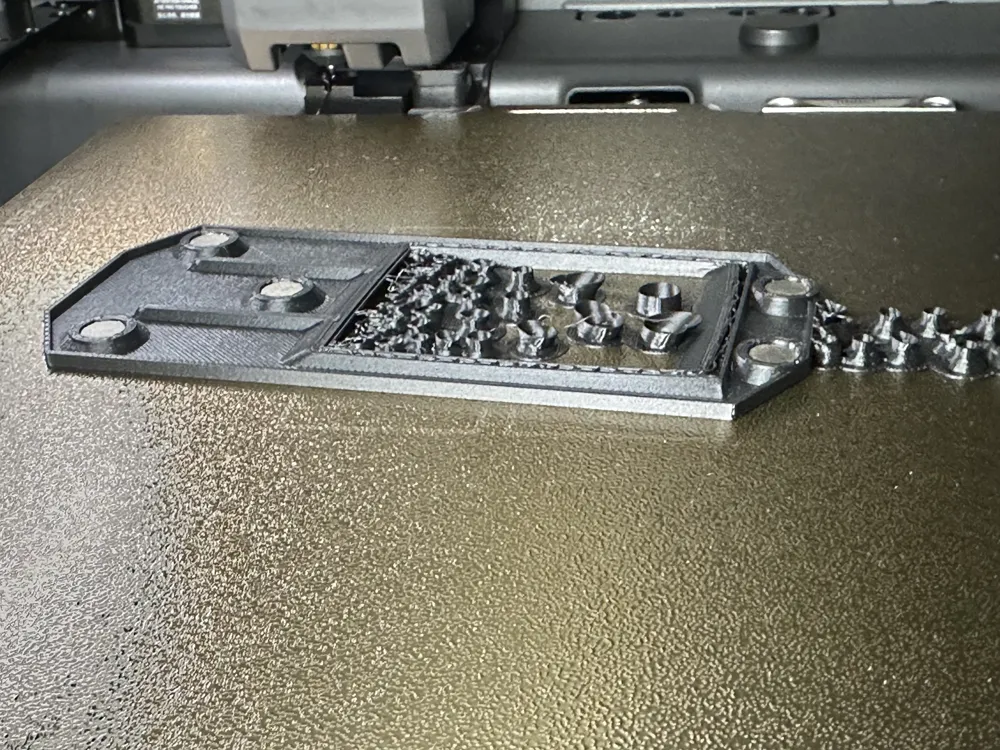
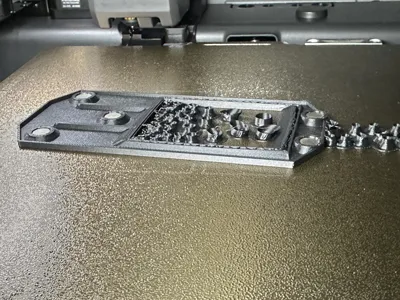
- Support material: Only minimal support is required.
Important: Make sure no supports are generated inside the magnet pockets. - Magnet installation:
- Mounting plate: Press in 5× 8×3 mm magnets after printing.
- Hose adapter: Insert 5× 8×3 mm magnets during the print and let them be printed in.
A corresponding print pause is included in the print profile.
Boost Me (for free)
If you liked the model, I would be incredibly happy about a boost!
License

You shall not share, sub-license, sell, rent, host, transfer, or distribute in any way the digital or 3D printed versions of this object, nor any other derivative work of this object in its digital or physical format (including - but not limited to - remixes of this object, and hosting on other digital platforms). The objects may not be used without permission in any way whatsoever in which you charge money, or collect fees.


Comment & Rating (66)