
P2S & X2D Riser With LED & Exhaust Features
Print Profile(1)

Bill of Materials


Description

Updated : Fixed shutter mismatch and correct thickness sizes
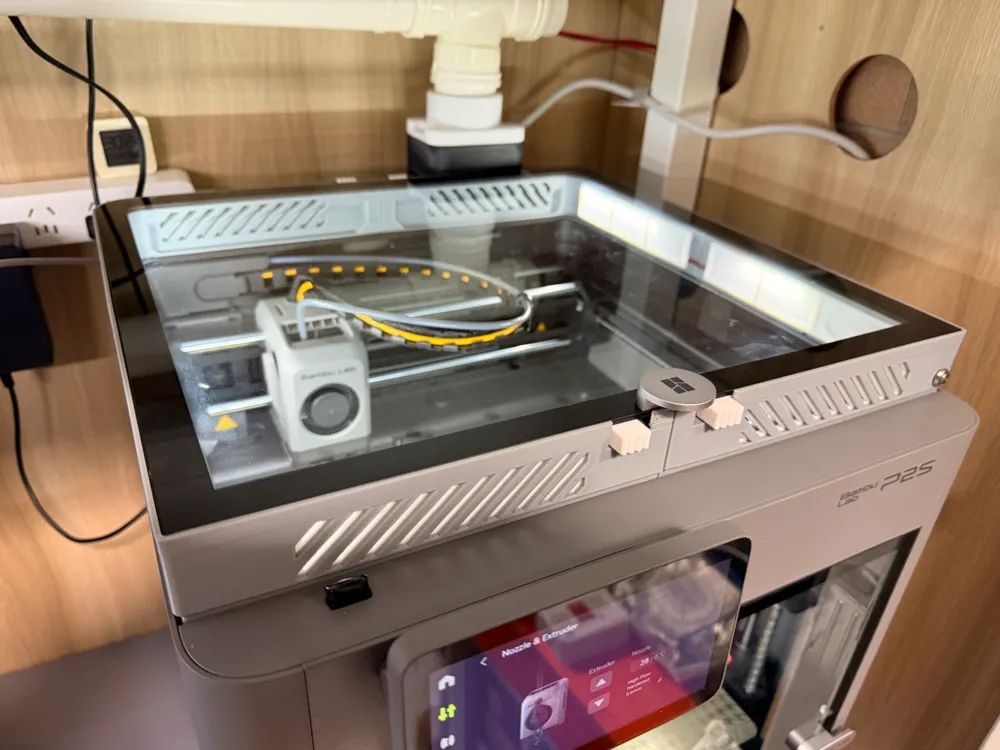
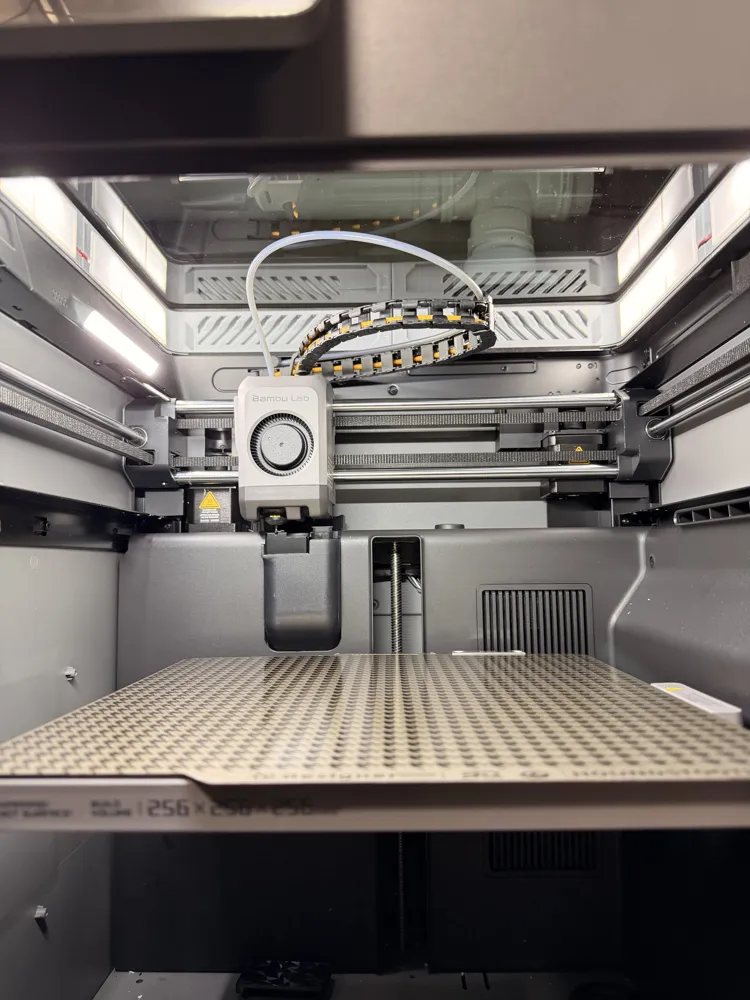
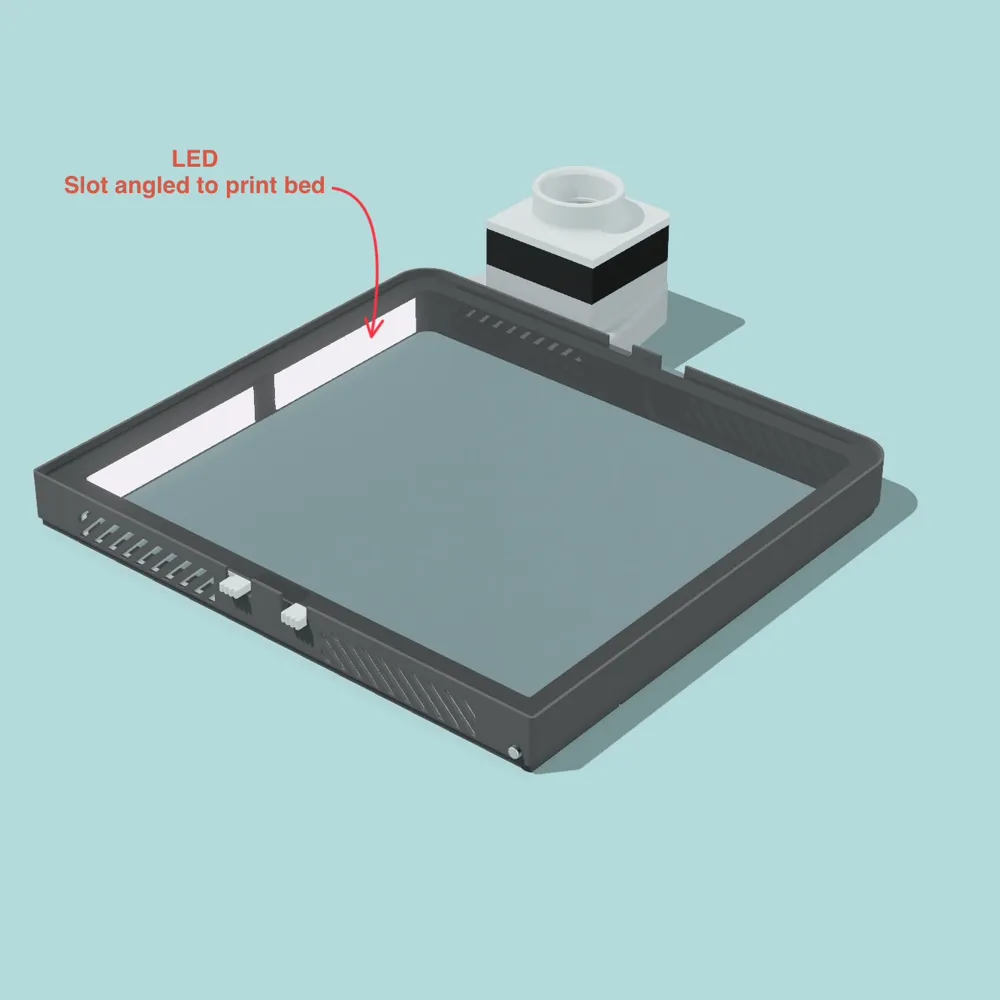
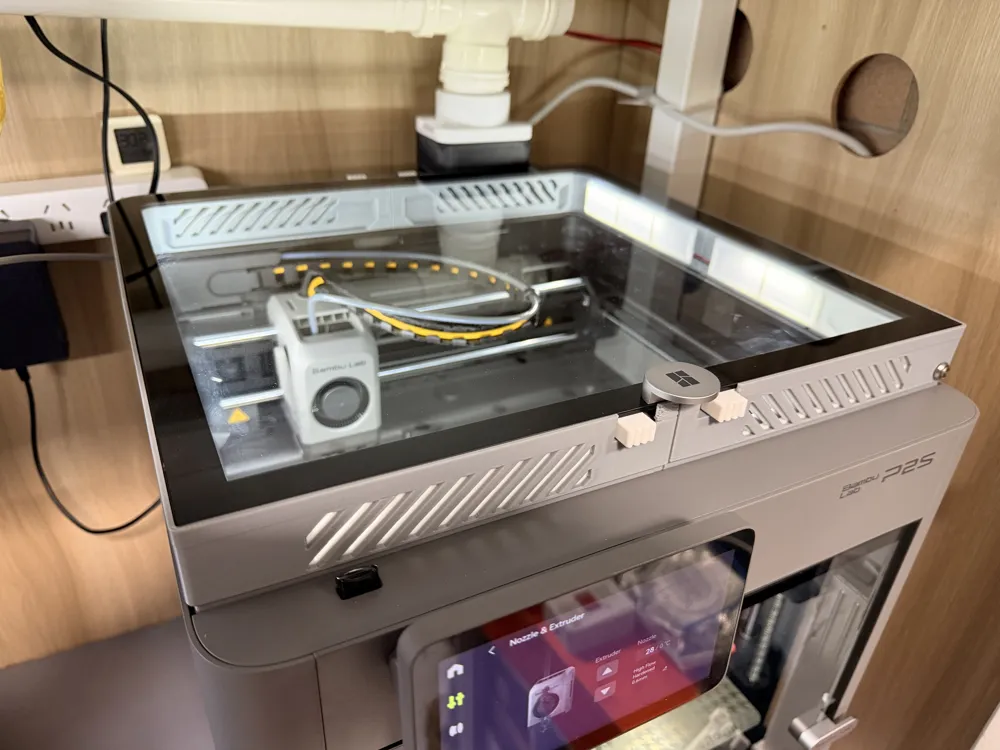
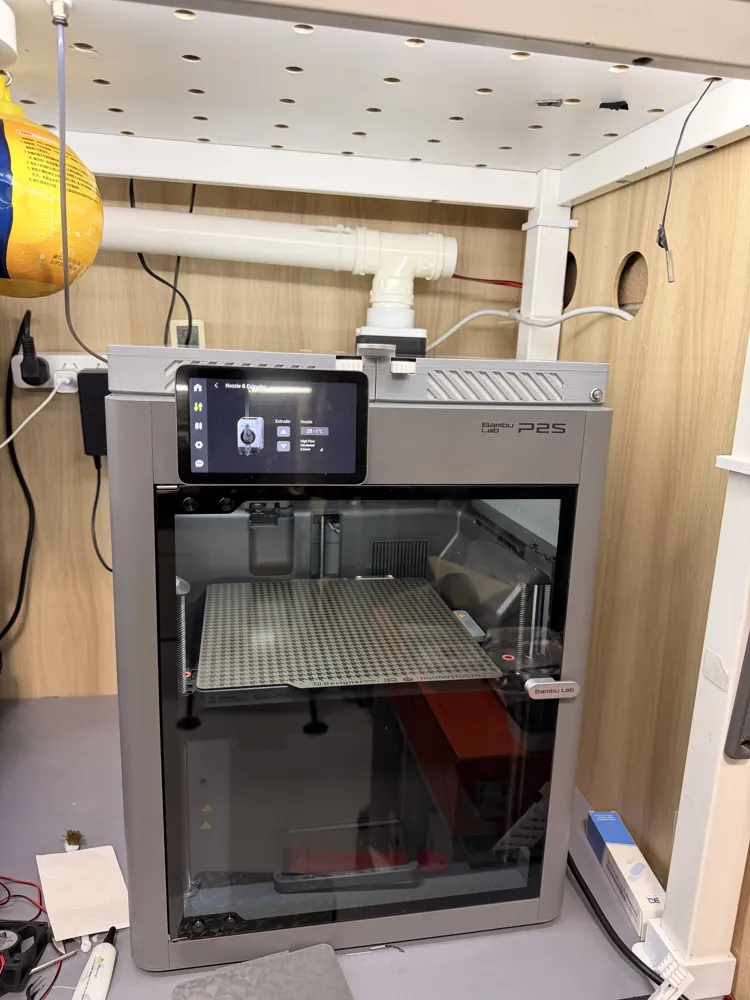
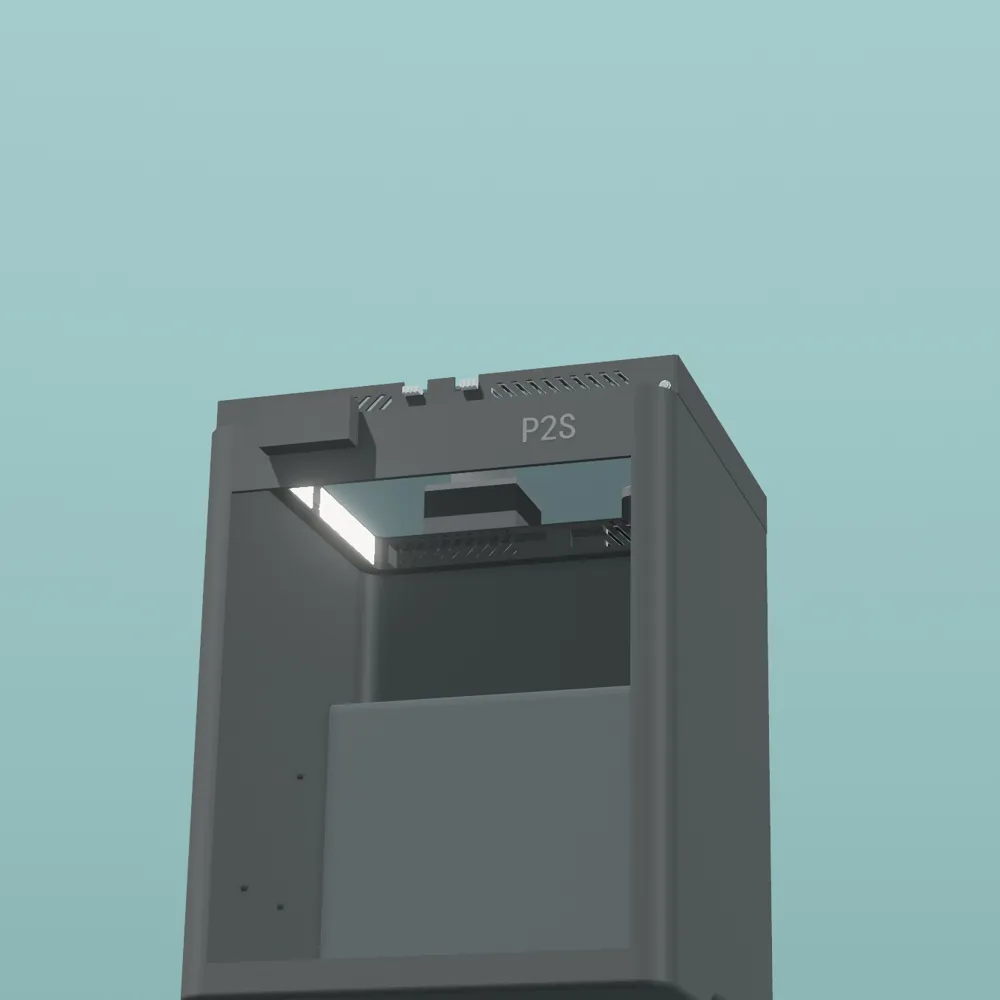
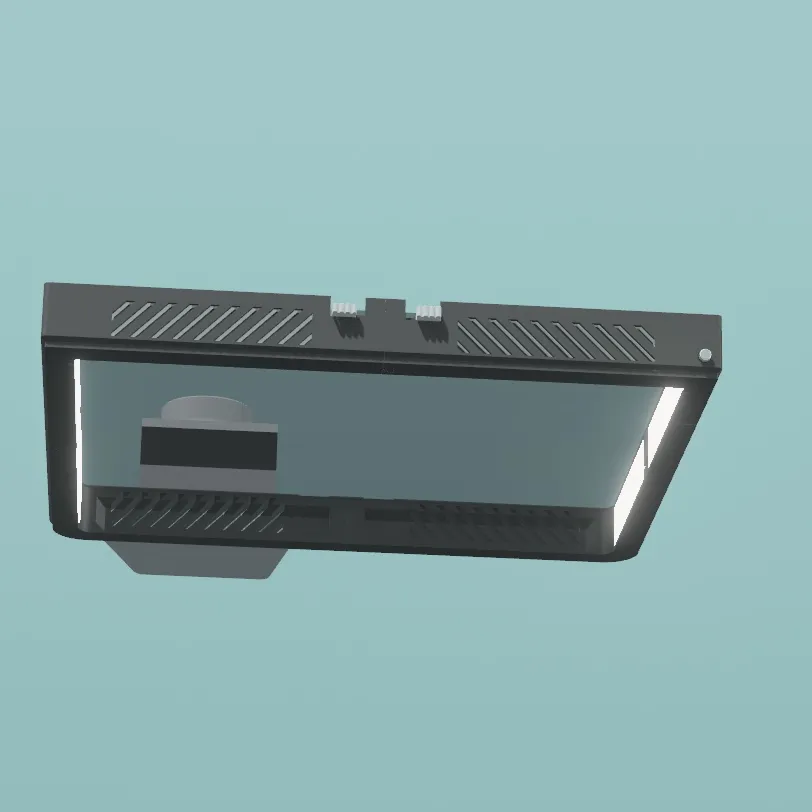
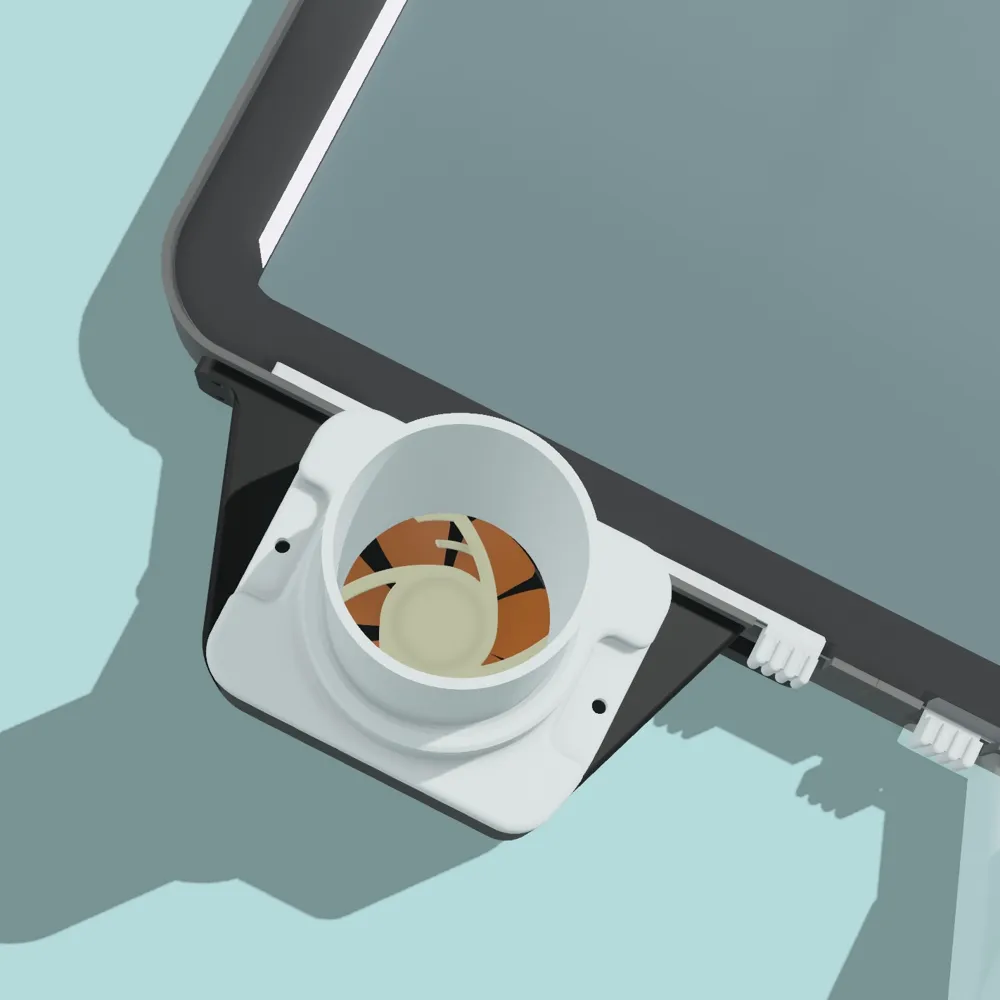
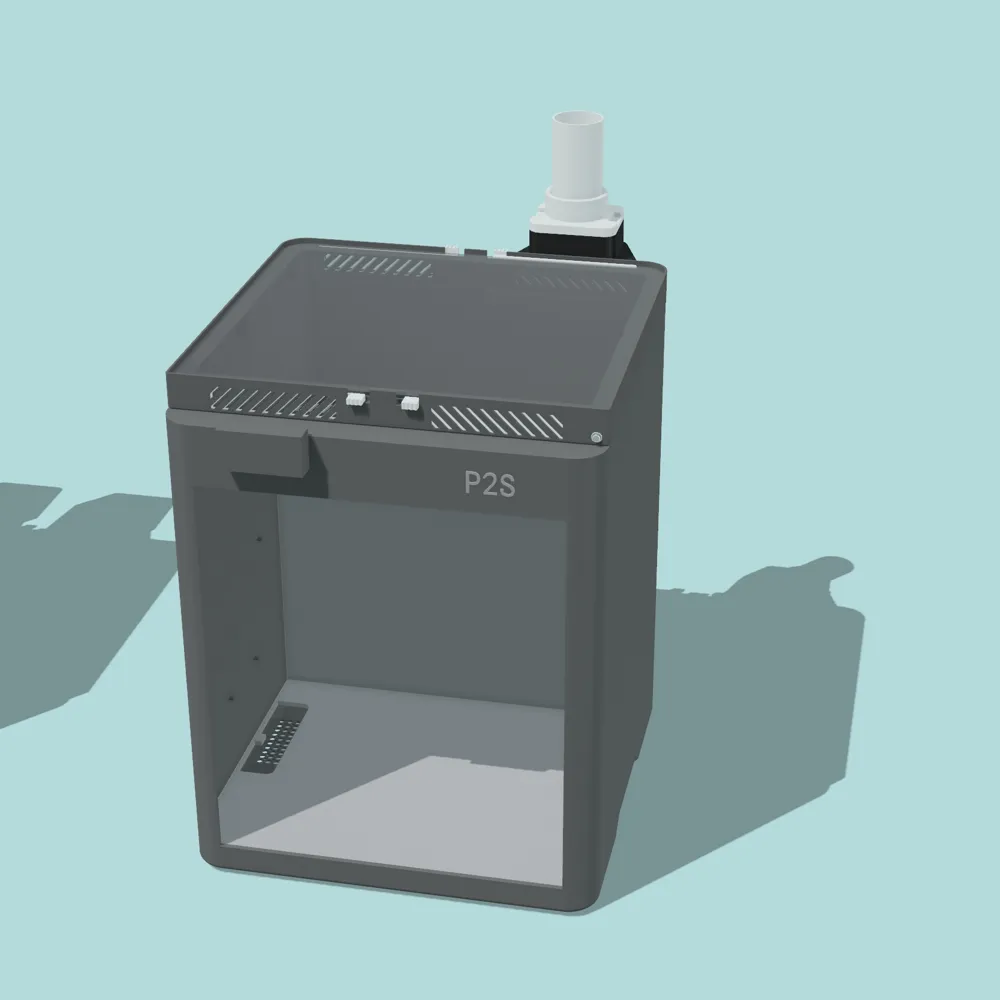
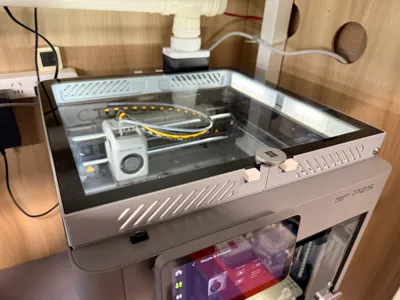
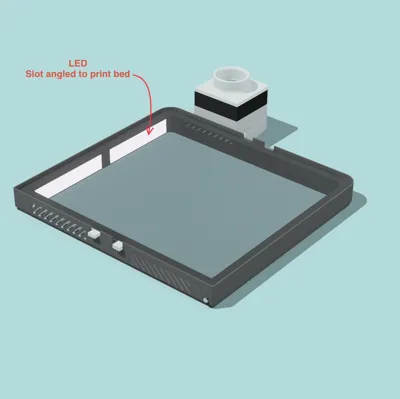
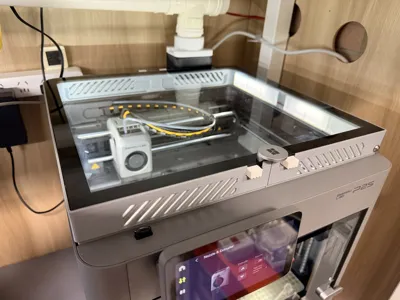
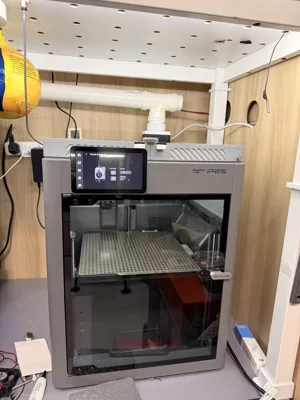
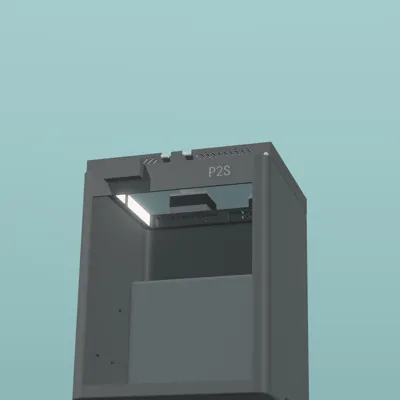
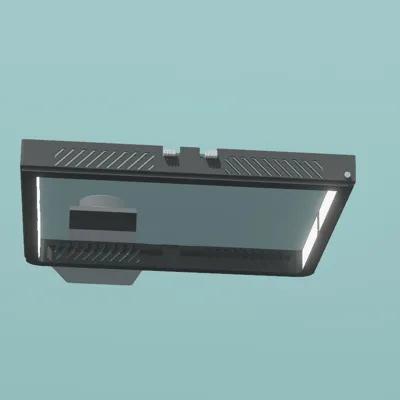
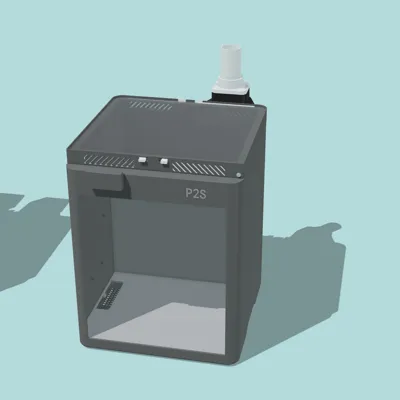
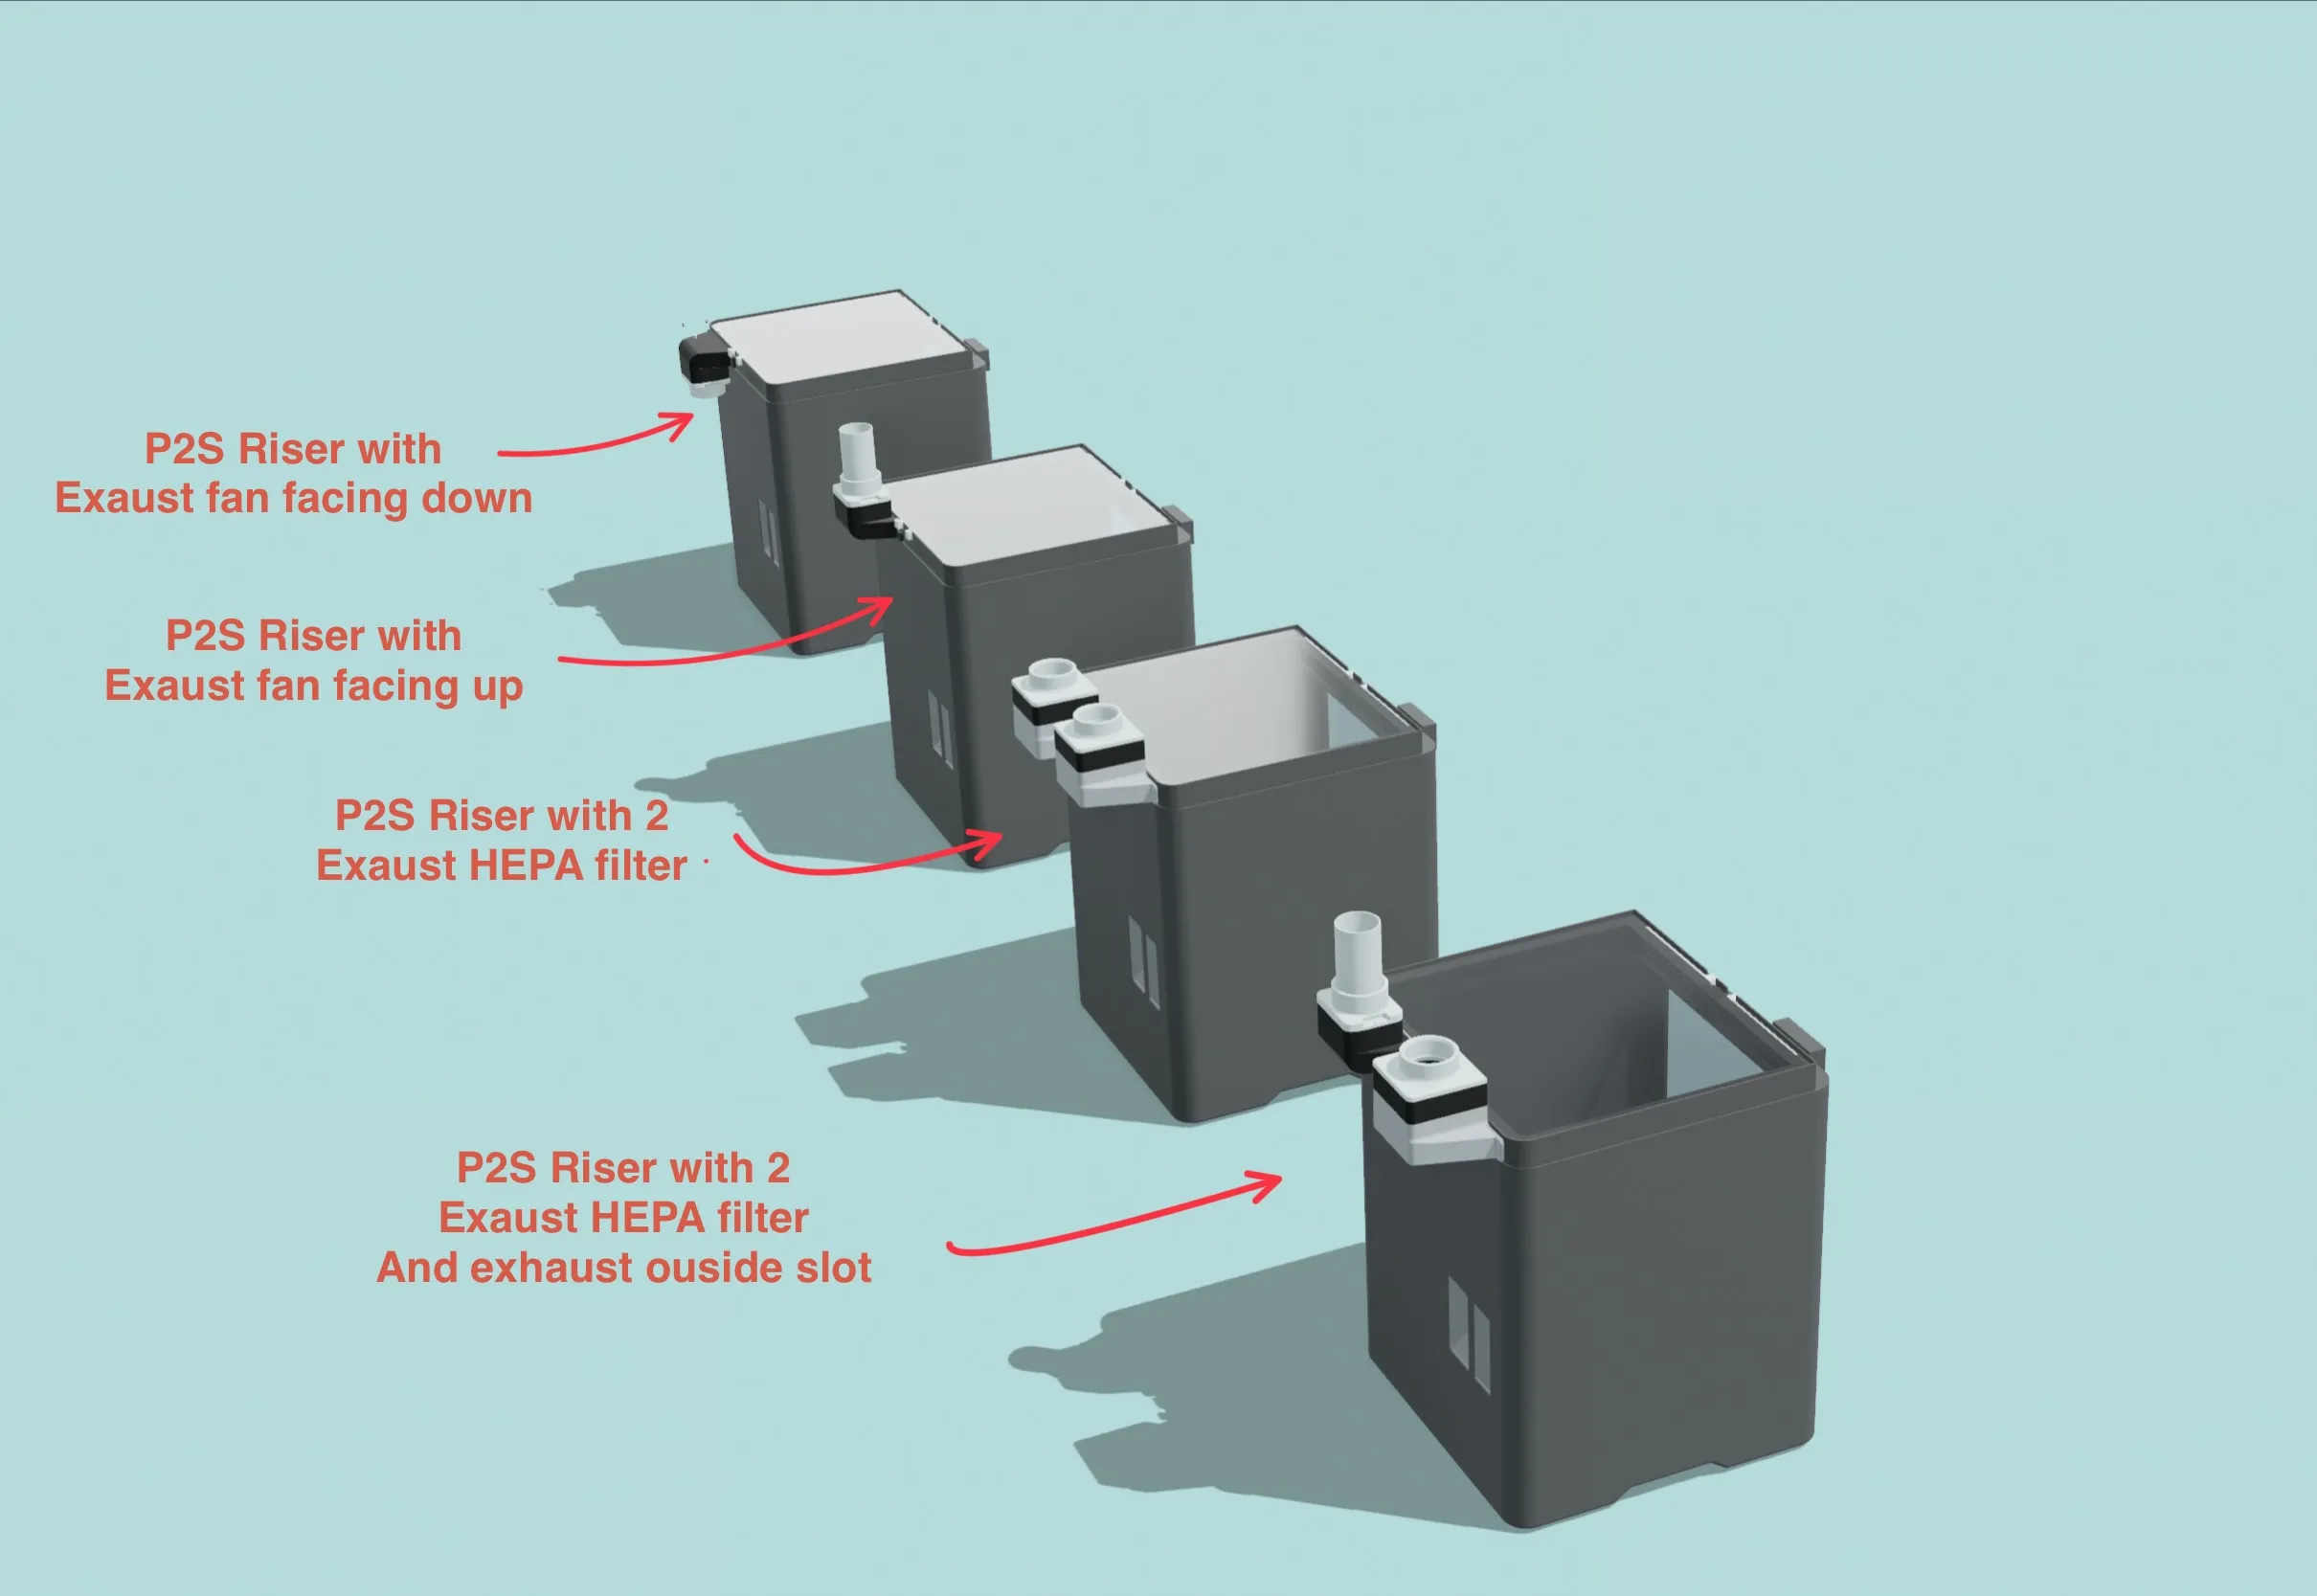
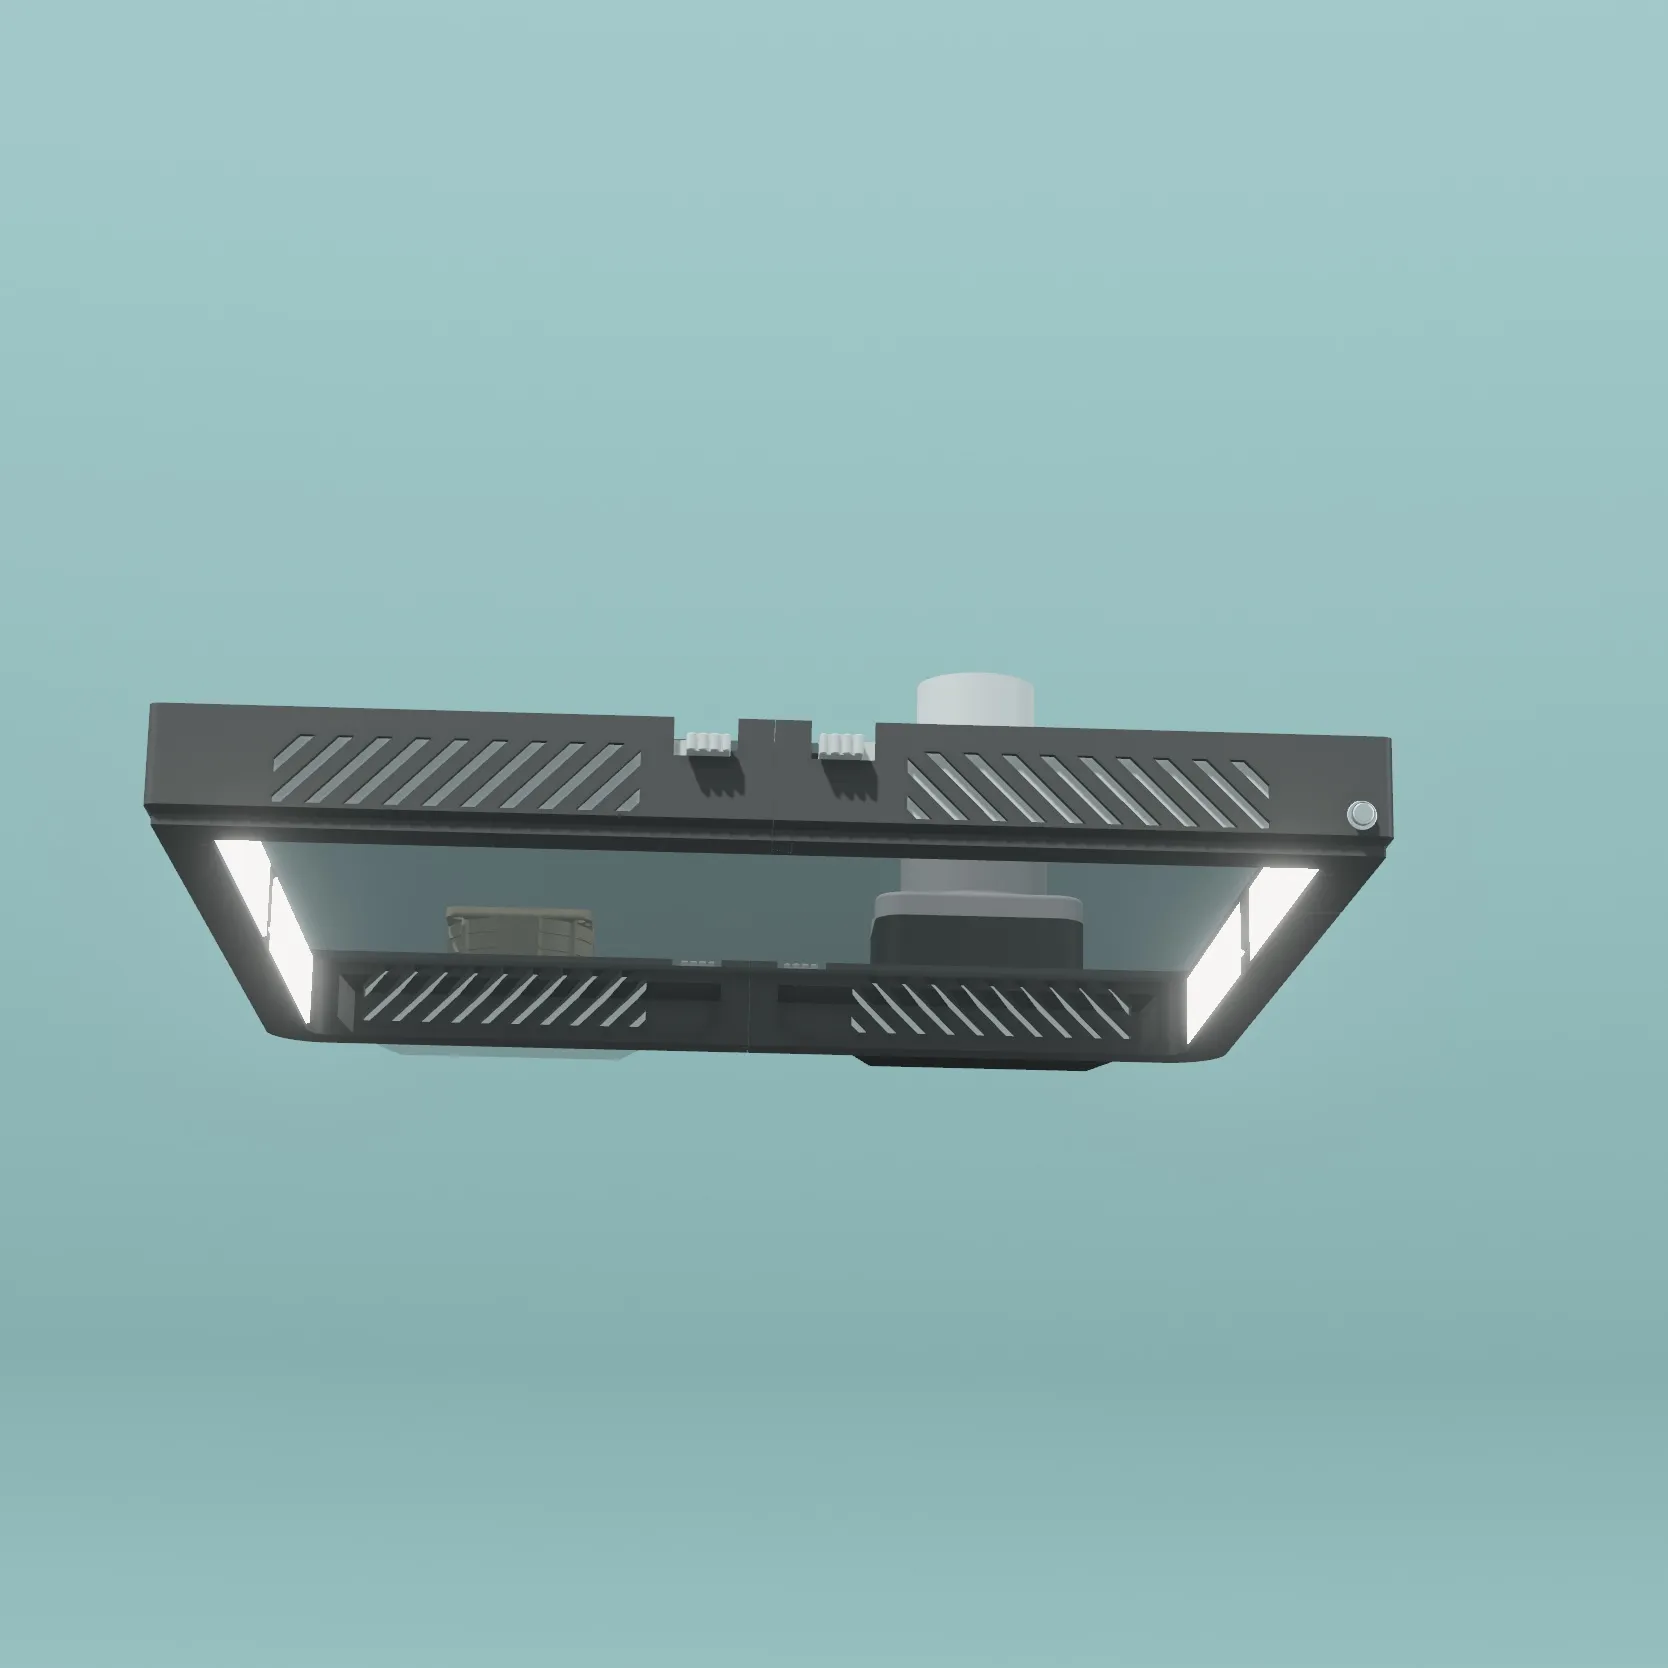
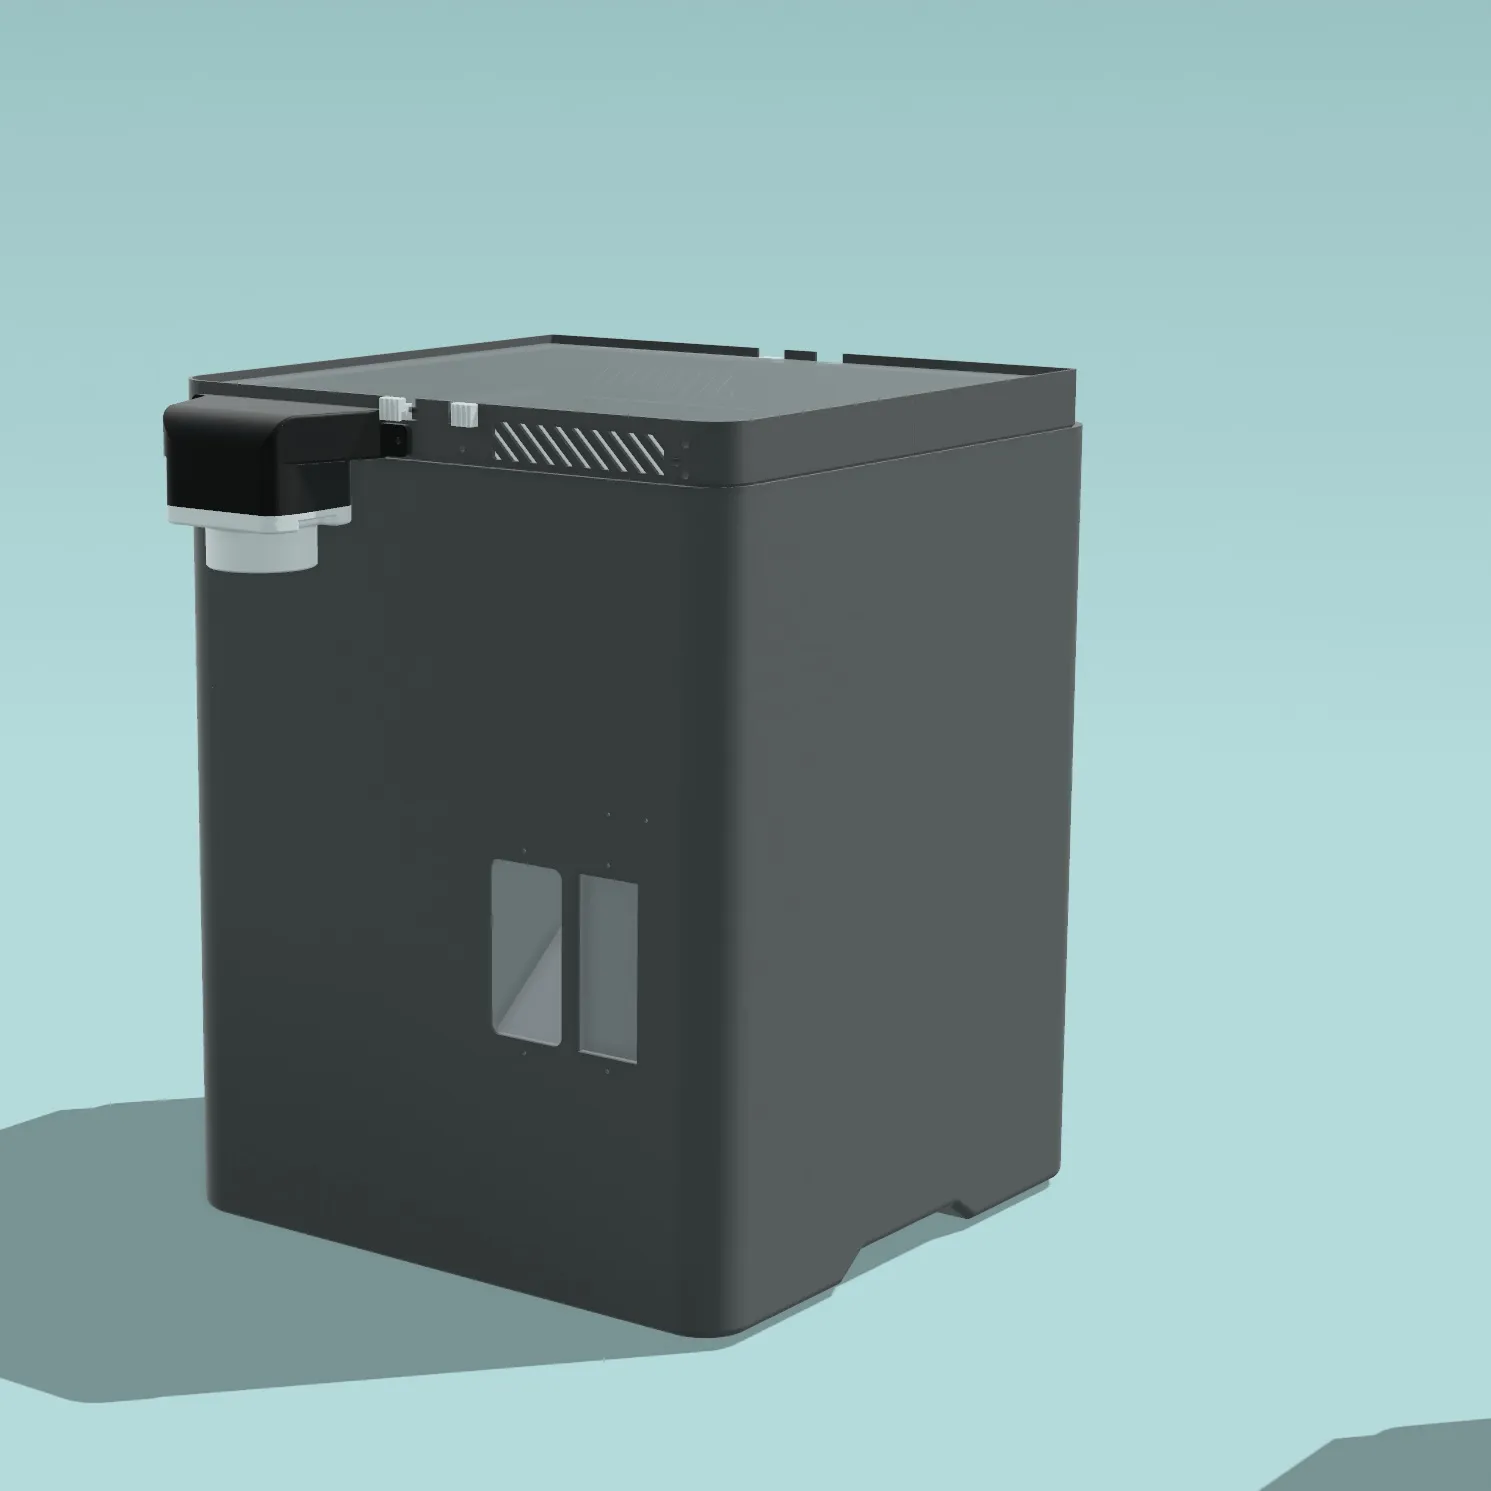
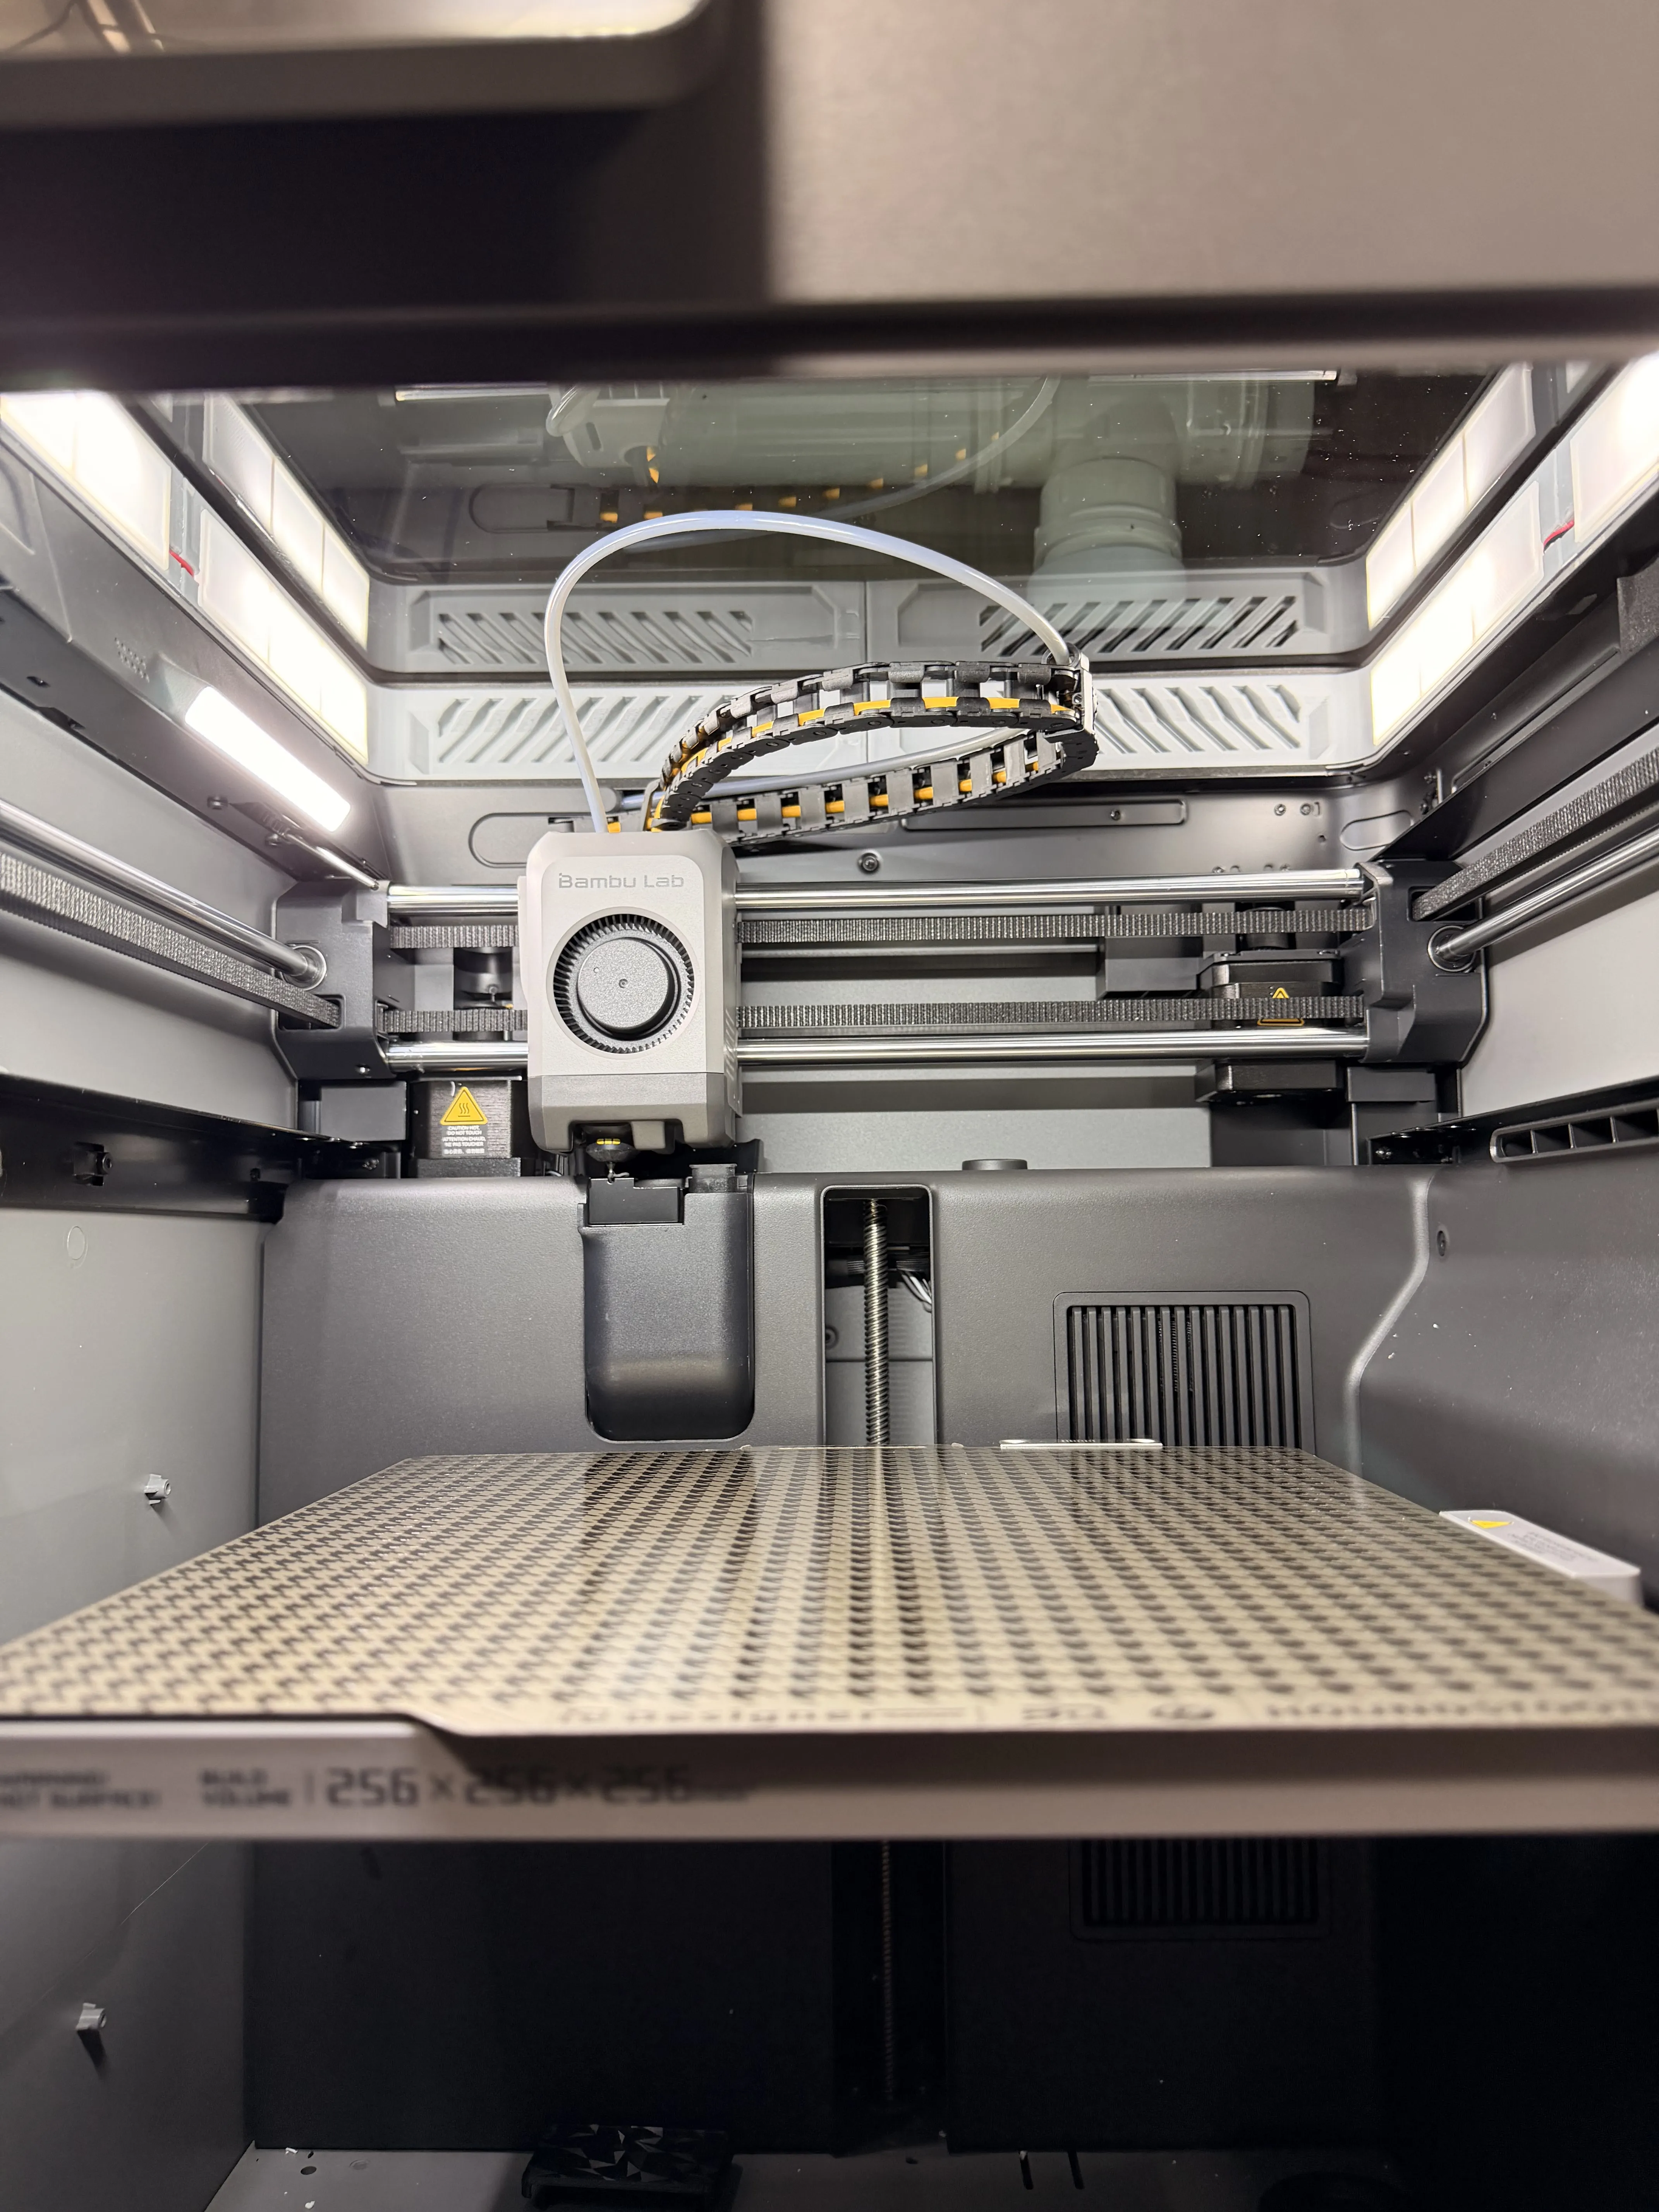
This P2S riser is designed for better ventilation and comes packed with useful features, including an LED light slot, a cable-management channel, and an optional exhaust-fan mount.
Exhaust Fan (Optional)
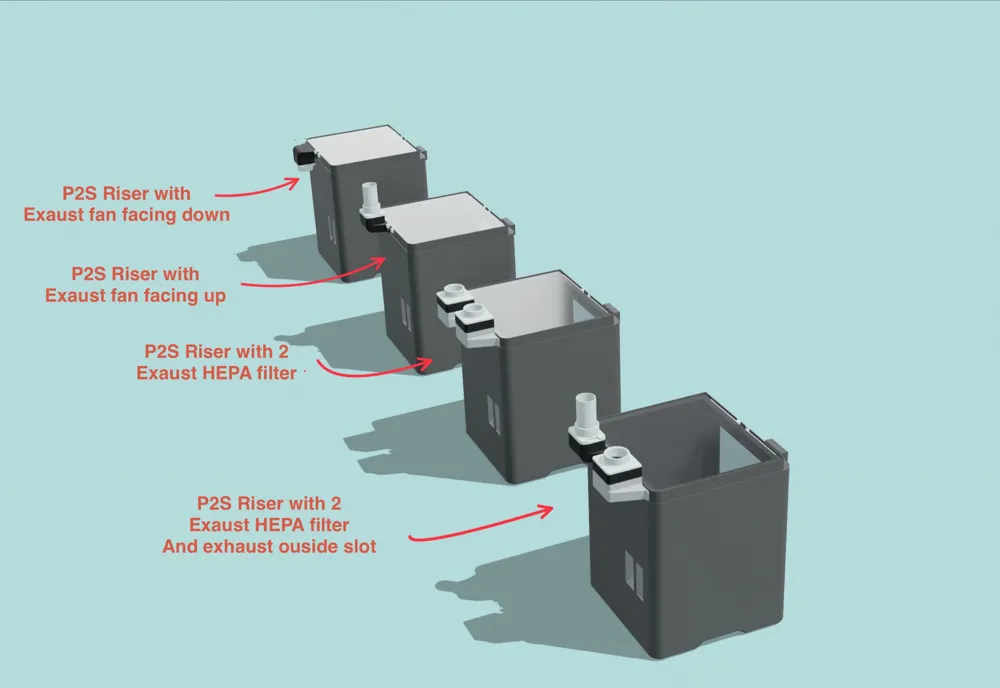
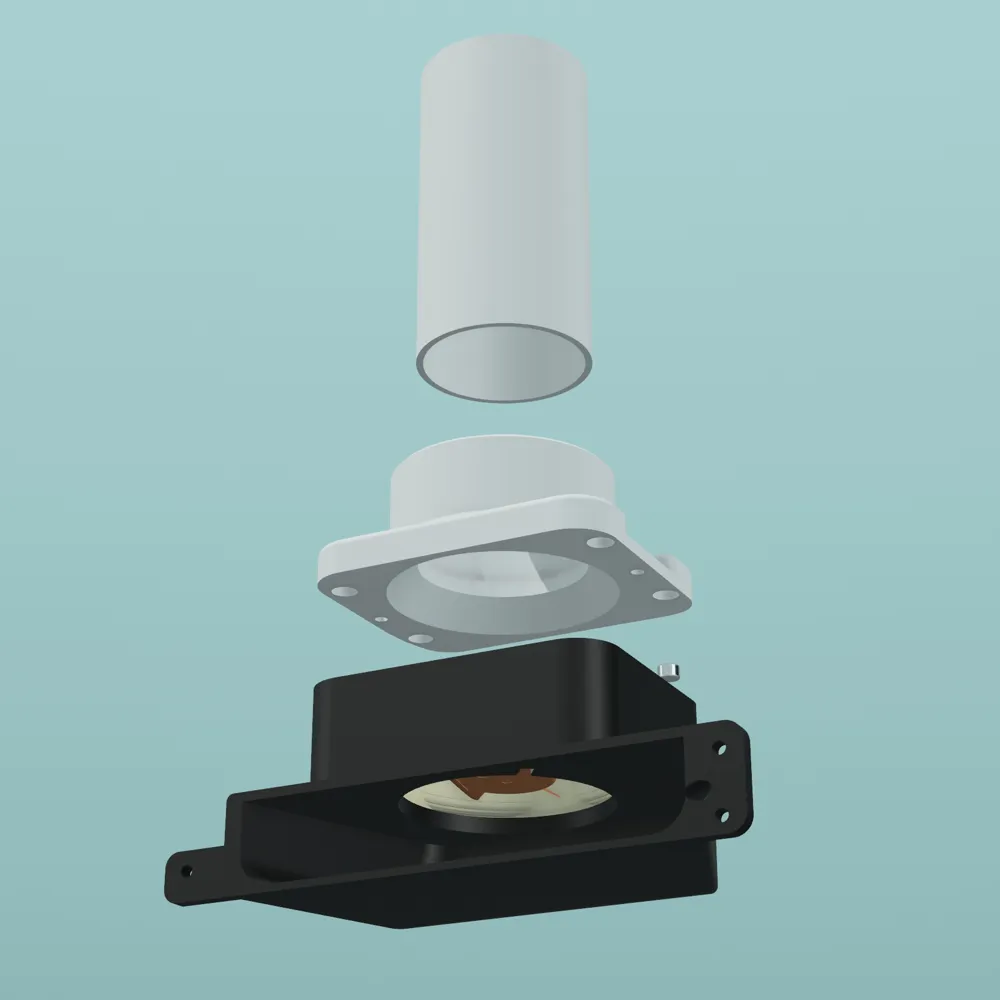
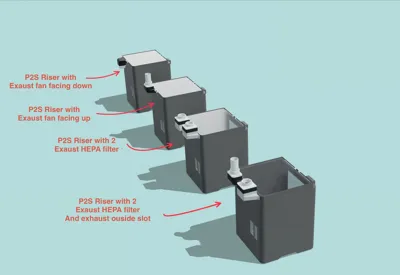
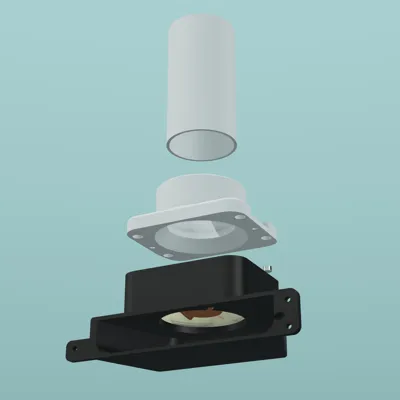
There are two exhaust fan configurations:
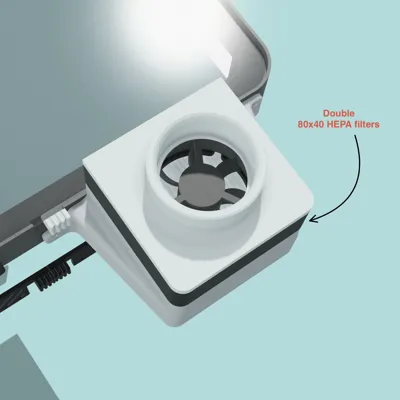
- Indoor Venting
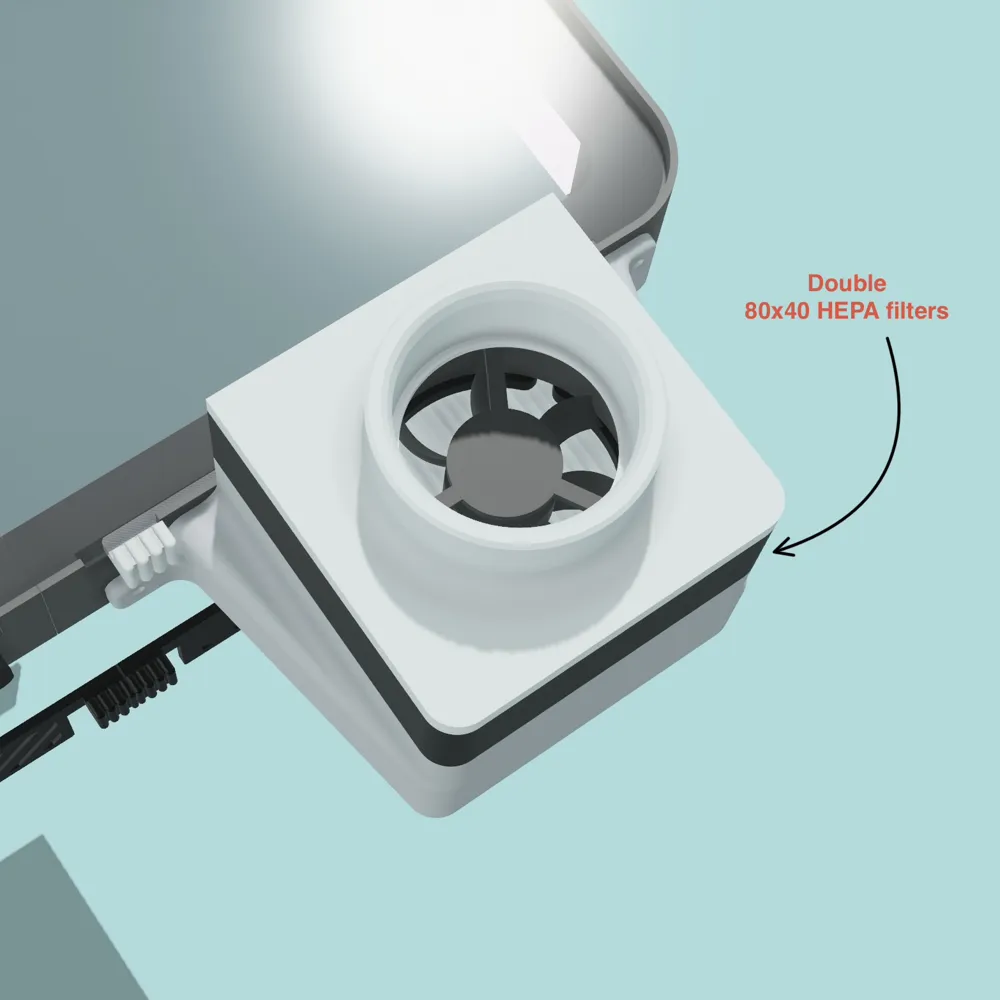
Includes slots to install two 80×40 HEPA filters for improving air quality inside the room. - Outdoor Venting
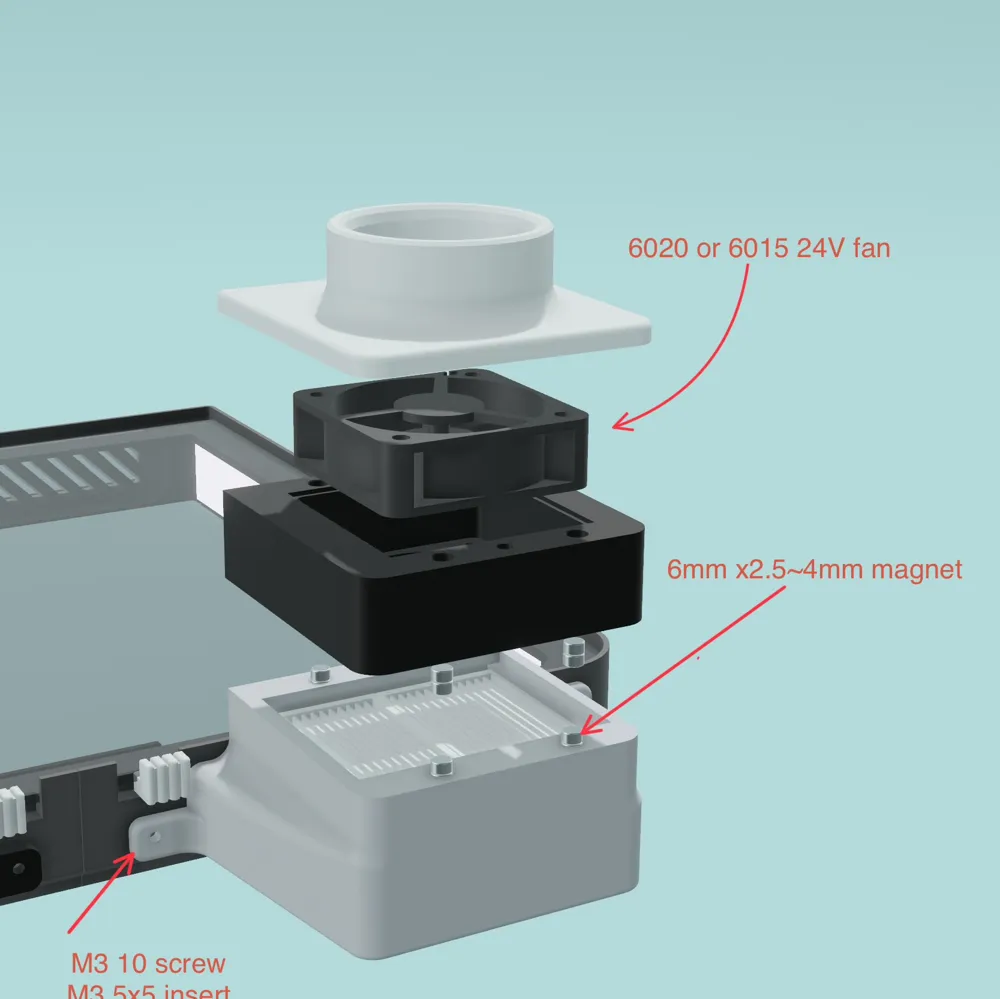
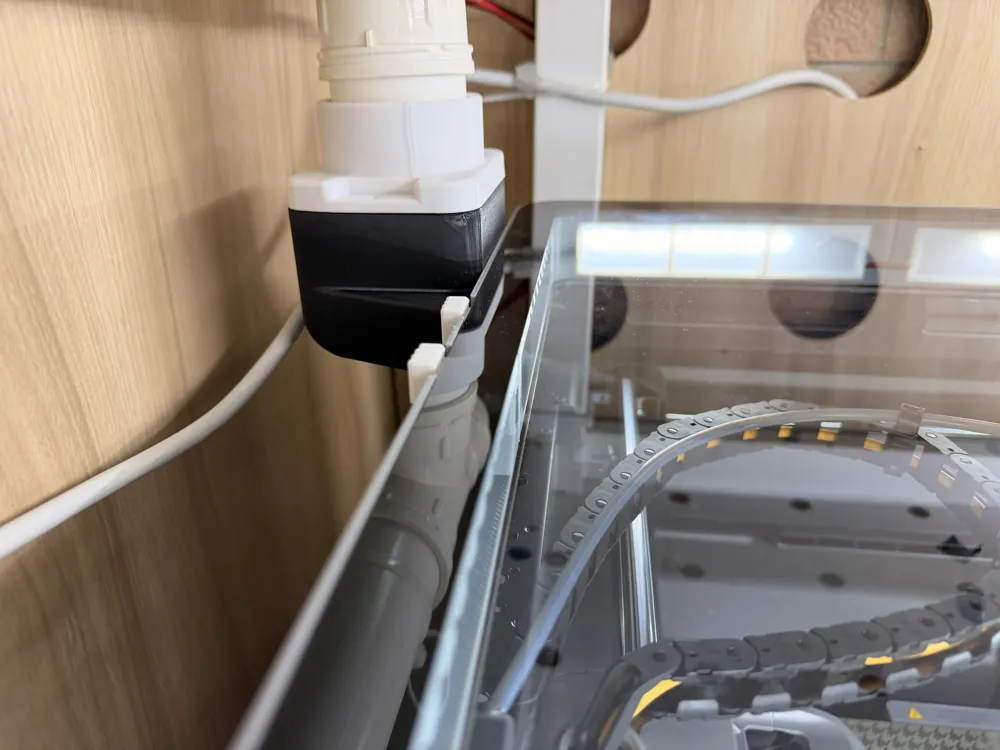
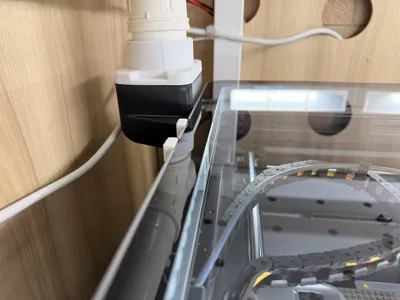
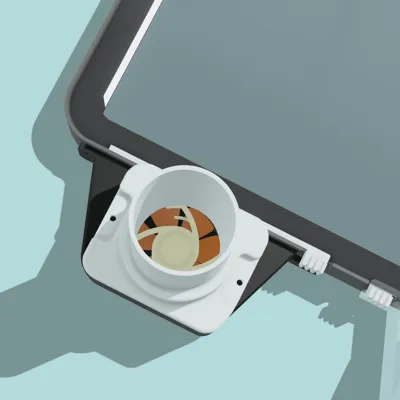
Designed with a port that allows you to connect external pipes. It supports 50 mm PVC pipes or 62 mm pipes.
If your pipe diameter is different, I also uploaded the STEP file, so you can adjust the model to your needs.
Printing Requirements
For a basic setup, you’ll need less than 1 kg of filament to print all parts. I'd recommend PETG or ABS
If you also want to install the LED strip, I recommend using a 24 V LED strip, since the P2S has a 24 V output port. You can either crimp your own cable or buy one pre-crimped.
Optional Switch & Fans
- You can add an on/off switch to control the fan, the LED, or both.
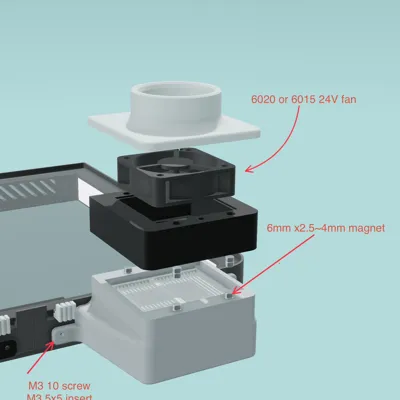
Any switch with an 8 mm diameter will fit. - For the exhaust fan, you can use a 6020 or 6015 fan—both will work well.
Magnets & Hardware
- To attach the exhaust pieces together, you’ll need 6 mm magnets (recommended sizes: 6×2.5 mm or 6×4 mm).
- To connect the exhaust module to the riser, you will need:
- 3 × M3 screws
- About 8 × M3 5×4 mm heat inserts (also used for mounting the fan)
Assembly Guide
I am currently preparing a build video where I show the full assembly process step-by-step. I will share it once it’s ready, so you can easily follow along.
It’s a simple and fun DIY project—enjoy building it, and happy printing!
License



Comment & Rating (69)