
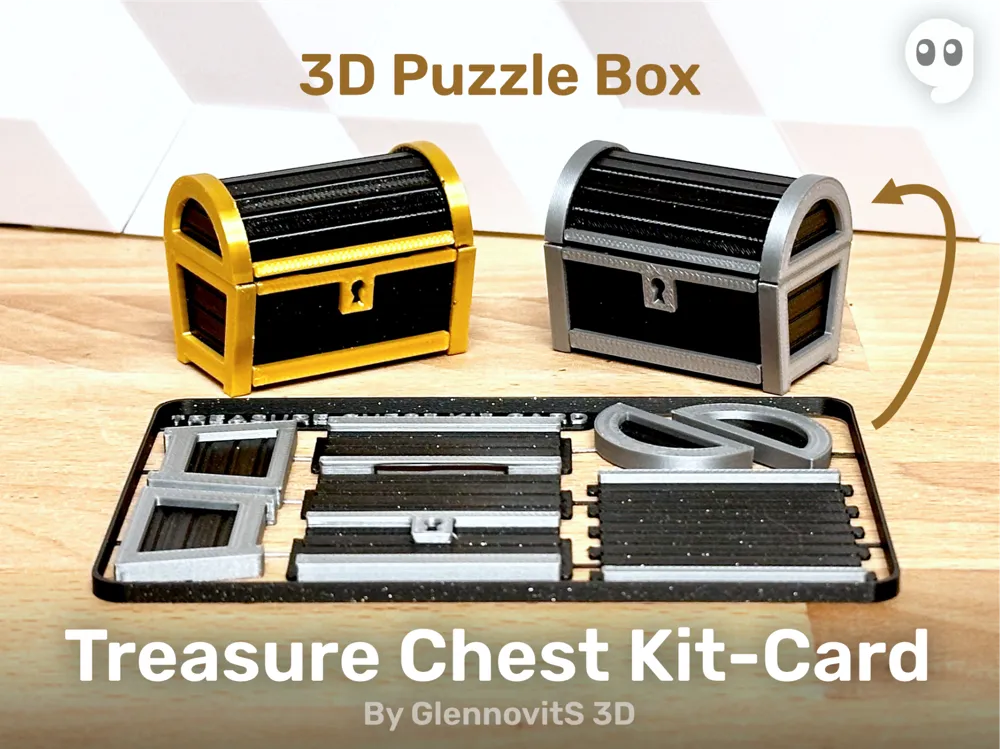
Treasure Chest Kit-Card (pirate chest puzzle box)




Print Profile(6)


Description
| 😄 Welcome to GlennovitS3D. Join the Club on Printables.com to support creation of new models, get access to exclusive models, and get commercial rights, to sell prints of my models. Join today - GlennovitS3D - or check out my model collection 🗂️ |
Treasures come in many sizes and variations - and this one is flat-packed! Enjoy the assembly of a small treasure chest - or give it as a gift for pirate-movie-fans.
It is all printed - nothing else is needed - just print 1 card and go!
Overview
It comes in different versions for you to print:
- 1 color (the fastest to print!)
- 2 colors (for details to show more clearly - my favorite)
Assembly
Assembly requires multiple steps. Here is my prefered order:
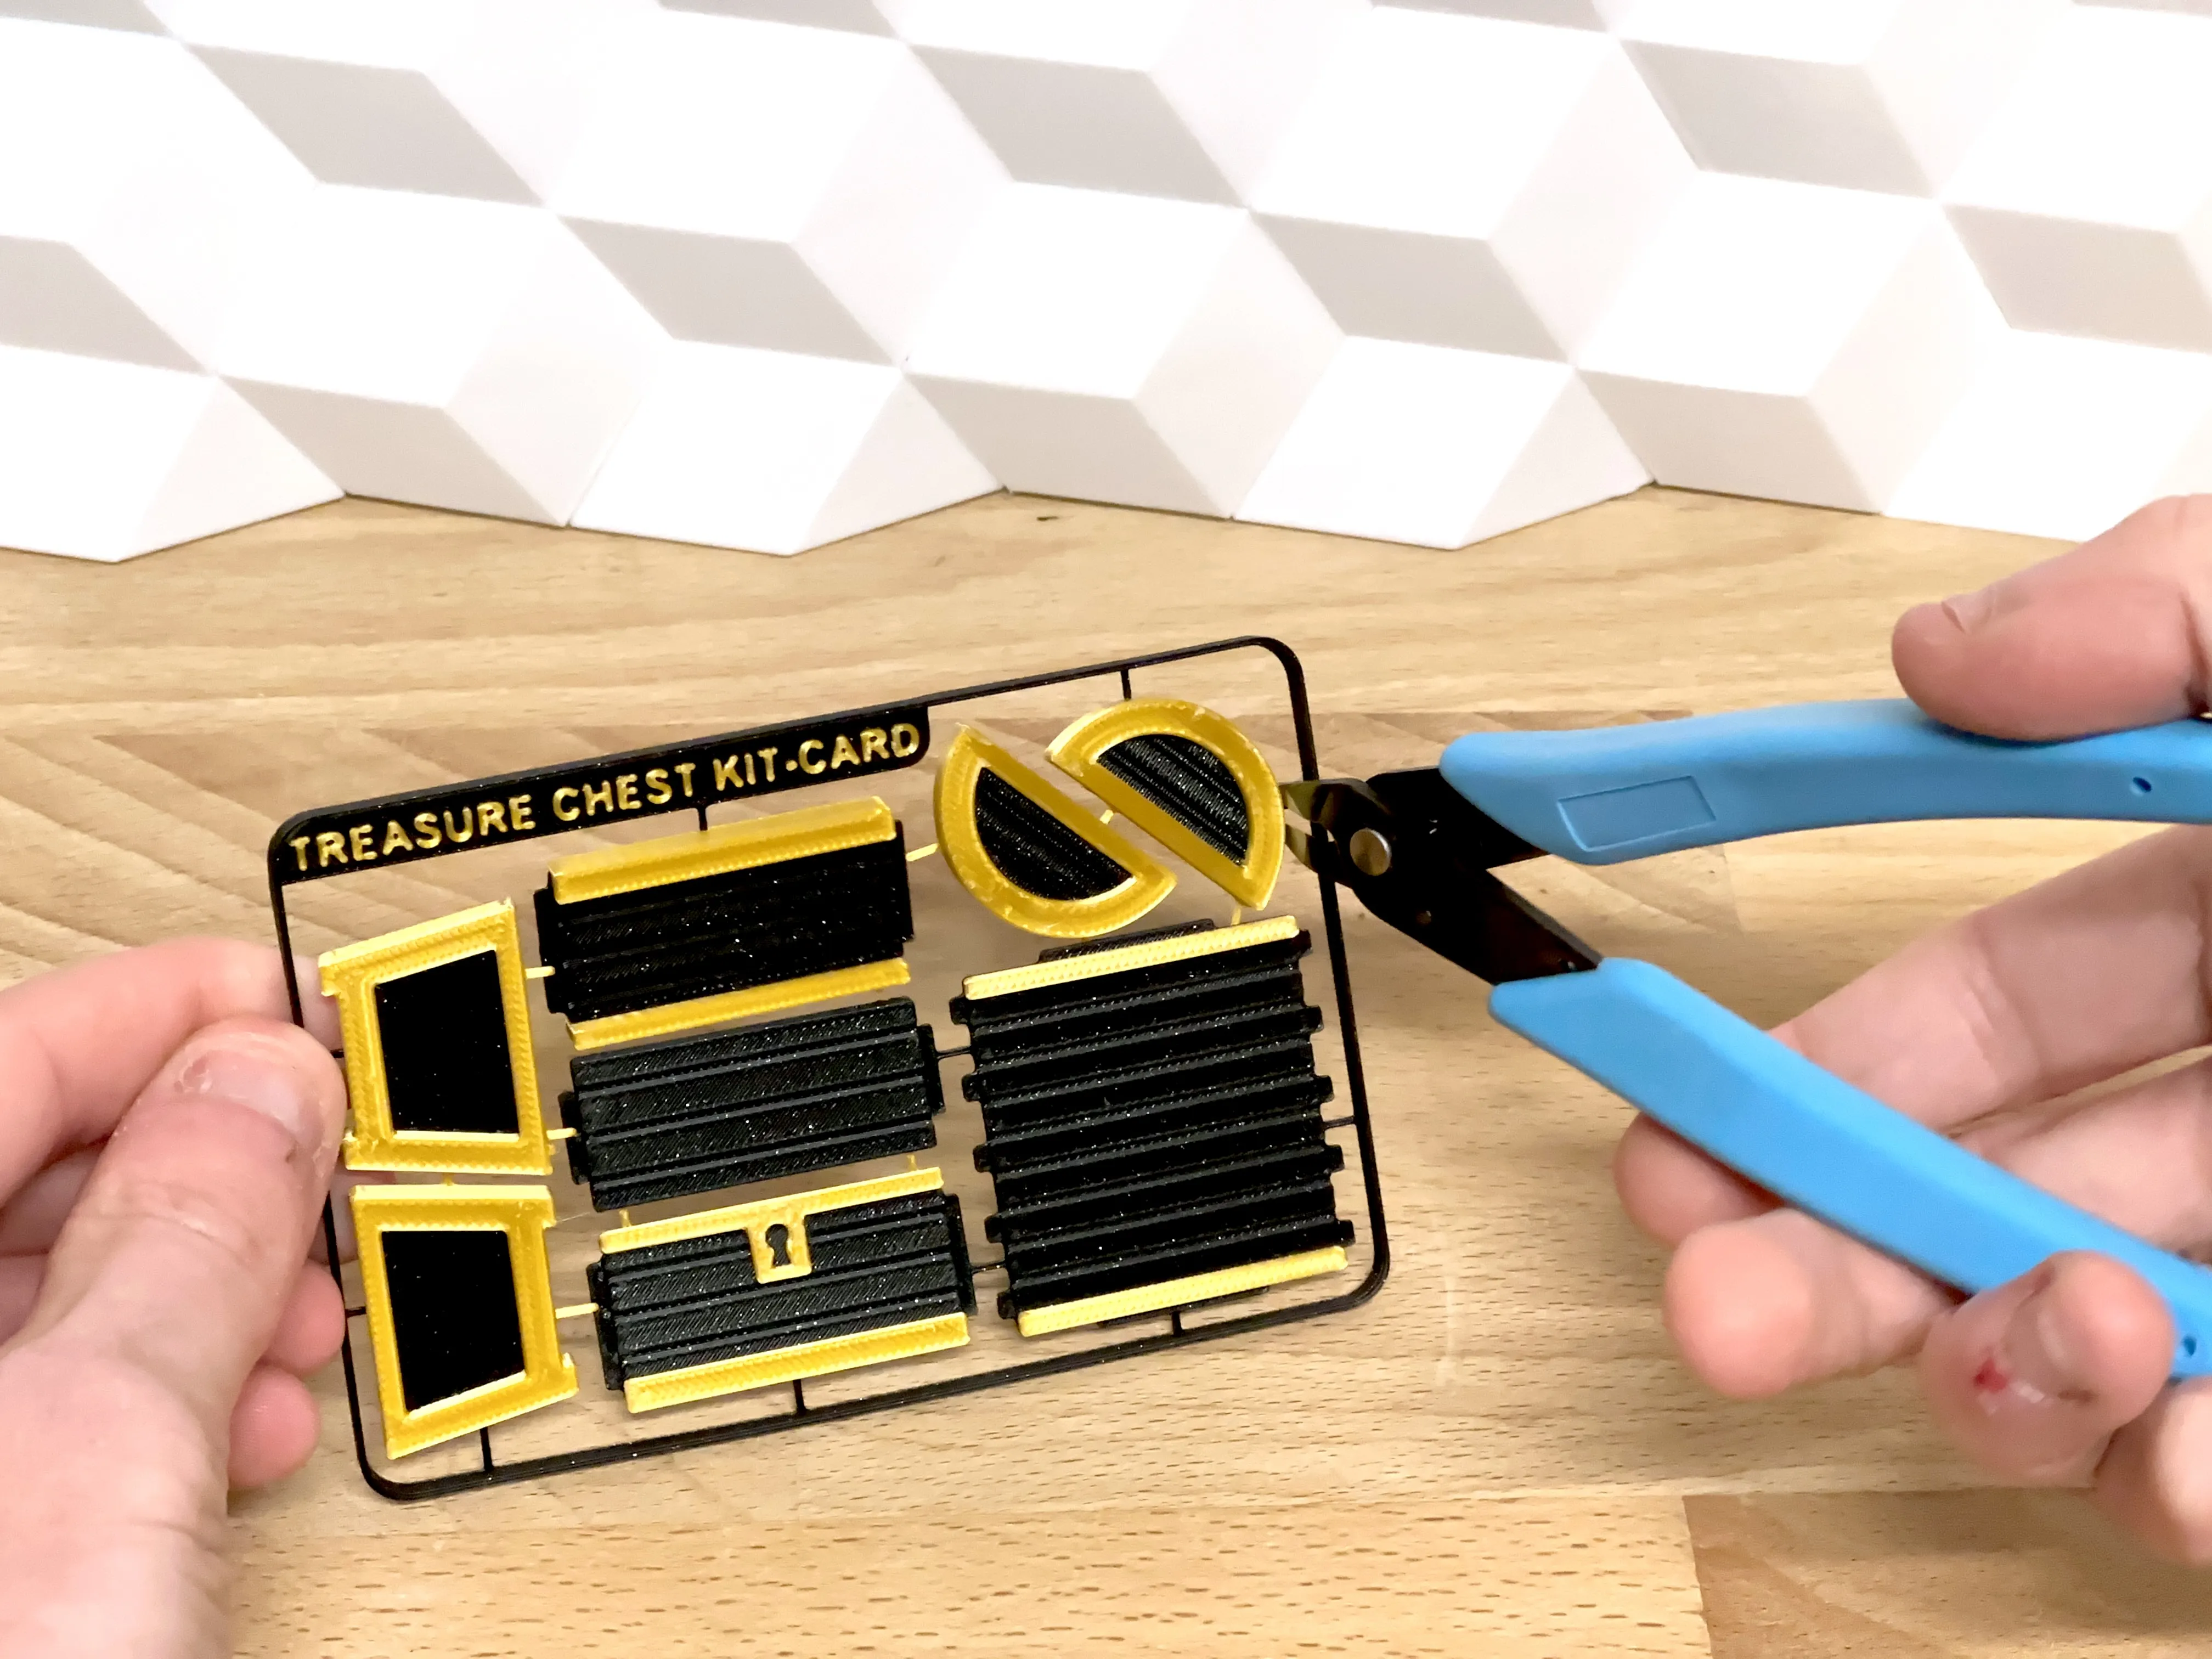
Cut out all elements from the card
Press a box back into one of the box ends
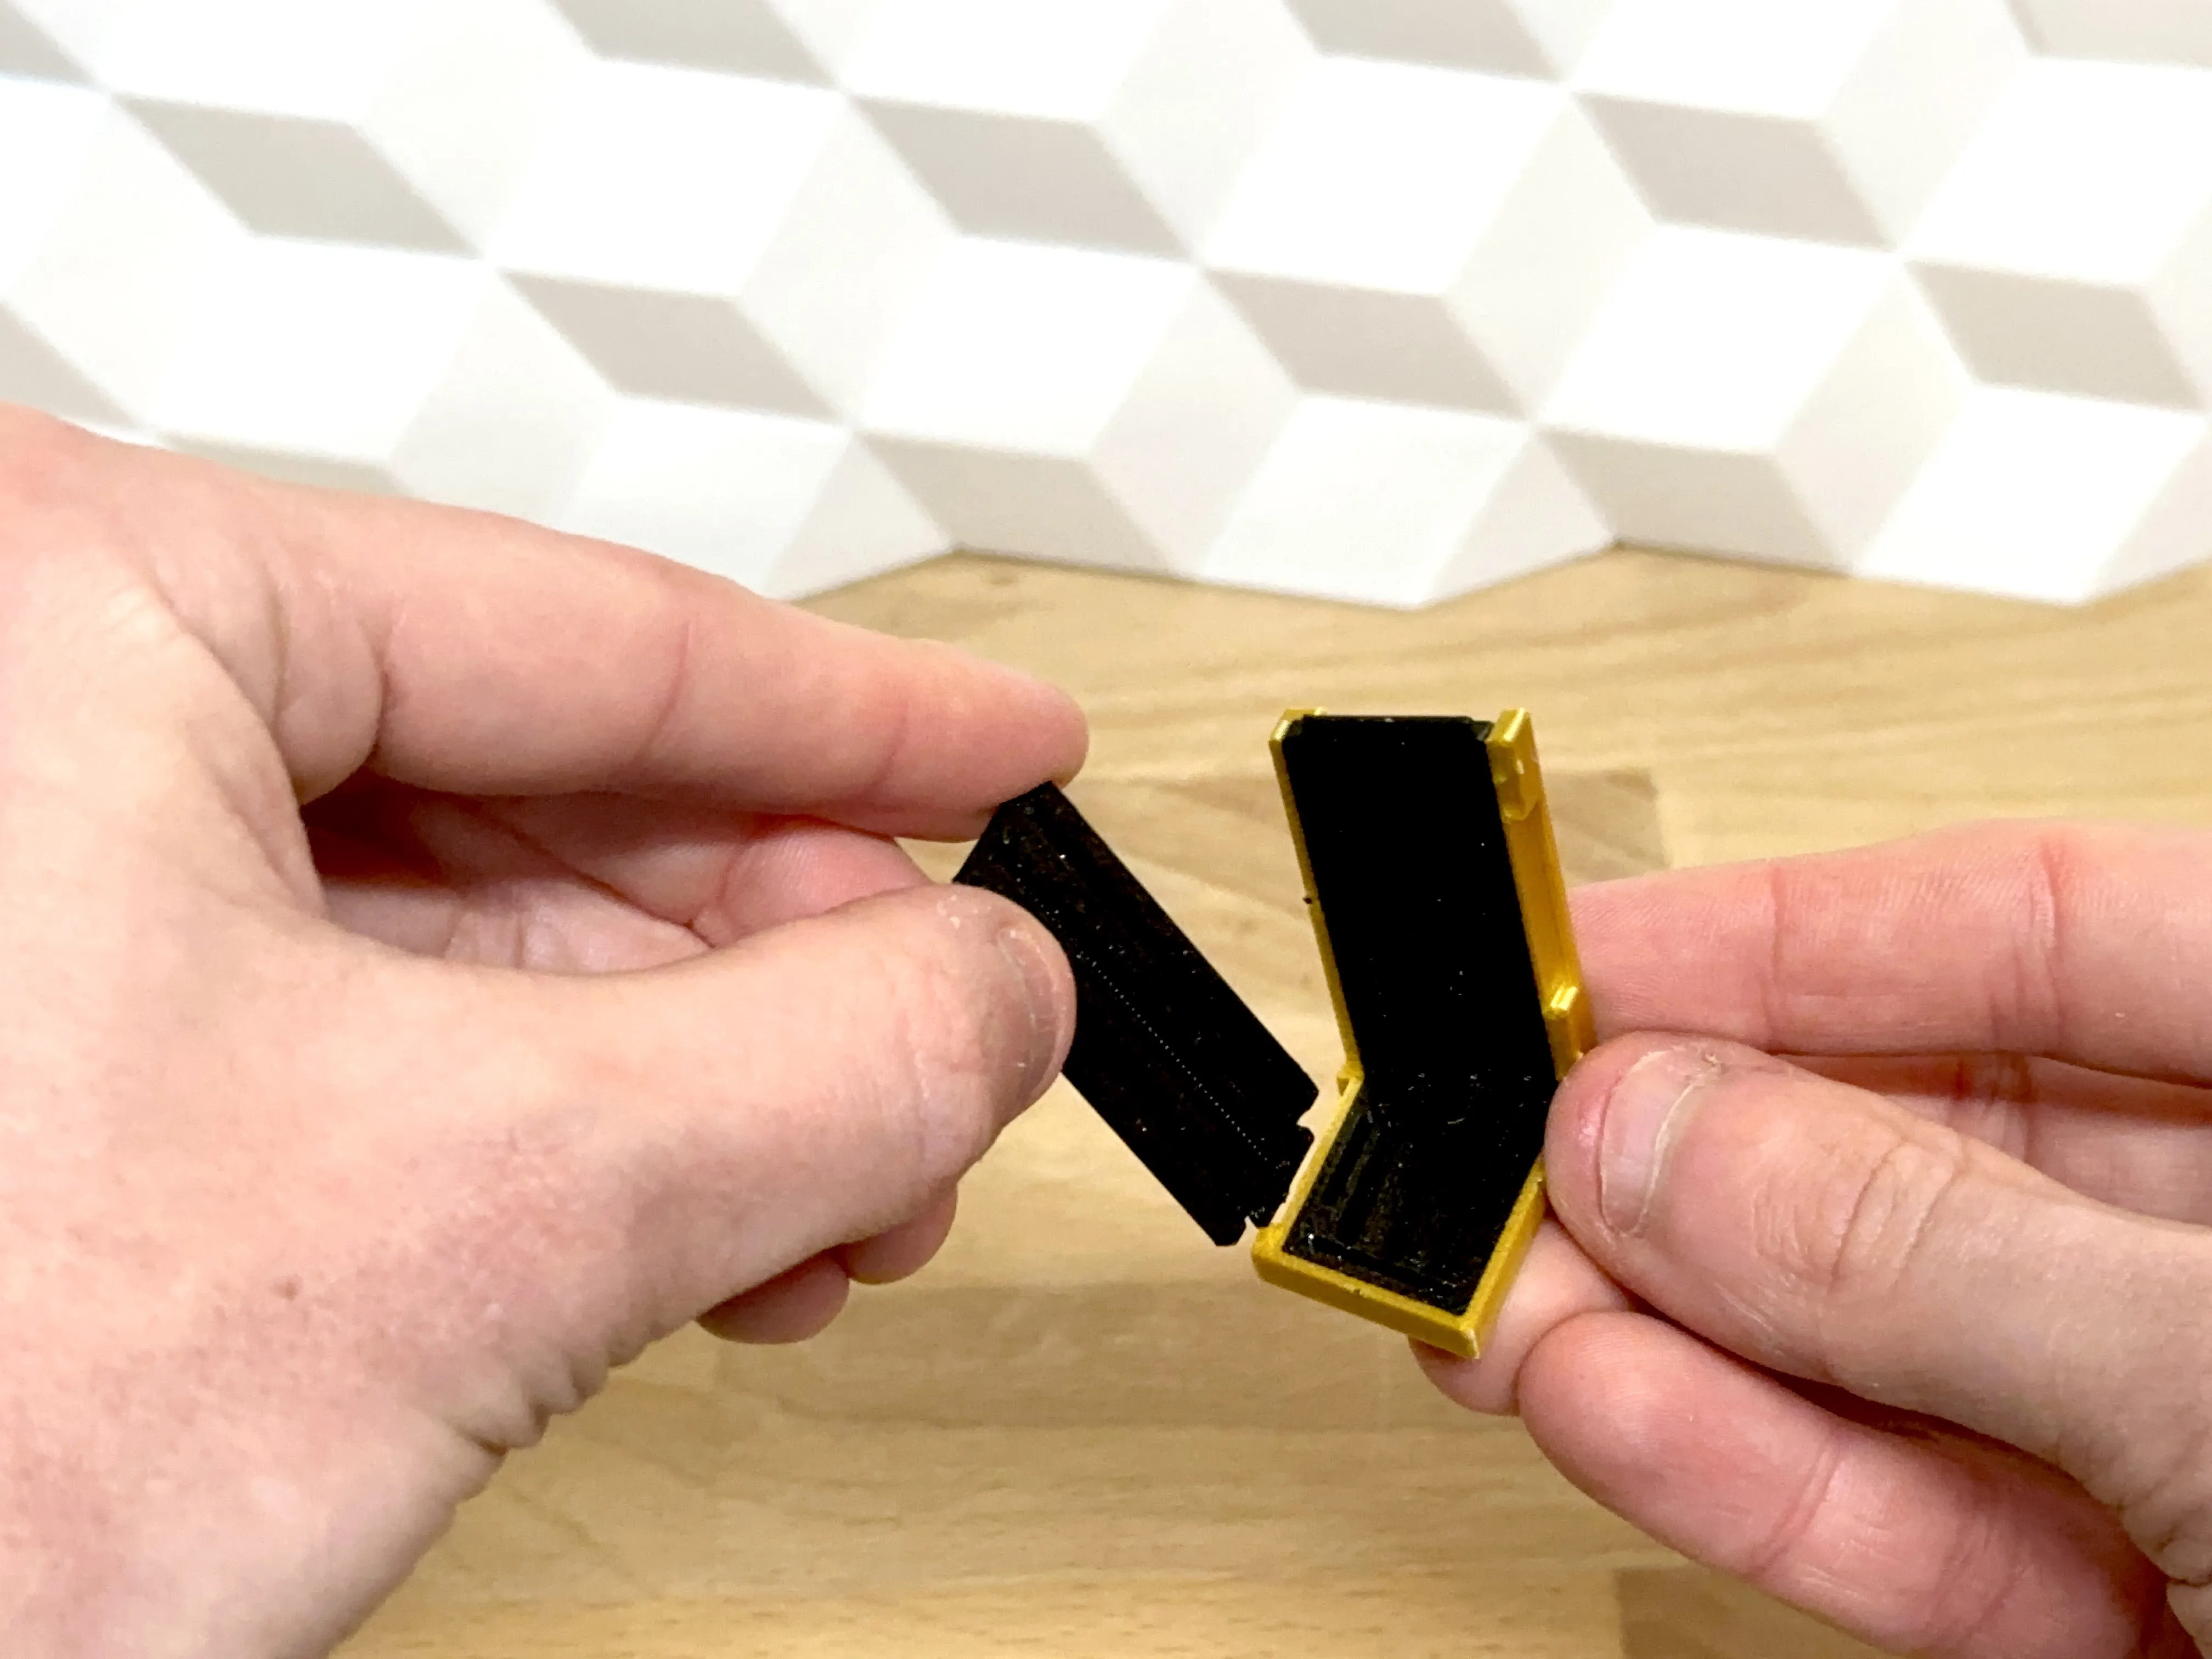
Press the bottom into the box end
Press the box front into the box end
Press the other box end onto the 3 pieces
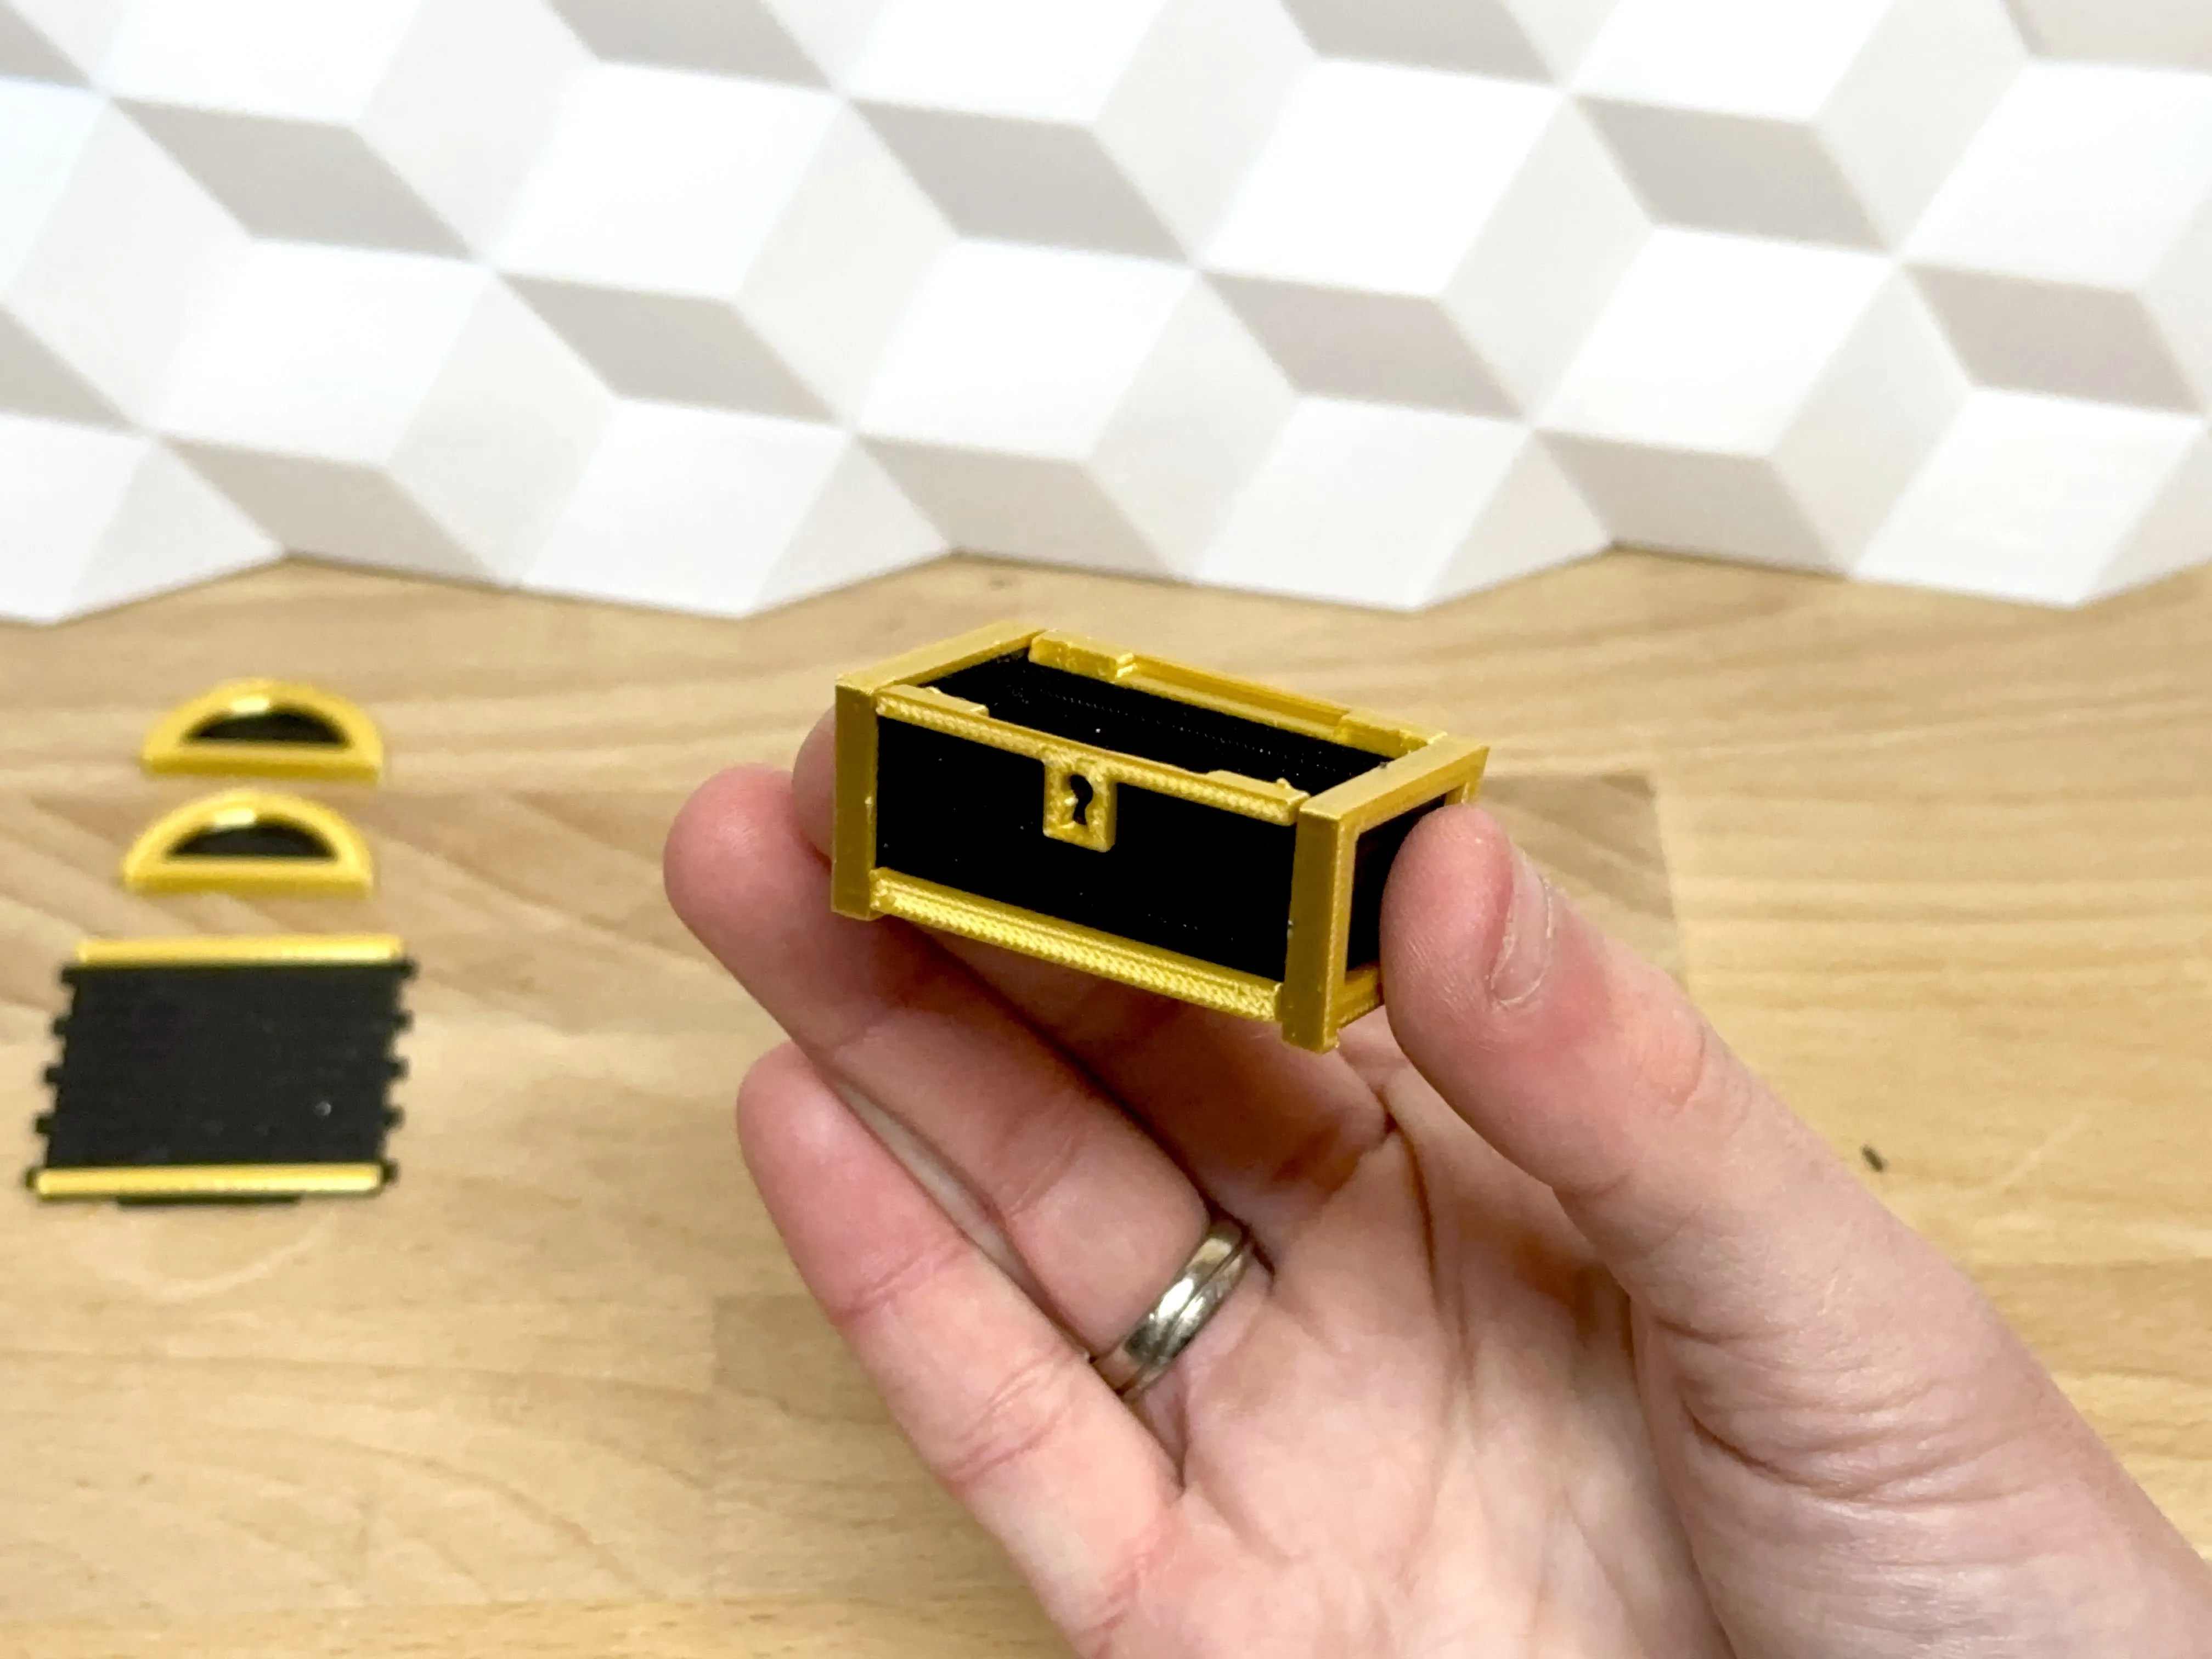
Celebrate that the bottom part is done 🎉
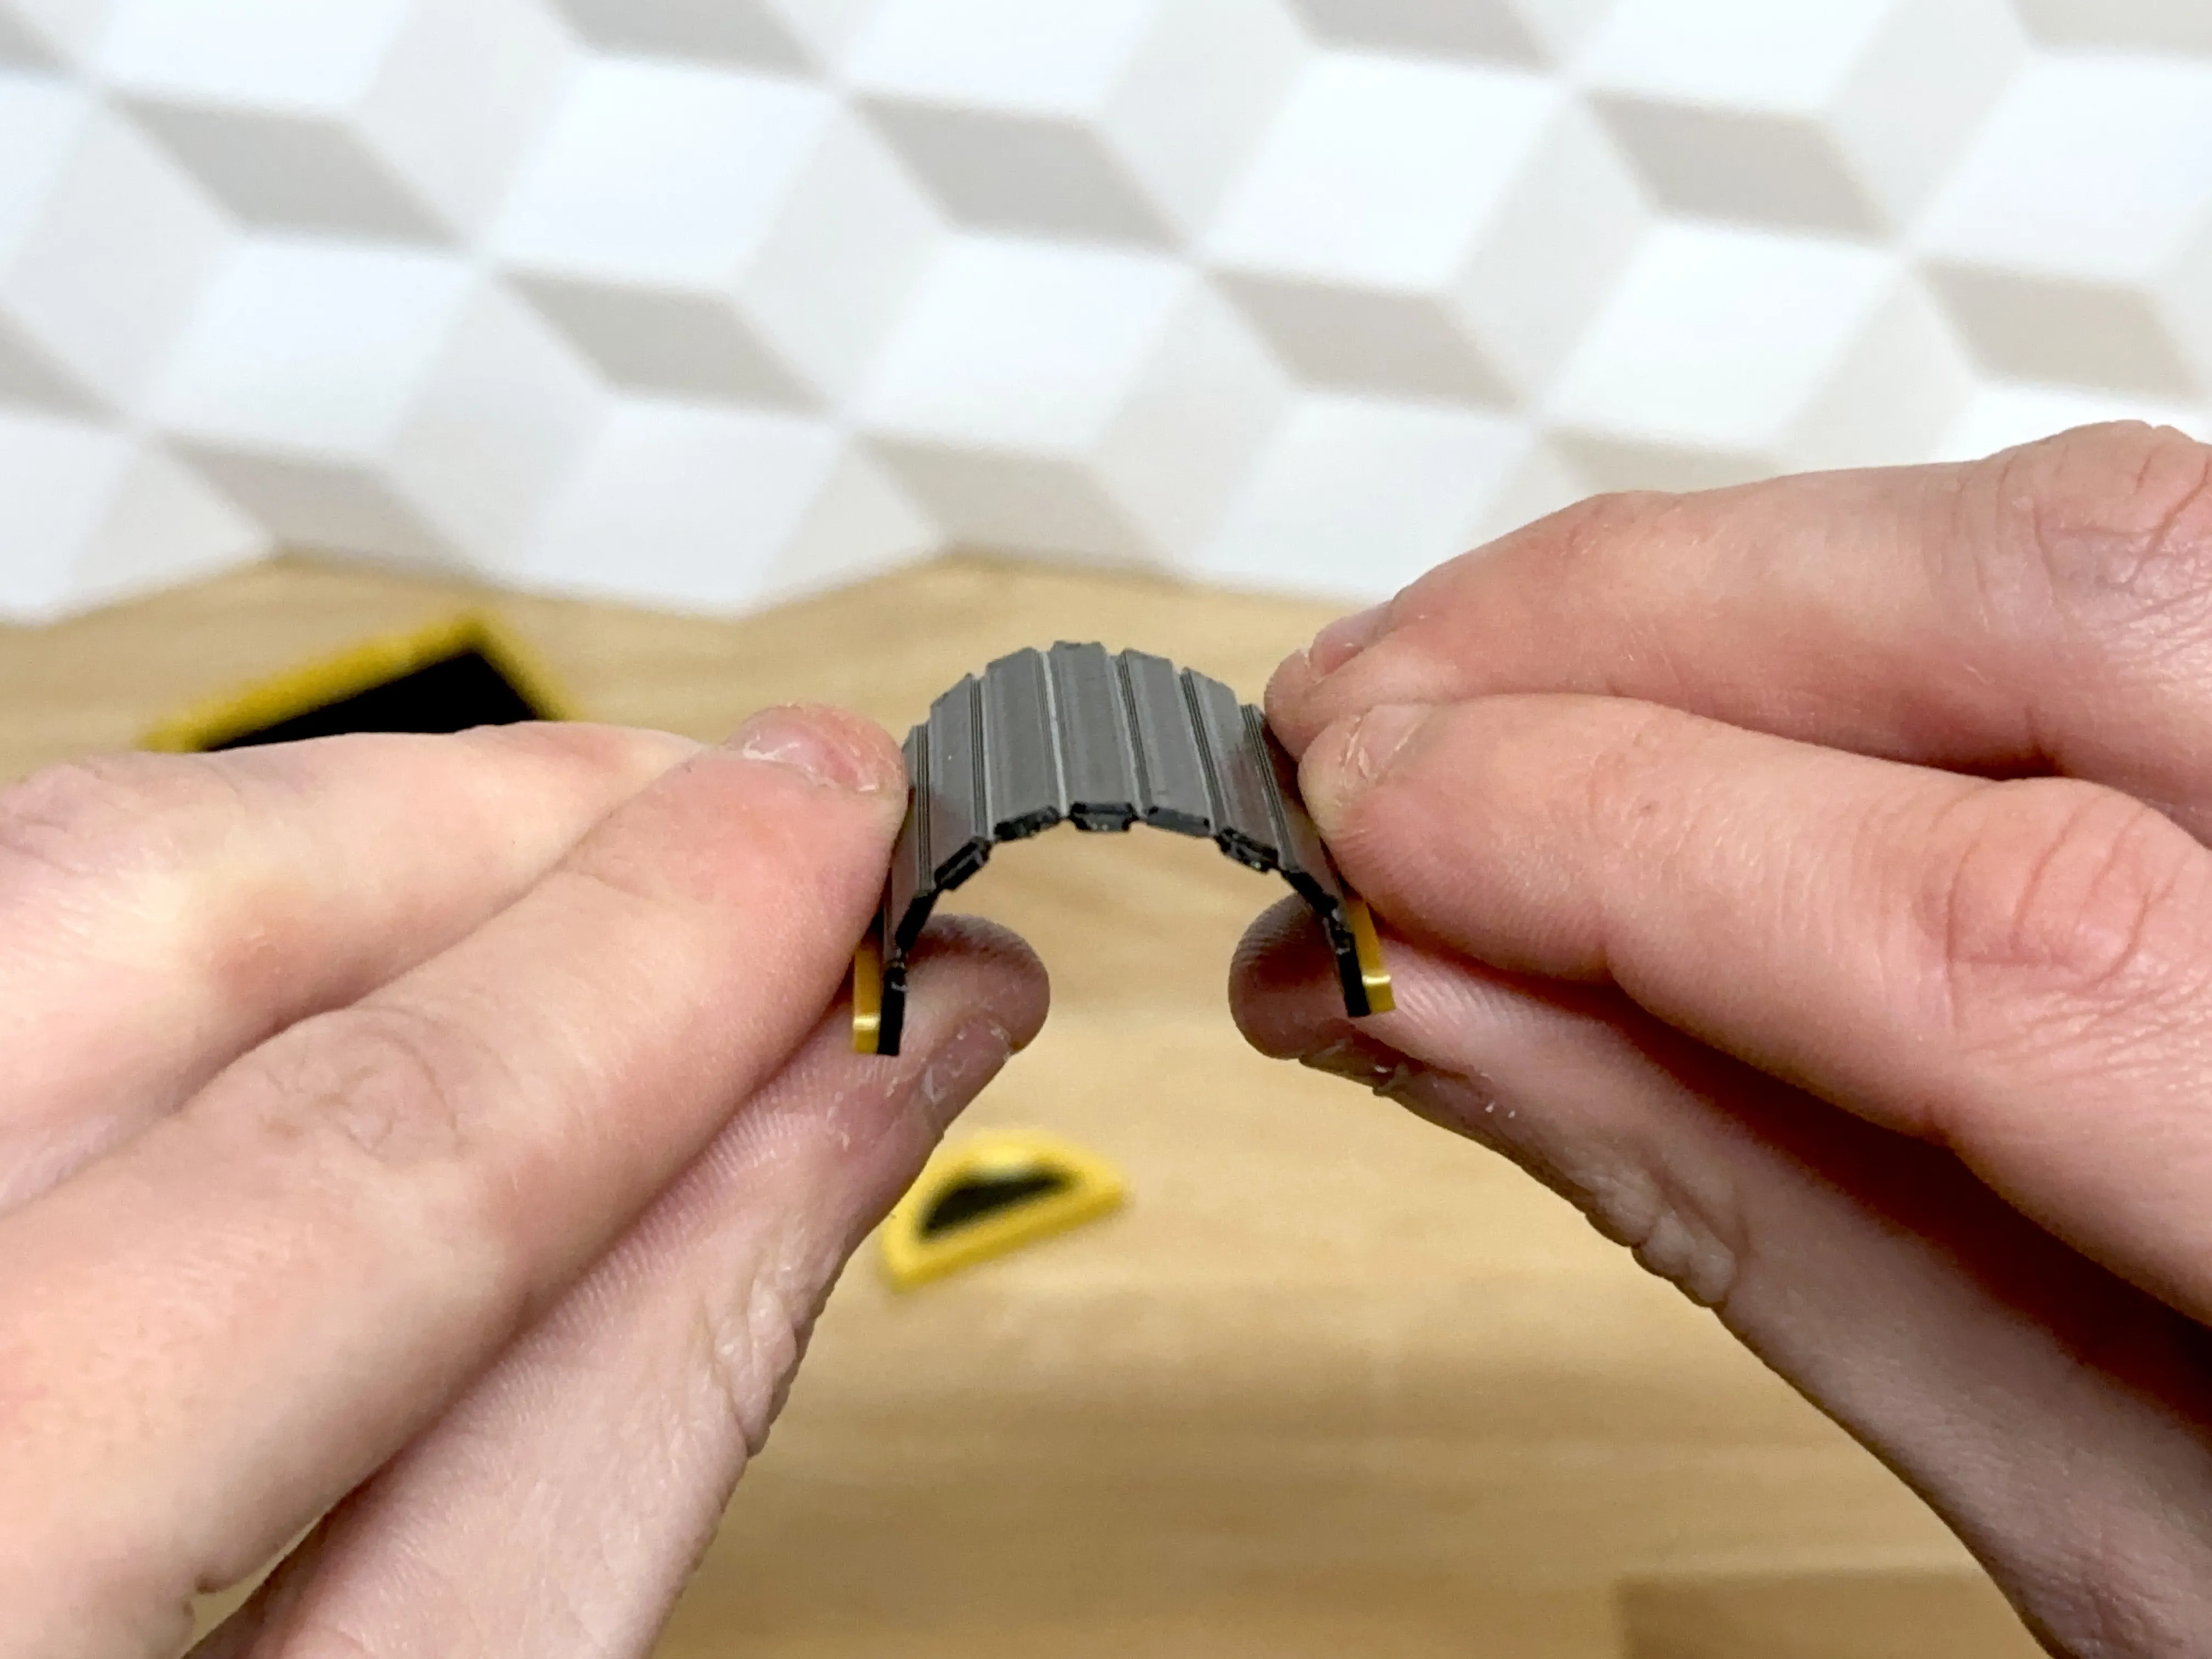
Bend the lid top to a curve that matches the lid ends
- Tip: Be sure to bend all sections to get as smooth a lid as possible - take one small section at a time.
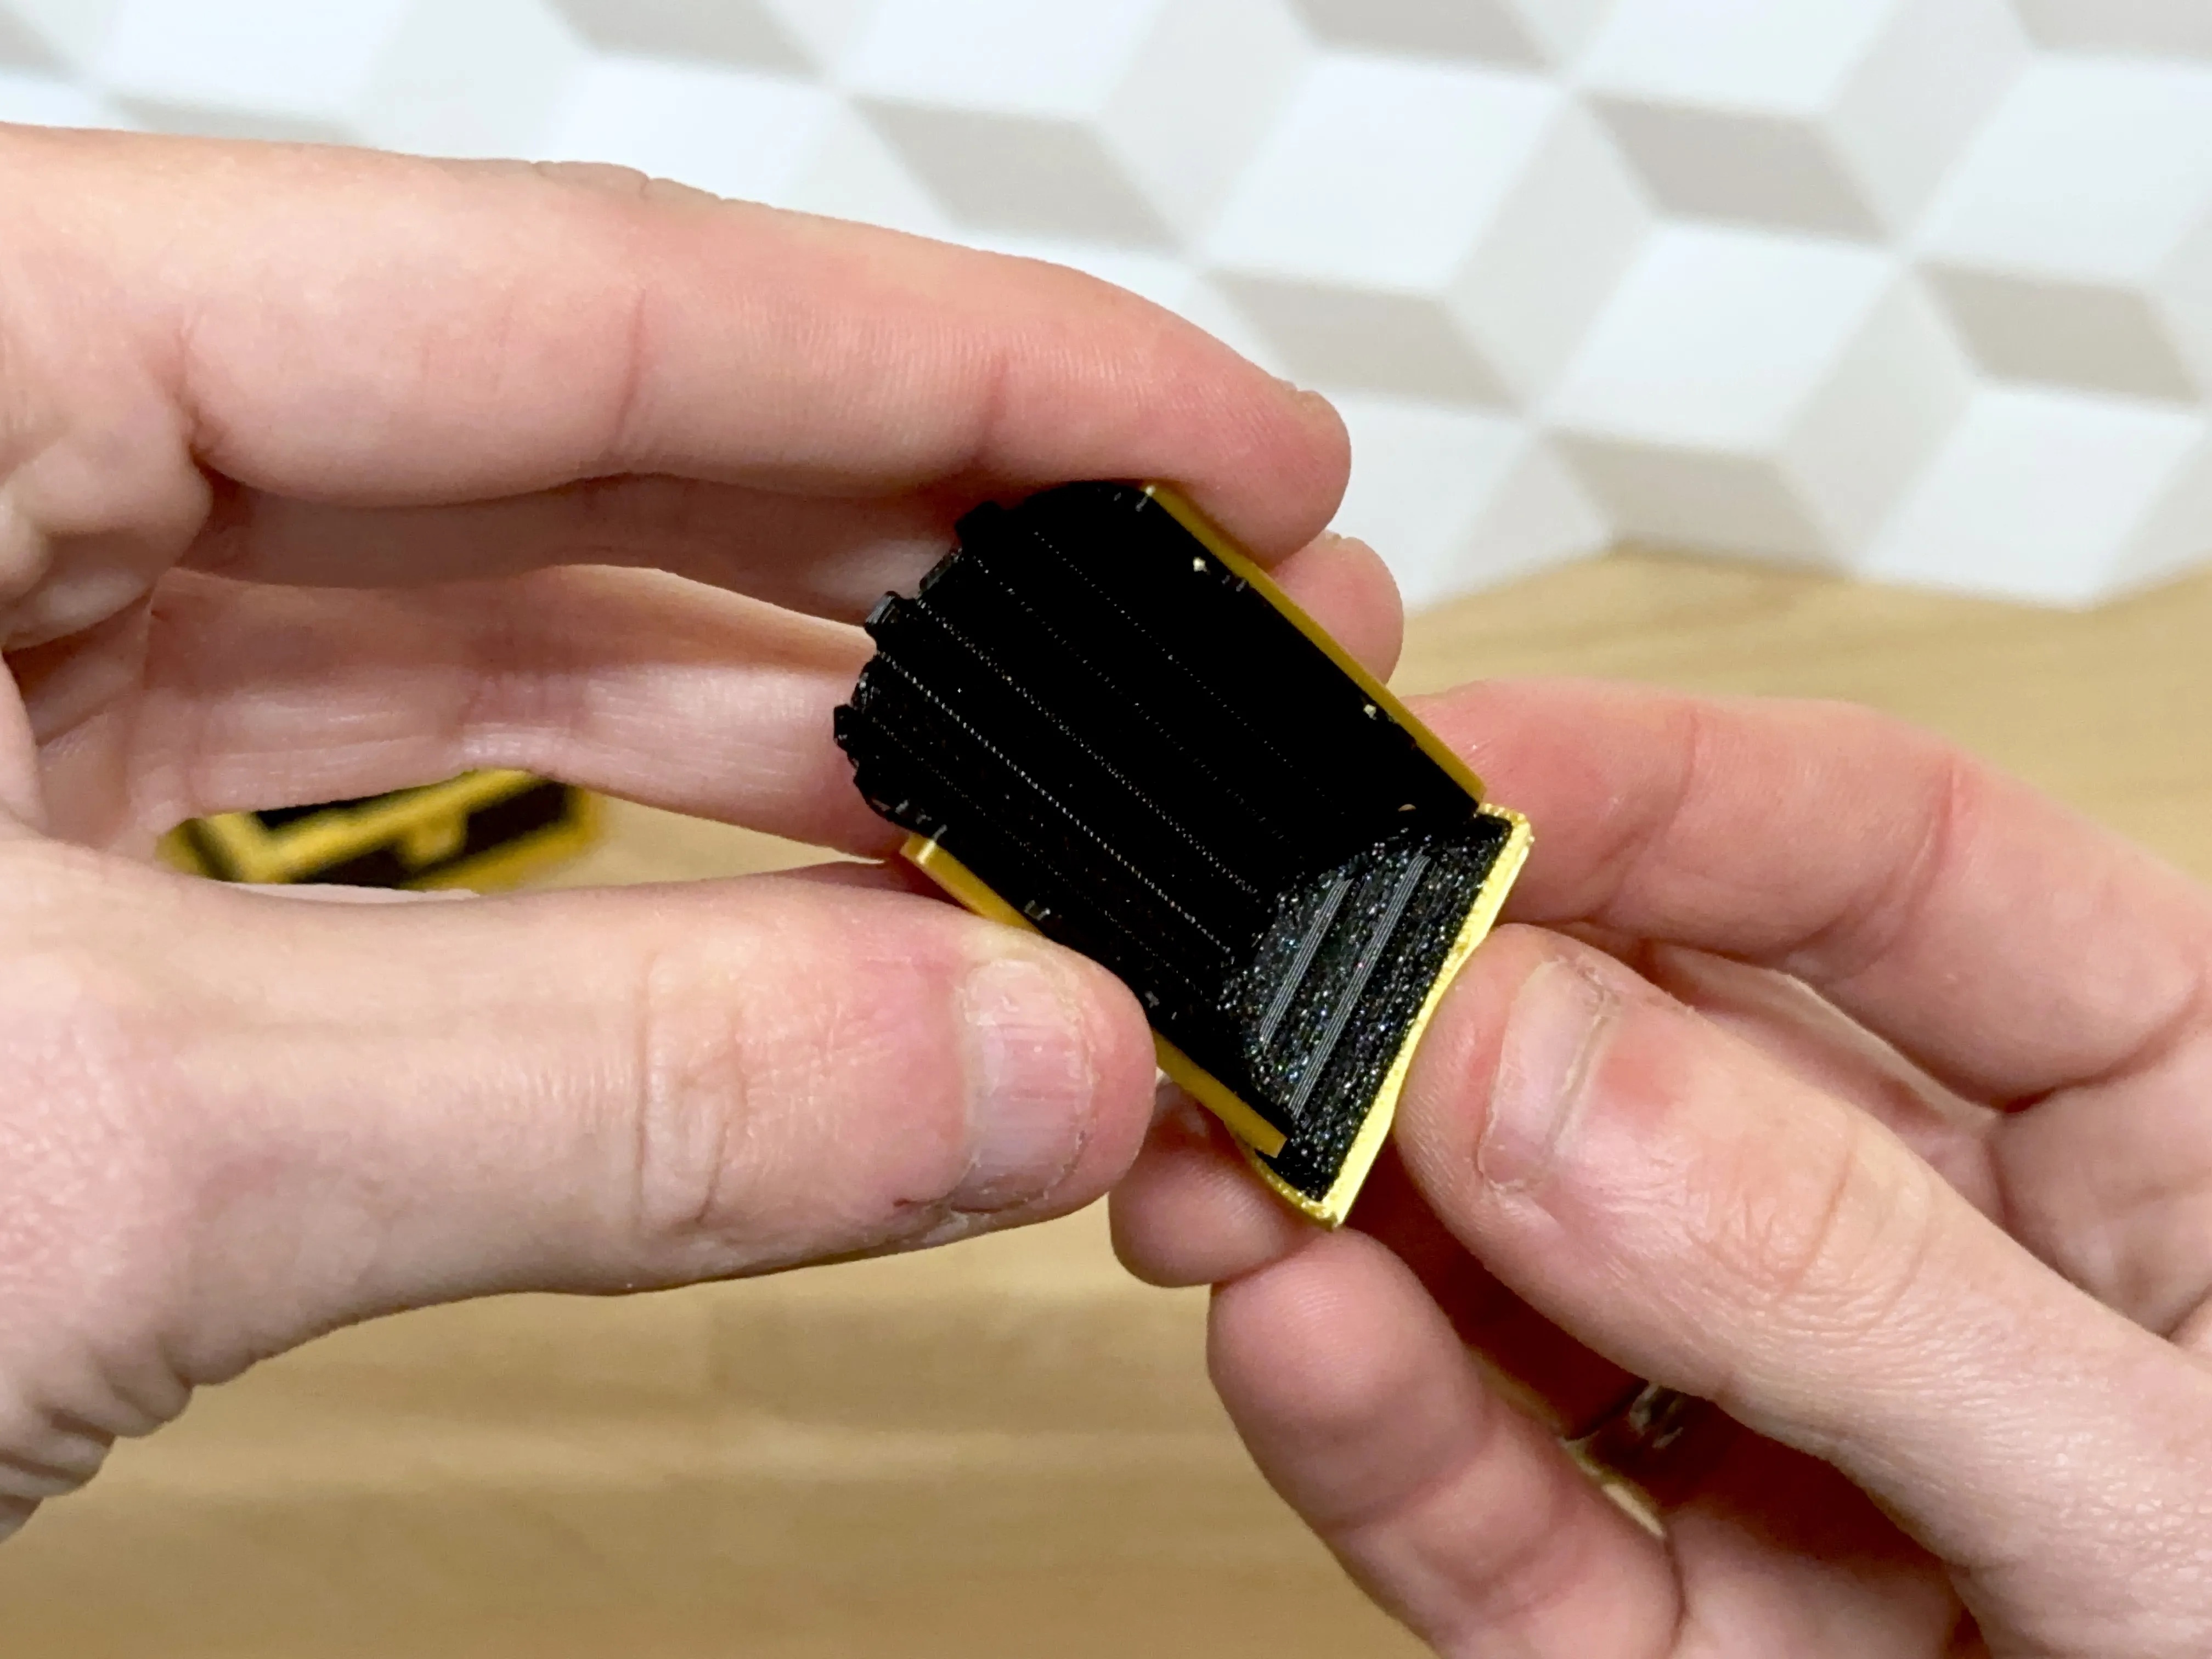
Press the lid top into a lid end
- Tip: There are 5 small tabs to insert - be careful not to break them. I insert the top tab first, and then continue with the lower tabs until everything is fitted - before pressing into hard!
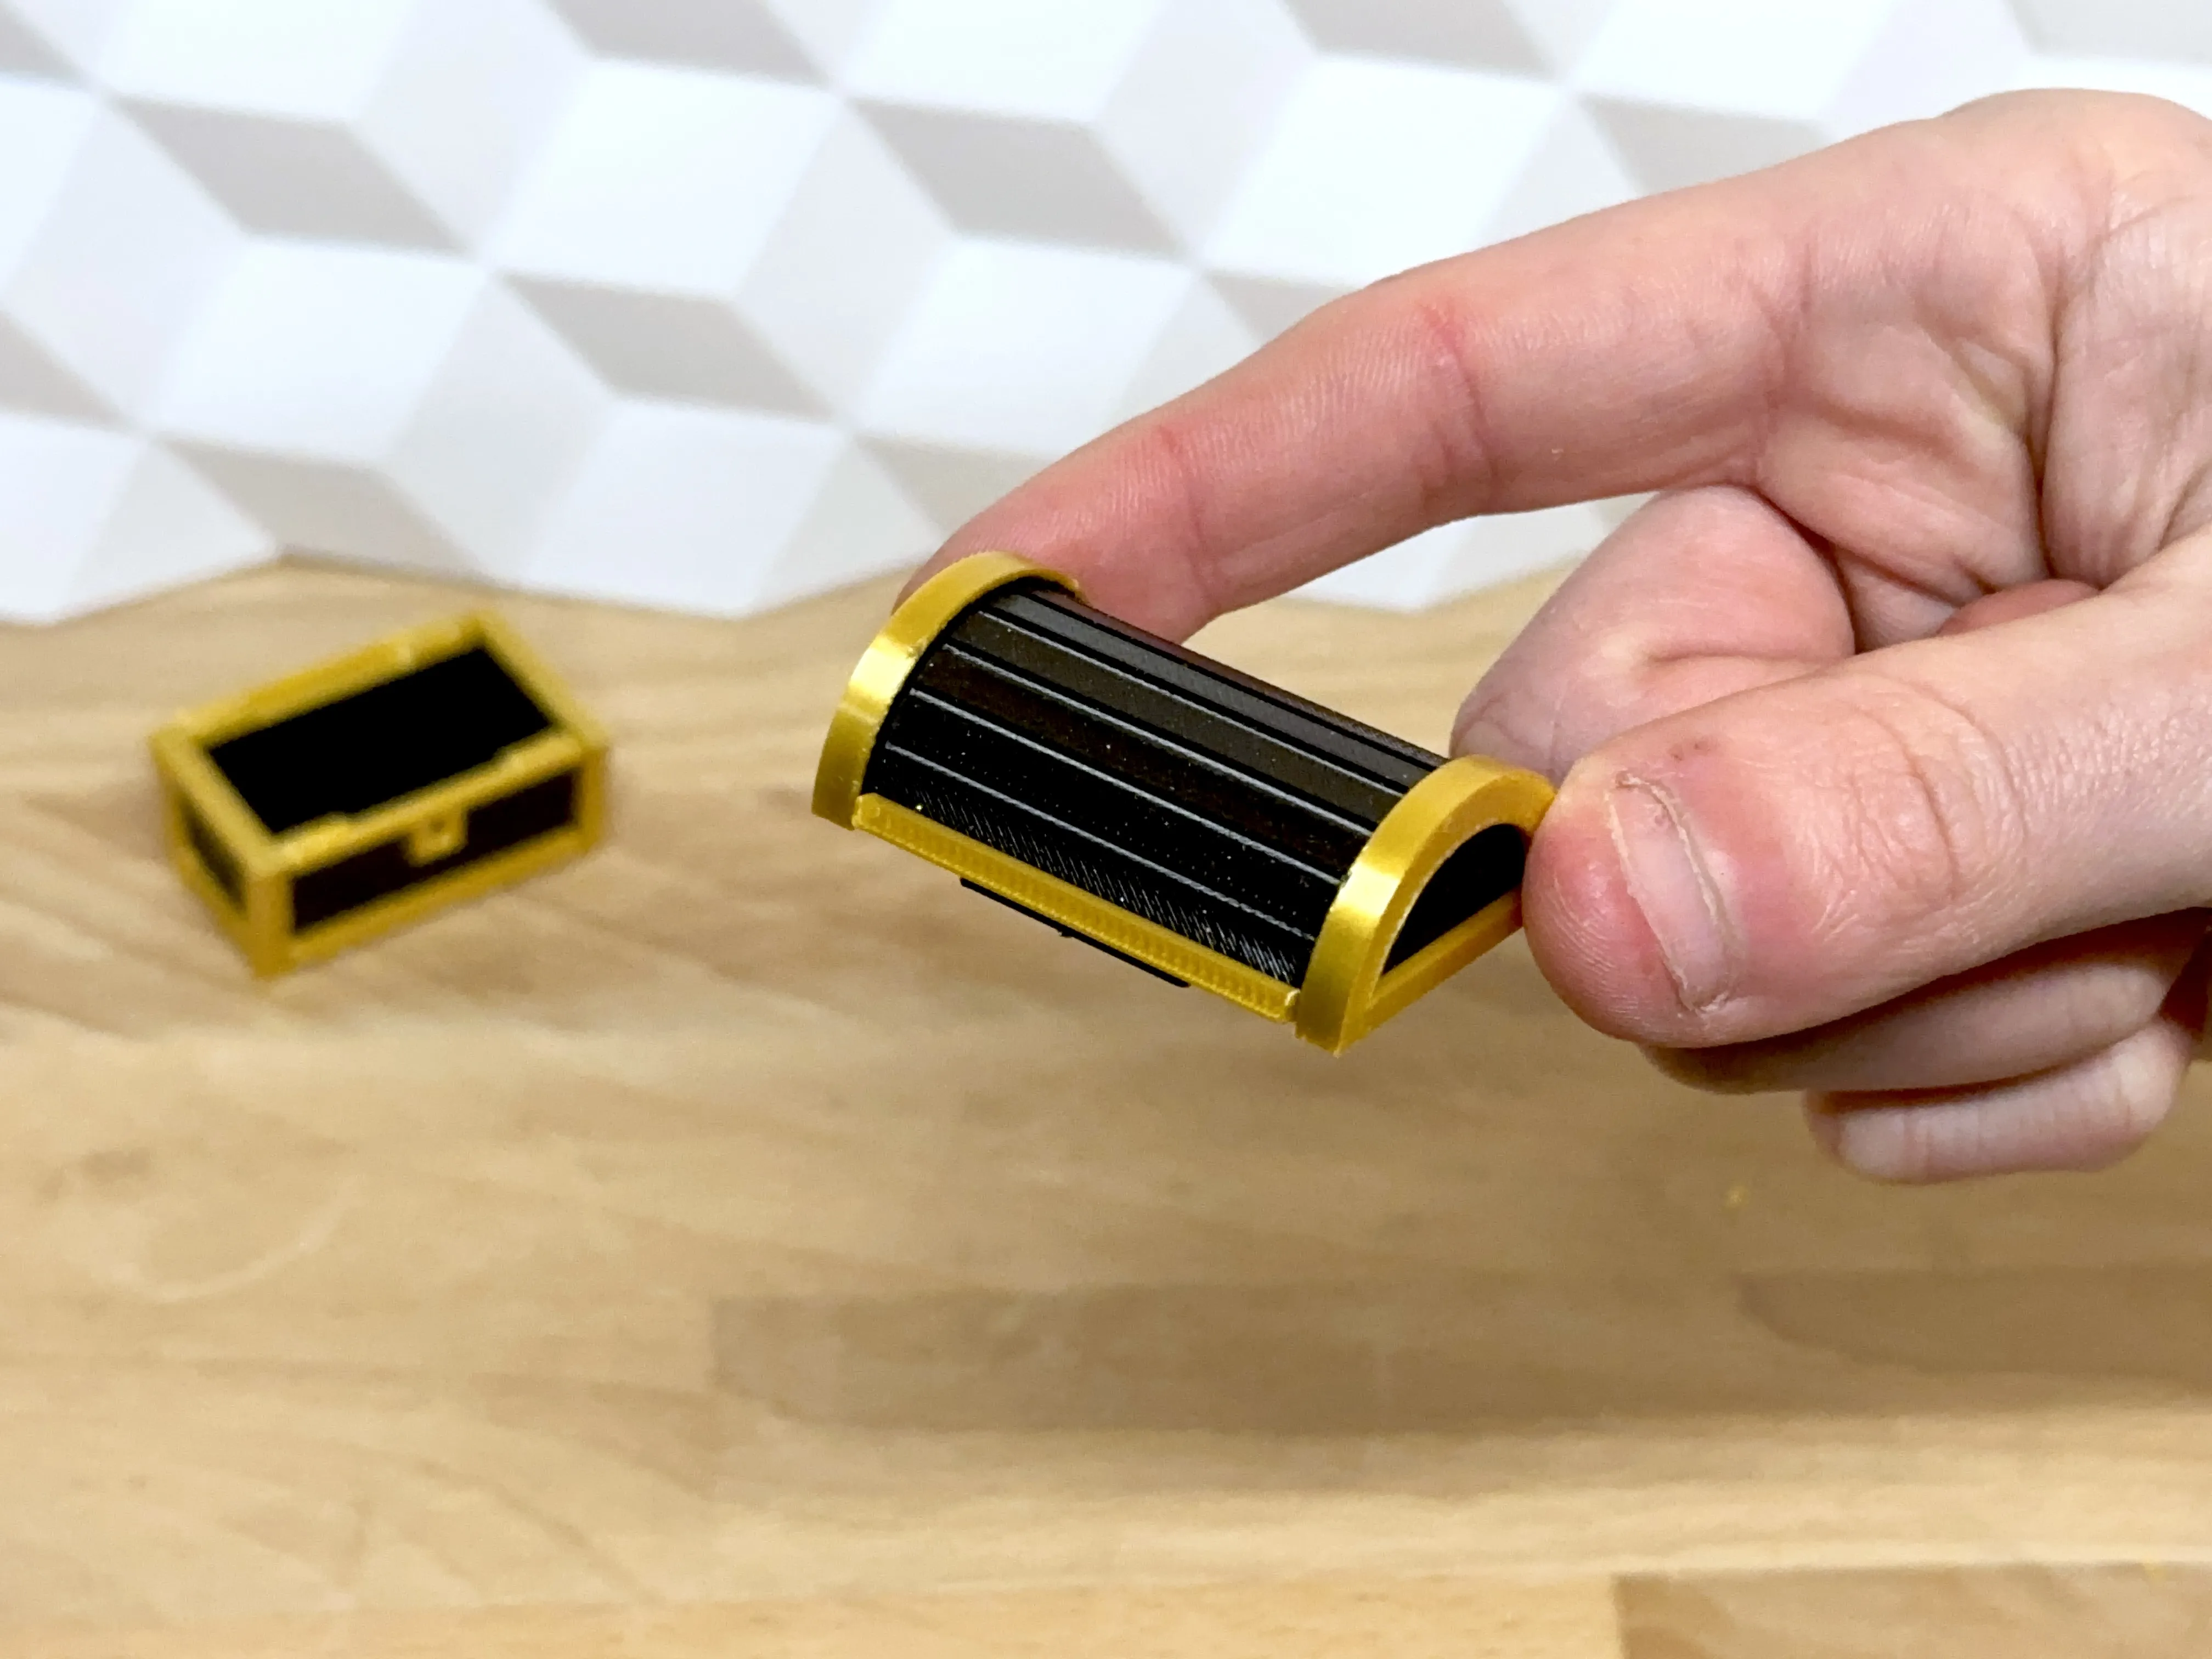
Press the other lid end on the lid top as above
Celebrate that you completed the treasure chest by putting the lid on the chest! 🎉
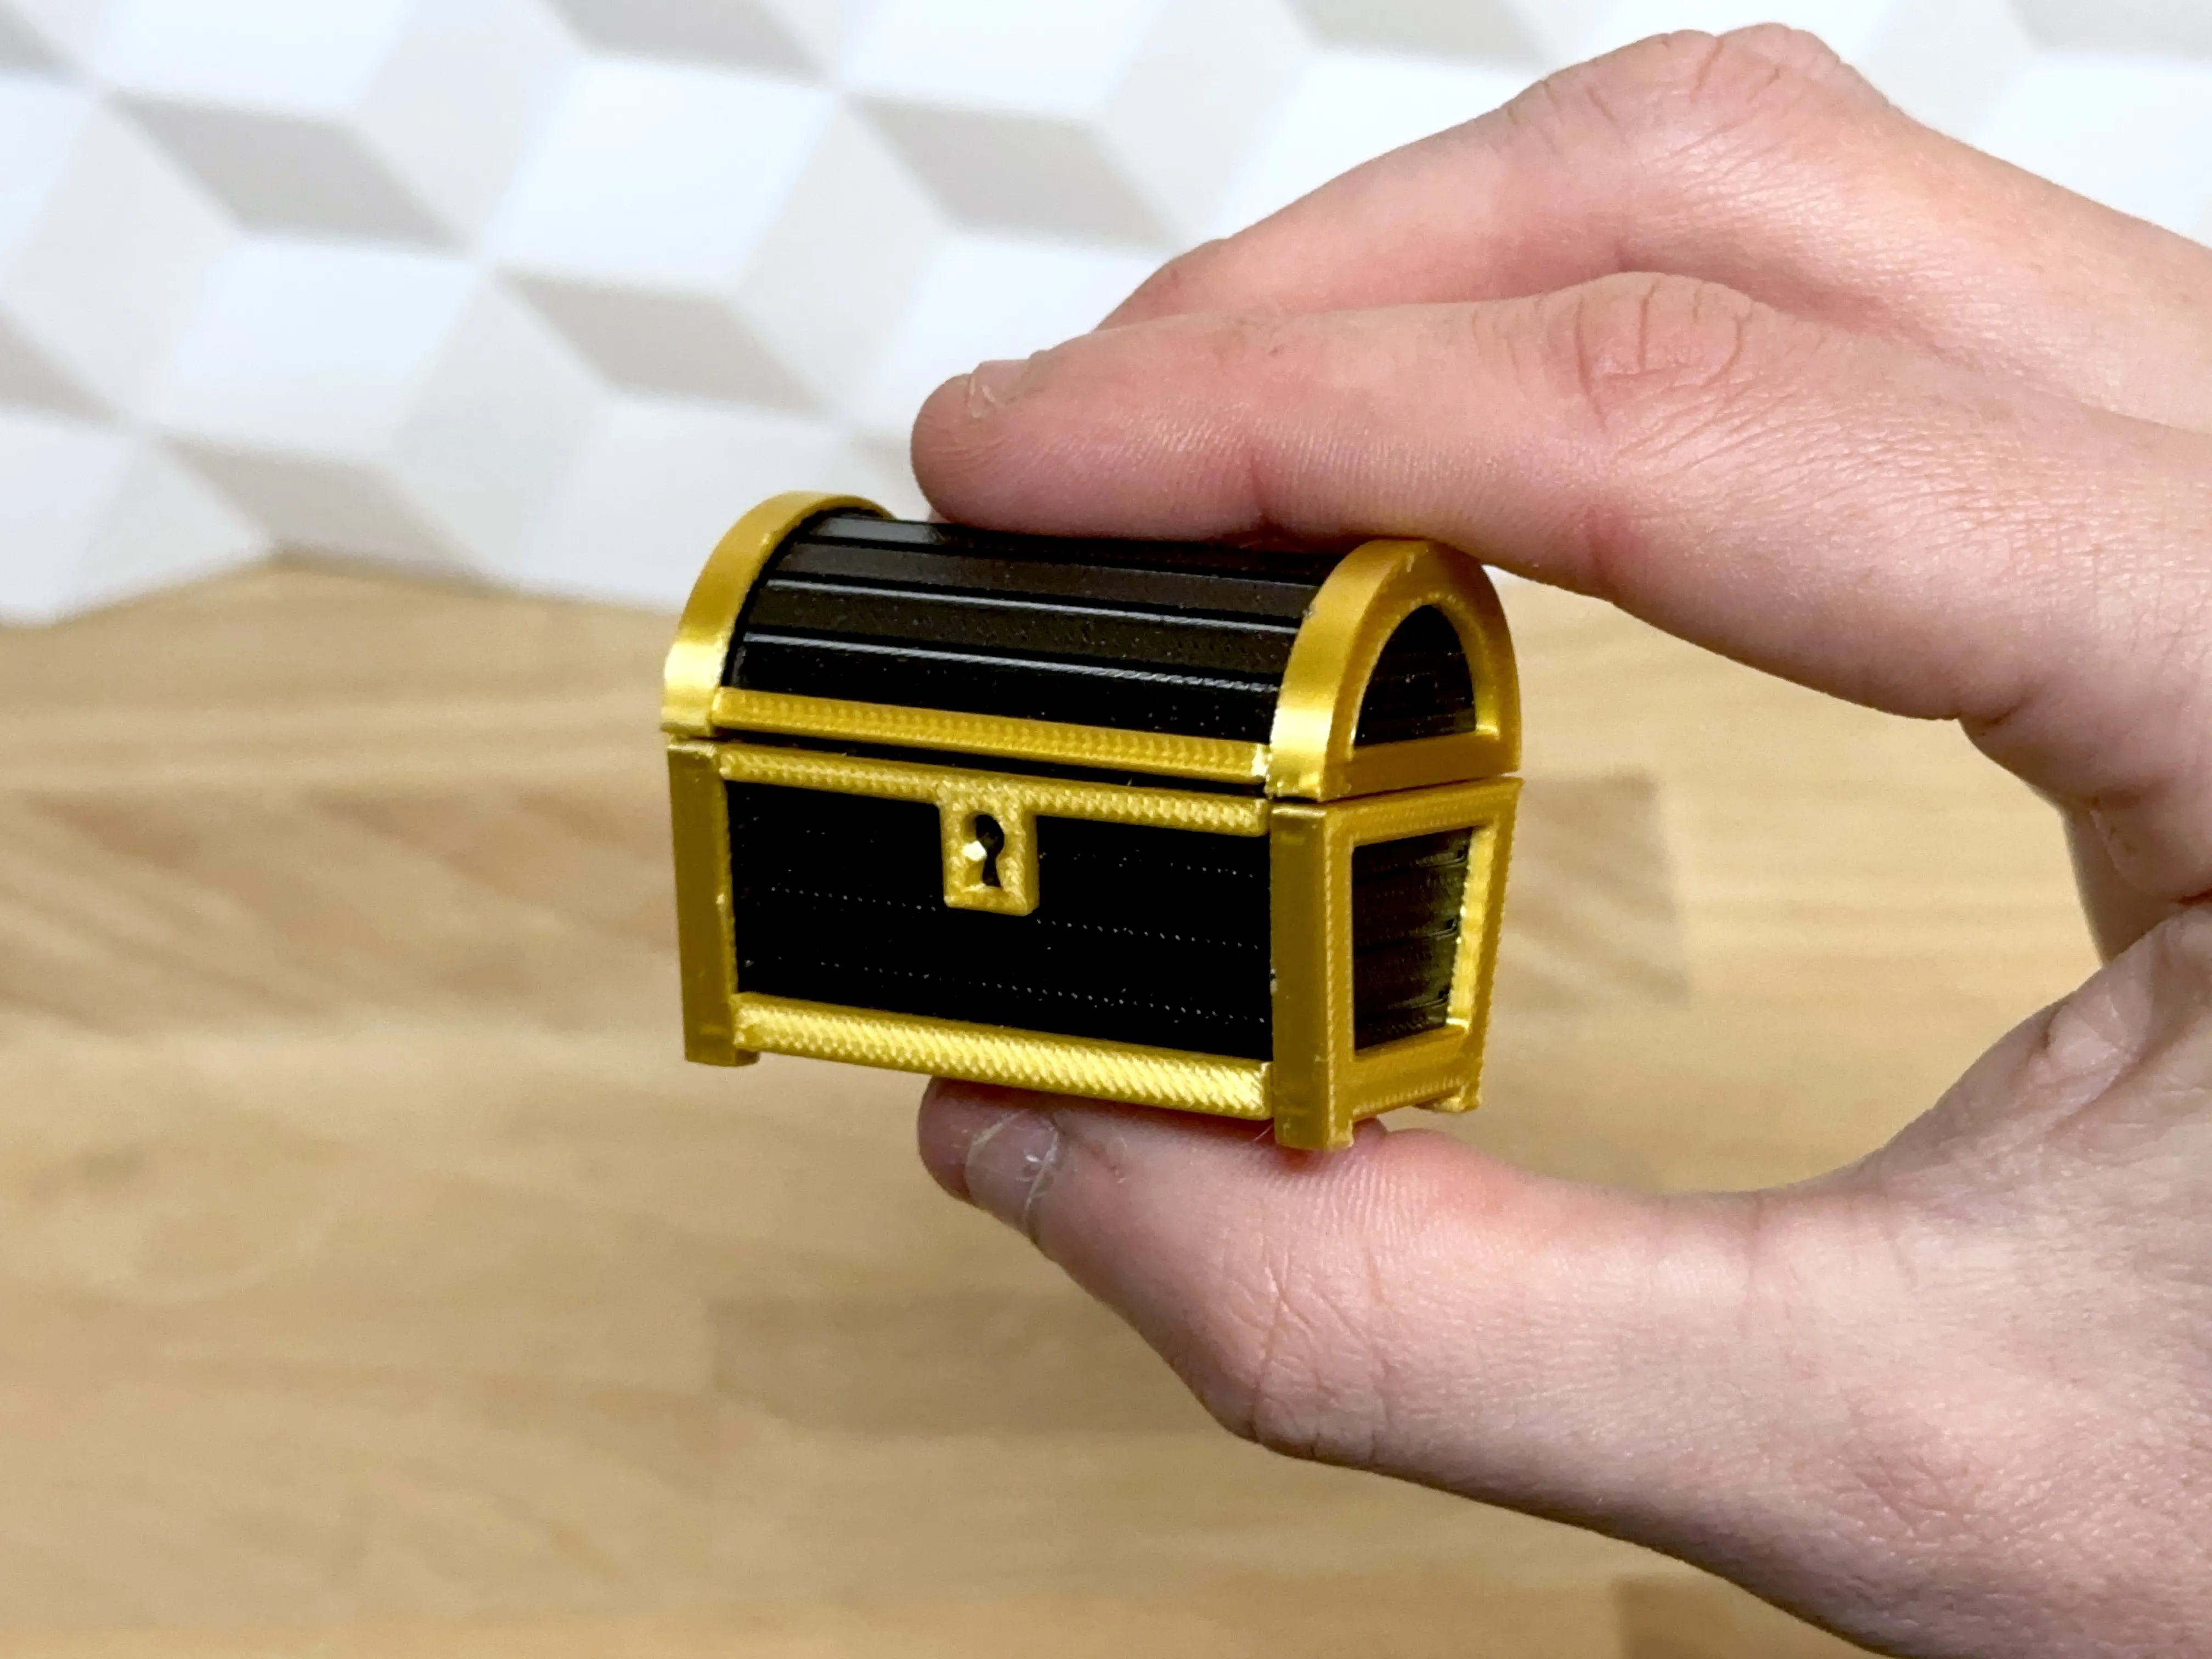
If any of the items is a little too loose, maybe some glue could help.
If anything is too tight, maybe sand/scrape the edges instead of pressing too hard at first.
Print instructions
Here is a few suggestions:
- Speed: Low 1. layer speed (maybe below 50% of normal - just the first layer to ensure bed adhession with all the small lines)
- Orientation: The cards should be oriented correctly
- Brim: No. Would take a long time to clean the model..
Happy printing!
License

You shall not share, sub-license, sell, rent, host, transfer, or distribute in any way the digital or 3D printed versions of this object, nor any other derivative work of this object in its digital or physical format (including - but not limited to - remixes of this object, and hosting on other digital platforms). The objects may not be used without permission in any way whatsoever in which you charge money, or collect fees.


Comment & Rating (453)