
Flower Jewel box
Print Profile(1)

Bill of Materials






Description
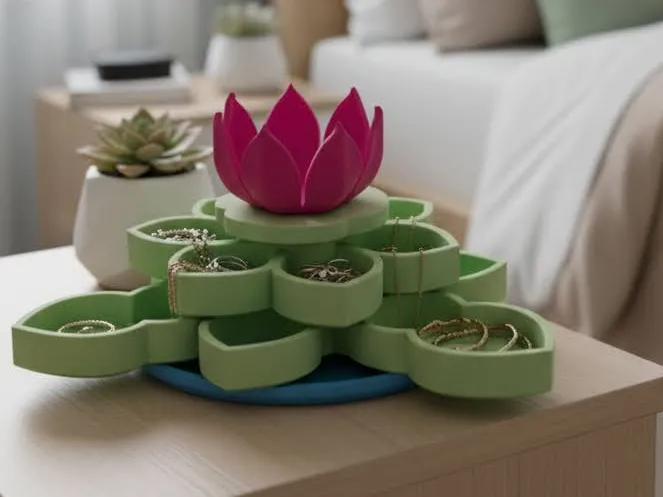
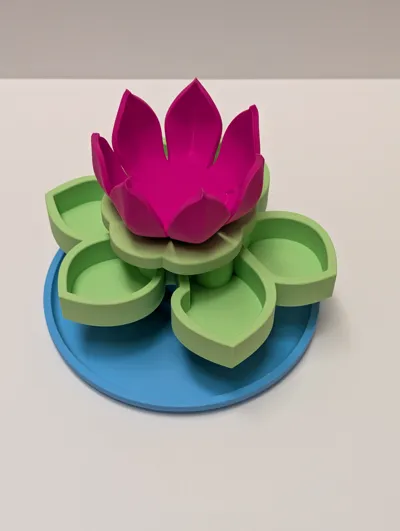
Flower-Inspired Jewel Box
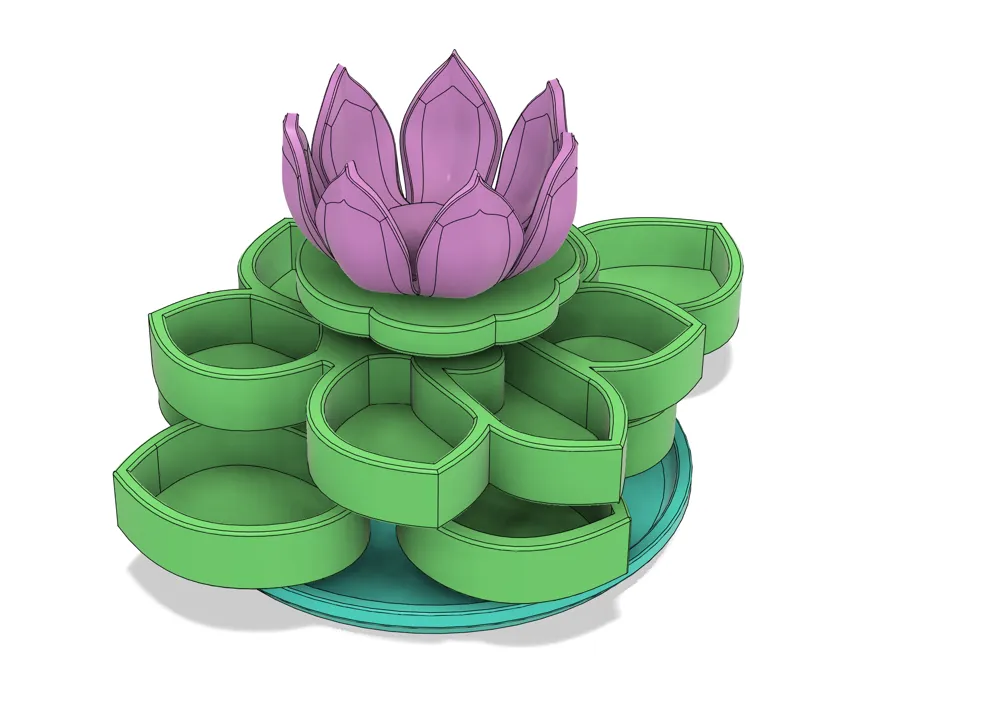
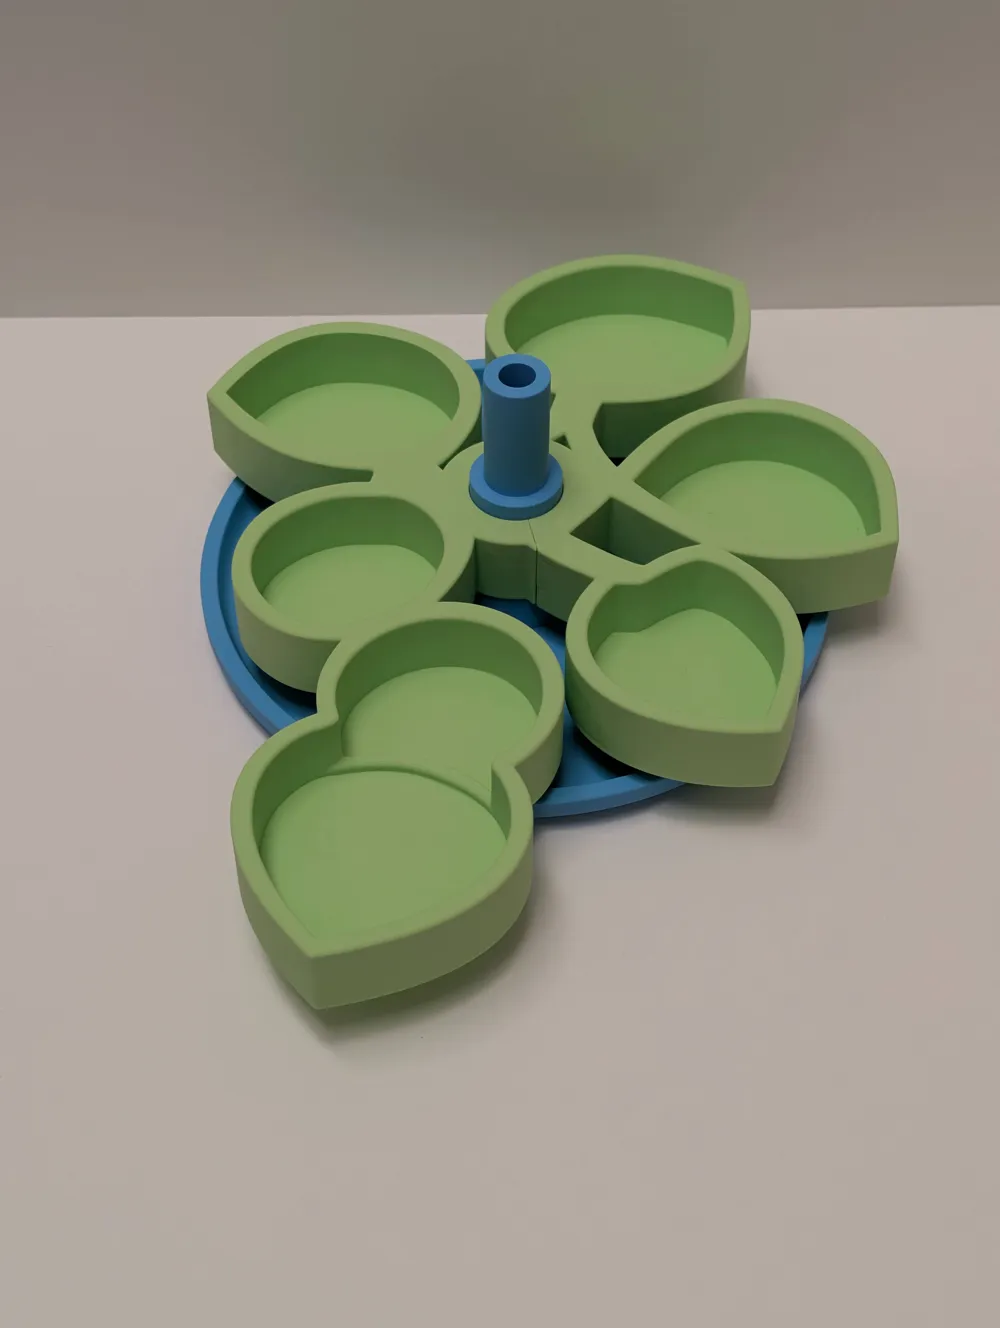
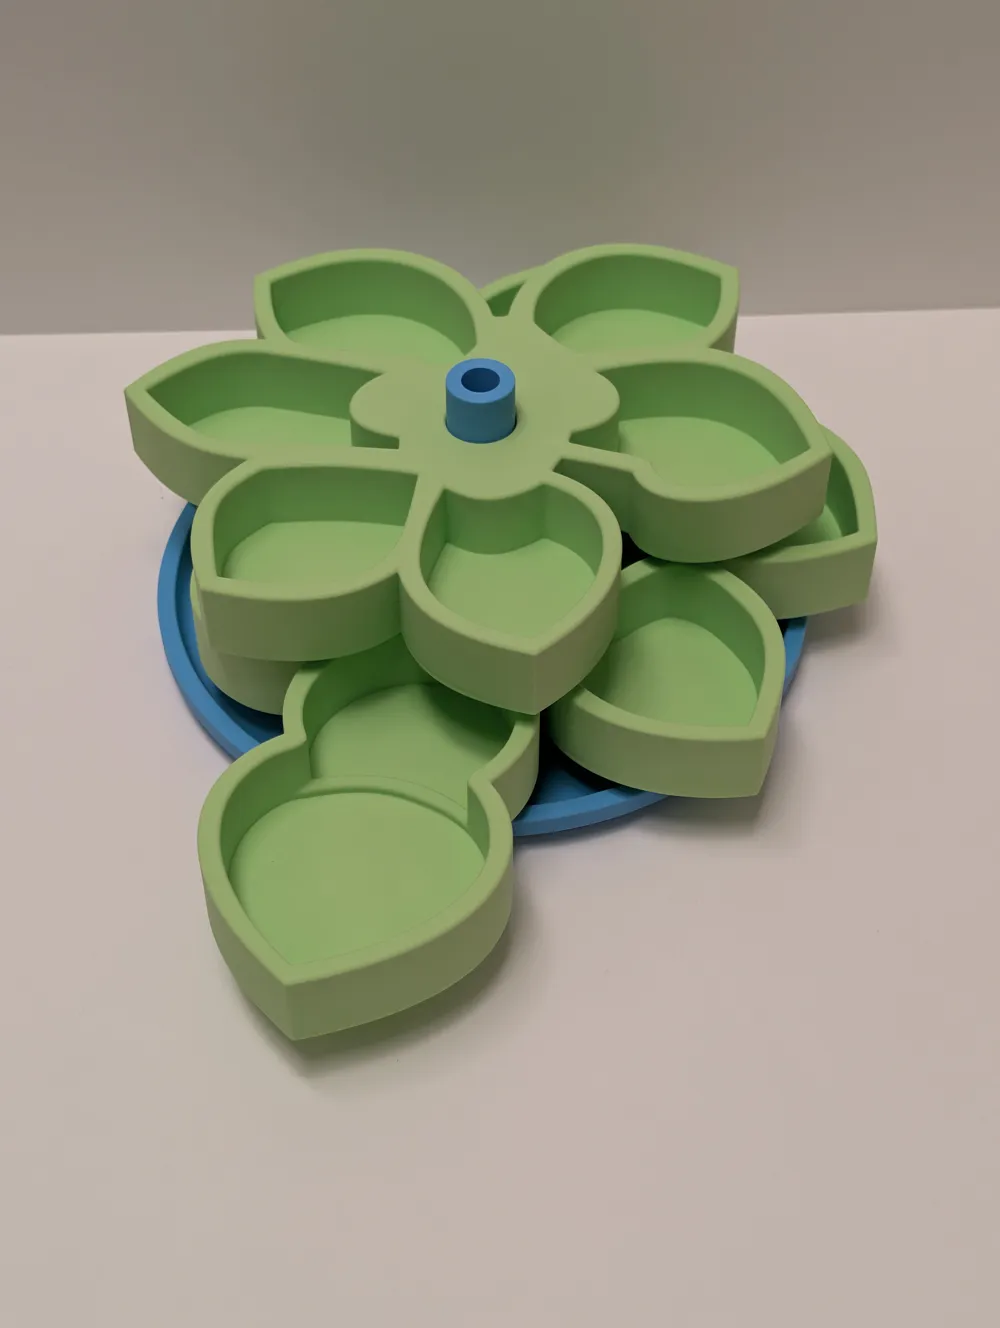
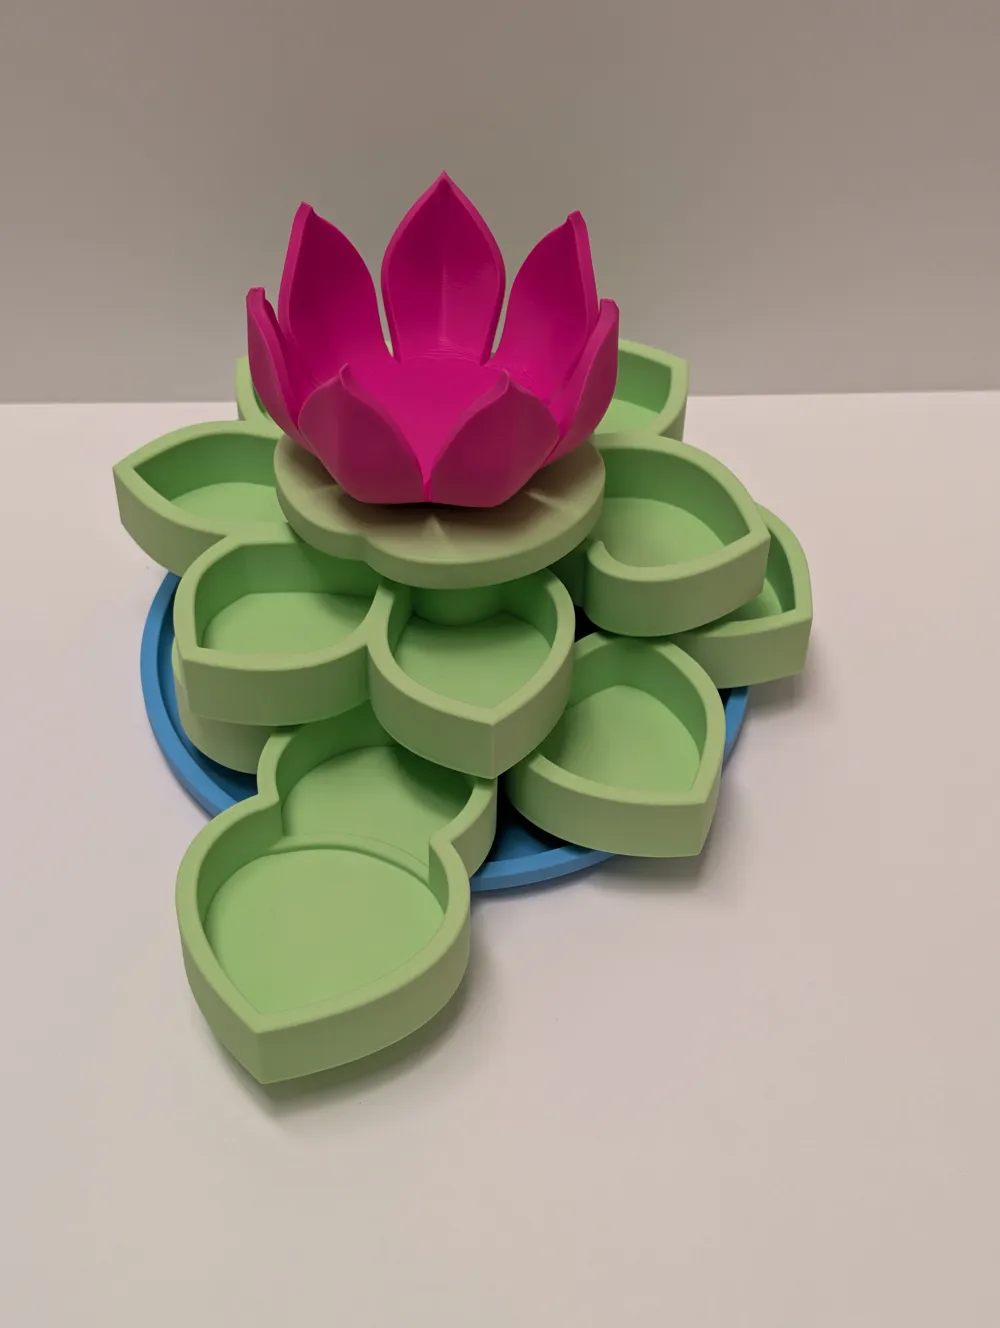
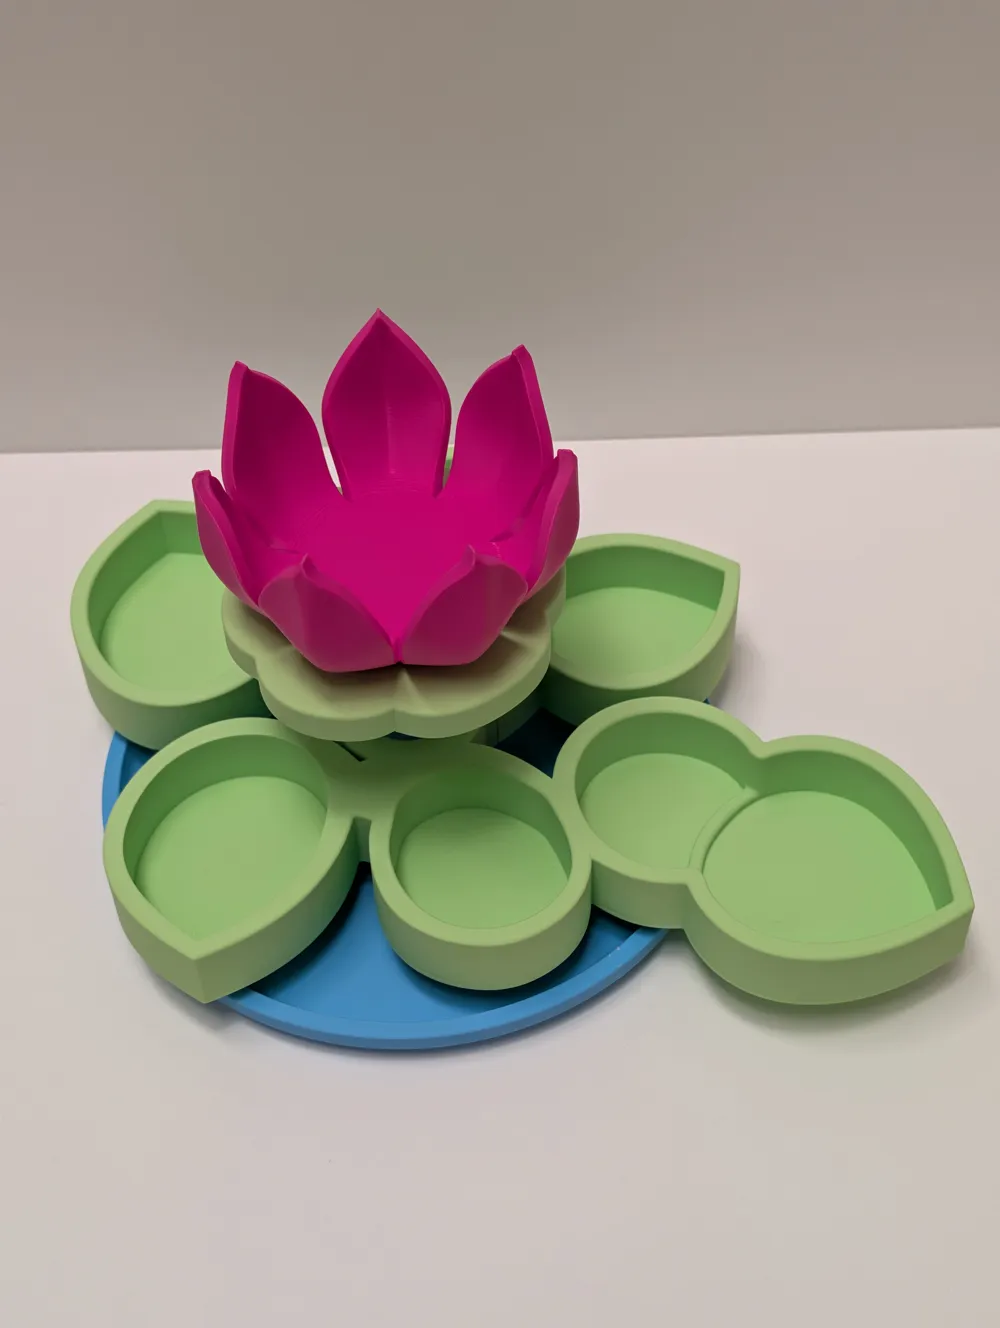
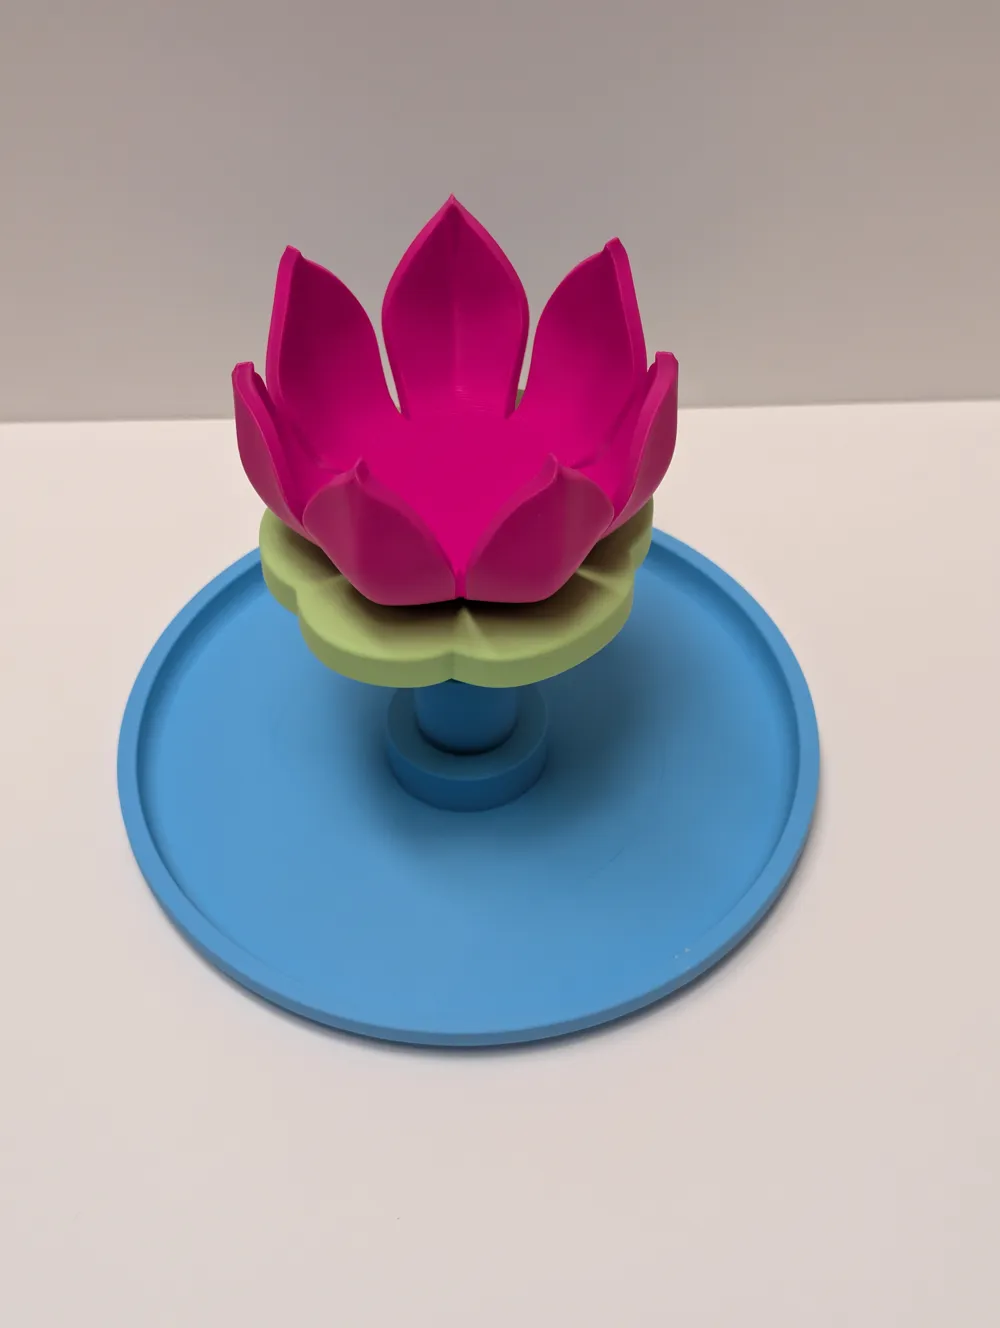
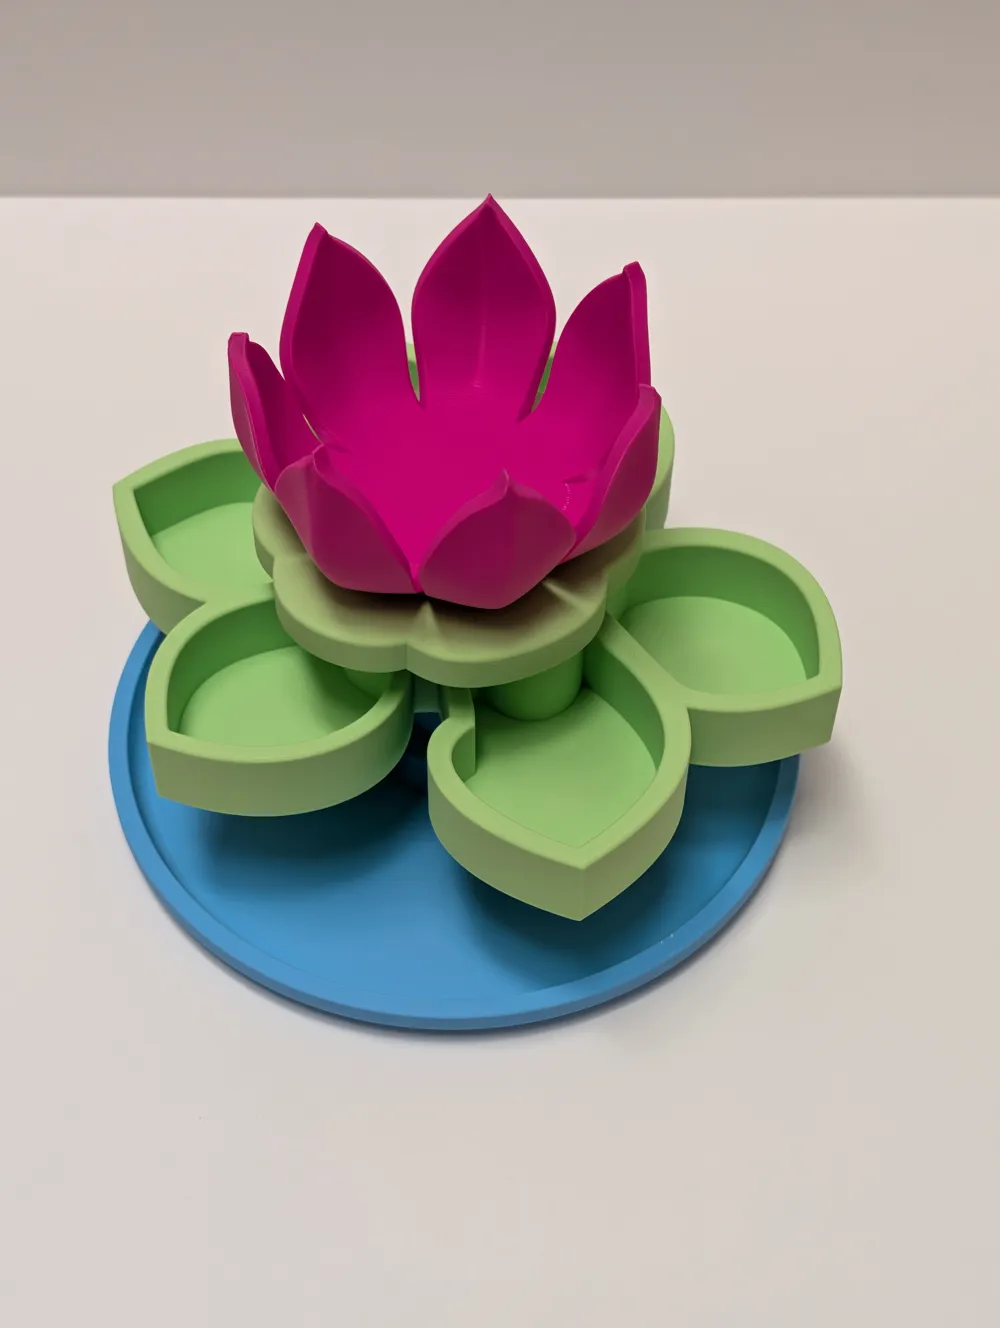
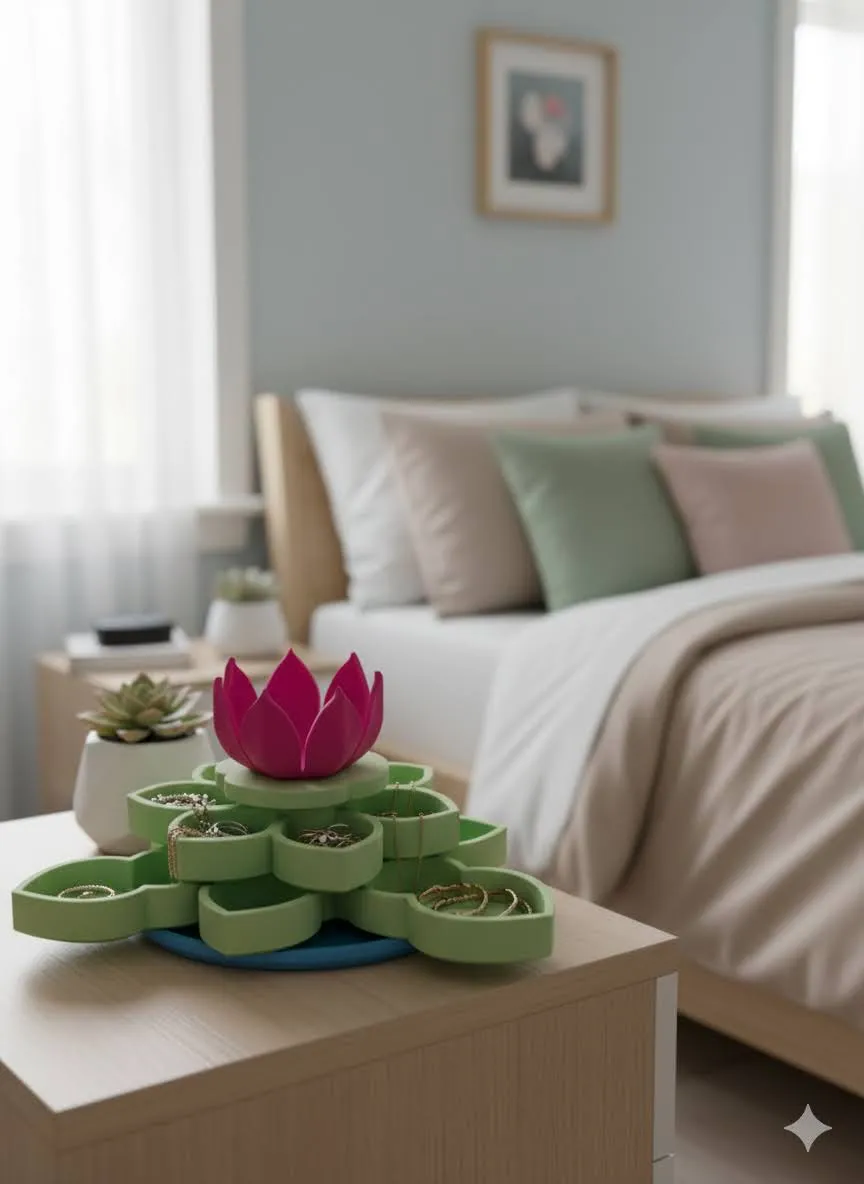
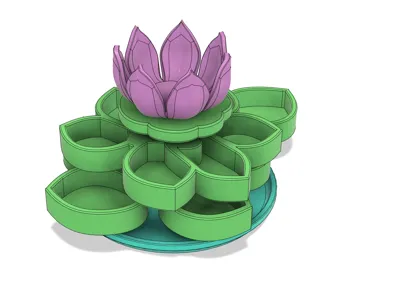
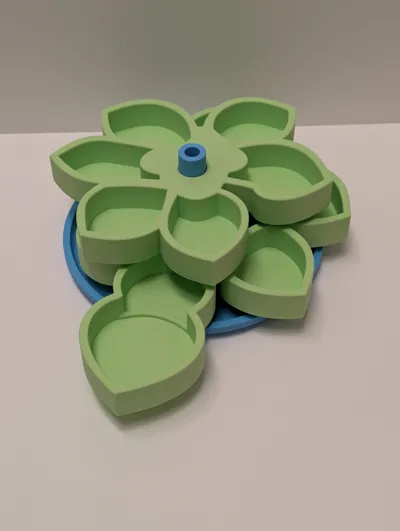
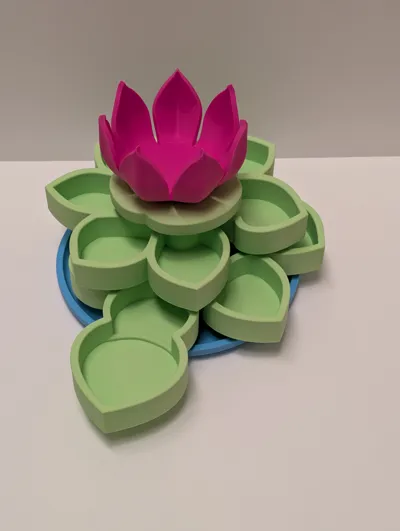
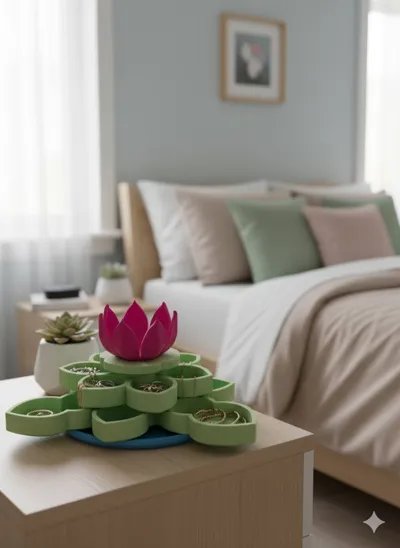
This 3D-printable jewel box was designed at my daughter’s request to organize her jewellery in a compact and elegant way. The flower-shaped design offers multiple rotating levels, providing easy access to small compartments perfect for rings, earrings, or other small treasures.
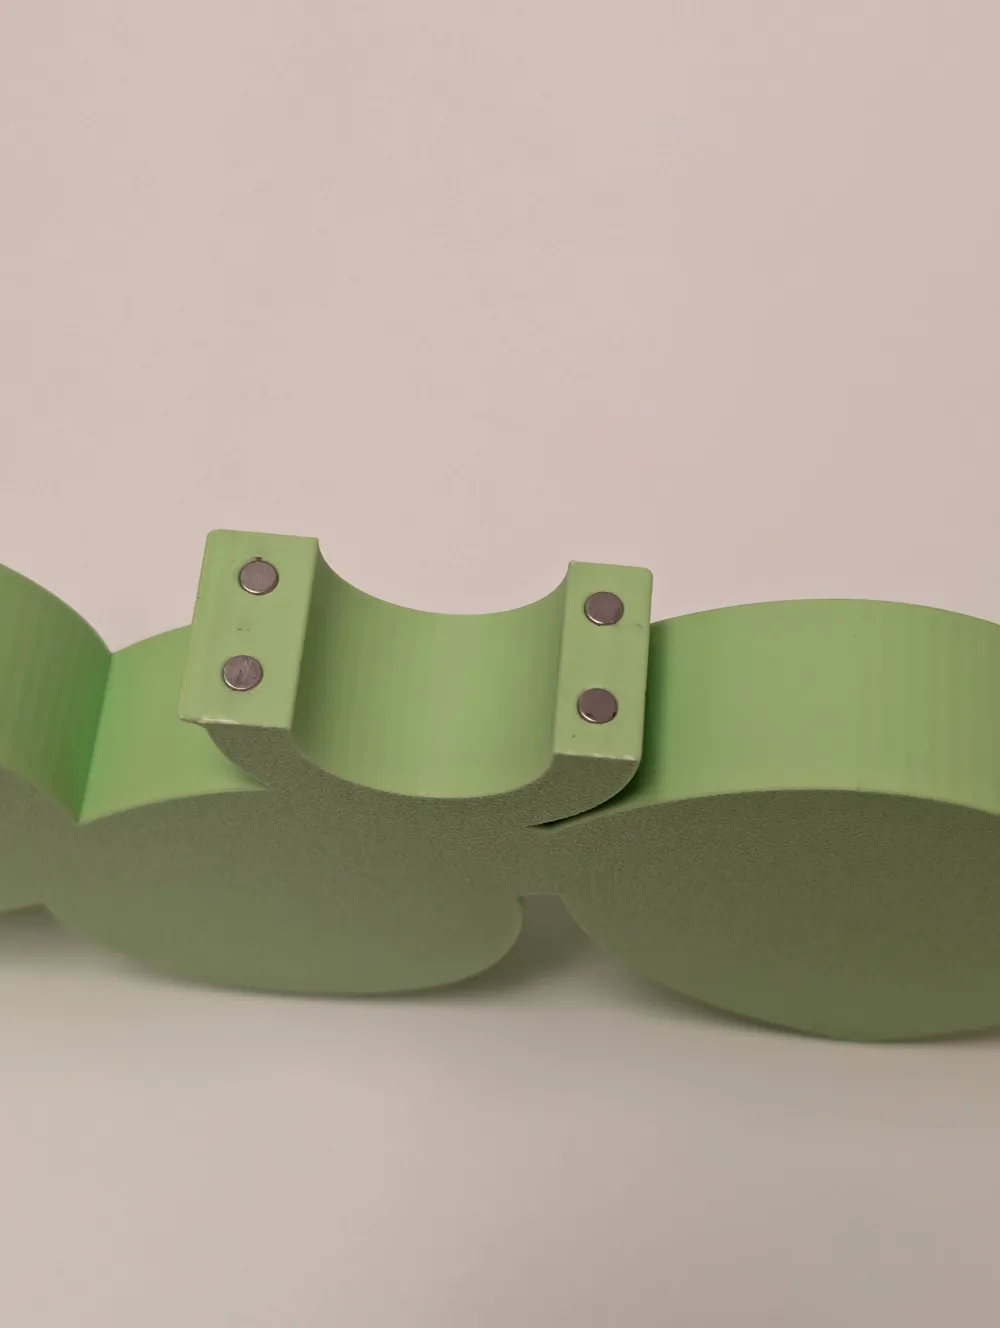
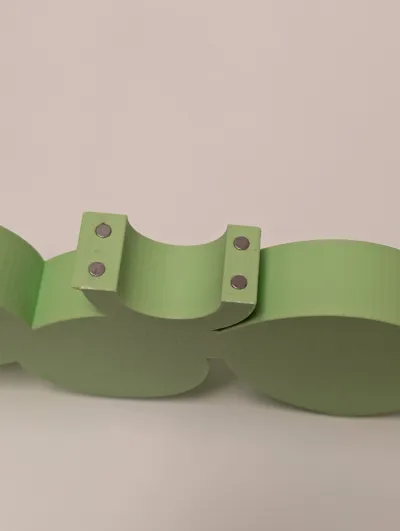
Built to be screw-free, the model relies on carefully placed magnets that hold the bottom leaf layers together and secure the flower to its base, making assembly and disassembly simple and tool-free. The vibrant pastel colours add a fresh look, but you can customize the colour scheme to your preference.
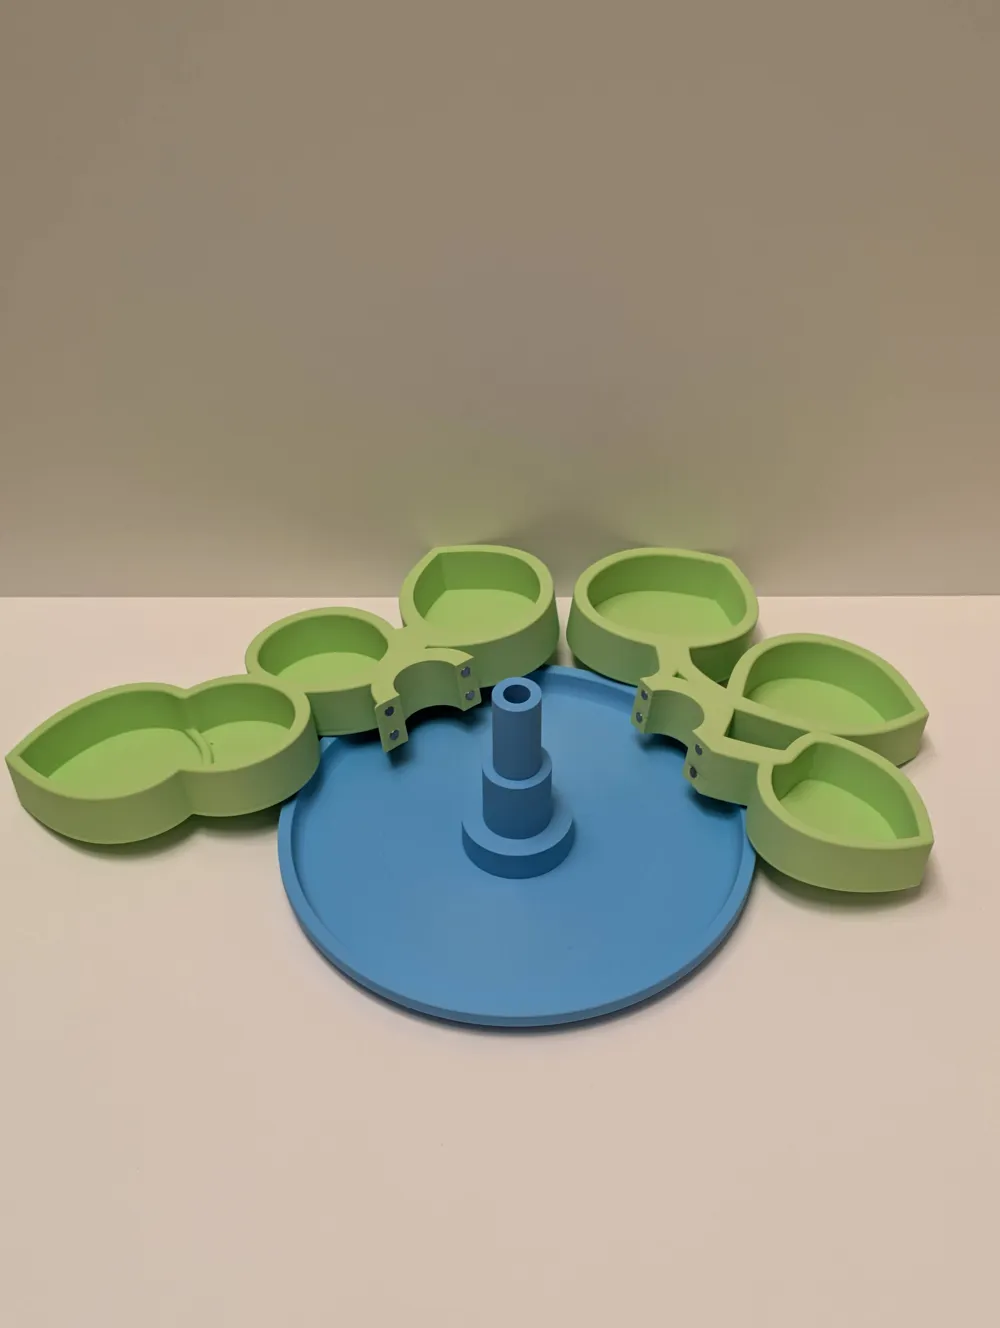
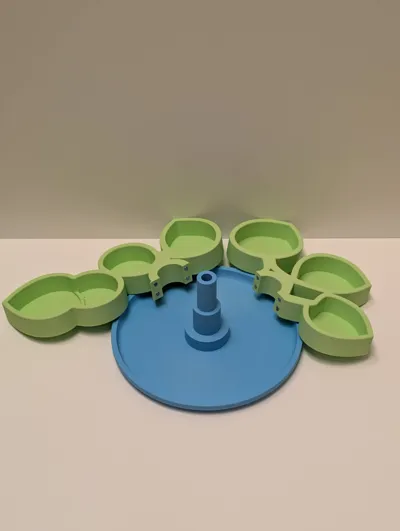
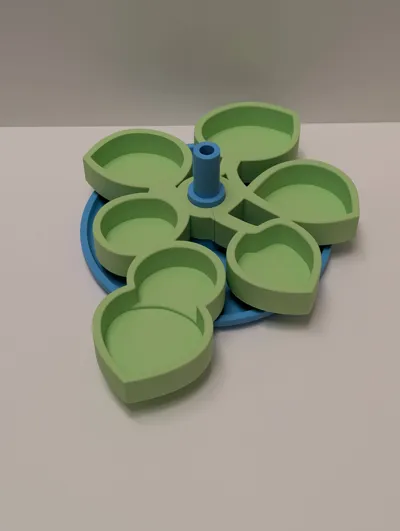
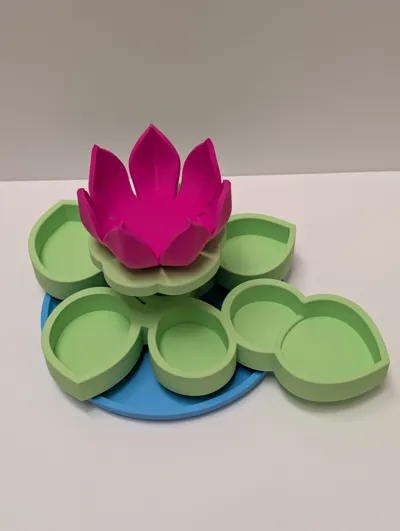
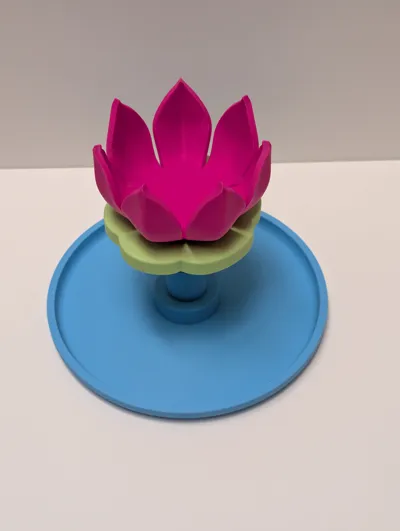
You can also customise it by removing levels as shown on the pictures.
This is my first published model, I hope you will like it as much as I enjoyed designing it.
Assembly Instructions
- Insert the eight small magnets into the sides of the lower leaf layer. They fit snugly, but if needed, a drop of glue can be added for extra hold. Use a flathead screwdriver or similar tool to gently press the magnets in place.
- Place the assembled bottom leaf layer onto the base piece.
- Position the smaller leaf layer above the bottom layer.
- Insert the 6 mm magnets into the base of the flower and the small leaf as shown in the included images. Use glue if you want a more permanent fit.
- Snap the small leaf and flower together.
- Insert the rod through the aligned centre holes of the small leaf and flower.
- Finally, insert the rod into the base to complete the assembly.
This project is inspired by a previous model that is now retired, adding an updated twist to a proven concept.
Feel free to experiment with different colours customize this elegant jewel box to your needs!
License

You may create derivative works based on this object, provided that all such derivative works are published exclusively on the MakerWorld platform and include proper attribution to the original creator. You may not share, upload, host, distribute, or publish this object—or any derivative work of this object—on any other digital platform, marketplace, or distribution channel. Commercial use of this object and any derivative works is strictly prohibited. This includes, but is not limited to, selling, renting, sublicensing, or using the object in any context in which you receive monetary compensation or other financial benefits.


Comment & Rating (6)