
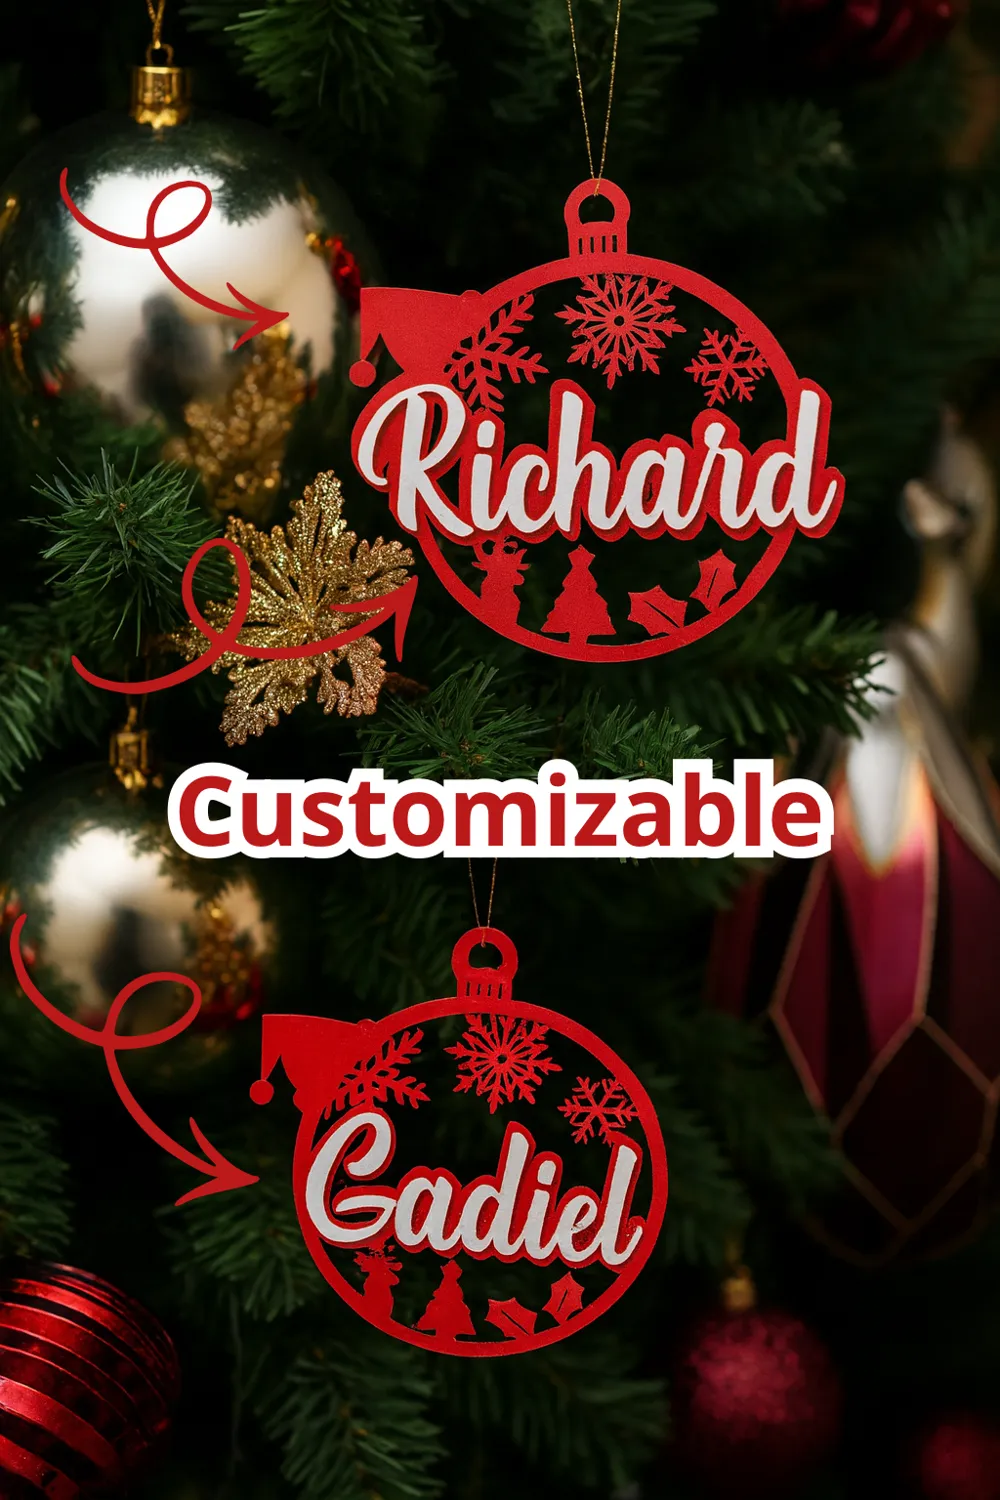
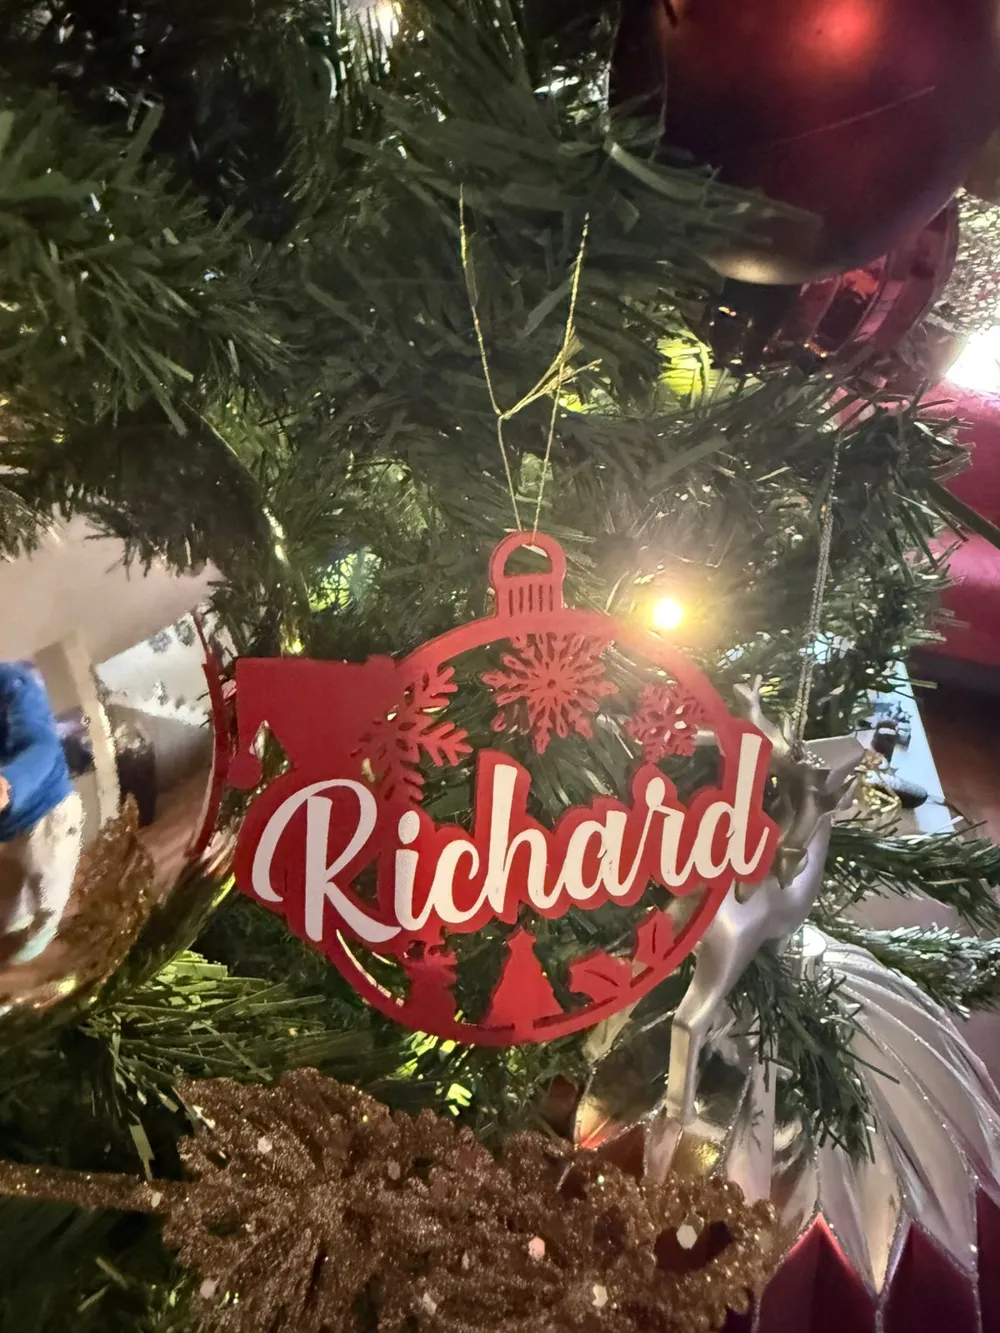
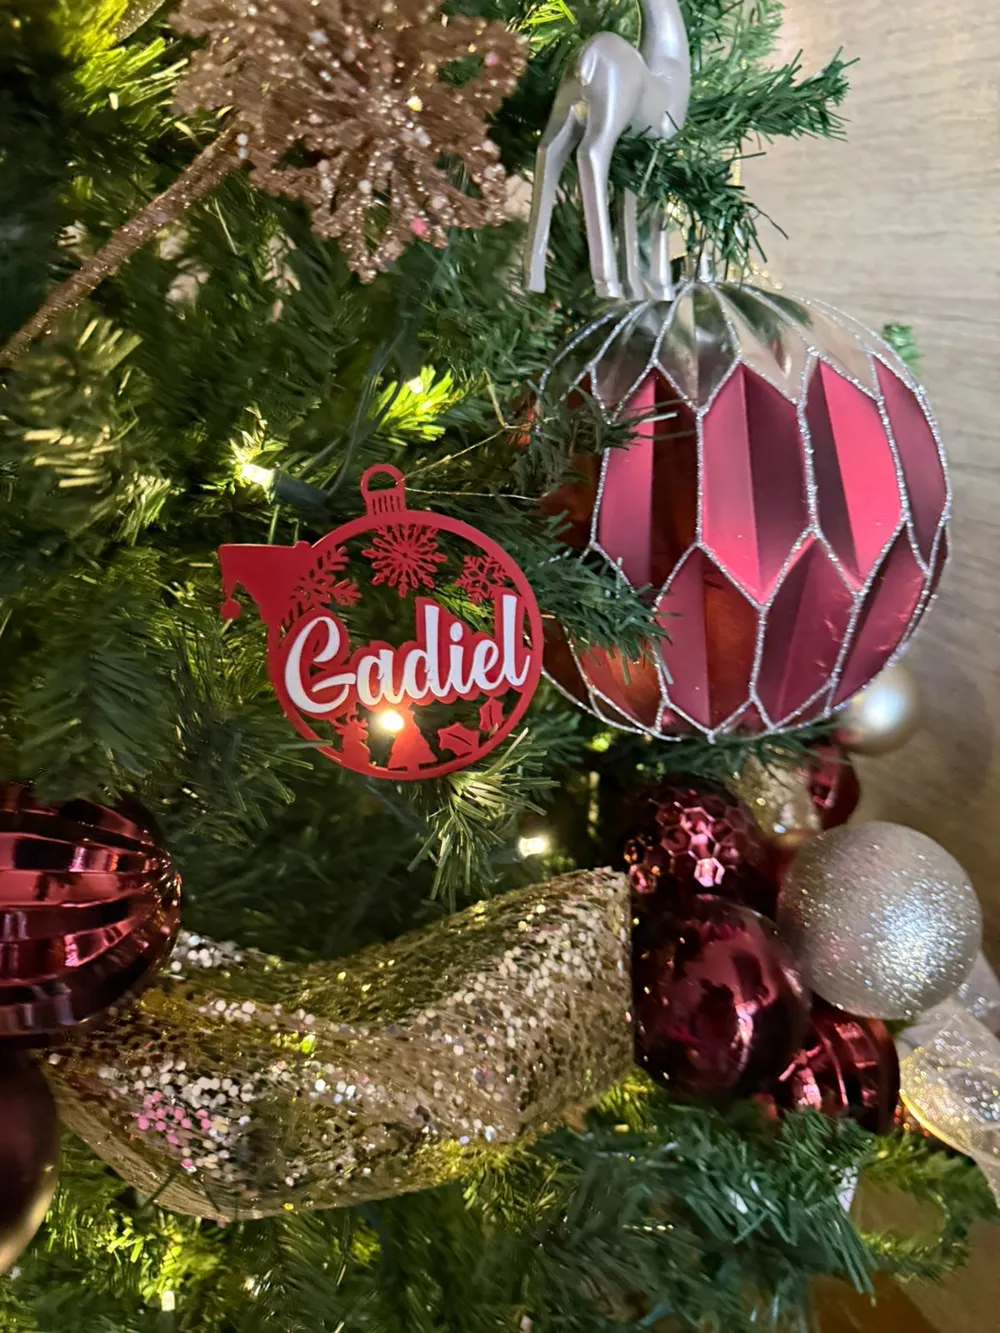
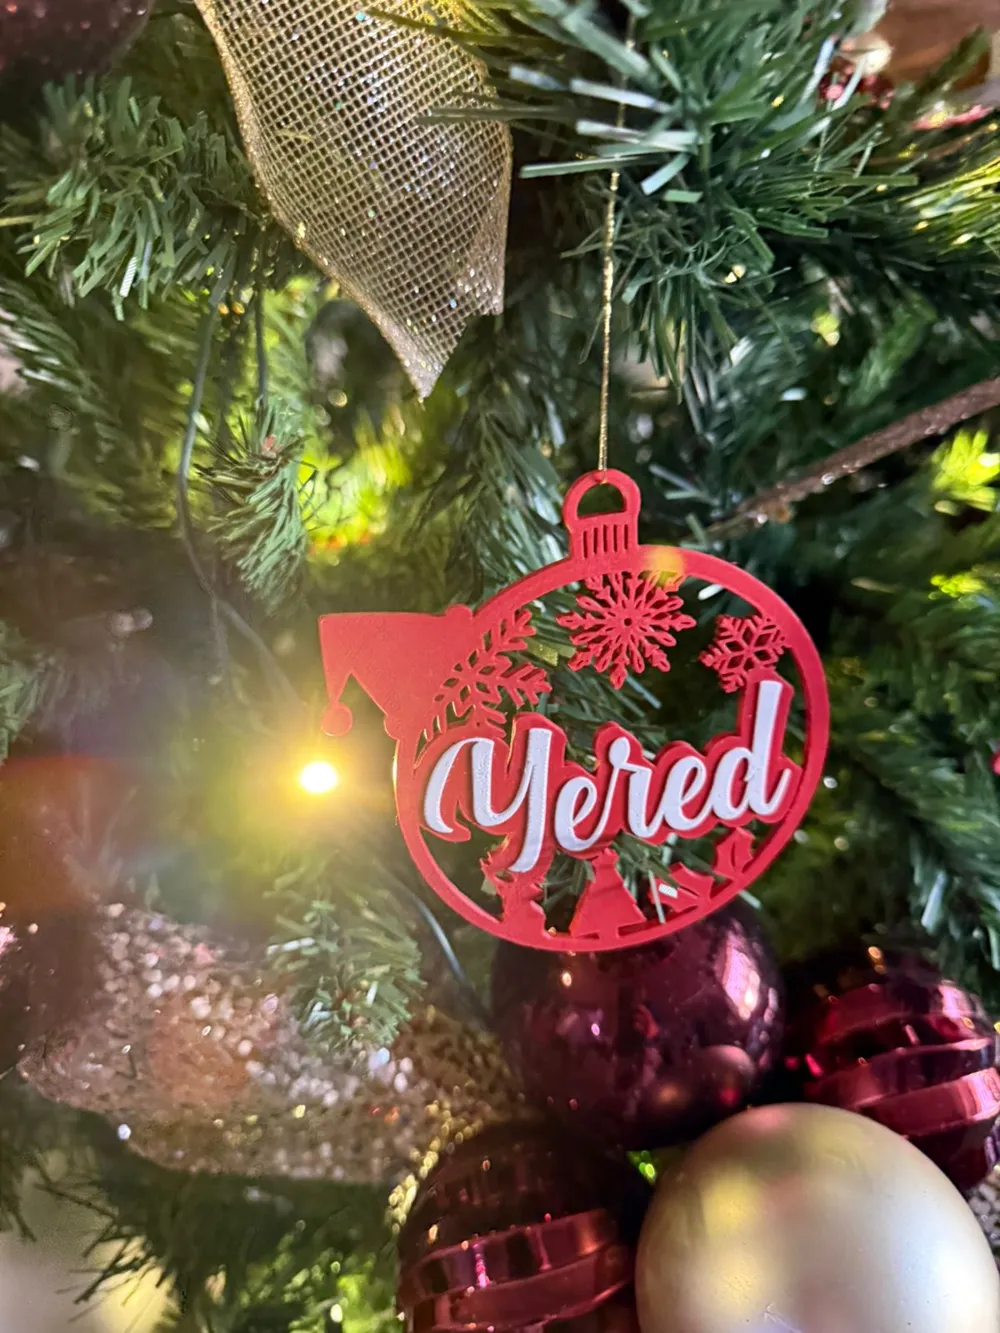
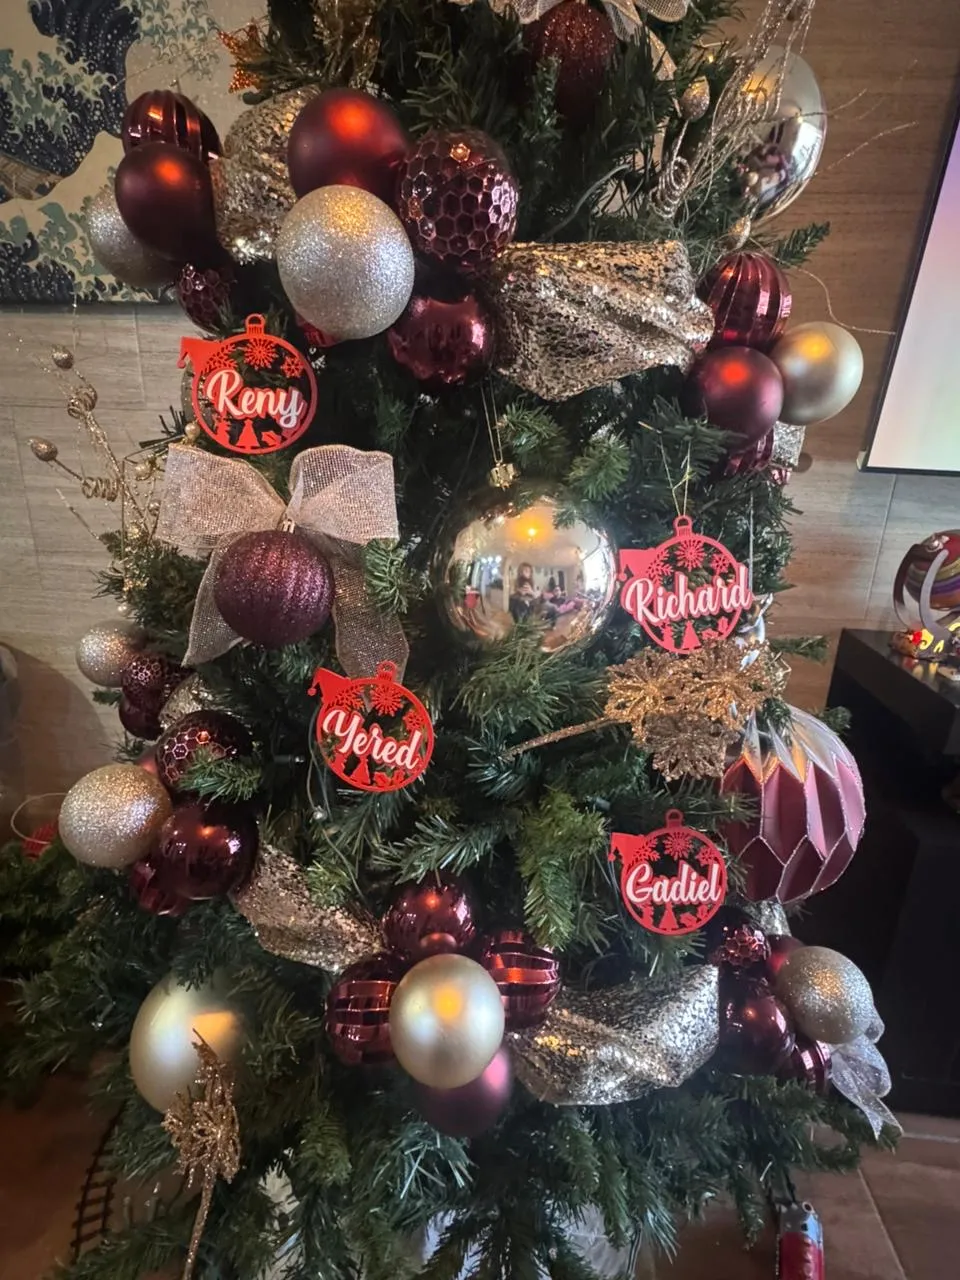
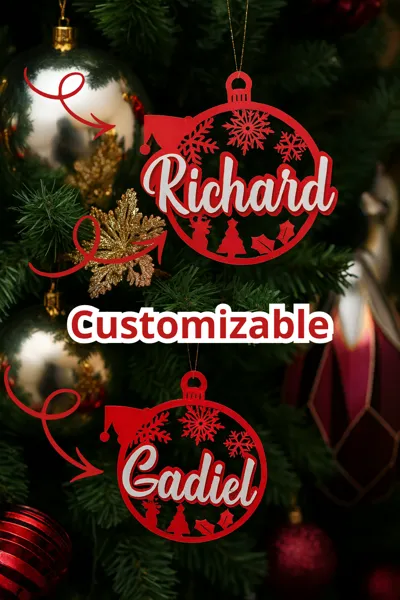
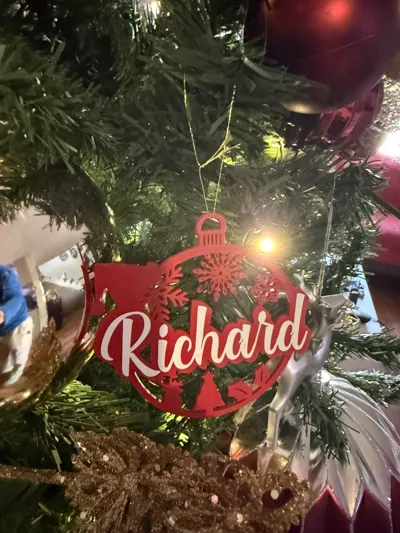
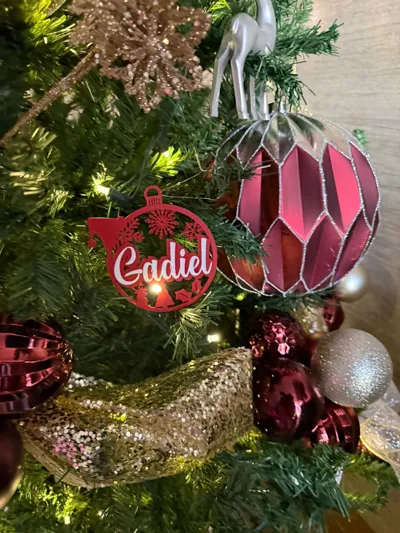
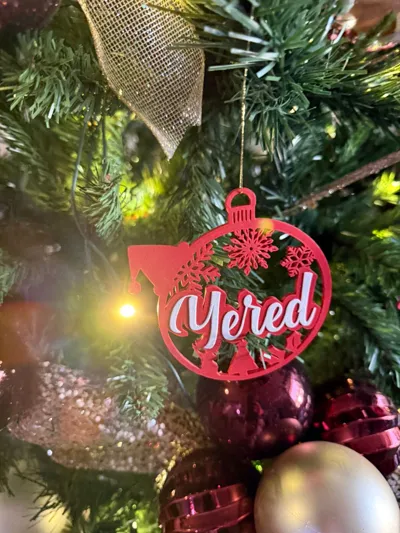
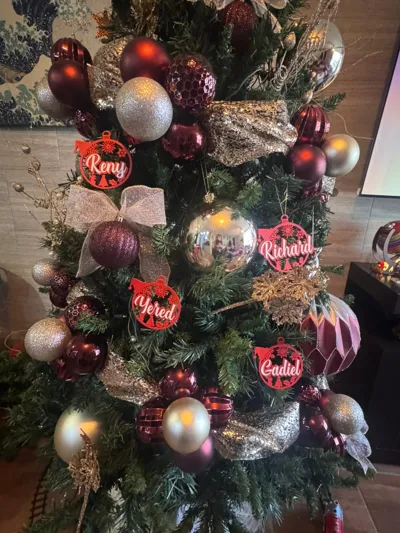
Customizable Christmas ornaments 12g




Print Profile(1)




Description
It is very important to download the font I am providing below to make the process easy and quick, AS SHOWN IN THE VIDEO BELOW.
This is the link to the font used for this video:
https://www.creativefabrica.com/product/authentic-duo/
This is the Dafont link for a similar font by the same author:
https://www.dafont.com/es/batuphat-script.font
Both fonts are from reliable websites, analyzed before uploading these videos, and can be used without any fear.
Here is a video on how to install fonts on a MacBook if you don't know how to do it.
https://www.youtube.com/watch?v=rhqYH_ckIm8
Here is the video on how to install fonts on Windows if you don't know how to do it.
https://www.youtube.com/watch?v=cq9LFMA42GA
Part 1: Start by cloning the already created sphere. This can be done by selecting the created sphere with a click, then right-clicking and selecting clone. This can also be done by selecting the sphere and pressing Command + K.
It is very important for the next step to be in the objects section. If you are new and cannot find this section, you will find it in the process menu, as shown in the video approximately halfway down the left side of the screen. It is a green oval with the word "objects" inside.

Step 2: Inside objects, you will notice the "assembly" menu. In the assembly menu, you will find a section that says "Body". Below it, you will find TEXT BACK, which you will distinguish by its red color. Select it with a primary click, then a secondary click, and edit the text on the upper right side. There is a box where you can type the desired name. It is very important to use the Authentic Script Extrudel font if you used the first link I provided at the beginning of the instructions, or Batuphat Script Extrude if you used the second link.
Step 3: In this step, it is necessary to repeat the previous step almost identically, except that instead of selecting TEXT BACK, you will select TEXT FRONT. You will be able to distinguish them, apart from naming them, because TEXT FRONT is selected in white.

Step 4: For this step, it is necessary to return to the assembly of the sphere you just edited and select both TEXT BACK and TEXT FRONT. I perform this process by holding down the Shift key and clicking on both texts. Once both texts are selected, I choose the move tool at the top. Place it where you wish, always ensuring there is more than one point of contact between the text and the sphere. If you had to resize the text to make it look better on the sphere, before proceeding to step 5, go to the end of these instructions where there is an extra step that teaches you how to ensure the text is the correct size.

Step 5: Select the assembly of the sphere whose text you changed, then select the color tool in the upper right part. Then, in red color, select the color by layer tool, which is the fourth option in tool type, then in the height range. Enter 2.5. Rotate the sphere until you see the bottom part. Select the bottom part with a right-click. When you see "0.0" below, click to confirm and rotate the sphere again to ensure it has been colored without painting the white letters.

Step 6: Slice and ensure there is contact between the letters and the sphere. Also, make sure that the color change occurs correctly at 2.5 mm from the base. This way, there will only be one color change, and material will be saved on purges.

EXTRA STEP, IN CASE OF RESIZING THE LETTERS:
Select TEXT BACK and TEXT FRONT, as we did in Step 4. Then go to the scale section located at the top center and select the desired size. You can do this by entering the desired letter size or by clicking the turquoise blue upper right corner and dragging with a sustained click. Then you can click on the letters to arrange them as you see fit. Afterward, you will select TEXT BACK, go back to scaling, uncheck the uniform scaling box, and in the Z-axis, you will enter 2.5 mm. After this, you will select TEXT FRONT and repeat the scaling operation, changing the size on the Z-axis to 3 mm instead of 2.5. Once this is done, you can proceed with the instructions from Step 5.

License

You shall not share, sub-license, sell, rent, host, transfer, or distribute in any way the digital or 3D printed versions of this object, nor any other derivative work of this object in its digital or physical format (including - but not limited to - remixes of this object, and hosting on other digital platforms). The objects may not be used without permission in any way whatsoever in which you charge money, or collect fees.


Comment & Rating (18)