
Winnie the Pooh Lightbox Christmas

Print Profile(1)

Bill of Materials







Description
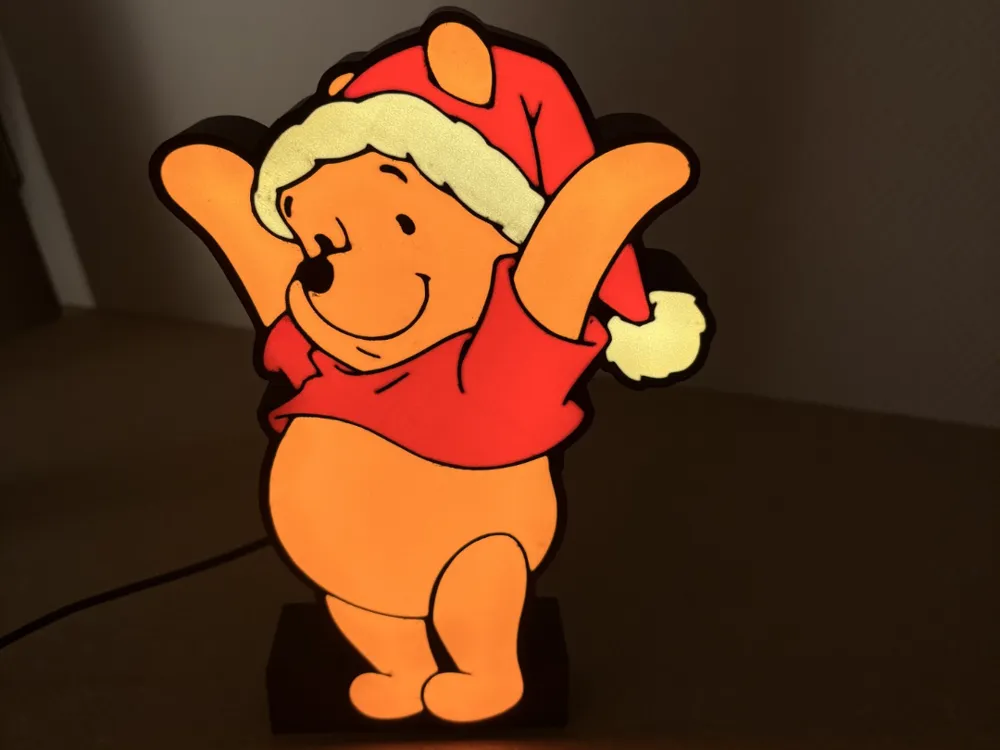
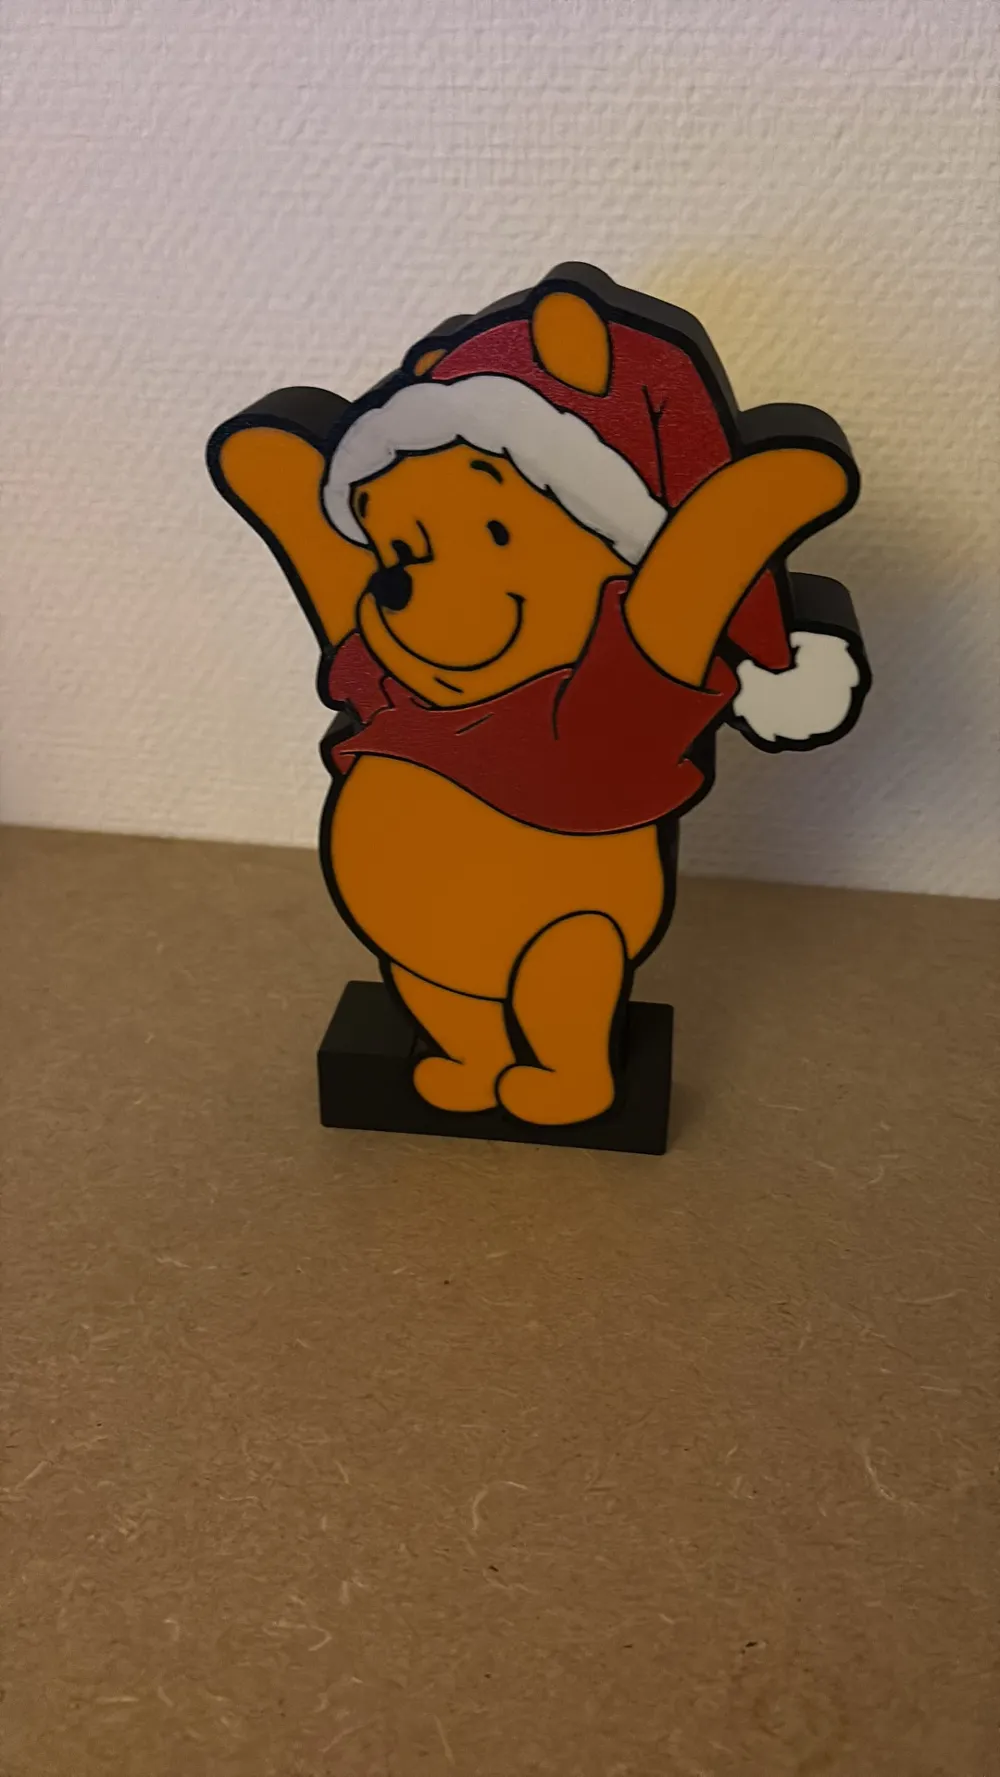
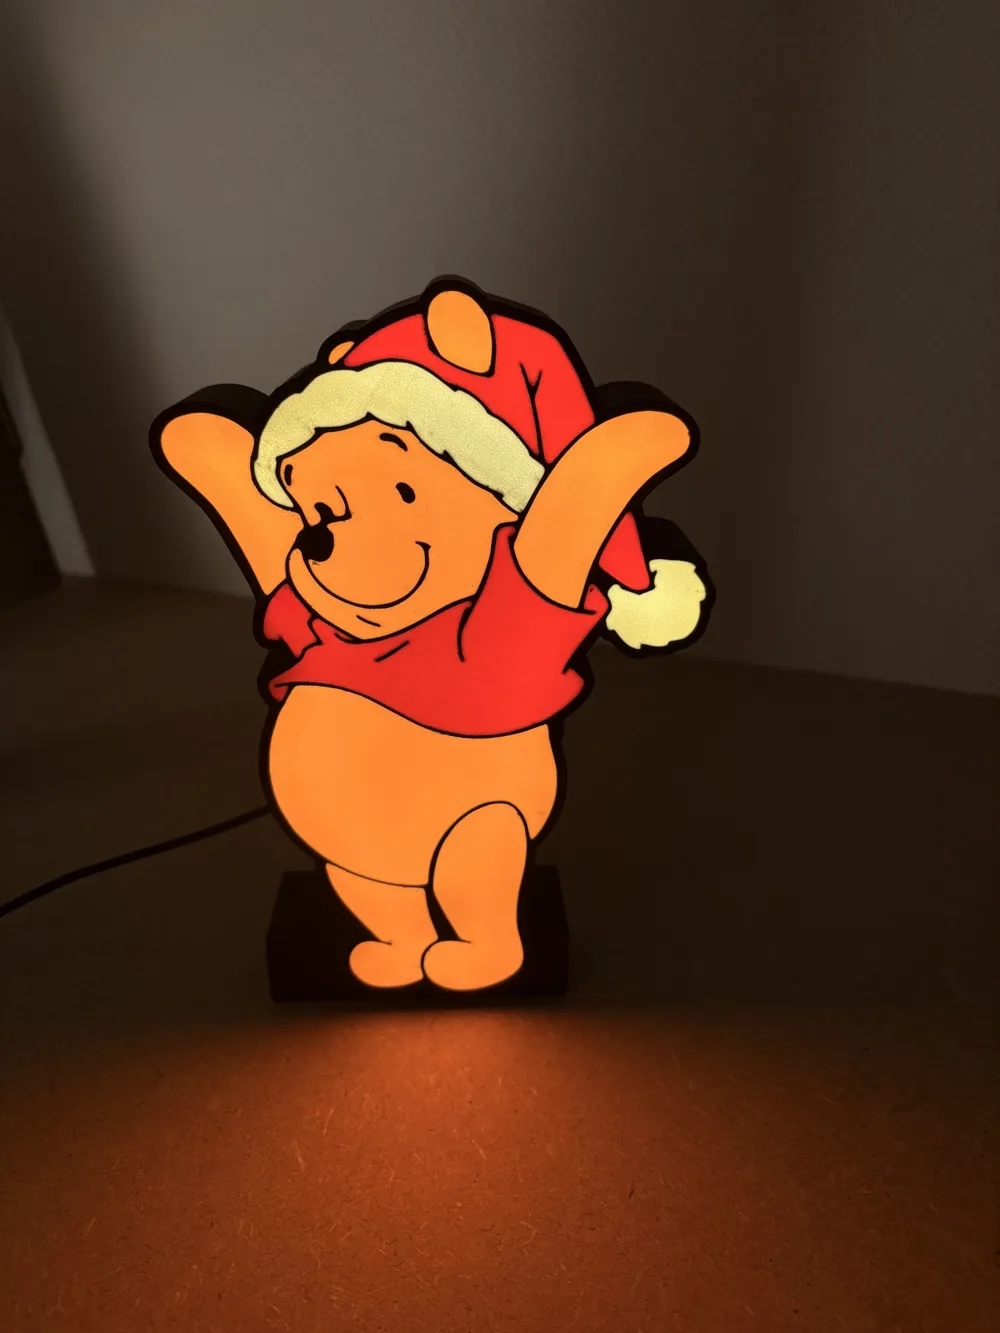
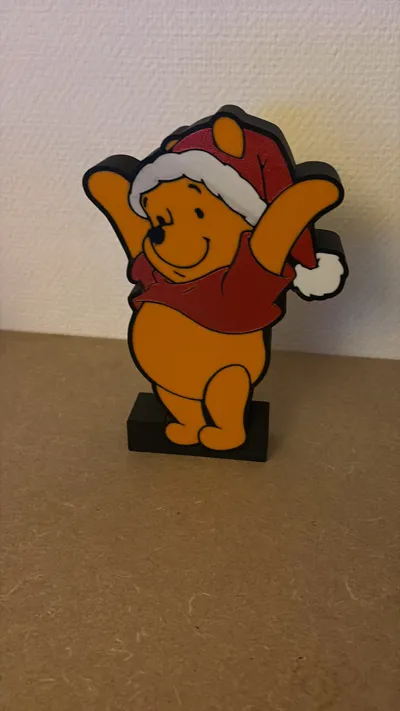
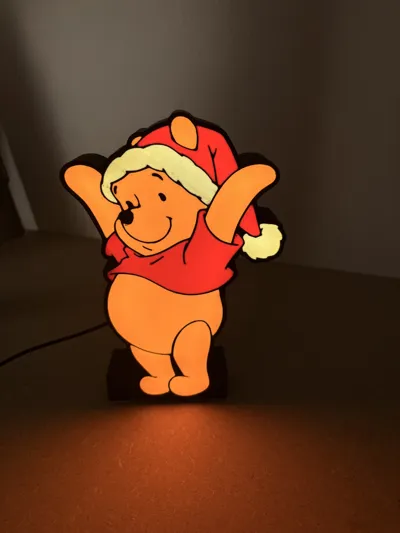
⭐ 3D-Printed Christmas Winnie the Pooh Lightbox – Build & Description
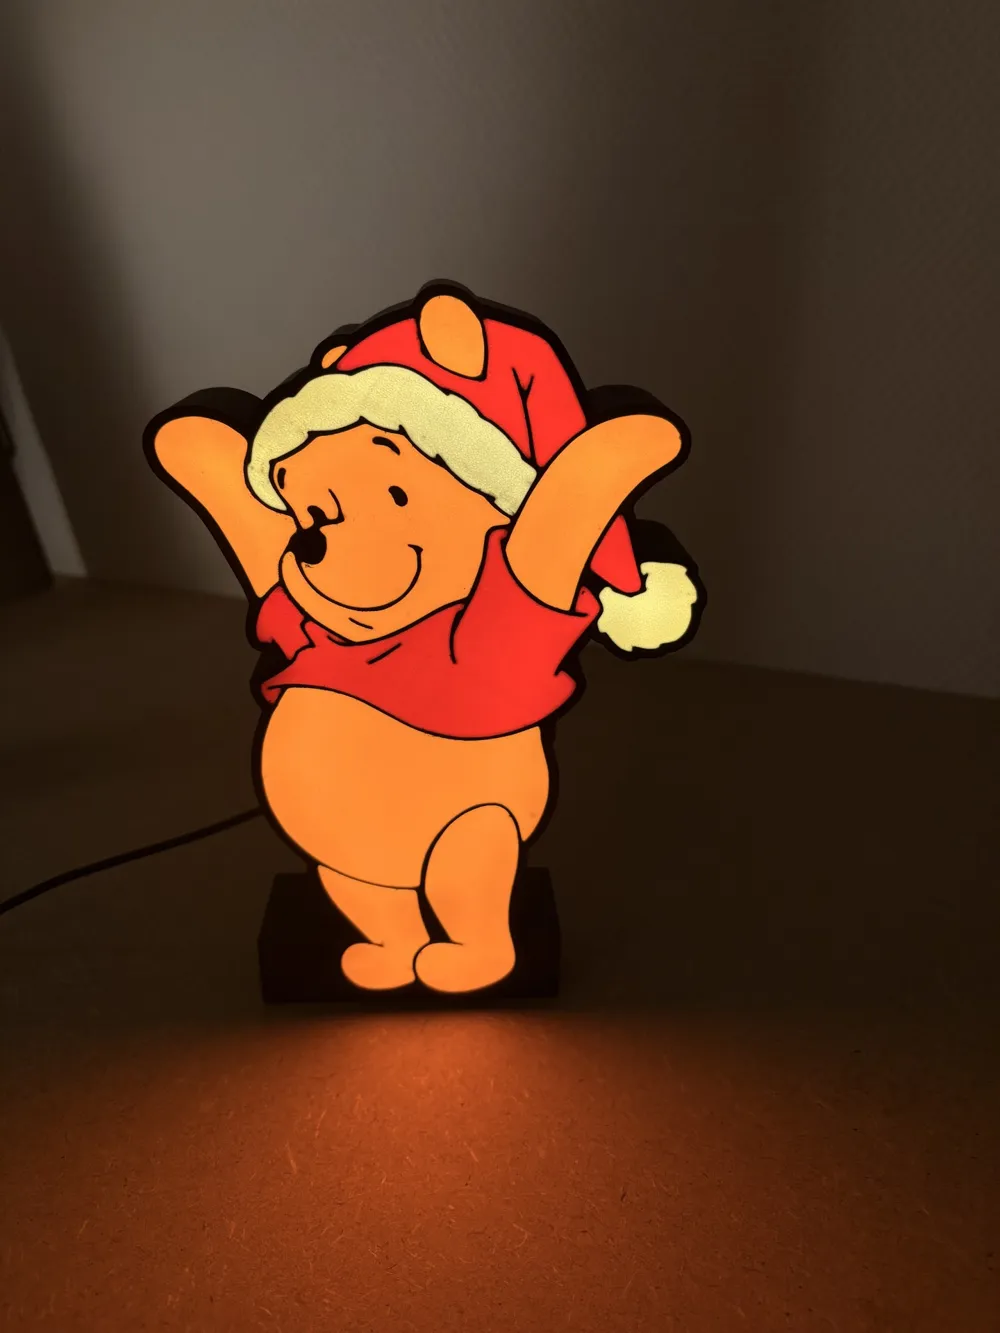
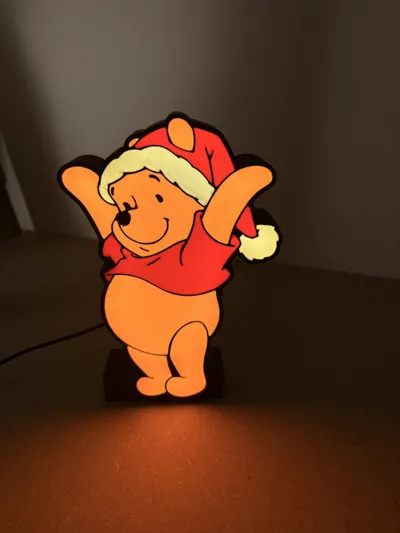
Bring festive coziness into your home with this adorable 3D-printed Christmas Winnie the Pooh lightbox!
With his bright Santa hat, cozy sweater and warm glowing belly, this cheerful little bear instantly turns any room into holiday mode. Perfect as a night-light, decoration, or handmade gift.
This project is designed for multi-color printing and easy assembly, even if you’re new to electronics. Below you’ll find everything you need to create your own glowing Christmas Pooh. 🎅🧸✨
📦 Materials Used
- PLA filament (4 colors, AMS Lite compatible)
- 5V COB LED strip in warm white (60 cm, cut to fit) – https://ap.lc/NLacG
- USB cable – https://ap.lc/GwtXE (choose any length, mine is 100 cm)
- Heat shrink tubing (approx. 4 cm × 6 mm width)
- Solder + soldering tin
- Super glue (to seal the lightbox)
🧰 Tools Required
- Soldering iron
- Heat gun or warm air blower
- Wire stripper or cutter
- Tweezers (optional)
🛠️ Assembly Instructions
Step 1
Print all STL files in your preferred colors using Bambu Studio with AMS Lite for smooth multi-color transitions.
Step 2
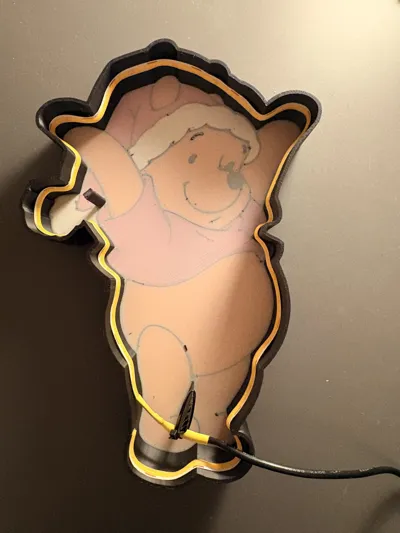
Feed the USB cable through the hole on the back of the Pooh lightbox.
Slide the heat-shrink tubing onto the cable — but don’t shrink it yet.
Step 3
Pre-tin both the wires and the LED strip contacts with a small amount of solder.
Step 4
Solder the wires to the LED strip:
🔴 Red → +
⚫ Black → –
Then slide a 1.5 cm piece of heat-shrink tubing over the solder joint and gently heat it until it fits snugly.
Step 5
Test the LED strip by connecting it to any 5V USB power source (phone charger or power bank). Make sure it lights up properly before assembling further.
Step 6
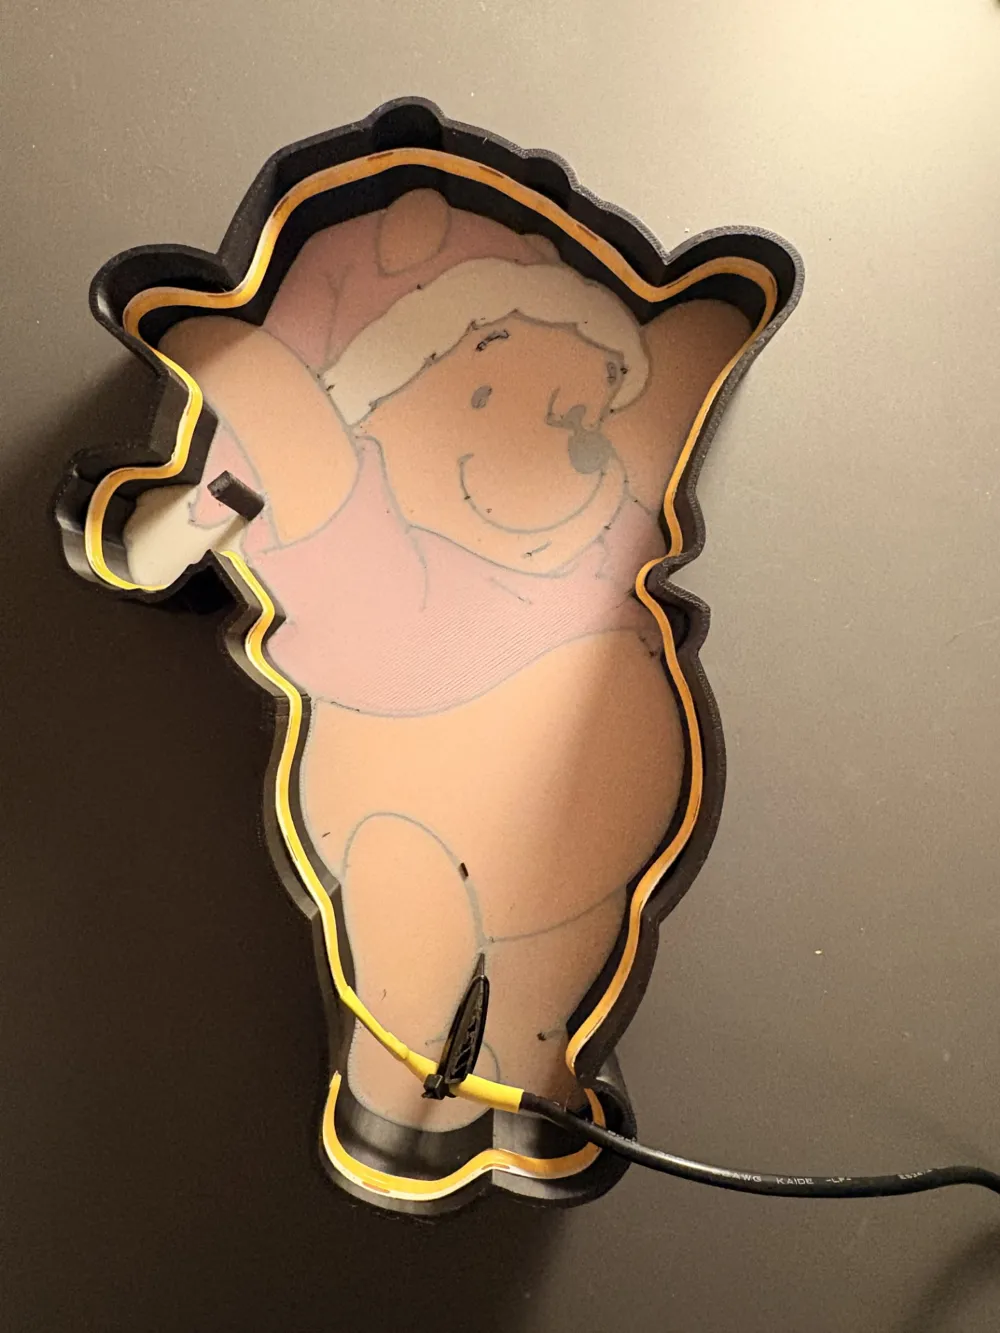
Carefully place the LED strip inside the Pooh outline and press it firmly so it sticks in place.
Step 7
Apply a thin, even line of super glue around the outer edge of the lightbox frame.
Gently press the front panel on to close the lamp and let it set.
💡 Tips
- Works with any 5V USB power source.
- Warm white LEDs create a cozy glow, but feel free to use different colors for a custom vibe.
- Perfect as a Christmas decoration, kids’ night light, or charming handmade gift.
- Print bigger or smaller—this design scales well!
⚠️ Safety Warning
This project involves soldering and electrical components:
- Always disconnect power when soldering.
- Be cautious with a hot iron or heat gun.
- Only use 5V USB power — never connect to higher voltages.
Indoor use only; PLA is not heat- or weather-resistant.
License

You shall not share, sub-license, sell, rent, host, transfer, or distribute in any way the digital or 3D printed versions of this object, nor any other derivative work of this object in its digital or physical format (including - but not limited to - remixes of this object, and hosting on other digital platforms). The objects may not be used without permission in any way whatsoever in which you charge money, or collect fees.


Comment & Rating (6)