Search models, users, collections, and posts

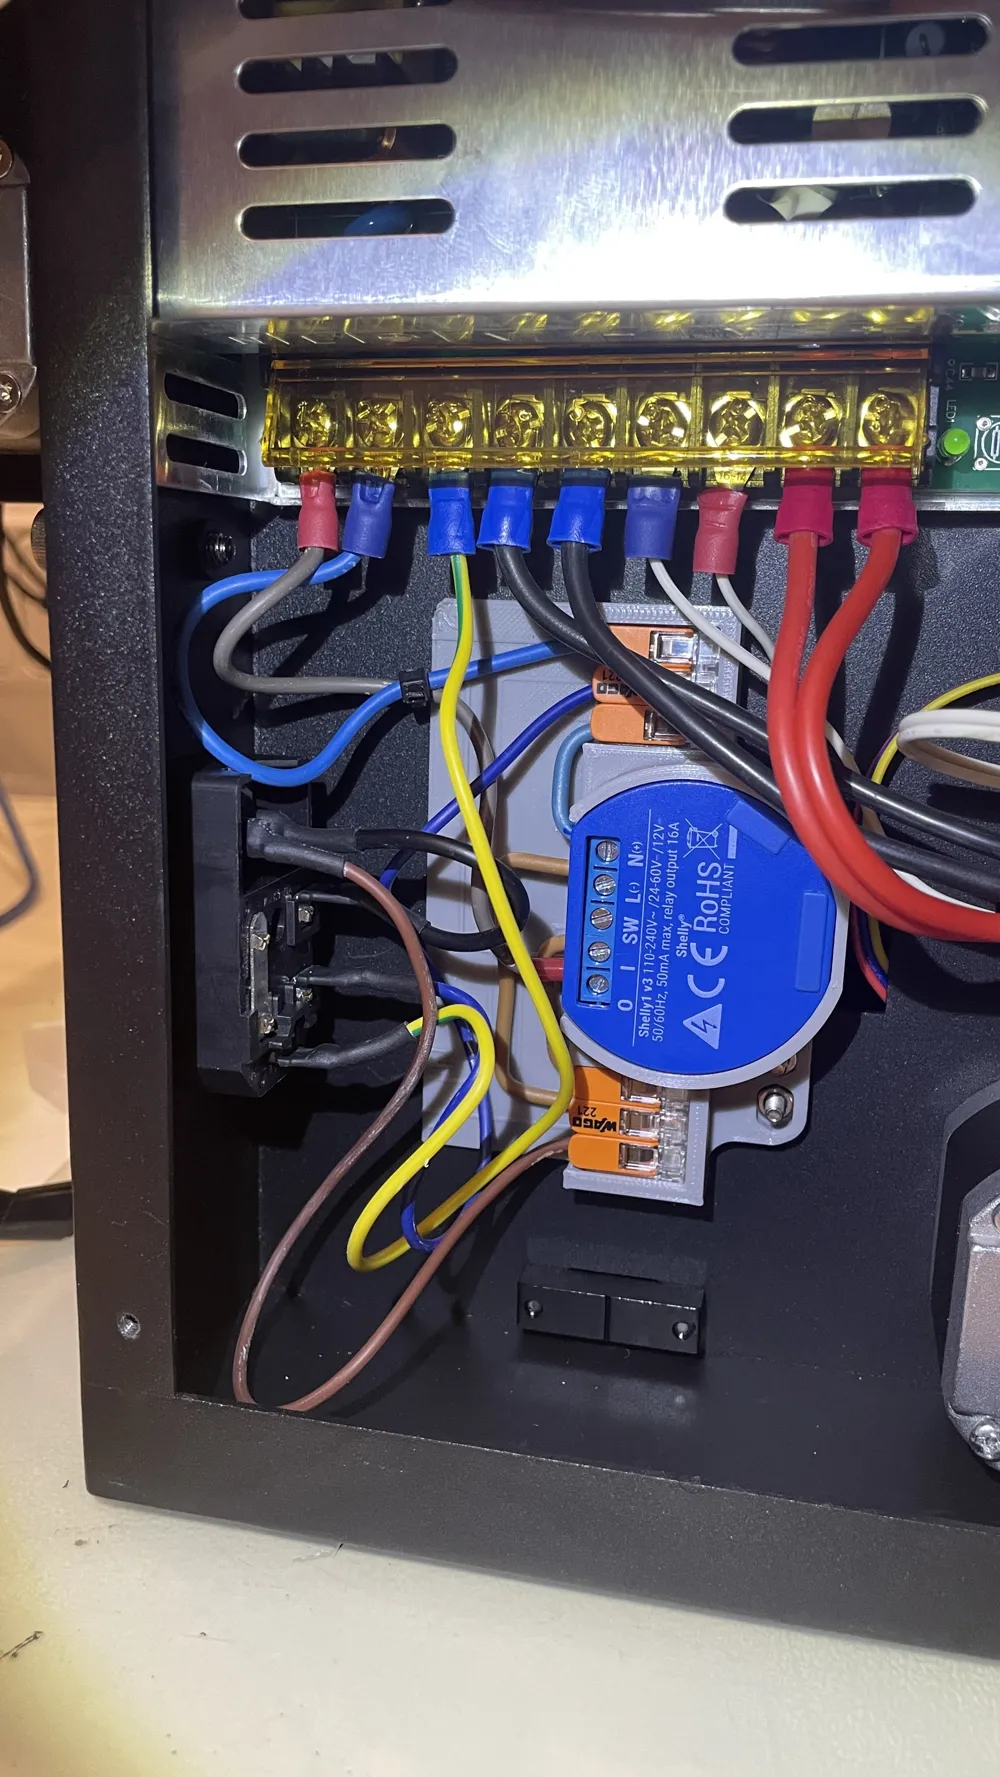
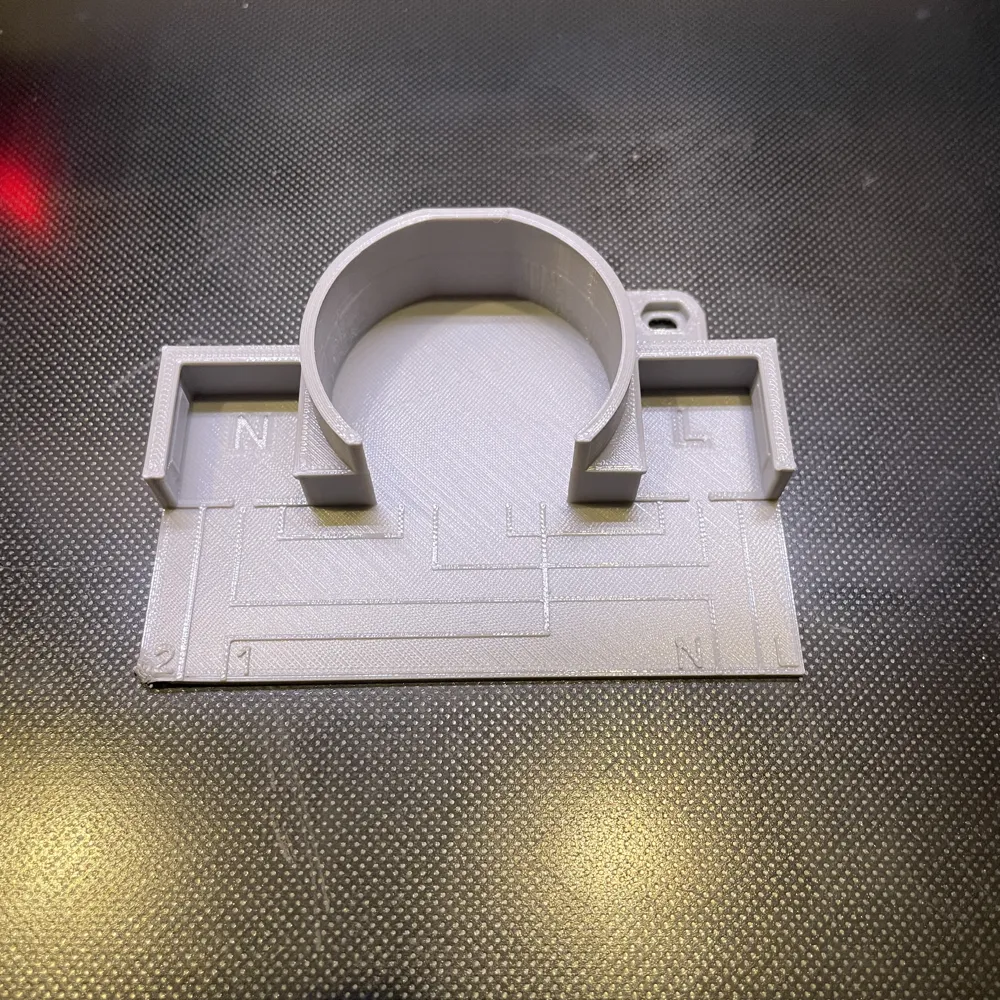
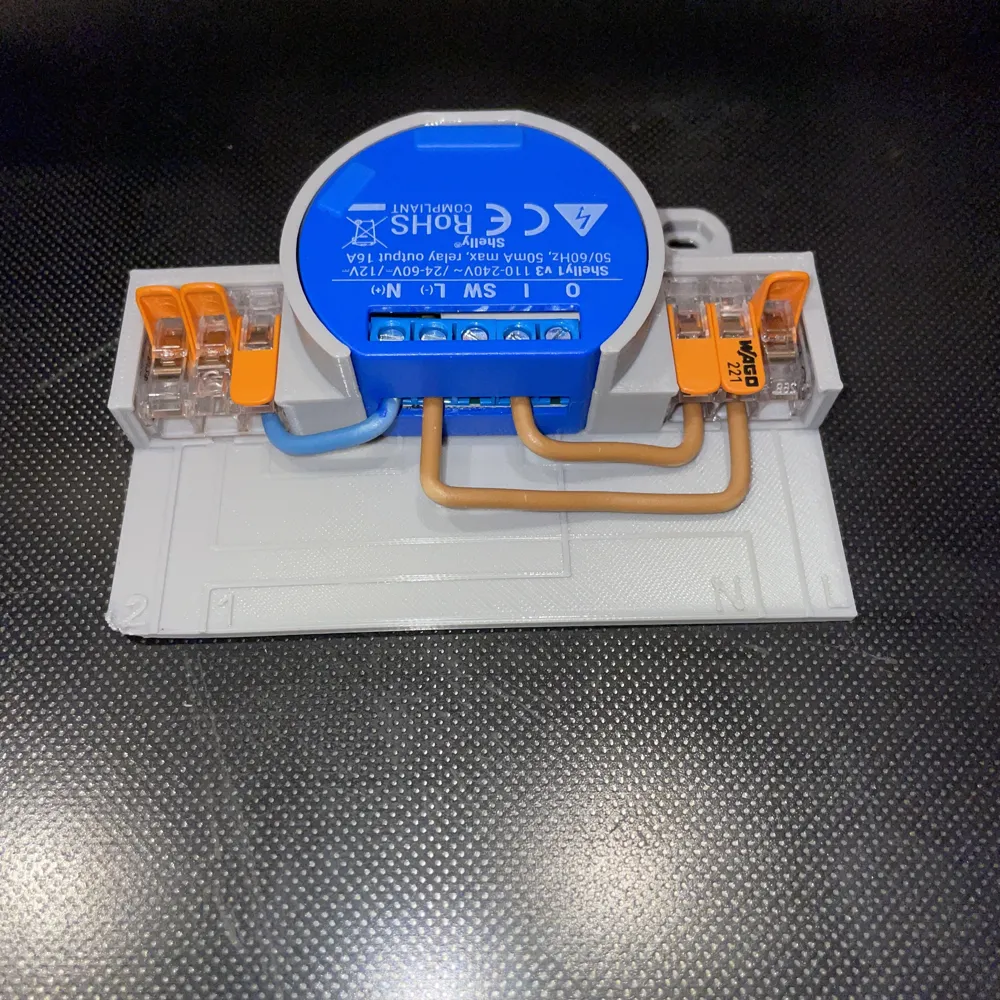
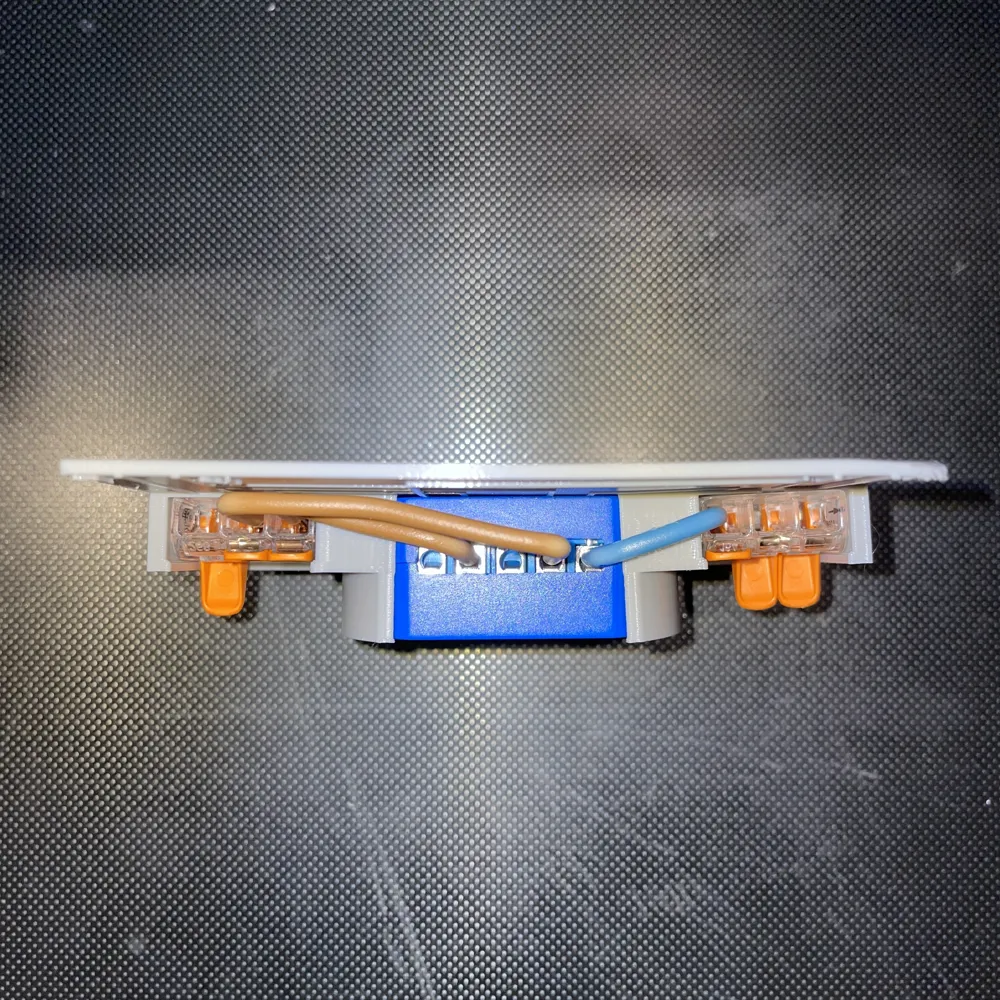
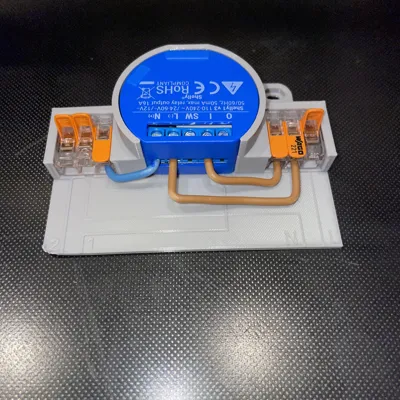
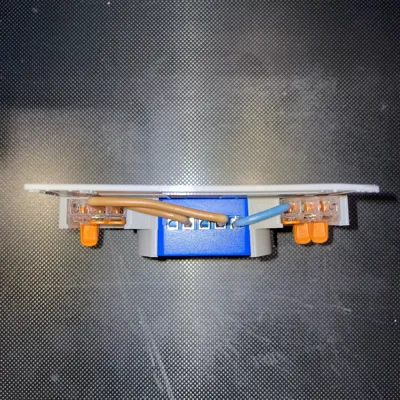
Shelly 1 - Wago holder
IP Report
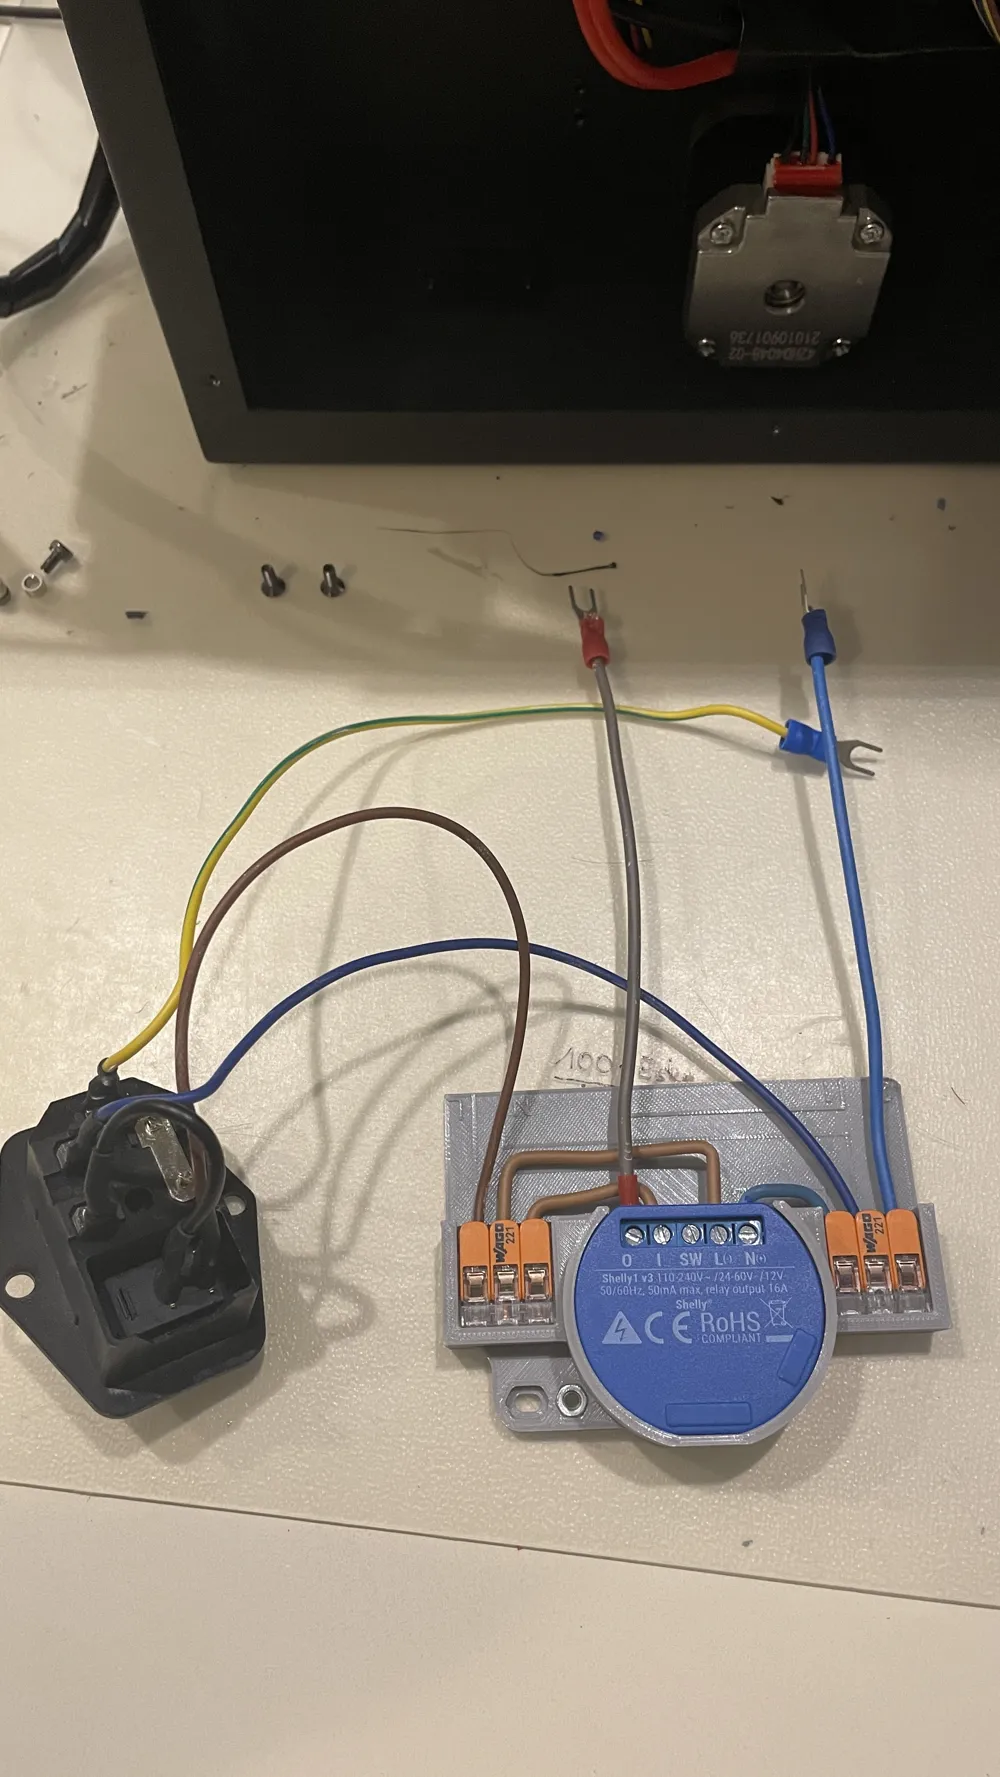
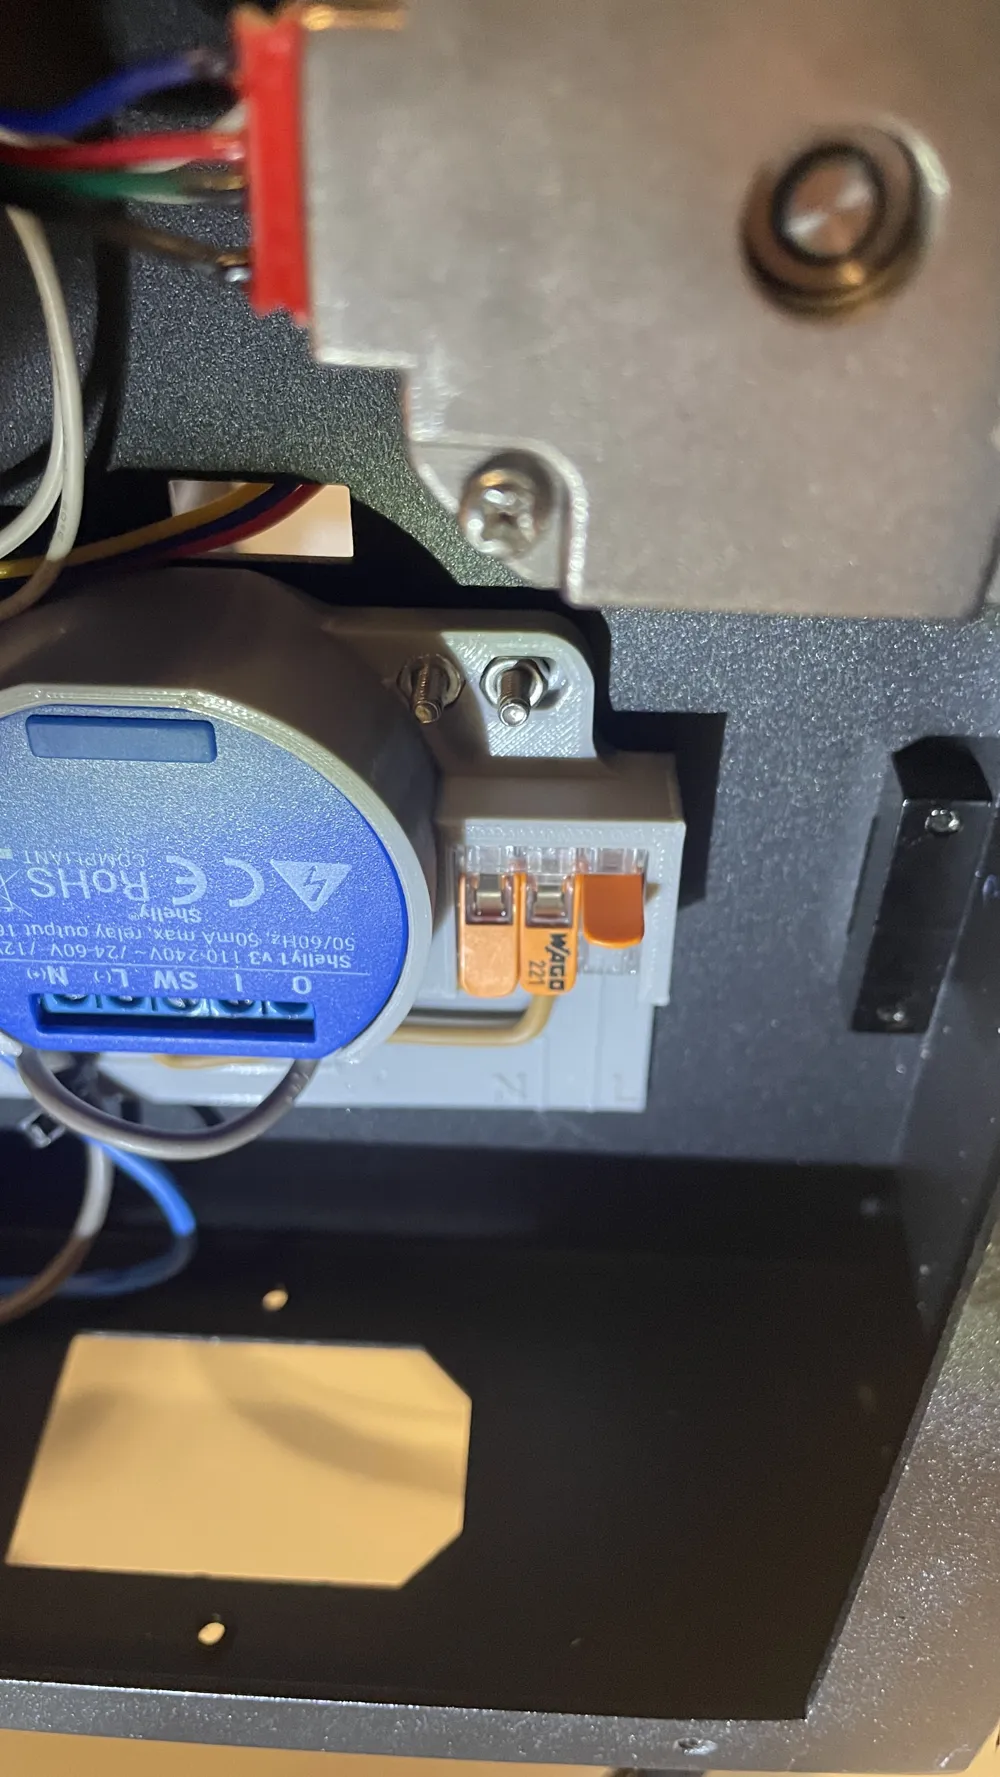
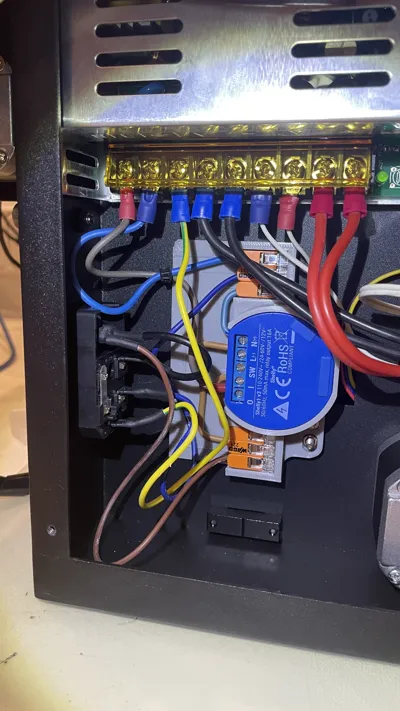
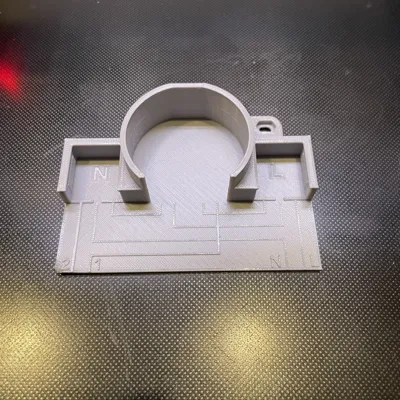
Print Profile(1)

0.2mm layer, 2 walls, 15% infill

36 min
1 plate
Open in Bambu Studio
Boost
7
47
3
2
45
19
Released
Description
Content has been automatically translated.
Caution
The following procedures should only be undertaken by individuals with electrical expertise. I am not liable for any resulting damage. All actions are performed at your own risk.
Disconnect the power cord before accessing the printer's interior.
Boost Me (for free)
Did you enjoy this model? Please consider leaving a free boost! This helps increase the design's visibility and motivates me to create more innovative projects.
Bill of Materials (BOM)
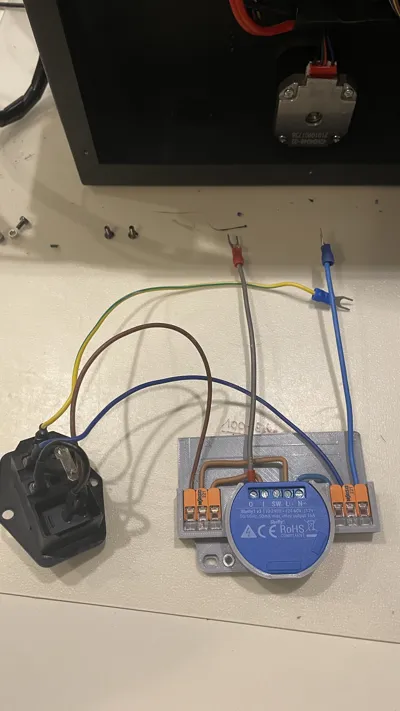
- 2x Spade Connectors
- 2x M3 Nuts
- M3x minimum 12mm Socket Head Cap Screw
- 2x Wago 221-413
- 1x Configured Shelly 1
Assembly
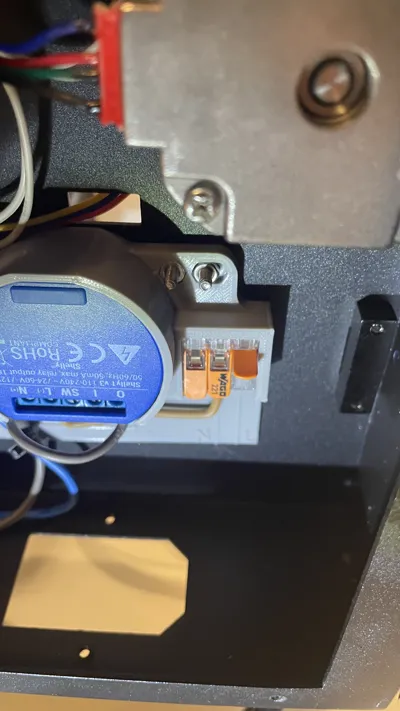
The holder attaches to the interior of the Y-axis limit switch apertures. Prior to installation, the limit switch must be removed. Existing screws must be replaced with longer ones.
Options
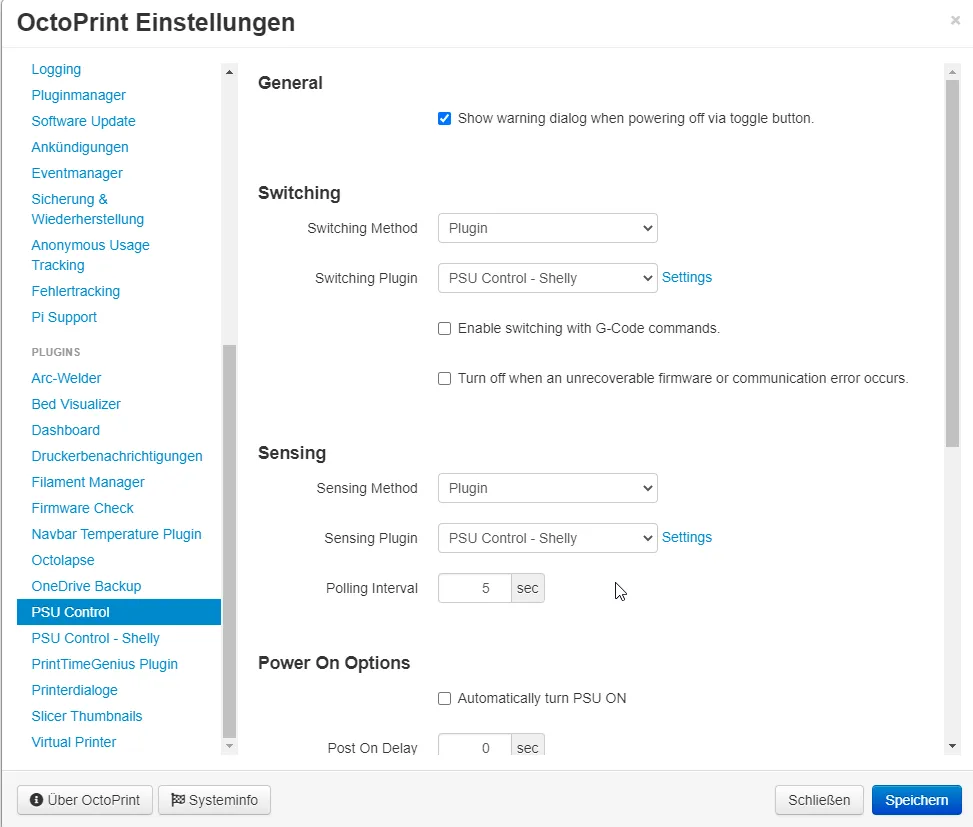
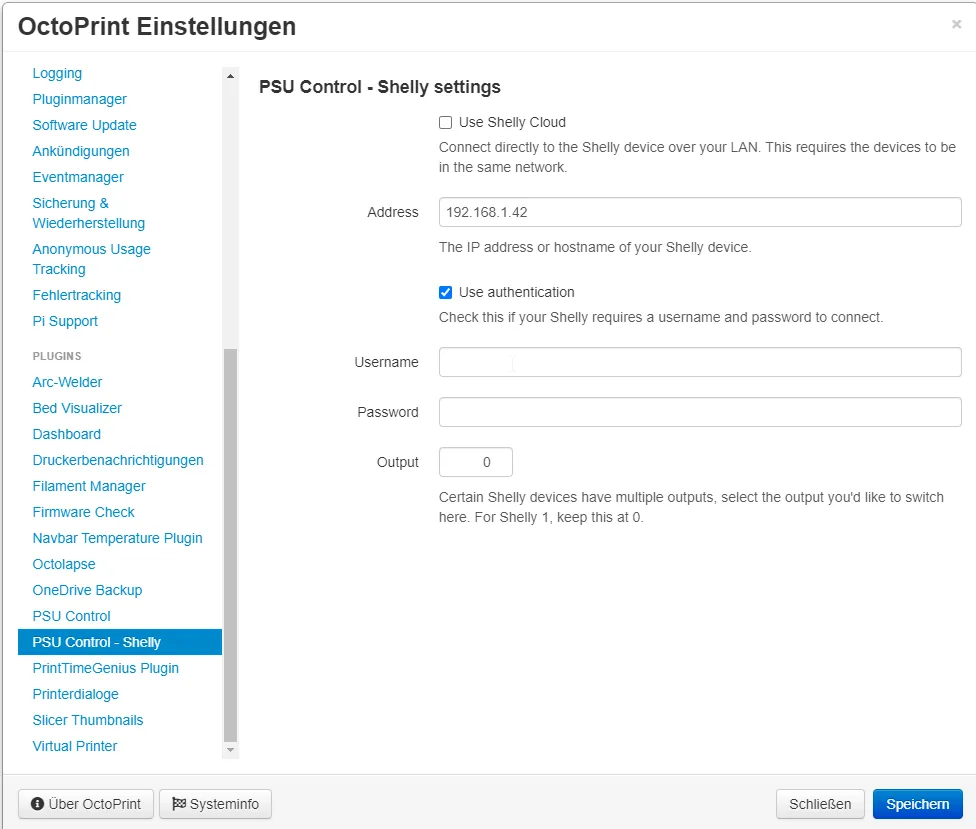
For Octoprint-controlled printers, utilize the PSU Control and PSU Control - Shelly plugins to remotely power the printer on and off.
License

This user content is licensed under a
Creative Commons Attribution-Noncommercial-Share Alike


Comment & Rating (3)