
[Zenless Zone Zero] Overtime Bob & Slacking-off Screen - Easy to Assemble
Print Profile(1)

Description
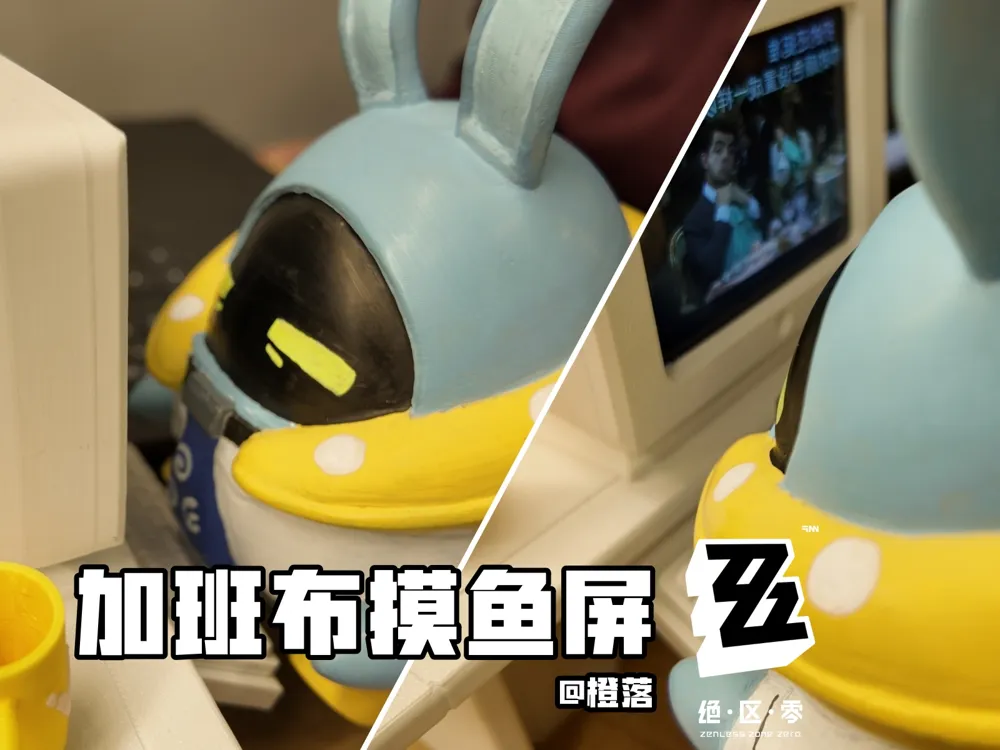
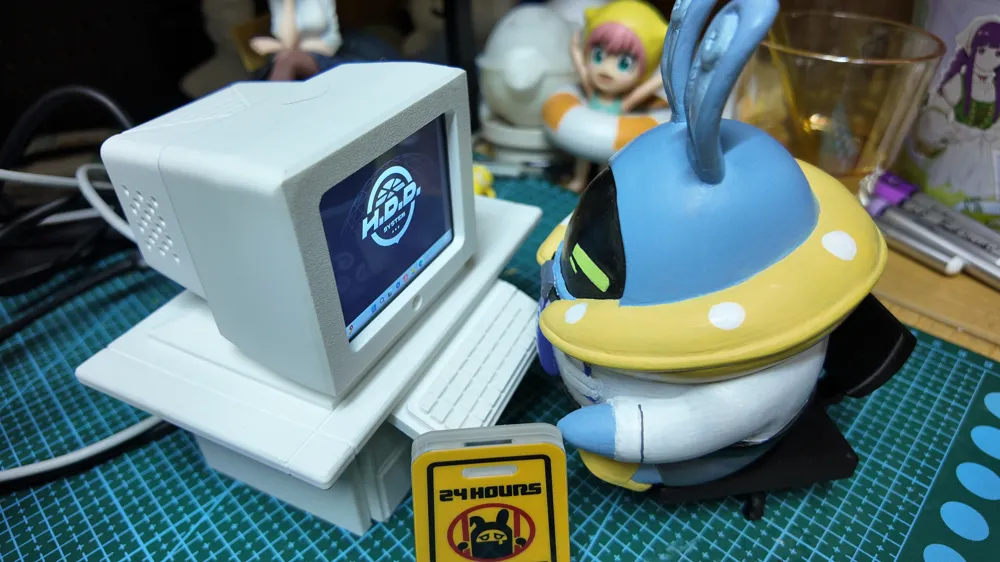
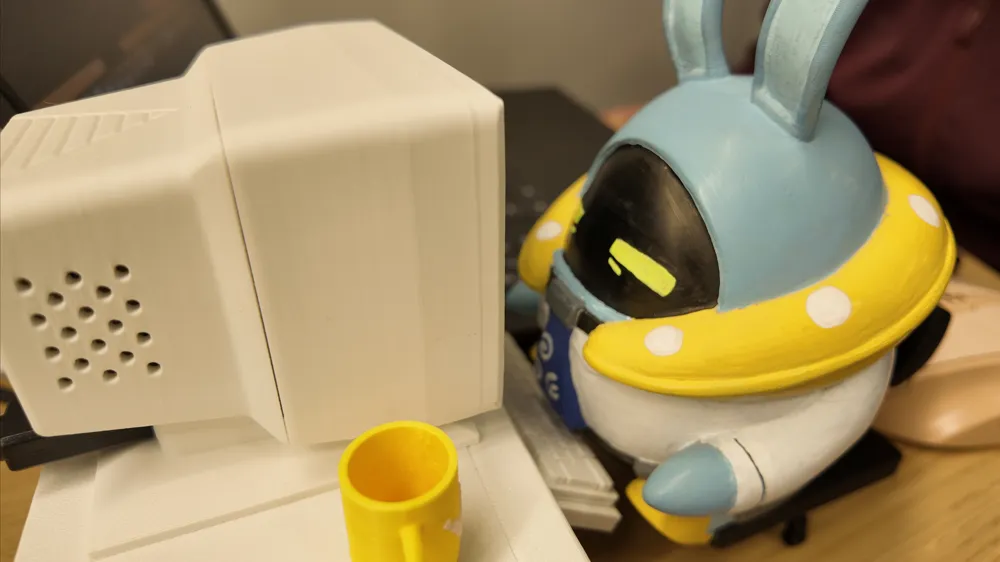
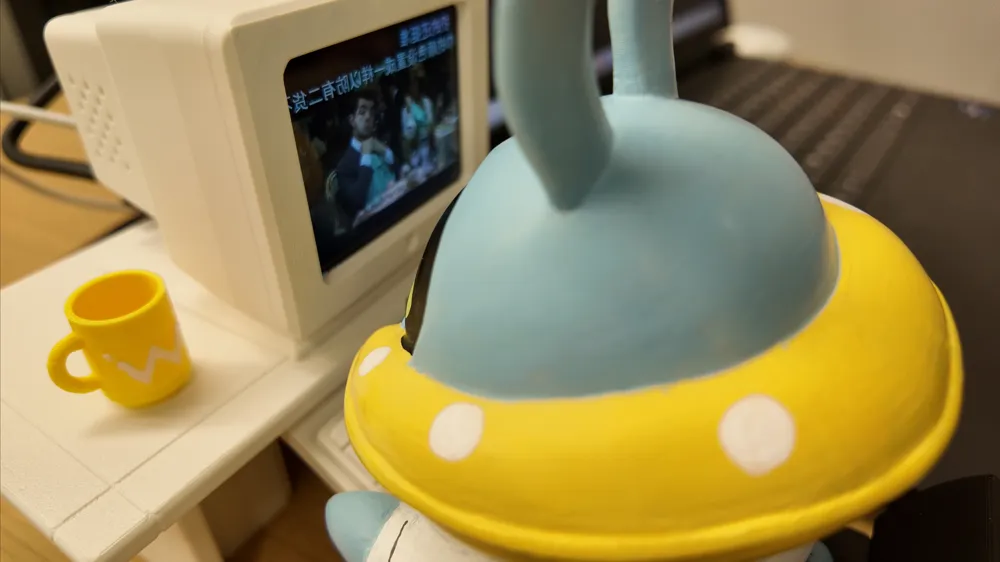
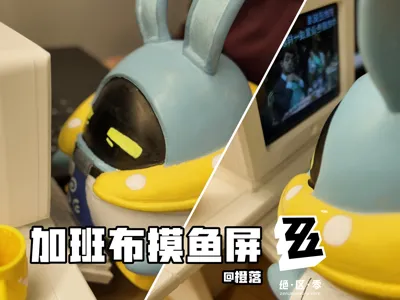
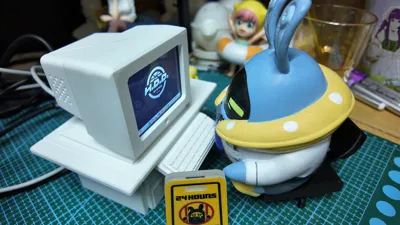
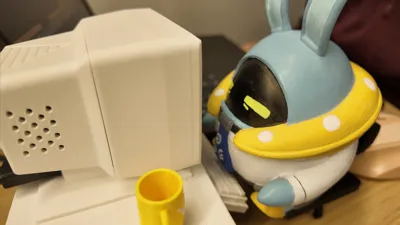
[Zenless Zone Zero] Overtime Bob & Slacking-off Screen
Open source date: November 20, 2025
Actually, this model was completely finished in September, but I've been lazy and only just now uploaded it...
Boost Me (for free)
Friends, please give me a boost~
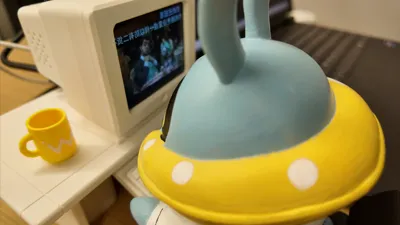
0. Effect Display
1. Materials/Modeling Reference
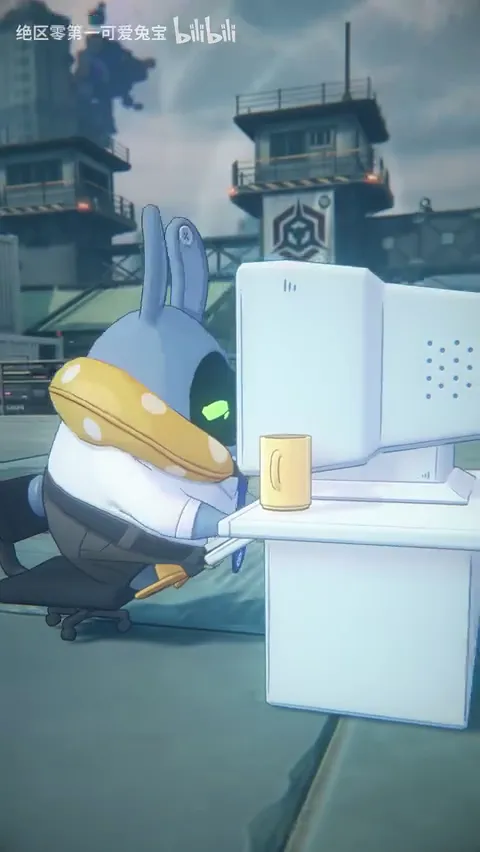
Undoubtedly, anyone who has been pushed or seen my model by the system must have played or heard of "Zenless Zone Zero." Overtime Bob, as the most "office-flavored" Bun-Bun in the game, has gained a lot of player love because he highly matches the image of contemporary young people (including me, of course; my friends all say I'm already "marinated" in it ×).
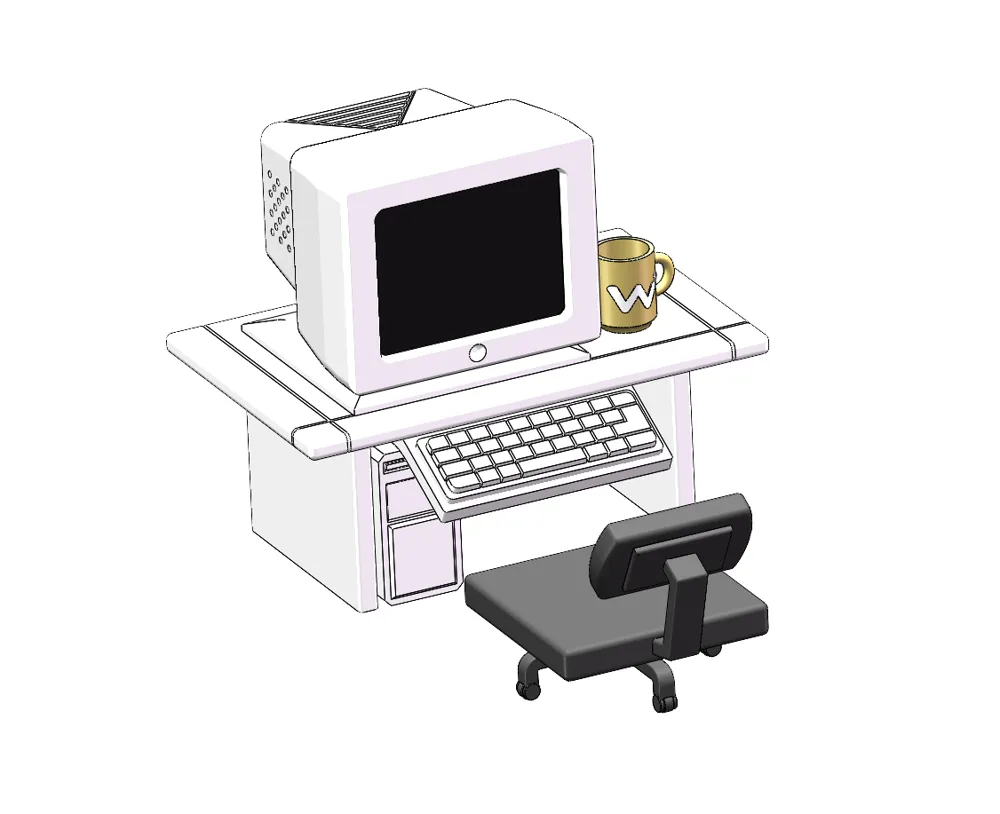
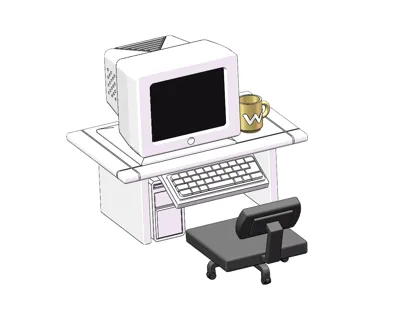
The main reference materials for the computer part of the model come from the Zenless Zone Zero's Cutest Bunny's Behind the Scenes | Overtime Bob video. By extracting frames from the video and manually filtering, I obtained viewpoint images containing all the details, which were then imported into SolidWorks for modeling.
The reference for the Overtime Bob model also came from the aforementioned sources, but considering the difficulty of surface modeling in Solidworks, I ultimately chose the more convenient Nomad (mainly so I could doodle a bit on my tablet during class). This is my first time using Nomad for modeling, and the model has quite a few flaws, so please bear with me.
The above two parts of the model were finally simply assembled and combined in Bambu Studio.
2. Materials Preparation Other Than Printed Parts
Display Part:
| Name | Quantity | Link (Taobao) |
|---|---|---|
HDMI interface driver-free TFT sub-screen (2.8-inch module IPS480*640) | 1 | https://e.tb.cn/h.SFu1u2zgOKbBhoB?tk=DlAKflKb1uB |
| miniHDMI extension cable (B1-B4) | 1 | https://e.tb.cn/h.SFu1DKfOmjL29gJ?tk=j5zBflK06TK |
| typeC extension cable | 1 | https://e.tb.cn/h.SvQhT9VqaOPKMz2?tk=L84qflKY3Kg |
| M3×6 screws (hex socket) | Several | ---- (Please choose a cheap store to buy from; it's recommended to combine with 88vip coupons to get them for a few dimes per 100 pieces, same applies below) |
| D6H3 magnet | Several | ---- Note: You can choose to buy enough D6H1 magnets and simply stack them to replace D6H3 magnets |
| D6H1 magnet | Several | |
| 502 glue (optional) | 1 | ---- |
Overtime Bob Part:
| Name | Quantity | Link (Taobao) |
|---|---|---|
| Body filler | 1 | ---- (A large tube for automotive use is fine, no need to buy expensive model putty) |
| Wet sandpaper (800/1000 grit is enough) | 1 | ---- (One sheet is enough, but most sellers offer them in sets, no choice) |
| If you want to hand-paint it like me, it's recommended to use acrylic markers; brush strokes are almost invisible. Here are the recommended color numbers | ||
43 White 10 Black 31 Sapphire Blue 33 Tooth Green 981 Aqua Blue 67 Ultramarine 129 Earth Yellow 978 Dark Gray | Note: I think the earth yellow I used is slightly light; you can try a darker yellow. Also, since lighter colors have weaker coverage, multiple thin coats are needed. | |
3. Guide for Embedding Magnets During Printing
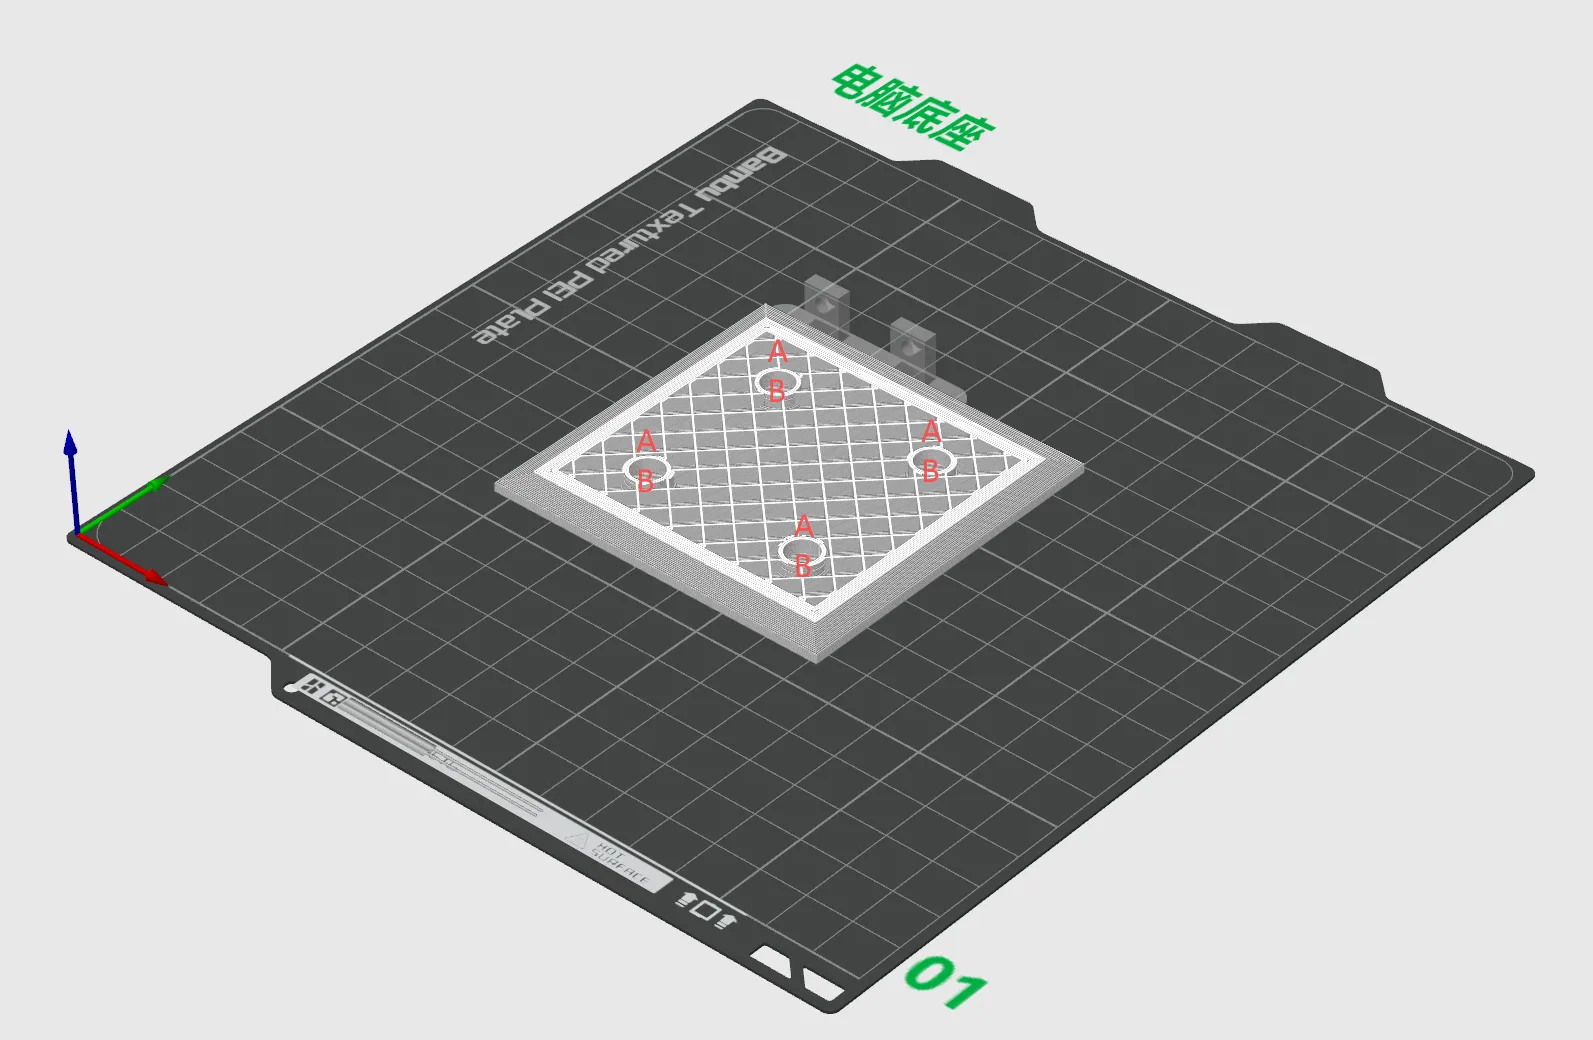
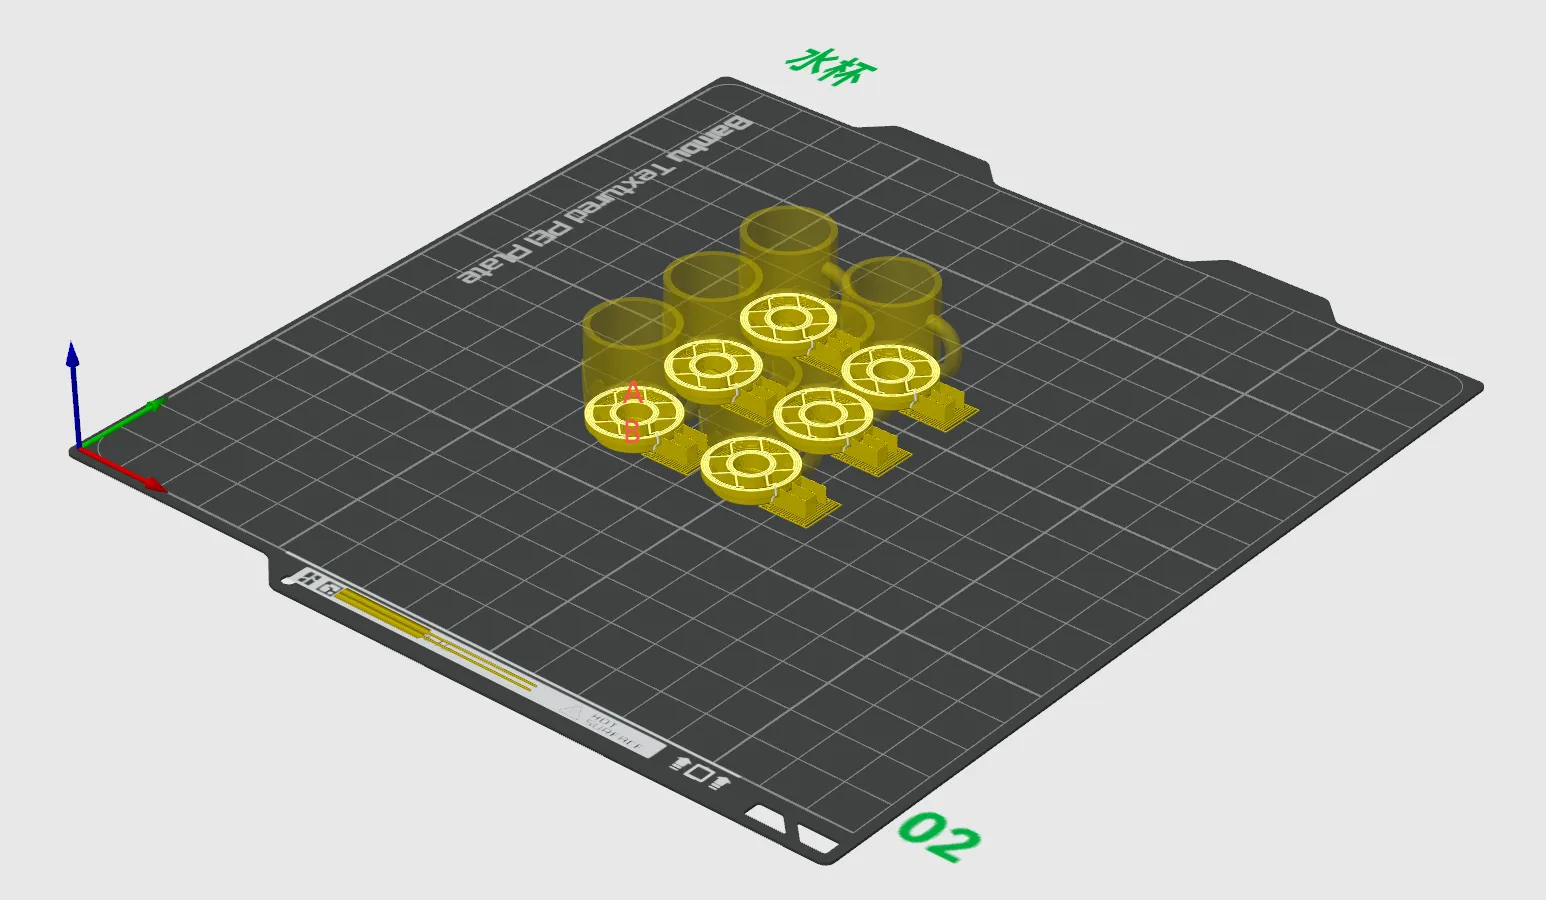
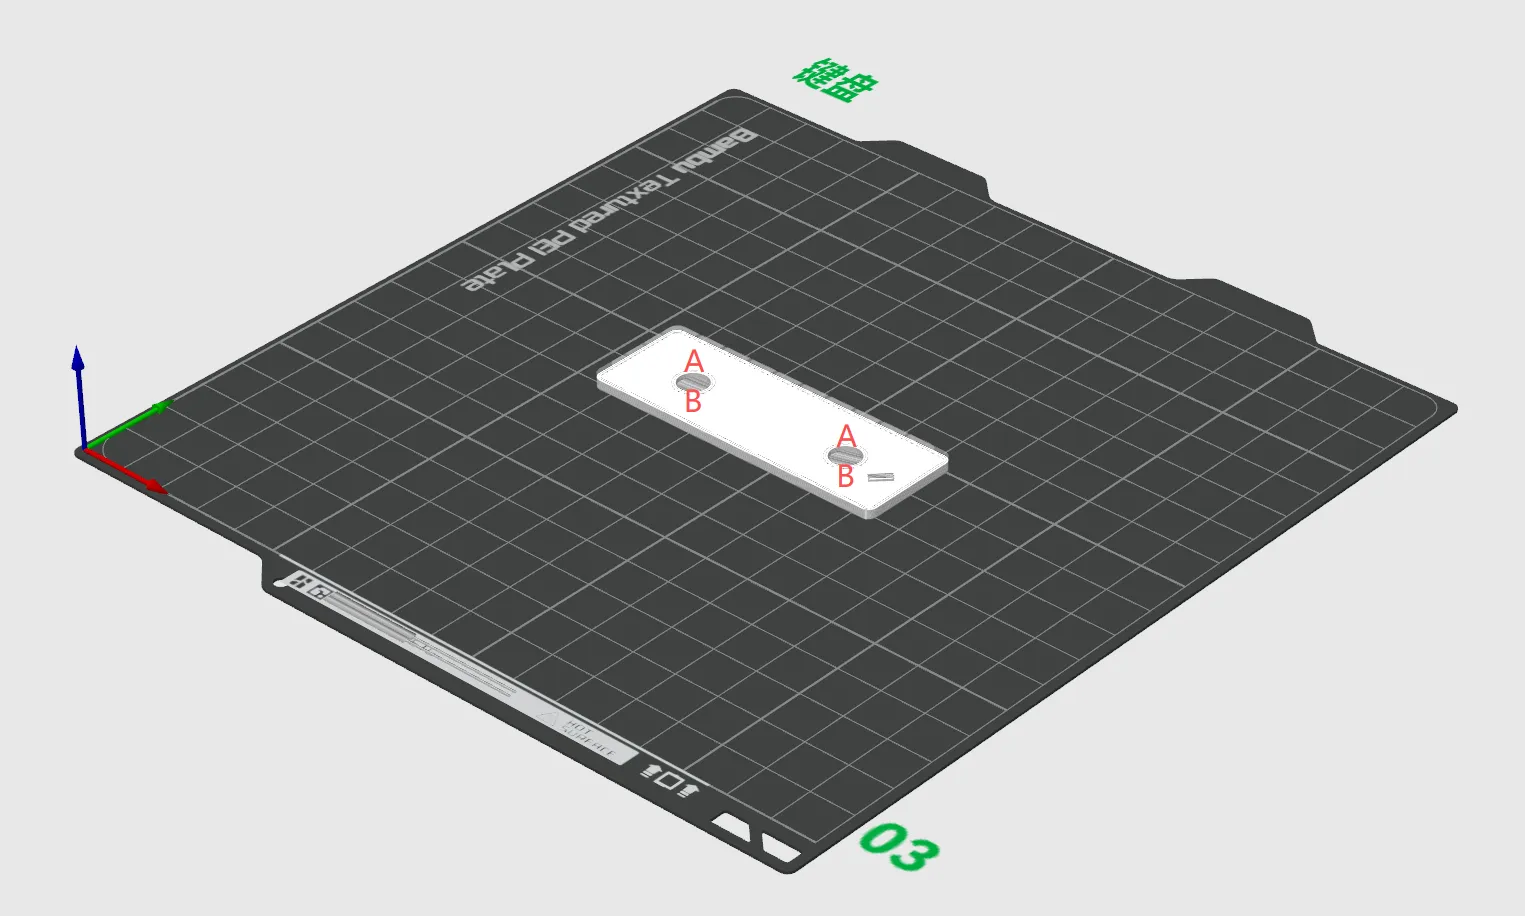
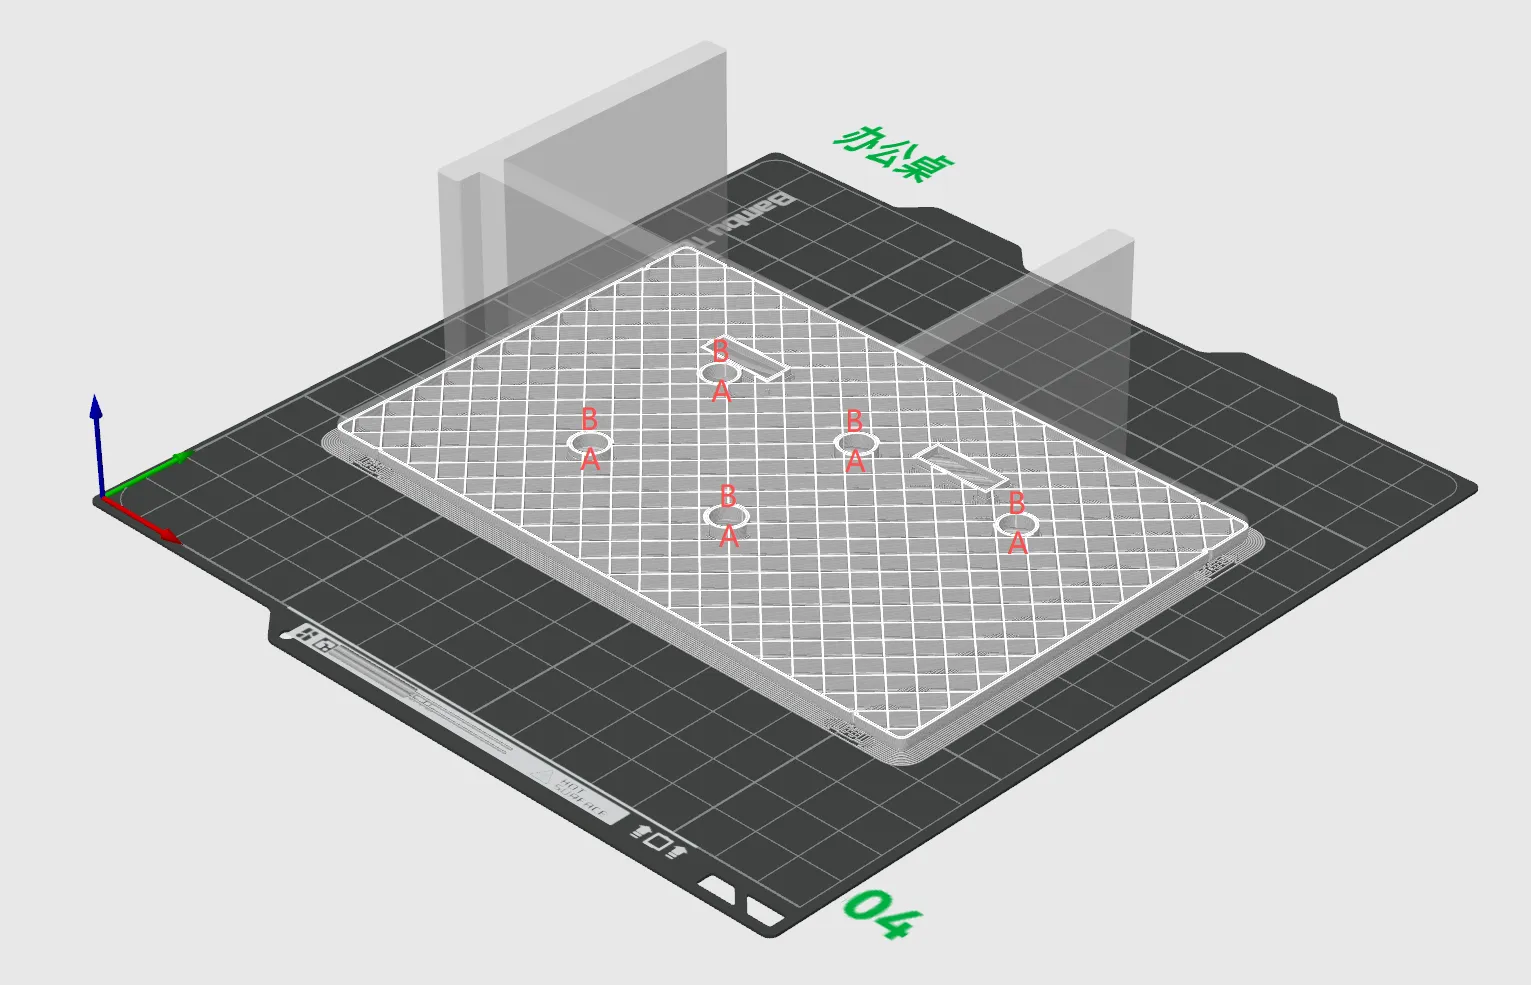
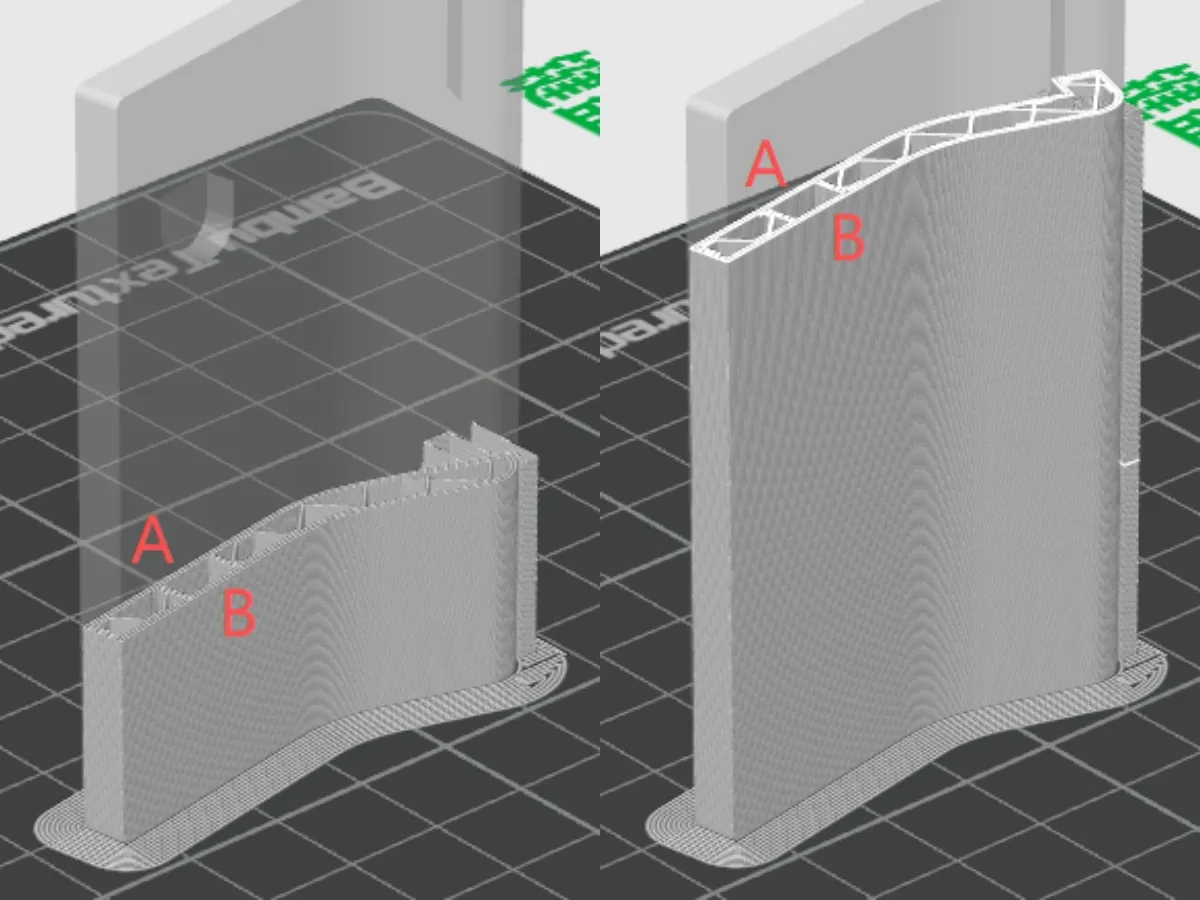
To allow the computer to have basic positioning on a small desk, prevent the keyboard from falling, and prevent the water cup from tipping over, several magnets need to be embedded in the model during printing.
Discussing the N/S poles of the magnets here is meaningless, so they are distinguished by sides A and B. The principle is that parts that attract each other should have two magnets with side A facing side B.
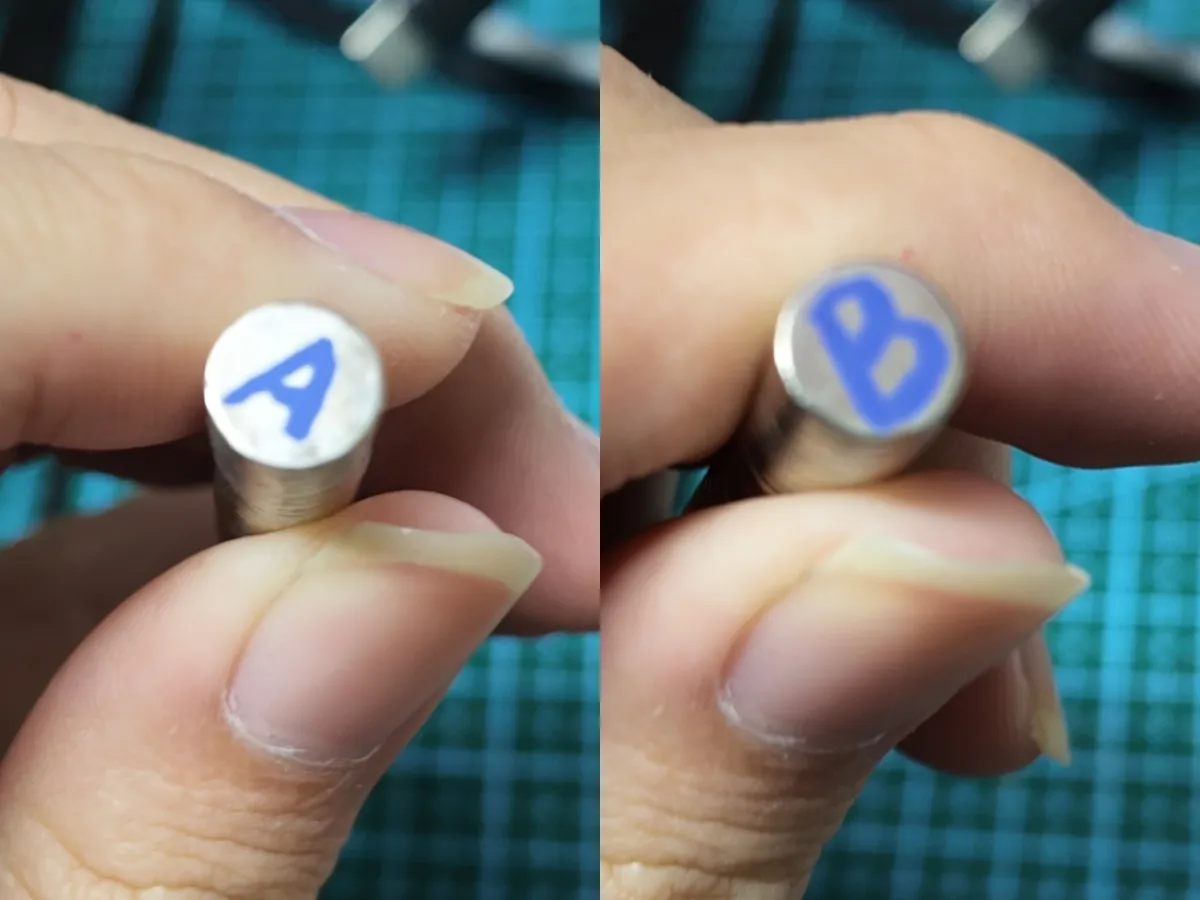
The embedding direction of the following magnets is indicated by sides A and B, where the top-down order of A and B indicates the top and bottom of the magnet faces.
4. Computer Part Assembly Guide
If anyone has already finished printing and started making it, please explore it on your own for now. My computer is running a simulation, and the CPU and GPU usage are too high, making it uncomfortable to use. I will update and upload (in text or video form) before this weekend after the simulation is complete. My apologies~
Friends, you are welcome to print and make it, and share your suggestions in the comments section!
License

You shall not share, sub-license, sell, rent, host, transfer, or distribute in any way the digital or 3D printed versions of this object, nor any other derivative work of this object in its digital or physical format (including - but not limited to - remixes of this object, and hosting on other digital platforms). The objects may not be used without permission in any way whatsoever in which you charge money, or collect fees.


Comment & Rating (0)