Table mechanical watch


Print Profile(1)

Description
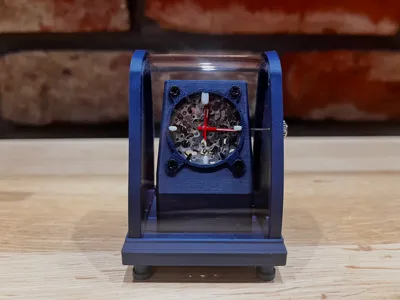
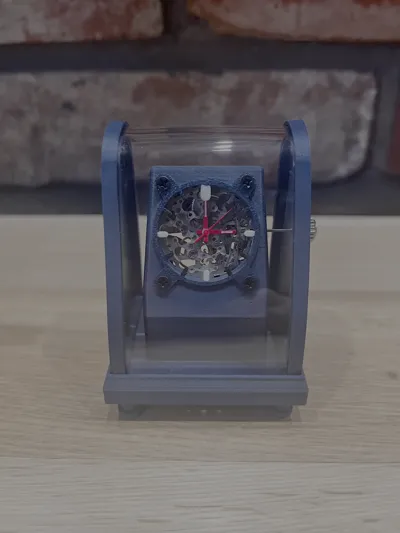
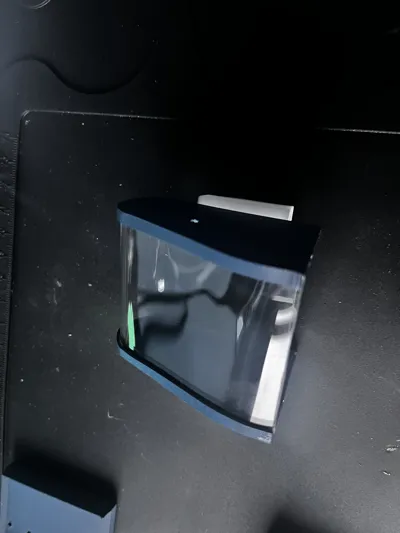
Bring elegance and engineering together with this premium 3D-printed desk clock. Designed around a real mechanical watch movement, it features a beautifully curved plexiglass front that gives the entire piece a clean, modern, and almost futuristic look. The open design allows you to see the mechanism at work, turning the clock not only into a functional timepiece but also into a display-worthy conversation piece.
This project is not just another simple print — the assembly is quite challenging and requires patience, precision, and attention to detail. But once completed, it rewards you with a stunning, handcrafted timepiece that looks unlike anything else you can print.
If you enjoy complex, satisfying builds and want something that truly stands out, this clock will absolutely impress you — and everyone who sees it.
Assembly Instructions:
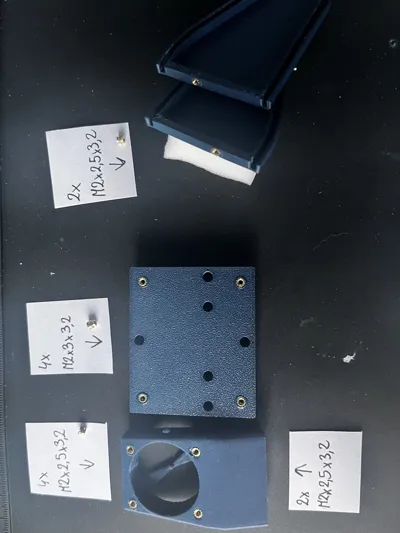
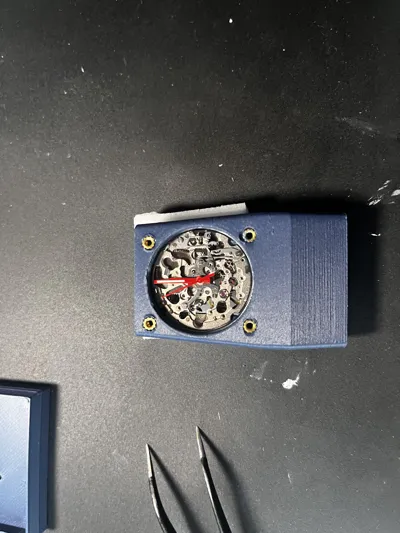
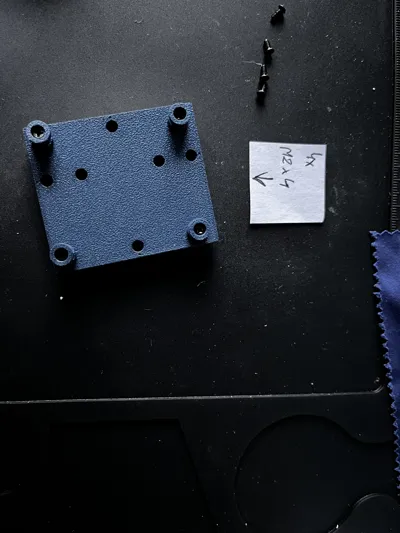
- In the appropriate places shown in the photos above, melt in the inserts sized M2x2.5x3.2 or M2x3x3.2, exactly where indicated in the images.
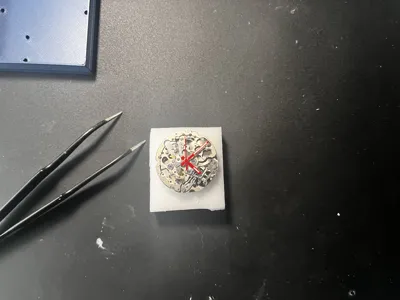
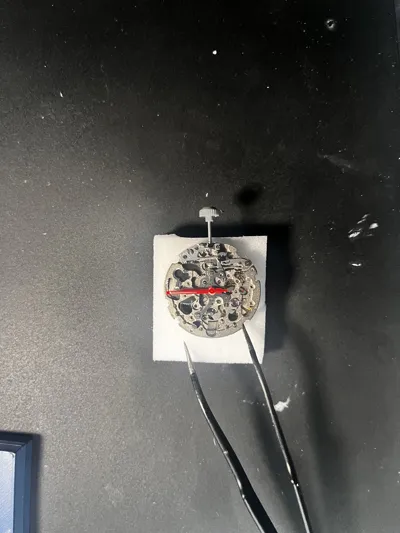
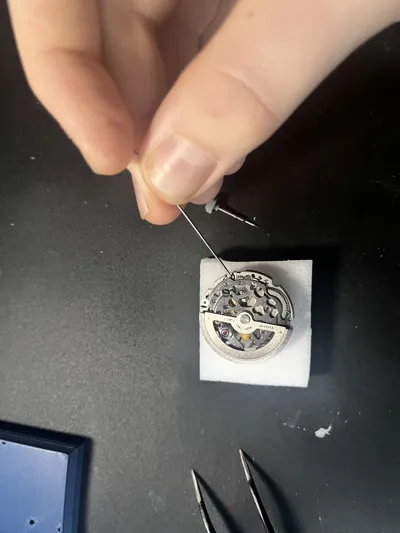
- Place the hands matching your movement onto the mechanism, setting all of them to 12 o’clock. In my case, the hands delivered were slightly too small, so you may need to carefully scrape the inside with a knife—checking the fit each time so you don’t remove too much material. It’s best to place the hands using tweezers and press them from the sides so they don’t bend. This is one of the most difficult steps. Links to the compatible movement and hands are at the end.
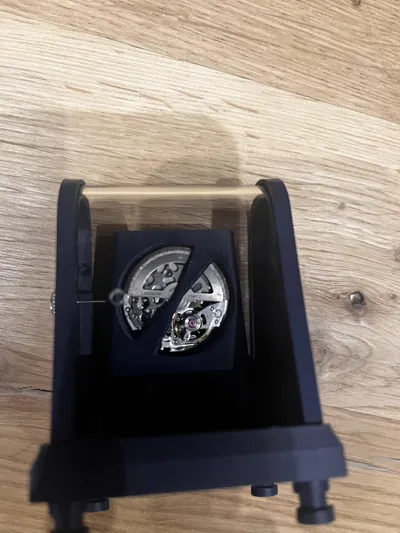
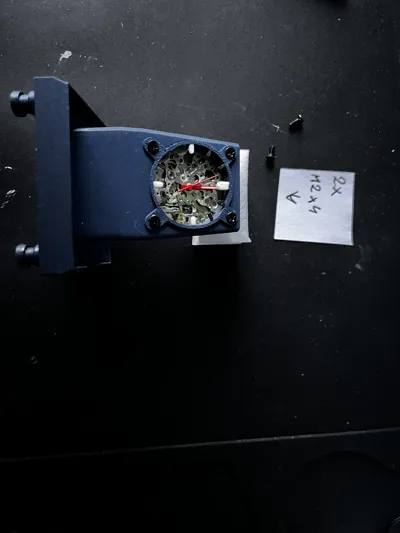
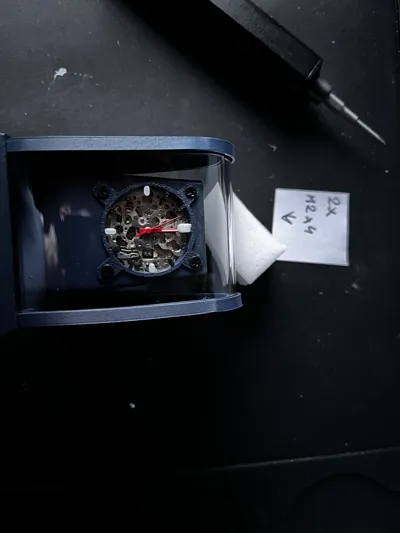
- As shown in the photos, place the movement into the movement housing. To remove the crown stem—so you can insert the movement—press the small button on the back of the movement where the stem enters, then gently pull the stem out. Make sure the movement’s rotor is positioned at the top; the bottom part of the housing has protrusions preventing the mechanism from rotating.
- Next, place the index ring, which holds the movement in place front-to-back, and screw it in at four points. I used M2 screws, 4 mm long.
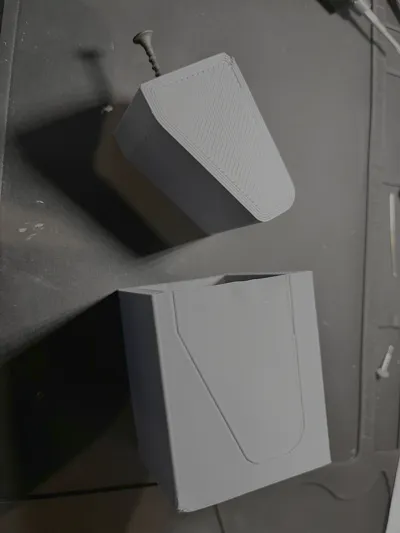
- Print the plexiglass molding jig found in the files. Once you have the jig, cut a plexi strip 47 mm wide, and the other dimension longer than 167 mm, as it will shift in the jig — you will trim it after forming.
- Heat the plexiglass strip with a hot-air gun at medium airflow and about 210°C (410°F). Once heated, it becomes flexible. Quickly place it in the jig, press firmly with the second half of the mold, and hold until it cools and sets.
- After cooling completely, gently screw in a small screw into the form (not too deep) to help remove the second part of the mold.
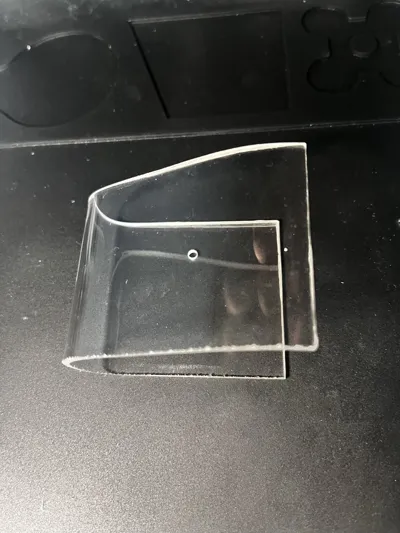
- After taking out the plexi, slide it carefully into the grooves on the side housings. If it doesn’t fit, repeat the forming process. Mark where the housing ends on both sides, remove the plexi, cut it to size, and reinsert it.
- Drill a small hole in the back part of the plexi so you can insert a pin to press the button used for removing the crown stem. Clean any dust or fingerprints inside.
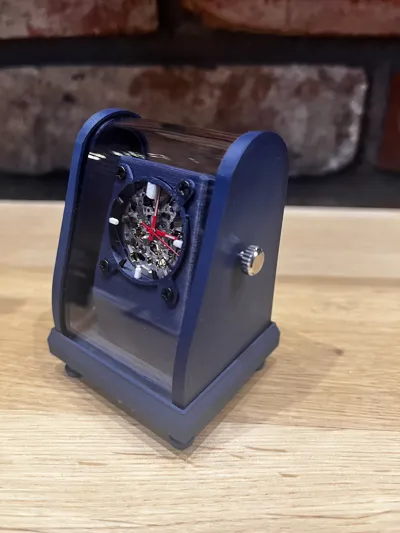
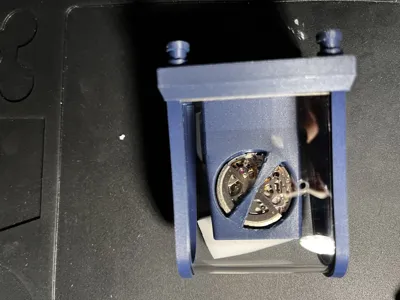
- Now assemble everything, starting with the clock legs, then screw the movement housing to the base, and finally attach the plexi with the side housings.
- Screw the crown (link at the bottom of the description) onto the included stem, holding the stem with pliers and tightening the crown with your fingers.
- Insert the crown stem through the hole in the side casing gently until it clicks and locks into the movement. Clean all fingerprints and debris.
Below is the full list of components used in the project. Many of them can be replaced with equivalents if you already have compatible parts in your workshop:
Clock Movement (compatible with this design)
Watch Hands
(Choose according to your preference — make sure the sizes match the movement. These are the ones I used.)
Crown (I chose the largest one, as it looks the best)
2 mm Plexiglass (for the curved front cover)
Inserts & Other Small Hardware (M2 inserts, screws, etc.)
Screws (M2 assortment set)
Boost Me (for free)
Your boost = more new models from me! Thanks for the support ✨
Comment & Rating (0)