
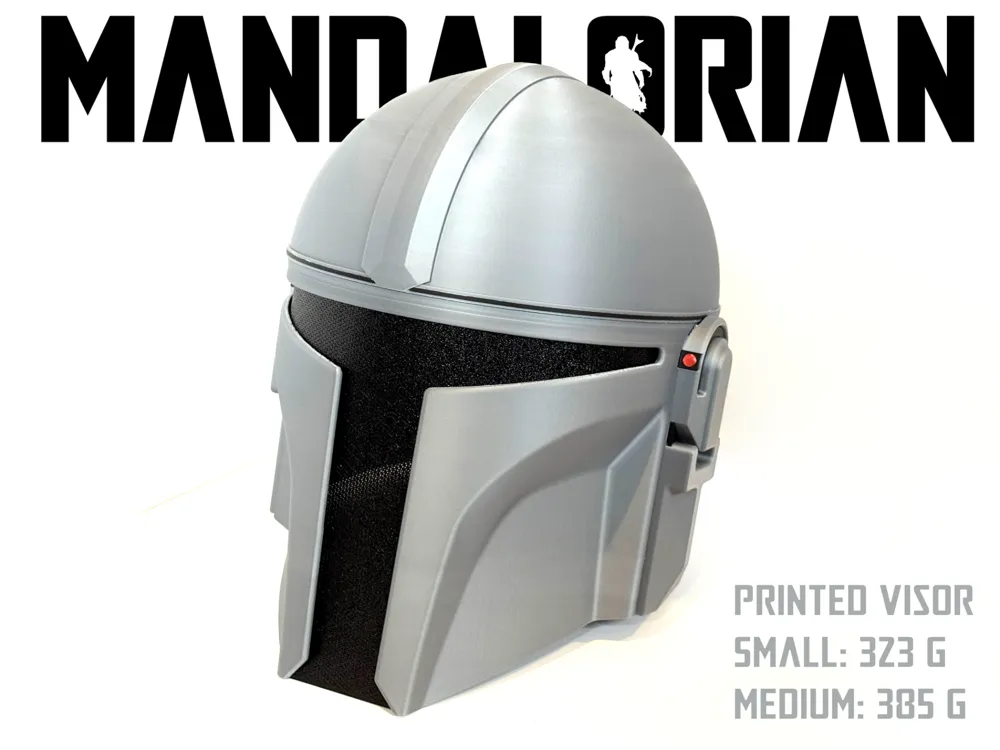
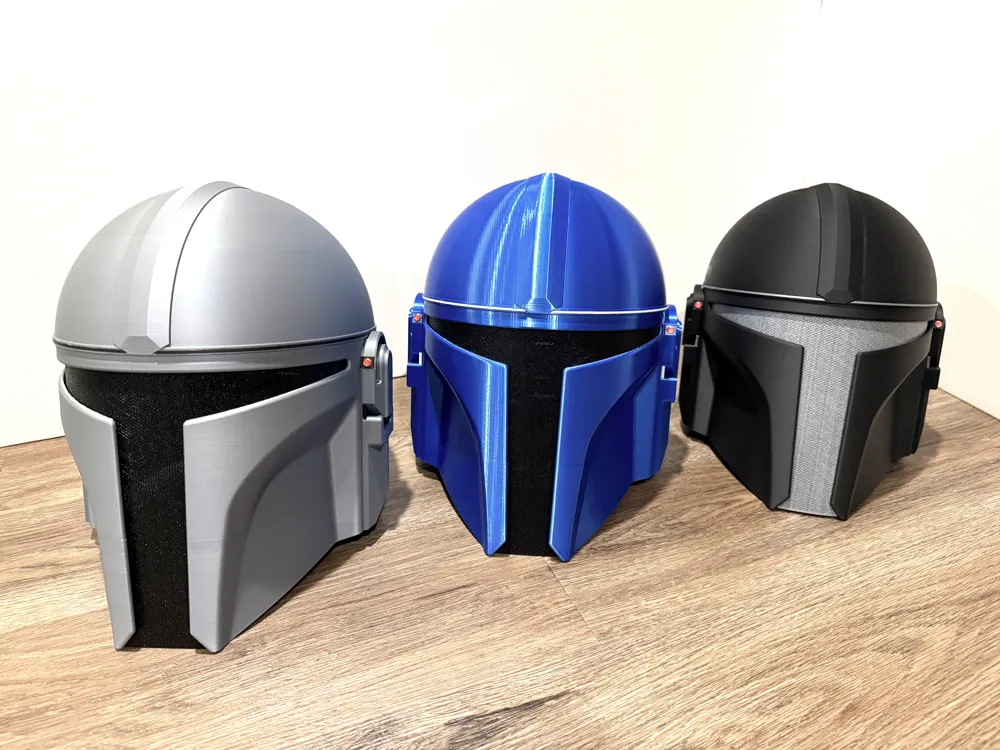
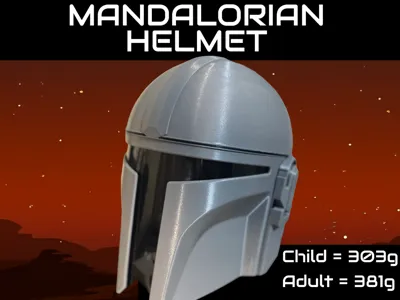
Mandalorian Helmet (Less Filament, Less Assembly)
Print Profile(4)


Description
Boost Me (for free)
More boosts=more models. I appreciate each one!
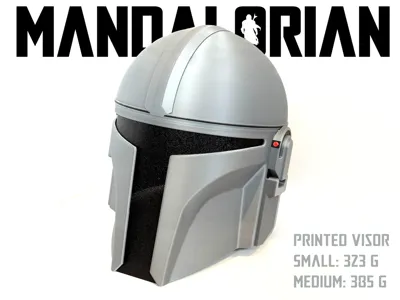
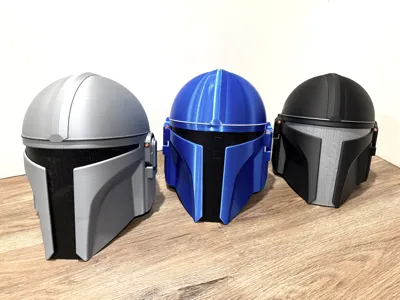
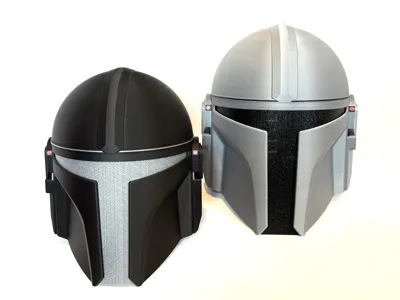
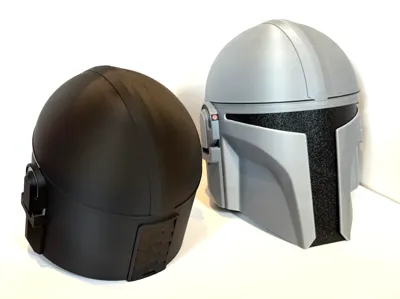
Mandalorian Helmet (Din Djarin)
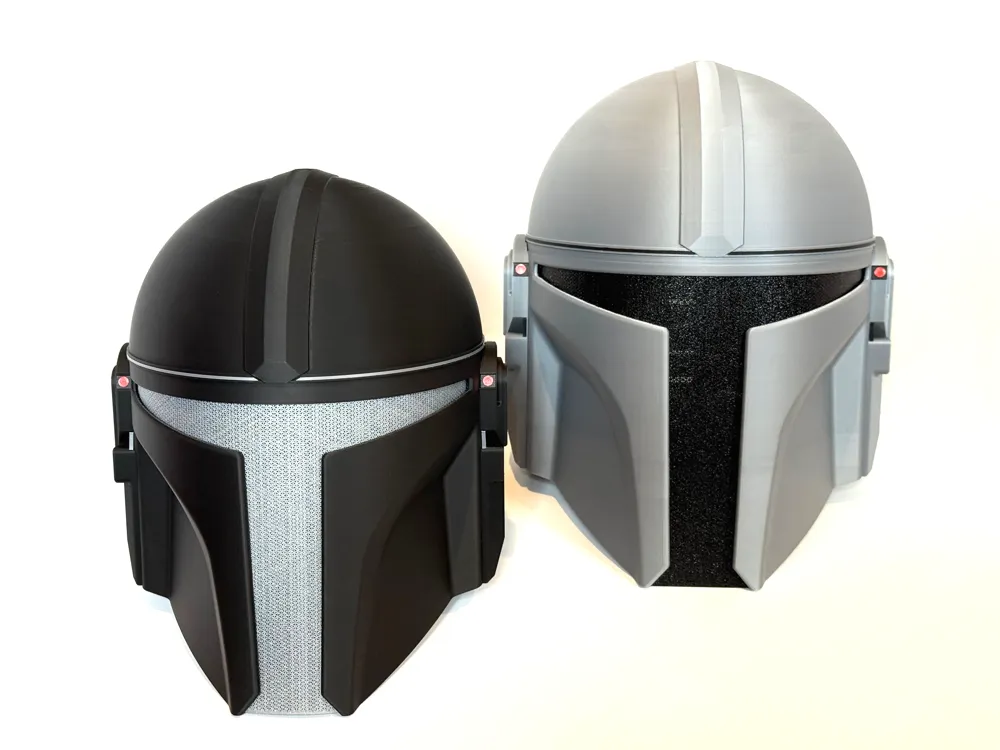
This is a remix based on the design by @3Z3D. I have adapted the model to require less assembly without adding a significant number of supports, and I have added a printable visor. If you enjoy my model, please be sure to show @3Z3D some gratitude as well!
Printing
Each print profile comes with a face fitment ring to make sure the helmet will fit over your cheeks and nose. Use this to choose an appropriate size.
I have very carefully adjusted the settings in this model to optimize the model. Please do not adjust any of the settings unless you know what you are doing. In particular, you will notice that the visor appears to be a solid object. However, top and bottom shells have been set to 0, so the visor will not be solid when it prints.
The supports have also been adjusted very carefully. If the supports on the top of the helmet are too difficult to remove, you can set the top Z distance back to 0.2. However, the overhangs will suffer some, and the helmet may not fit together as well.
Assembly
- Remove supports.
- Using super glue, attach the top of the helmet to the bottom of the helmet. Be sure the notches on each side are aligned and the longitudinal groove on the top helmet faces the front of the helmet.
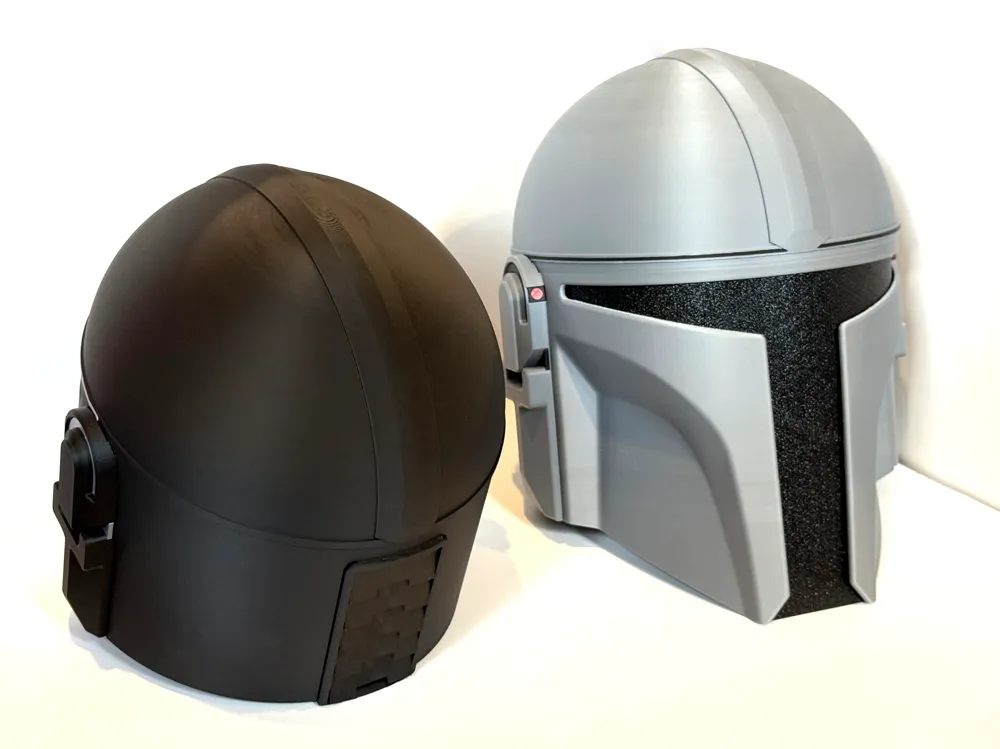
- Snap the vents into the back of the helmet.
- Tape the visor to the inside of the helmet. I recommend aligning the visor and then taping in the following order: top of the visor, cheeks, top sides of the visor, vertical section near the mouth.
- Glue the two lines that sit above the eyes on the top of the helmet.
- Glue the small pieces to the earpieces.
- Glue the earpieces to the side of the helmet. If you have a clamp, this step benefits from clamping for 15 minutes or so.
- Optional: print the earpiece lights and glue them to the earpieces.
Enjoy!
This remix is based on

License



Comment & Rating (51)