
Rugged Box CyberBrick Remote
Print Profile(4)


Bill of Materials
Description
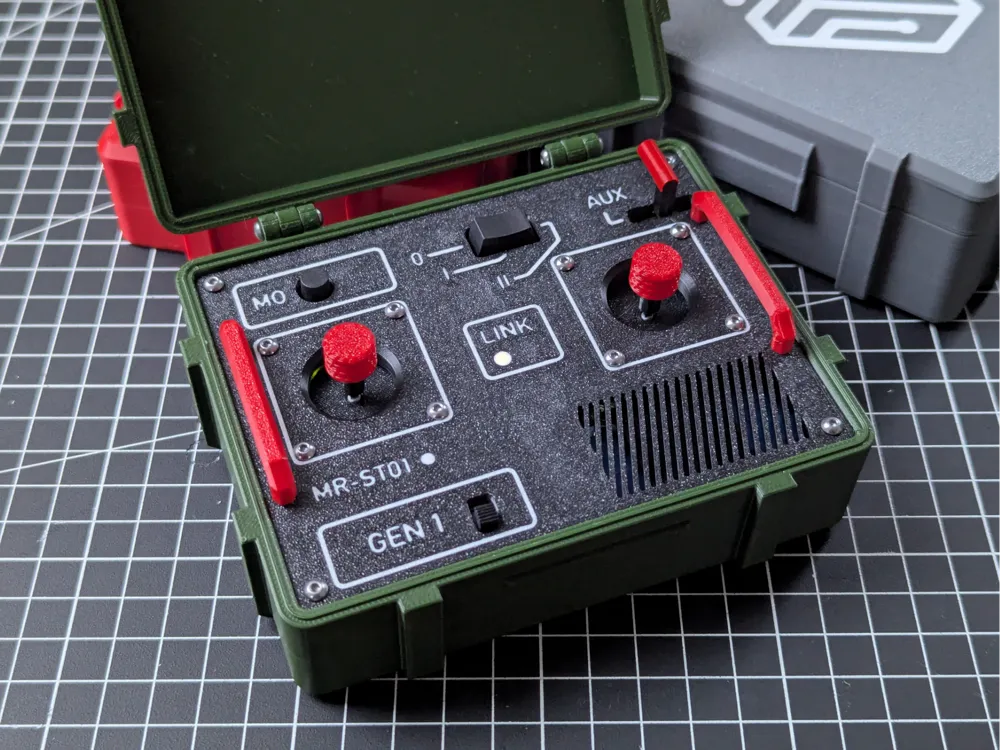
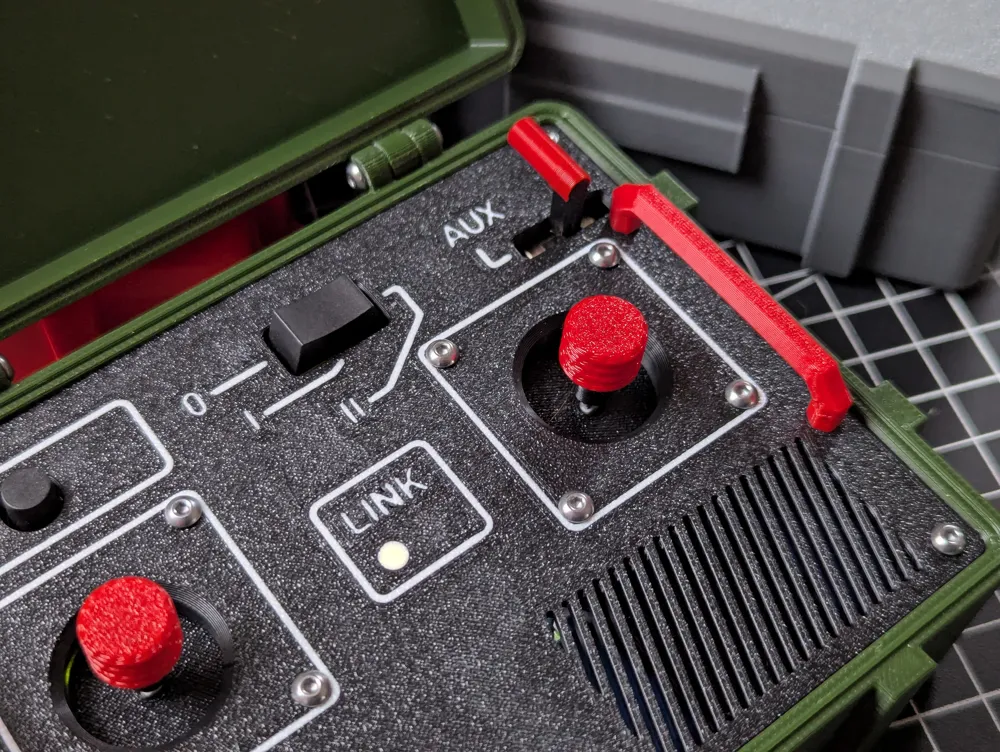
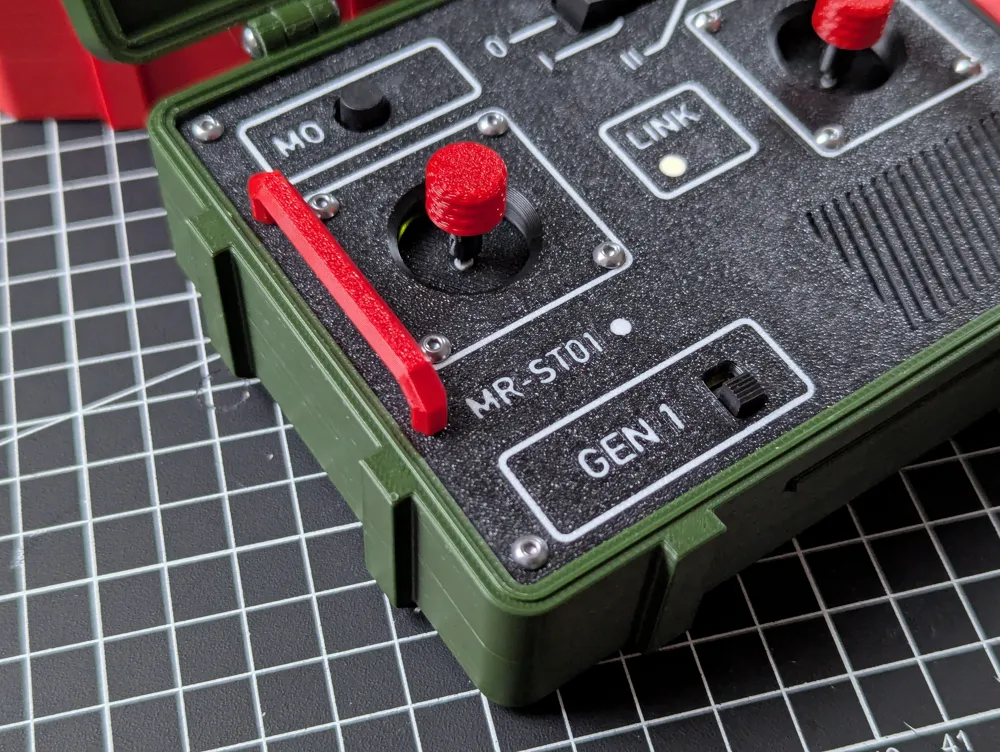
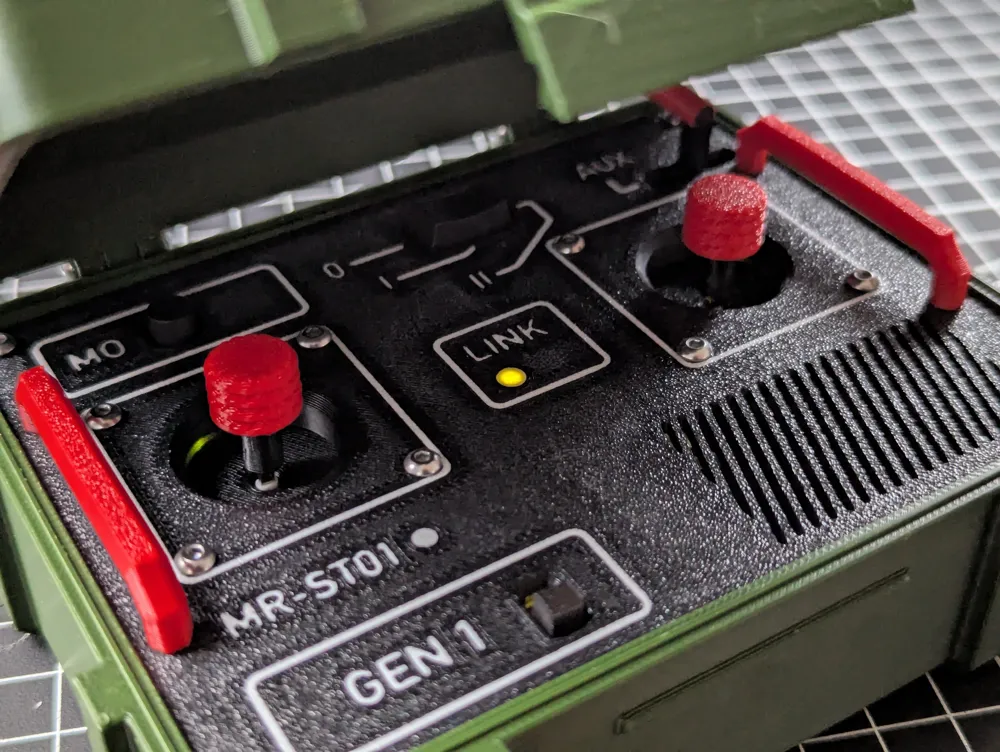
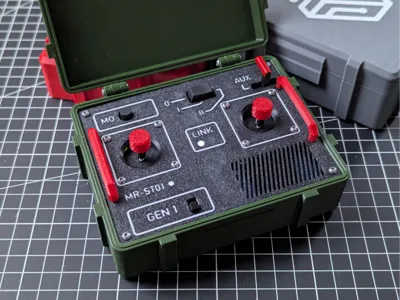
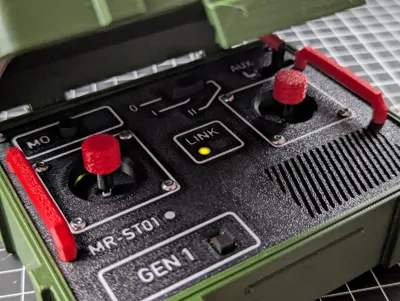
I love my CyberBrick models and kids play with them surprisingly long. The thing that was missing was a little more rugged remote imho, and here's my attempt at one.
I've tried to address things that I didn't love in other remotes:
- Rugged design with a strong, satisfying latch.
- Lid secures controls for transportation as well as from elements. There's no gasket, but the design should prevent debris ingress.
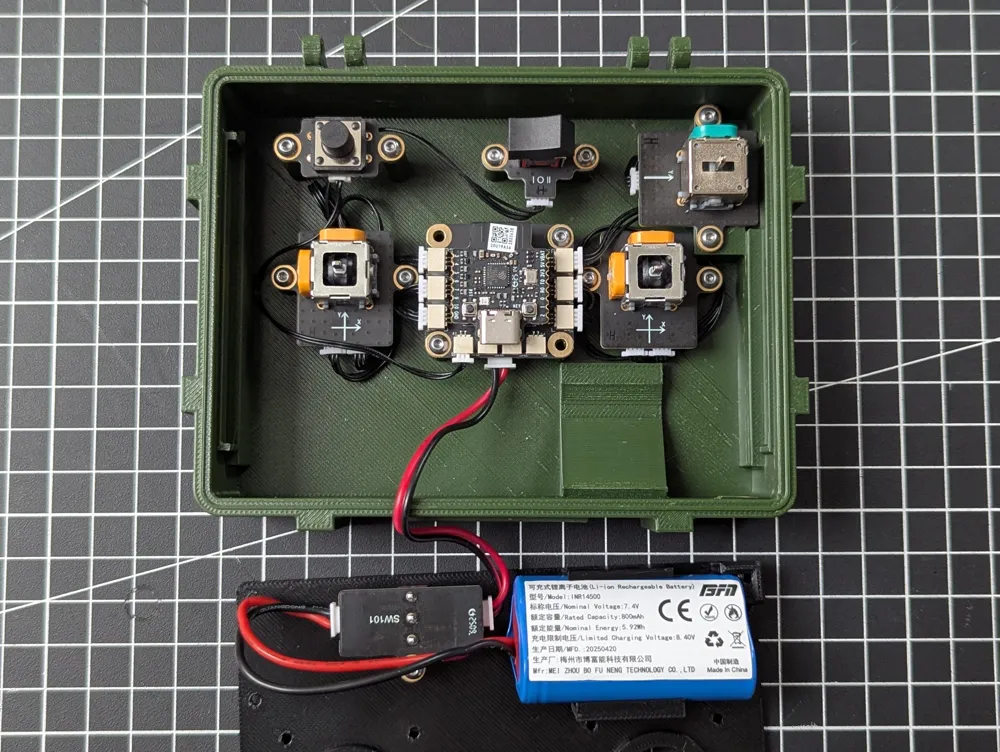
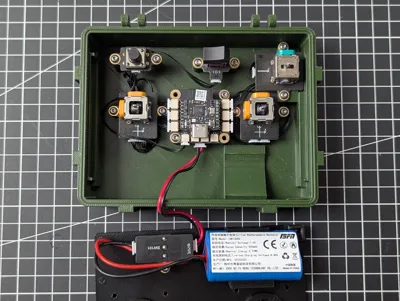
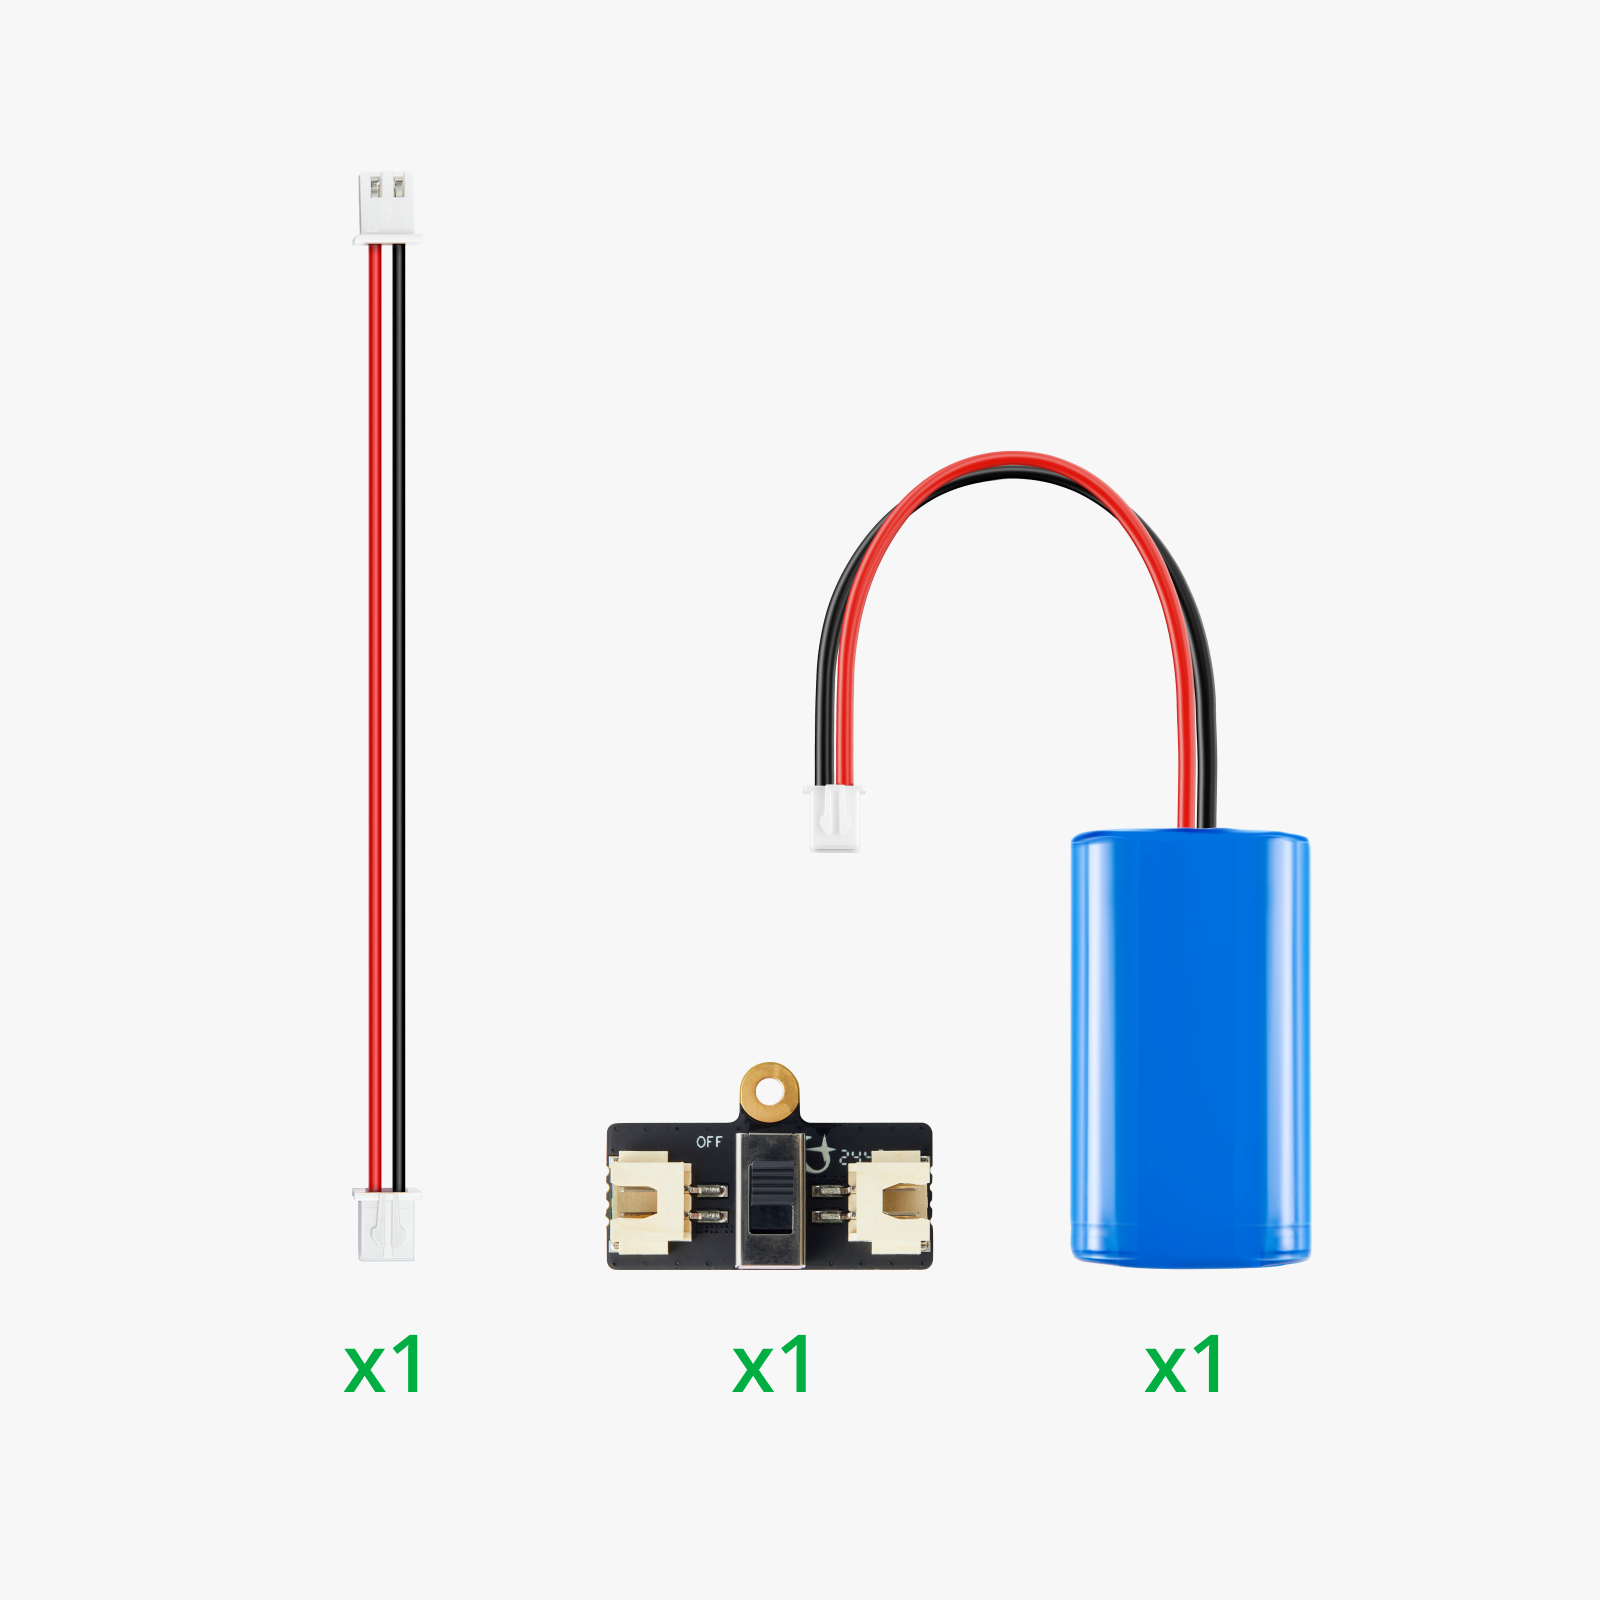
- Easily replaceable battery – just pull the panel out and the battery comes out with it. I designed it around the replaceable battery as it's the smart way to go. If you don't have it yet, order. It's so convenient.
Printing
Model looks best with minimum of three colors:
- Box body and panel
- Instrument outlines
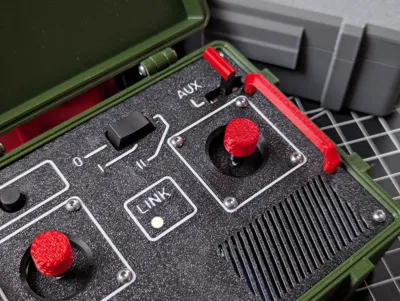
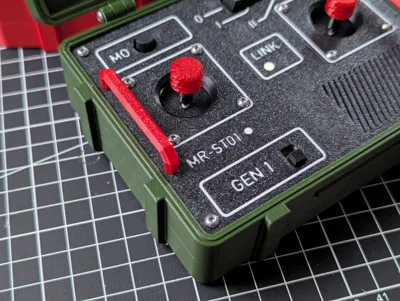
- Accent color for knobs and handles
It has been test-printed in BambuLab's PETG-HF, but should work with any filament.
Printing time is ~6 hours for all elements, and you need 170g of filament. No additional hardware is needed beyond the CyberBrick elements.
There's non-AMS version coming if there's interest.
Compatibility
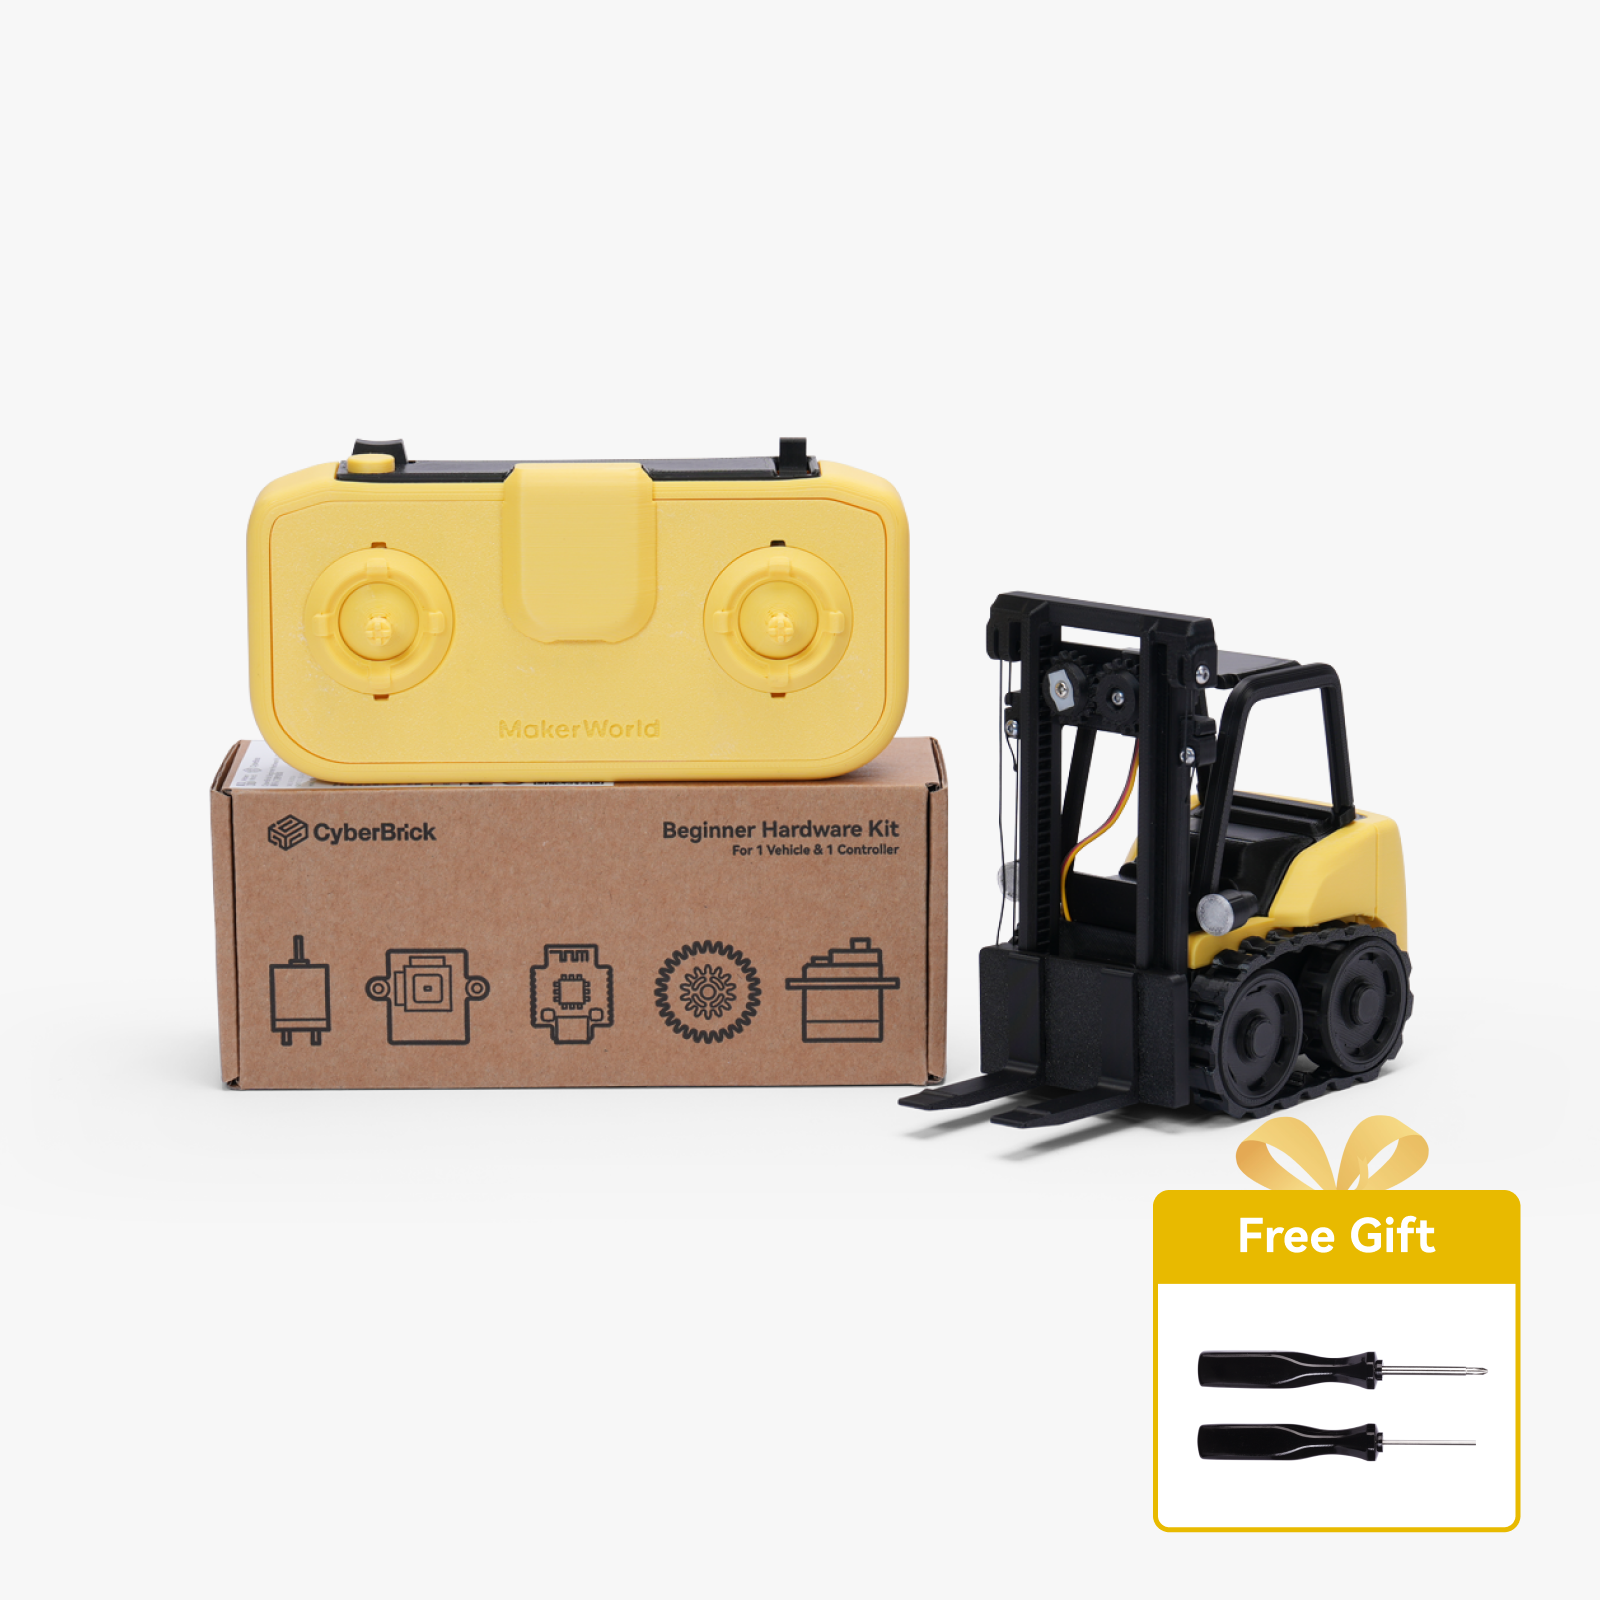
This remote is compatible out-of-the-box with any model that uses Makerworld's official CyberBrik remote.
For any other models, ask in the comments and I can check for you.
Assembly
After printing, assemble the electronics on the bench and test the code.
You should have printed all elements from the profile. It’s a total of 10 elements.
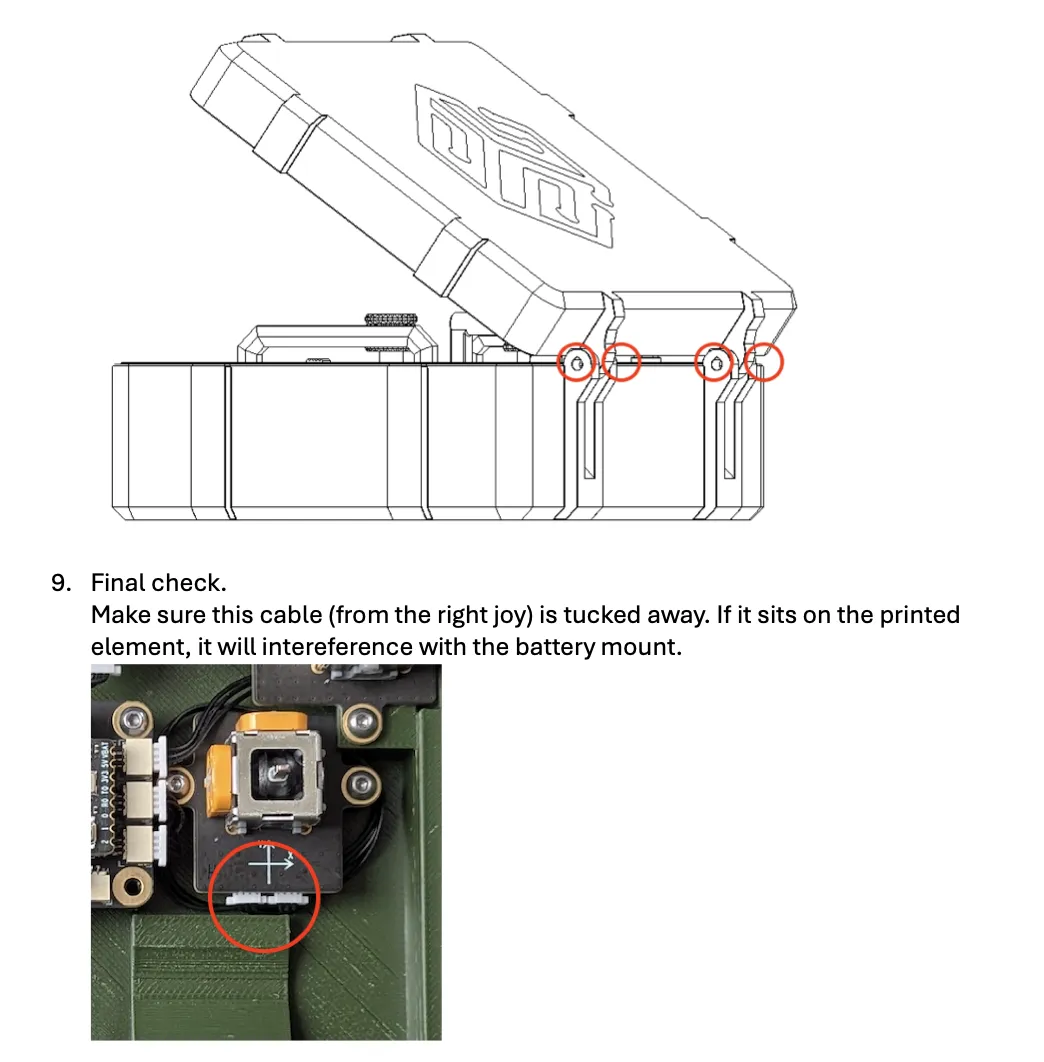
For putting it together, download the Assembly Manual PDF for detailed instructions.
All the screws are standard CyberBrick screws you get in the kit.
Enjoy! Like, comment, and boost :)
Boost Me (for free)
Documentation (1)

License

You may create derivative works based on this object, provided that all such derivative works are published exclusively on the MakerWorld platform and include proper attribution to the original creator. You may not share, upload, host, distribute, or publish this object—or any derivative work of this object—on any other digital platform, marketplace, or distribution channel. Commercial use of this object and any derivative works is strictly prohibited. This includes, but is not limited to, selling, renting, sublicensing, or using the object in any context in which you receive monetary compensation or other financial benefits.


Comment & Rating (127)