
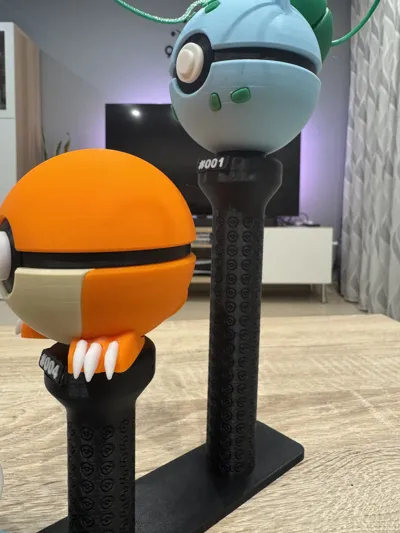
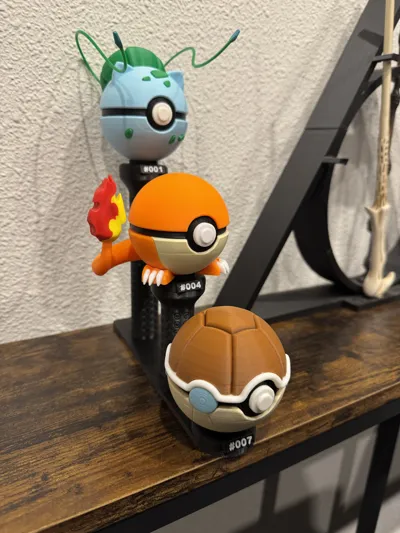
Magnetic PokéBall Stand
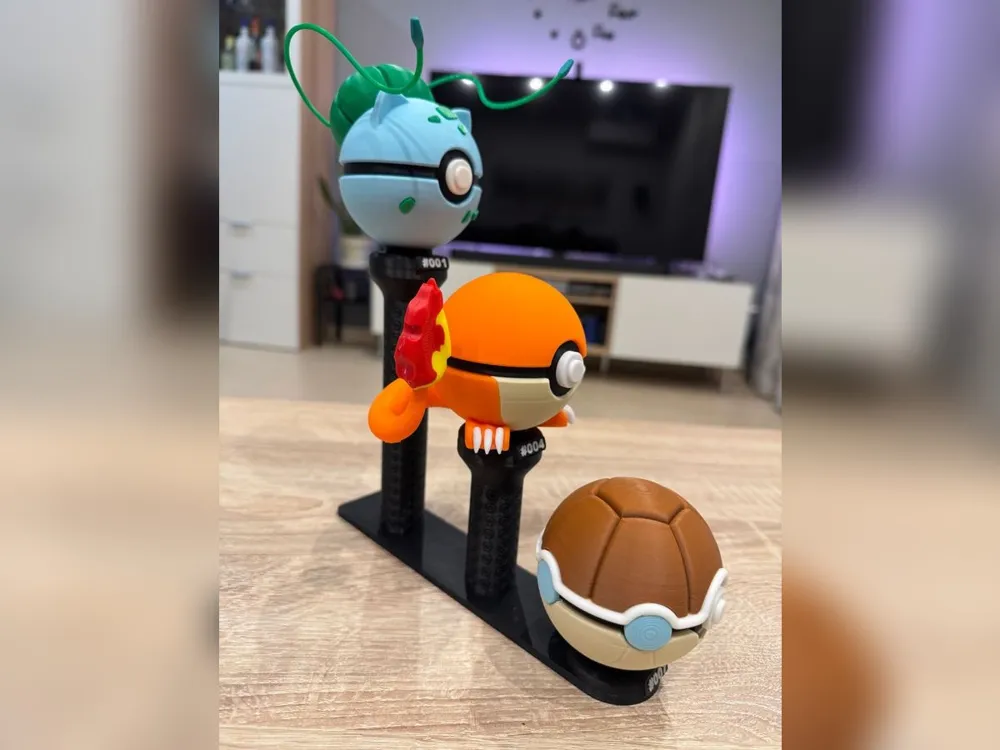

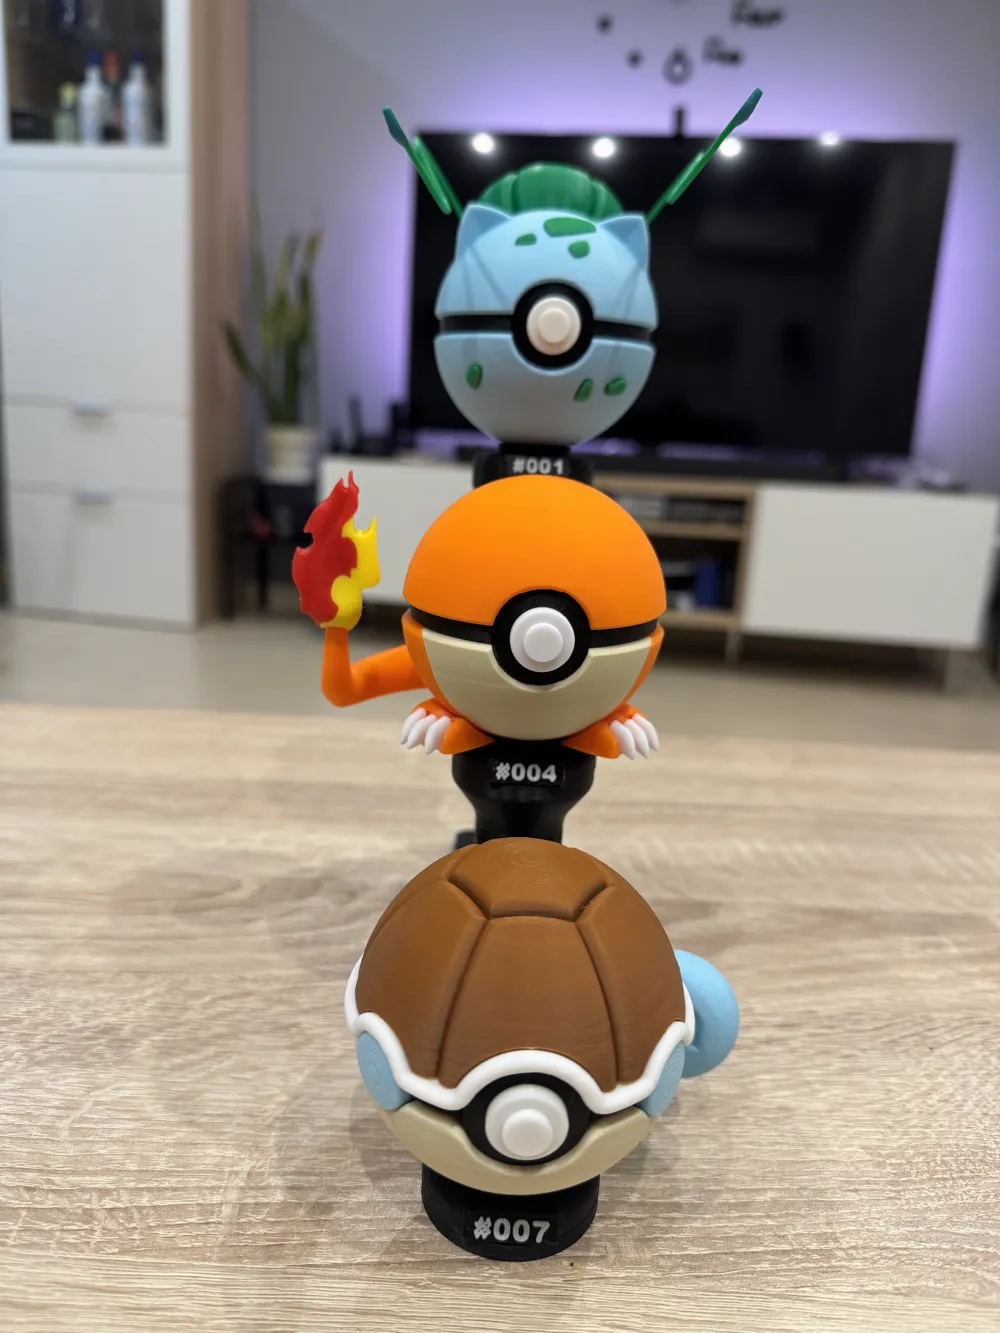
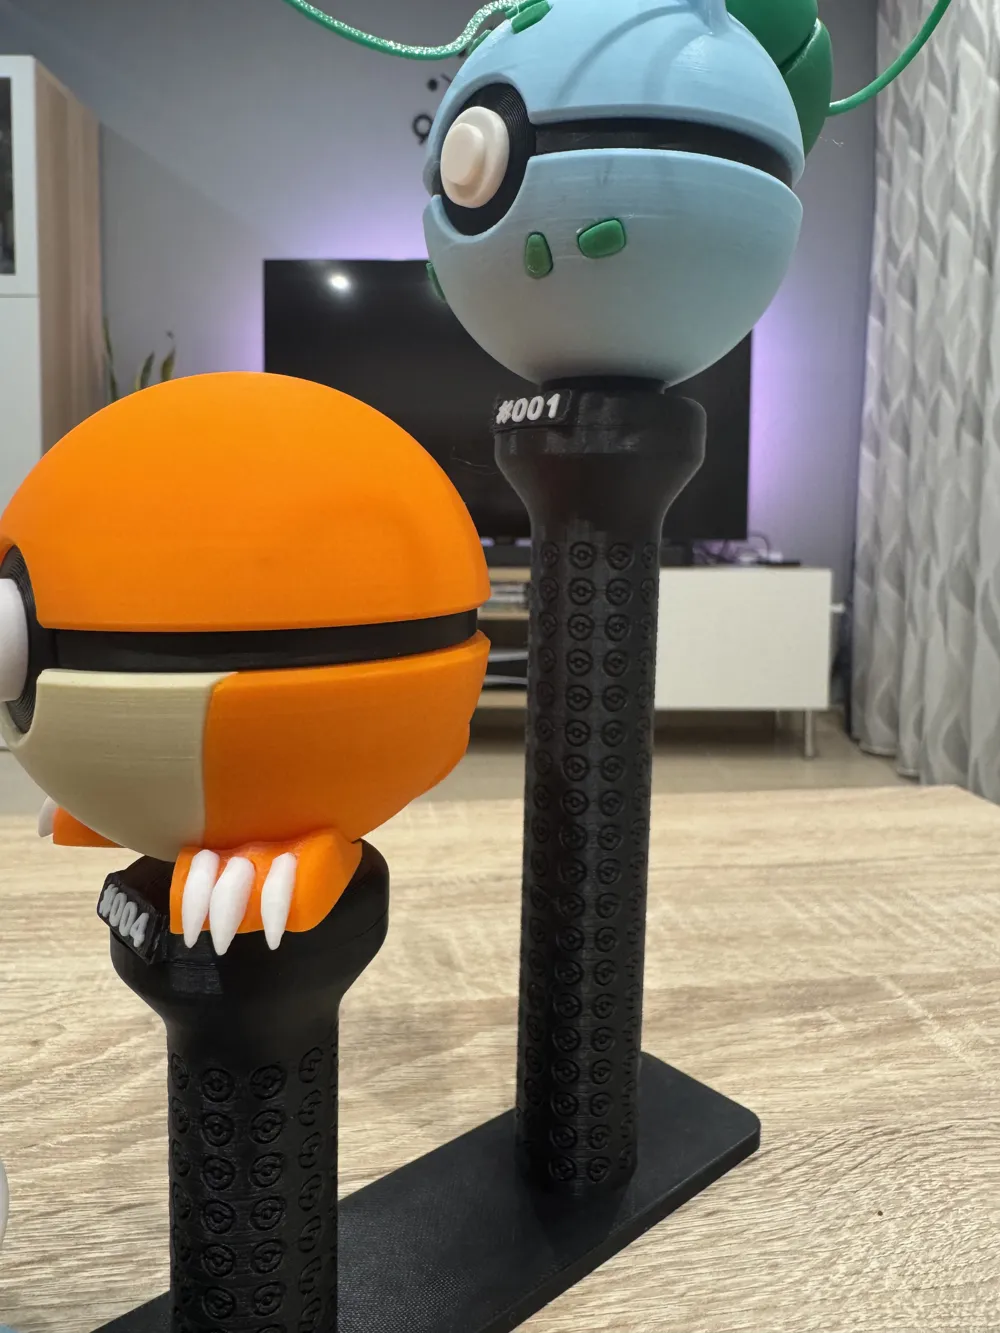
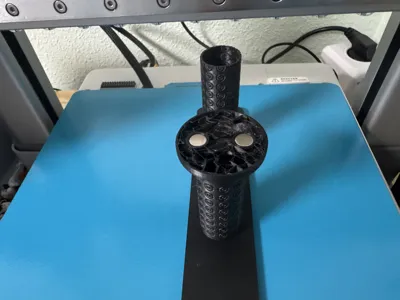
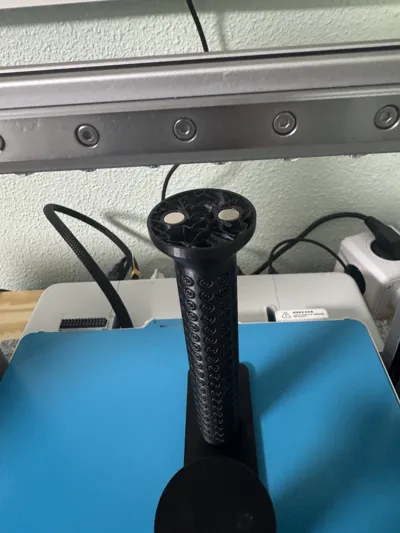
Print Profile(4)




Bill of Materials

Description
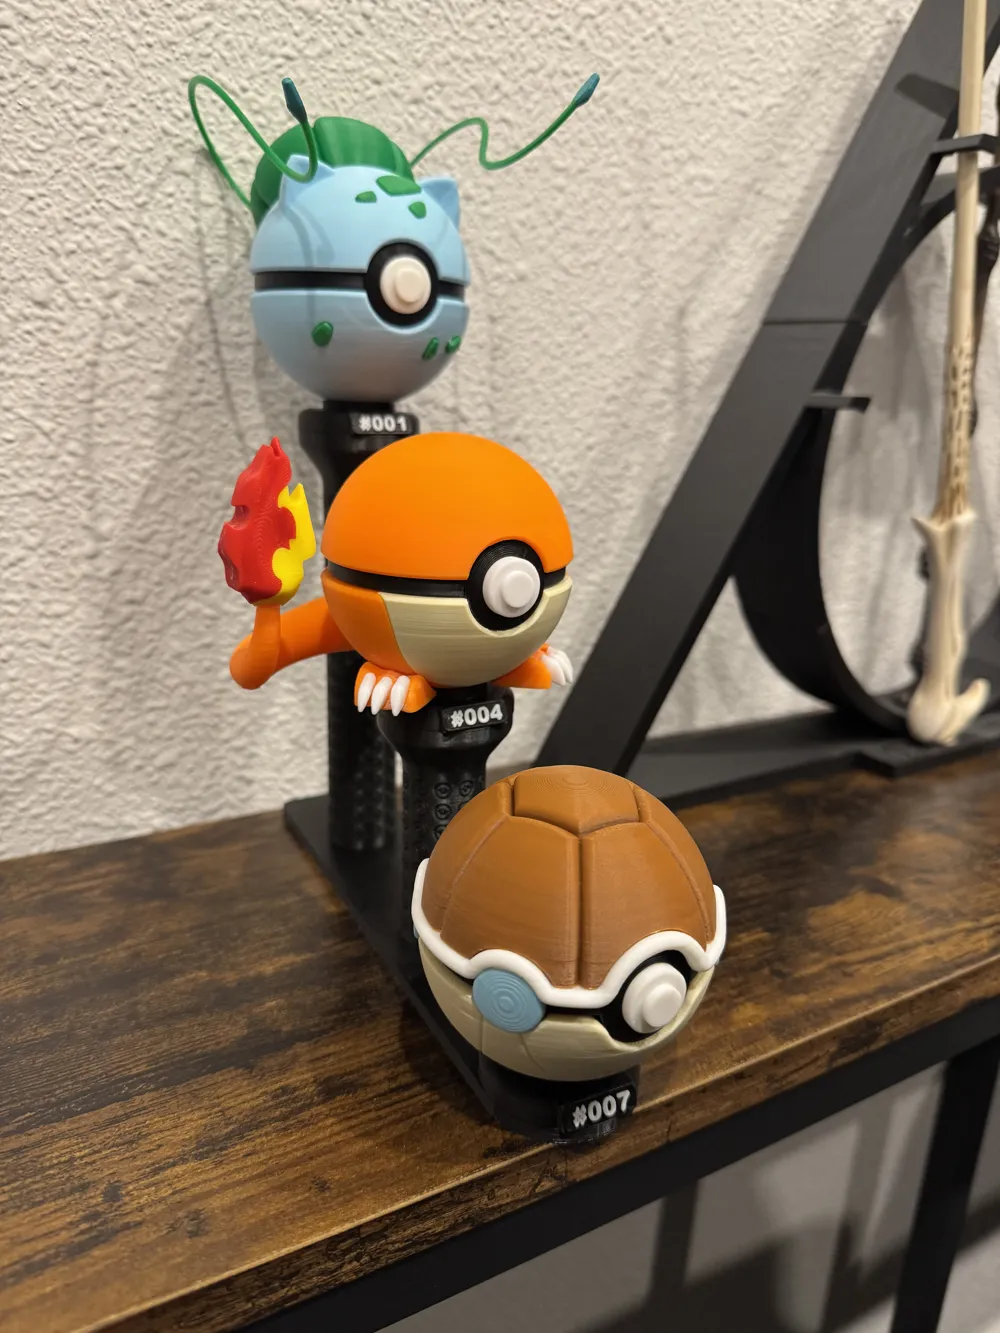
My First Magnetic Design! This design was actually inspired by a user suggestion on my previous model. They mentioned that magnetic connections would be a great upgrade, so I decided to challenge myself and design it!
This is my first attempt at designing a 3D print with embedded magnets. I wanted the bases to "snap" securely onto the stand without needing glue. It works really well for my collection, but as I am new to this, I would really appreciate your feedback or suggestions to improve it further.
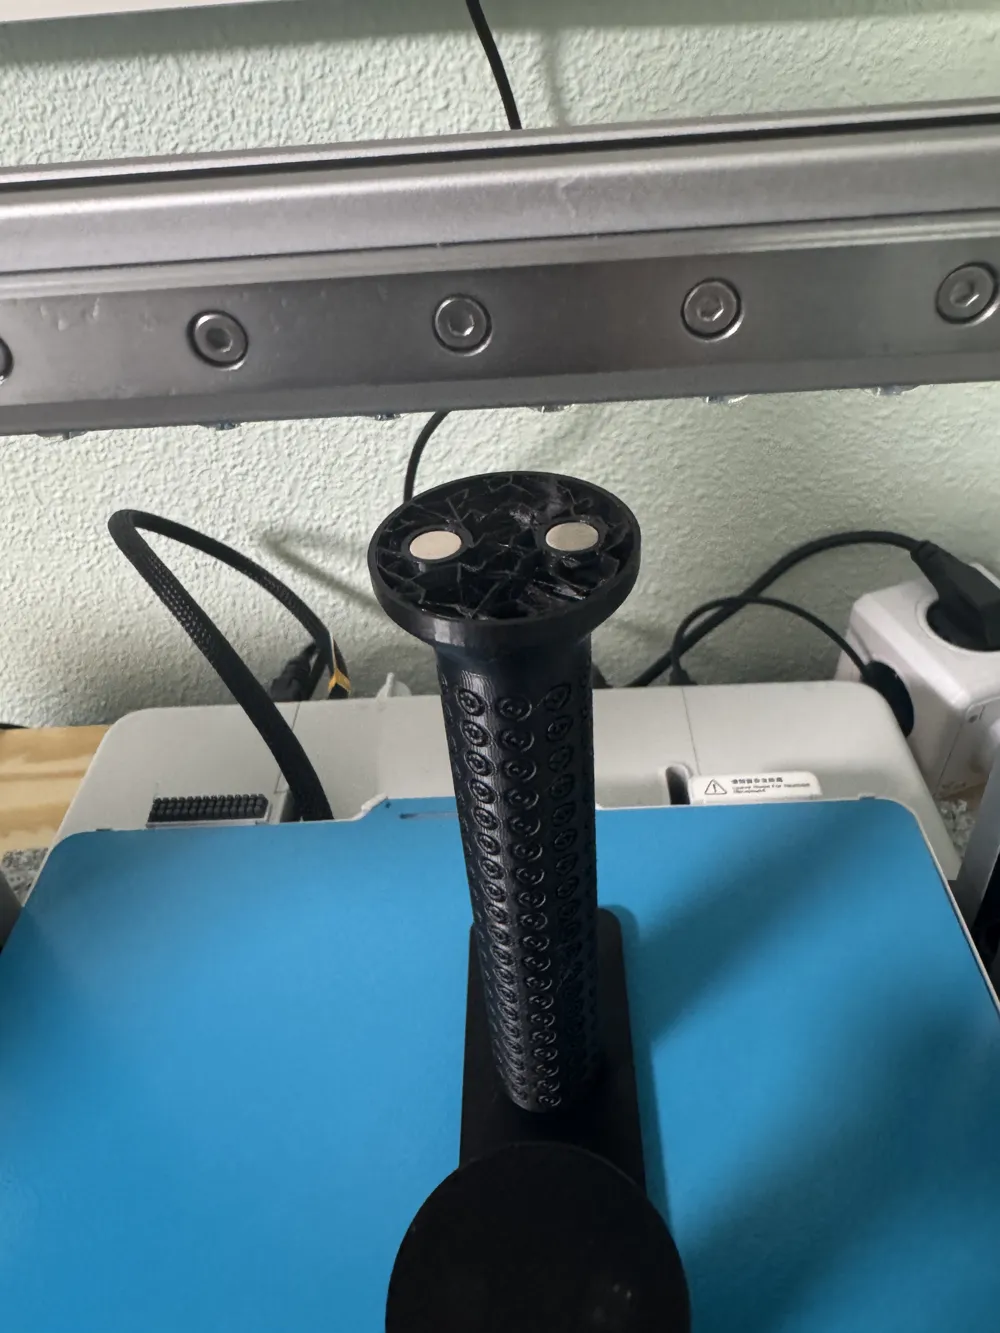
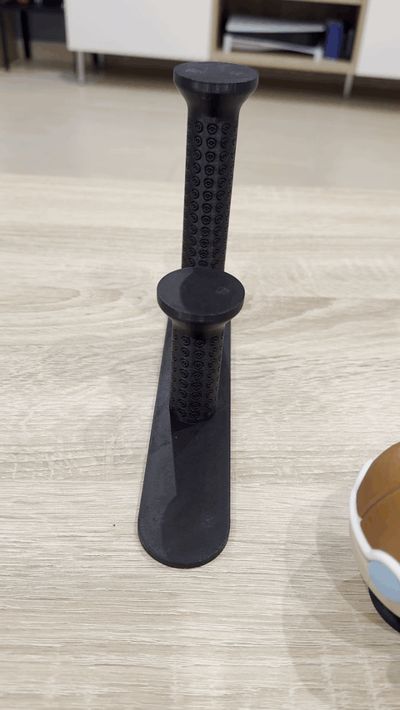
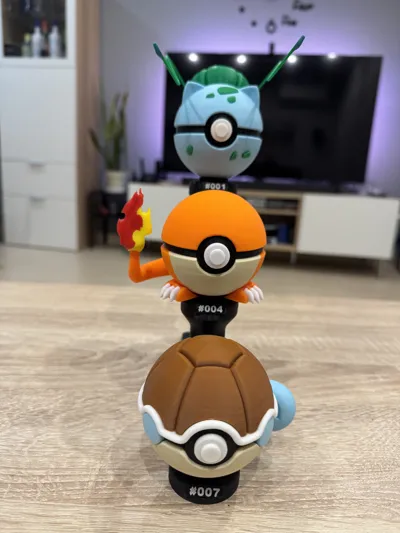
How It Works (The "Invisible" Connection) This All-in-One pack includes both the Triple Tier Riser and the Numbered Bases, designed to hold hidden magnets inside the print.
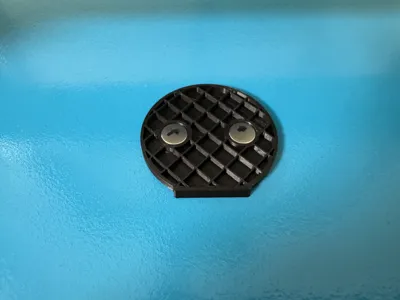
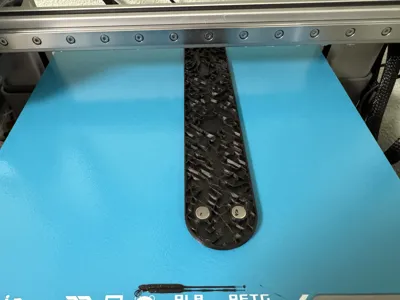
- Magnets used: Standard 8x2mm round magnets.
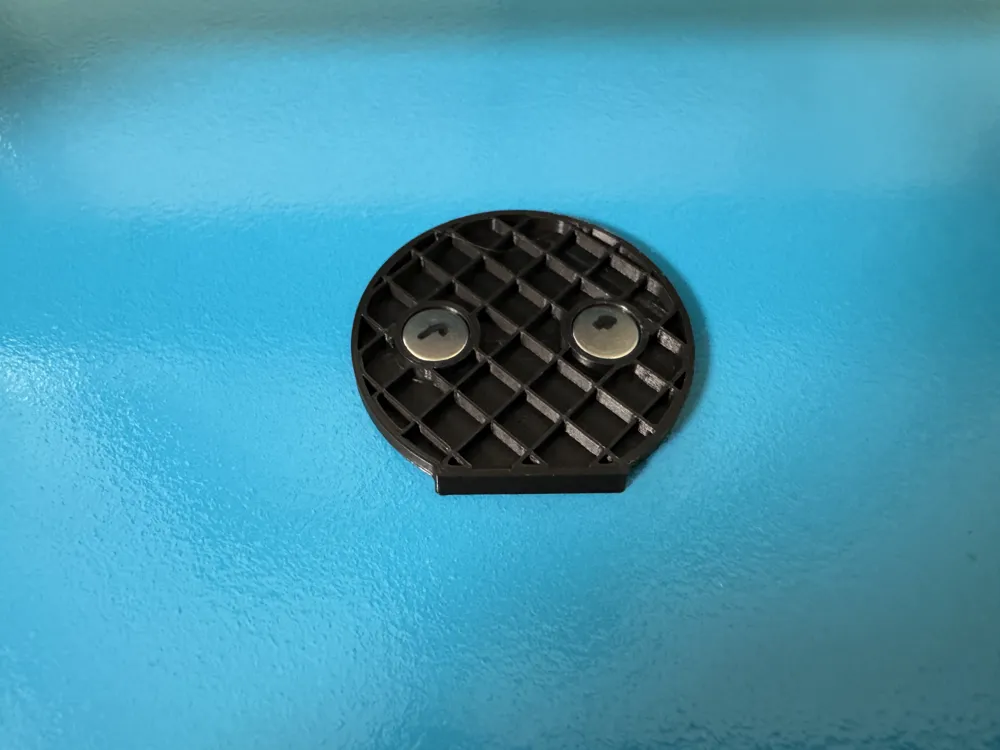
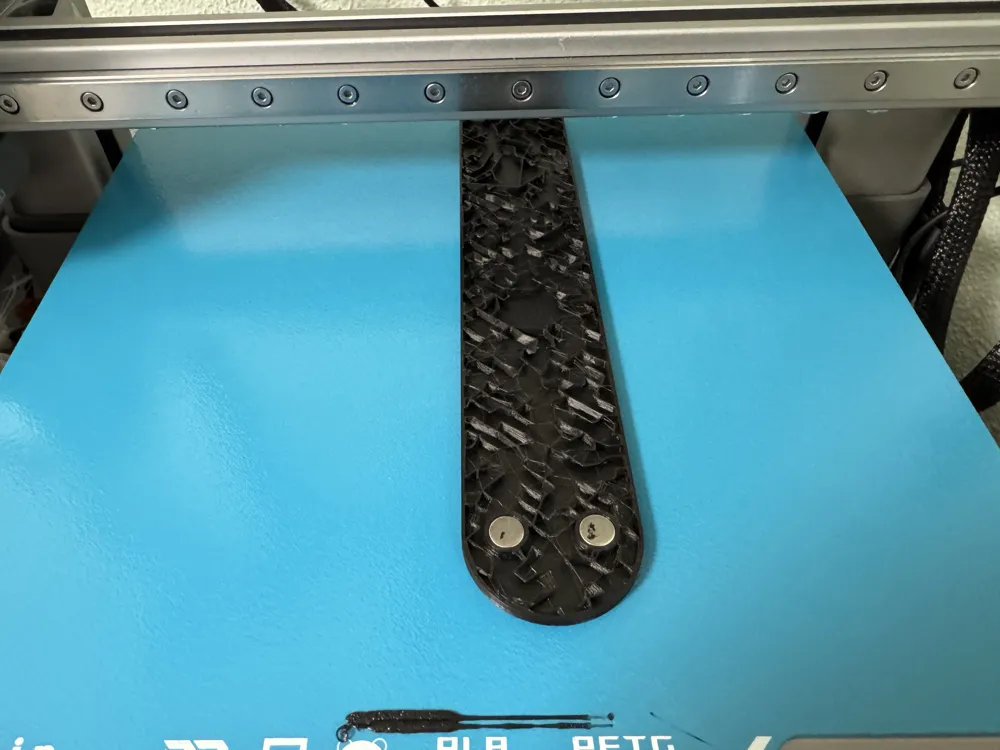
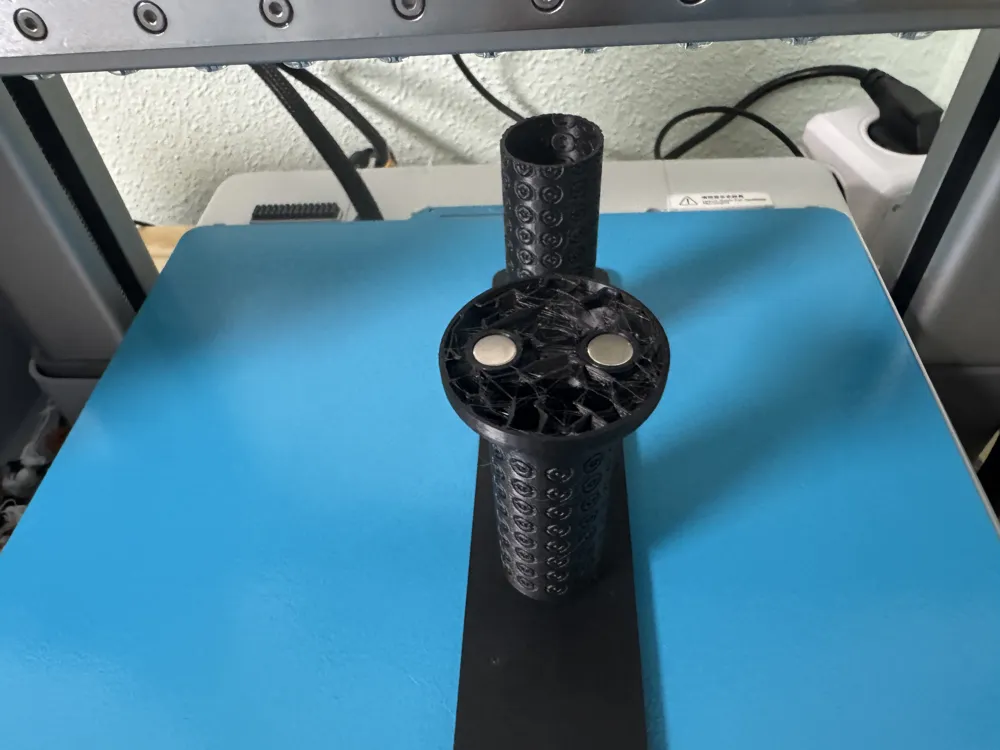
- The Process: The magnets are inserted and sealed during printing. The necessary pauses for magnet insertion are already included in the Bambu Studio print profiles I upload. The printer will stop, allowing you to insert the magnets before continuing.
⚠️ WARNING: Magnet Polarity Since the magnets are permanently sealed inside the plastic, you only get one chance. If you insert them backwards, they will repel each other, and the print cannot be fixed. (Trust me, it happened to me... a useless piece of plastic is what you'll get!).
- My Advice: Take a marker and put a dot on the North pole (or the same side) of all your magnets before you start. Make sure the magnets in the Base and the Stand are facing the correct way to attract each other before you resume the print! All the magnets with the dots must be up.
📂 Files & Sizes
- 8x2mm Profile: This is the version I have printed and tested.
- 6x3mm Profile (UNTESTED): I have also included a profile for 6x3mm magnets. Please note: I have NOT tested this size personally as I don't have these magnets on hand, but the design logic is identical. If you try it, please let me know if it works!
Assembly
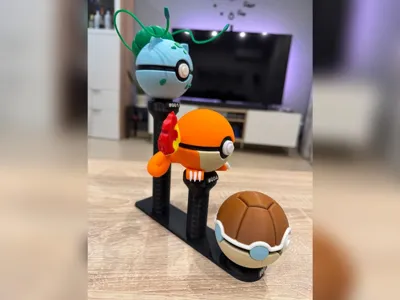
- Use double-sided tape or super glue to permanently fix your figure to the Numbered Base.
- The Base then magnetically snaps onto the Tiered Stand (interchangeable).
License

You shall not share, sub-license, sell, rent, host, transfer, or distribute in any way the digital or 3D printed versions of this object, nor any other derivative work of this object in its digital or physical format (including - but not limited to - remixes of this object, and hosting on other digital platforms). The objects may not be used without permission in any way whatsoever in which you charge money, or collect fees.


Comment & Rating (10)