
International Women’s Day 8th March




Print Profile(3)




Description
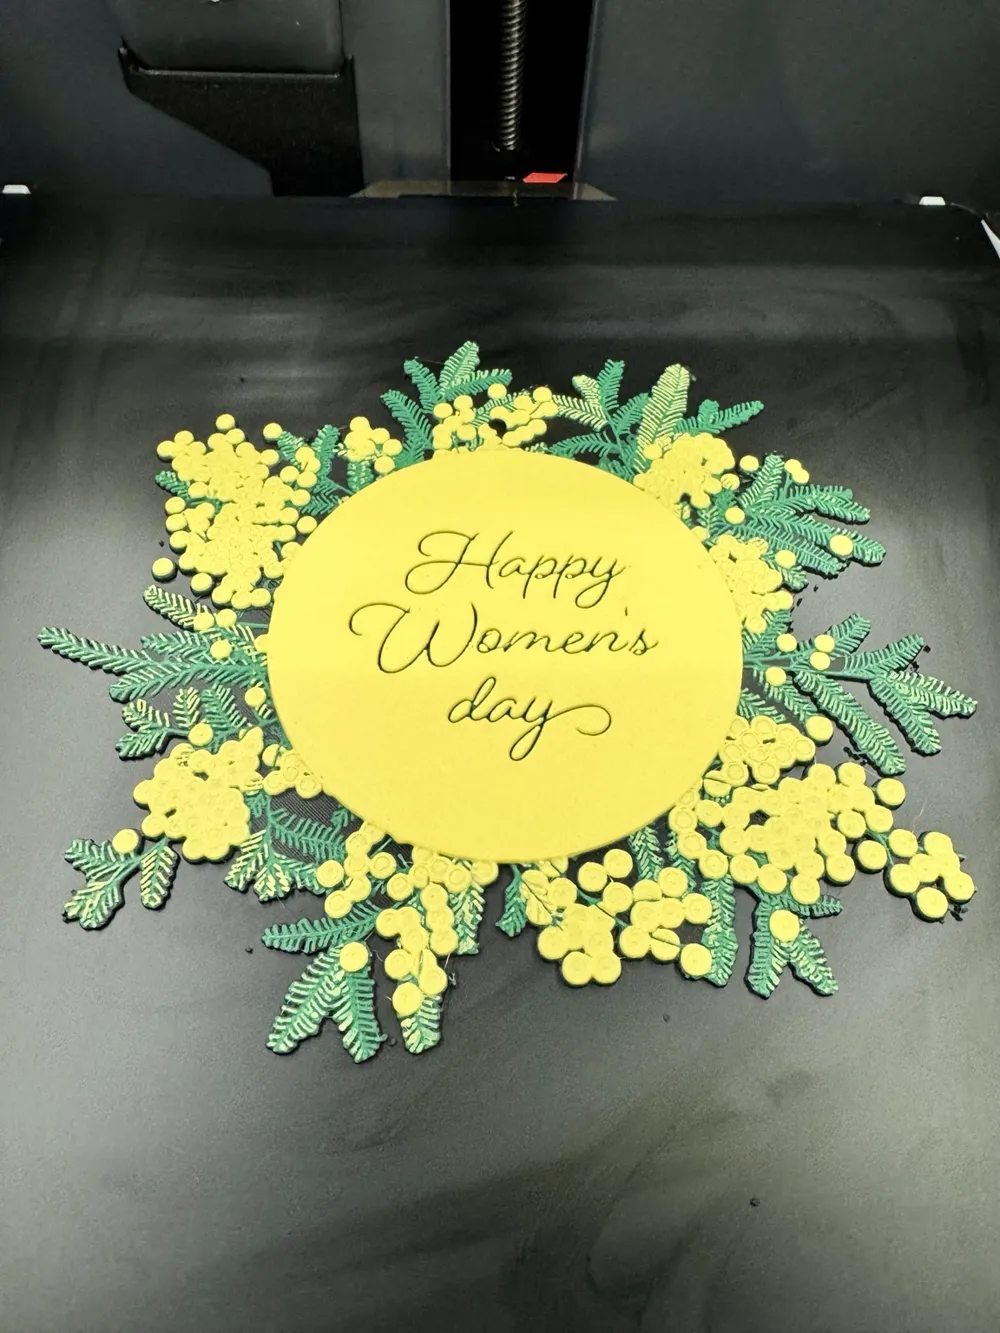
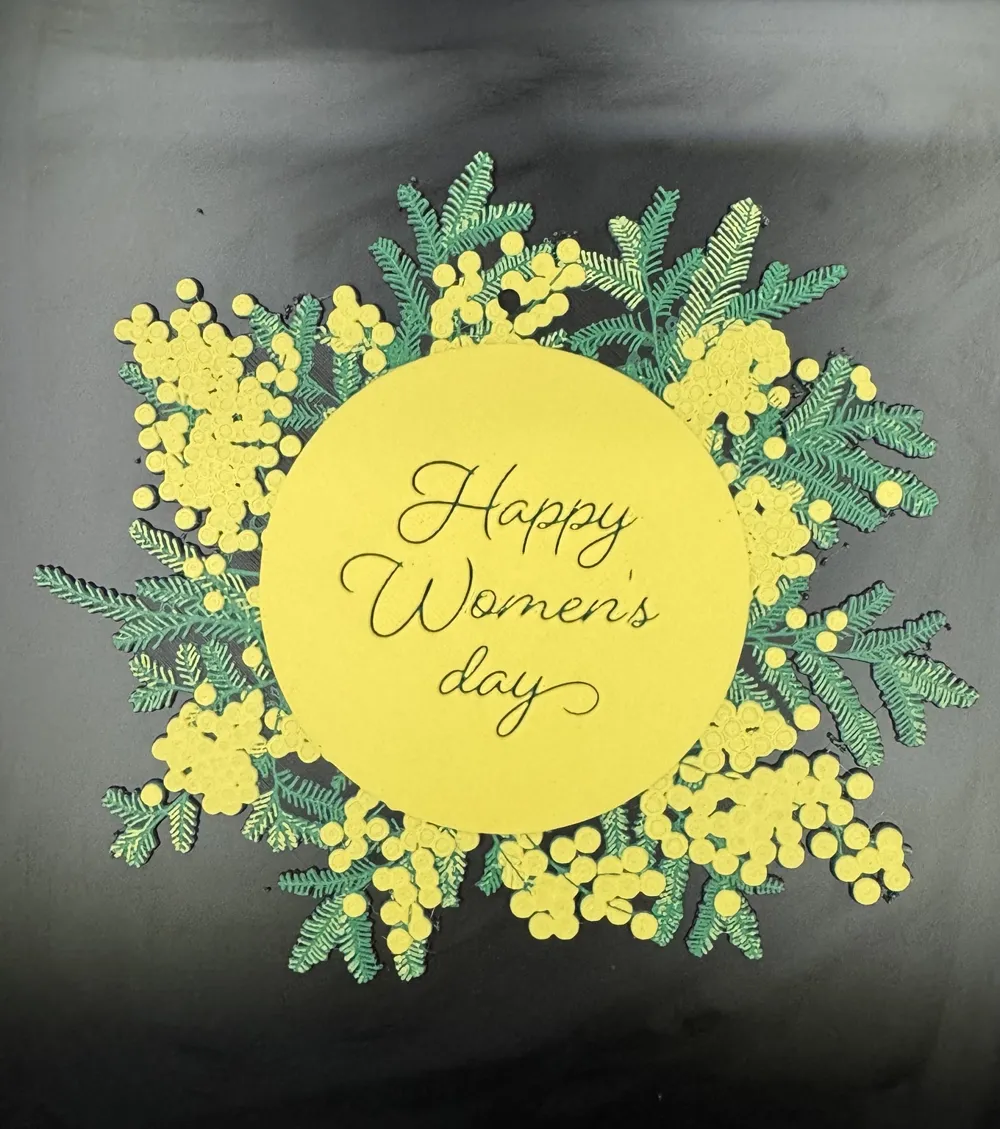
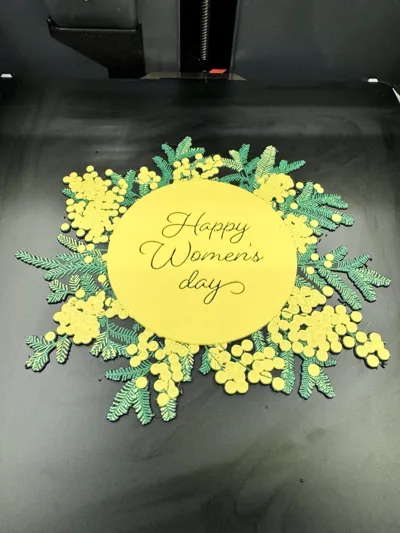
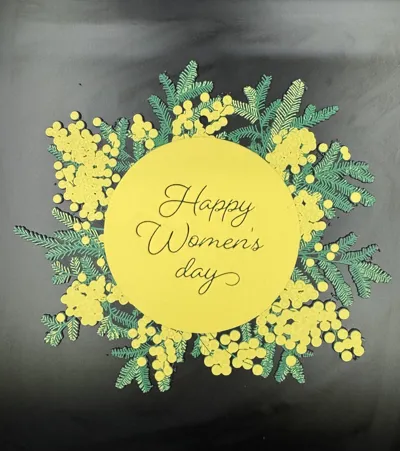
Celebrate International Women’s Day with a clean and minimal 3D printable decor designed for March 8.
The model is designed to print without supports and can be made in three colors using simple manual filament swaps at specific layers.
No AMS is required.
Build plate requirement
Fits 180 x 180 mm build plates or larger, including the Bambu Lab A1 mini.
Estimated print time
About 2h54m on my setup for the standard version.
Custom text option
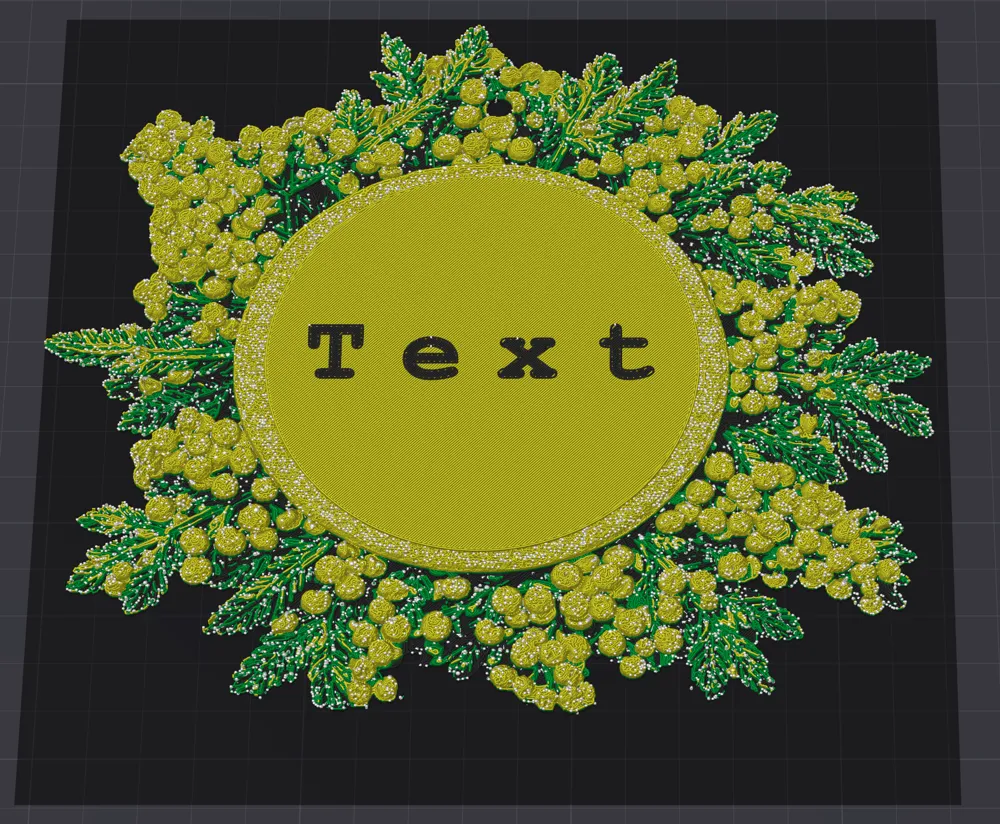
In my print profile named Custom Message Edition Editable Text In Bambu Studio you will find a slightly different version that includes an editable message. You can change the phrase in a few clicks, including font, size, thickness and color, then slice and print.
This custom text version takes about 2 hours longer on my setup.
Recommended materials
PLA and PETG work well, as long as your printer is tuned for them.
Print Instructions
Infill 100 percent
Layer height 0.08 mm
First layer 0.16 mm
Supports none
Filament choices used for the reference print
PLA BambuLab Basic Black
PLA BambuLab Basic Green
PLA BambuLab Basic Yellow
Swap Instructions
Start with Black
At layer 10 (0.88 mm) swap to Green
At layer 15 (1.28 mm) swap to Yellow for the rest of the print
How to customize the text in Bambu Studio
1 Open my Custom Message Edition print profile and select the custom text plate
2 Select the text object in the object list or click it on the model
3 Use the Text tool to edit the phrase
4 Adjust font, size and thickness as desired
5 Assign a filament color to the text object or use Color Painting
6 Slice again and preview the layers, then print
Notes
If you change the text size, keep enough clearance from the border and make sure the first layer stays readable.
Boost Me (for free)
Support free Women’s Day decor with manual filament swaps.
Custom text option is available in my print profile.
If you print it, sharing a photo helps others.
License

You shall not share, sub-license, sell, rent, host, transfer, or distribute in any way the digital or 3D printed versions of this object, nor any other derivative work of this object in its digital or physical format (including - but not limited to - remixes of this object, and hosting on other digital platforms). The objects may not be used without permission in any way whatsoever in which you charge money, or collect fees.


Comment & Rating (34)