
Bambu 4-in-1 PTFE Adapter Bracket for X1C and P1S


Print Profile(4)


Description
Bambu 4-in-1 PTFE Adapter Bracket
This is a small bracket to hold the Bambu 4-in-1 PTFE Adapter for the Bambu Lab X1 Carbon and P1S.
This bracket has a nice fit with the PTFE adapter, providing a perfect angle for the PTFE tubes in and out to the printer.
The PTFE adapter I used is this one from the Bambu Labs store: https://store.bambulab.com/products/bambu-4-in-1-ptfe-adapter
I have a similar bracket which holds the adapter if you are using my side spool holder found here on Maker World: https://makerworld.com/en/models/169803
You will need the following to mount the adapter:
1 - M3 x 16mm screw
2 - M3 x [10mm or 12mm] screw
This is designed to print without any supports.
If you have an AMS, I have included to objects in the model so you can assign a different colour to the logo if you would like to.
Print Settings:
Layer Height: 0.2 mm
Wall Loops: 2
Shell Layers: 3
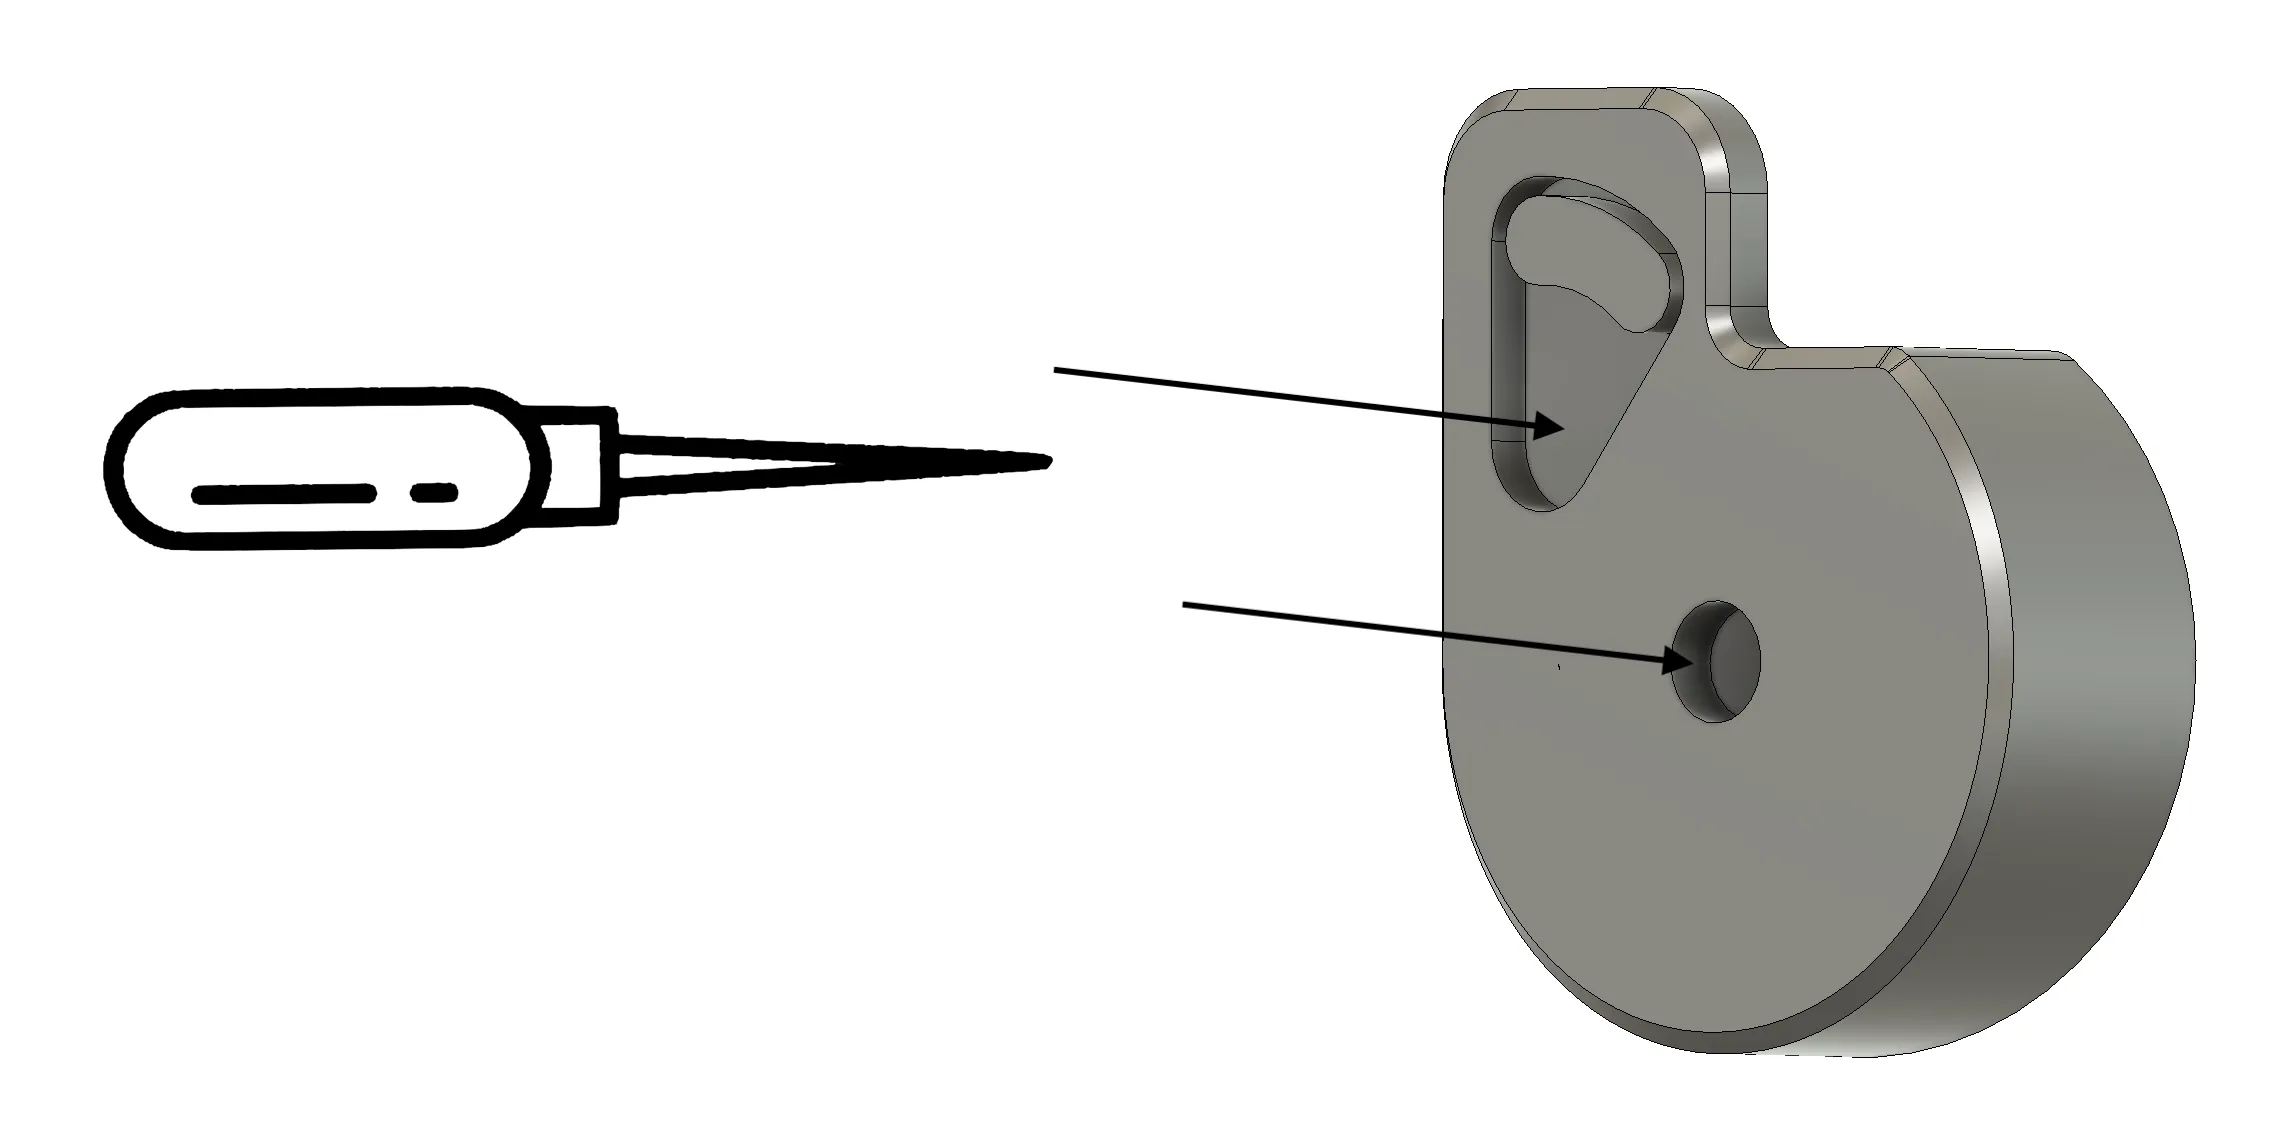
No brim, or supports required. A sacrificial layer is used where the two holes are - use an awl or screwdriver to poke through them.
Membership
Get a commercial license here!
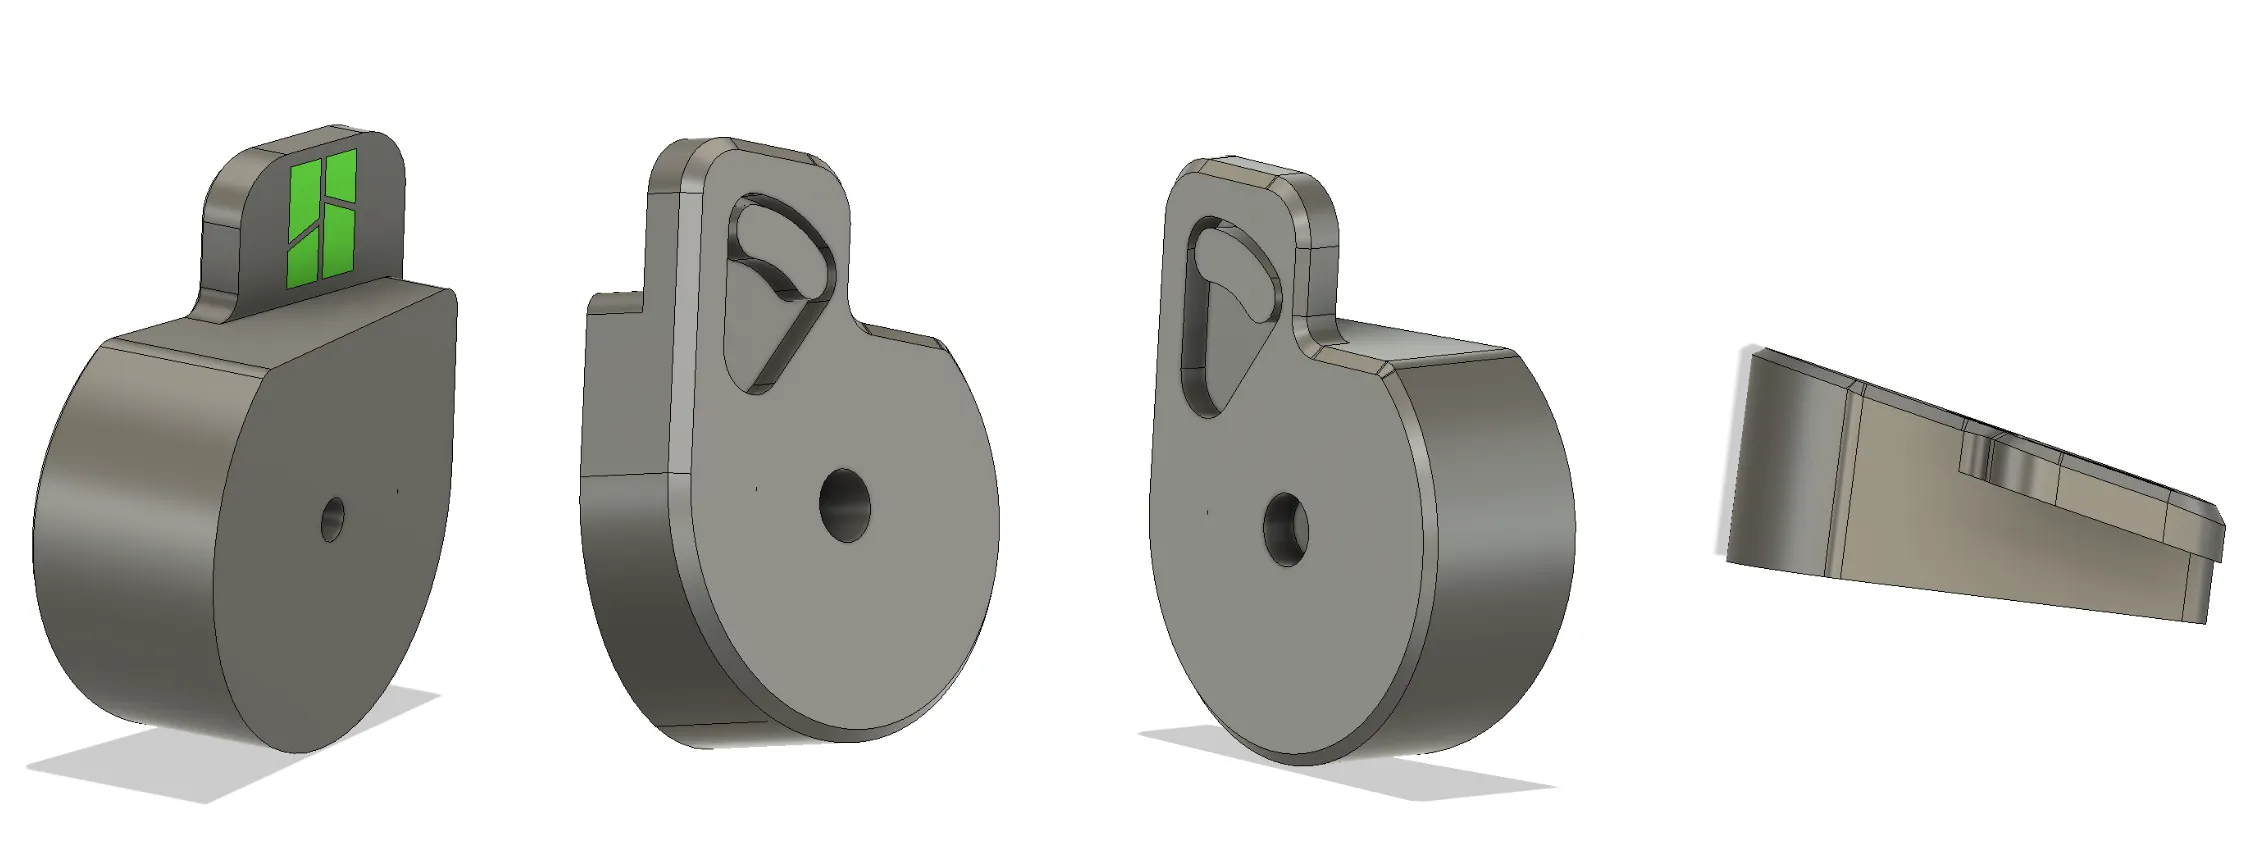
Instructions:
1. Remove the PTFE adapter on the back of the unit.
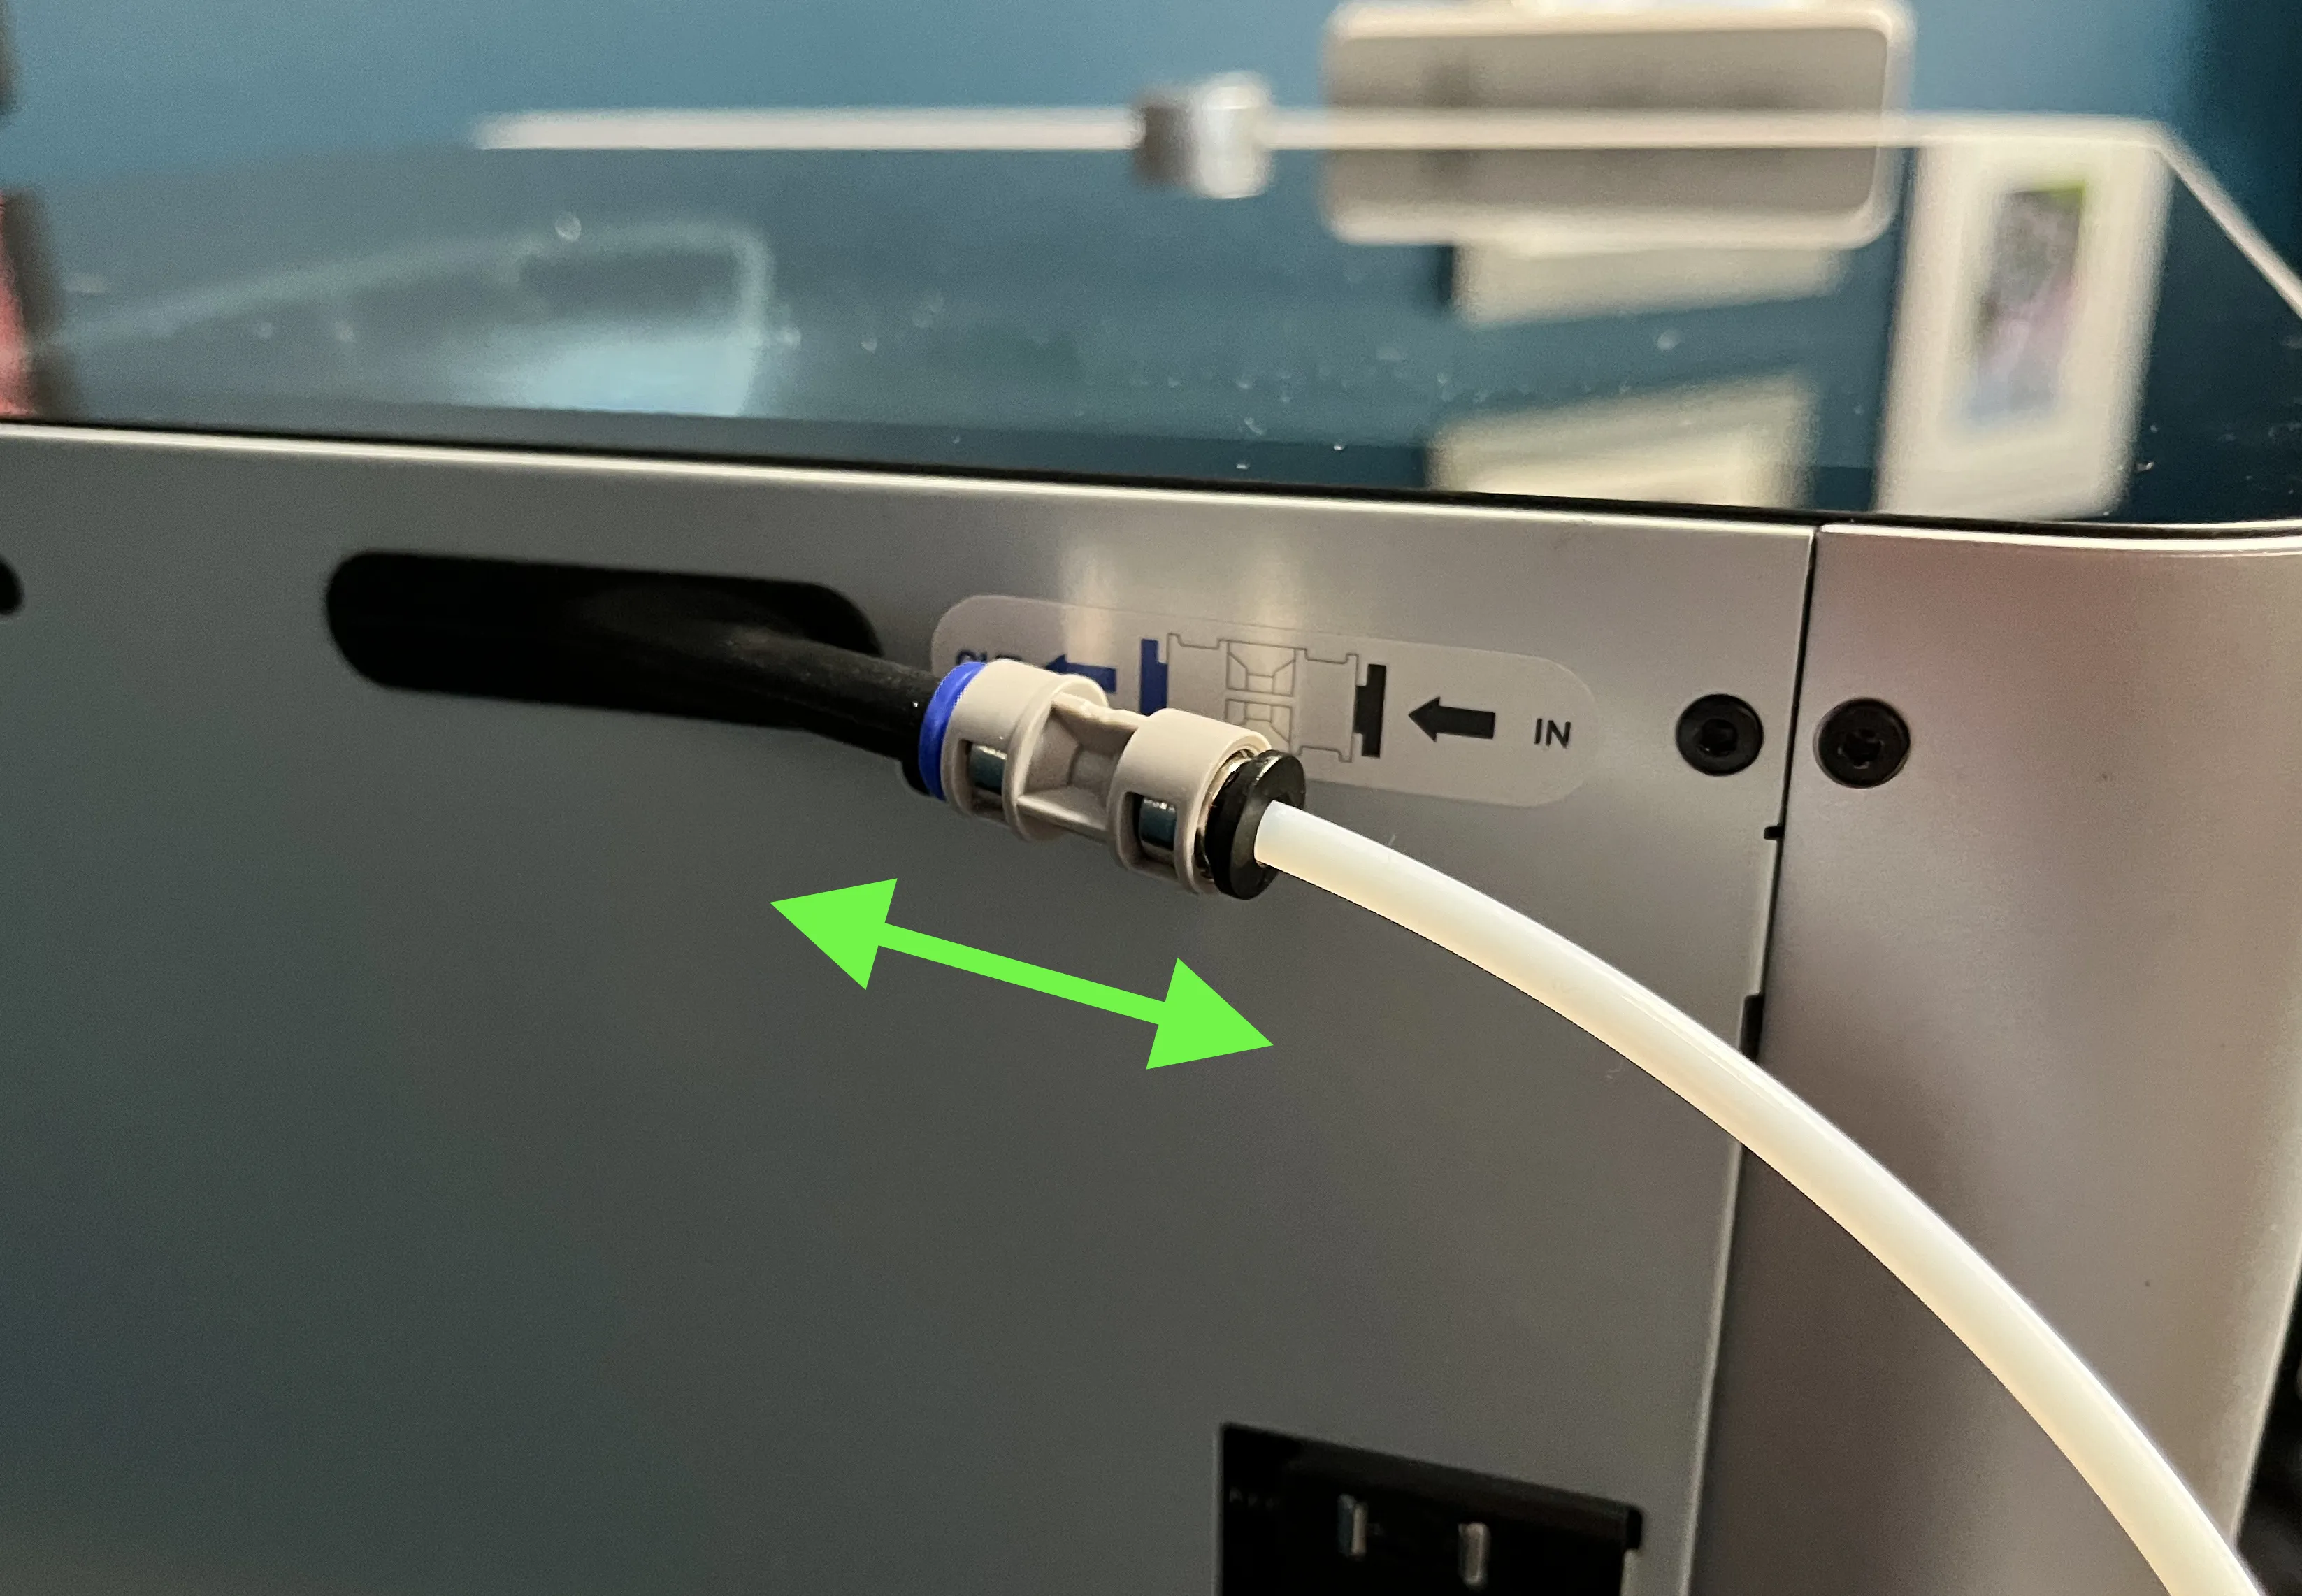
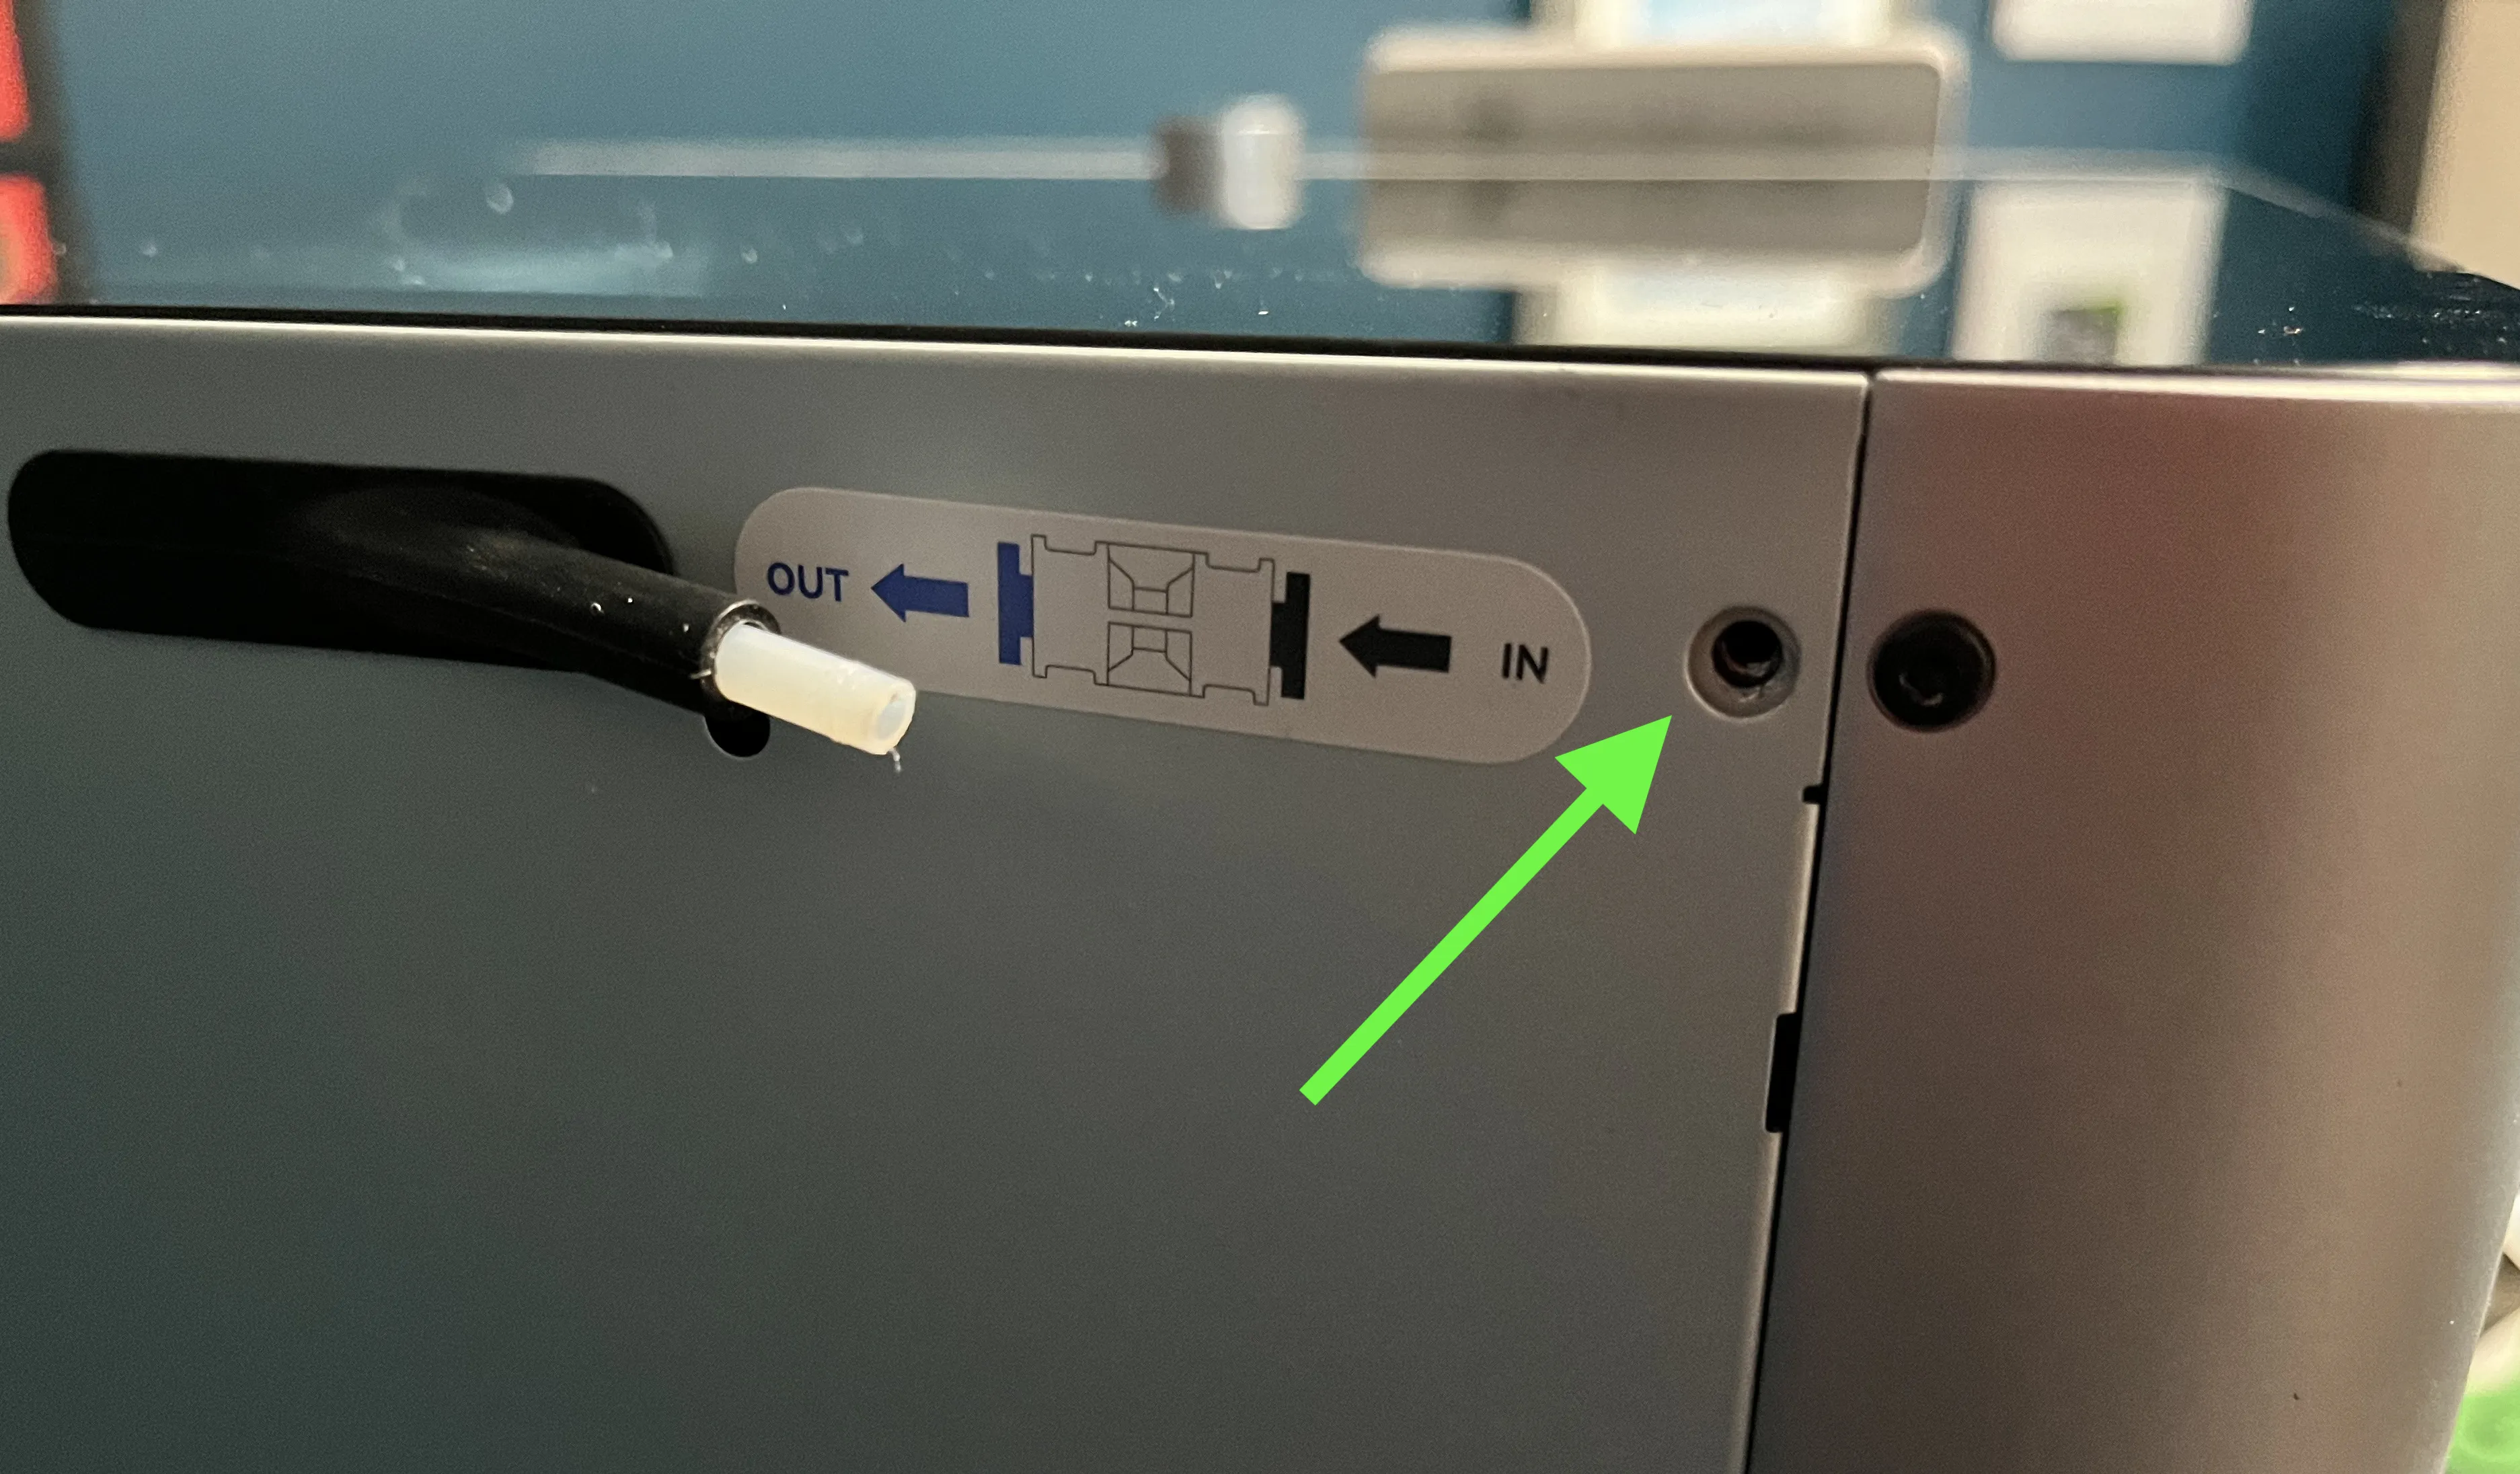
2. Unscrew the existing M3 screw on the top right of the back of the printer - unscrew the left screw, leaving the right screw in place.
3. Use an awl or a screwdriver to punch through the sacrificial layer used in each of the two holes.
4. Use an M3 x 16mm screw to attach the splitter adapter bracket to the printer.
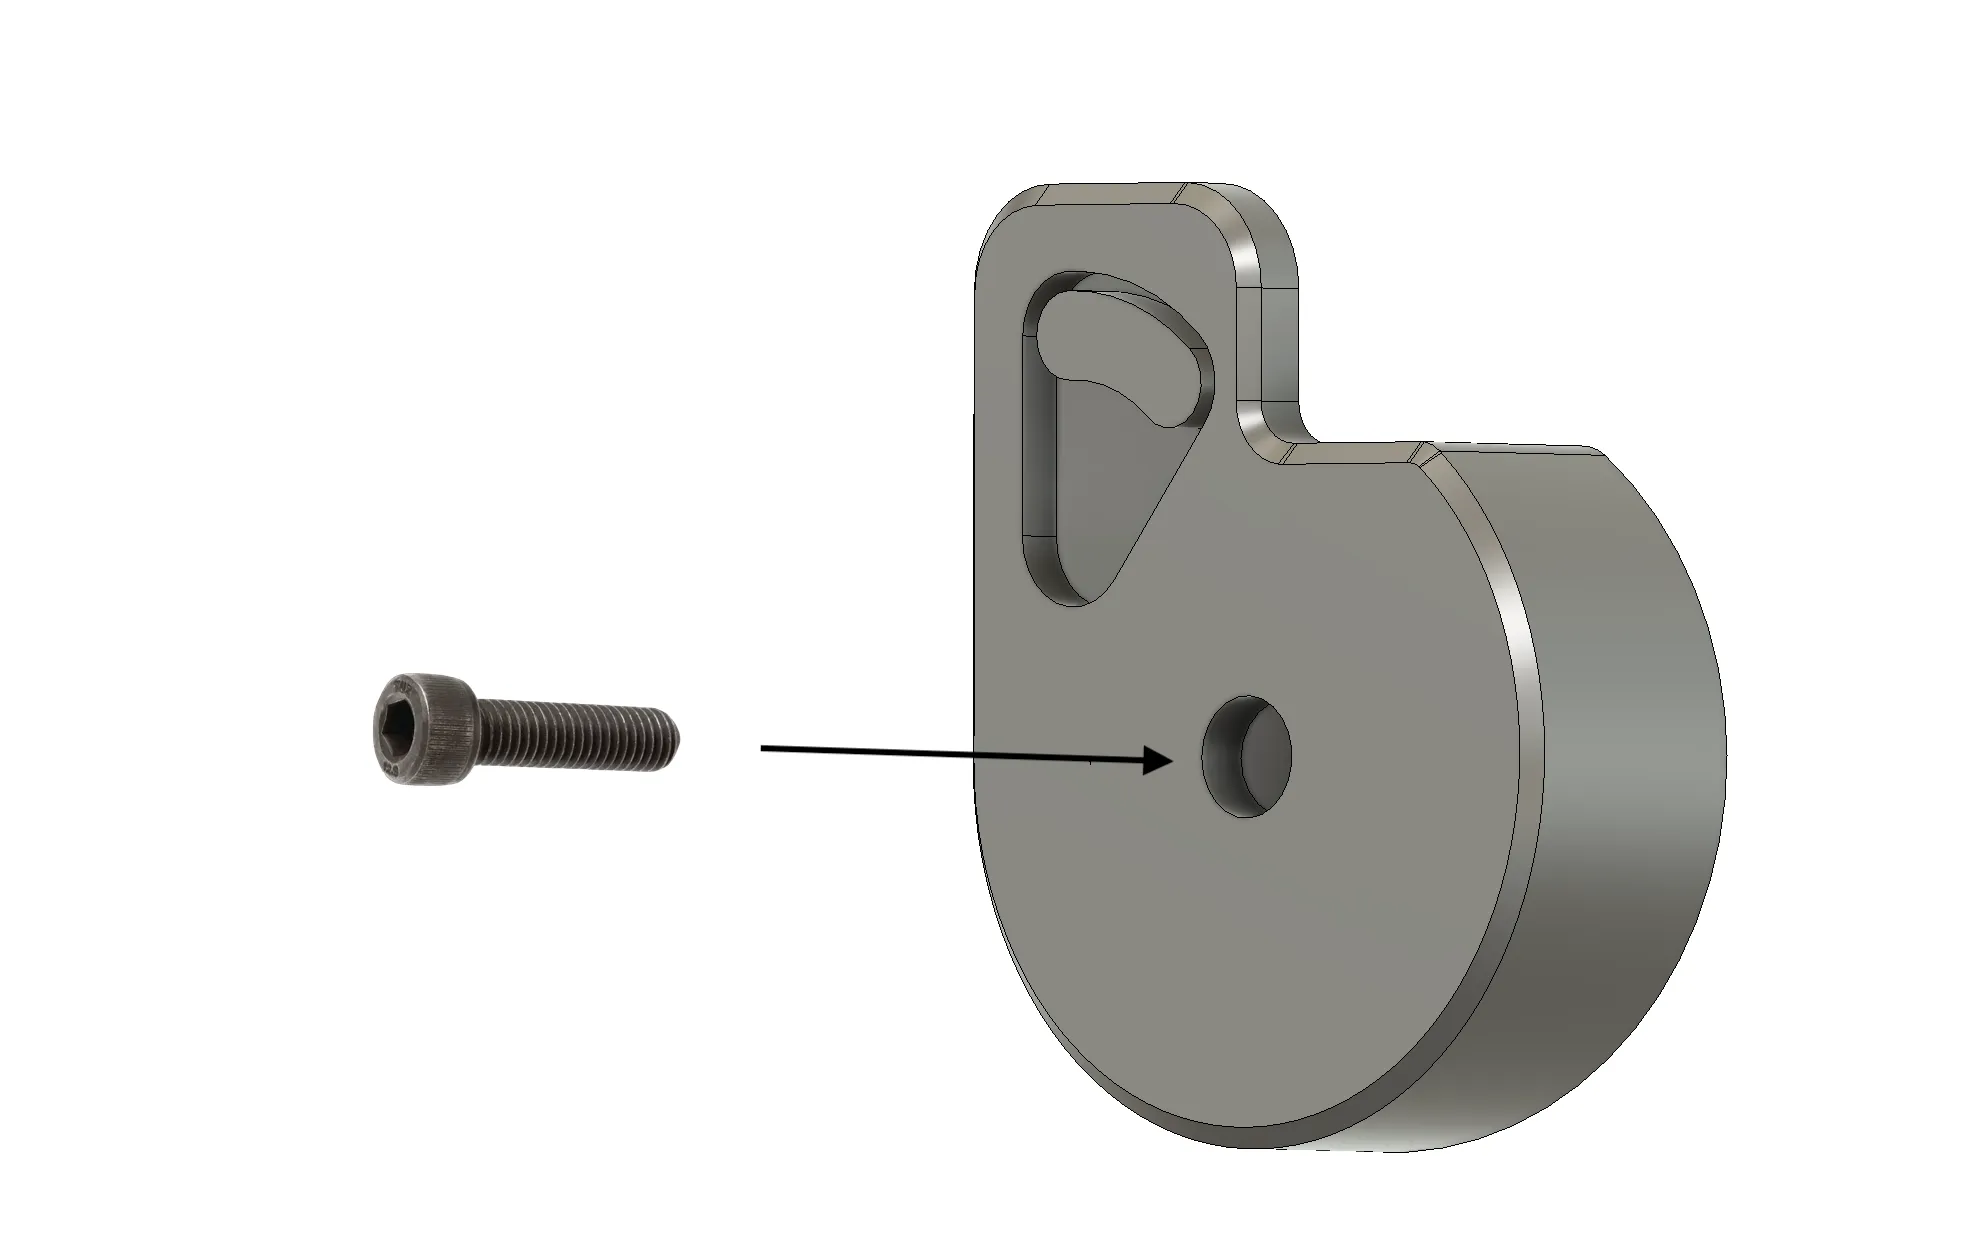
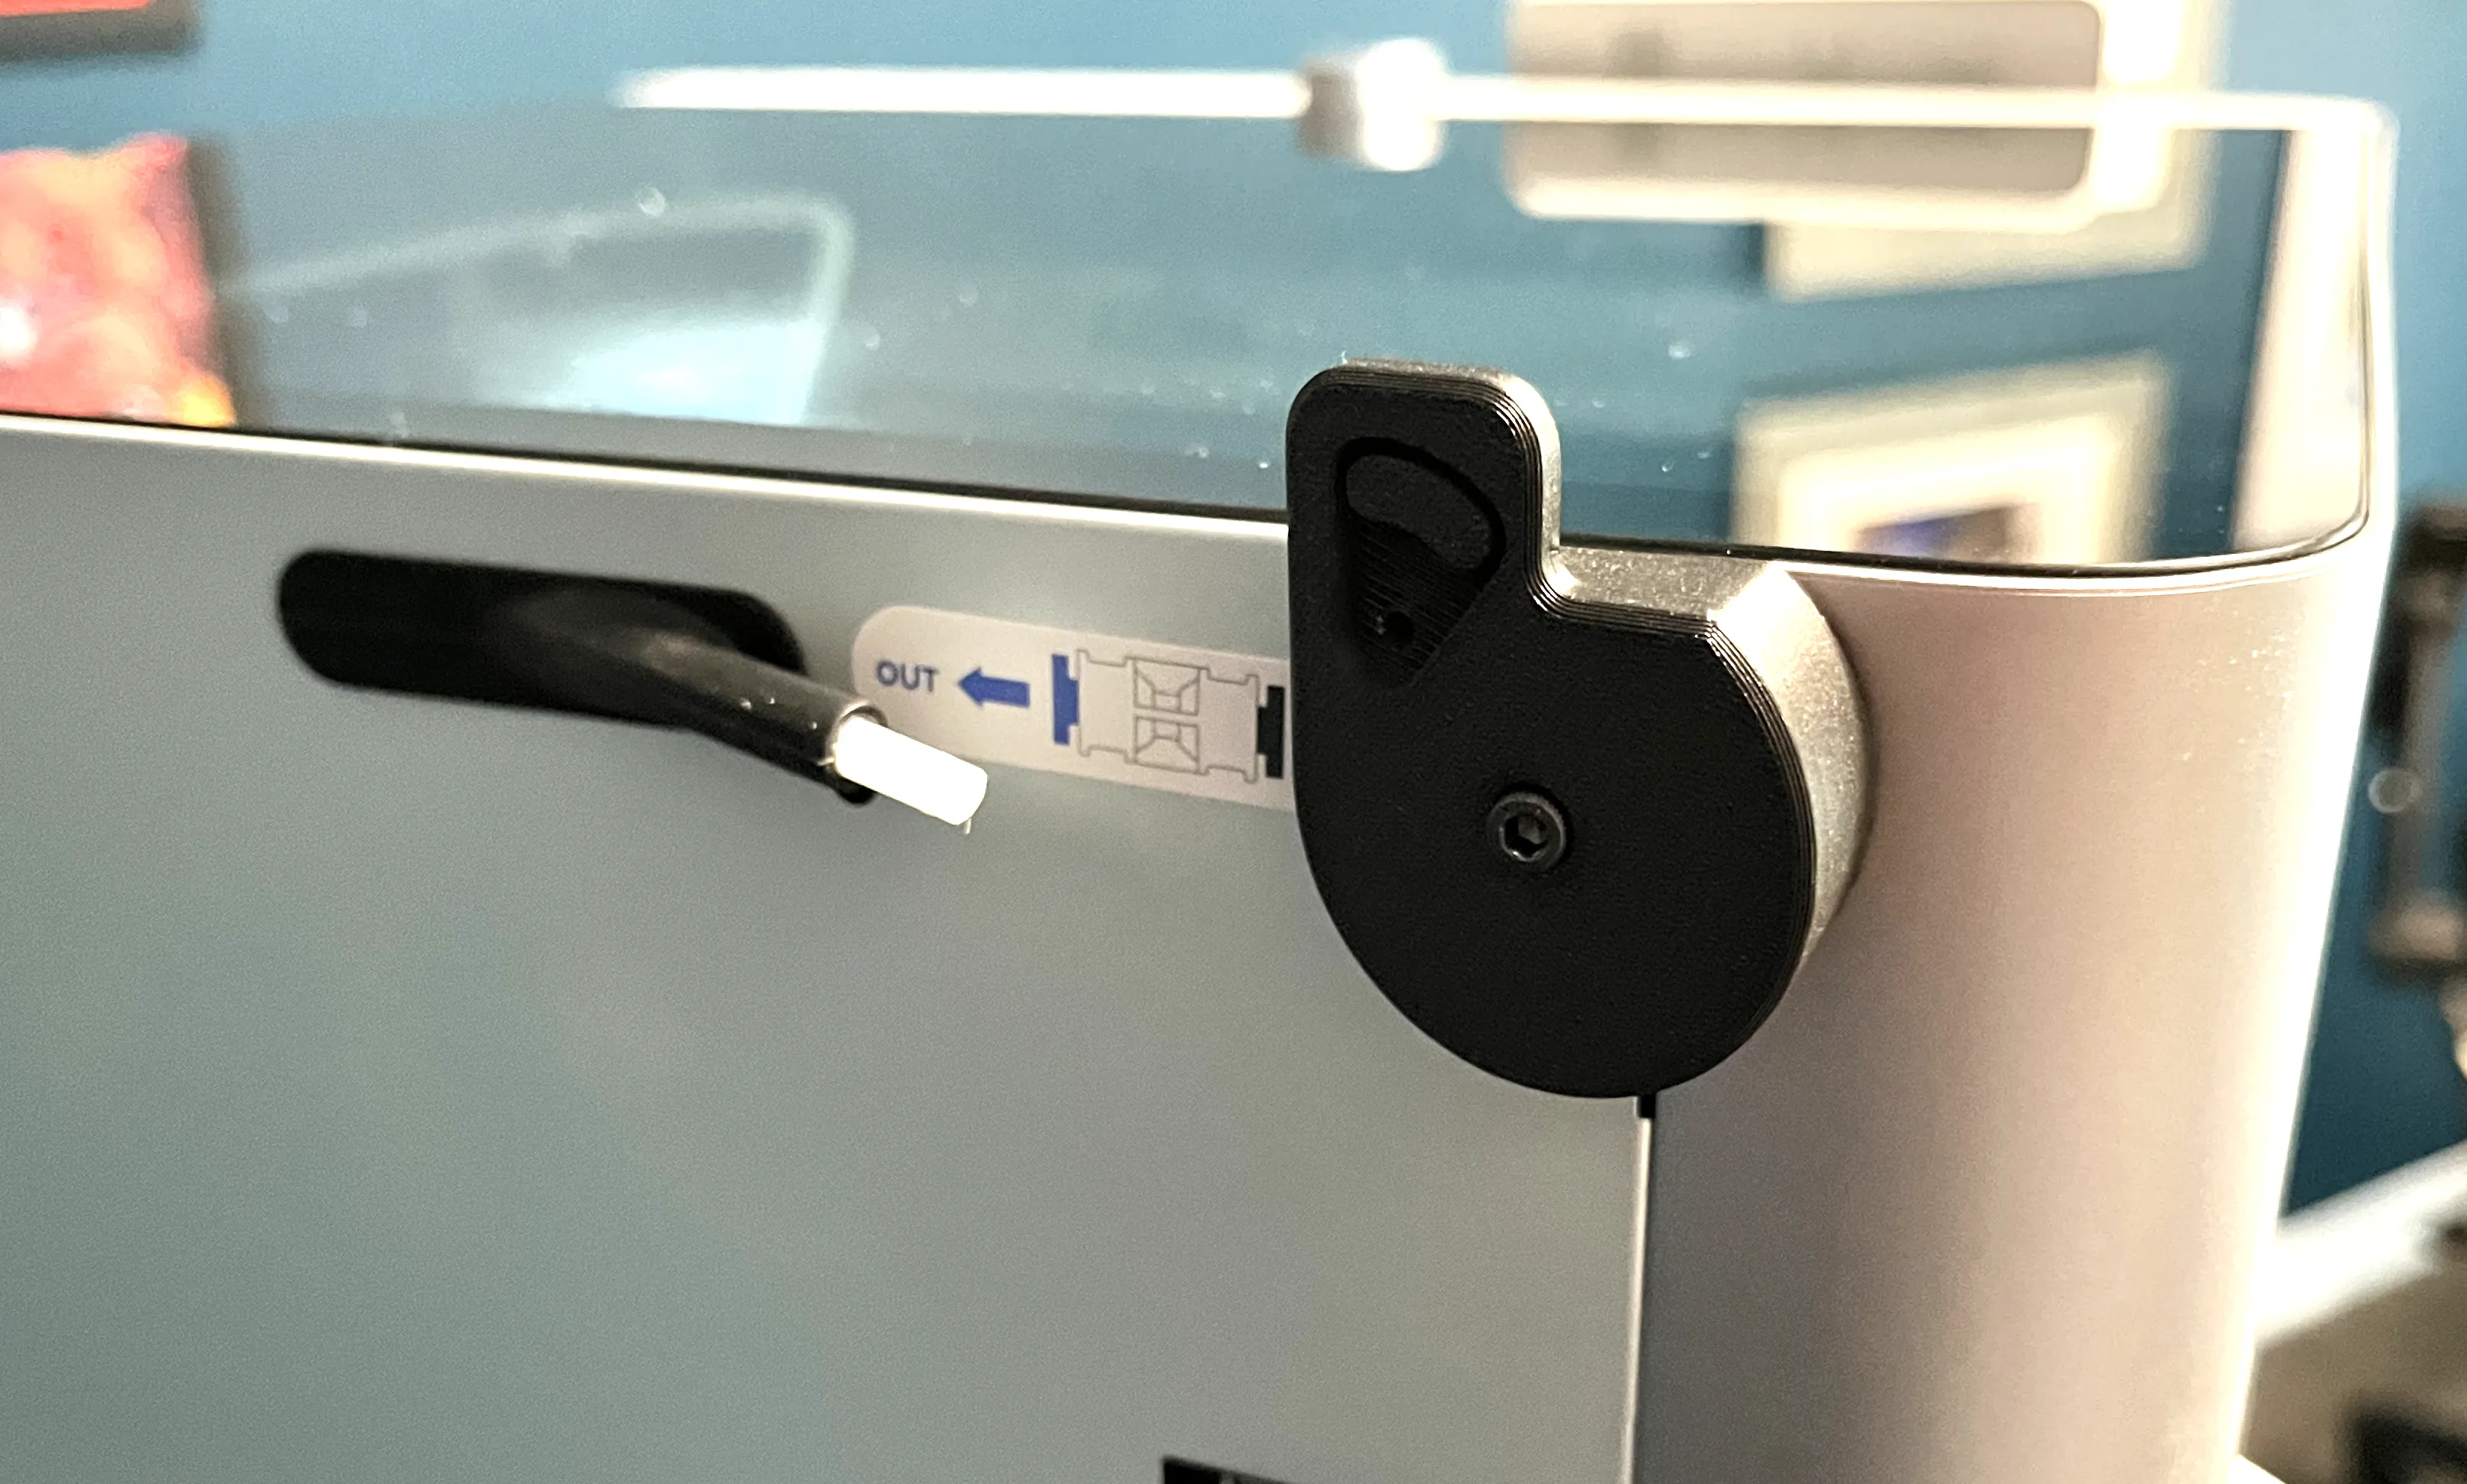
5. Use either an M3 x 10mm or a M3 x 12mm screw to attach the splitter adapter onto the bracket.
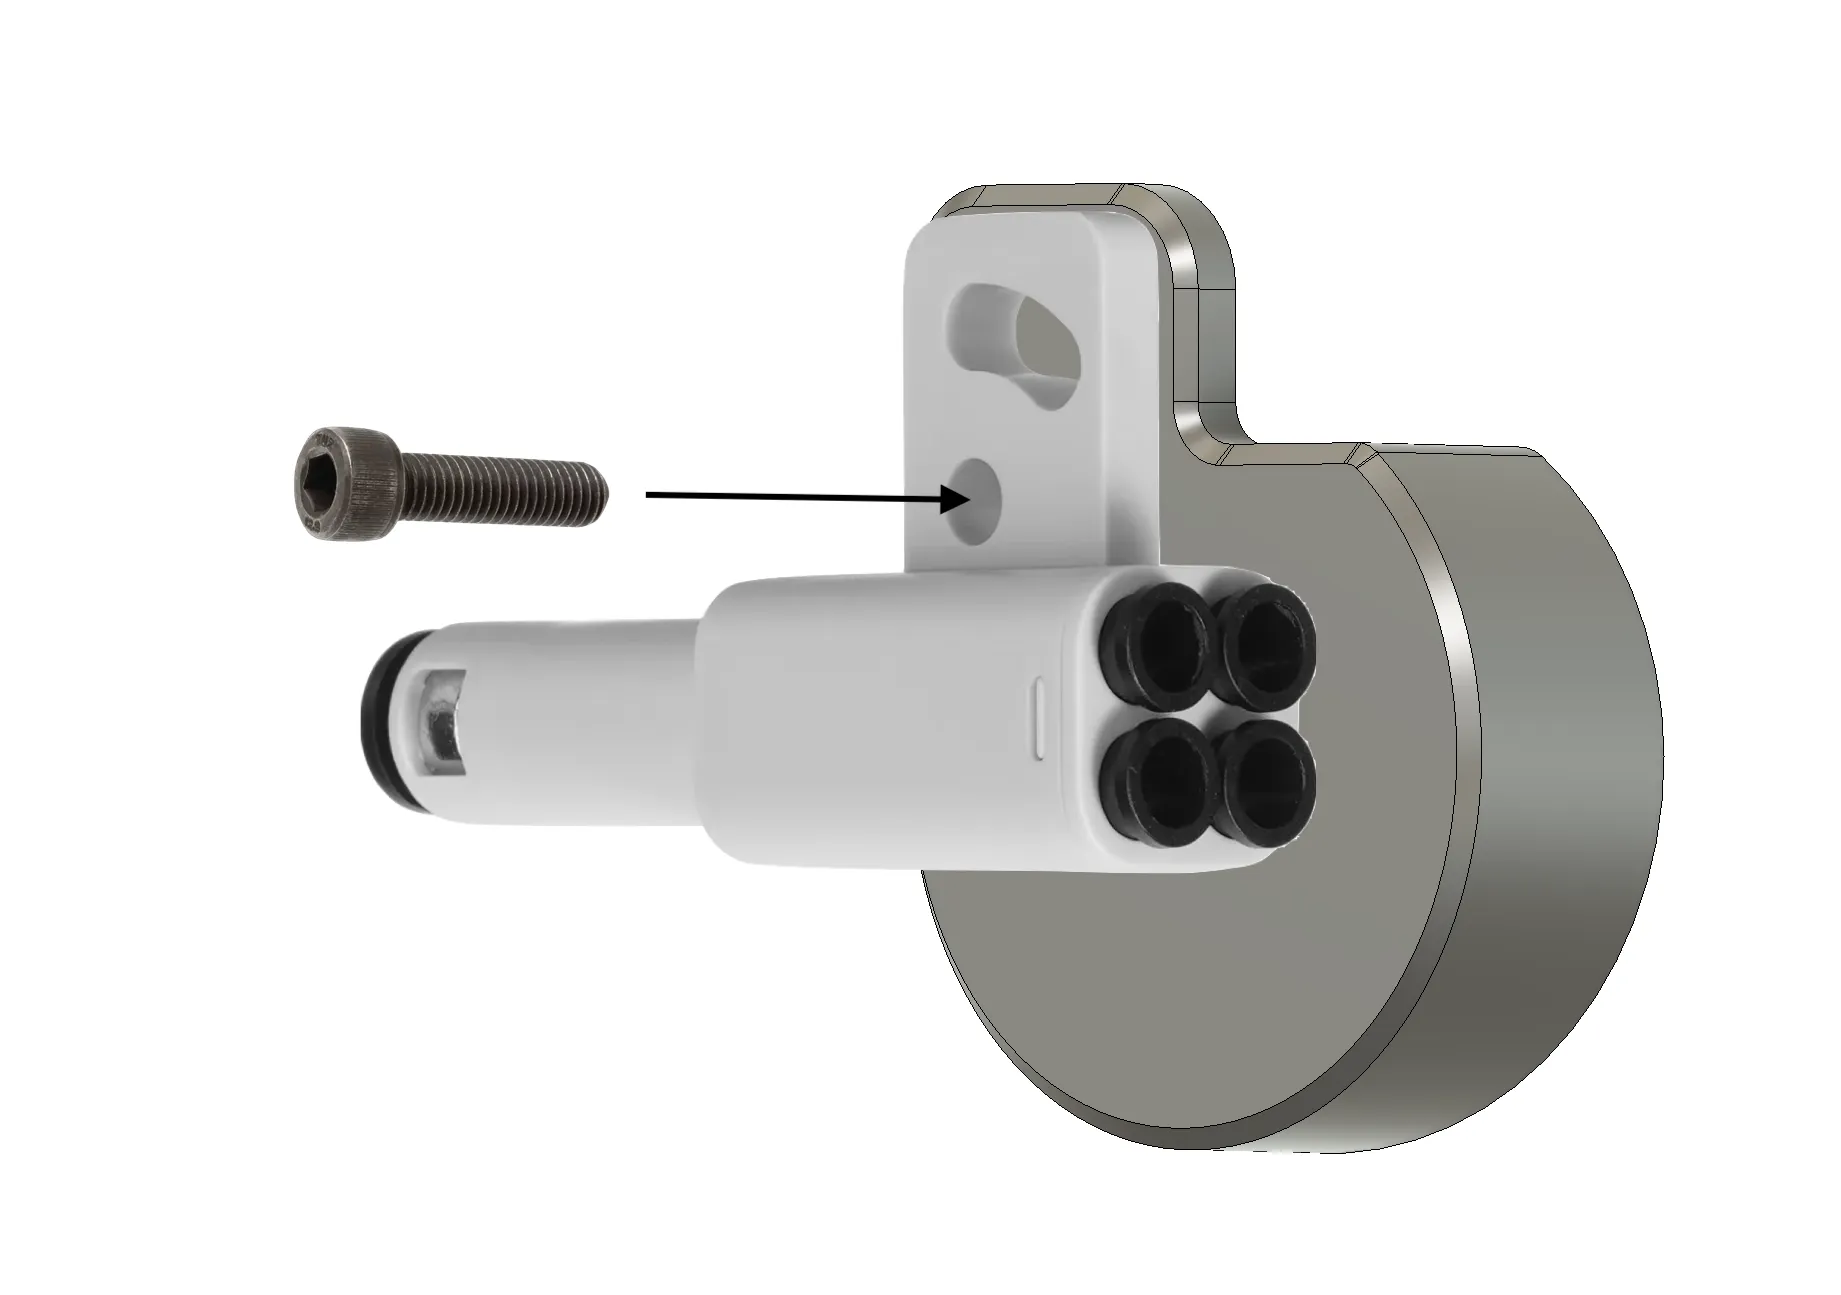
License

You shall not share, sub-license, sell, rent, host, transfer, or distribute in any way the digital or 3D printed versions of this object, nor any other derivative work of this object in its digital or physical format (including - but not limited to - remixes of this object, and hosting on other digital platforms). The objects may not be used without permission in any way whatsoever in which you charge money, or collect fees.


Comment & Rating (730)