Tool Head Cover Holder for P1 and X1 Series


Print Profile(3)


Bill of Materials

Description
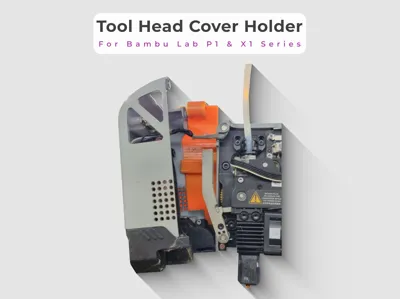
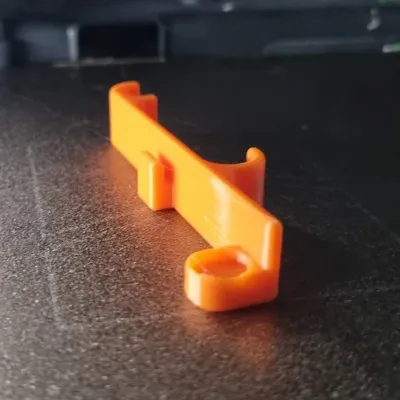
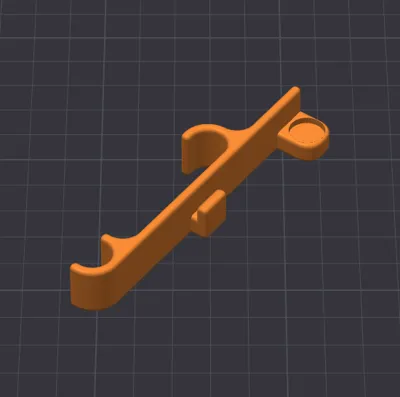
Tool Head Cover Holder for Bambu Lab P1 & X1 Series
Do you know this problem? You just want to quickly clean the nozzle or maintain the extruder, and the print head cover hangs annoyingly on the cable or lies loosely in the print area. This not only strains the thin cables but also gets in the way while working
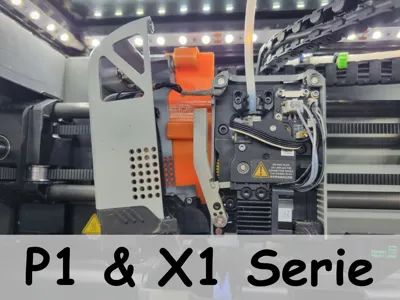
This practical holder solves the problem! It simply hangs on the carbon rods and provides a secure parking spot for your toolhead cover during maintenance. This way, you have both hands free and your hardware is protected
✨ Features
- Flexible: Can be placed on the carbon rods to the left or right of the print head as needed
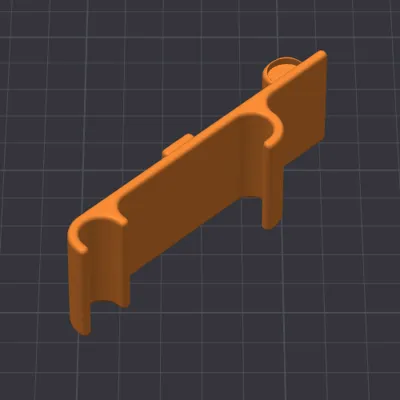
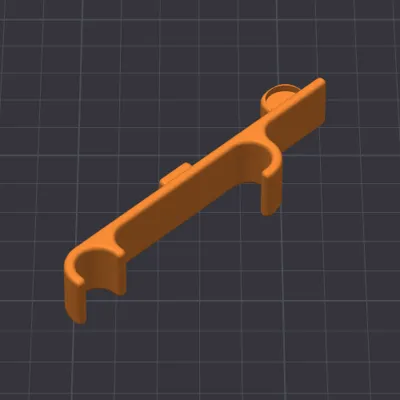
- Secure: One (or two) 10x2 mm neodymium magnet(s) ensure that the cover sits firmly and does not accidentally fall into the printer
- Custom-fit: Specifically designed for the geometry of the P1 and X1 series (P1P, P1S, X1C, X1E)
- Variants: Choose between the universal version or the optimized variants for the P1 or X1 series
⚠️ Important Note:
Please use neodymium magnets exclusively!
Due to the required holding force, the functionality of the holder cannot be guaranteed when using conventional ferrite magnets
🔧 Assembly
- Magnet Preparation: Depending on the selected version, you will need 1 or 2 neodymium magnets (size 10x2 mm)
- Insertion: Simply press the magnets into the designated recesses
Depending on print tolerance, they may hold by themselves ("Pressfit"); otherwise, a small drop of superglue will help - Alignment: When inserting, absolutely pay attention to the correct polarity/orientation so that the magnets truly attract the metal plate of your cover
- Application:
- Simply hang the holder on the upper carbon rods
Hang the Tool Head Cover on the holder
Done! Now you have your hands free for maintenance and the Tool Head is securely stowed
Happy printing and stress-free maintenance
____________________________________
📸 Show us your results! 😀
I look forward to your 💬feedback, a ⭐star rating, a ❤️like and 📷pictures of your 🖨️prints!
🔍 Discover more
Interested in my other models?
Feel free to look around my profile!
There you will find more useful accessories, decoration ideas and practical everyday helpers.
Link: https://makerworld.com/de/@exo2dus
_____________________________________
Boost Me (for free)
It costs you nothing and you support my work with it. 😀
Thank you and happy printing!
License
You shall not share, sub-license, sell, rent, host, transfer, or distribute in any way the digital or 3D printed versions of this object, nor any other derivative work of this object in its digital or physical format (including - but not limited to - remixes of this object, and hosting on other digital platforms). The objects may not be used without permission in any way whatsoever in which you charge money, or collect fees.
Comment & Rating (16)