
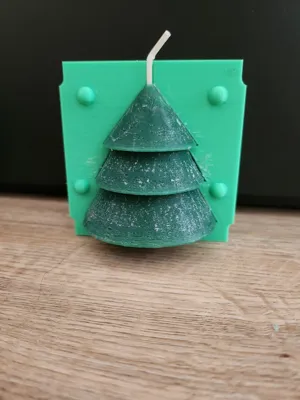
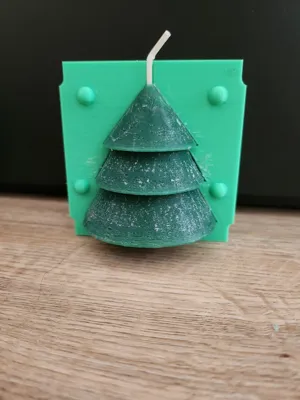
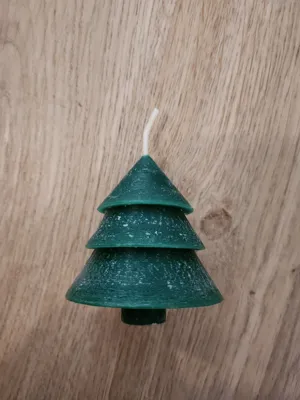
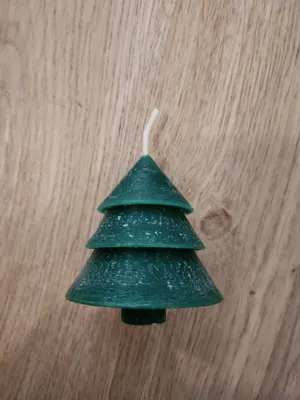
Festive Christmas Tree Candle Mold
Print Profile(2)


Description
📖 Description
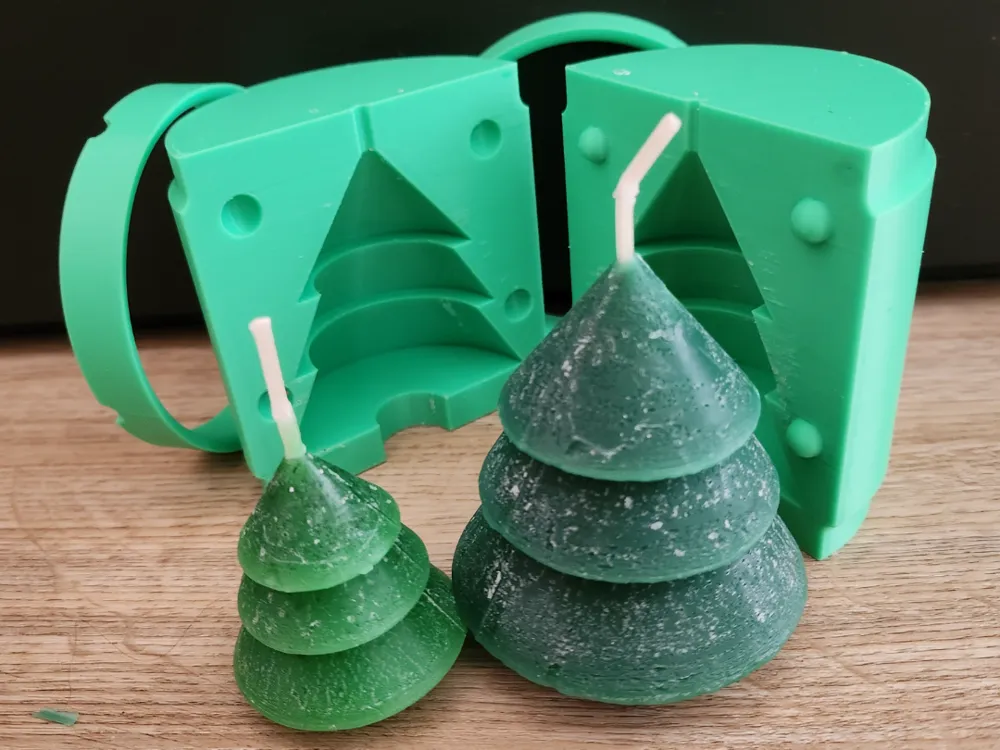
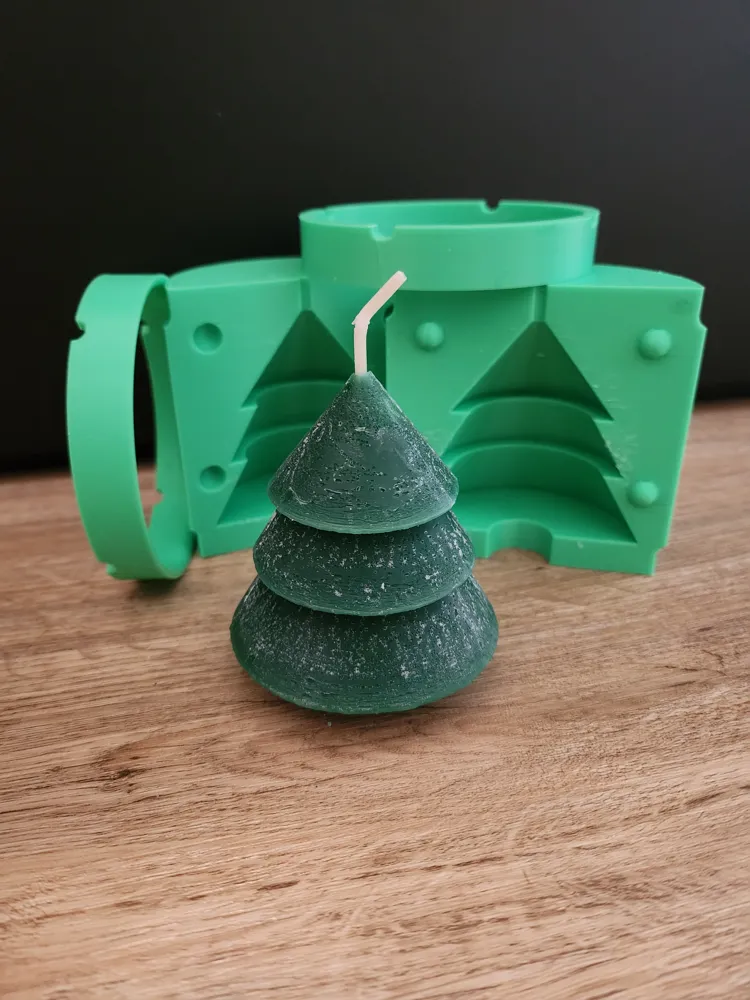
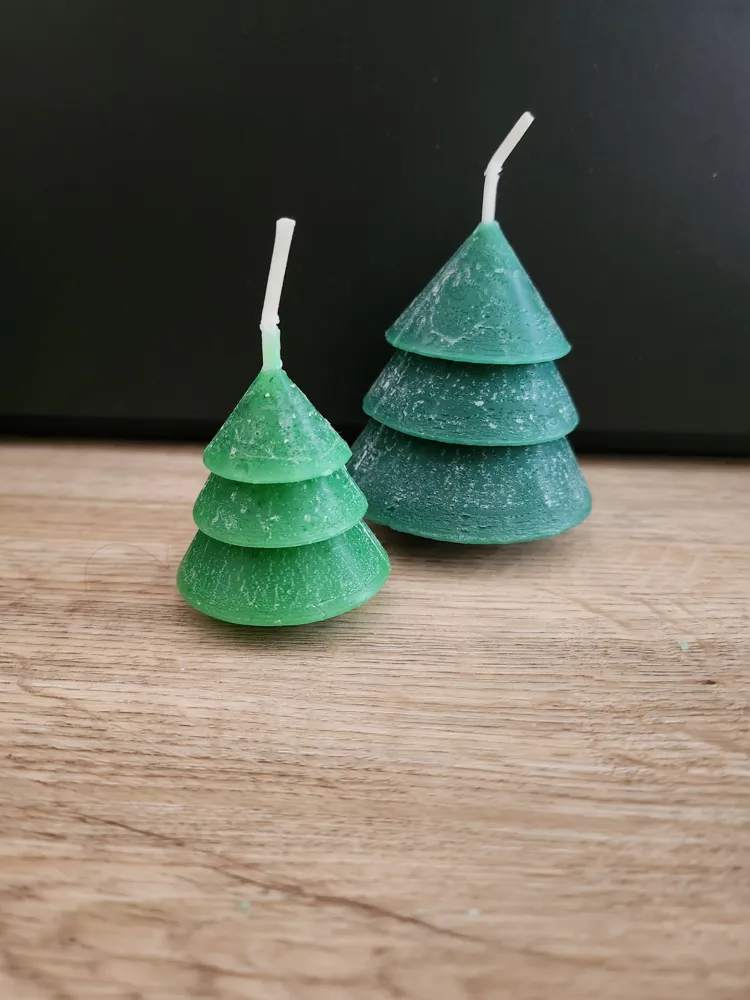
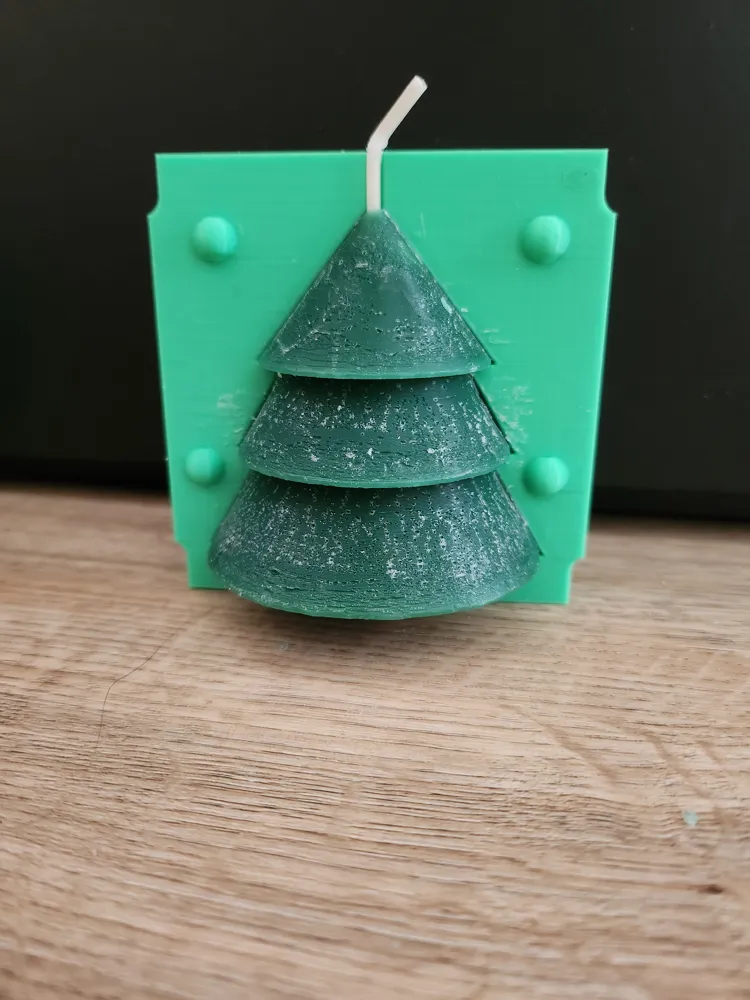
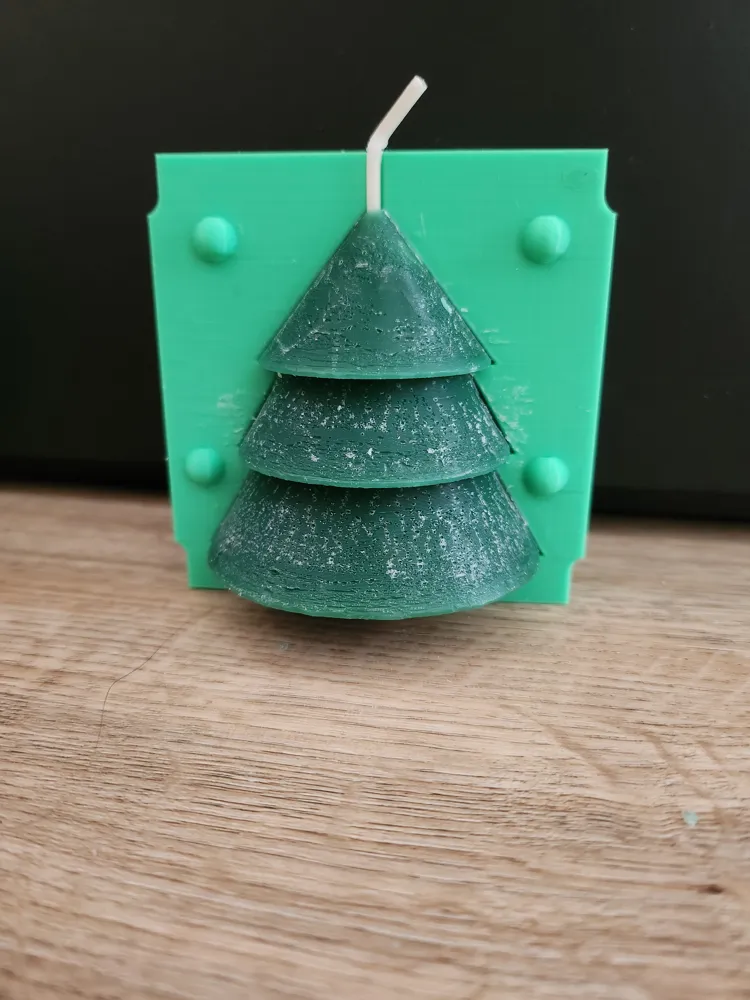
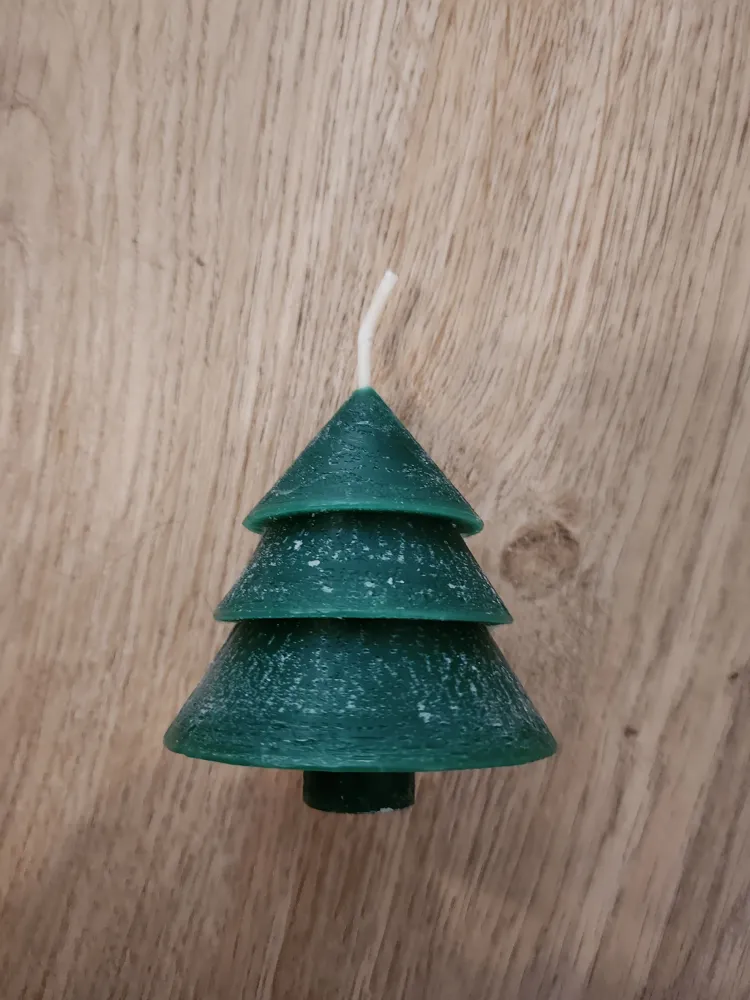
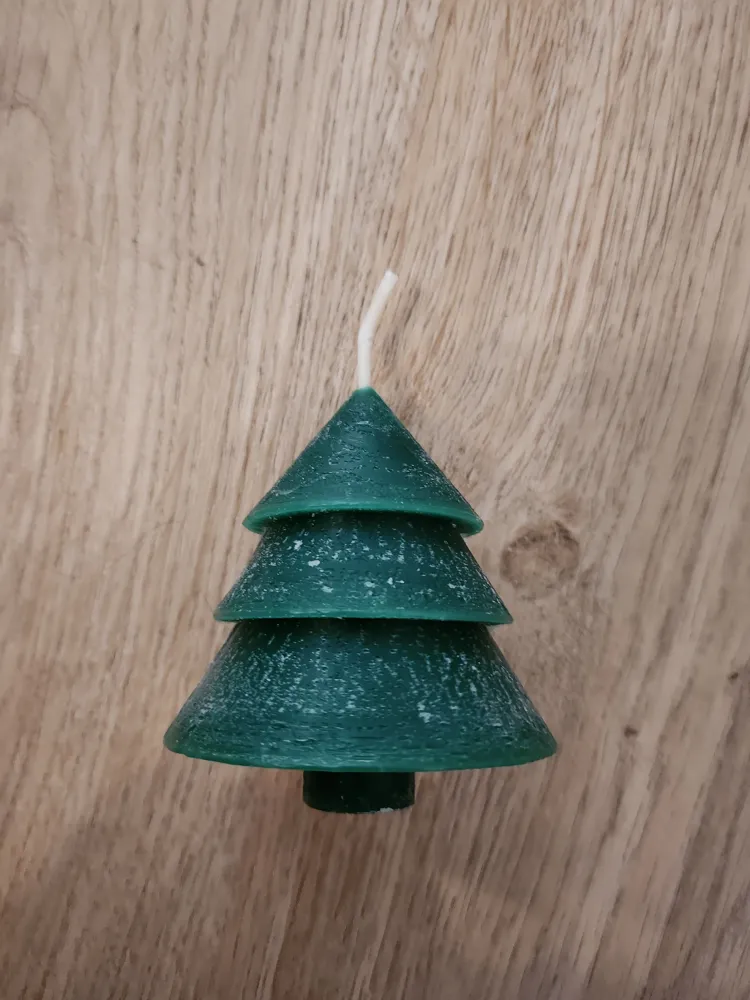
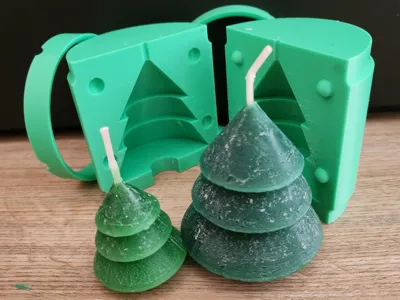
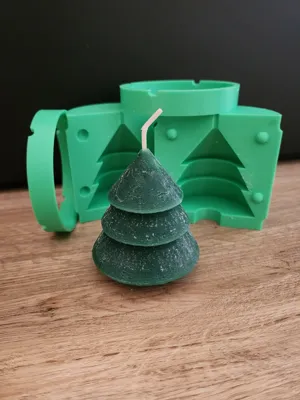
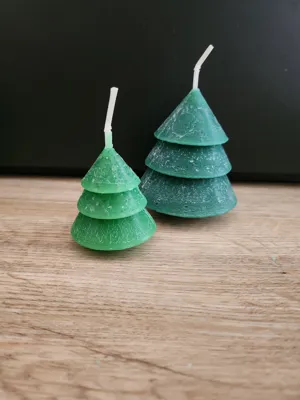
This candle mold brings cozy holiday spirit straight to your workspace. The Christmas tree comes in two printable sizes – 5 cm and 7.5 cm – making it perfect for festive decorations or small handmade gifts.
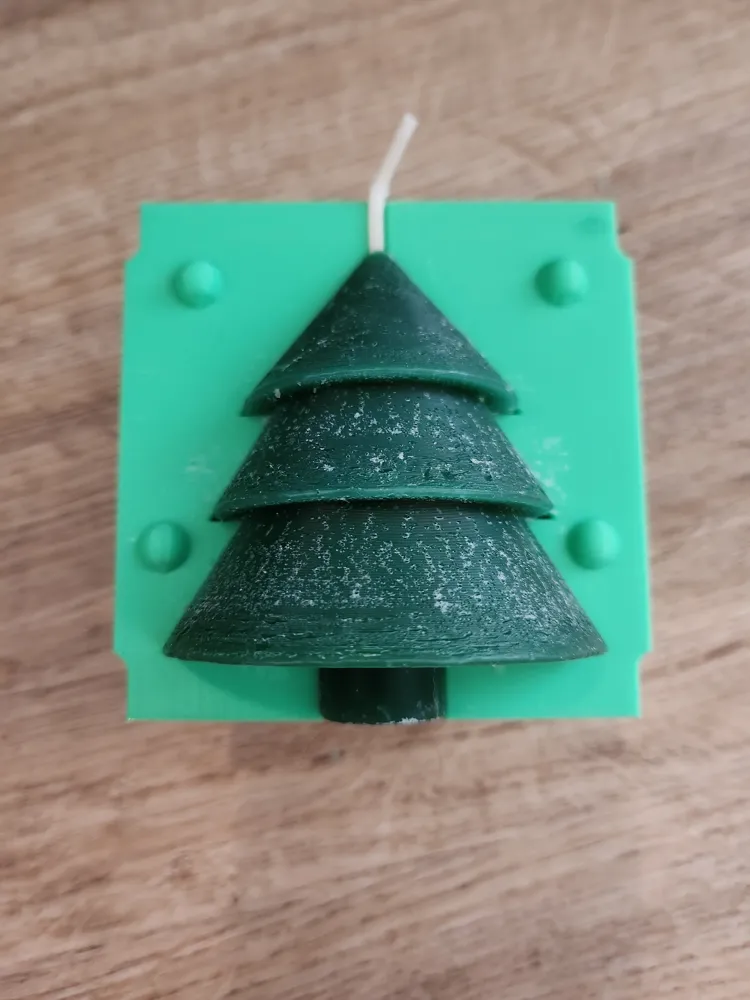
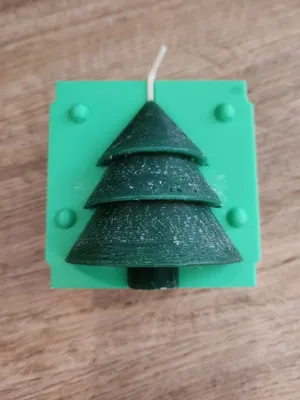
To ensure a perfectly flat base, the bottom of the candle can be trimmed along the edge of the mold after pouring. The small trunk at the bottom is optional and can be removed after the candle has fully hardened if you prefer a wider, more stable standing surface.
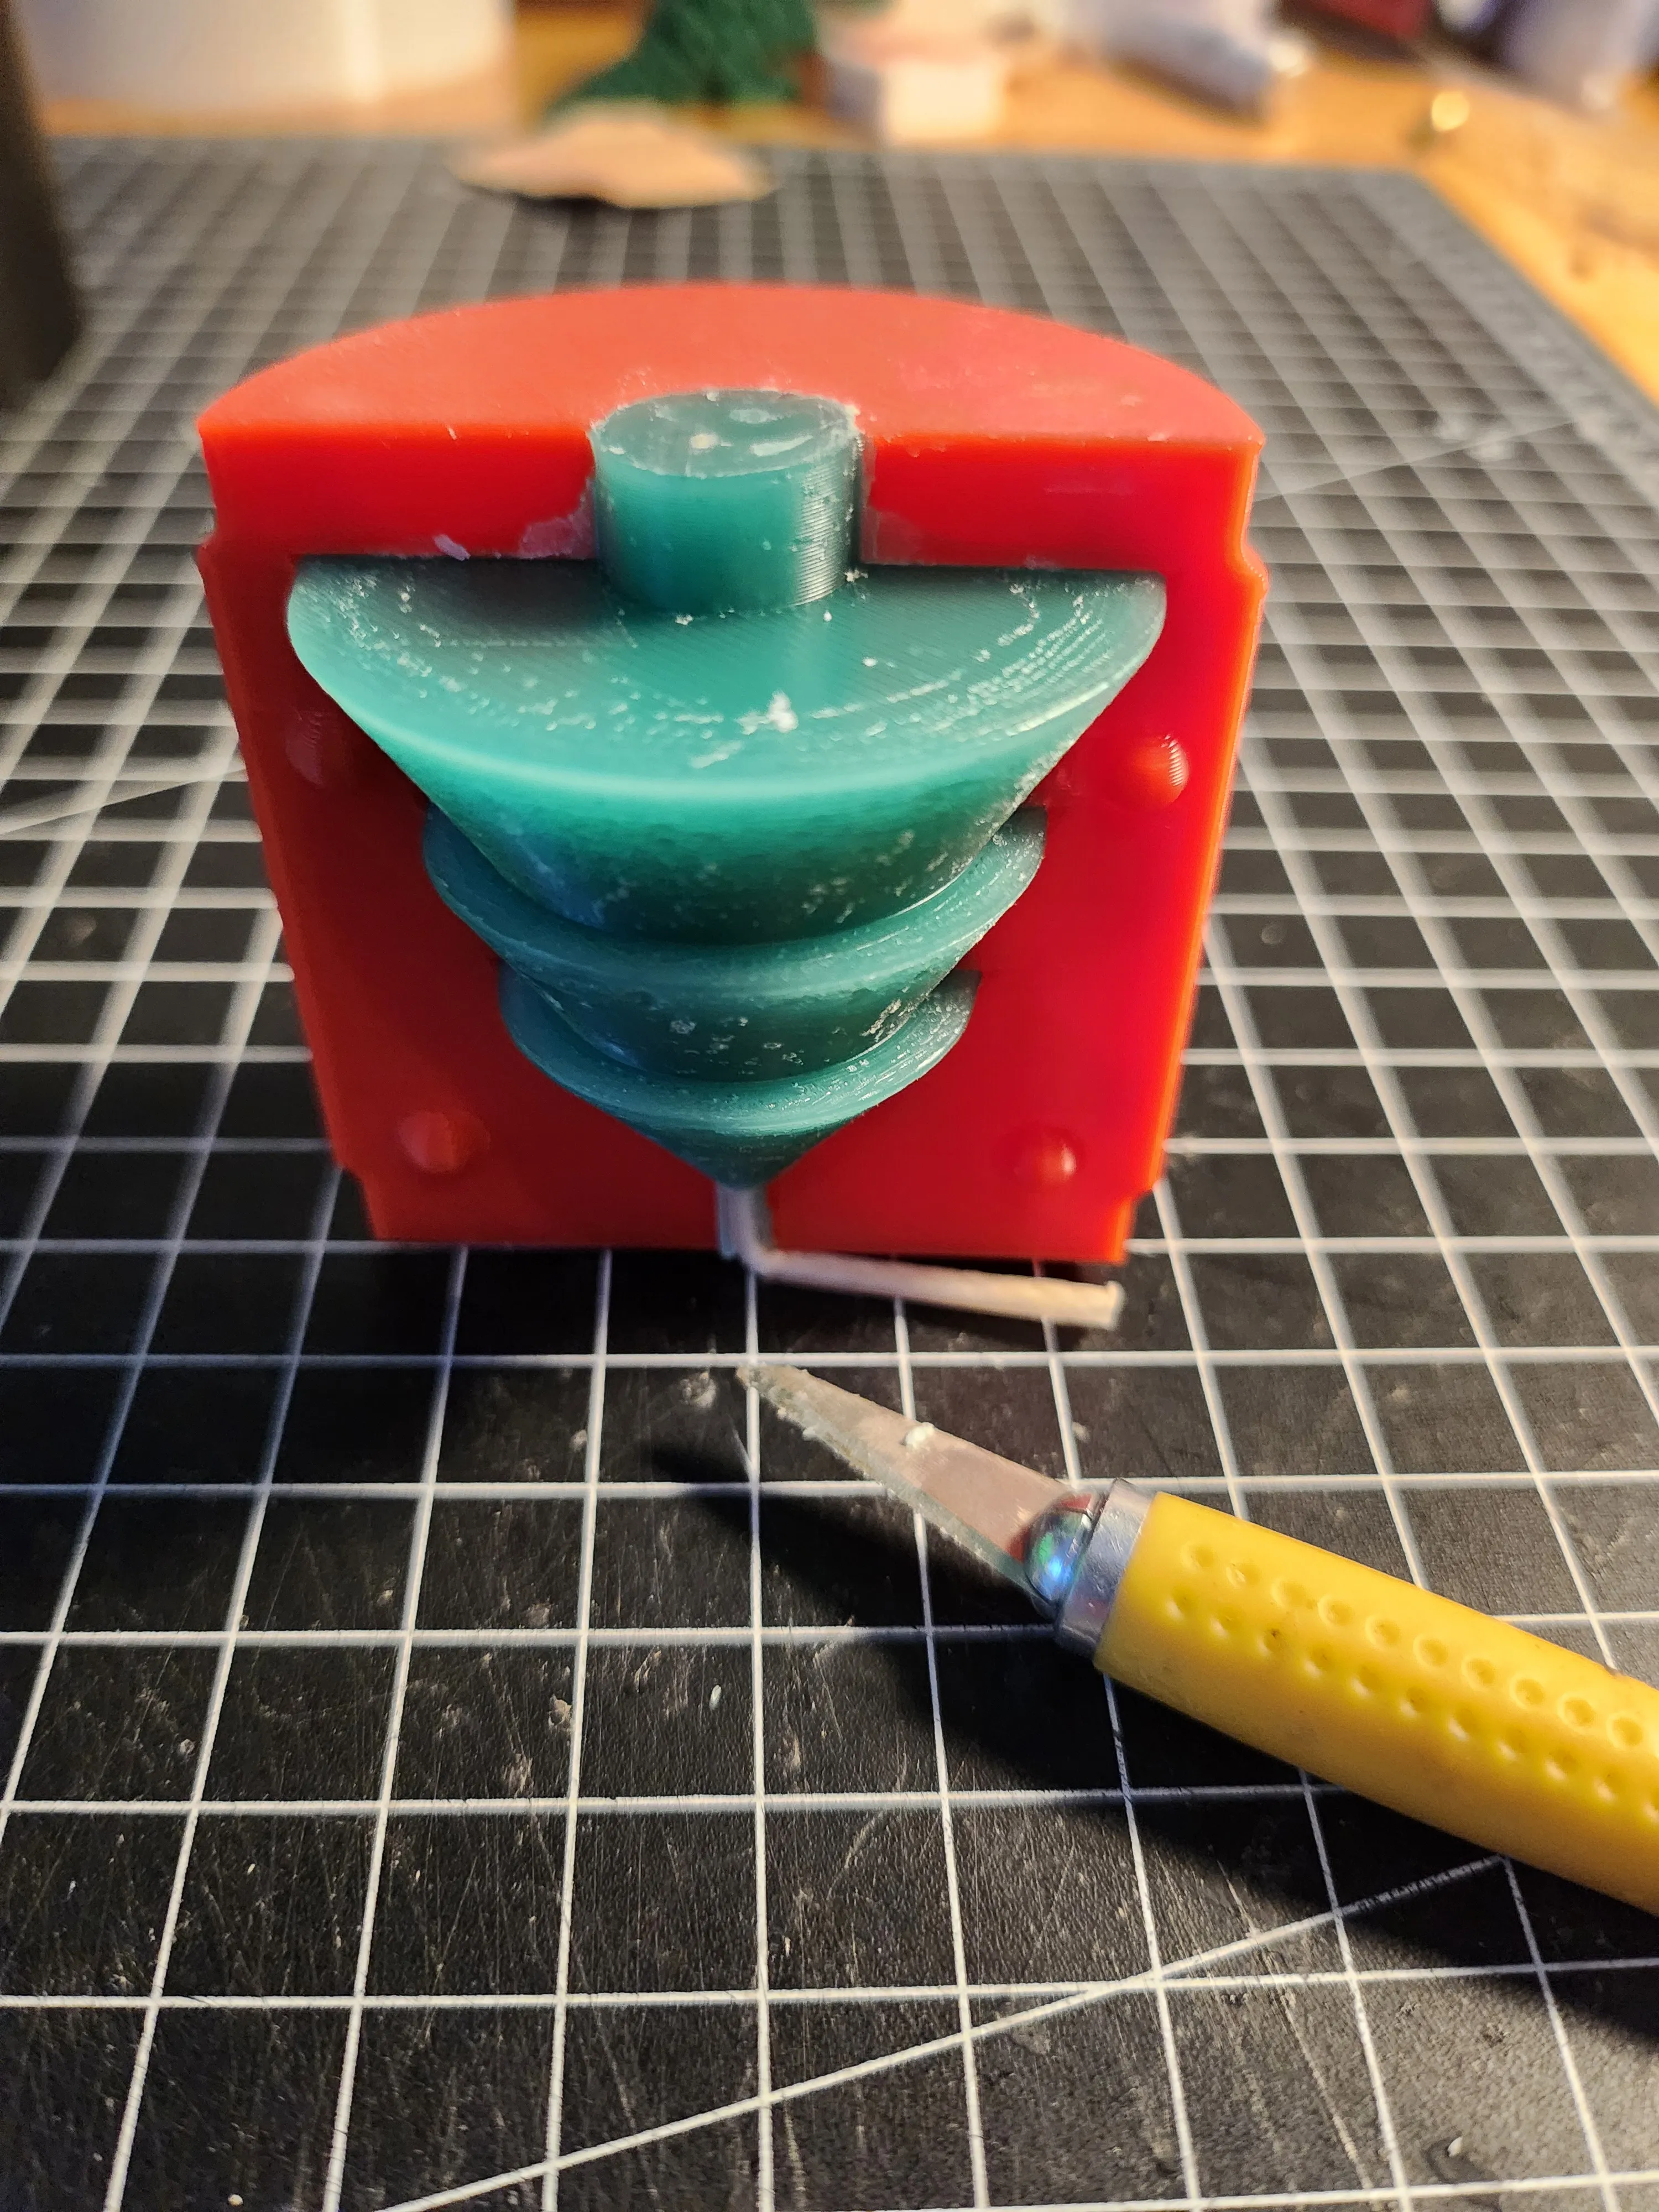
The mold is designed to be sturdy, easy to pour into, and simple to unmold – great for beginners and experienced candle makers alike.
🛠️ Candle Making Instructions
- Prepare the wick:
- Place a candle wick in the center of the mold. A toothpick or skewer across the top helps keep it upright.
- Melt the wax:
- Heat wax slowly and safely in a water bath.
- Recommended pouring temperatures:
- Paraffin wax: ~60–70 °C
- Soy wax: ~55–65 °C
- Beeswax: ~70–80 °C
- Pour the wax:
- Pour gently into the mold to avoid air bubbles.
- Tap the mold lightly to release trapped air.
- Cool and release:
- Let the wax fully harden (several hours or overnight).
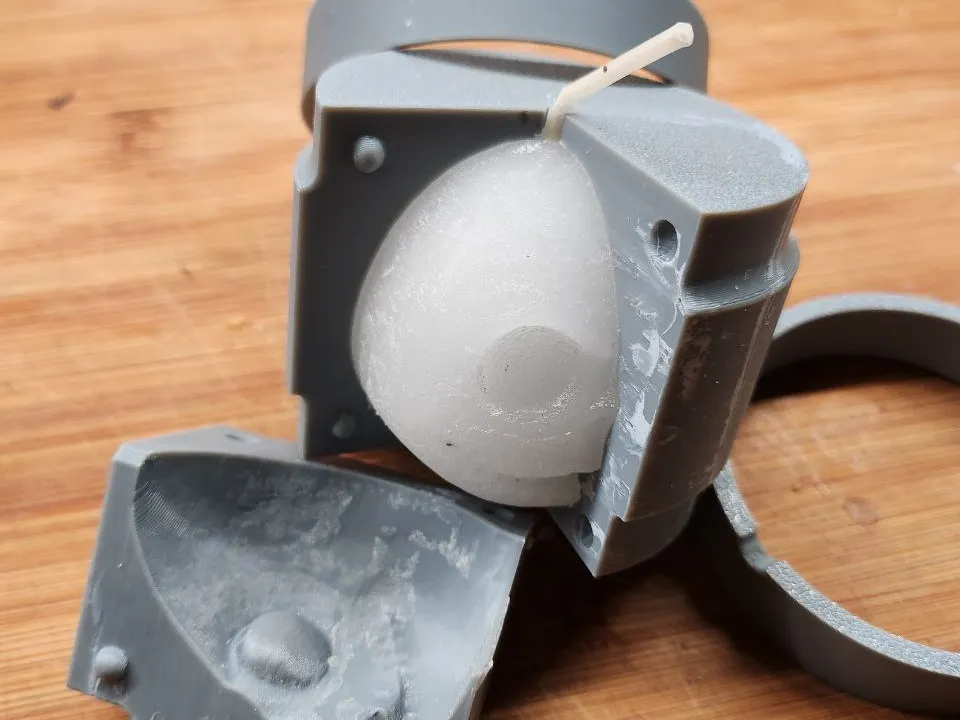
- Carefully remove the candle from the mold.
- Trim the seam line:
- A small seam line may appear where the two mold halves meet.
Simply remove it with a scalpel or sharp knife to give your candle a smooth finish.
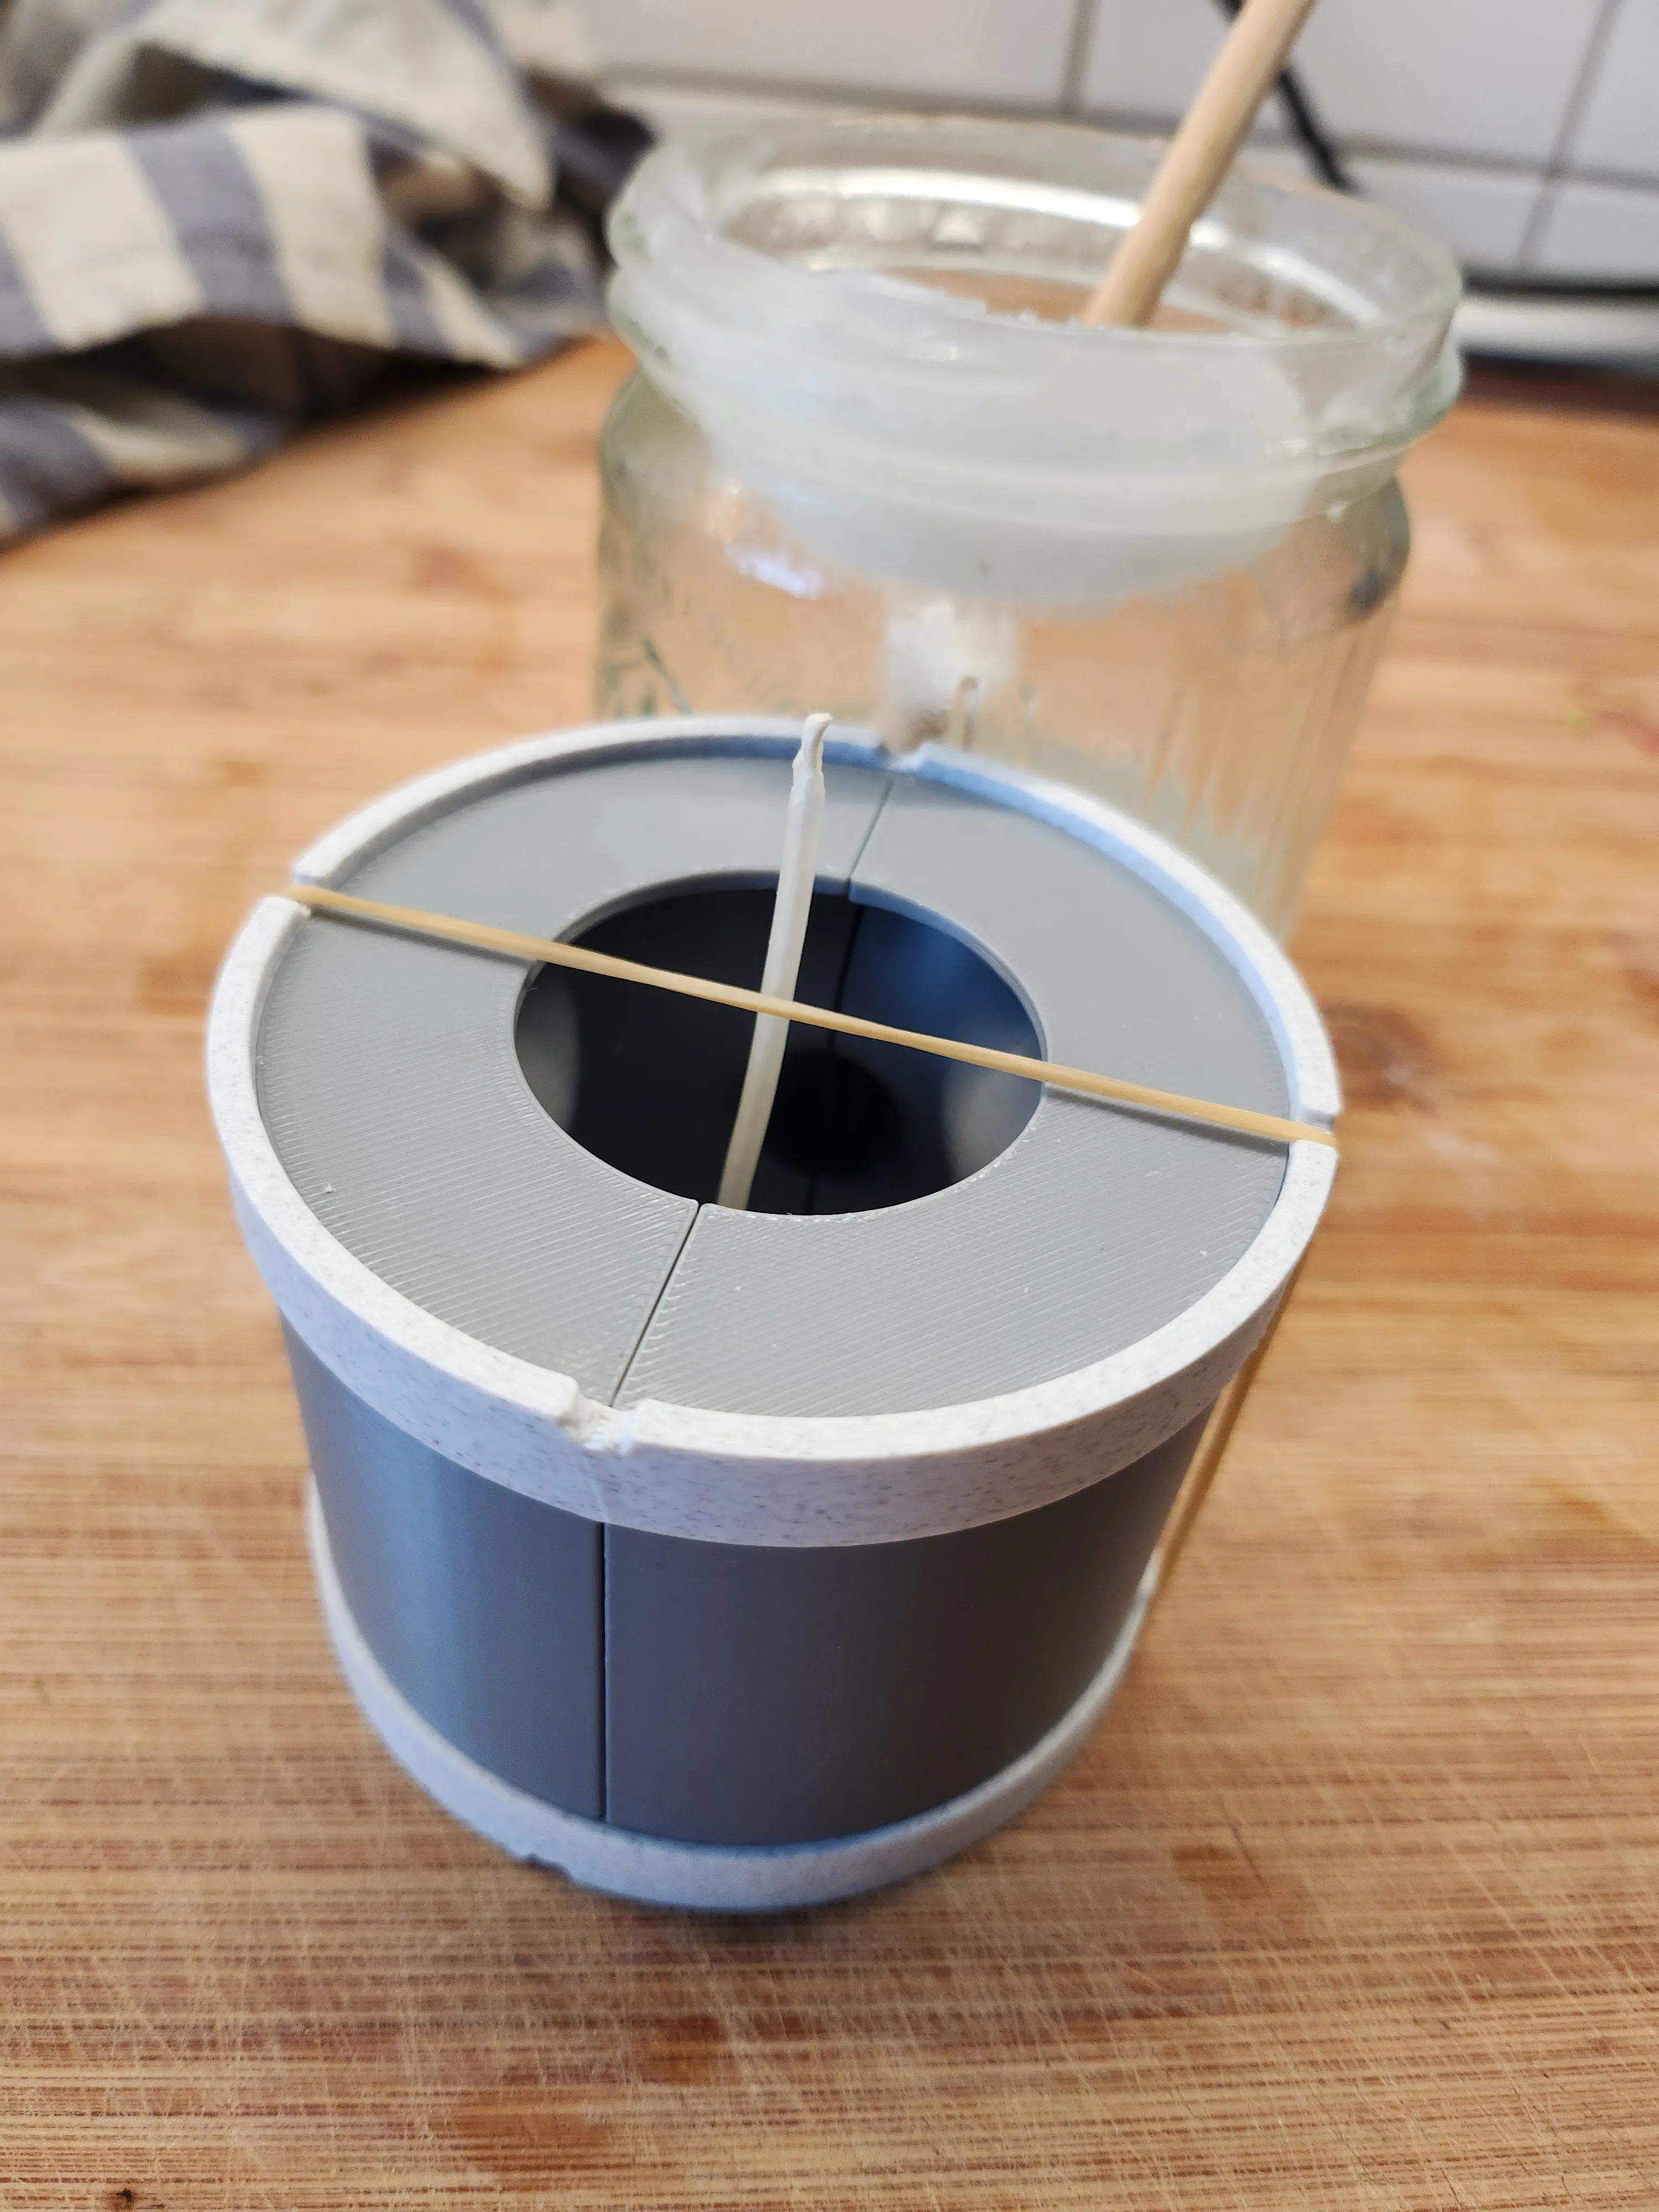
- After unmolding
- trim the bottom edge along the mold line to get a clean, flat surface.
- Optional:
- Remove the small trunk if you want a wider base for extra stability.
⚠️ Notes on the Mold
- Holding rings:
The mold is fixed together with holding rings at the top and bottom. These rings may fit quite tightly – this is intentional, as it reduces the gap between parts and ensures a cleaner, smoother candle. - Surface texture (FDM printing):
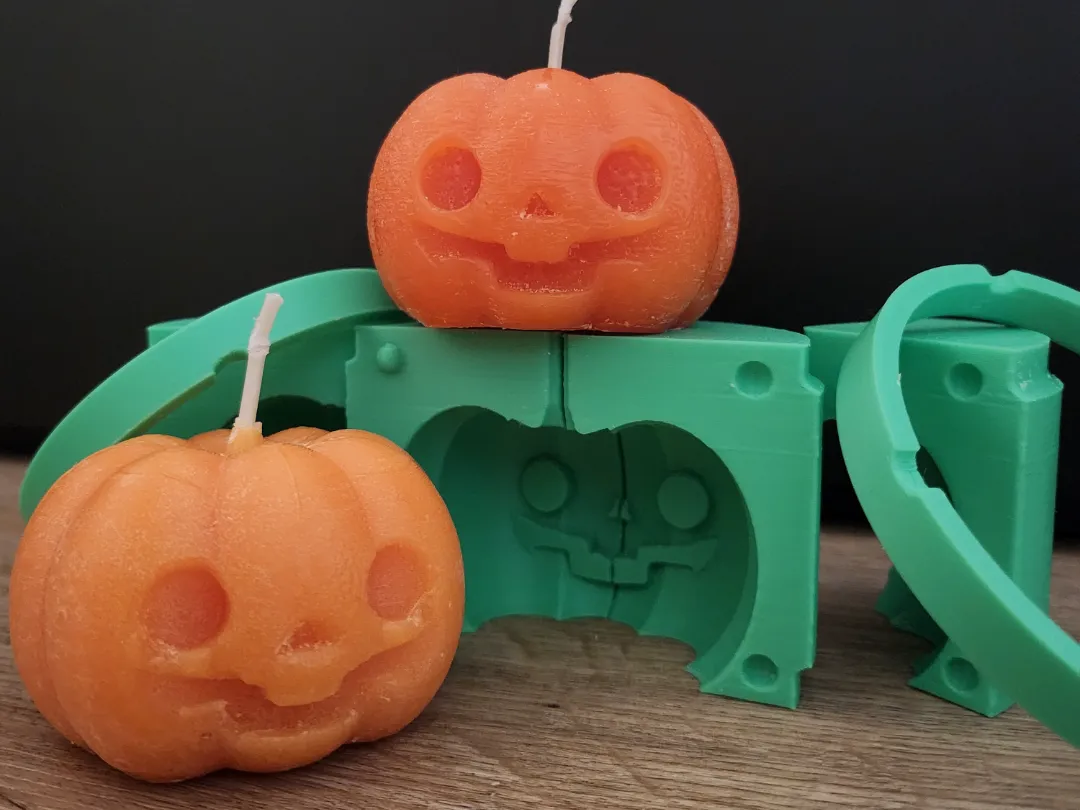
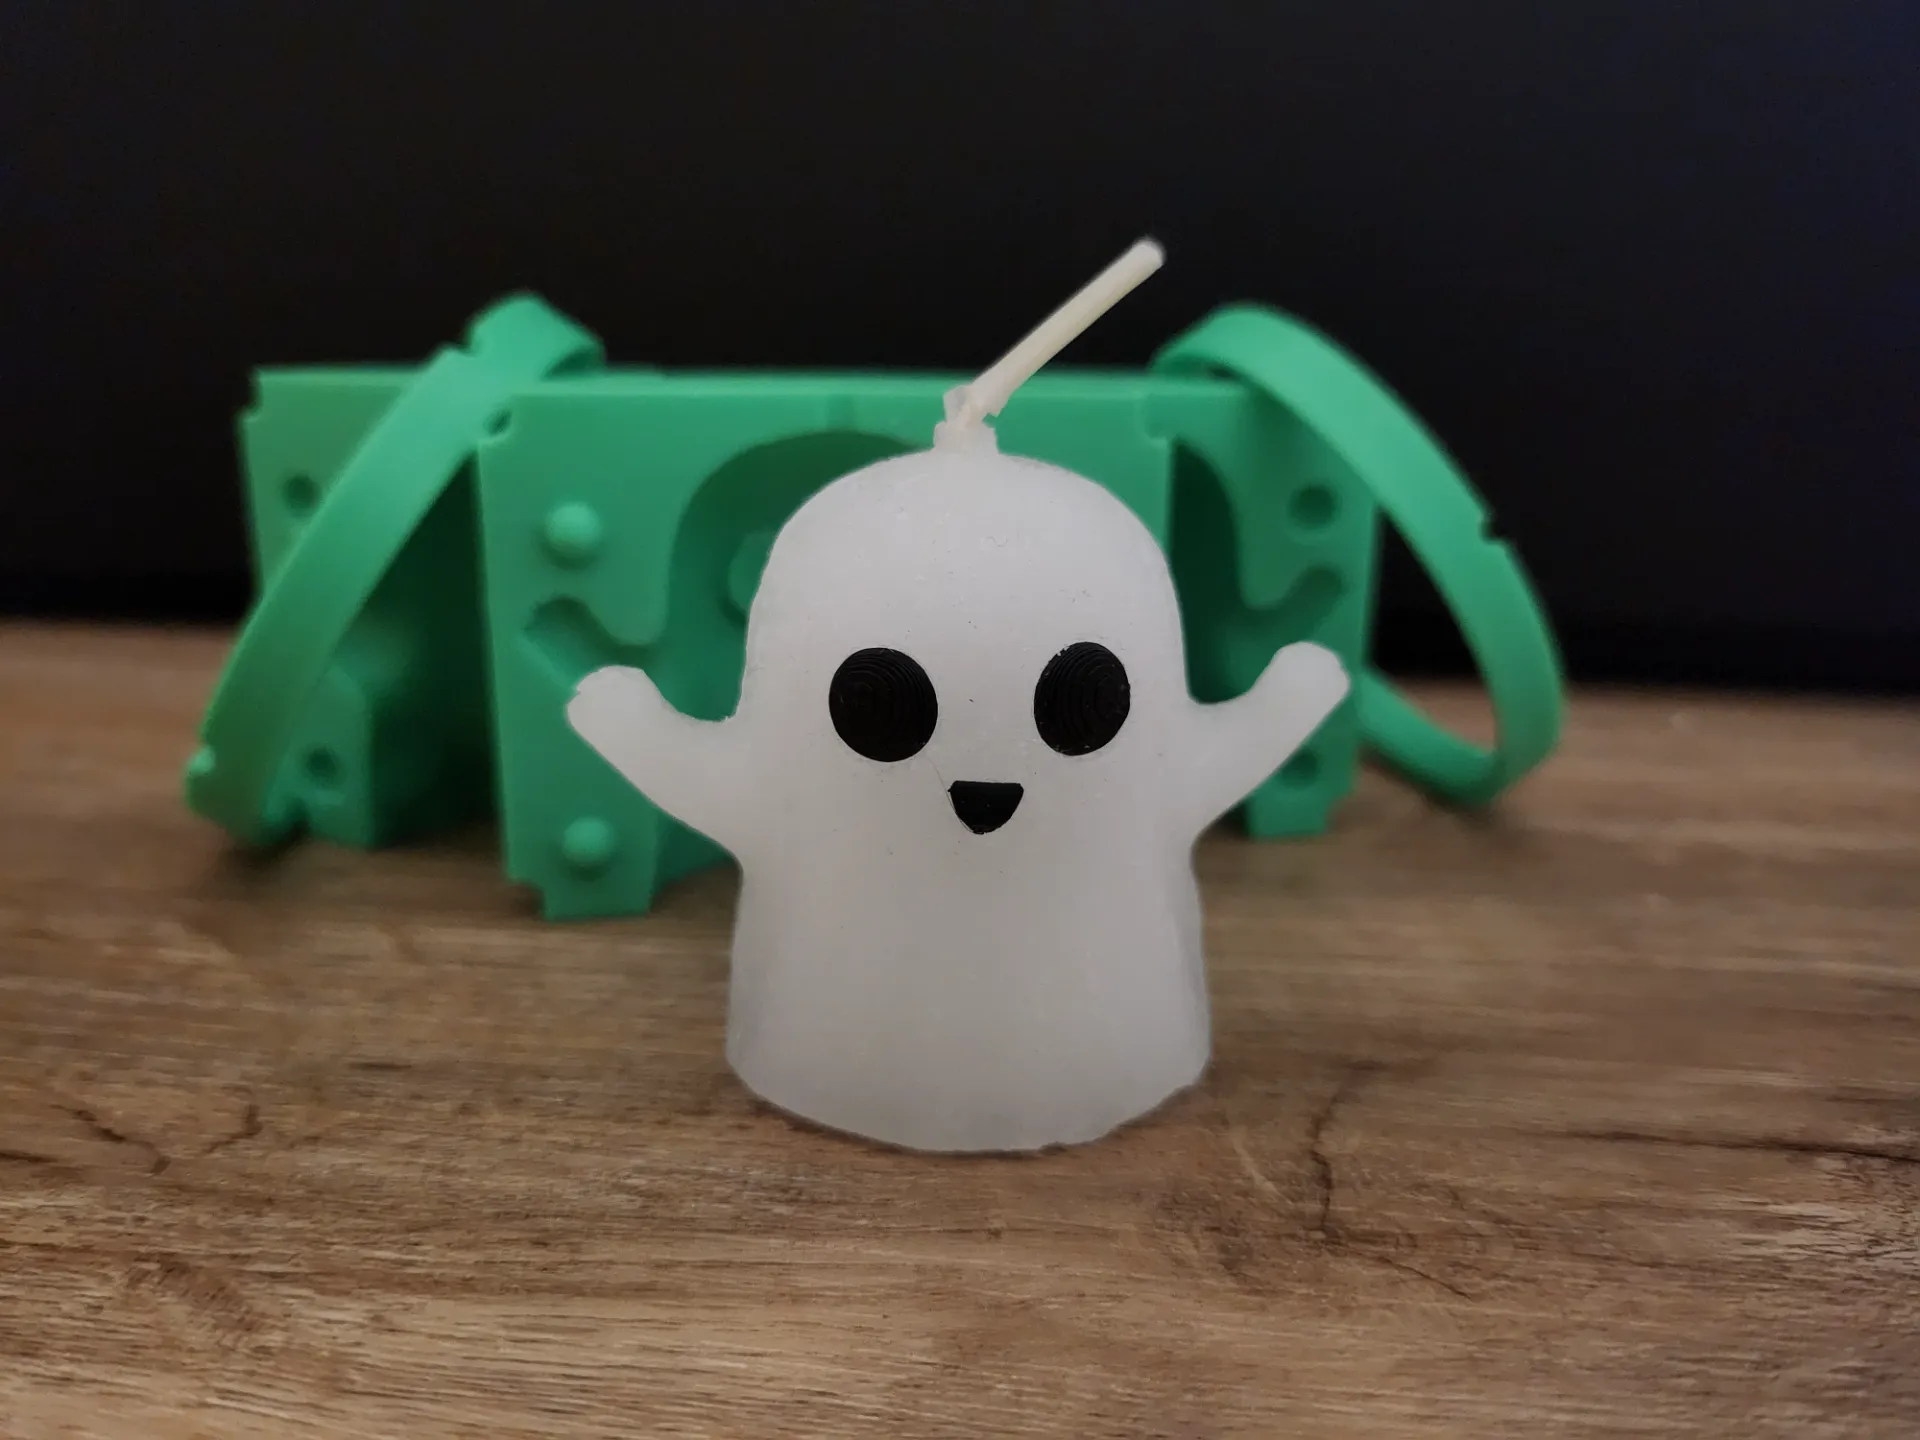
FDM 3D printing creates layer lines that can make wax stick to the mold, especially around overhangs (like the ghost’s eyes and mouth).- To improve release, smooth or coat the surface.
- Release agents such as mold spray or even baking spray can help.
- The mold can also be used without treatment, but small wax pieces may remain inside.
- Material recommendation:
- PETG is preferred for higher heat resistance.
- PLA also works – I haven’t had issues with it.
- Print settings (recommendation):
- 3 wall lines for strength
- Lightning infill to save material
- Solid outer walls to avoid leakage
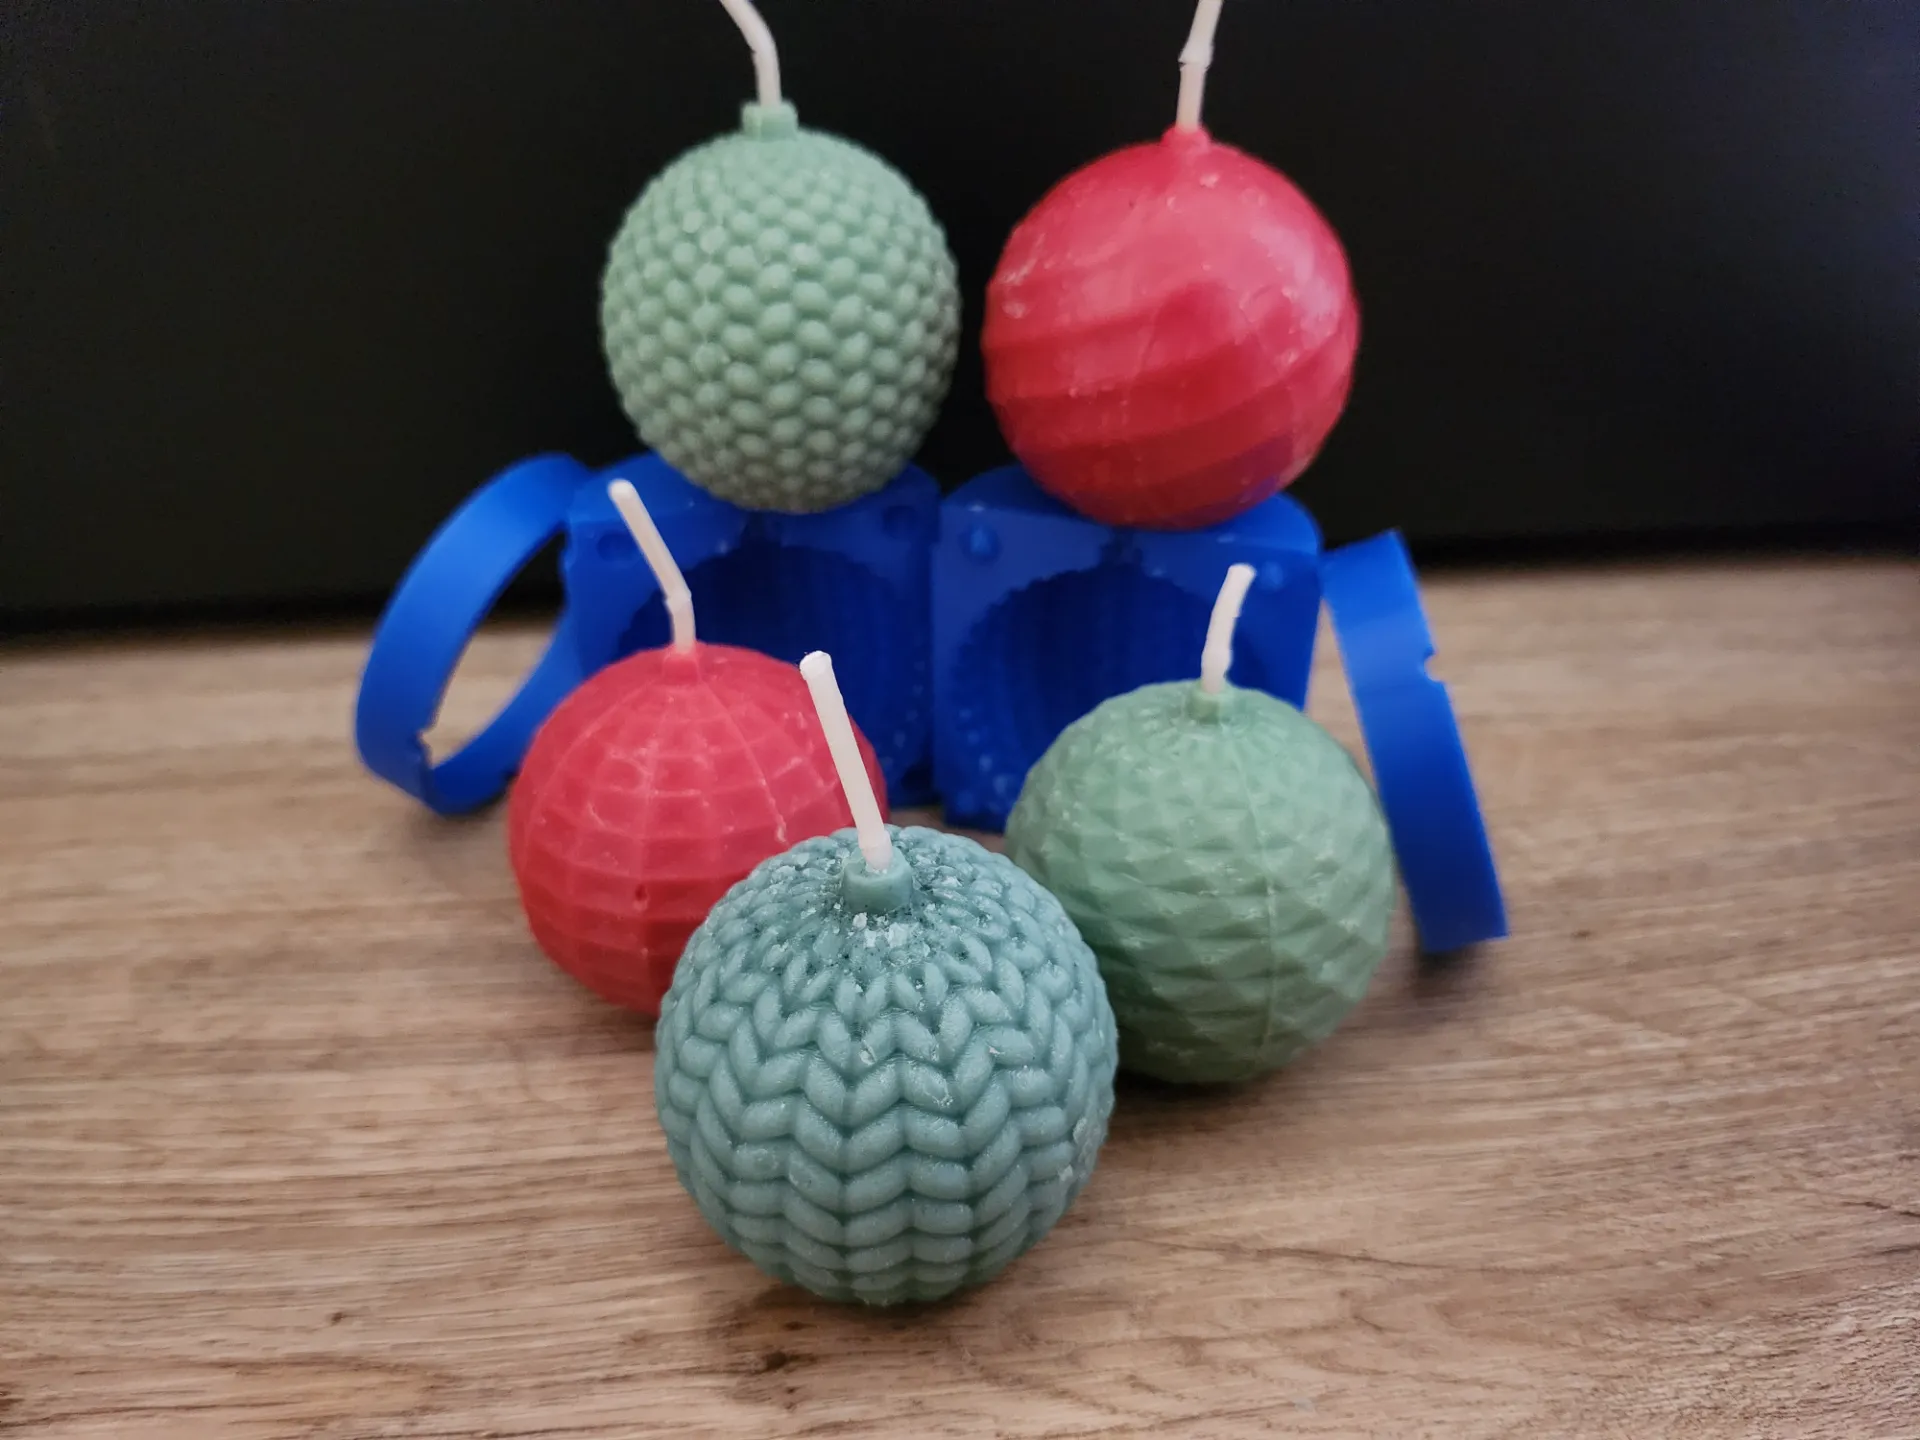
If you like this design, take a look at my other Christmas and spooky candle moulds, too.
 |  |
 |  |
Looking for something completely different?
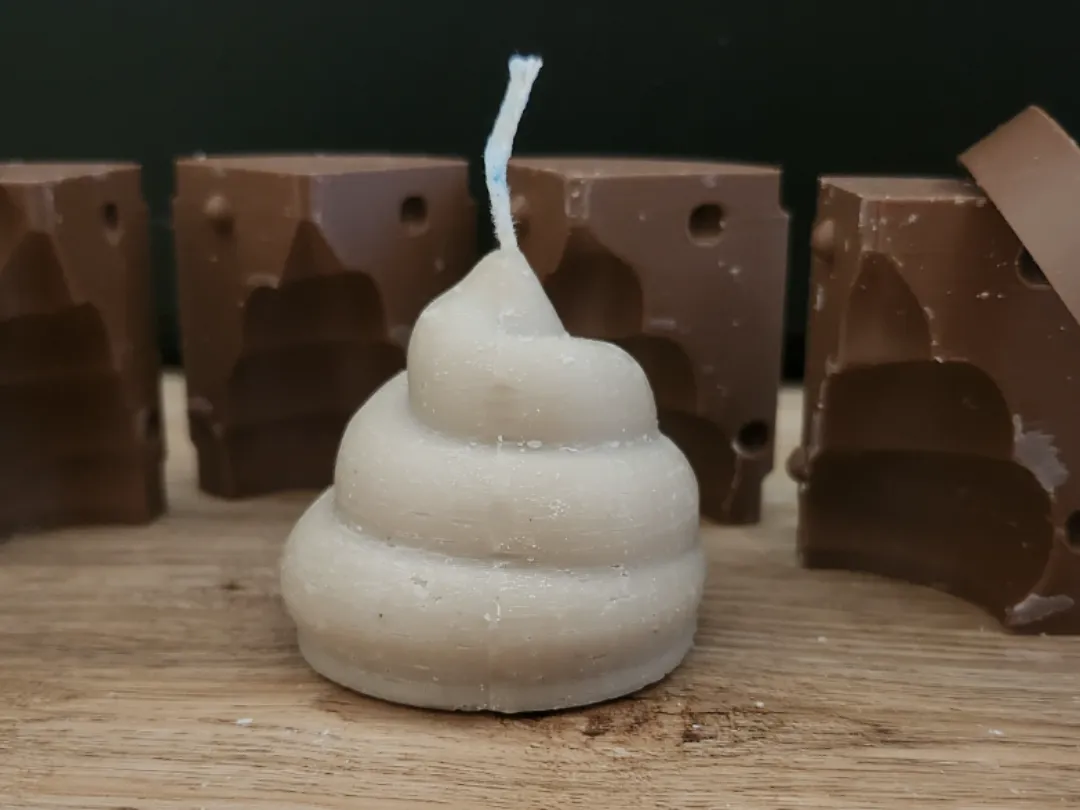
Besides my spooky and seasonal candle molds, I also made a few slightly more questionable creations inspired by water and wastewater themes.
You can now also find:
 | 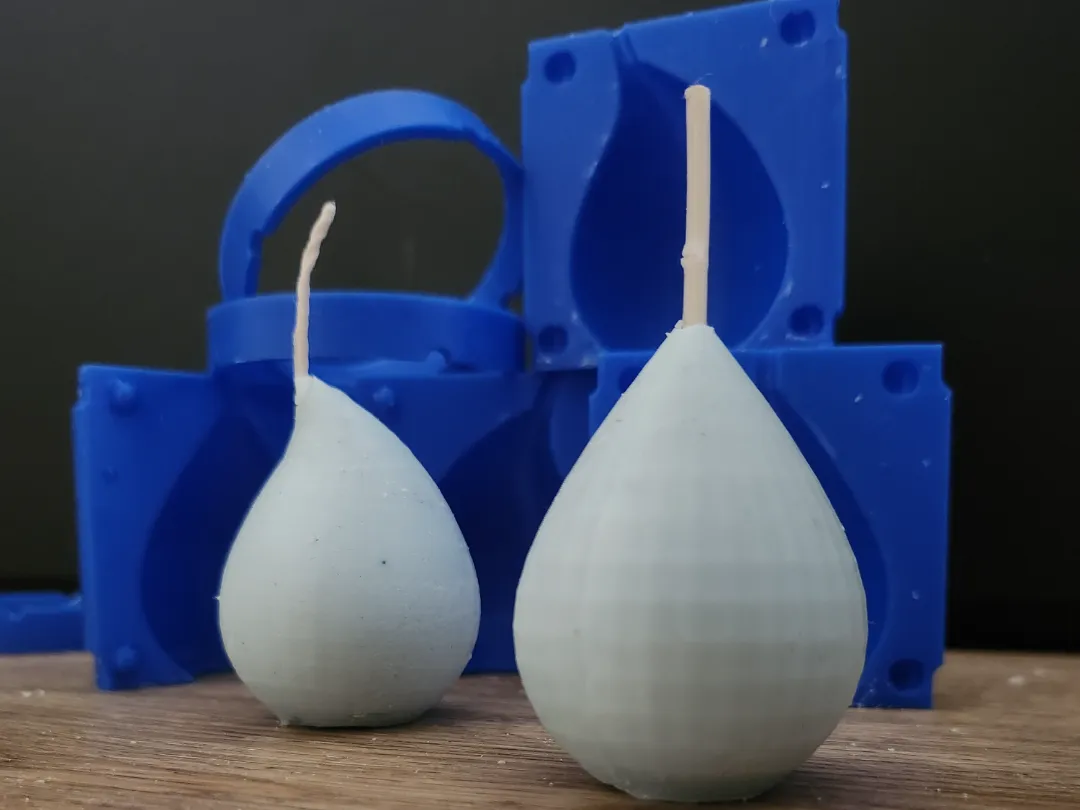 |
- elegant water drop candle molds
- and a completely unnecessary, but surprisingly funny poop candle mold
Because apparently my design process has no supervision anymore.
License

You shall not share, sub-license, sell, rent, host, transfer, or distribute in any way the digital or 3D printed versions of this object, nor any other derivative work of this object in its digital or physical format (including - but not limited to - remixes of this object, and hosting on other digital platforms). The objects may not be used without permission in any way whatsoever in which you charge money, or collect fees.


Comment & Rating (10)