
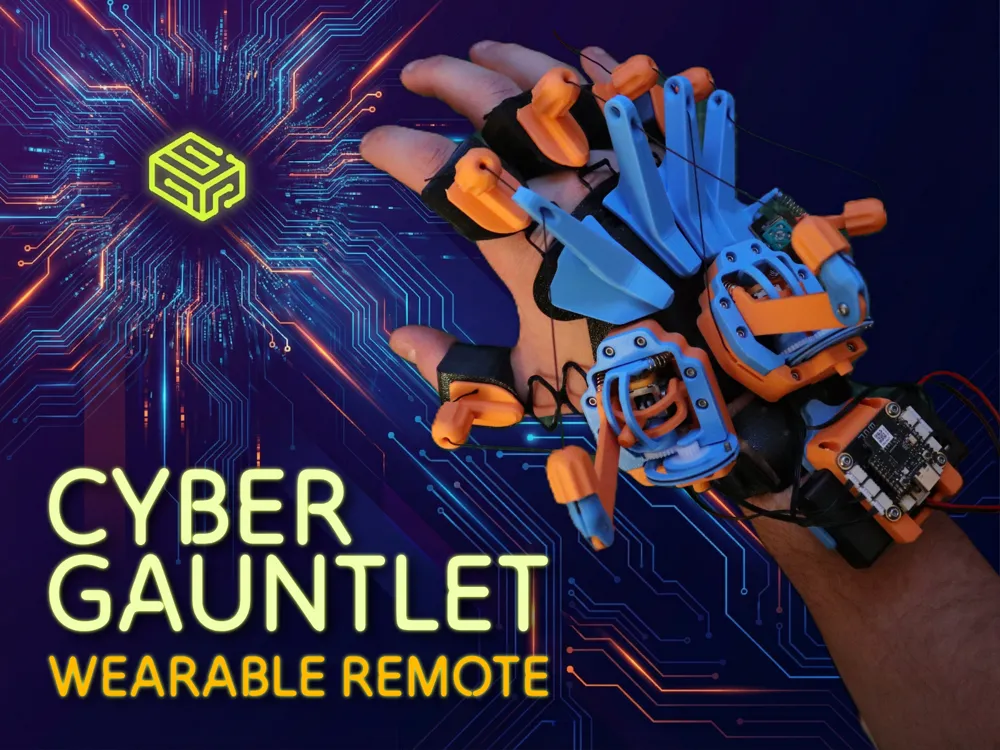
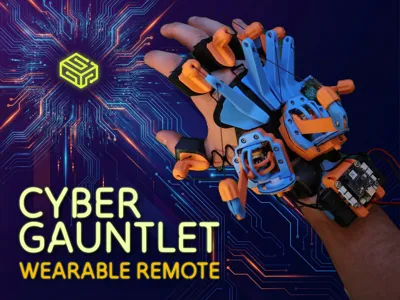
CyberGauntlet: Wearable Controller for CyberBrick
Print Profile(2)


Bill of Materials


Description
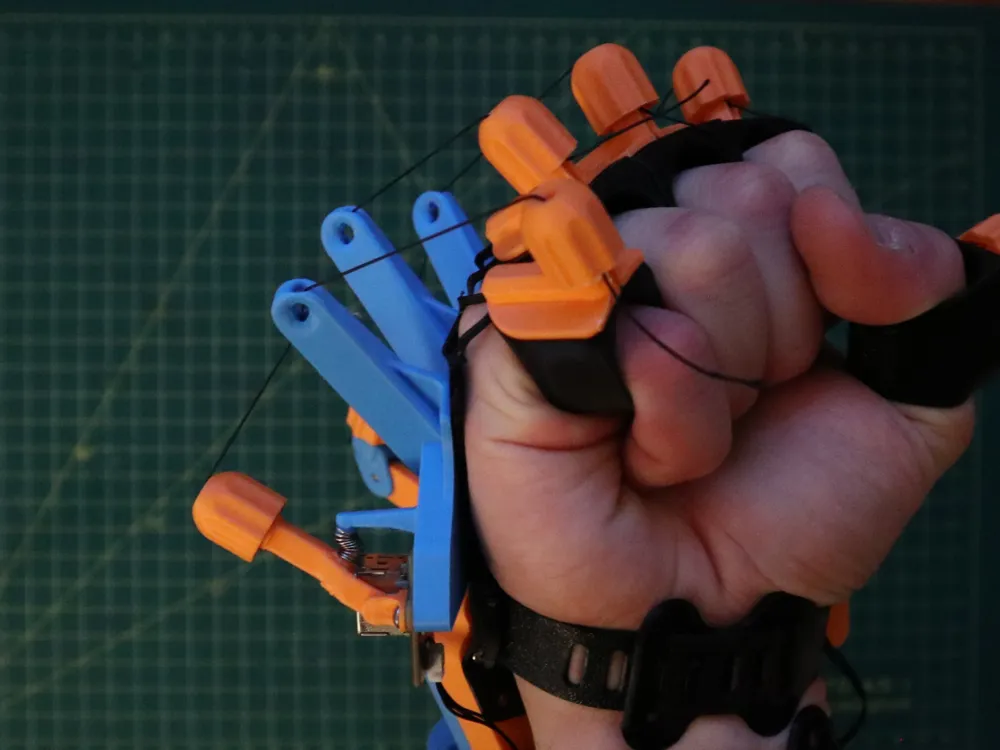
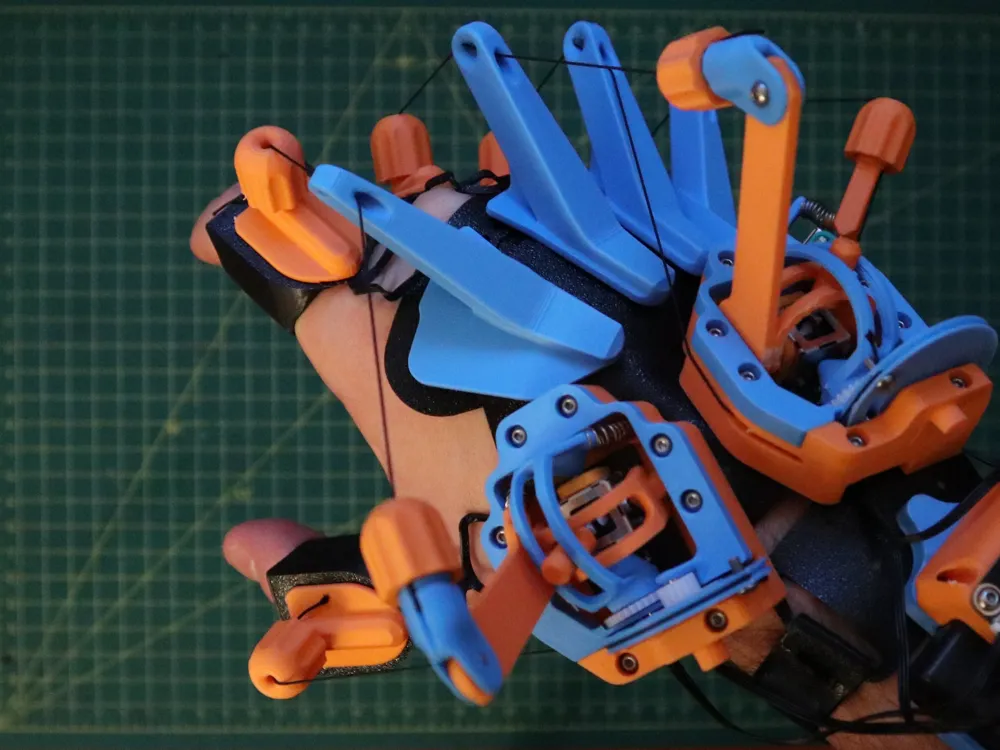
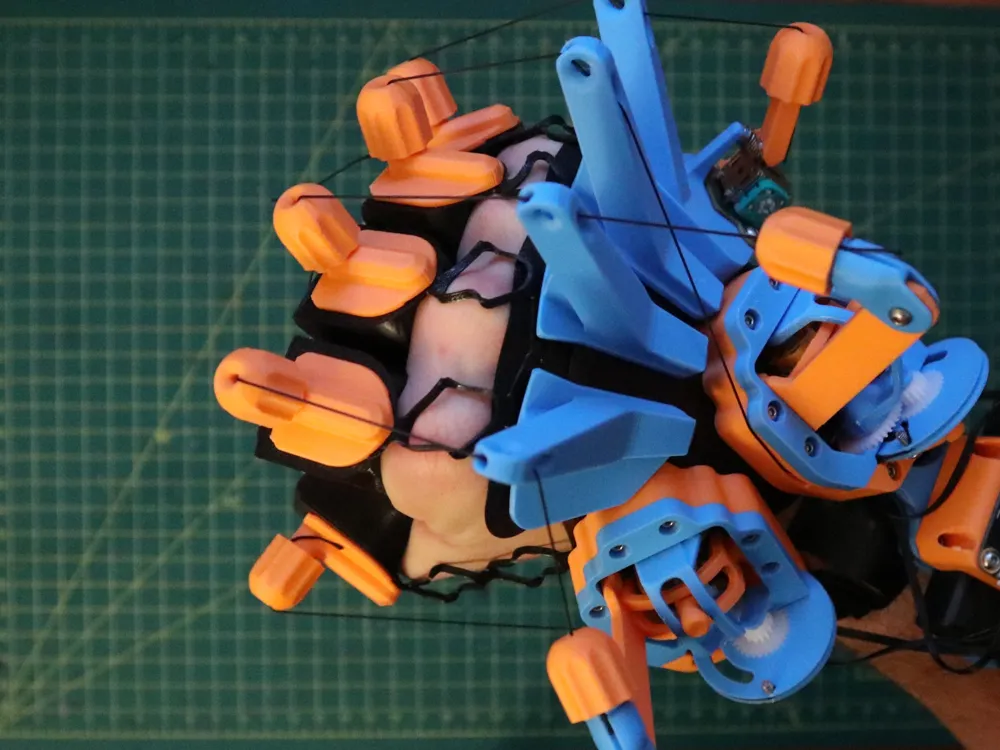
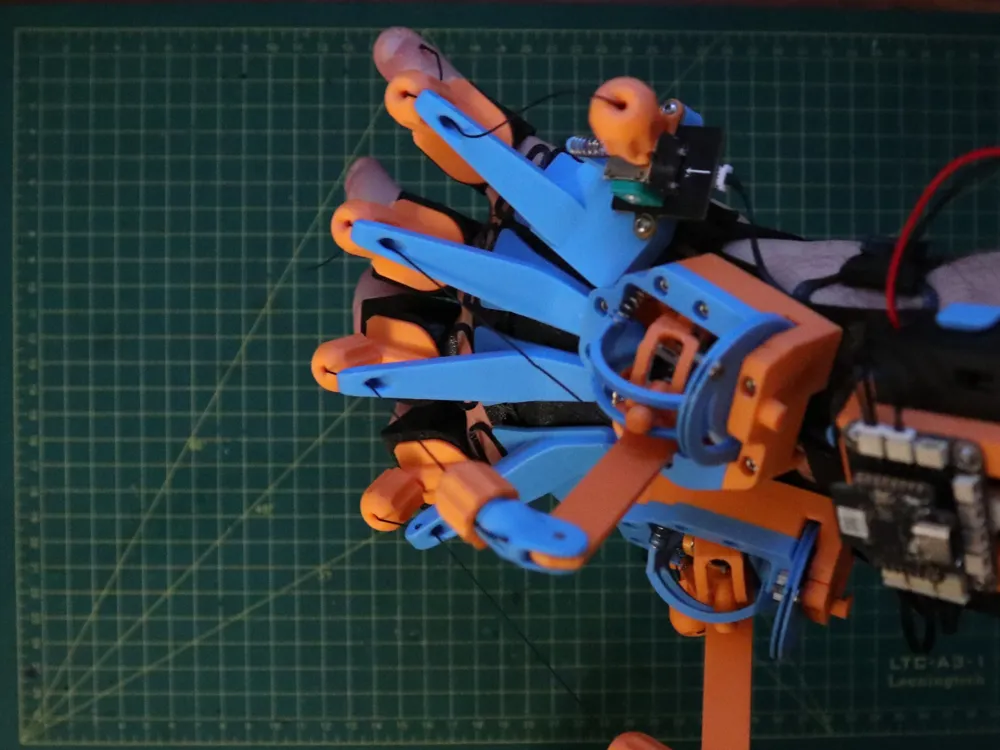
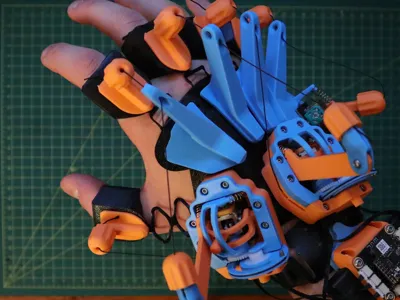
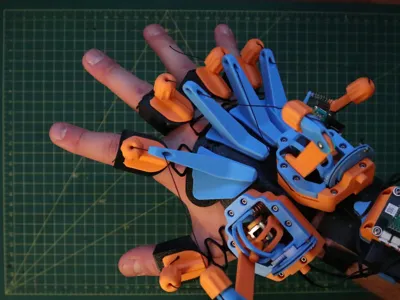
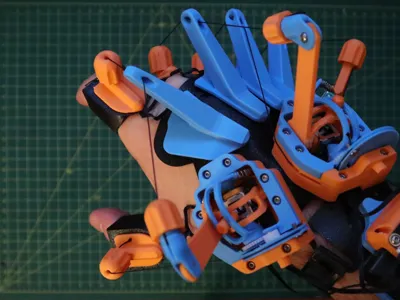
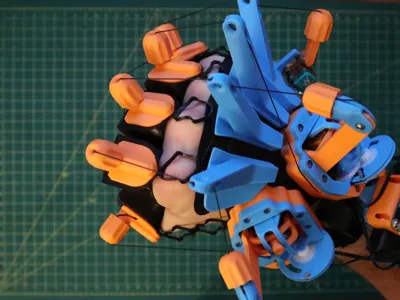
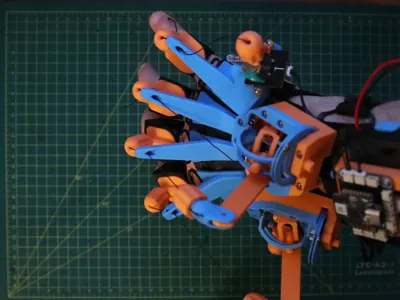
CYBERGAUNTLET: THE ULTIMATE WEARABLE REMOTE 🤖🫴
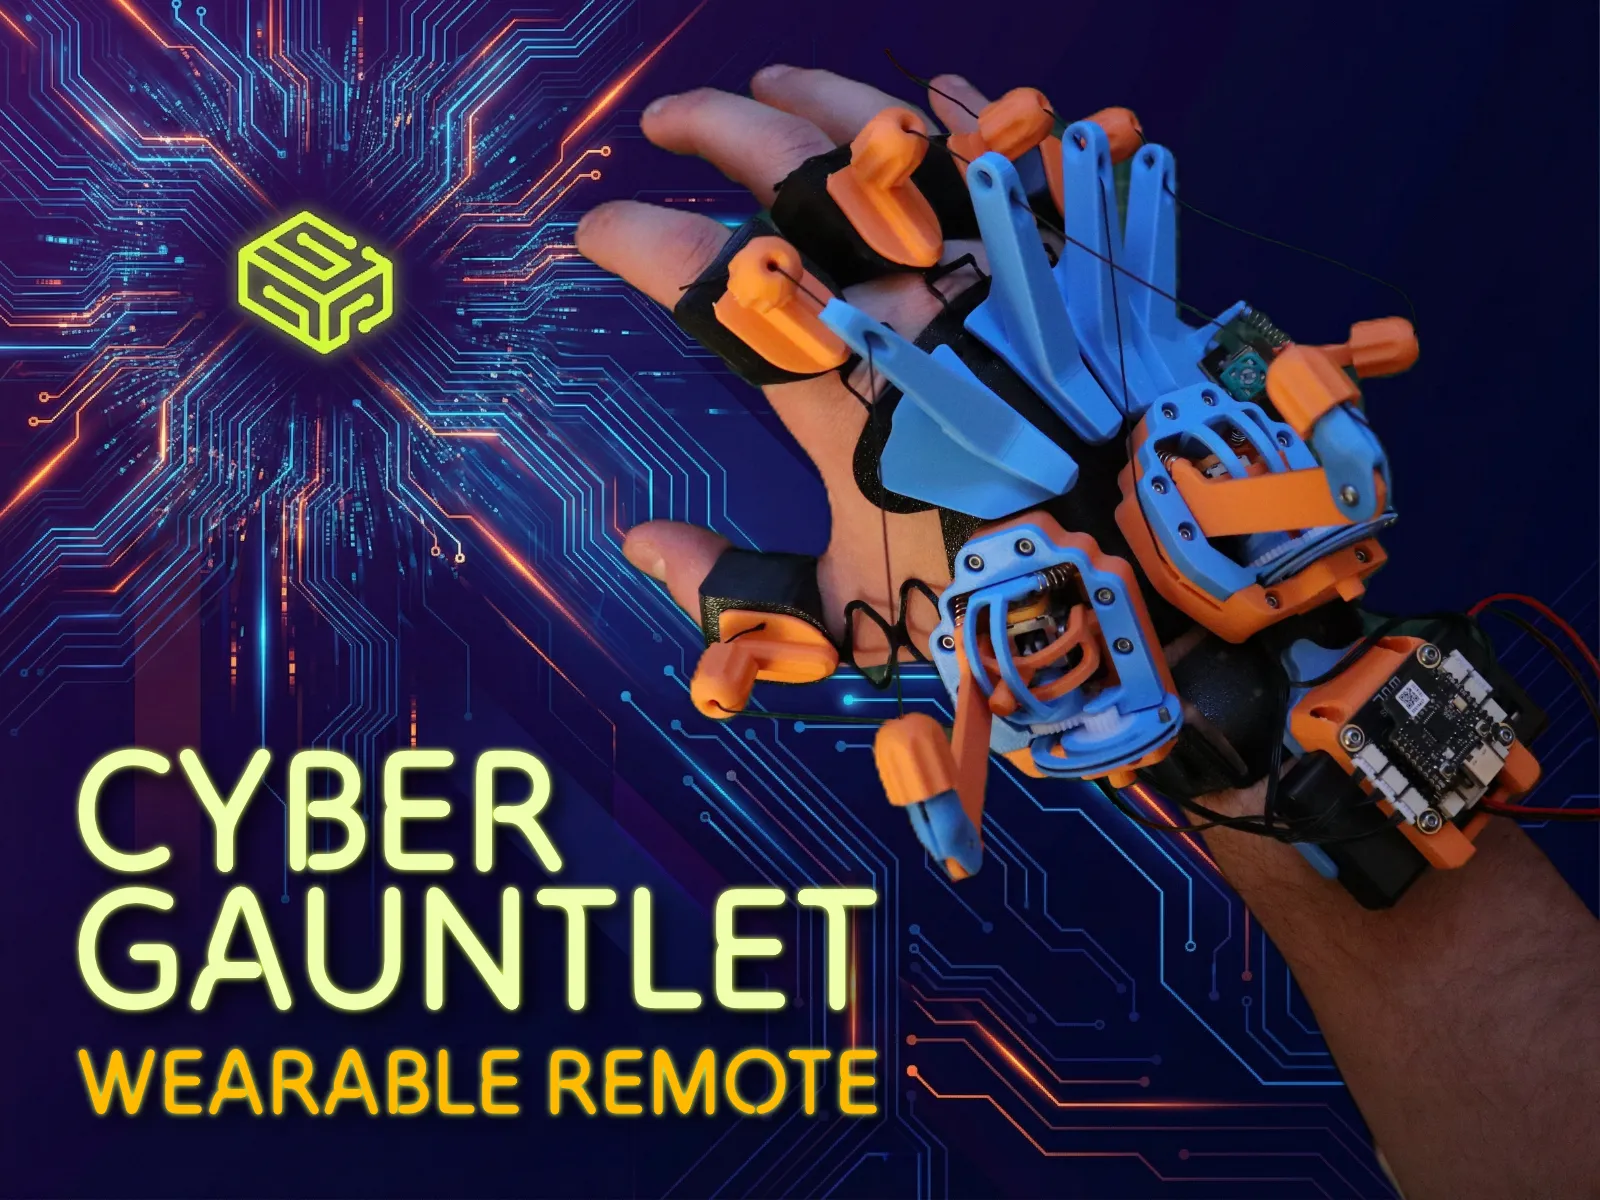
Control your CyberBrick world with the power of your own hand!

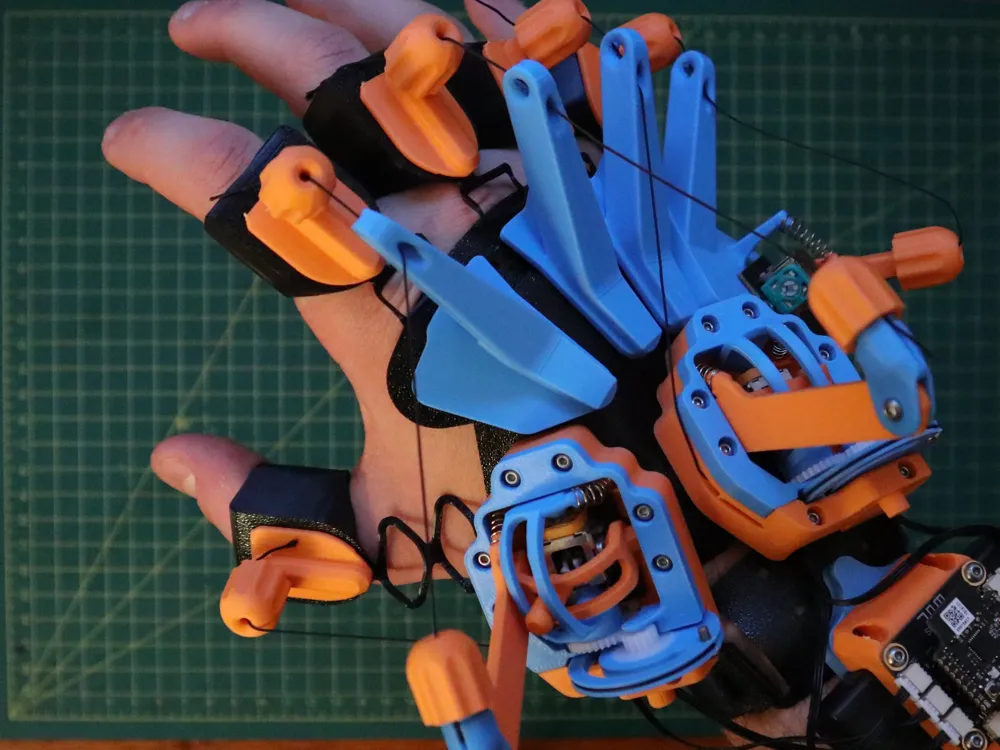
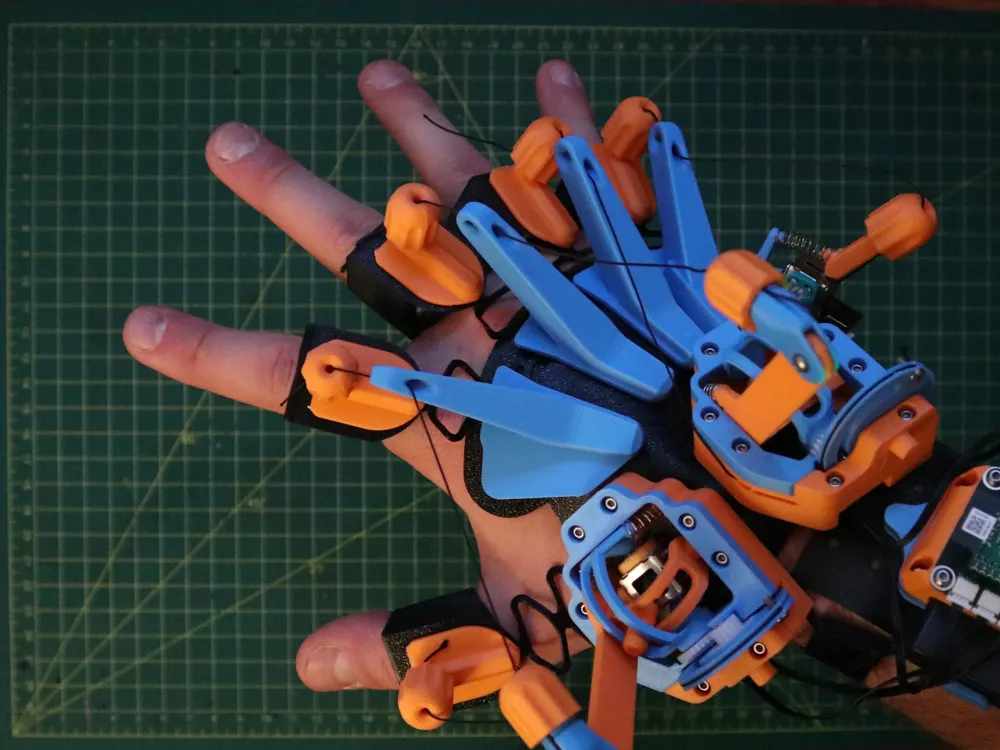
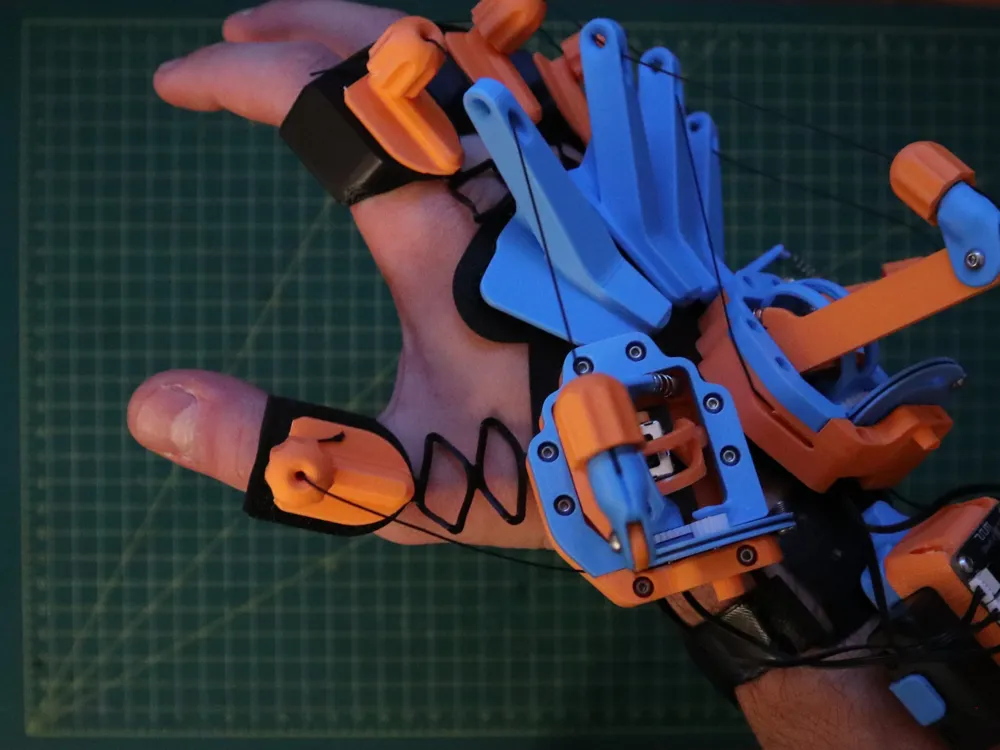
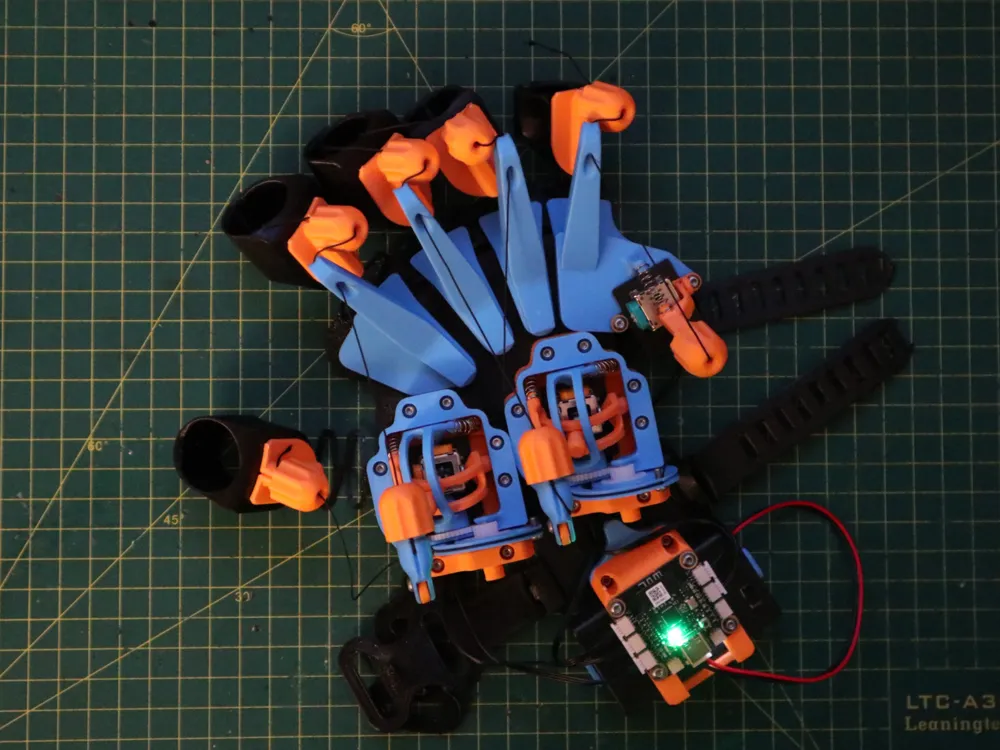
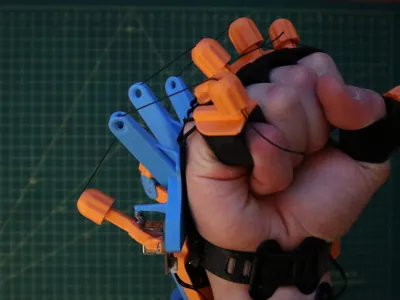
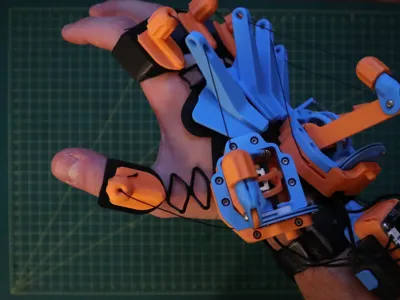
This project is an entry for the CyberBrick remote master challenge. It is a fully articulated, wearable exoskeleton controller designed to translate your finger movements into digital commands. Whether you are controlling a robotic arm, a vehicle, or a game interface, the CyberGauntlet offers unmatched immersion.
DESIGN PHILOSOPHY & HARDWARE
This model was designed with efficiency and accessibility in mind:
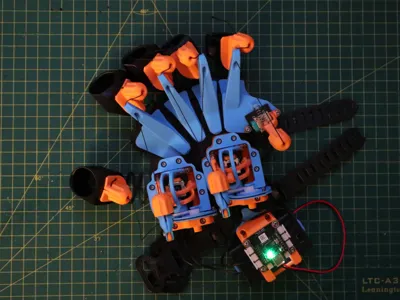
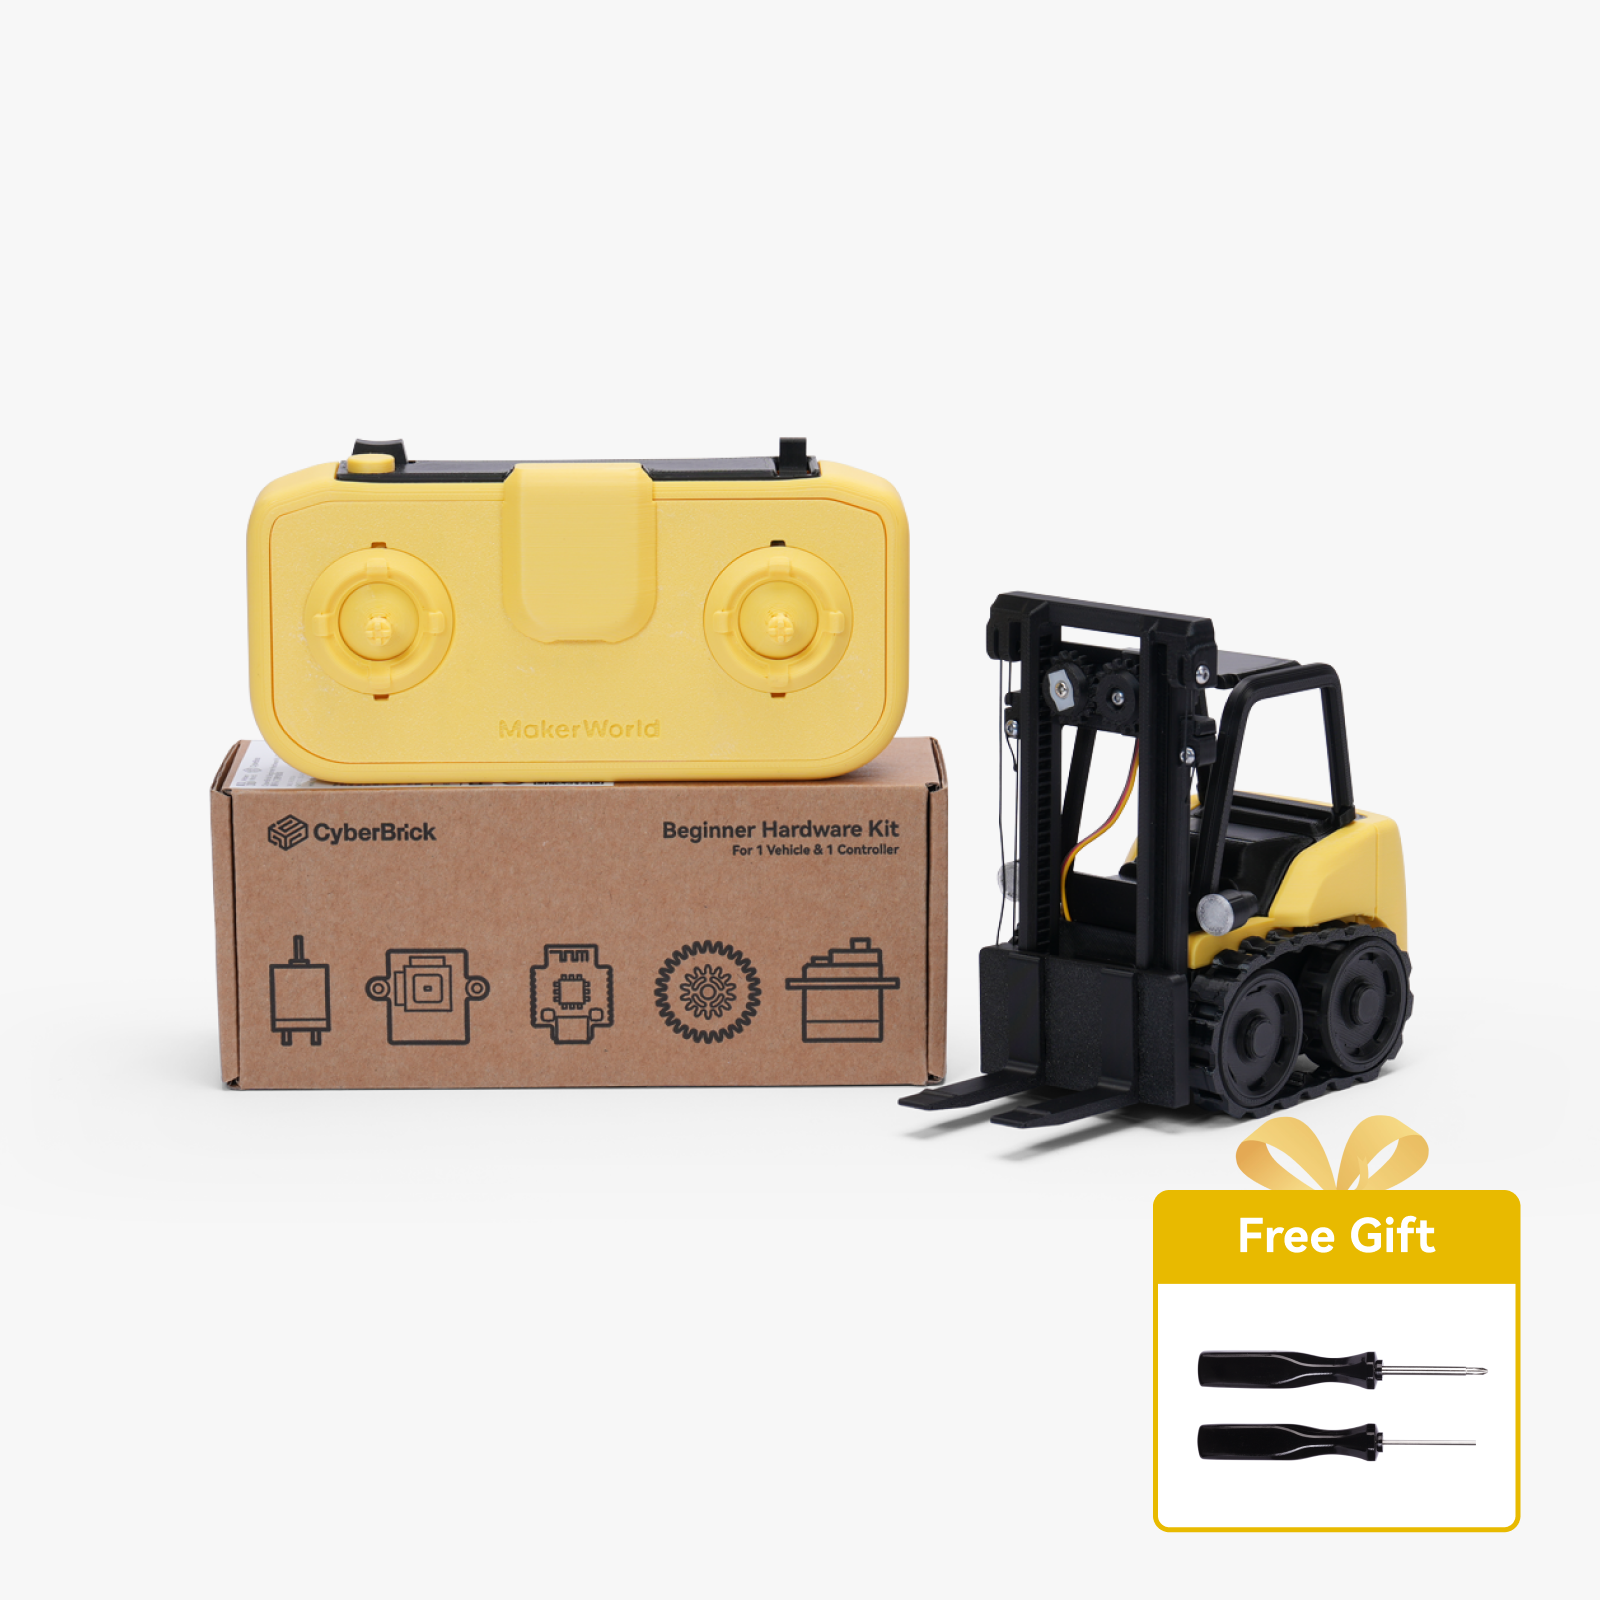
- Single Kit Build: The entire project is designed to be built using ONLY the components found in the standard "CyberBrick Hardware Kit 1 (Controller/Remote)". No extra screws or obscure parts hunting required.
- 5 Degrees of Freedom: The gauntlet tracks 5 individual movements (1 per finger) for better control.
- Universal Fit: I designed it for my hand, but I have included 3 different sizes (Small, Medium (default), Large) to fit most users. Check the "Other Sizes" print profile.
CONTROLLER MAPPING
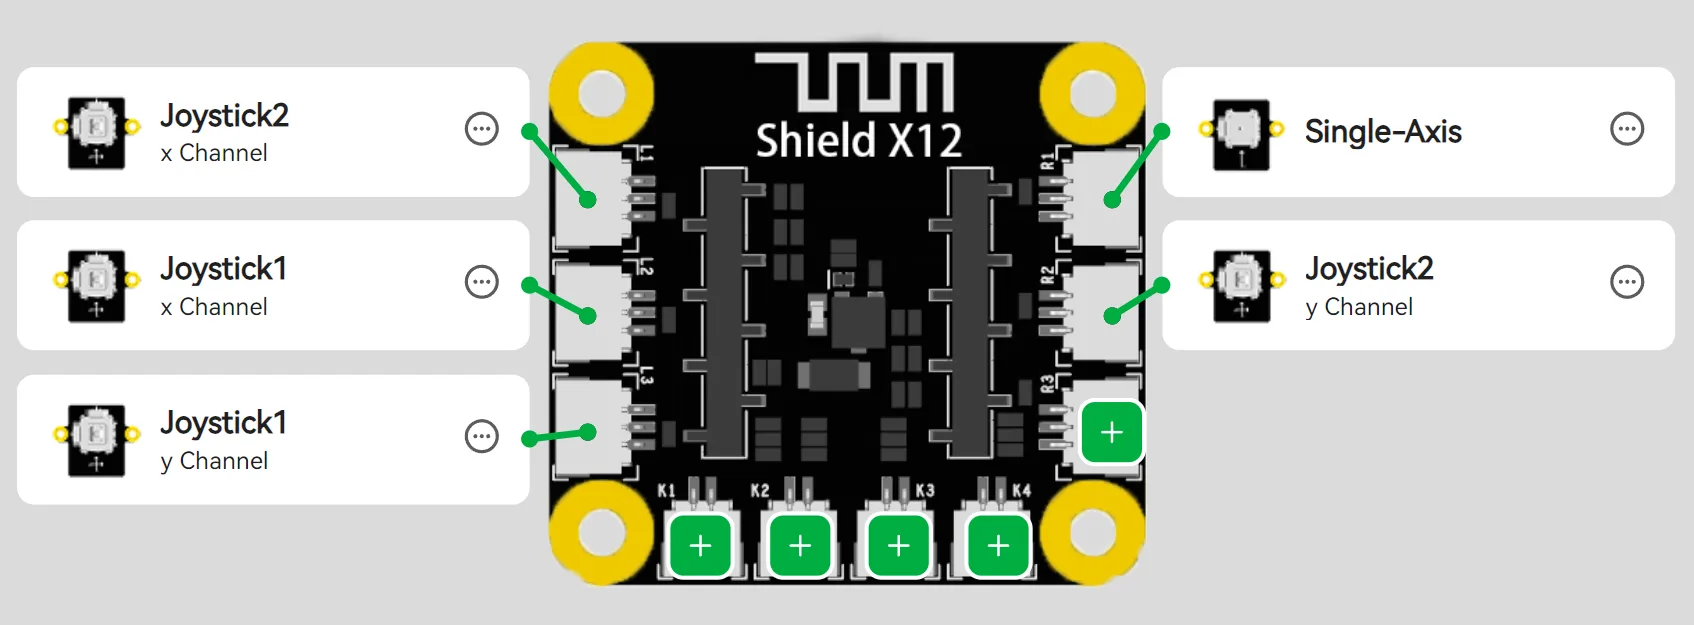
The 5 Degrees of Freedom are mapped to the CyberBrick channels as follows:
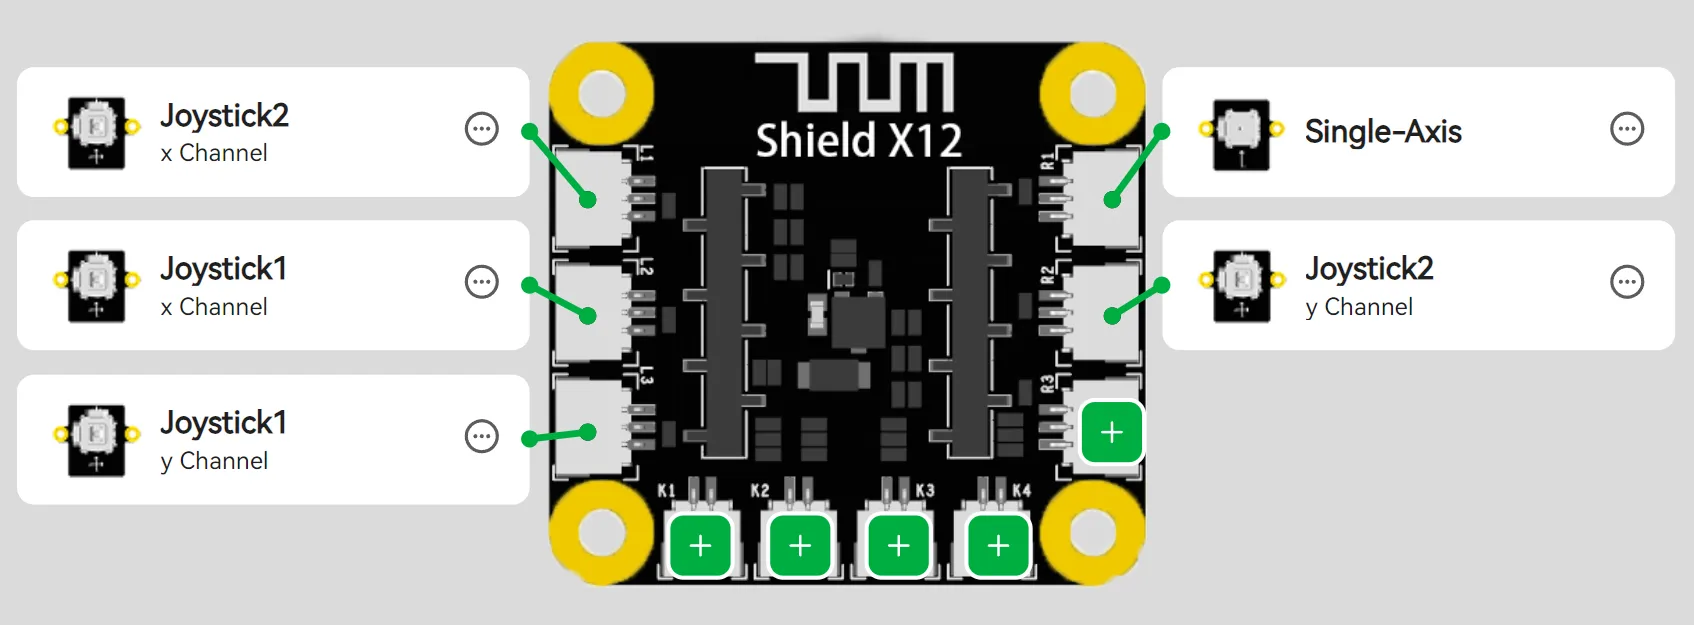
| Thumb | Joystick 1 - Channel X |
| Index | Joystick 1 - Channel Y |
| Middle | Joystick 2 - Channel X |
| Ring | Joystick 2 - Channel Y |
| Pinky | Single-Axis |
ASSEMBLY INSTRUCTIONS
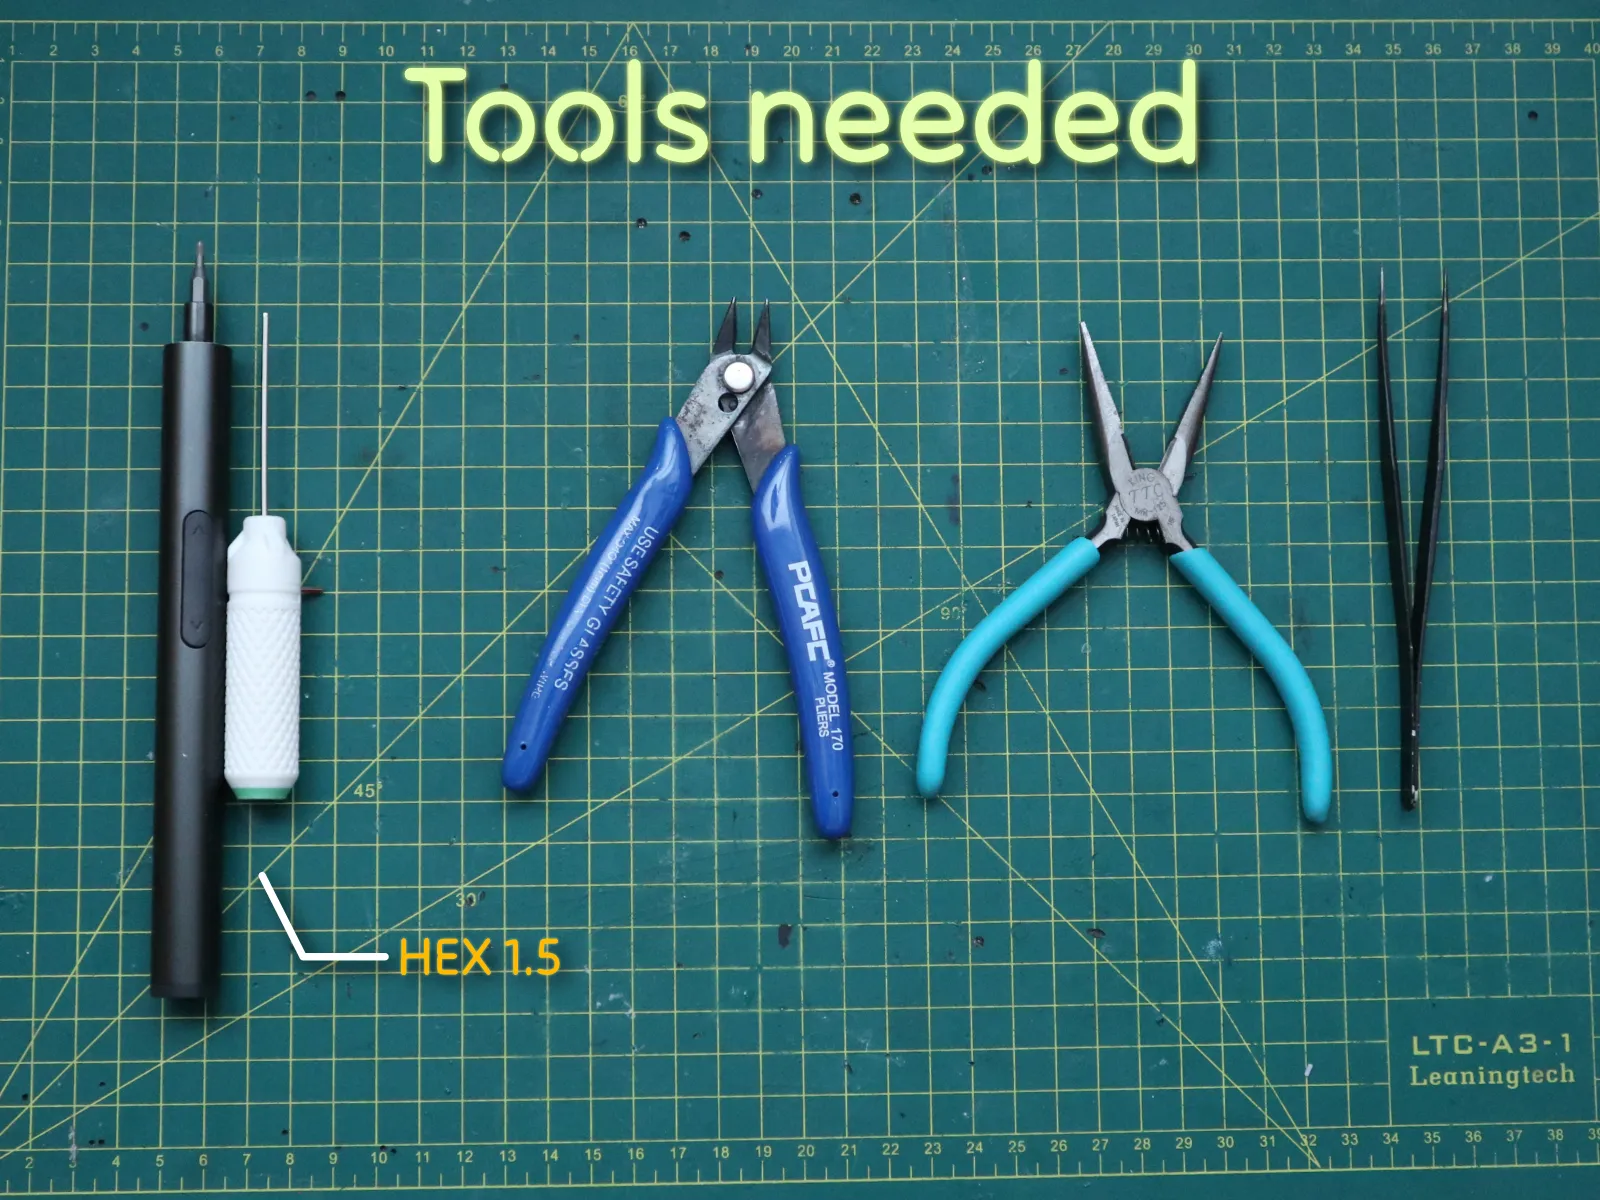
- Hex Driver (1.5mm)
- Flush Cutters (for cleaning printed parts)
- Needle Nose Pliers
- Tweezers
Hardware (all included in the beginner hardware kit)
- Remote Control Transmitter Shield
- 3x1.5V AAA Battery Case with XH2.54 Connector
- M2.5x6 BHCS Machine Screw
- Dual-Axis Joystick Module with 3Pin SH1.0 Connectors (x2)
- 1:48 Single-axis Plastic Reduction Gear Kit (x2)
- 0.5x5x20 mm Helical Compression Spring (x5)
- 0.6mm Black Nylon Cord 5m (around 210mm for each finger)
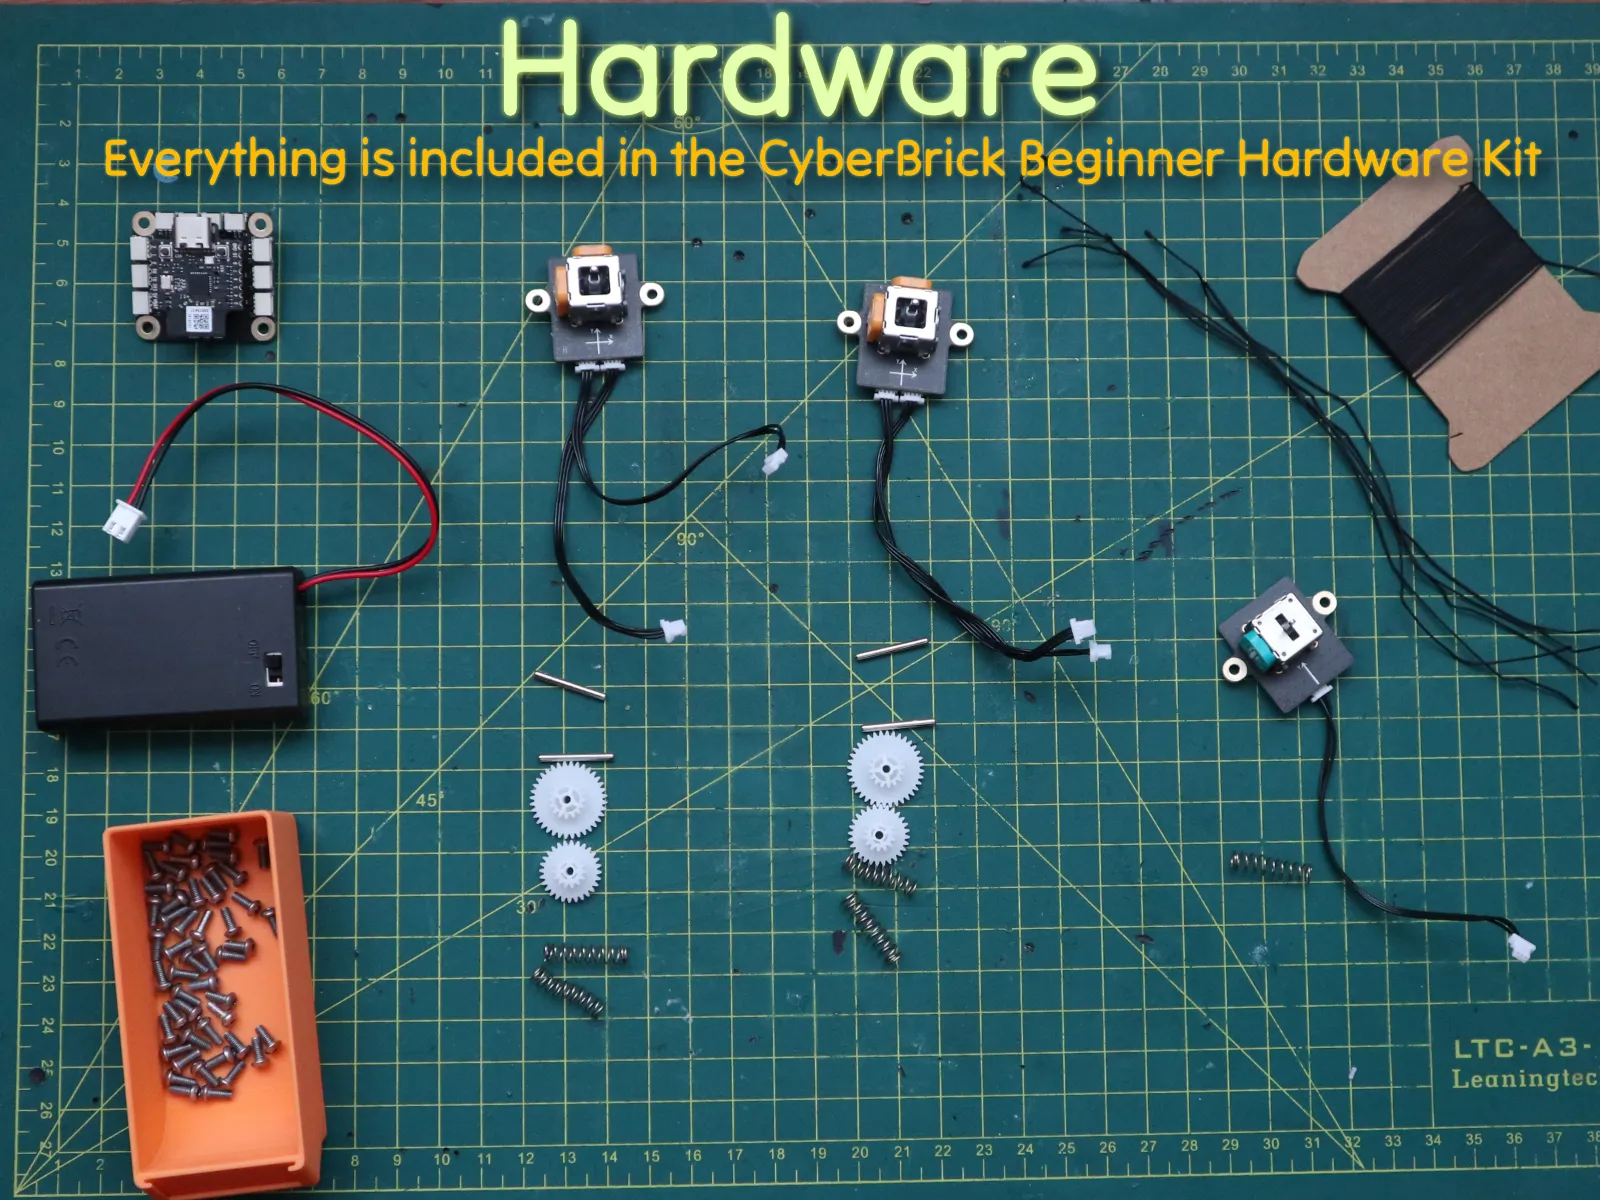
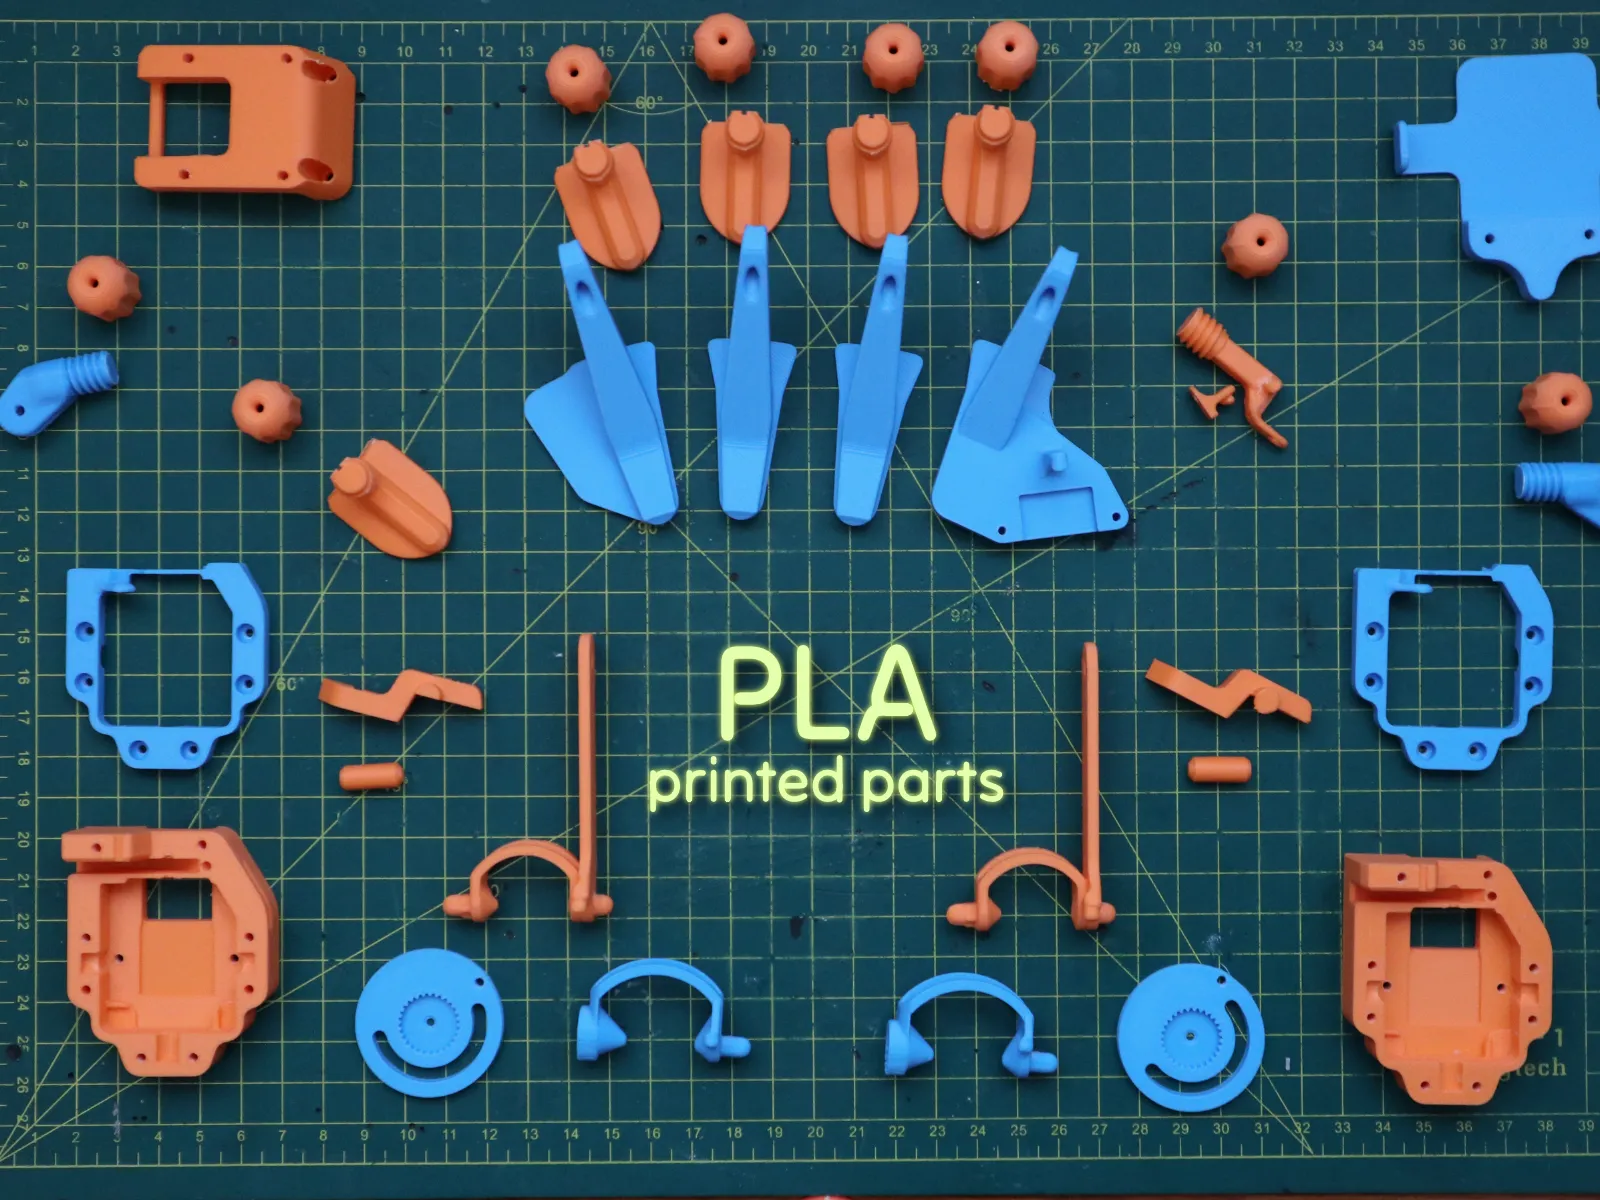
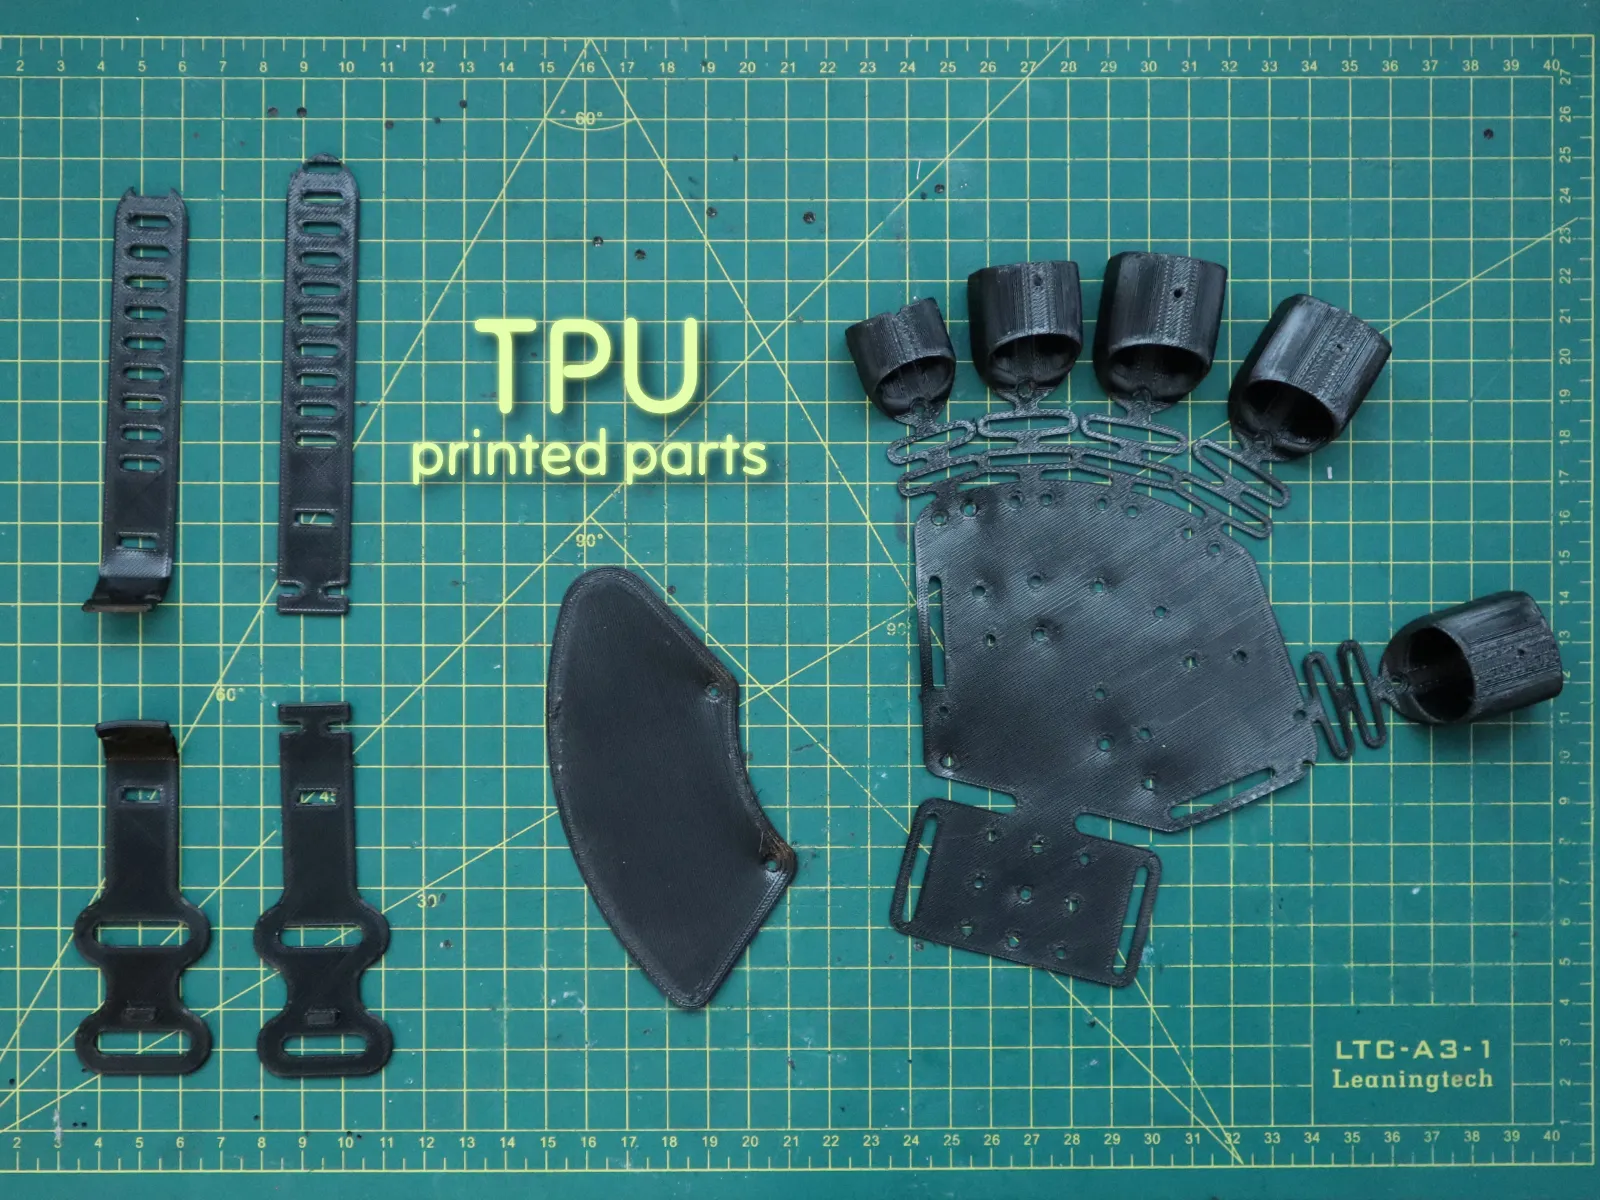
I used the Overture TPU in this project
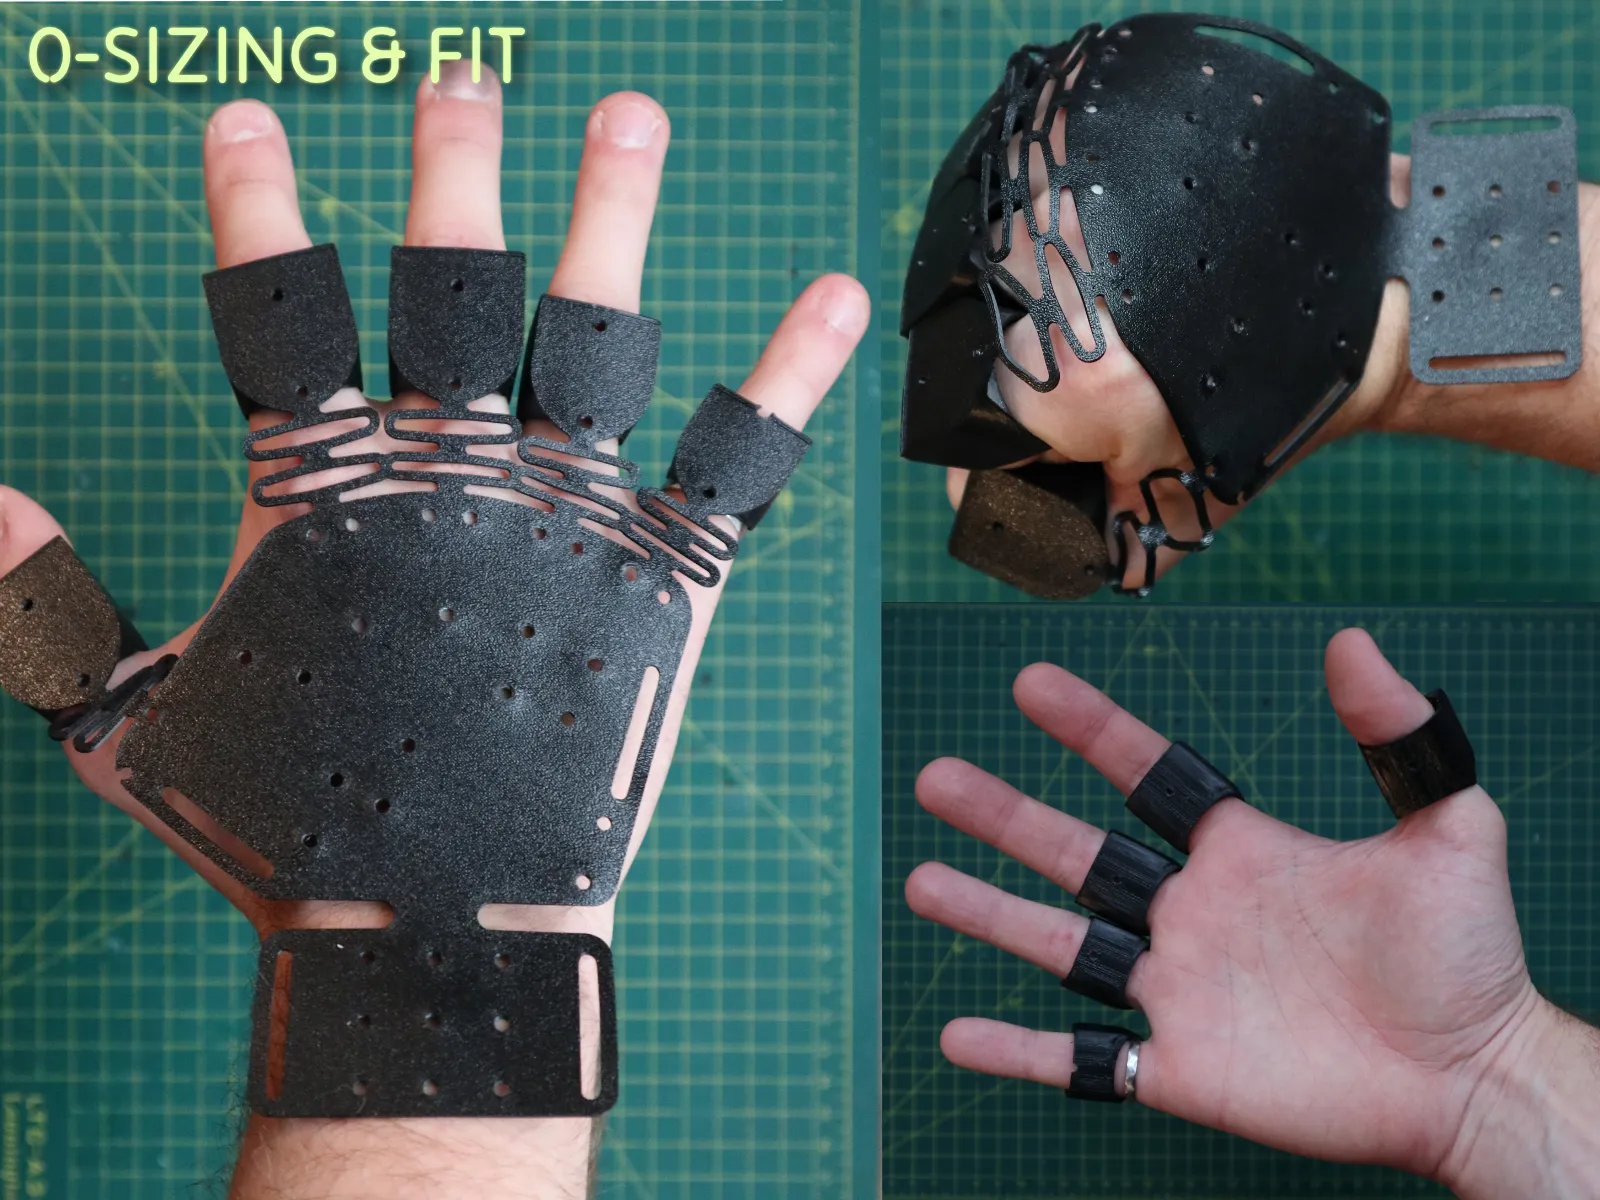
STEP 0: SIZING & FIT
Before assembling, ensure you have printed the correct size for your hand. Try on the printed parts and move your fingers to check for comfort.
Note: The main model is designed based on my hand size. I have created "Small" and "Large" versions available in the print profiles. I have not personally tested these versions yet, so your feedback is greatly appreciated and encouraged!
STEP 1: Install the Finger Tip Anchors
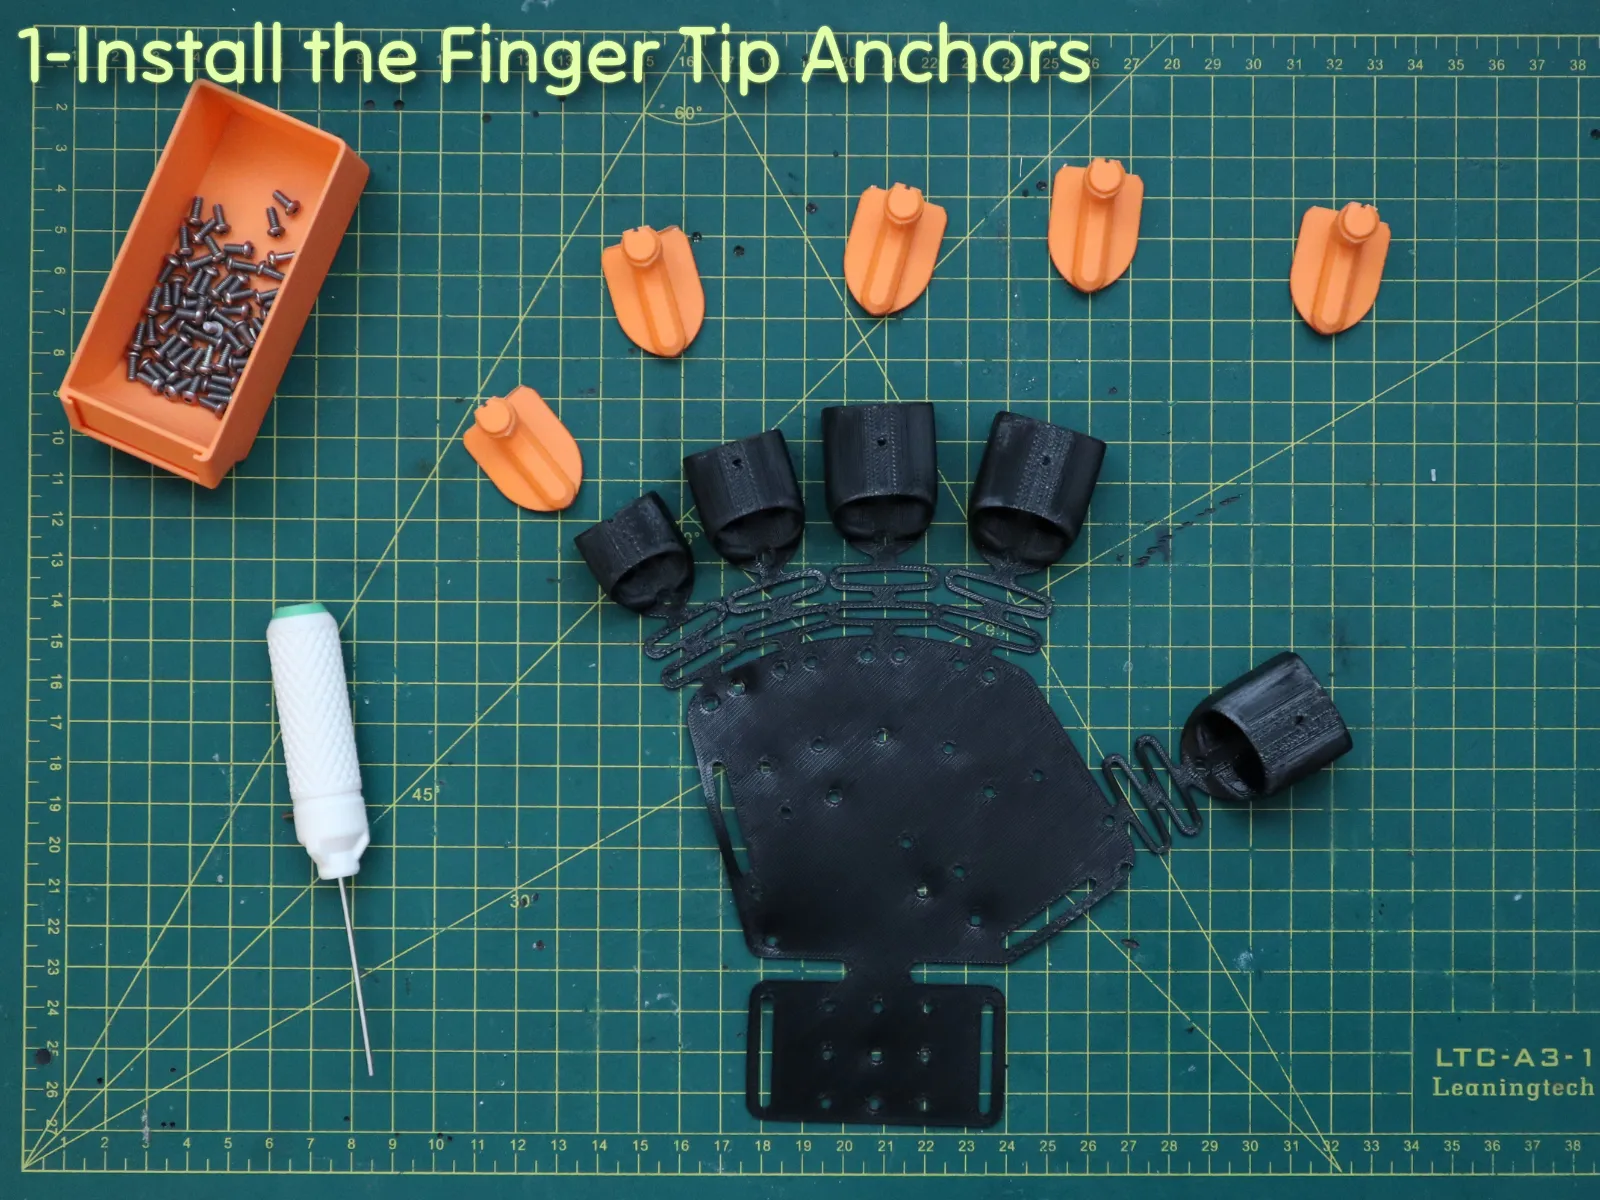
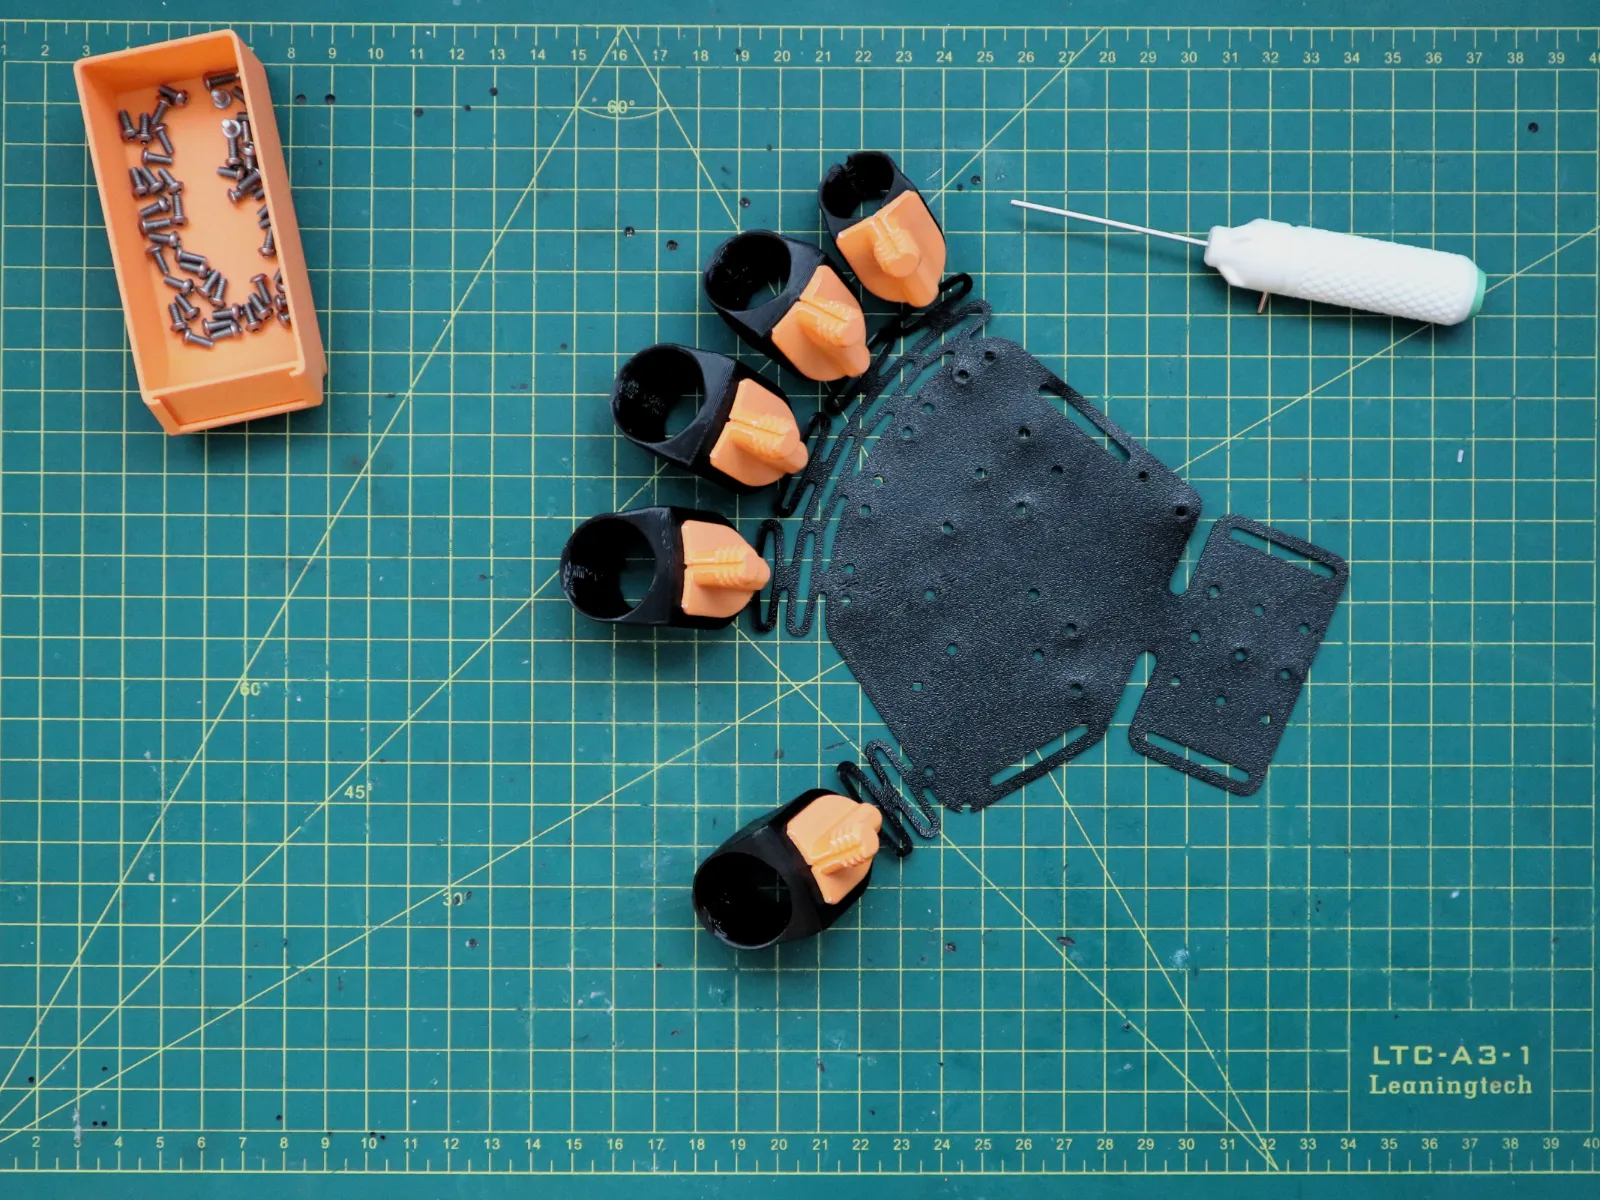
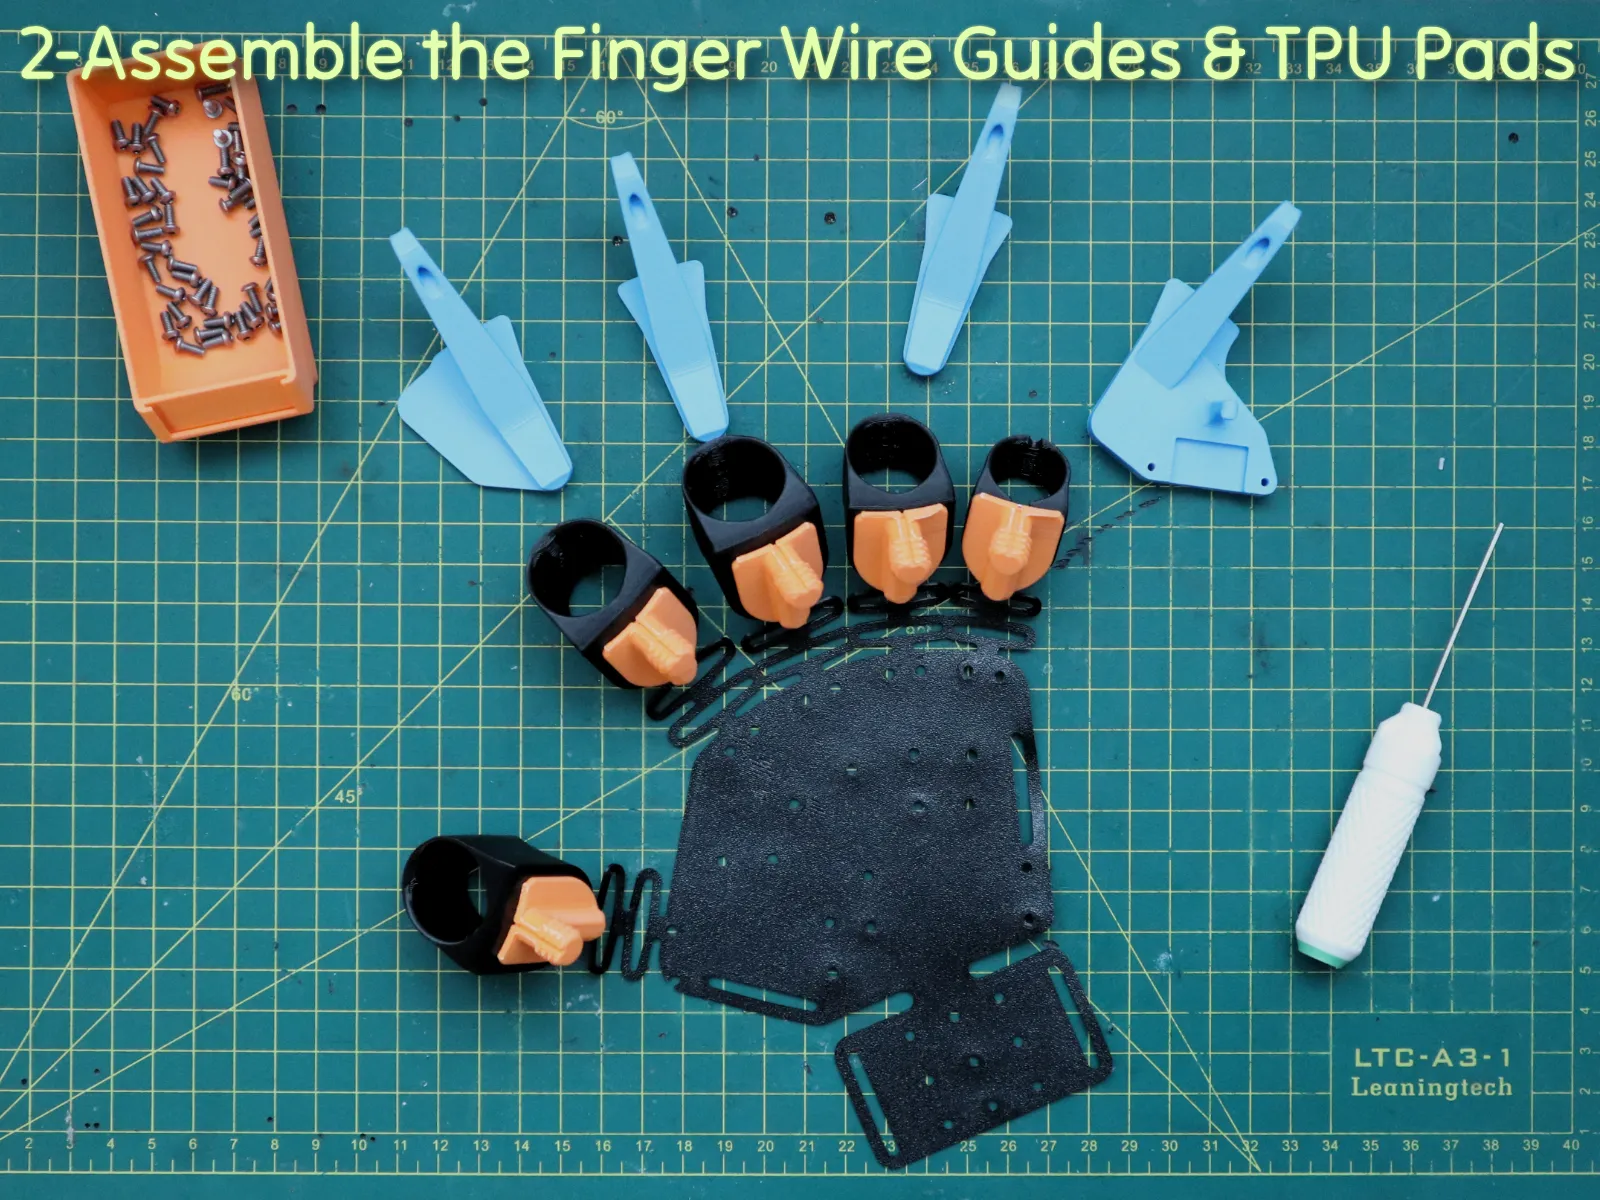

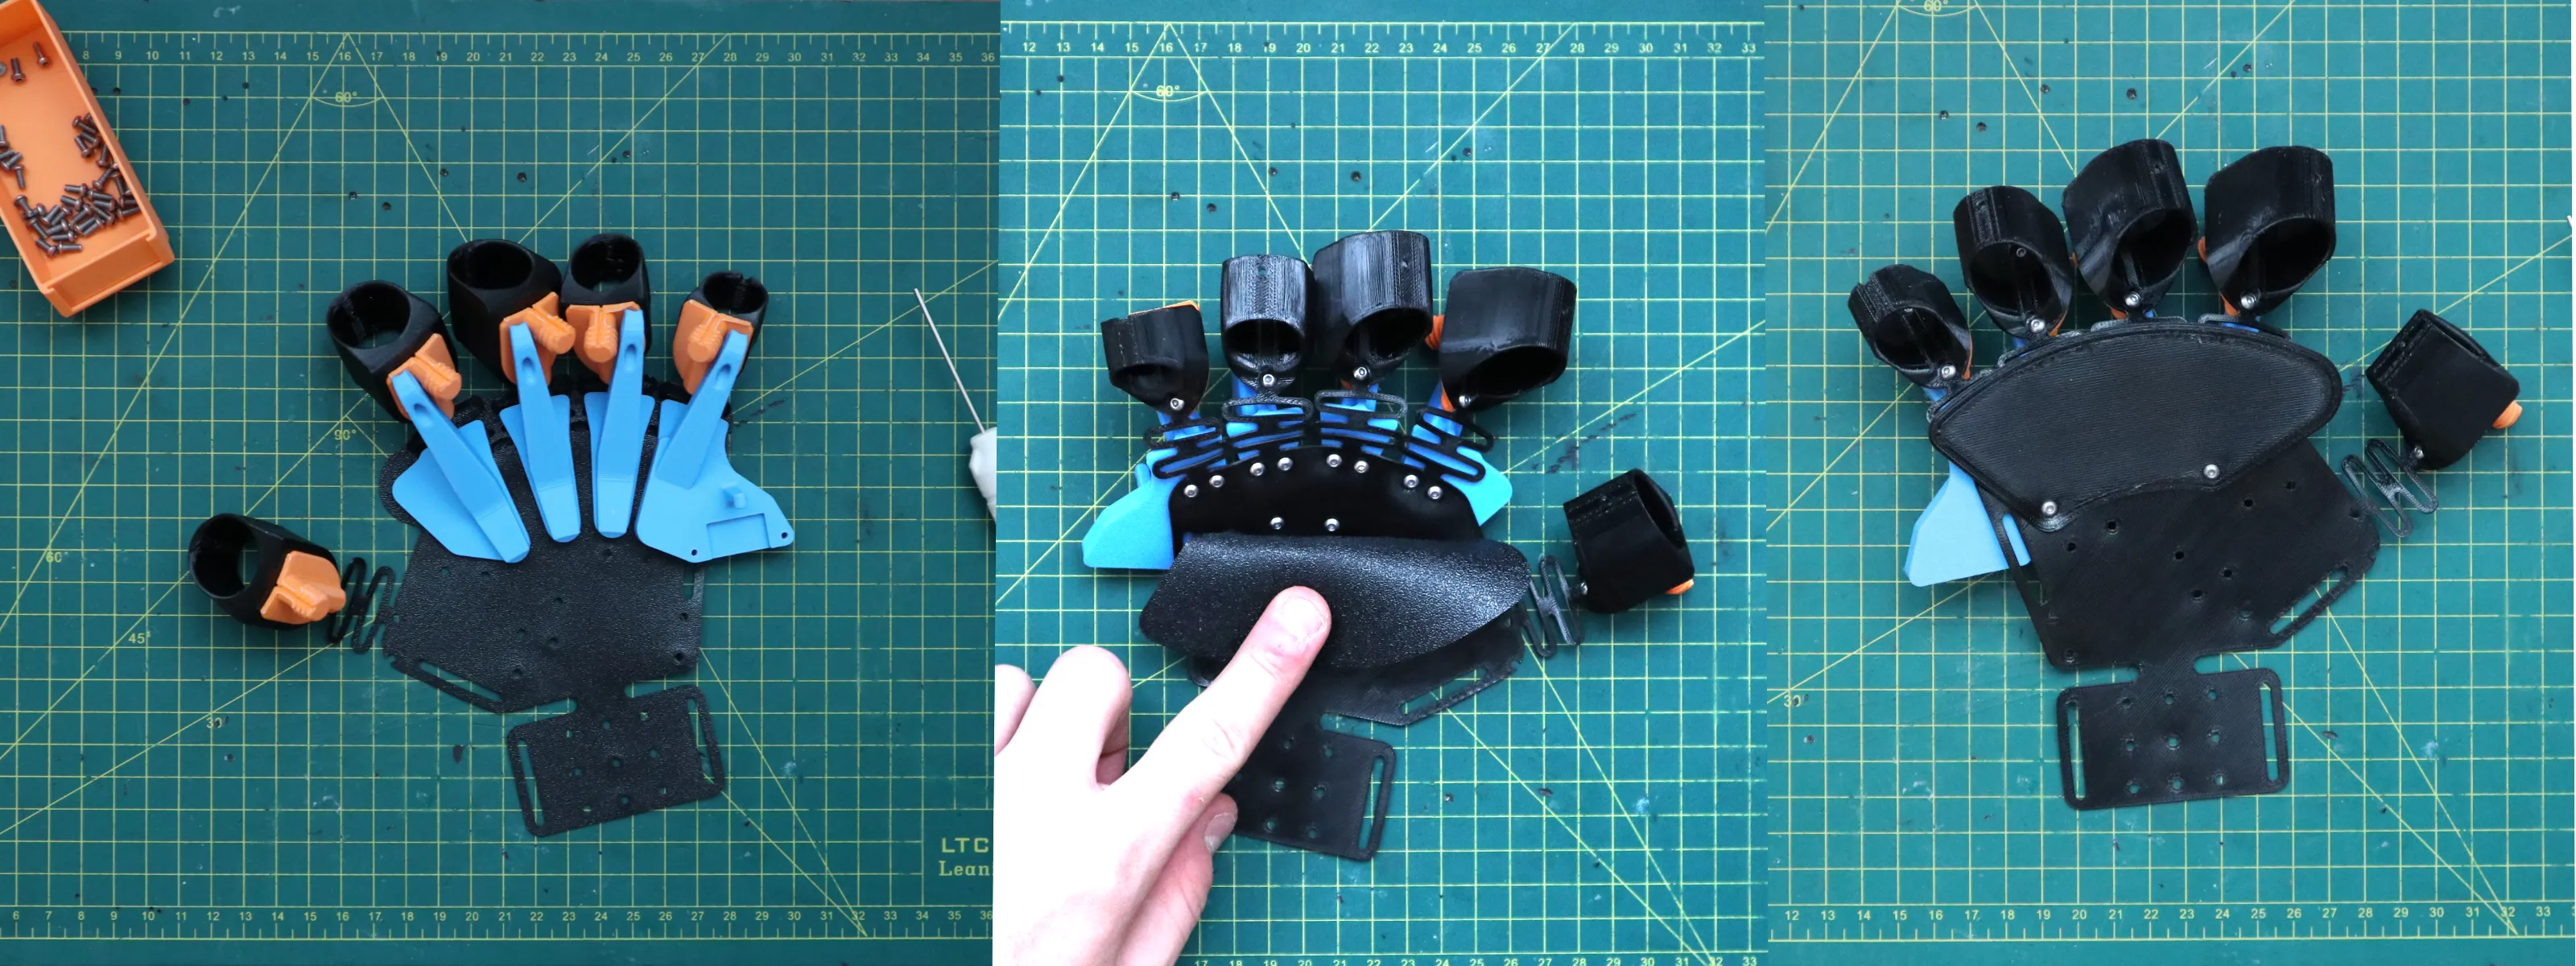
STEP 2: Assemble the Finger Wire Guides & TPU Pads
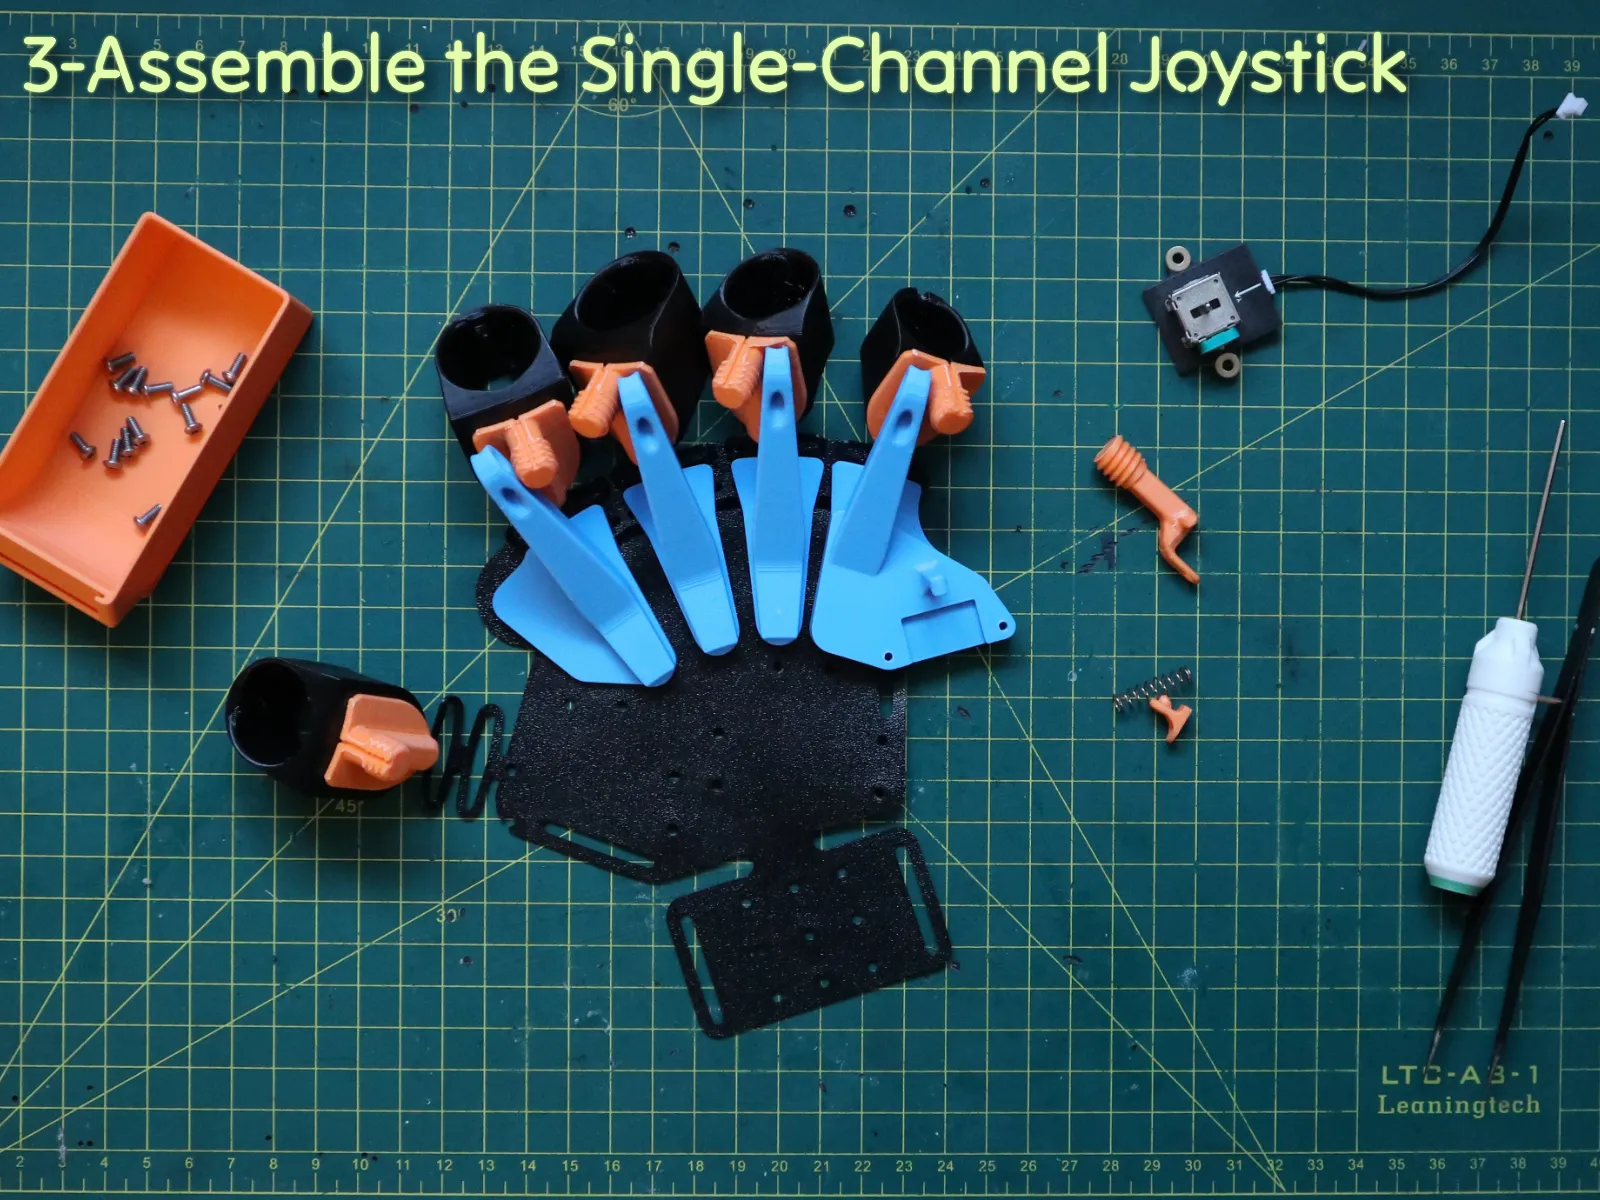

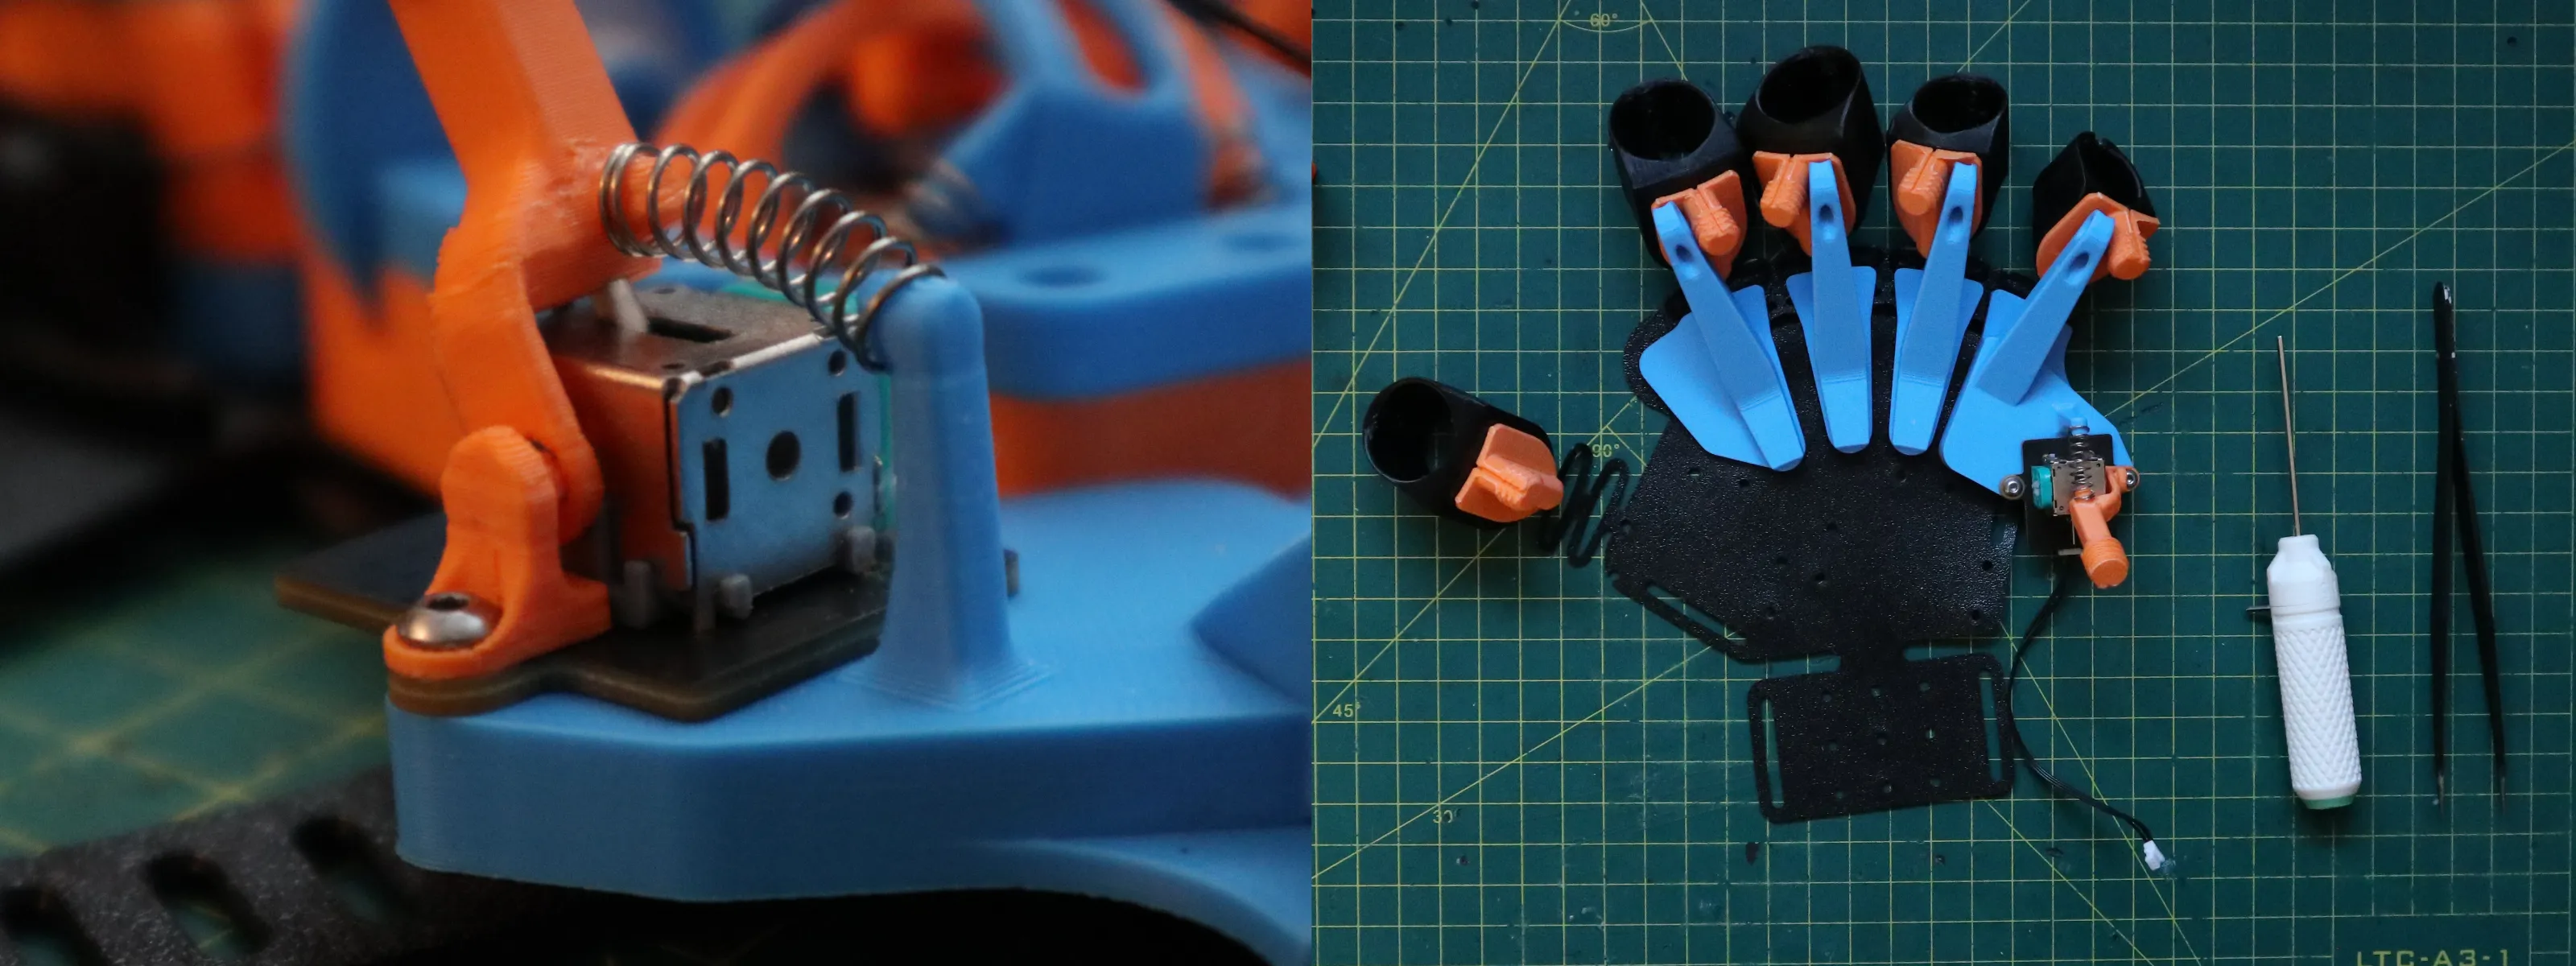
STEP 3: Assemble the Single-Channel Joystick (Pinky Module)
STEP 4: Assemble the Dual-Channel Joystick Units (x2)
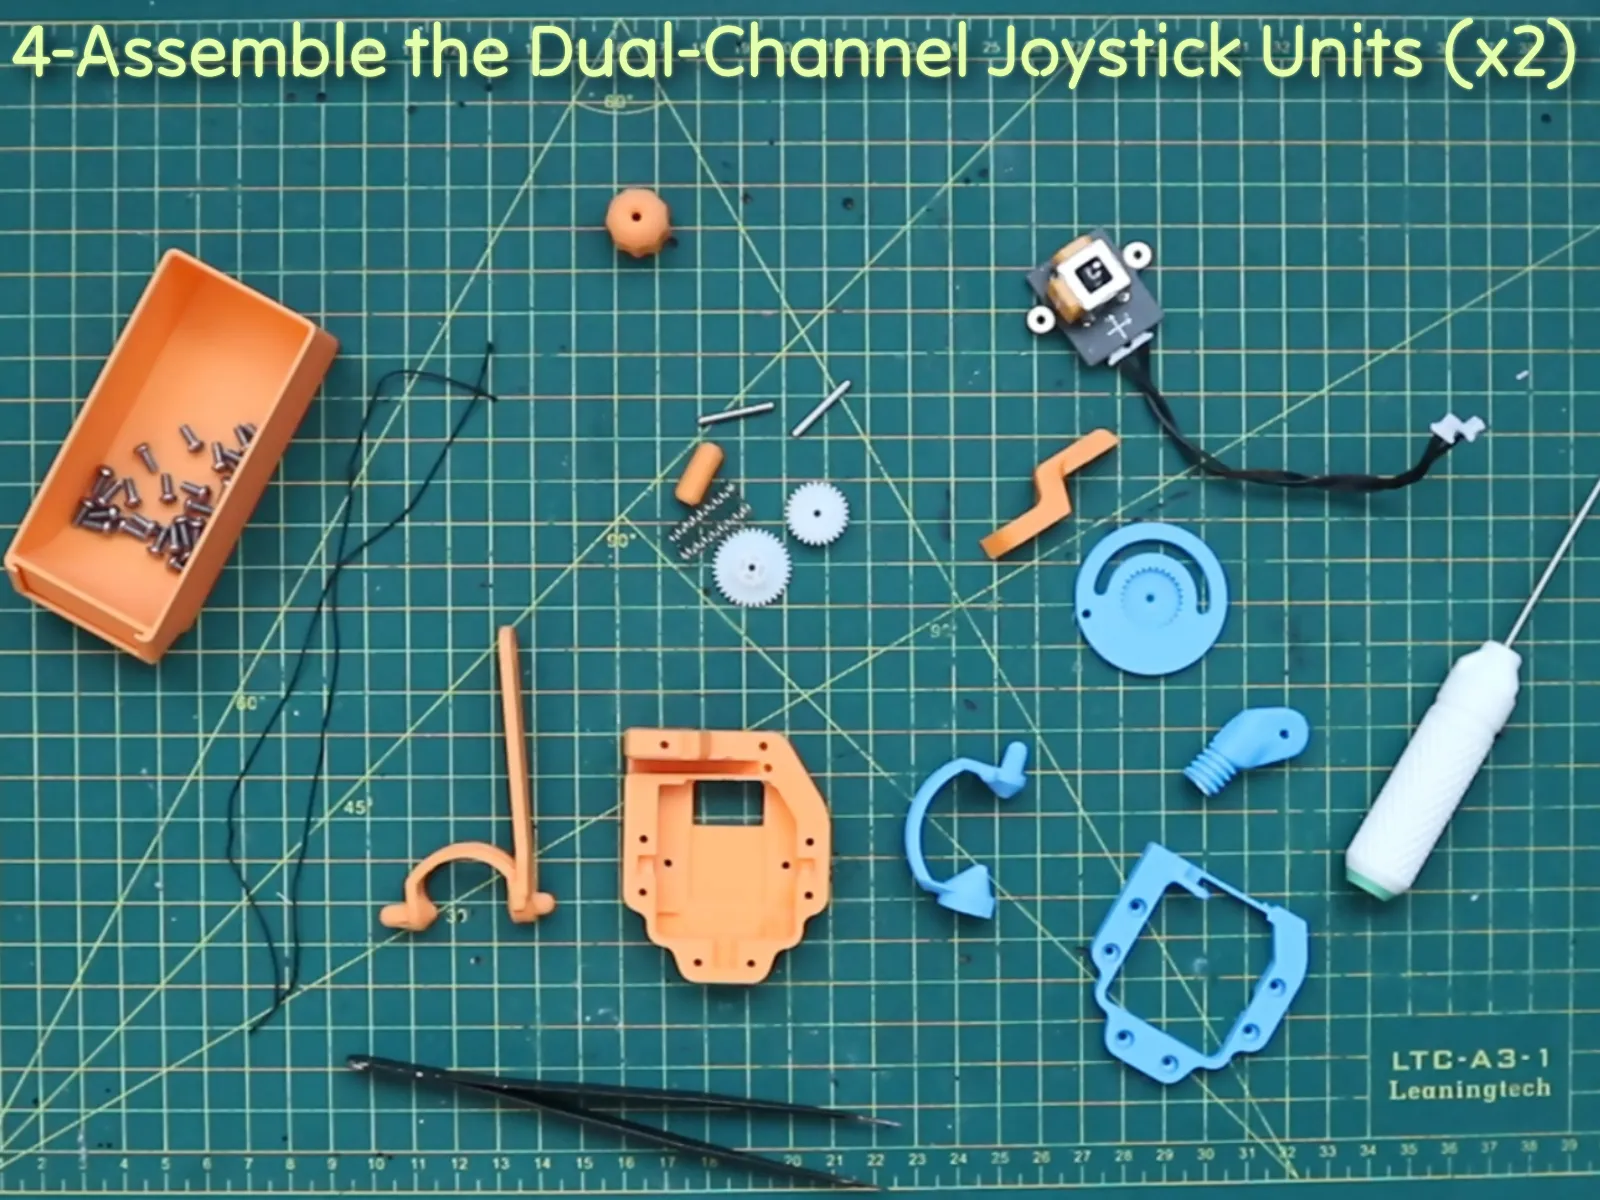

STEP 4.1: Screw in the joystick, insert the joystick extender, and place the Y-axis lever.

STEP 4.2: Insert the gears into their corresponding slots, assemble the upper part (in blue), and place it on the main base. Align the cable hole vertically (center position).
STEP 4.3: Screw on the top part and insert the cable as shown, securing it in the cable hole.

STEP 4.4: Screw in the remaining orange part to secure the wheel, and assemble the Y-axis cable fixture.

STEP 4.5: Insert the springs as shown.

STEP 4.6: Secure the Y axis cable.

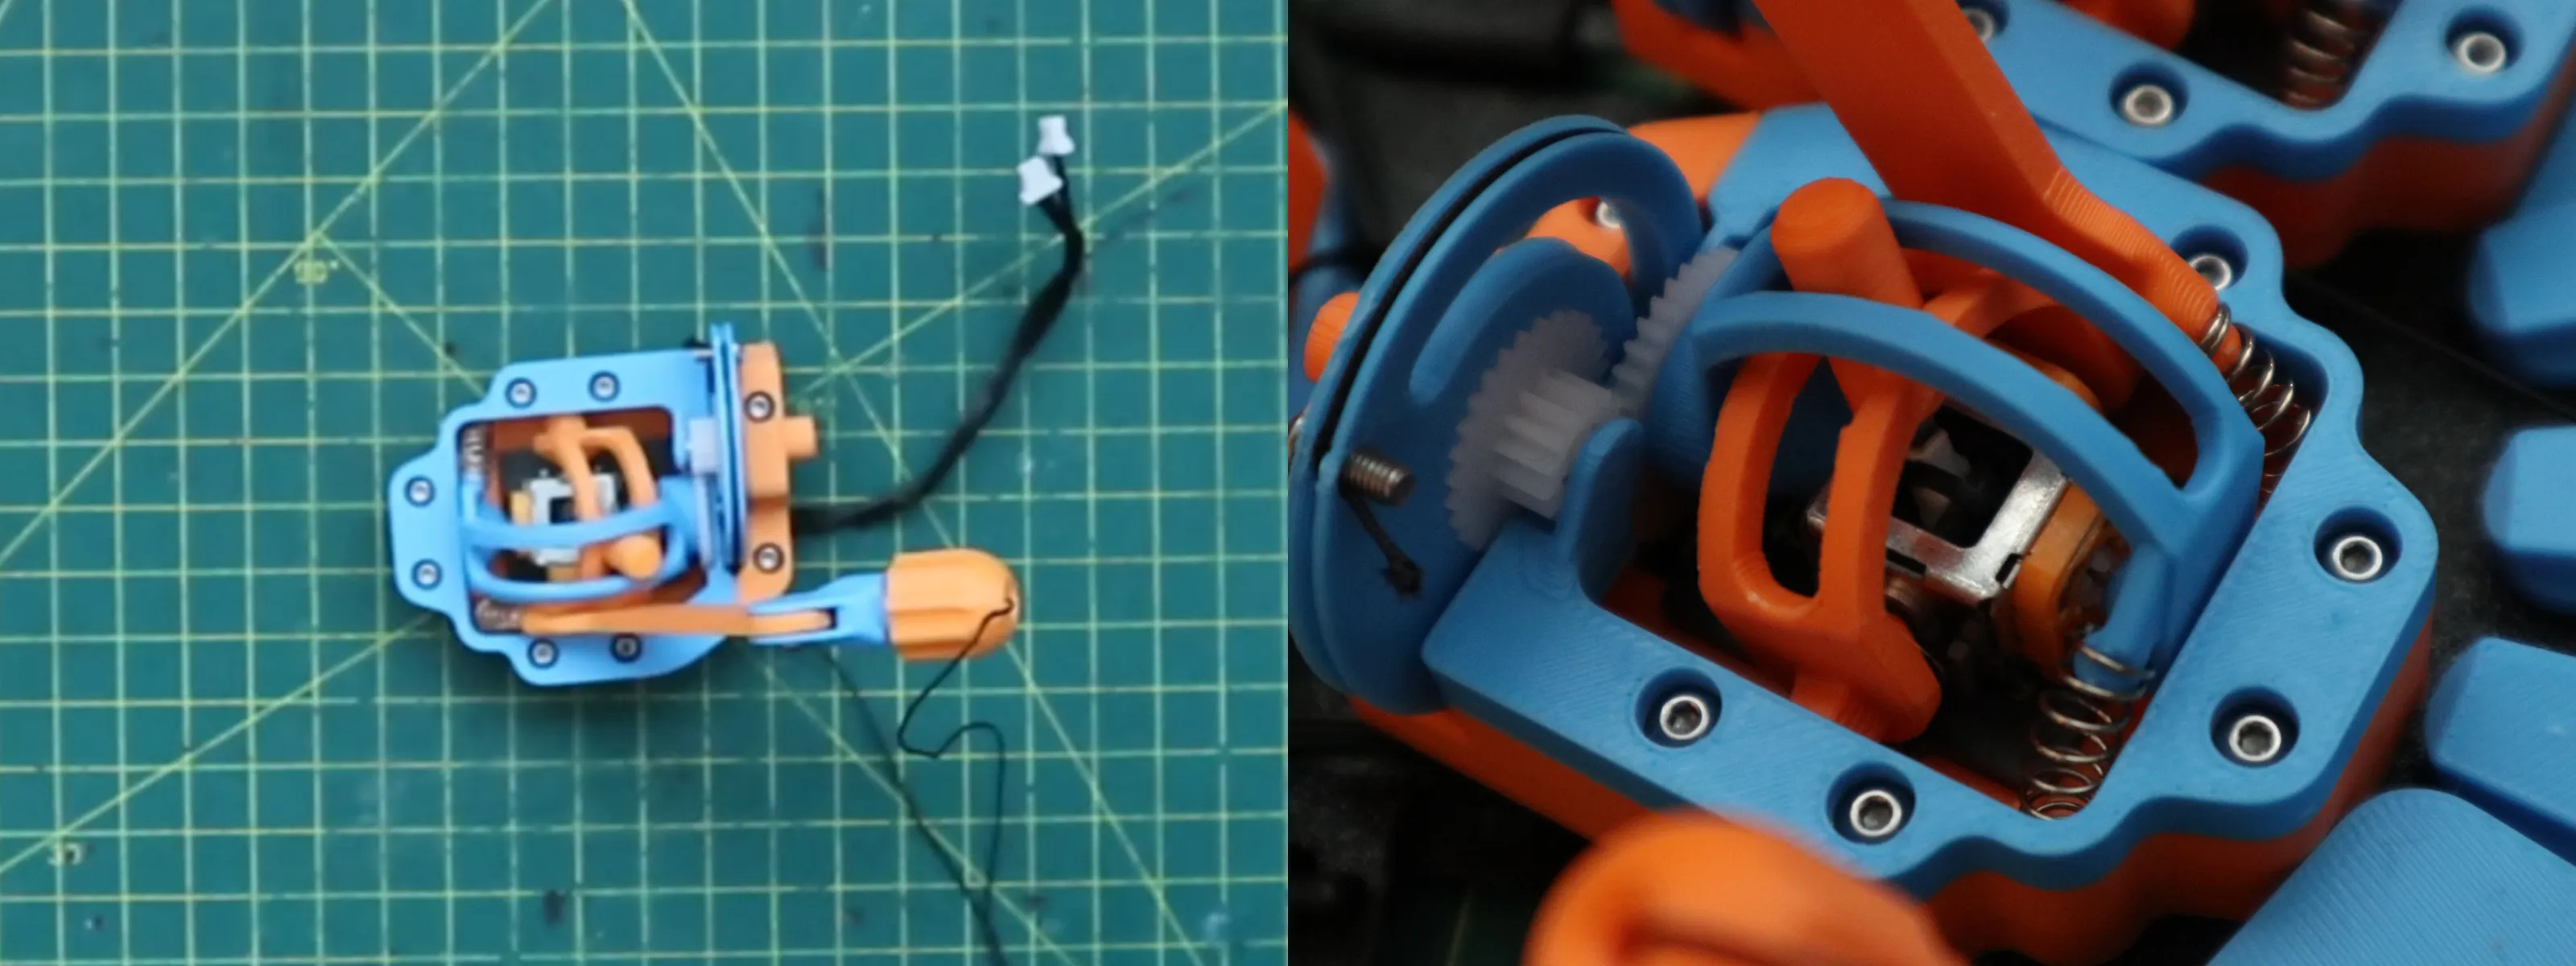
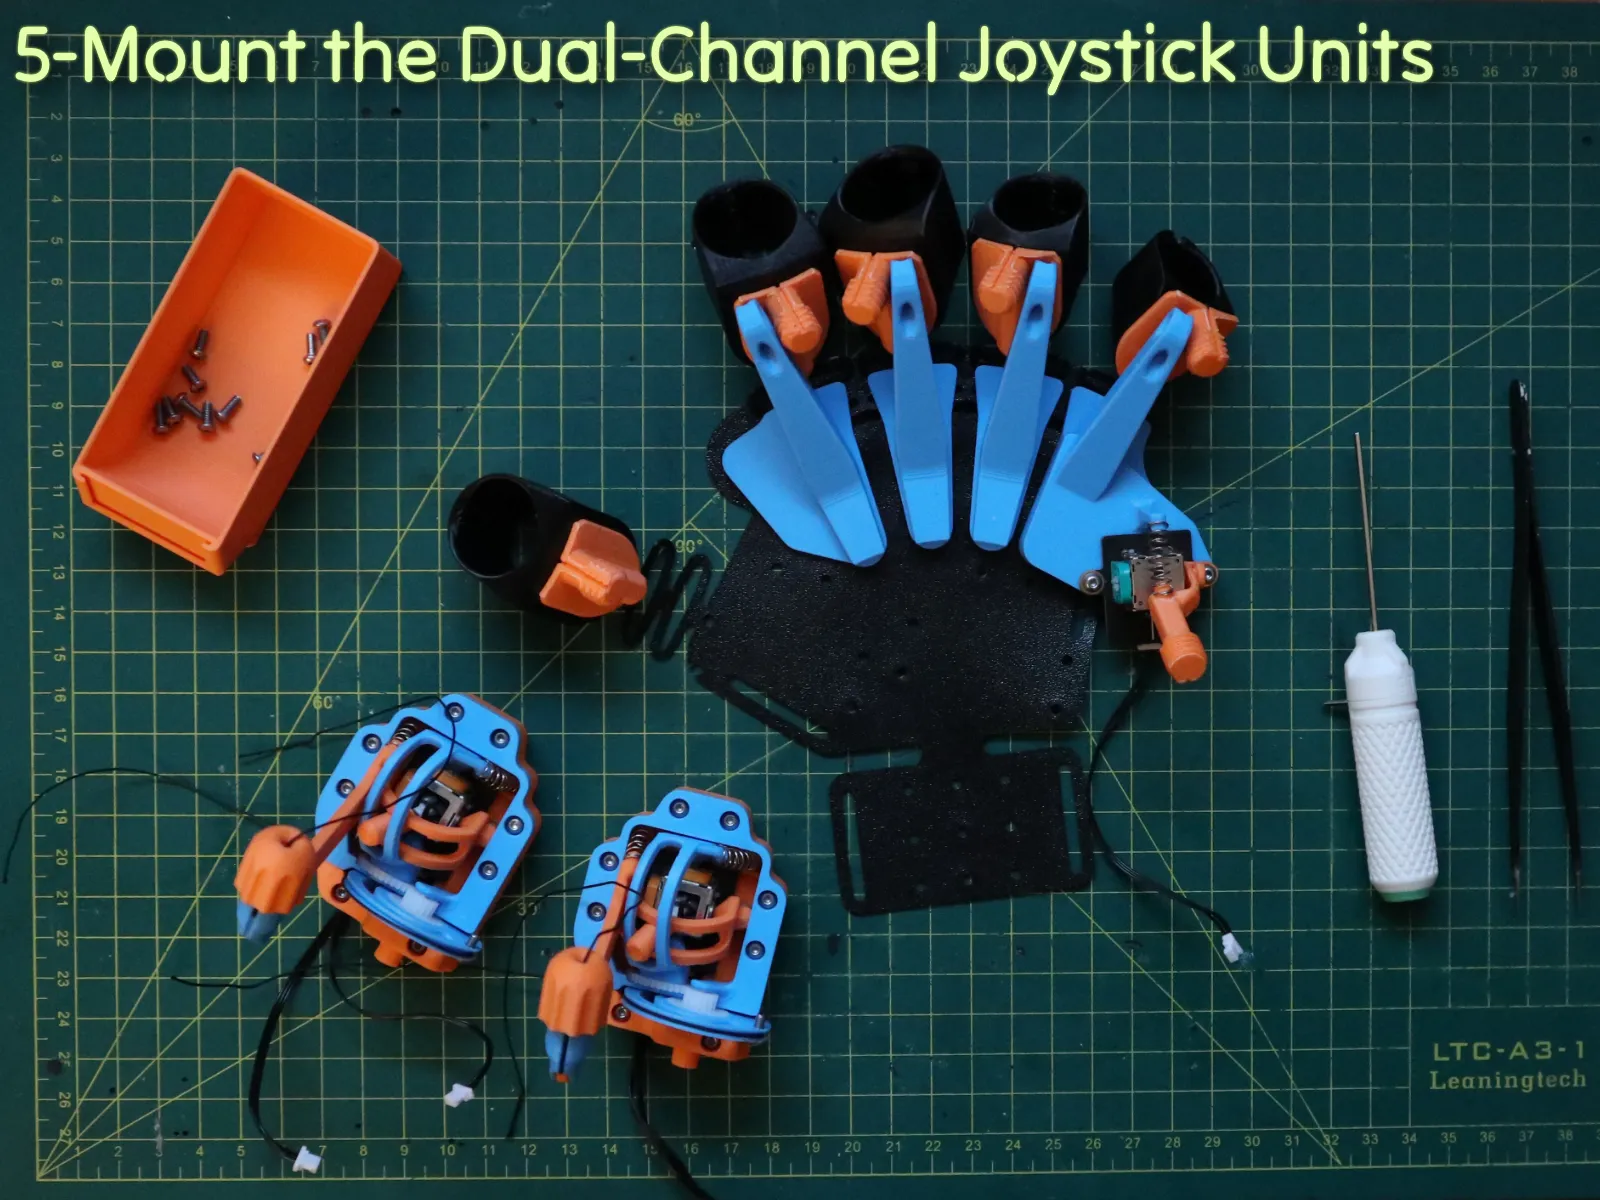

STEP 5: Mount the Dual-Channel Joystick Units

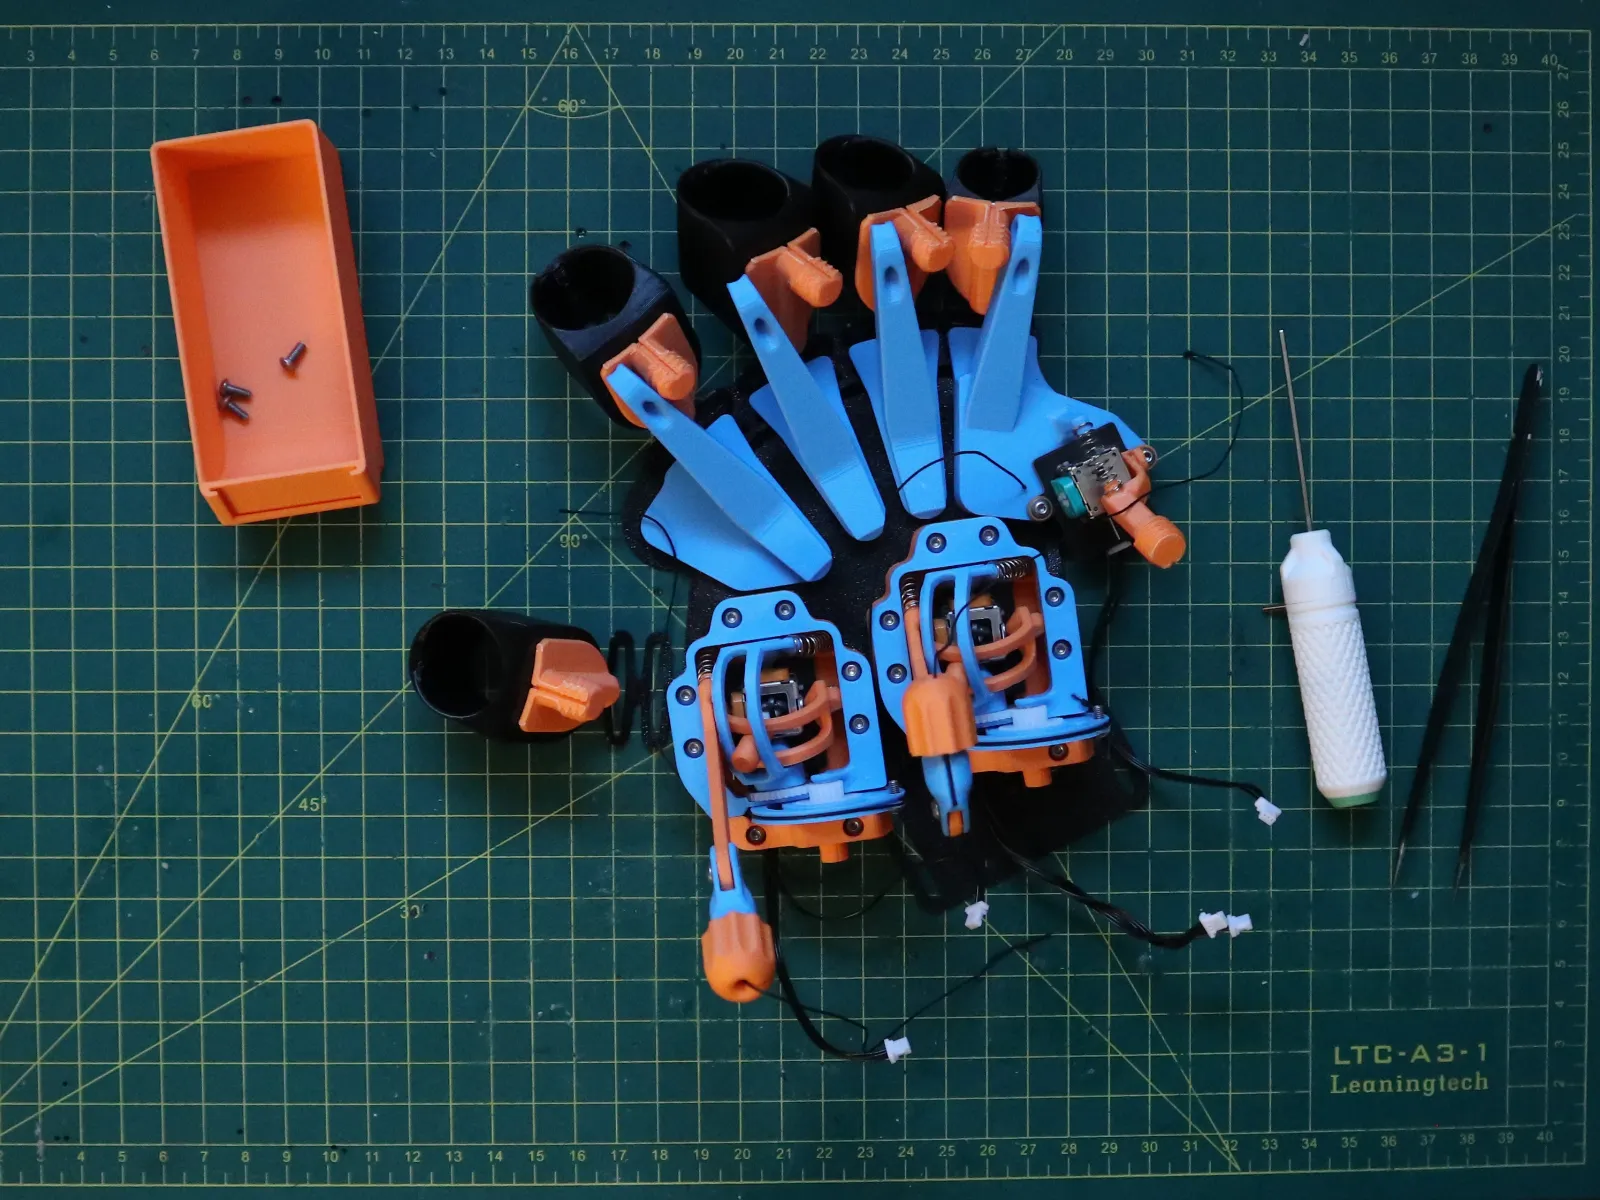
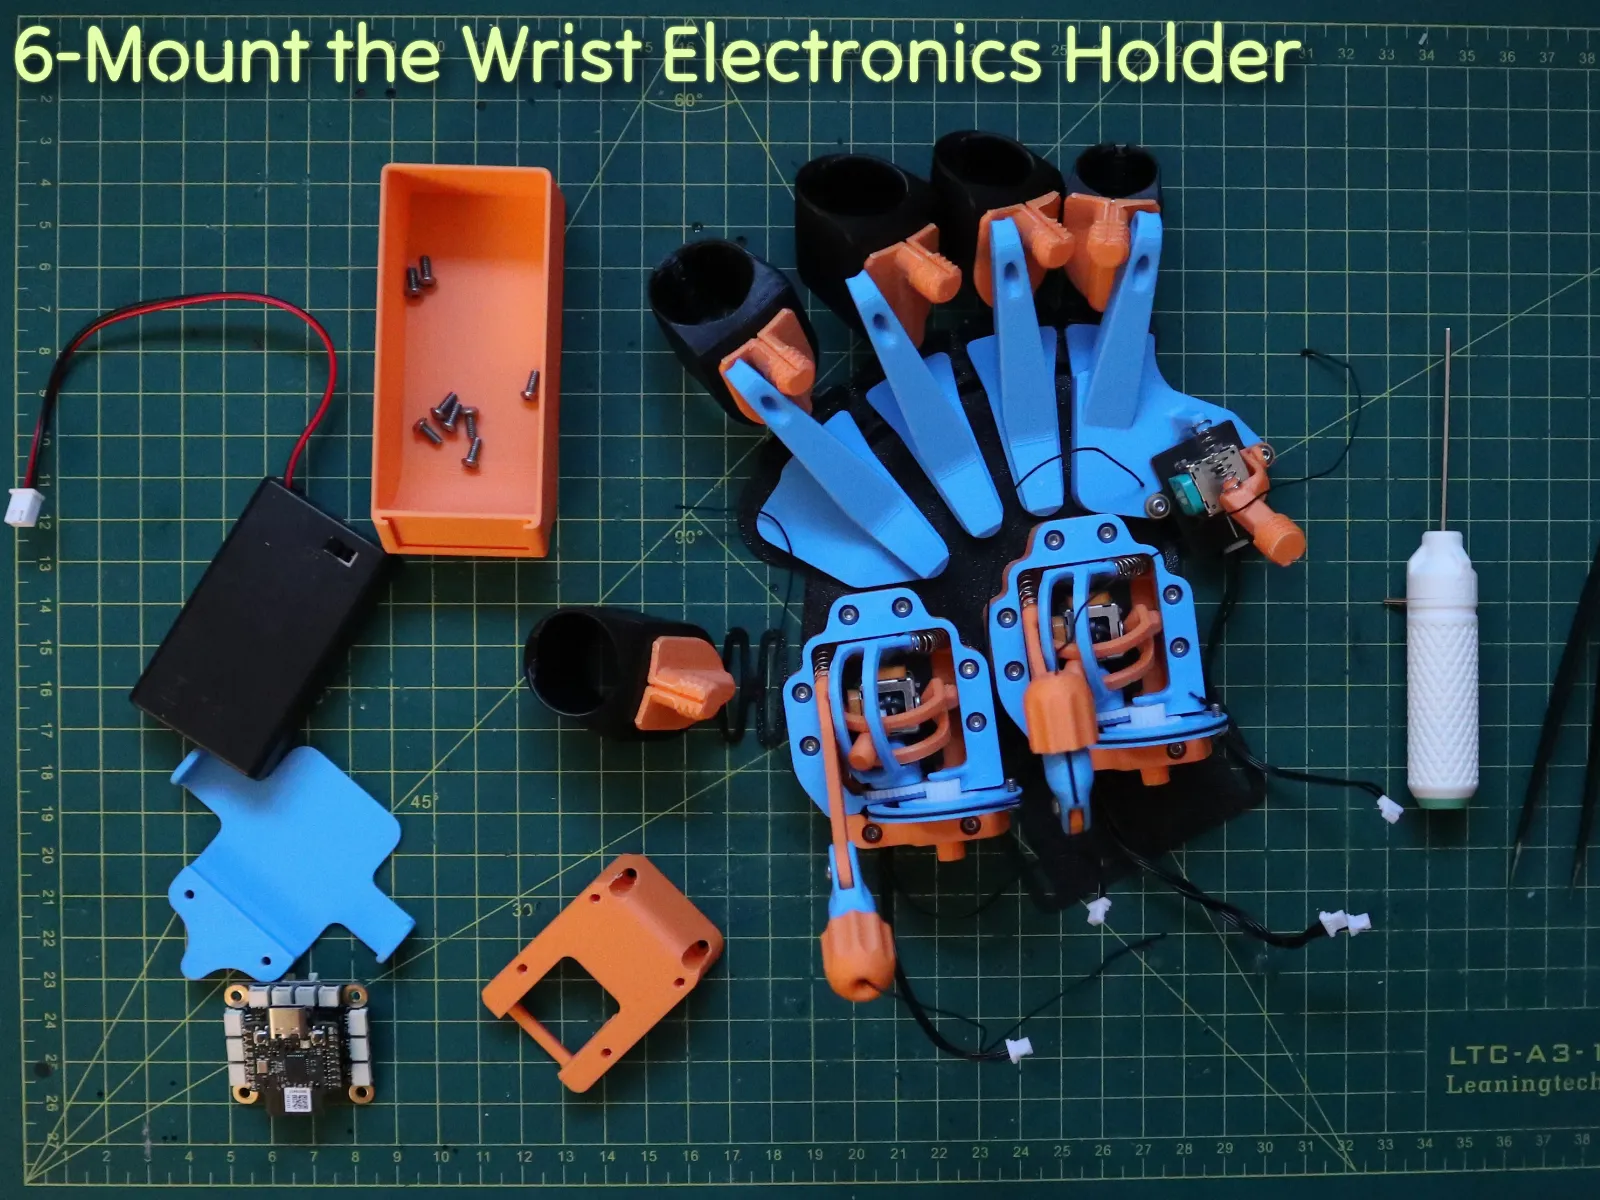

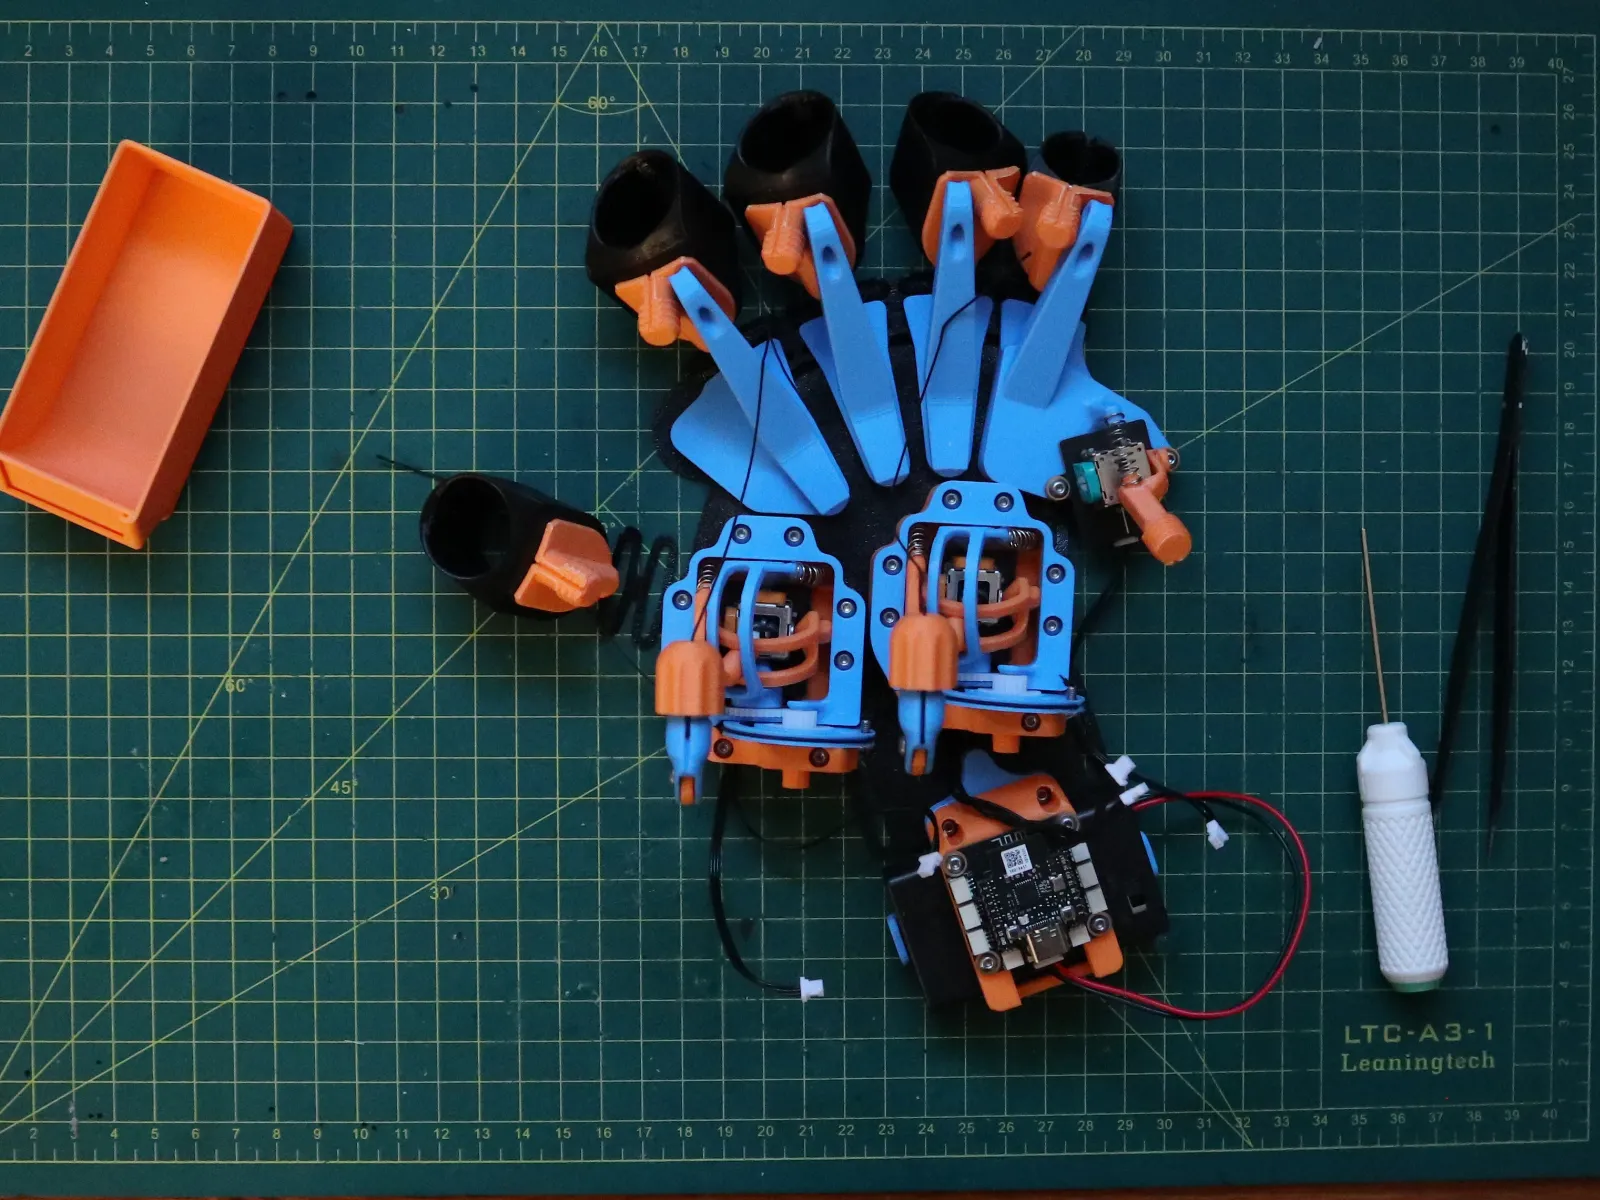
STEP 6: Mount the Wrist Electronics Holder
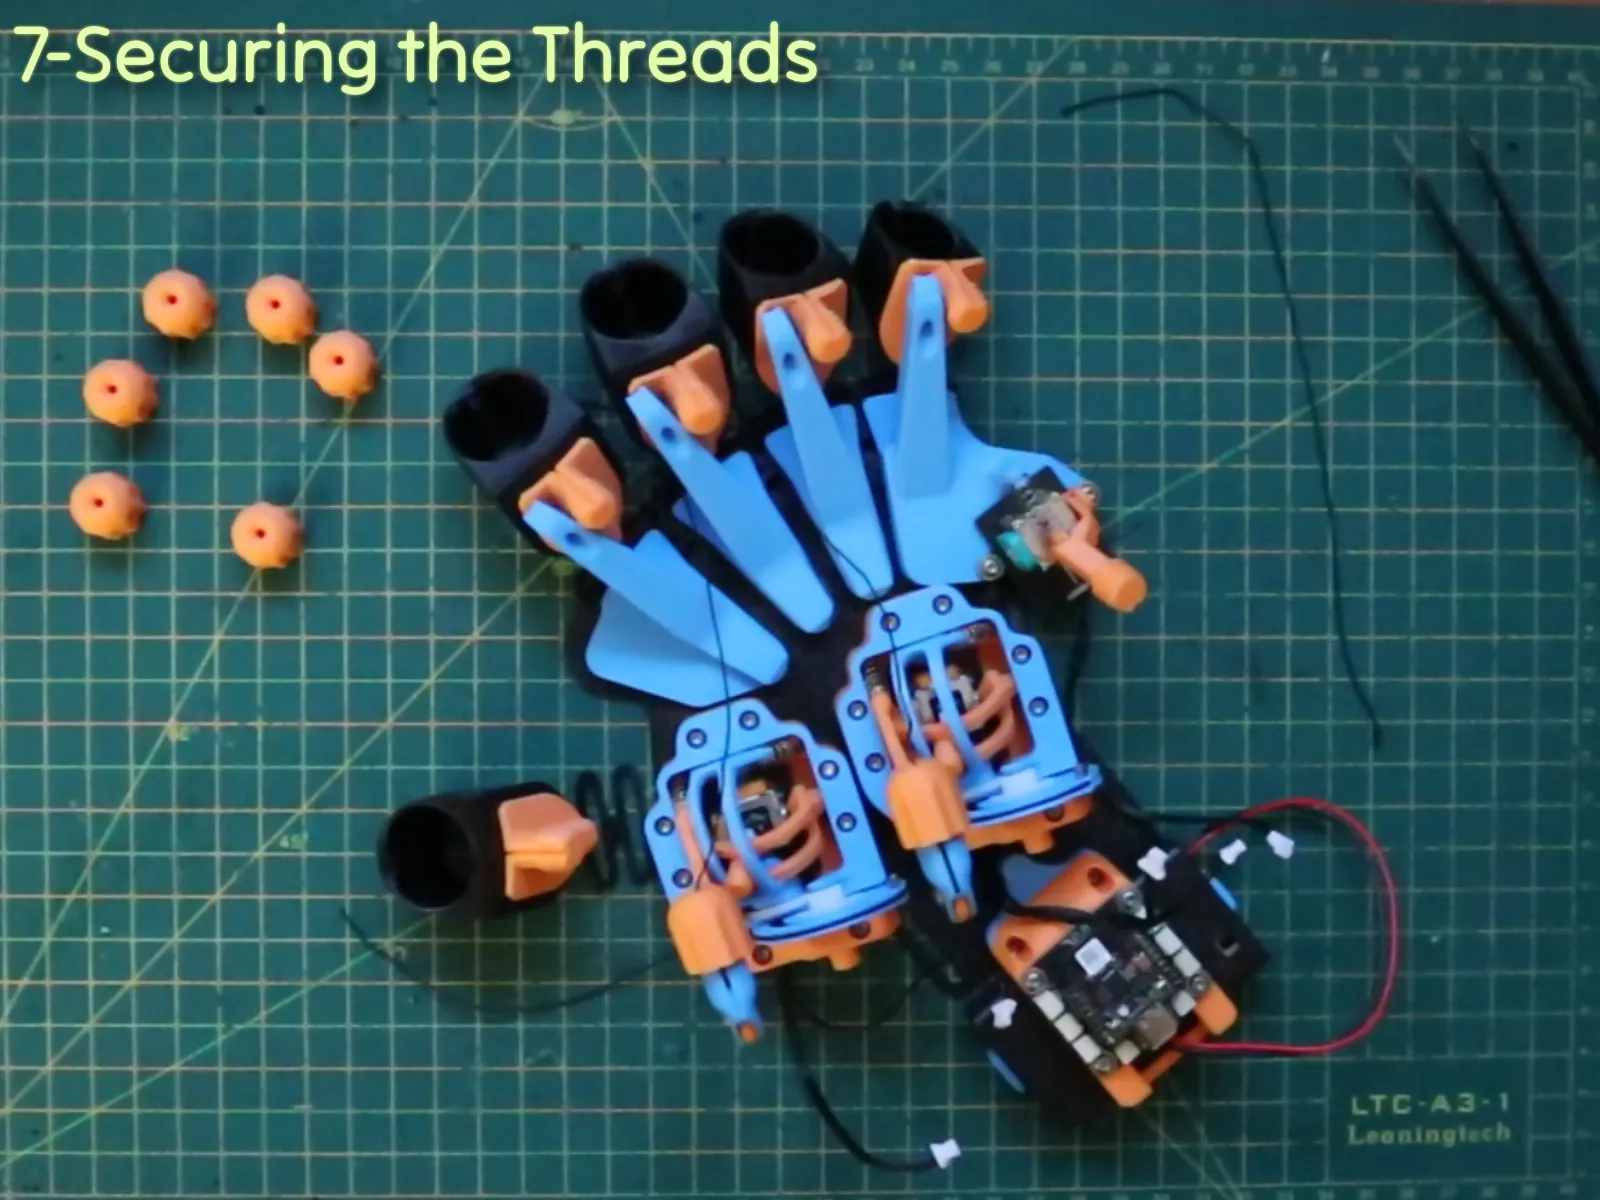
STEP 7: Secure the Threads
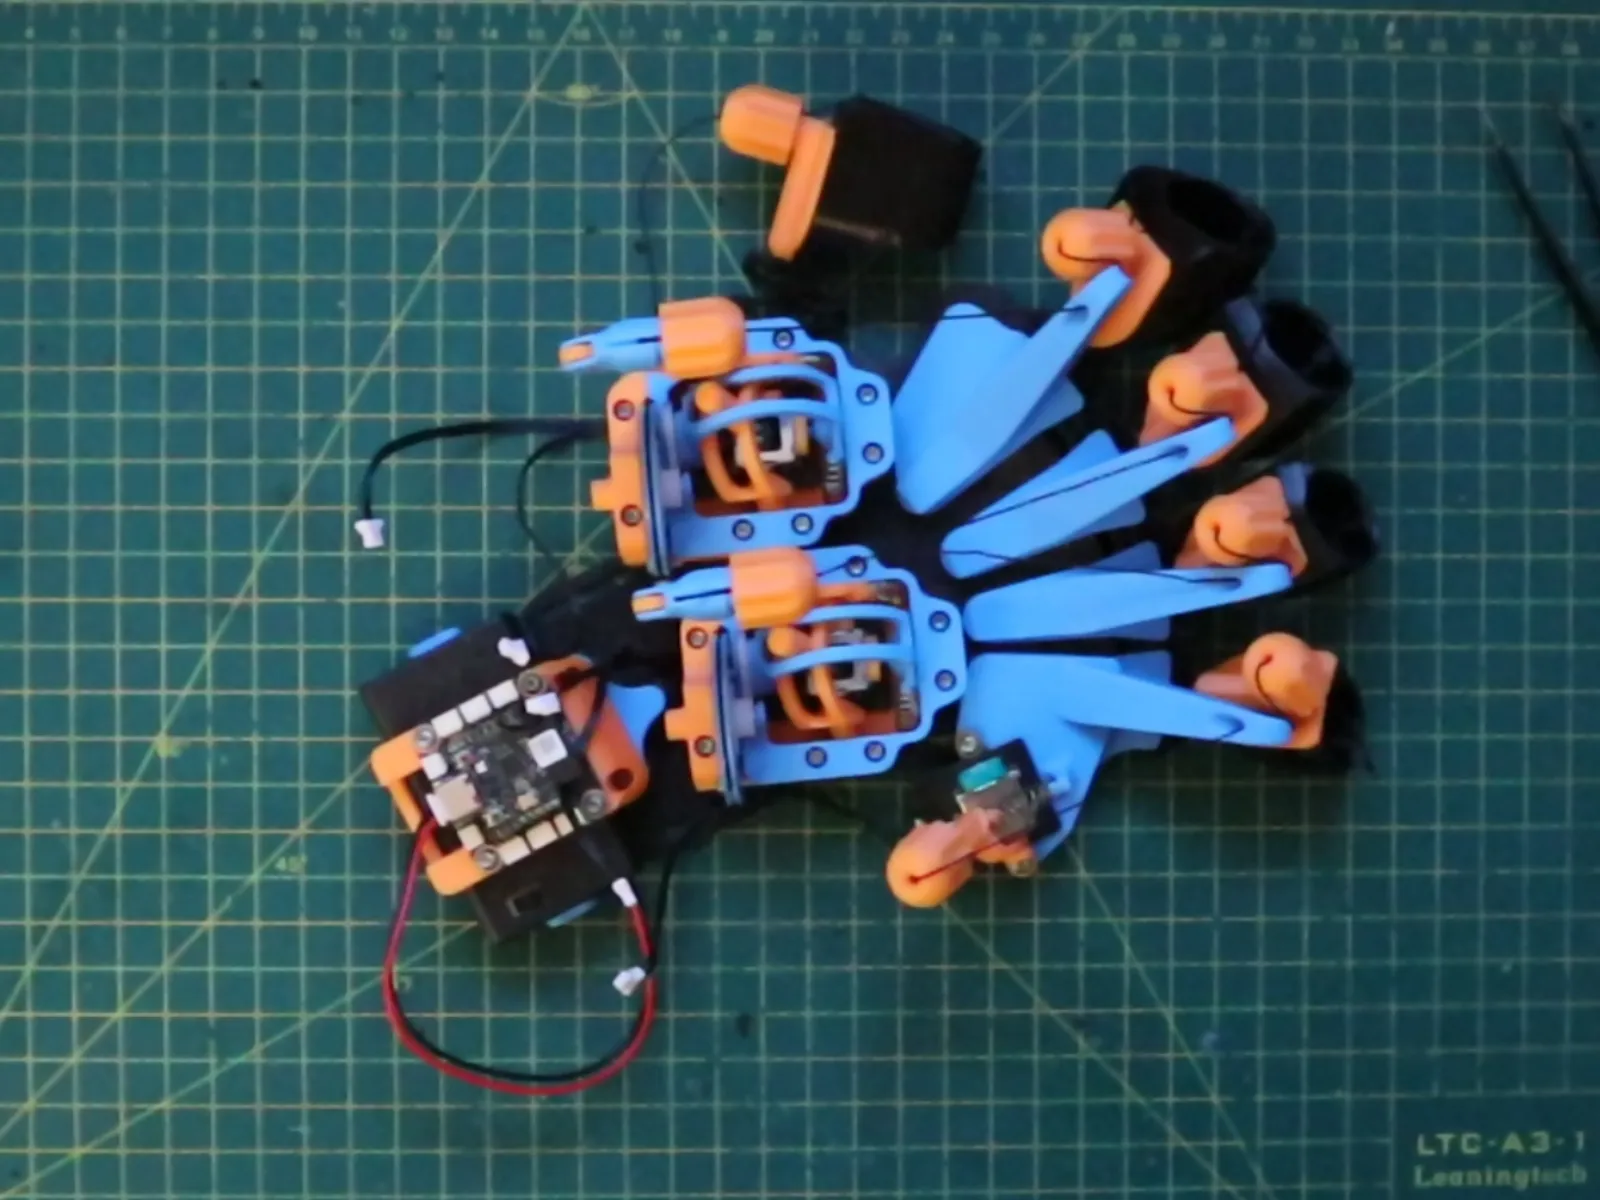
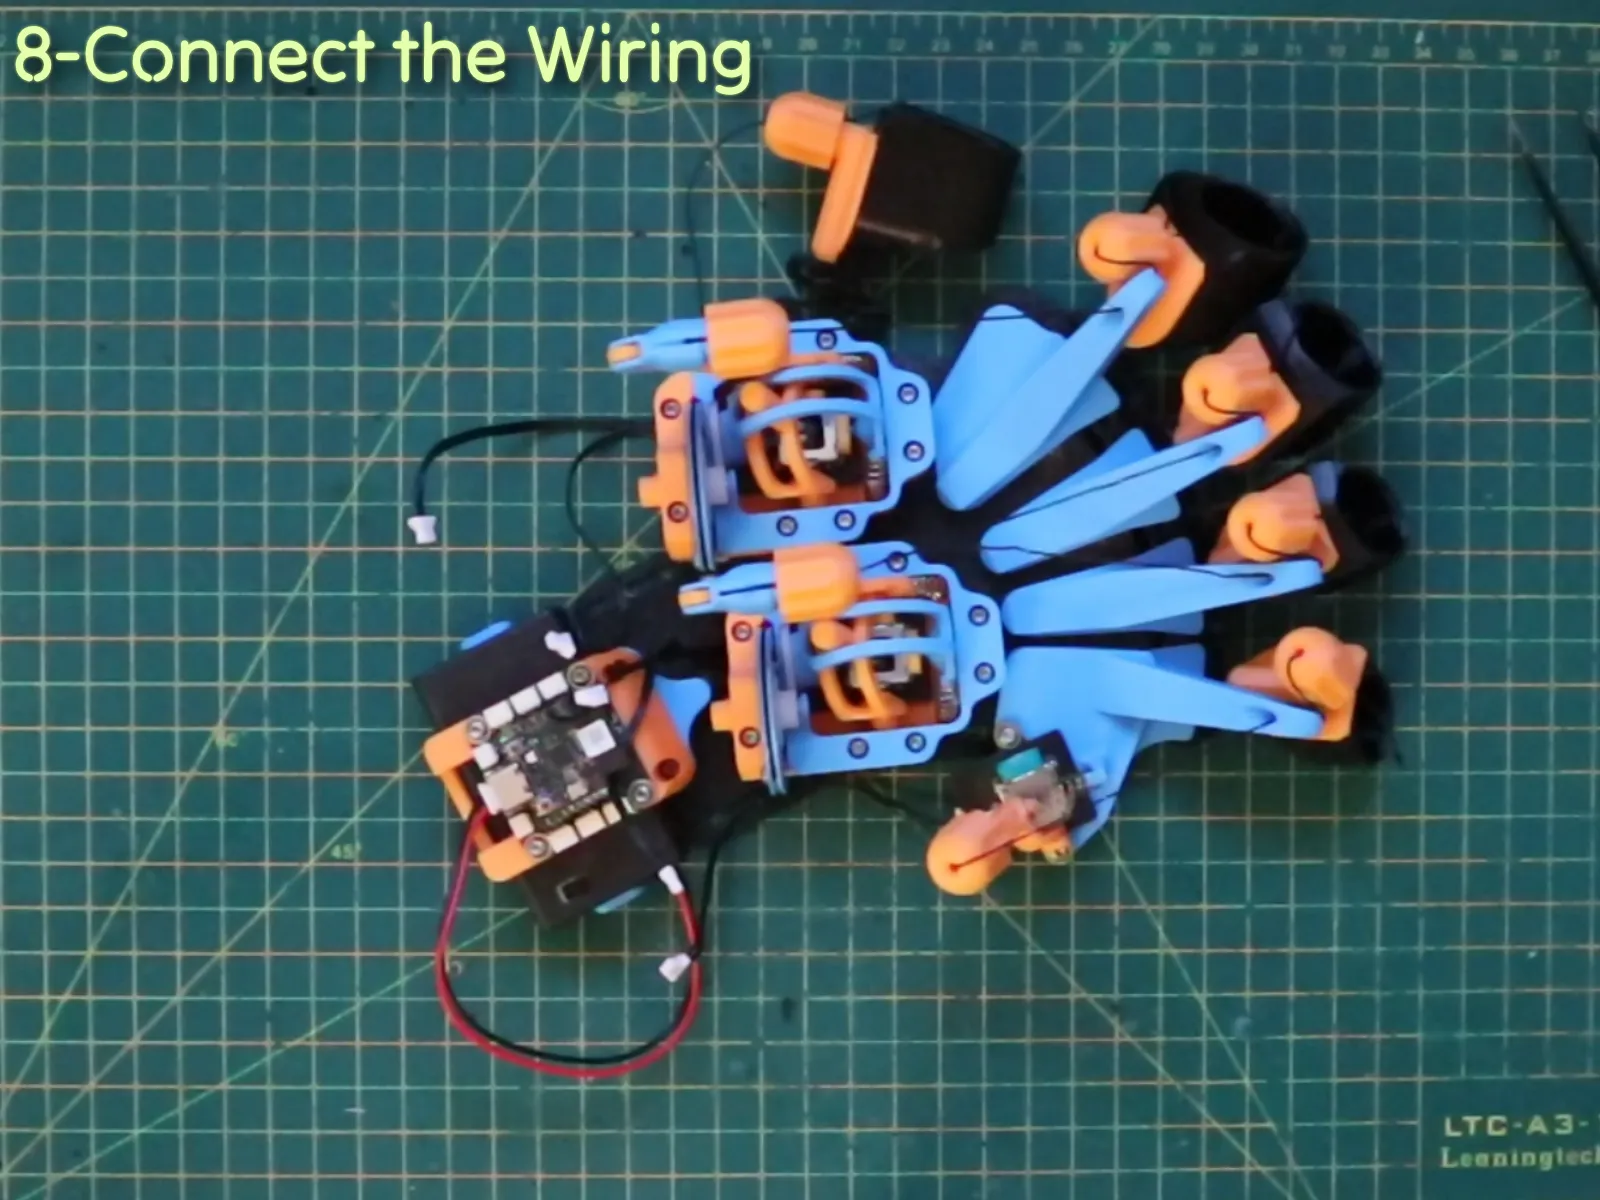

STEP 8: Connect the Wiring
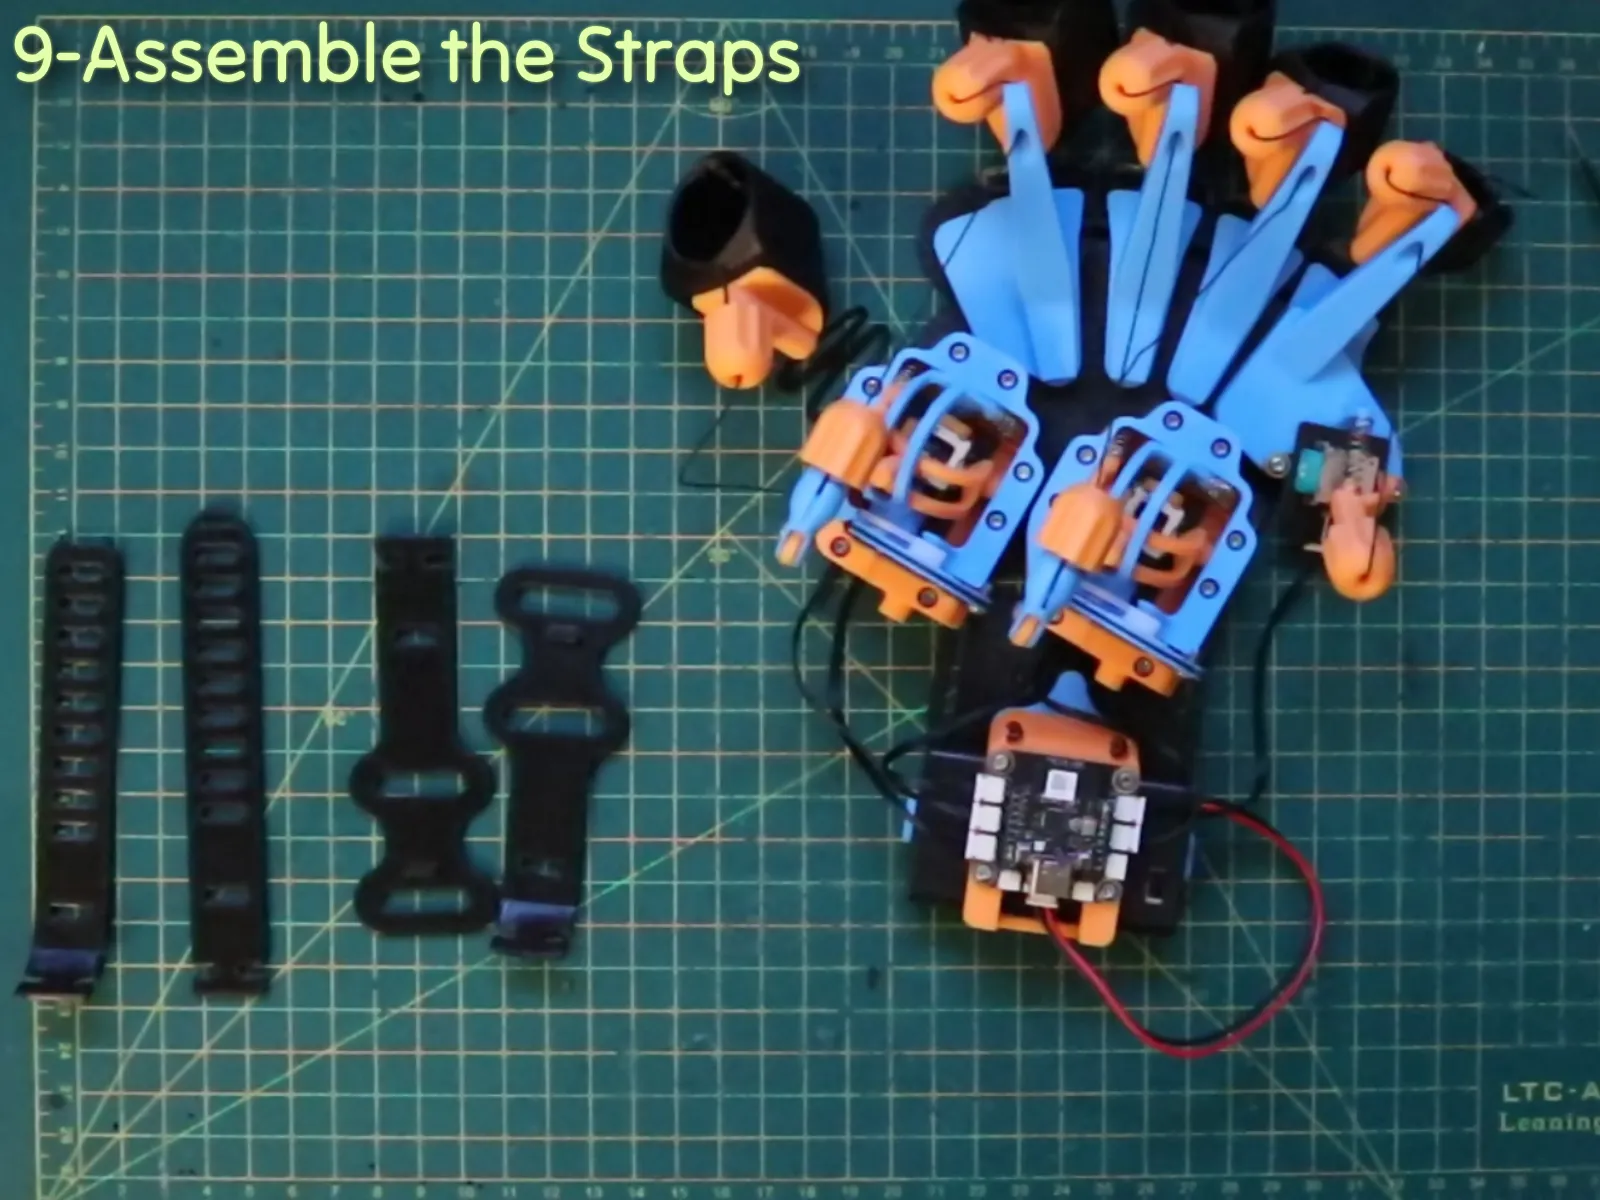
STEP 9: Assemble the Straps (optional)

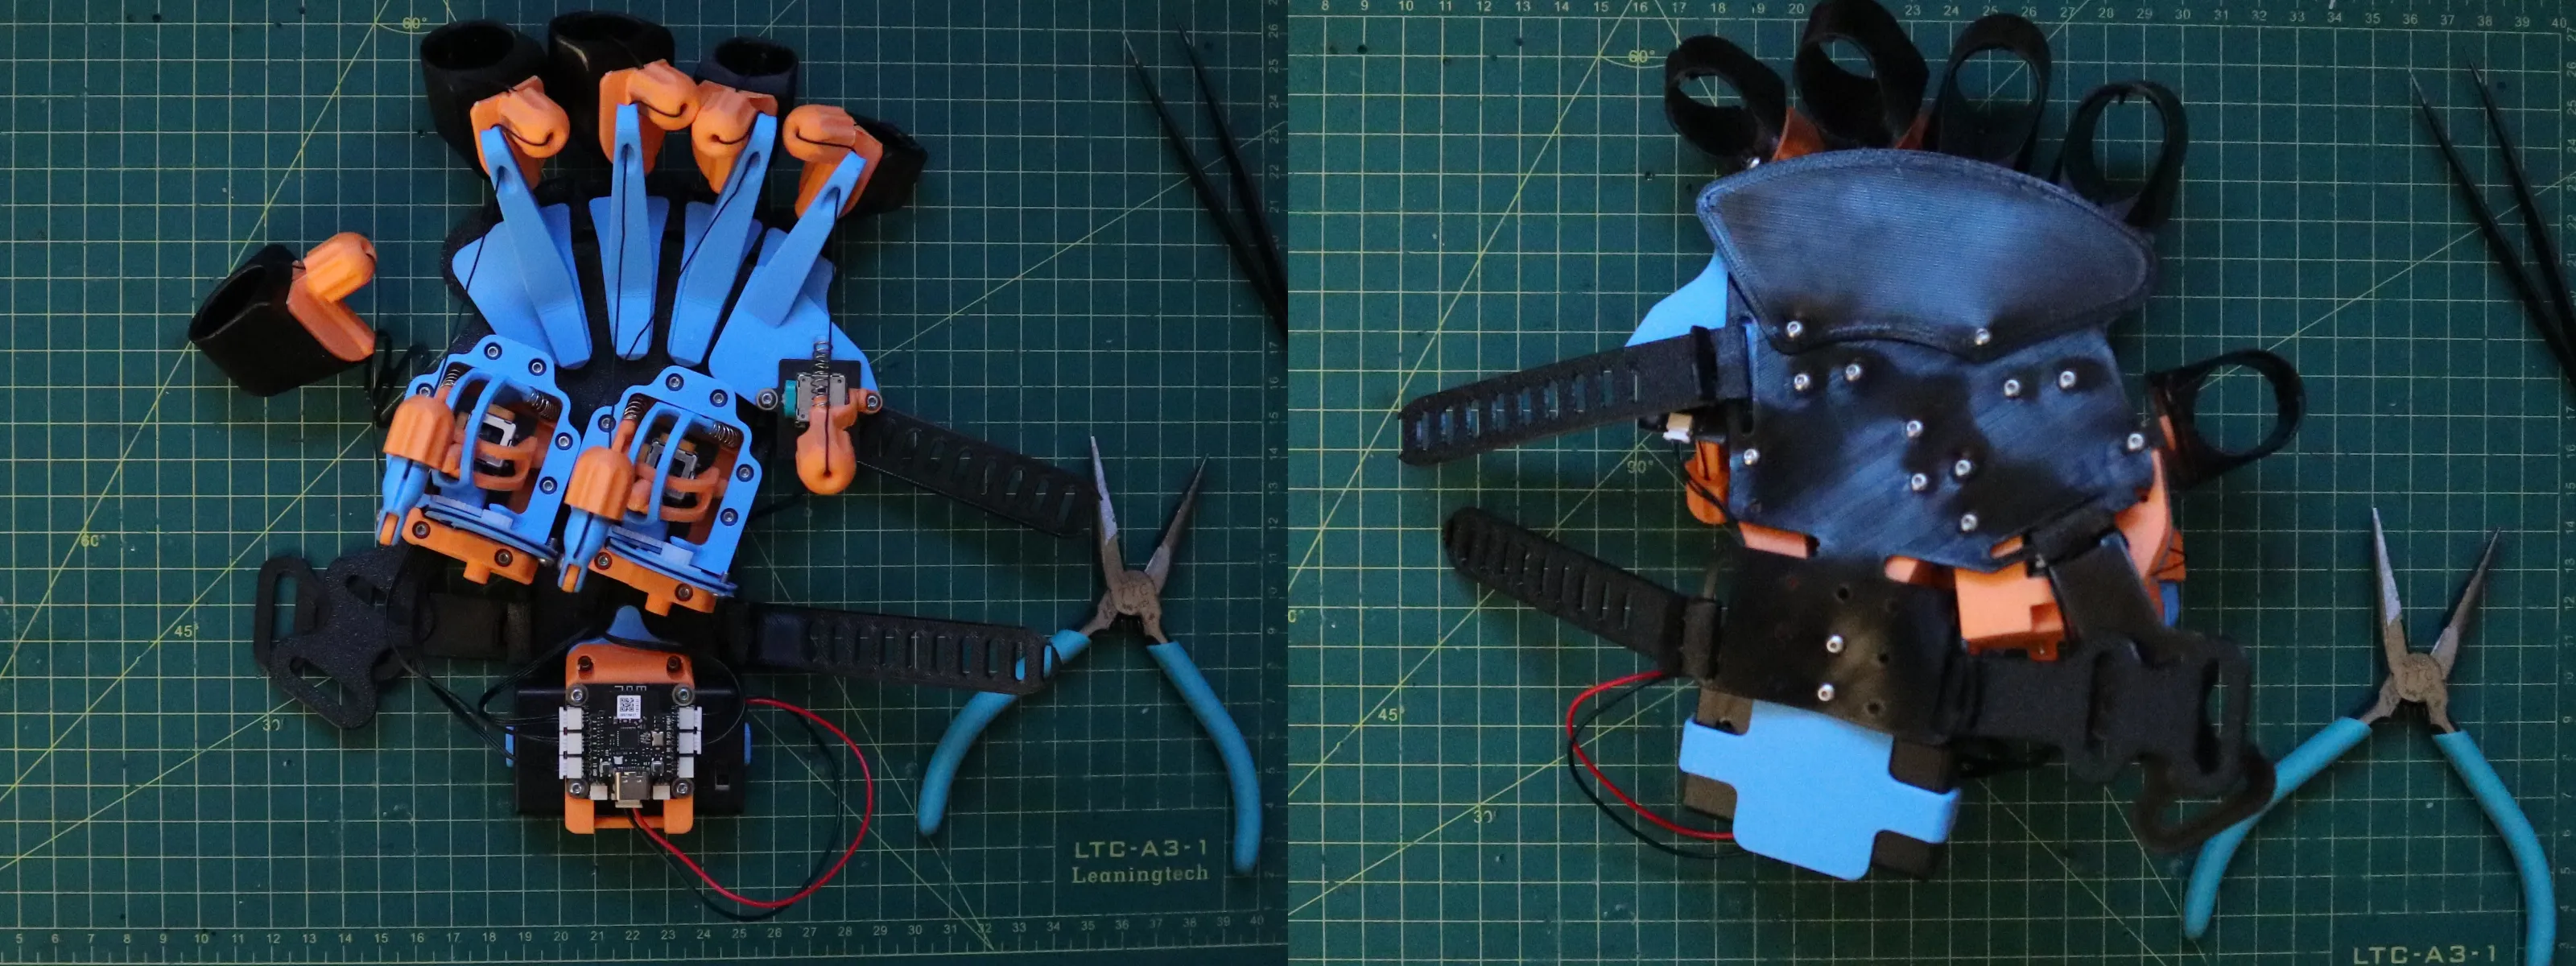
You can use Velcro, I used this one 👉 https://www.amazon.ca/dp/B0DGQ261TX?ref=ppx_yo2ov_dt_b_fed_asin_title&th=1, otherwise If you want to print the straps, the assembly steps follow below:
STEP 10: Calibration & Tensioning
Adjust the length of the threads to maximize the joystick's range of motion and maintain proper tension.

Feel free to reach out if you have any questions. Enjoy your making journey! 🛠️💬
Boost Me (for free)
If you like this model, a boost is always appreciated ! 😊 Thank you very much !
If you really like what I do, you can also buy me a beer🍺! Happy printing!

License

You may create derivative works based on this object, provided that all such derivative works are published exclusively on the MakerWorld platform and include proper attribution to the original creator. You may not share, upload, host, distribute, or publish this object—or any derivative work of this object—on any other digital platform, marketplace, or distribution channel. Commercial use of this object and any derivative works is strictly prohibited. This includes, but is not limited to, selling, renting, sublicensing, or using the object in any context in which you receive monetary compensation or other financial benefits.


Comment & Rating (205)