
Centipede Arcade Cabinet - 1/16 Light-up Model
Print Profile(4)


Bill of Materials


Description
The 80's Atari classic lives again!
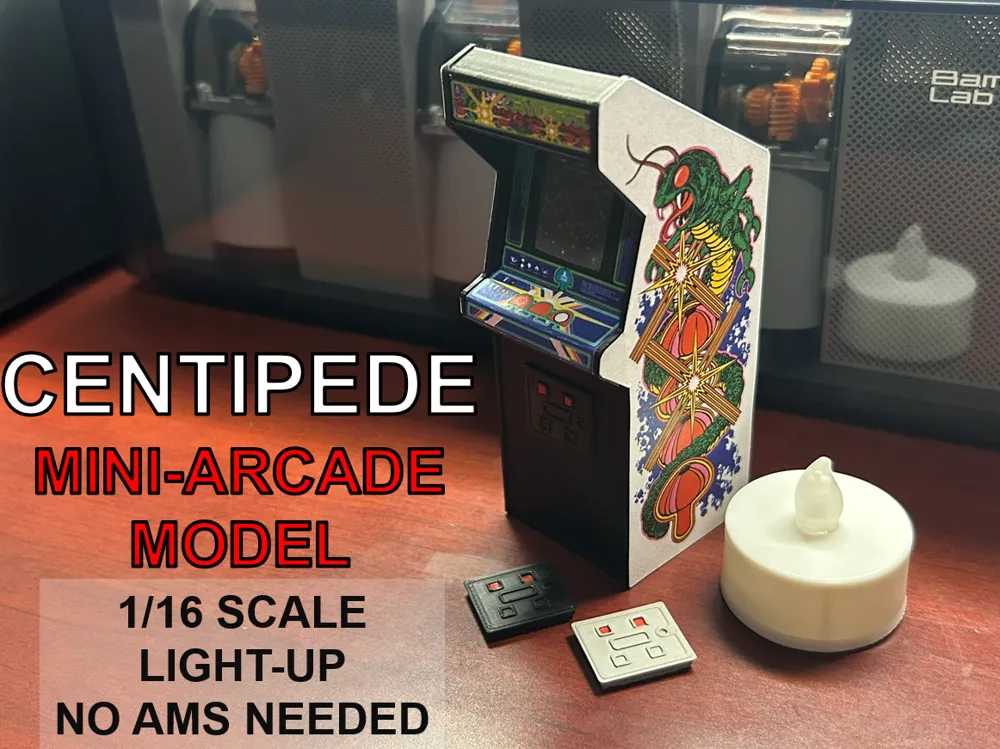
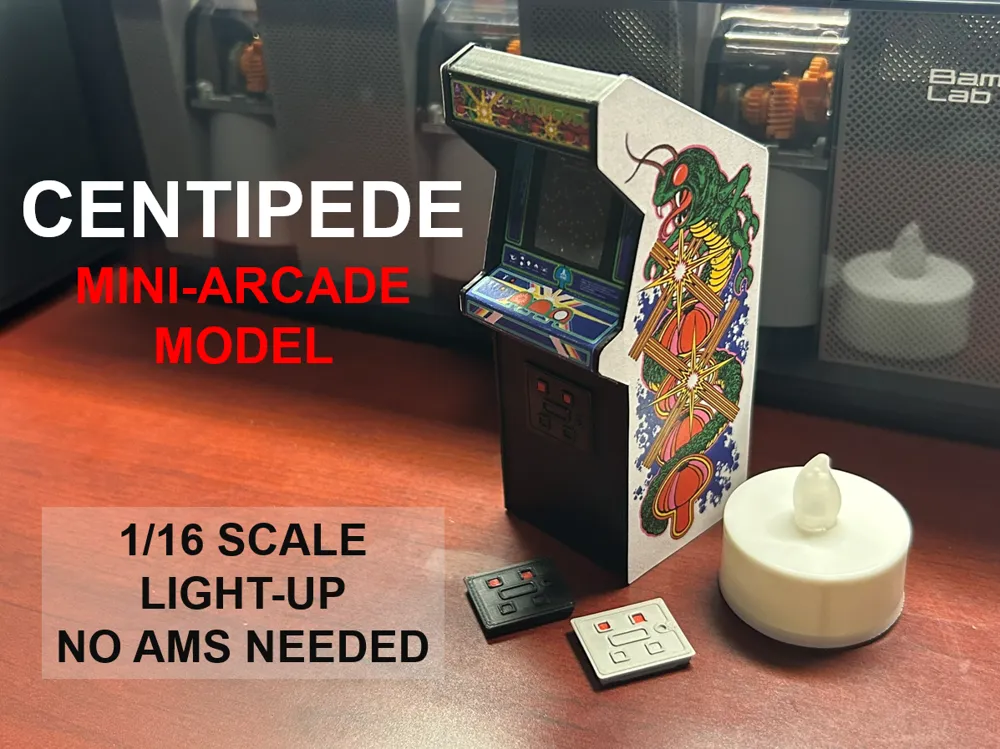
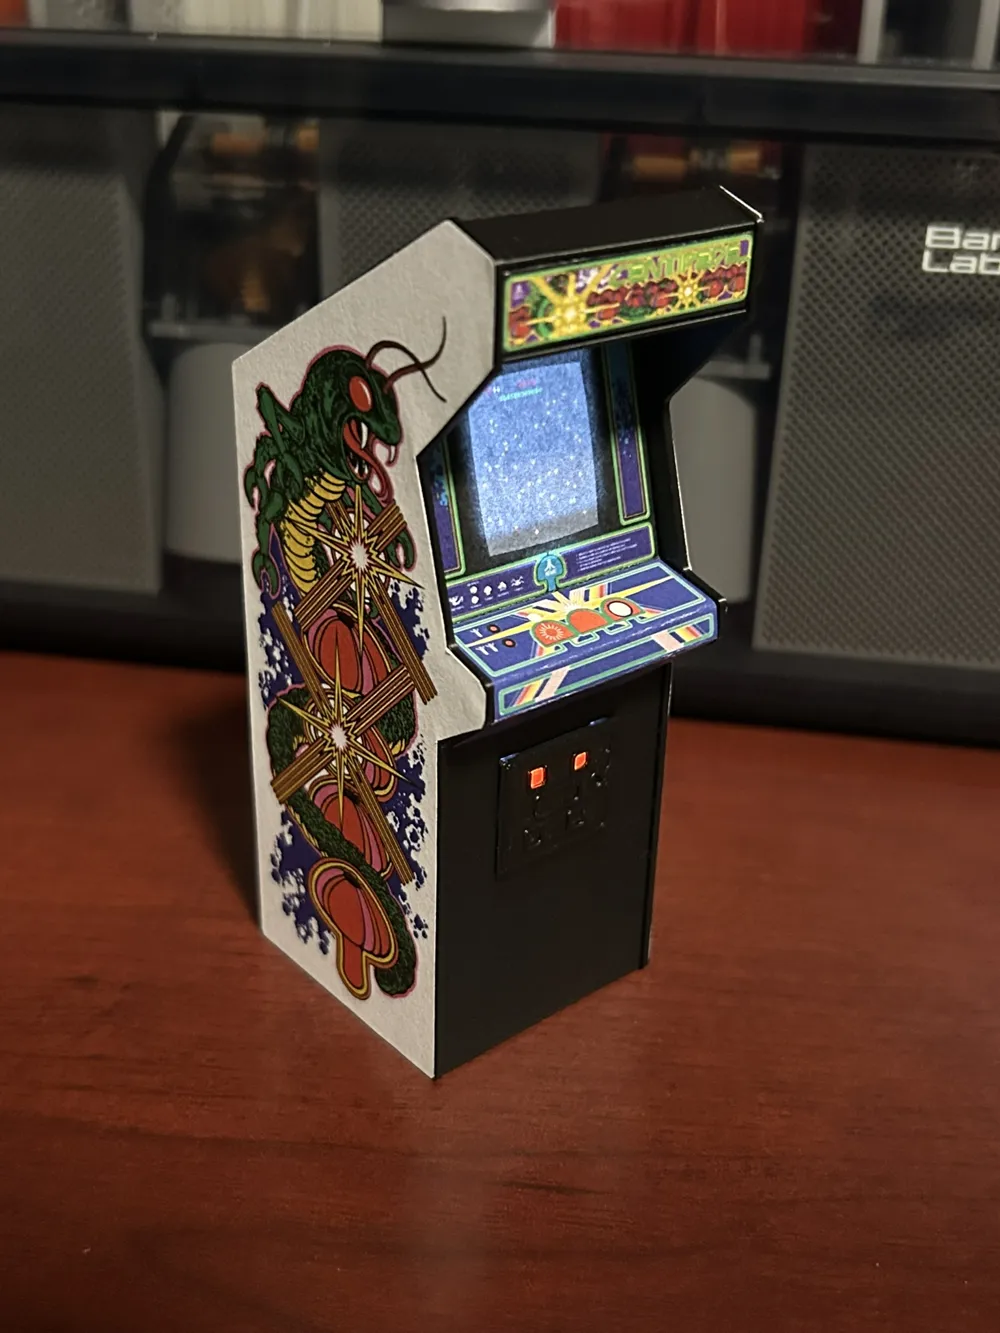
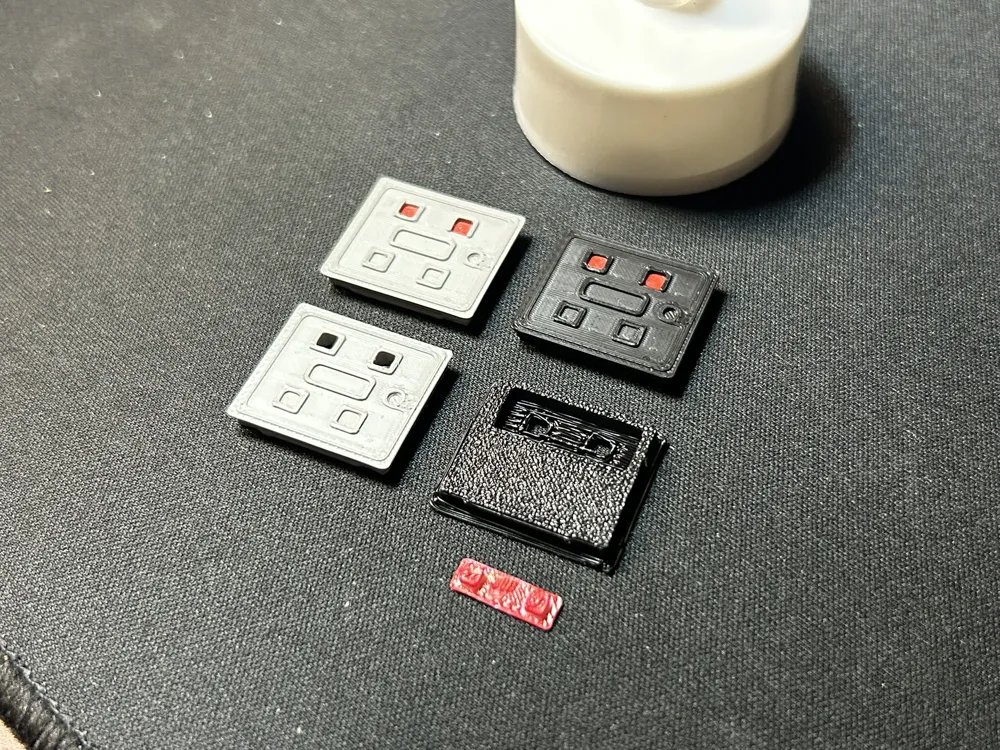
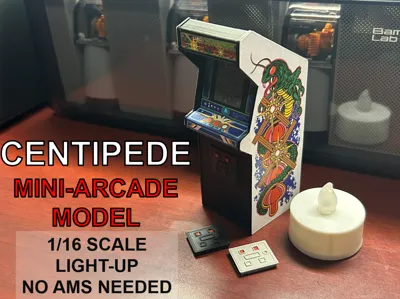
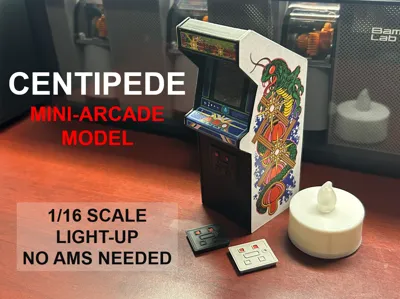
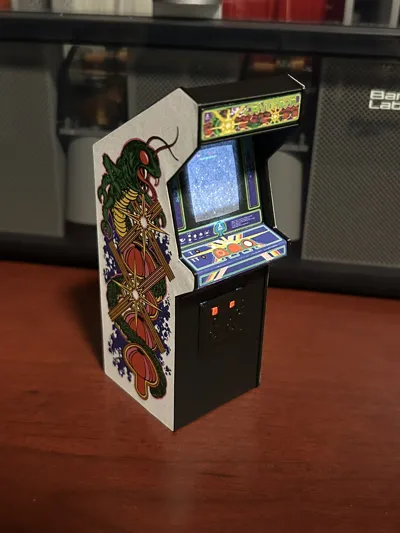
This 1/16 scale model is true to the real-life cabinet, scaled off a vintage 1981 Centipede arcade machine. There are many generic ‘arcade shaped models', but this version matches the original cabinet down to the glowing coin door lights. Silver or black coin door options offer customization - choose which you like best!
Side art, marquee and screen art is printed and cut from standard printer paper. Print on letter size with ‘NO SCALING’. PDF file is available below in model documentation.
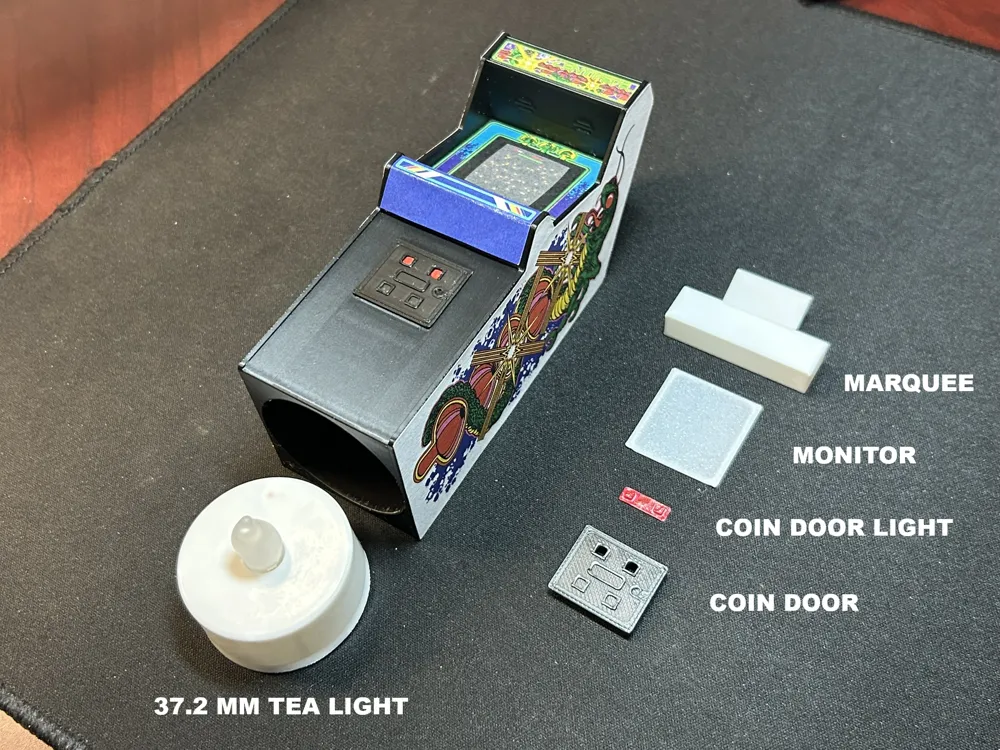
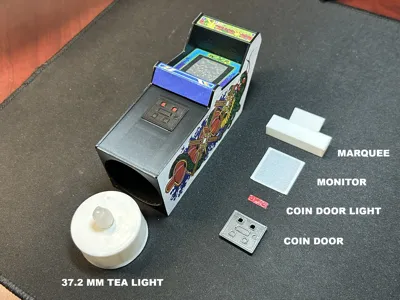
NOTE: Please measure your tea light dimensions before printing. Three profiles are provided: (1) for 38.5 mm tealight, (2) a larger 37.2 mm tealight available in Maker's Supply, and (3) a non-light-up version with no tealight.
Boost Me (for free)
Arcade and pinball mods are niche - your boost makes a huge difference! Consider leaving a like and boost if you appreciate this model.
Print Profile Settings:
- Standard 0.2 mm layer settings with custom supports.
- No AMS required; one plate for black cabinet / coin door, one plate for white marquee/monitor/coin door lights.
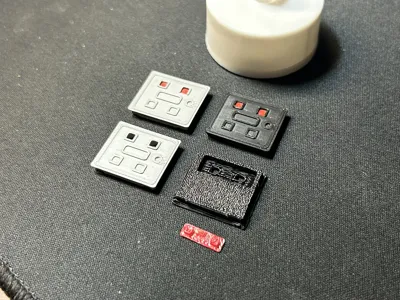
- Additional print profile is provided if you'd like to print the coin door lights in red, otherwise they can be colored with a marker.
Model Details:
- 115 mm tall, roughly 40 mm wide x 50 mm deep.
- Prints in 5 parts to enable glowing coin door and monitor.
- Coin door can be snapped on and off to enable tea light removal.
- Additional print profiles available for different tea-light sizes and non-tea light version.
Assembly Guide:
- Coin Door:
- If you printed the coin door lights in white, color them red with a marker.
- Attach the coin door lights to the back of the coin door using a drop of super glue.
Insert the coin door into the arcade cabinet (snaps in).
- Artwork:
Cut out the artwork from attached documentation (4 pieces: left and right side art, marquee and bezel/control panel)
- Marquee:
- Attach the marquee to the white to the white marquee section, folding excess paper over the top and bottom.
Insert the marquee with artwork into the marquee slot.
- Monitor Bezel / Control Panel:
- Attach the white monitor cover to the arcade cabinet with a drop of super glue in each corner.
- Fold the bezel and control panel artwork over the monitor section.
Apply glue (aerosol glue recommended) to the back of the folded bezel and control panel artwork; adhere in place.
- Side art:
- Test the side art against the side of cabinet to confirm shape. Cut off any excess paper overhangs.
- Apply glue (aerosol glue recommended) to the back of the left and right side art; adhere in place.
Documentation (1)
License

You shall not share, sub-license, sell, rent, host, transfer, or distribute in any way the digital or 3D printed versions of this object, nor any other derivative work of this object in its digital or physical format (including - but not limited to - remixes of this object, and hosting on other digital platforms). The objects may not be used without permission in any way whatsoever in which you charge money, or collect fees.


Comment & Rating (4)