
Countertop Miter Bolt Router Jig (3.5 in)
Print Profile(2)


Description
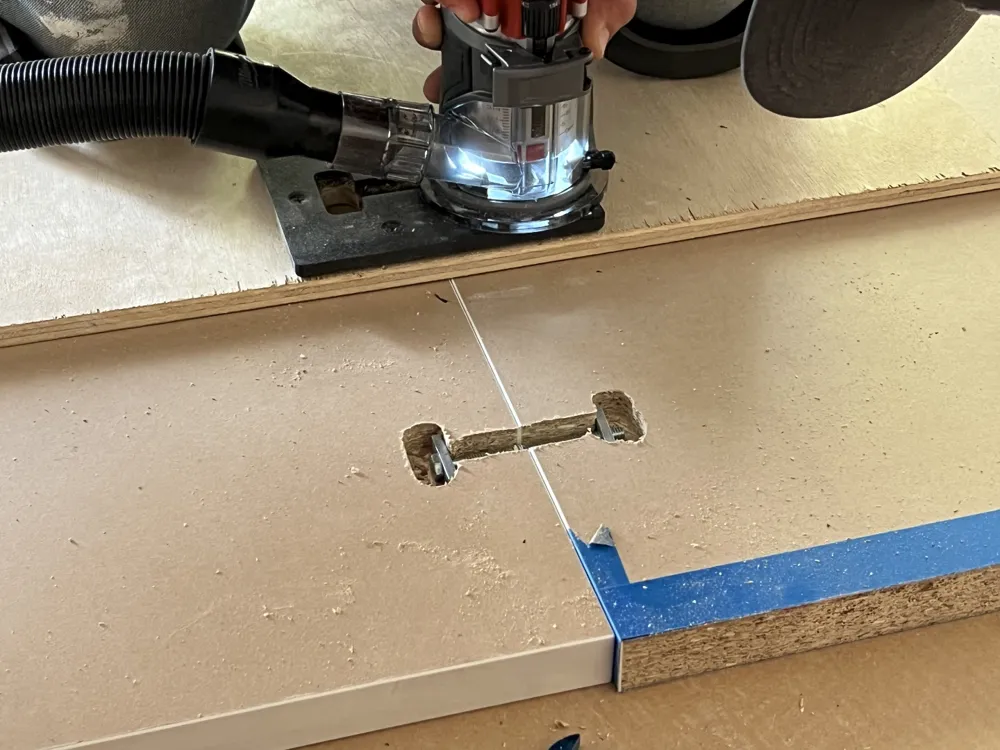
This is a 3D printed router jig for cutting the pockets needed for 3.5 in adjustable countertop miter bolts, specifically the Hampton Bay Countertop Miter Bolt Kit from Home Depot (model MBK).
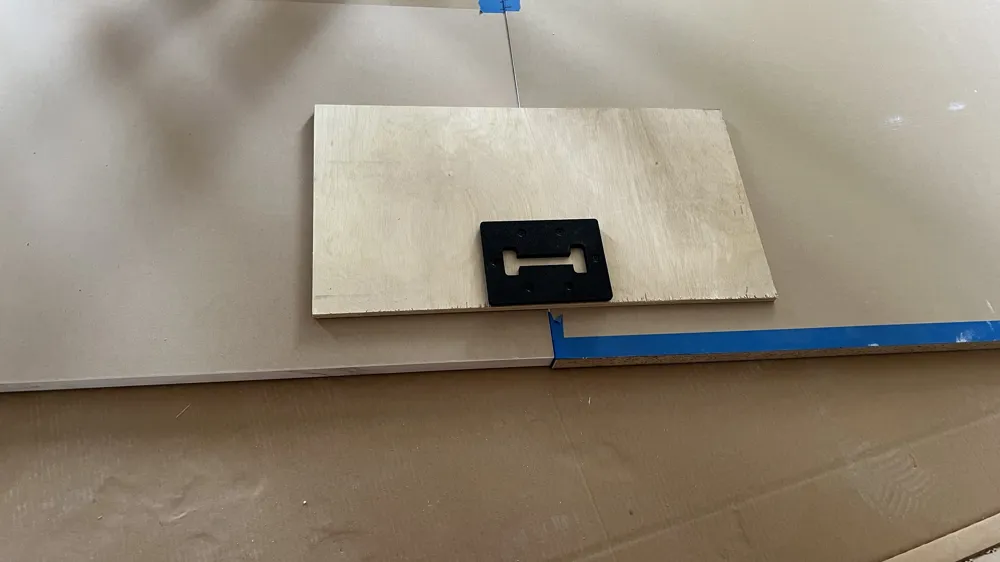
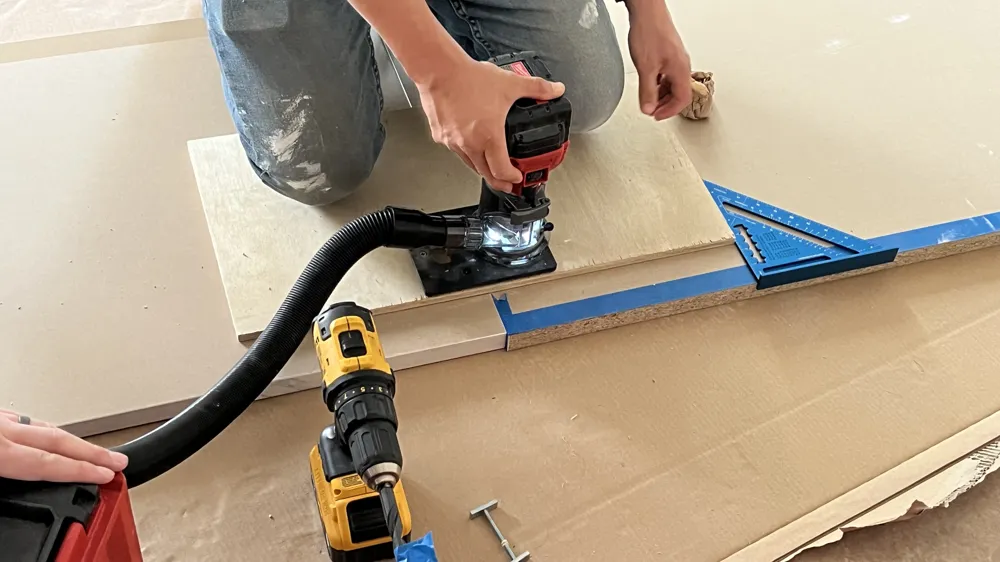
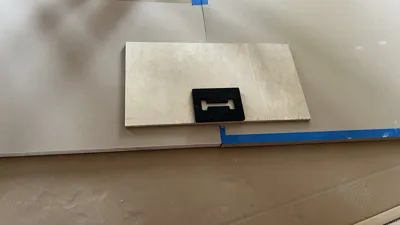
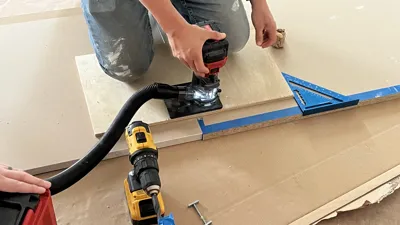
The jig is intentionally designed thin at 10 mm so it prints quickly. In use, you attach it to a piece of scrap wood that acts as a stiffener. The wood backer lets you clamp or hold the jig securely while you route the pockets, without repeatedly screwing the jig directly to the underside of the countertop.
There is also a 1 mm deep relief channel in the center of the jig. This shallow pocket helps you align the jig to the seam where two countertops meet, so the miter bolt pockets end up centered right where the two pieces join.
I designed this after buying IKEA countertop material and discovering that the miter bolt pockets were not pre cut. This jig lets you quickly and repeatably route the recesses needed to join two sections of countertop cleanly and securely.
Features
- Sized for Hampton Bay 3.5 in adjustable countertop miter bolts (MBK kit)
- Should also work for other 3.5 in miter bolts with similar dimensions
- 10, 15, 20 and 25 mm tall bodies
- 10 mm version prints fast and is meant to be mounted to scrap wood
- Taller versions (15–25 mm) are stiffer and may be mounted directly to the countertop underside
- 1 mm center relief to help align the jig exactly at the joint between two countertops
- Center opening sized for the bolt head and plate
- Screw holes for:
- Temporarily fixing the jig to the underside of the countertop for extra security, or
- Mounting to a scrap piece of wood so your body weight can hold it in place
- Designed around a 1/4 in straight router bit
- There is enough clearance to use a 1/2 in straight bit if your router supports it
- Low profile so it sits flat and stable on the underside of the countertop and the wood backer
Printing recommendations
- Orientation
- Print the jig flat on the bed with the center relief reference facing up
- Material
- PLA or PETG
- At least 3 walls
- 30–40 percent infill recommended for stiffness and durability
- I used a lower infill and it was still fine, but more infill will be stronger
- General suggestions
- Use enough infill and walls so the screw holes and fence stay solid under clamping pressure
- For the 10 mm version, mount the jig to a piece of scrap wood that is large enough to support your router base and clamps
- For the taller versions, you may be able to mount directly to the countertop underside, but always test on scrap first
Usage notes
- Use a 1/4 in straight router bit by default
- A 1/2 in straight bit should also work, but always test on scrap first to confirm pocket size and depth
- 10 mm version
- Attach the printed jig to a scrap wood backer
- Keeps the jig stiff
- Lets you clamp, hold or kneel on the wood instead of repeatedly screwing into the countertop
- 15, 20 and 25 mm versions
- Can often be mounted directly to the underside of the countertop if they feel stiff and secure enough
- Always confirm the jig is well supported and that your router base has a stable surface
- Use the 1 mm center relief to line the jig up with the joint between two countertops
- Always test on scrap material first
- Confirm the pocket depth
- Confirm the fit with your specific router, bit and miter bolts
Safety
- Follow normal router safety practices
- Use hearing and eye protection
- Use dust collection or a mask as appropriate
- Make sure the workpiece and the jig (whether on a wood backer or mounted directly to the countertop) are securely clamped or held in place with body weight
- Keep hands, cords and clamps clear of the bit and router base when routing
Compatibility notes
- Designed around the Hampton Bay 3.5 in Adjustable Countertop Miter Bolt Kit (MBK)
- May work with other 3.5 in countertop miter bolts that have similar dimensions, but you should always:
- Test on scrap
- Verify the fit of the bolt, plate and pocket depth before using it on a finished countertop
- If you need a variation (different router bit size, pocket size or mounting pattern for your hardware), leave a comment or request and I will do my best to make adjustments.
Disclaimer
- This model and description are provided as is
- Power tools and woodworking are inherently risky
- You are responsible for your own safety, tools, materials and techniques
- Always follow the instructions and safety guidance from your tool and hardware manufacturers and comply with local codes and best practices
- By downloading, printing or using this model, you agree that I am not responsible for any injury, damage or loss that may result from its use
License

You may create derivative works based on this object, provided that all such derivative works are published exclusively on the MakerWorld platform and include proper attribution to the original creator. You may not share, upload, host, distribute, or publish this object—or any derivative work of this object—on any other digital platform, marketplace, or distribution channel. Commercial use of this object and any derivative works is strictly prohibited. This includes, but is not limited to, selling, renting, sublicensing, or using the object in any context in which you receive monetary compensation or other financial benefits.


Comment & Rating (8)