
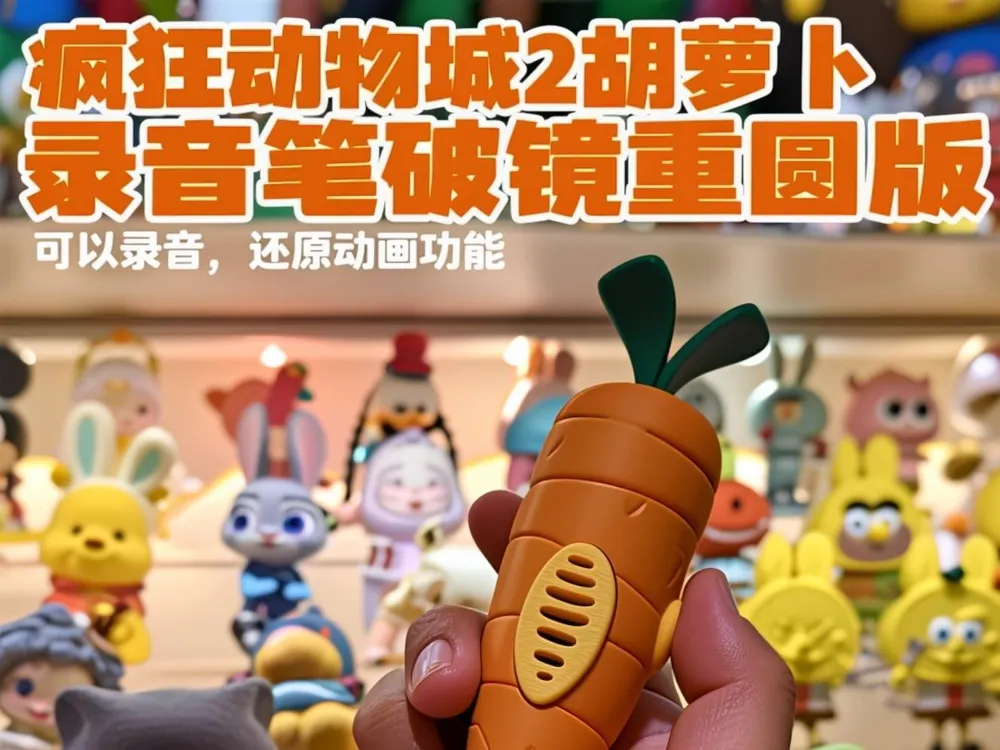
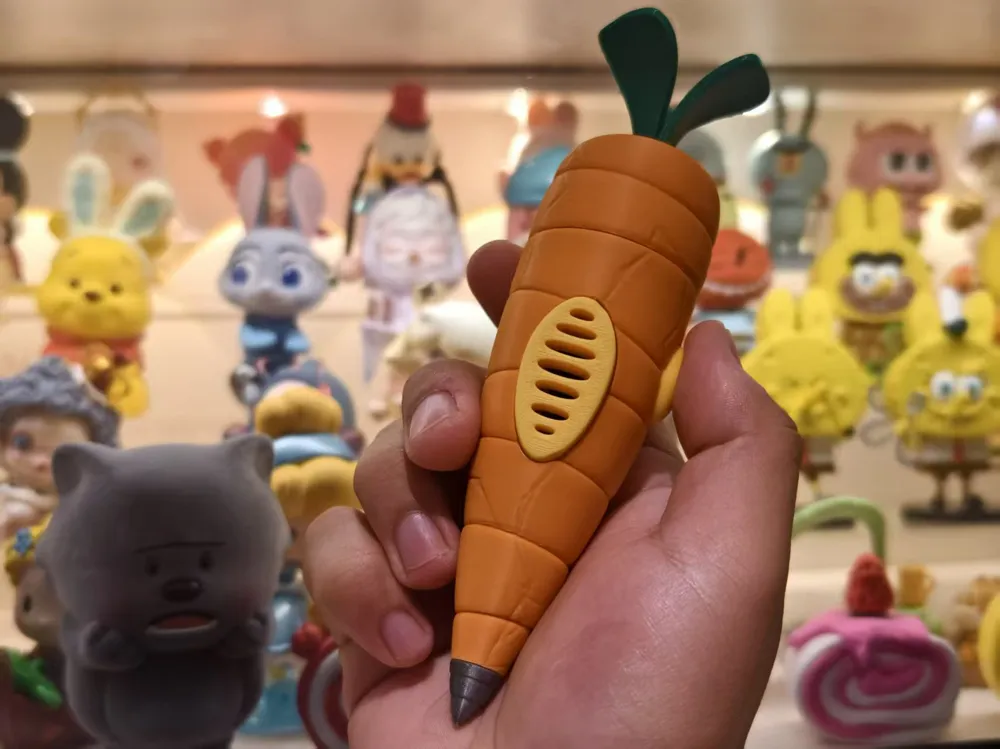
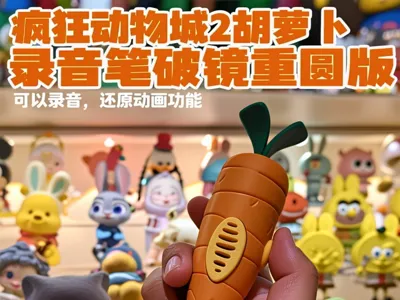
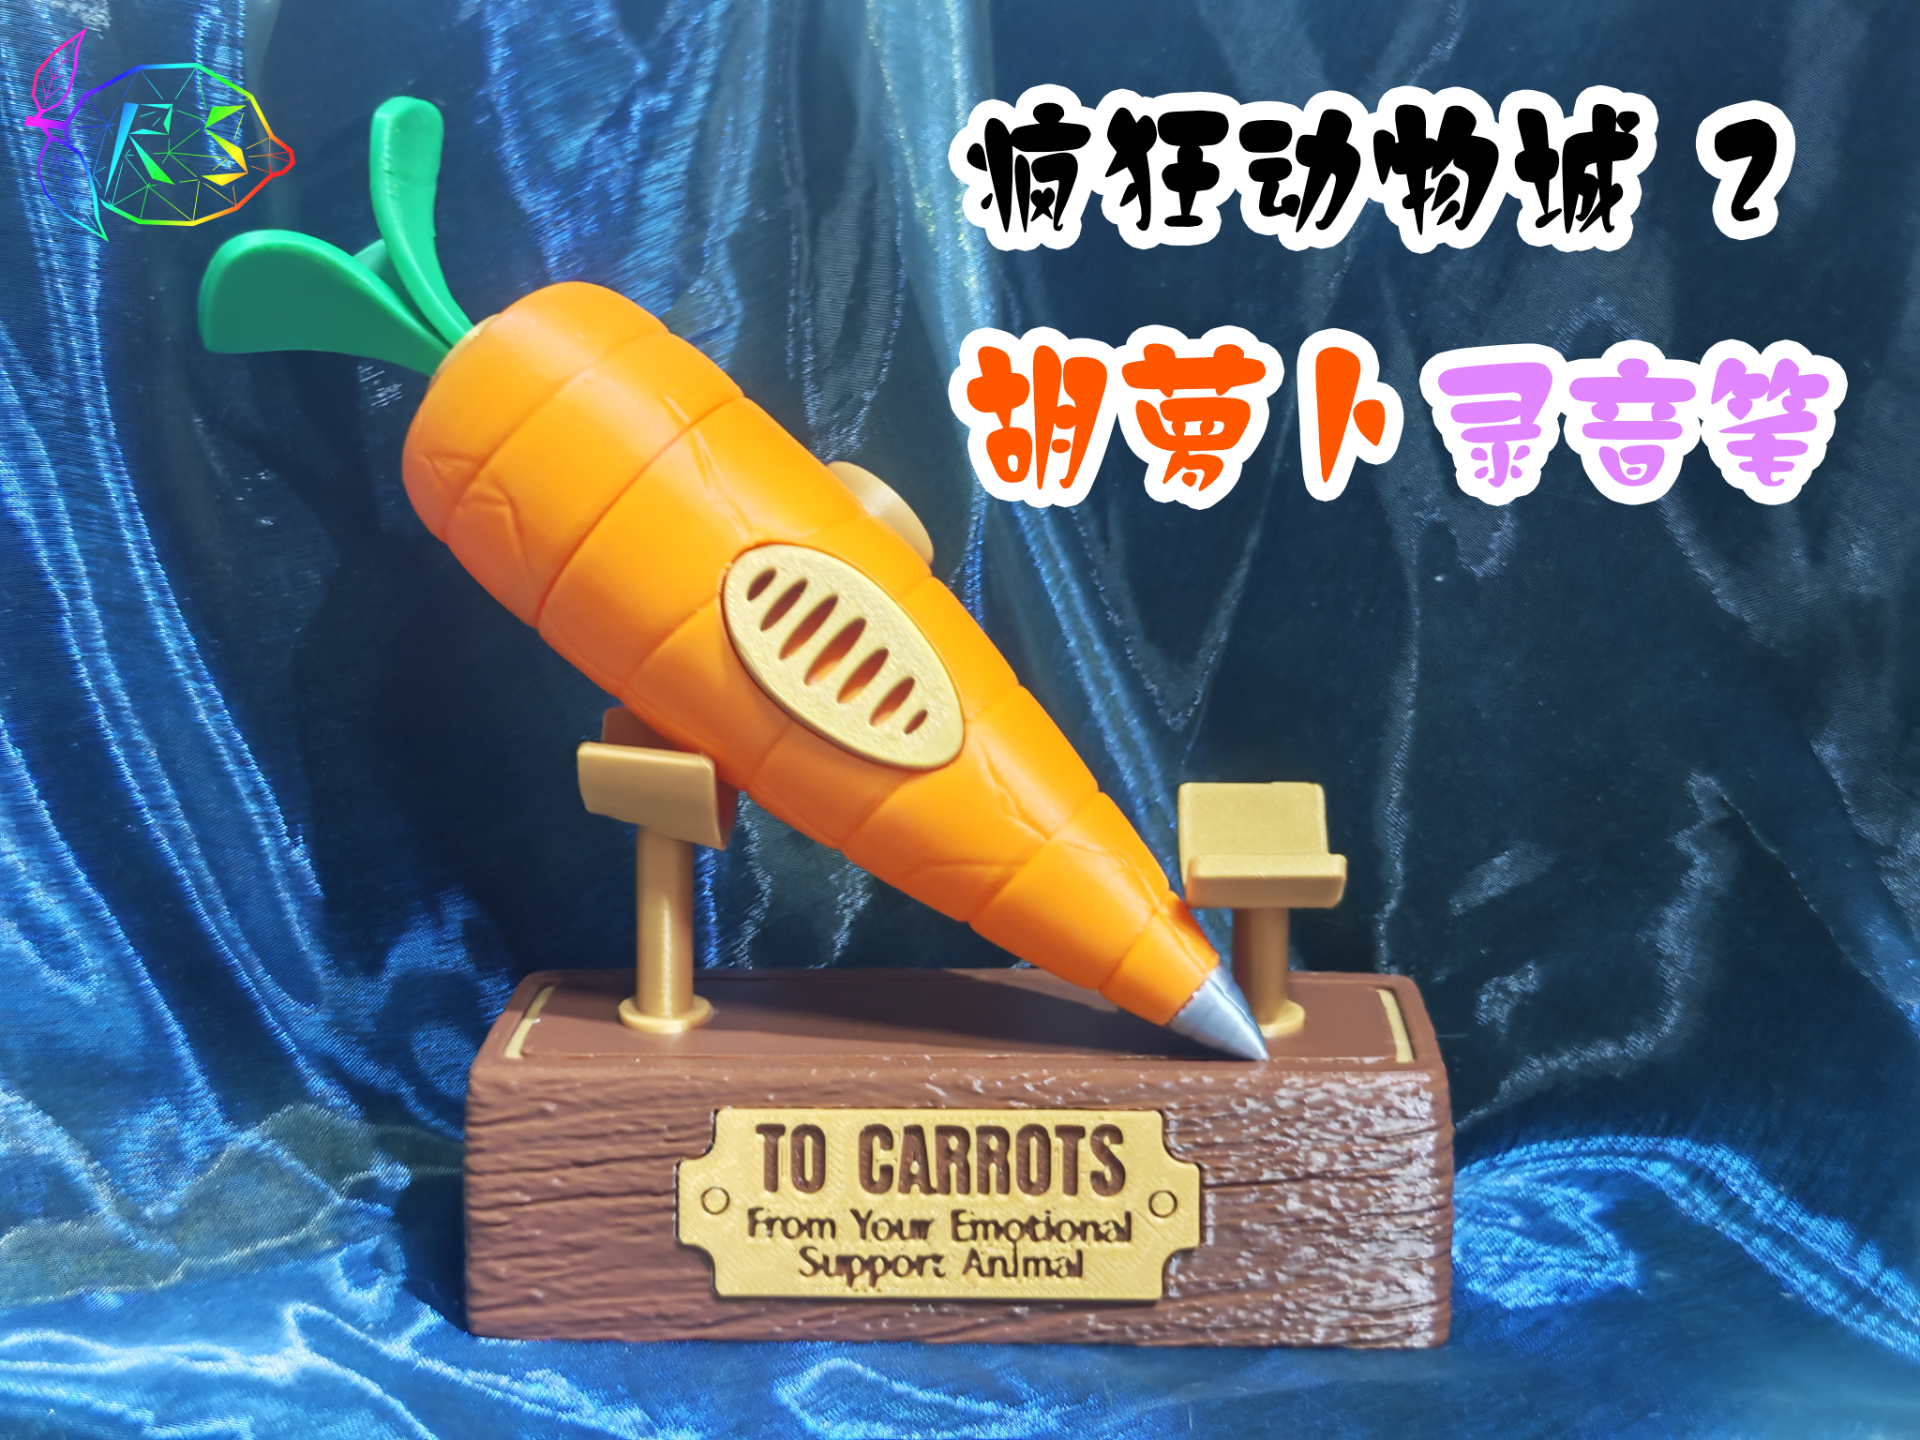
Zootopia 2 Nick & Judy's Carrot Recorder (truly recordable/playable version!), total cost less than 10 yuan!
Print Profile(2)


Description
Original model link:https://makerworld.com.cn/zh/models/1842804-feng-kuang-dong-wu-cheng-2-hu-luo-bu-lu-yin-bi-po?from=search#profileId-2038734
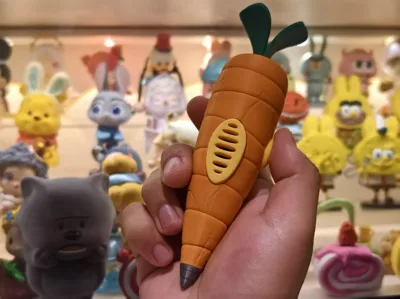
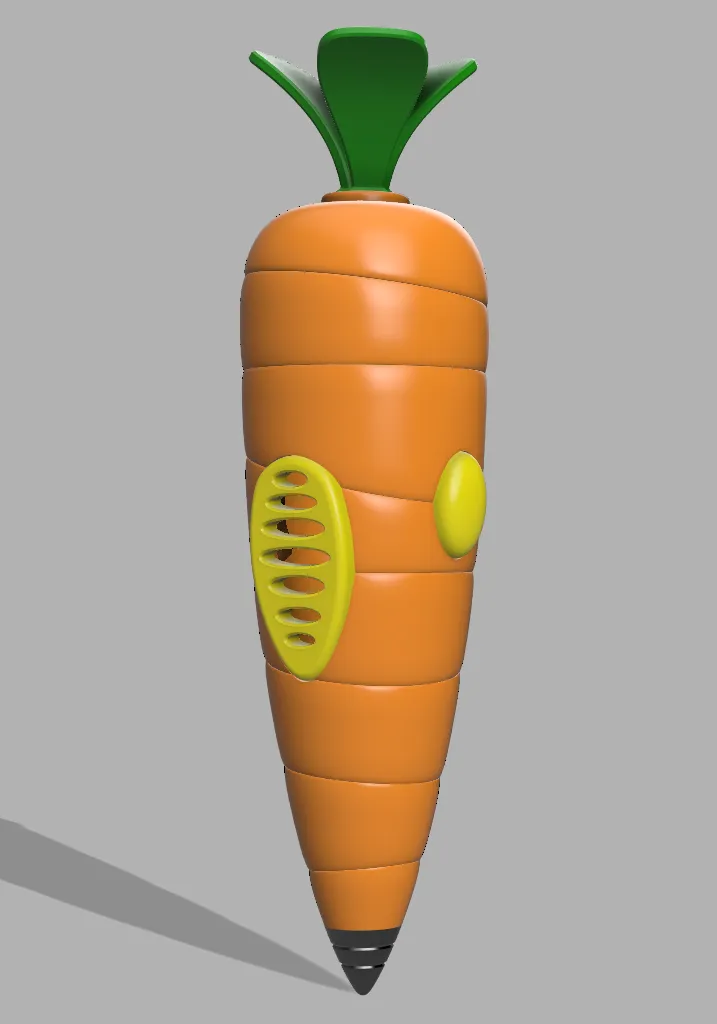
🥕 Zootopia 2 Nick & Judy's Carrot Recorder Pen (Truly Recordable/Playable Version!), total cost including filament and electricity is under 10 yuan!
Update
-------------------------------------------------------
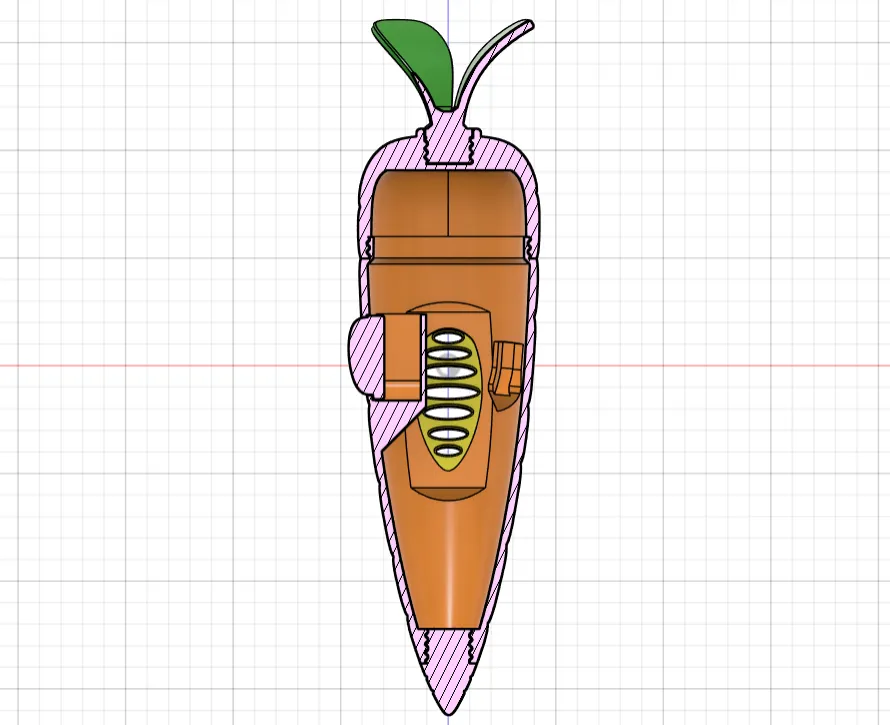
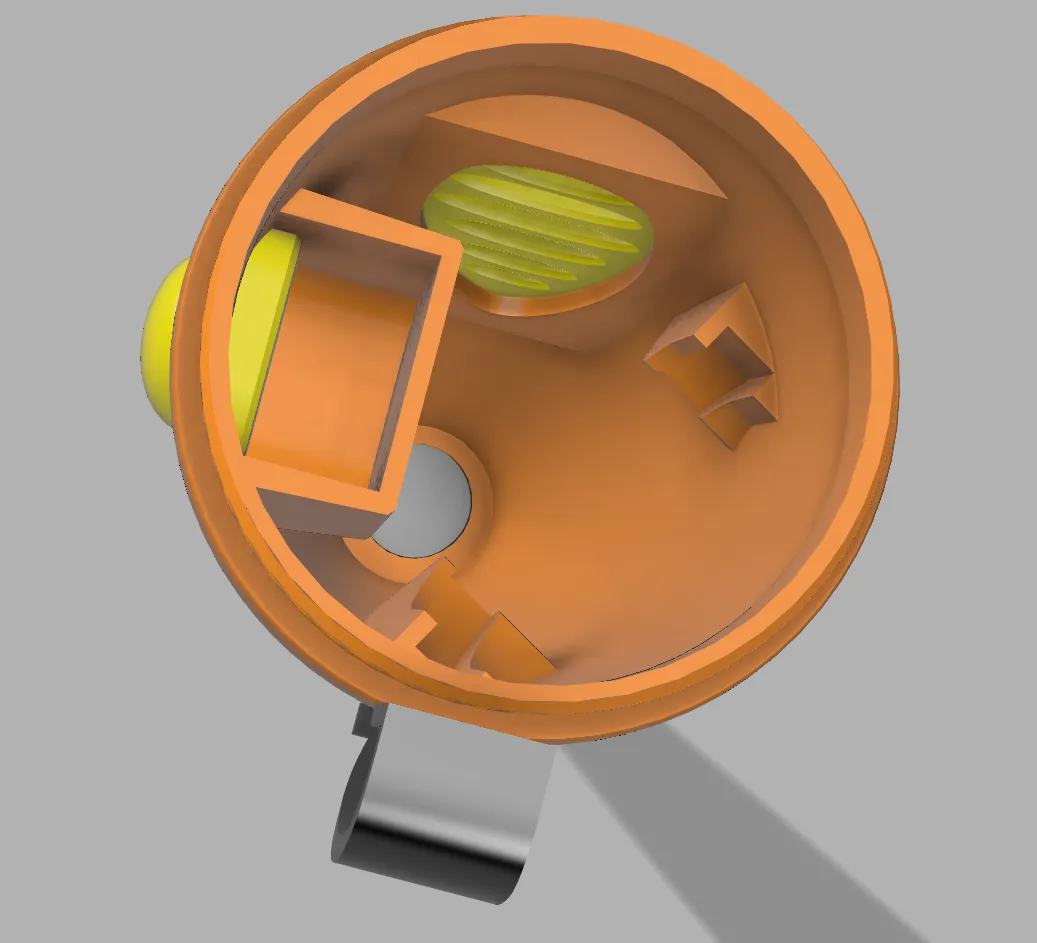
2025.12.16:Seeing high demand, I updated and uploaded the crack-free optimized version. The pen tip, leaves, and top and bottom covers are all optimized with threaded connections. The speaker's fixed installation position has been changed to easily fit the circuit board. The crack-free version's body and all parts from the original version are not interchangeable and require a complete print. The base is universal, so no need to reprint it. The internal recording module's installation method is the same as the cracked version.
简介 | Introduction
A few days ago, I watched 'Zootopia 2'. In the ending, Nick returned the repaired recorder pen to Judy, which was such a loving scene! After returning home, my wife asked me, "What did you buy the 3D printer for? Print one for me!" However, as a pure modeling novice, I gave up after a few days of drawing. I started looking on MW for existing models. Then I saw the model published by "换头后期建模设计师任少", a great designer, which perfectly met my requirements. At first, I printed a pure model just to get by, but my wife complained, "Oh, why can't this record?"
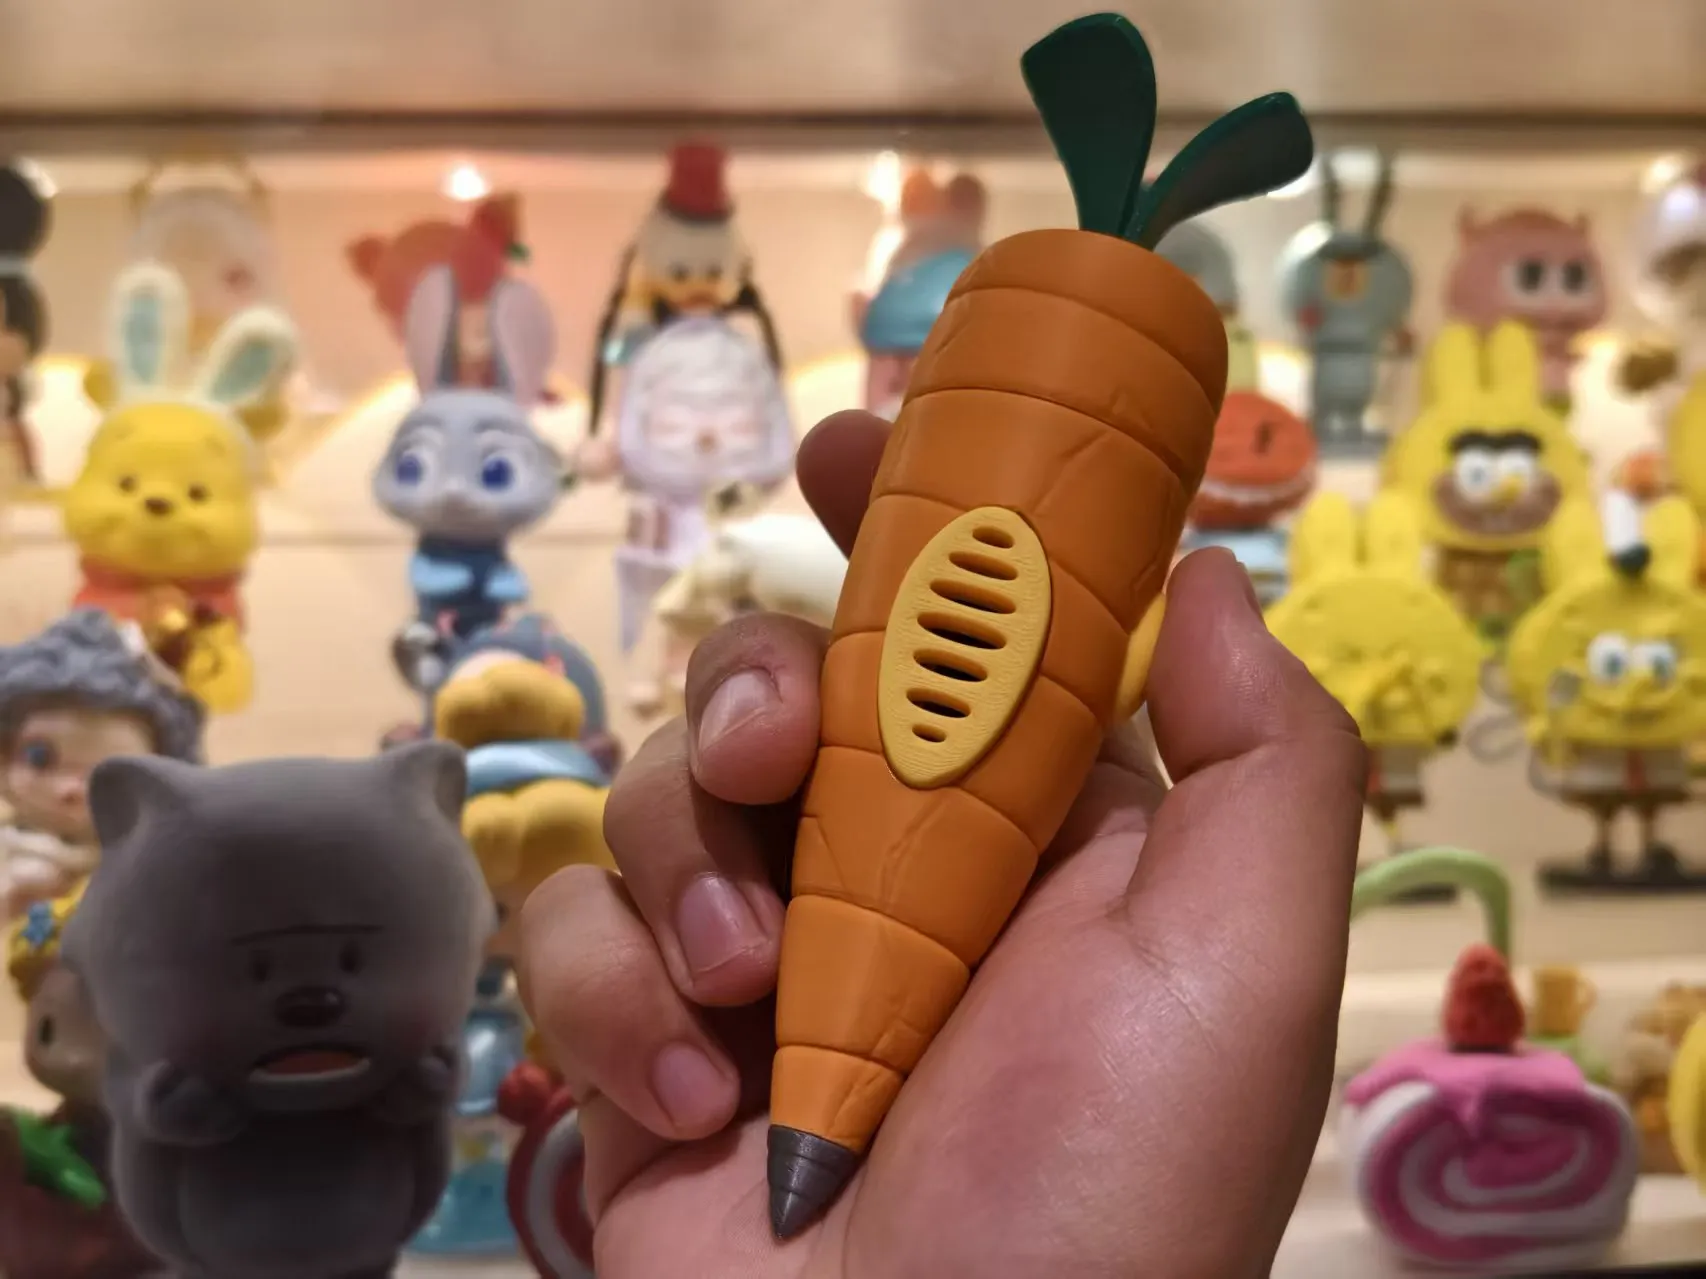
To avoid disappointing my wife and to perfectly recreate the prop from the movie, I decided to modify the model! After a few days of effort, I finally made this carrot recorder pen that can truly record and play back with a button!
Of course, it's not a professional recorder pen, but it can achieve the same button recording and playback of the previous recording function as in the animation.
✨ 模型亮点 | Features
- Real Functionality: No longer just an ornament, perfectly replicates the "button recording" and "playback of previous segment" functions from the animation.
- Ultra-low Cost: The core electronic module only costs about 4 yuan!
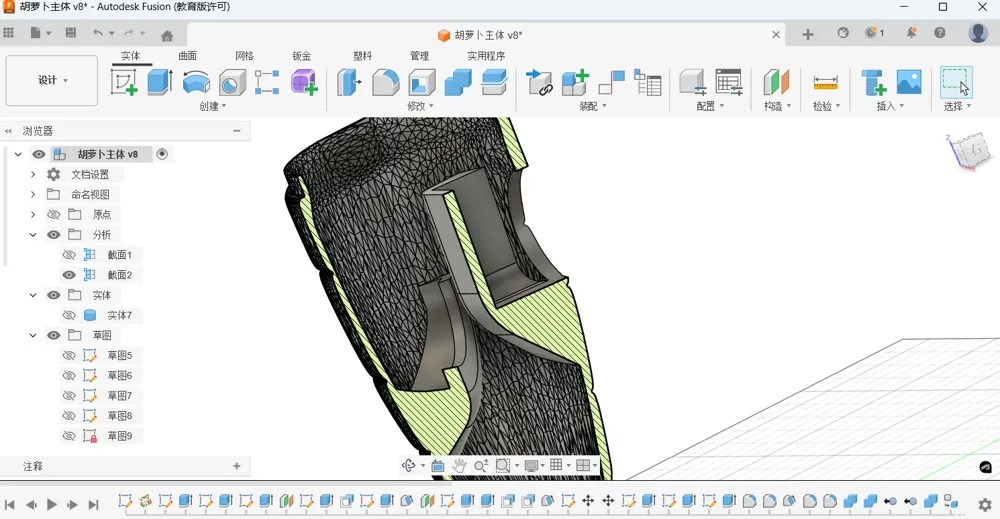
- Perfect Integration: Redesigned the internal structure to perfectly fit the modified recording module, with perfect dimensions.
🛠️ 硬件准备 | BOM
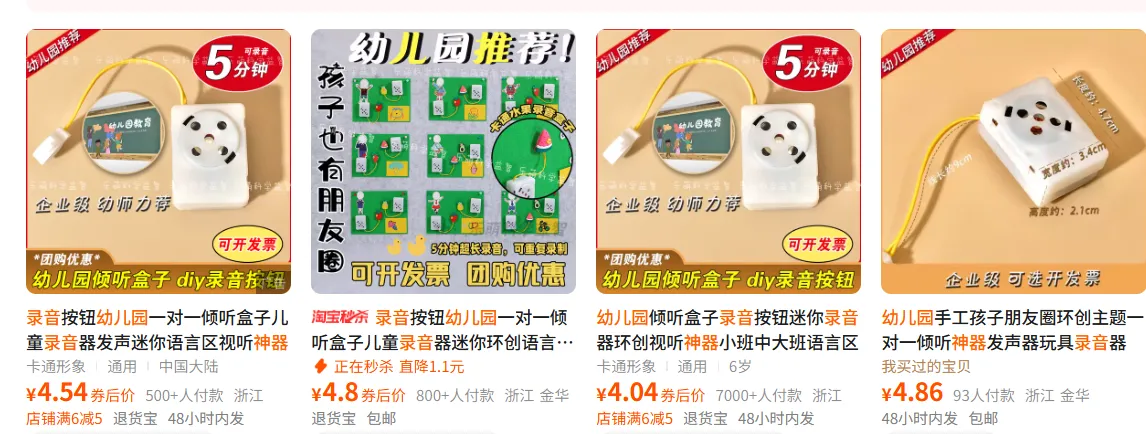
You need to purchase a simple recording module yourself. What I found on Taobao is the "Kindergarten Listening Box" or "DIY Recording Button".
- Search Keywords: Kindergarten Listening Box, Kindergarten Recording Artifact
- Price Reference: Approx 4.00 - 6.00 yuan (including shipping)
- Function Requirements: Buy a single-button type, long press to record, short press to play back. Choose 40s or 5 minutes according to your needs.
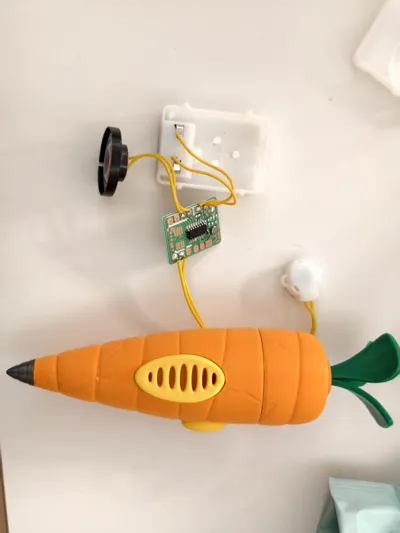
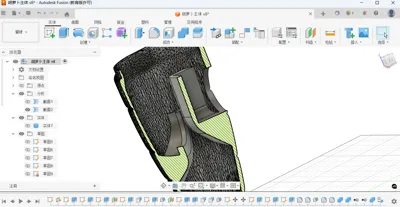
However, this module's volume exceeds the carrot body. It requires removing the shell and modifying it. Simply fitting it in isn't enough; the button also needs to be made pressable, holes need to be made for the speaker and microphone, and the internal components need to be fixed in place. With my amateur modeling skills, I struggled for several days with this small carrot (mainly because the original model had too many meshes, causing my computer to freeze for a long time with every movement and crash occasionally). I fine-tuned and revised the dimensions several times and wasted half a roll of filament. But I managed to make it, and the final assembly was perfect.

🔧 拼装教程 | Assembly Guide
The overall modification is very simple, only requiring a utility knife, scissors, and hot glue.
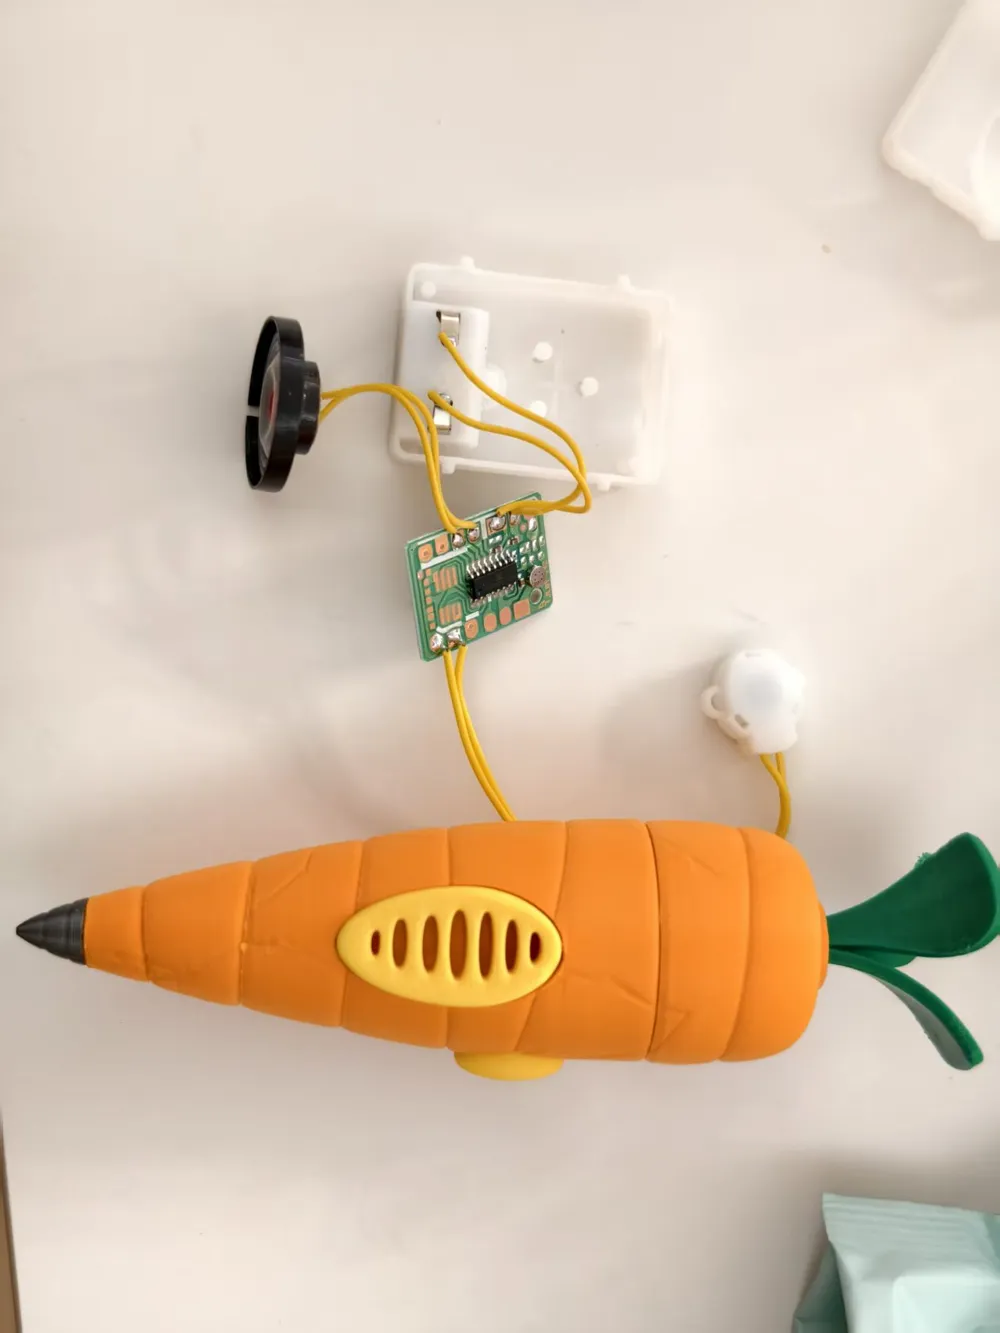
Disassemble the Module:
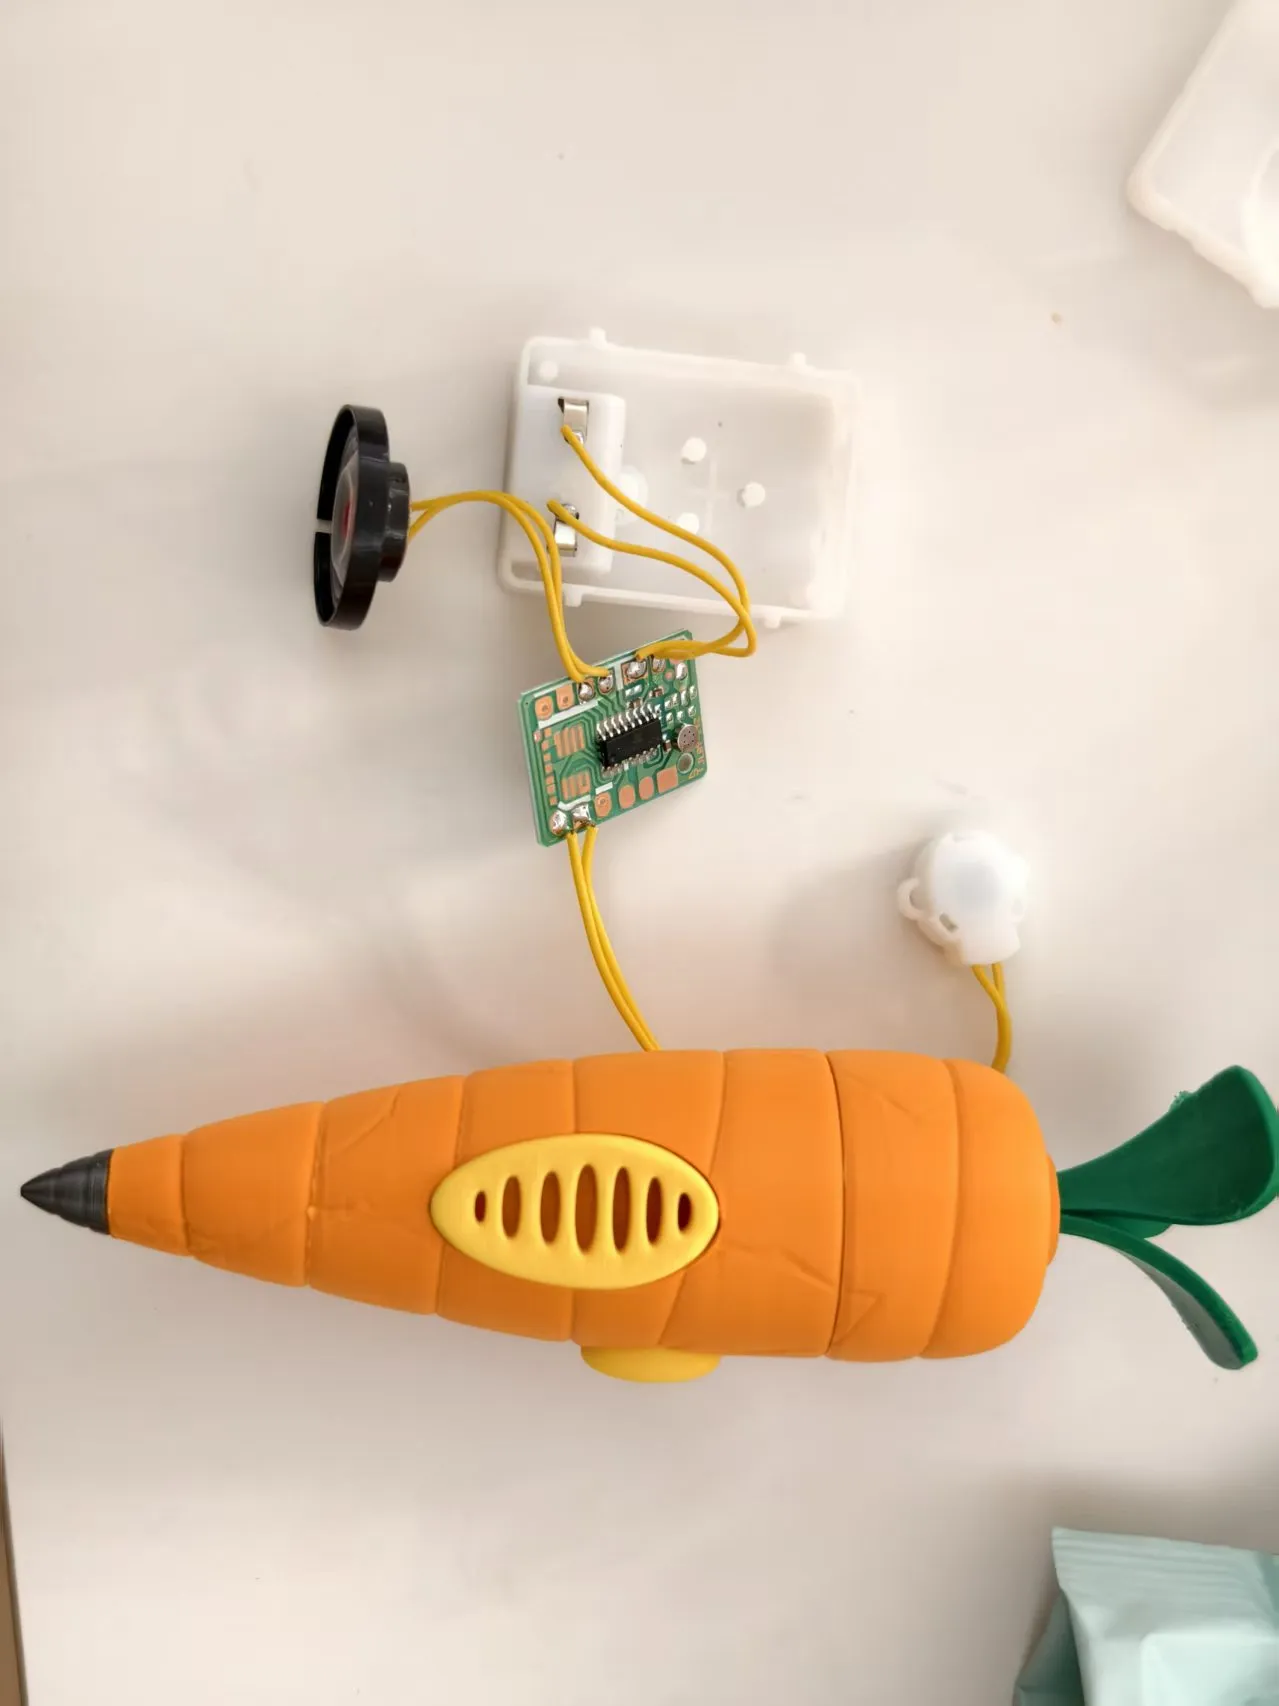
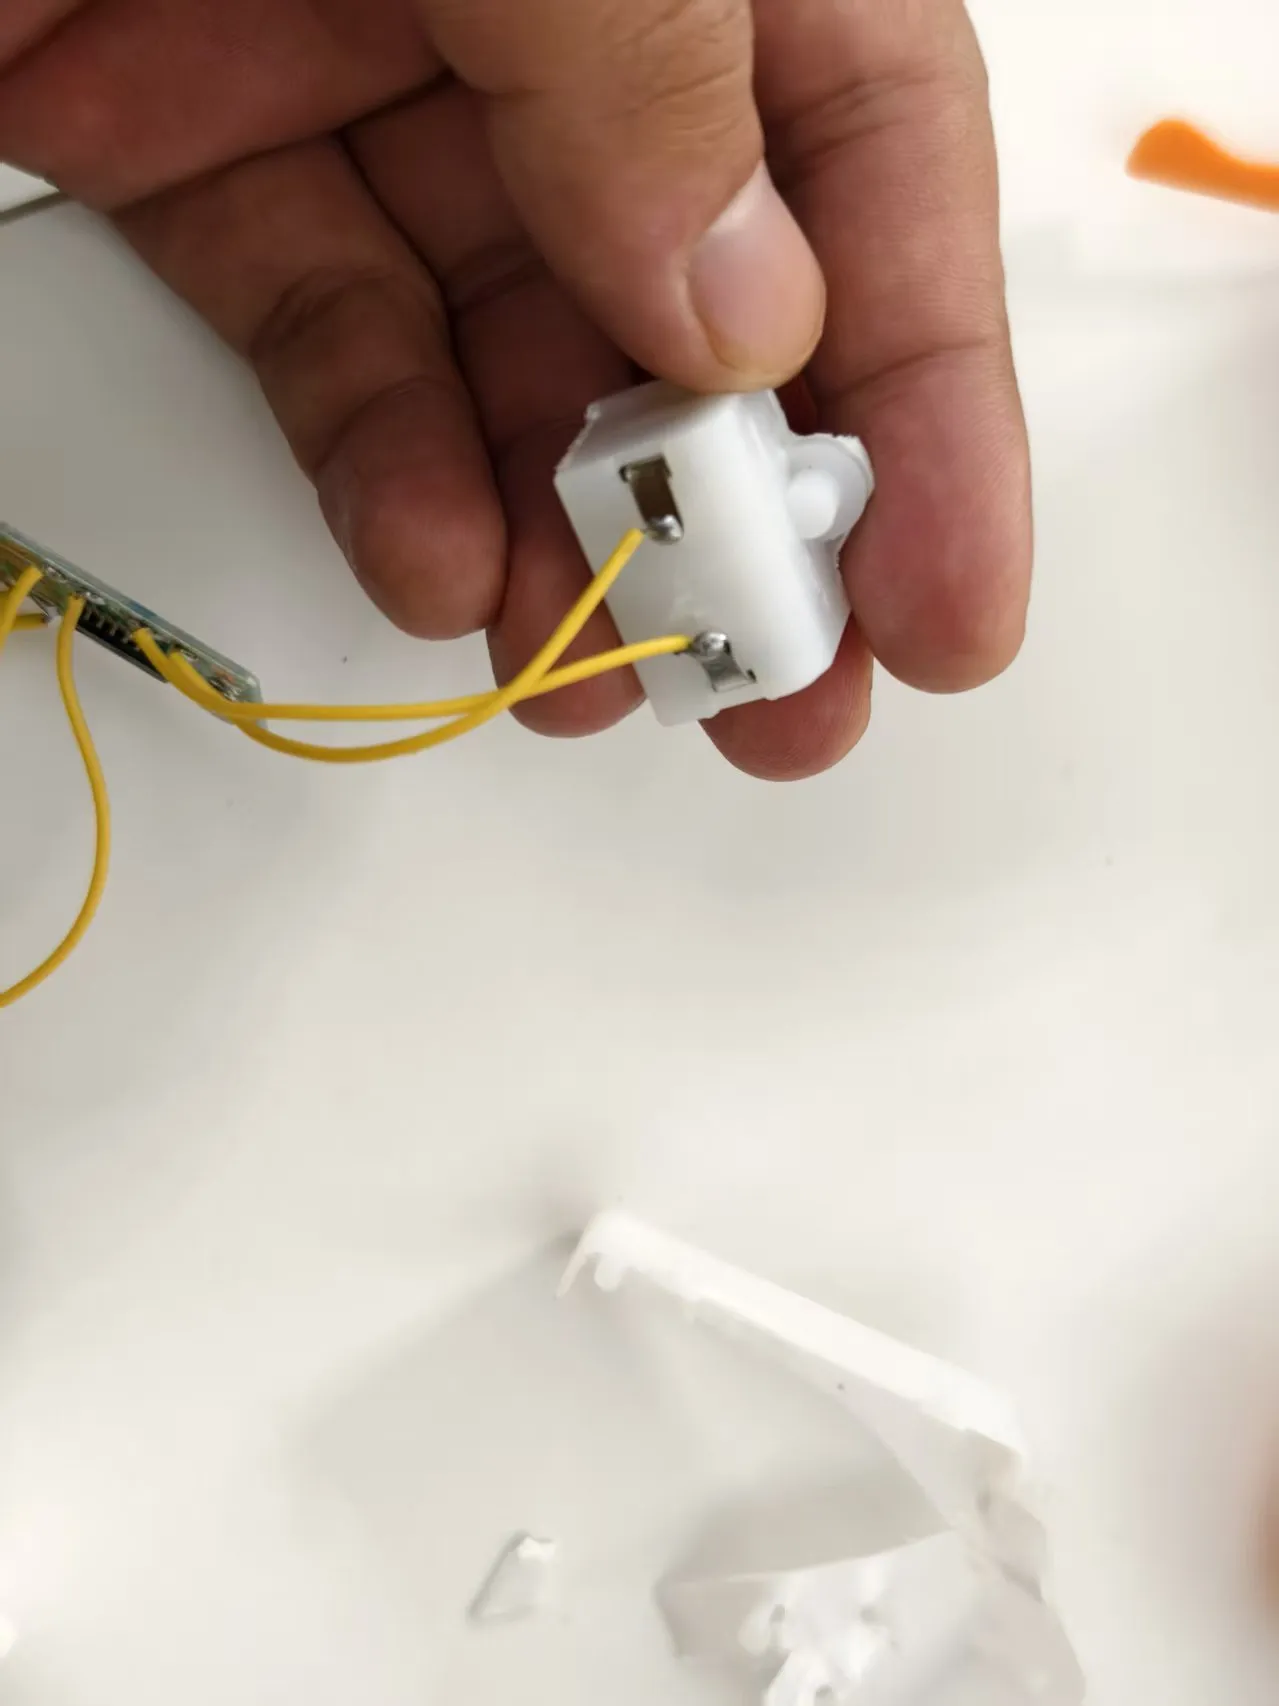
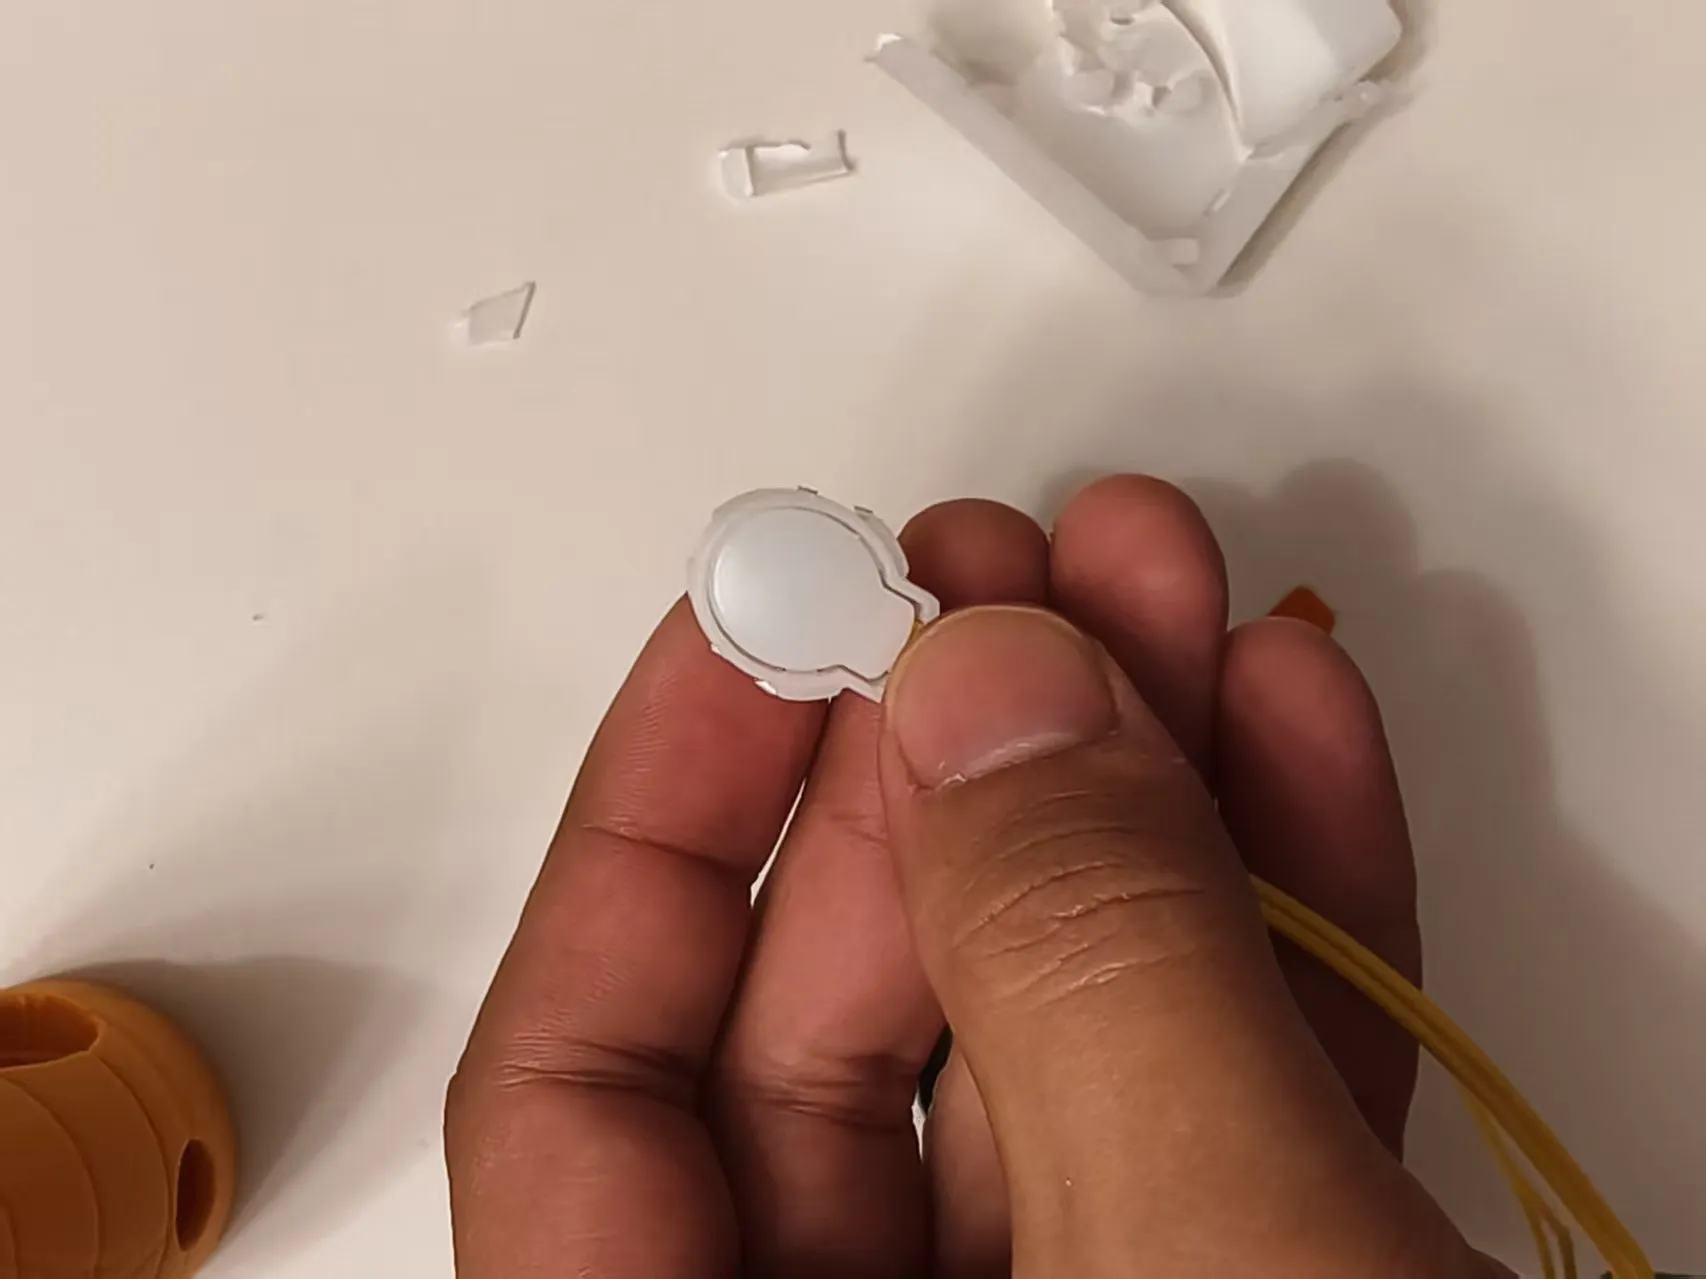
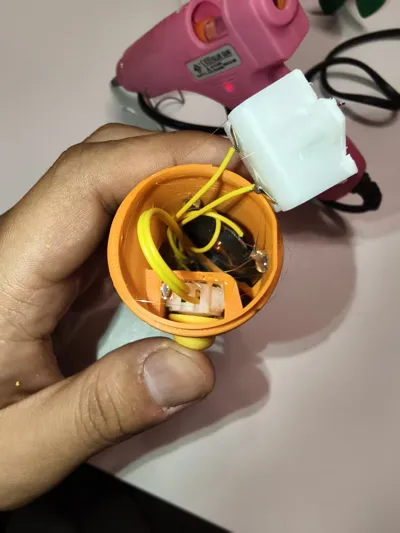
- Disassemble the shell of the purchased recording box, remove the main board, speaker, battery compartment, and button.
- Trim: Cut off the excess plastic from the battery compartment along the edges; cut off the "small ears" on both sides of the button to reduce its volume.
Install Speaker and Main Board:
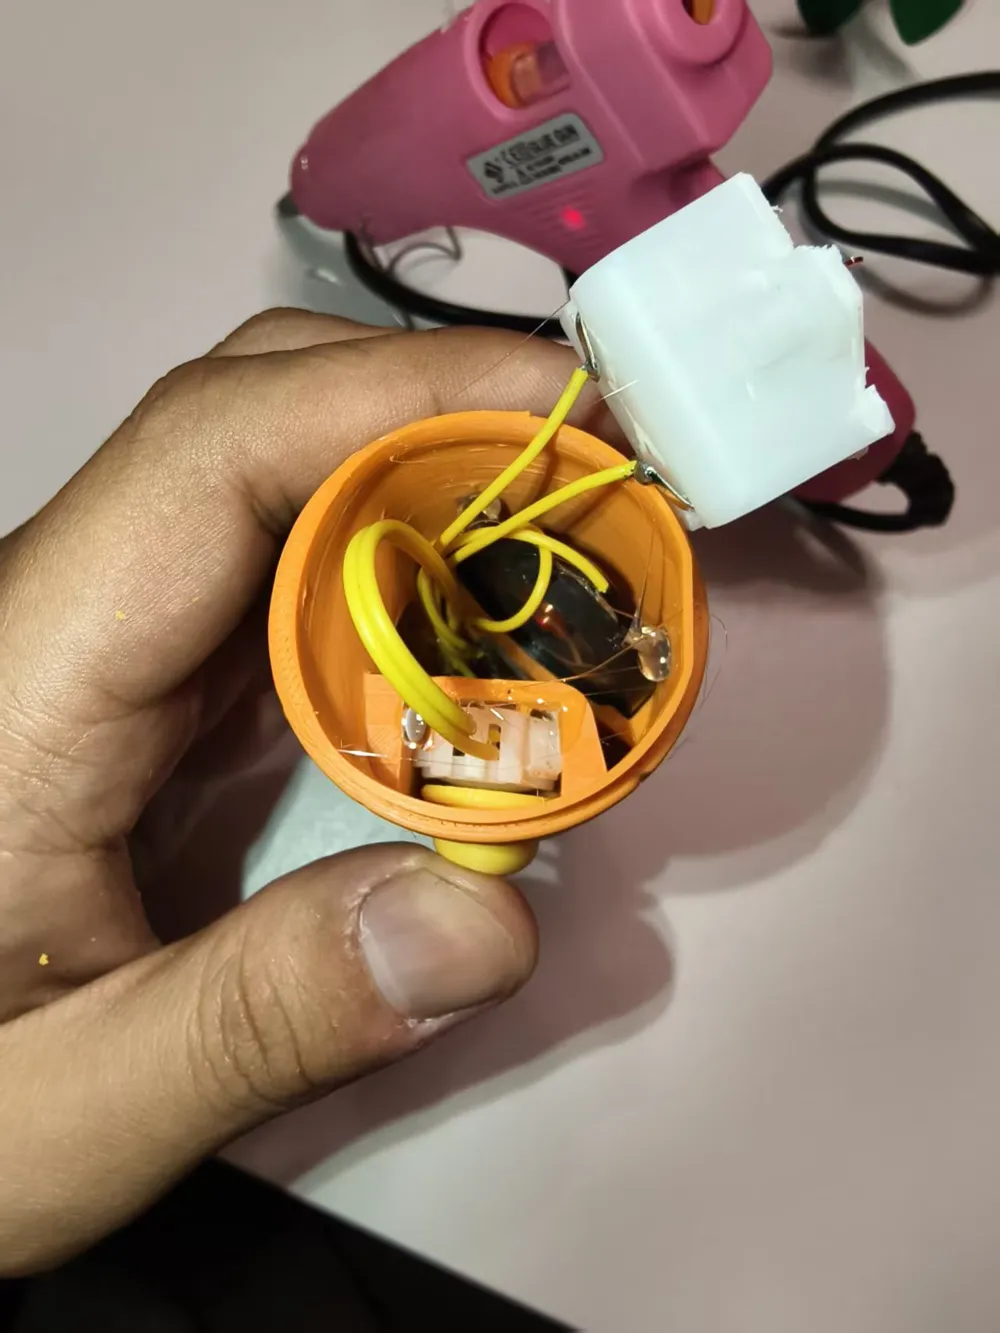
- Take out the printed carrot body, place the speaker diaphragm facing outwards, into the groove below, and secure with hot glue on both sides.
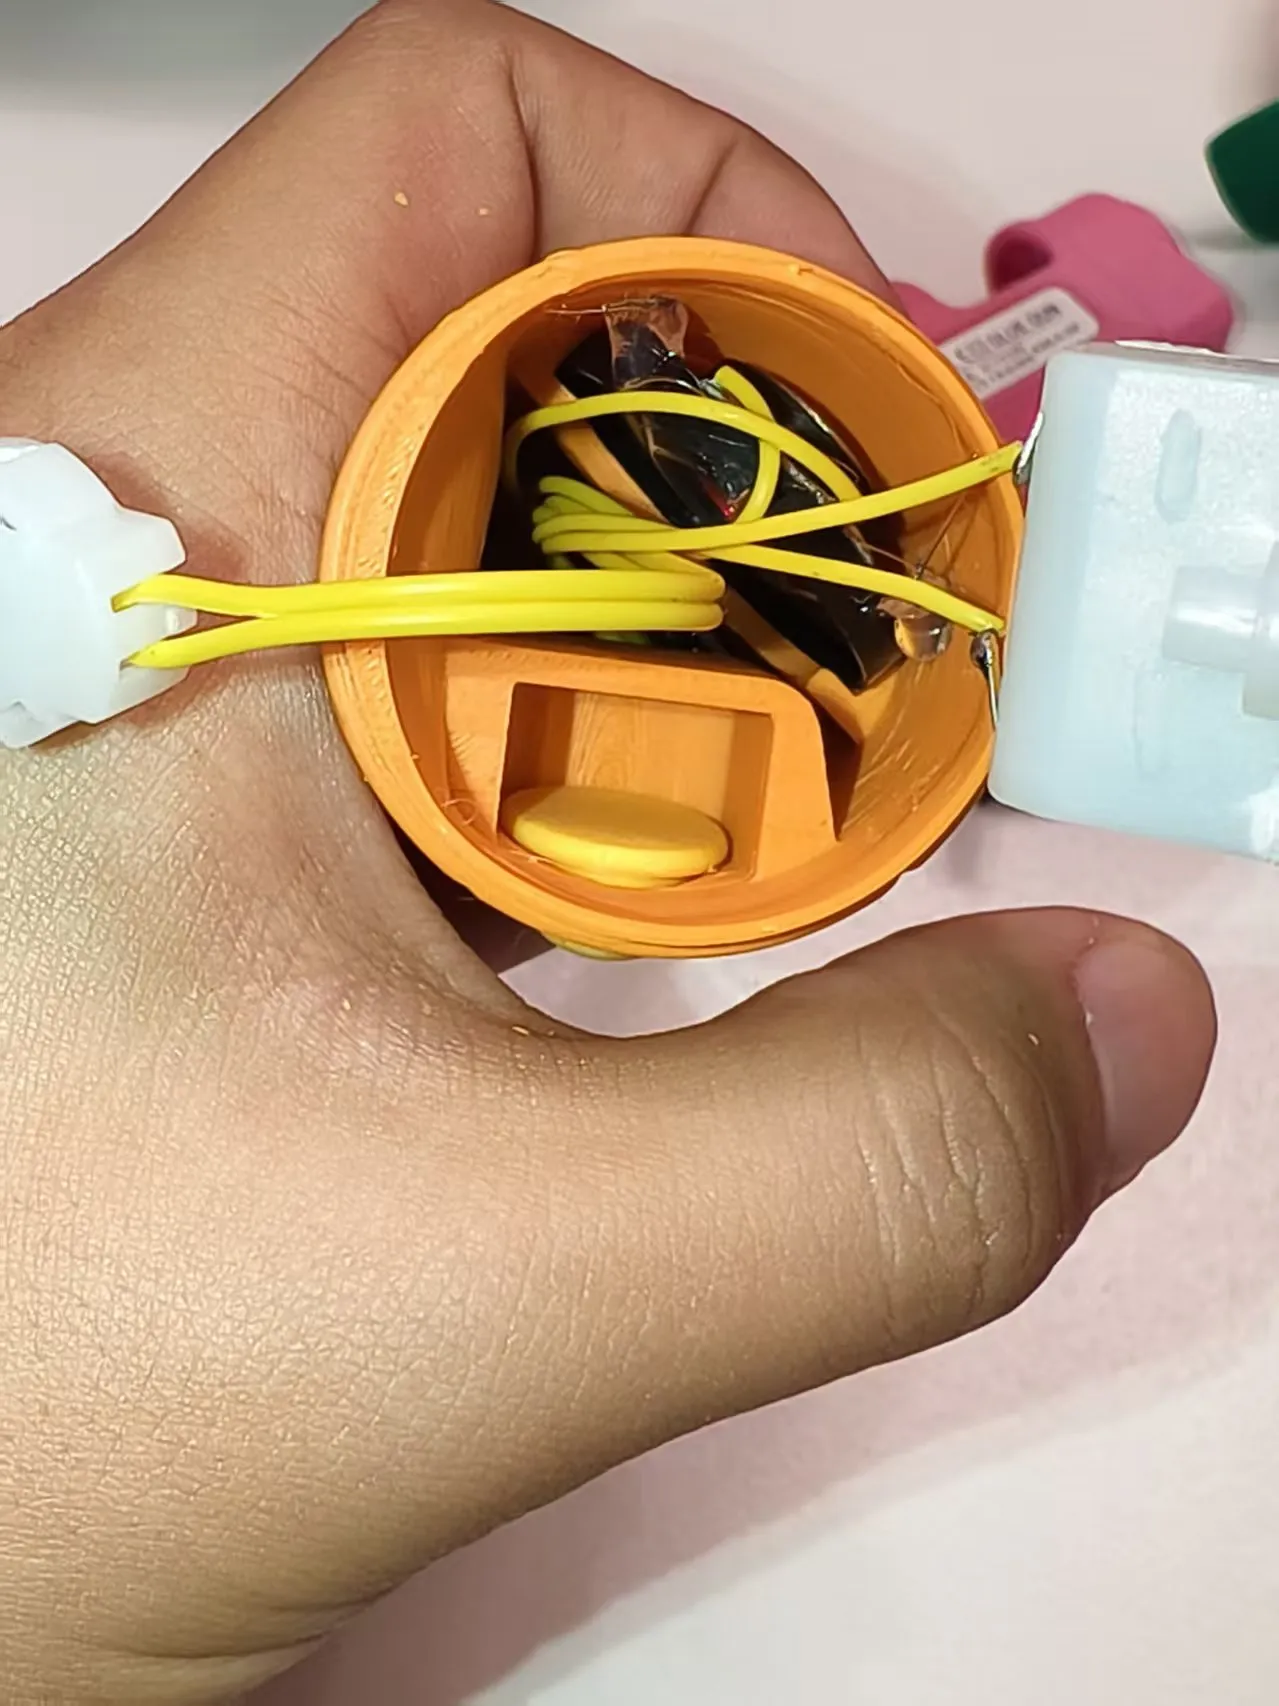
- Place the main board's microphone facing upwards, insert it downwards in the direction of the speaker. Be careful not to block the speaker, and ensure the microphone hole aligns with the shell's opening, then secure with glue.
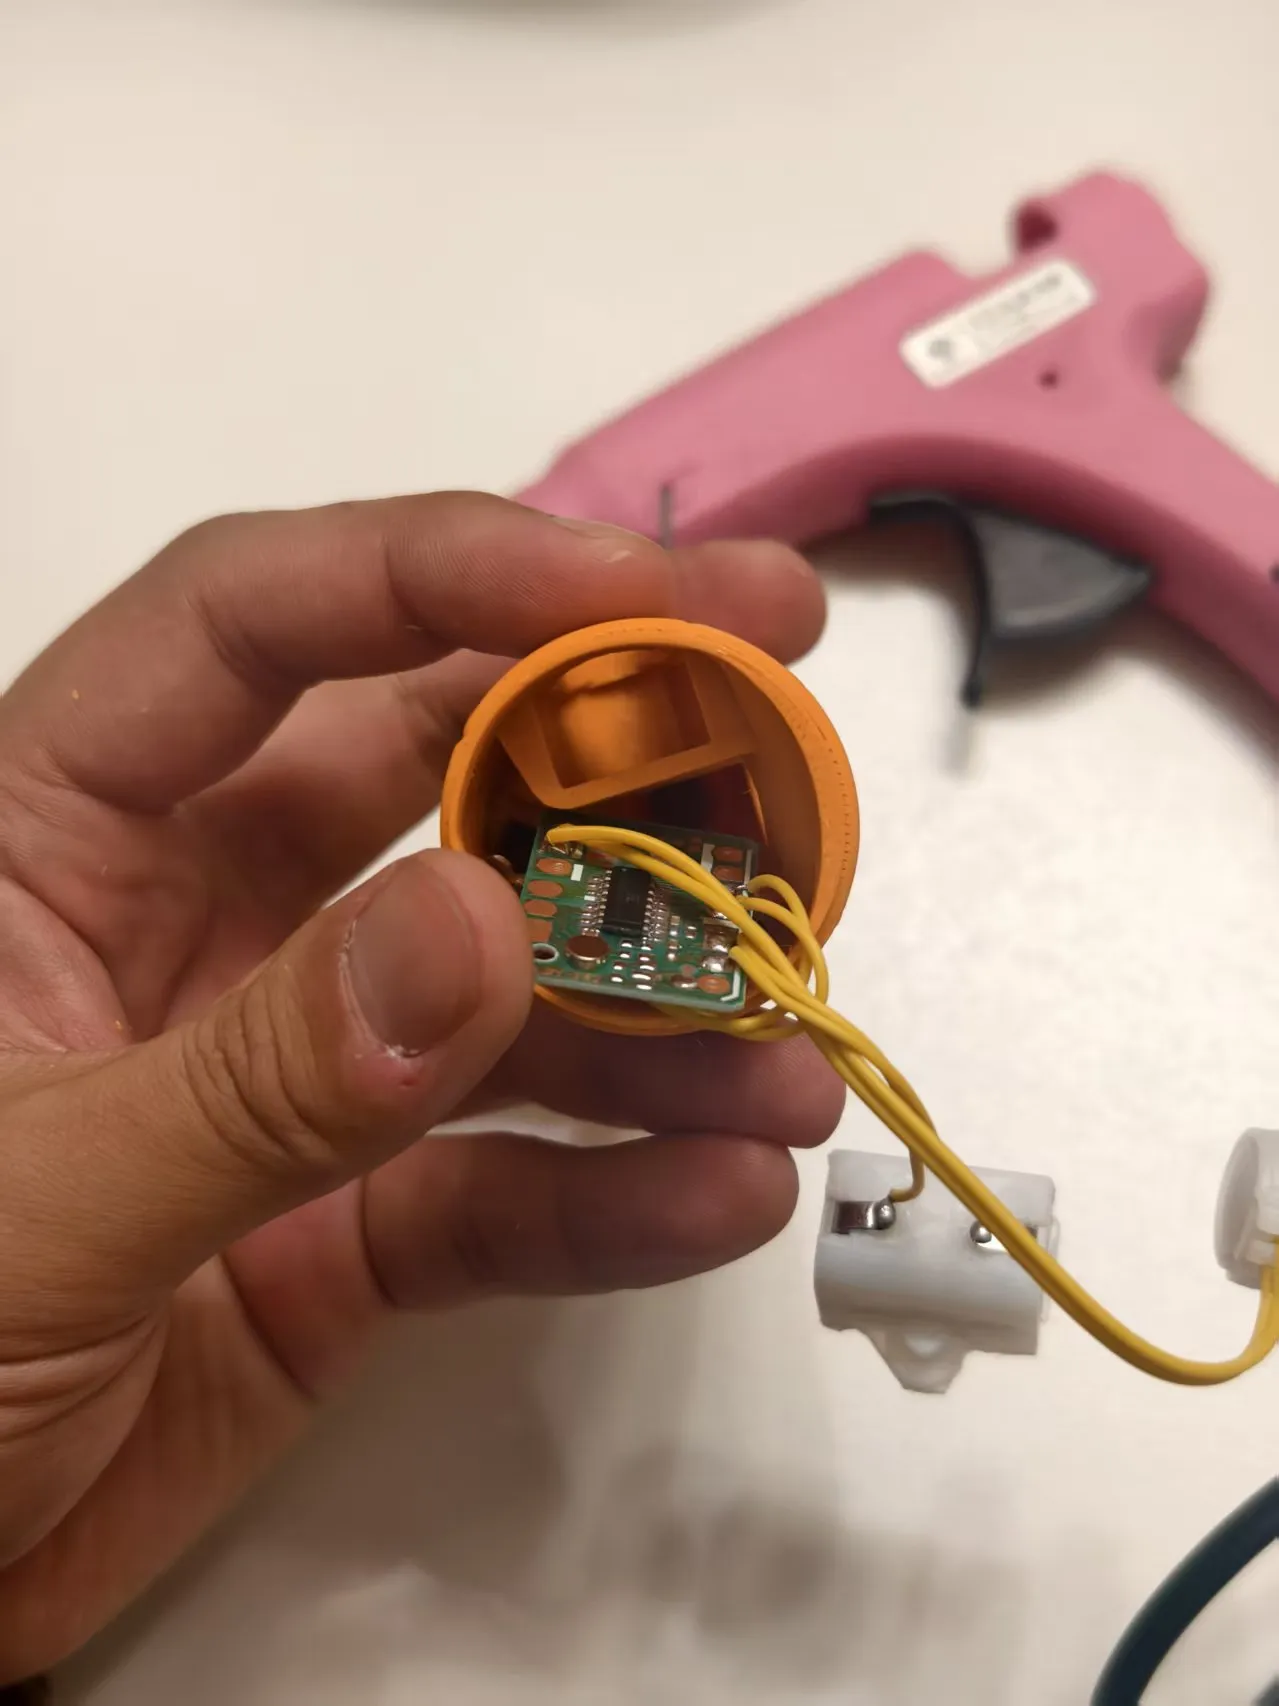
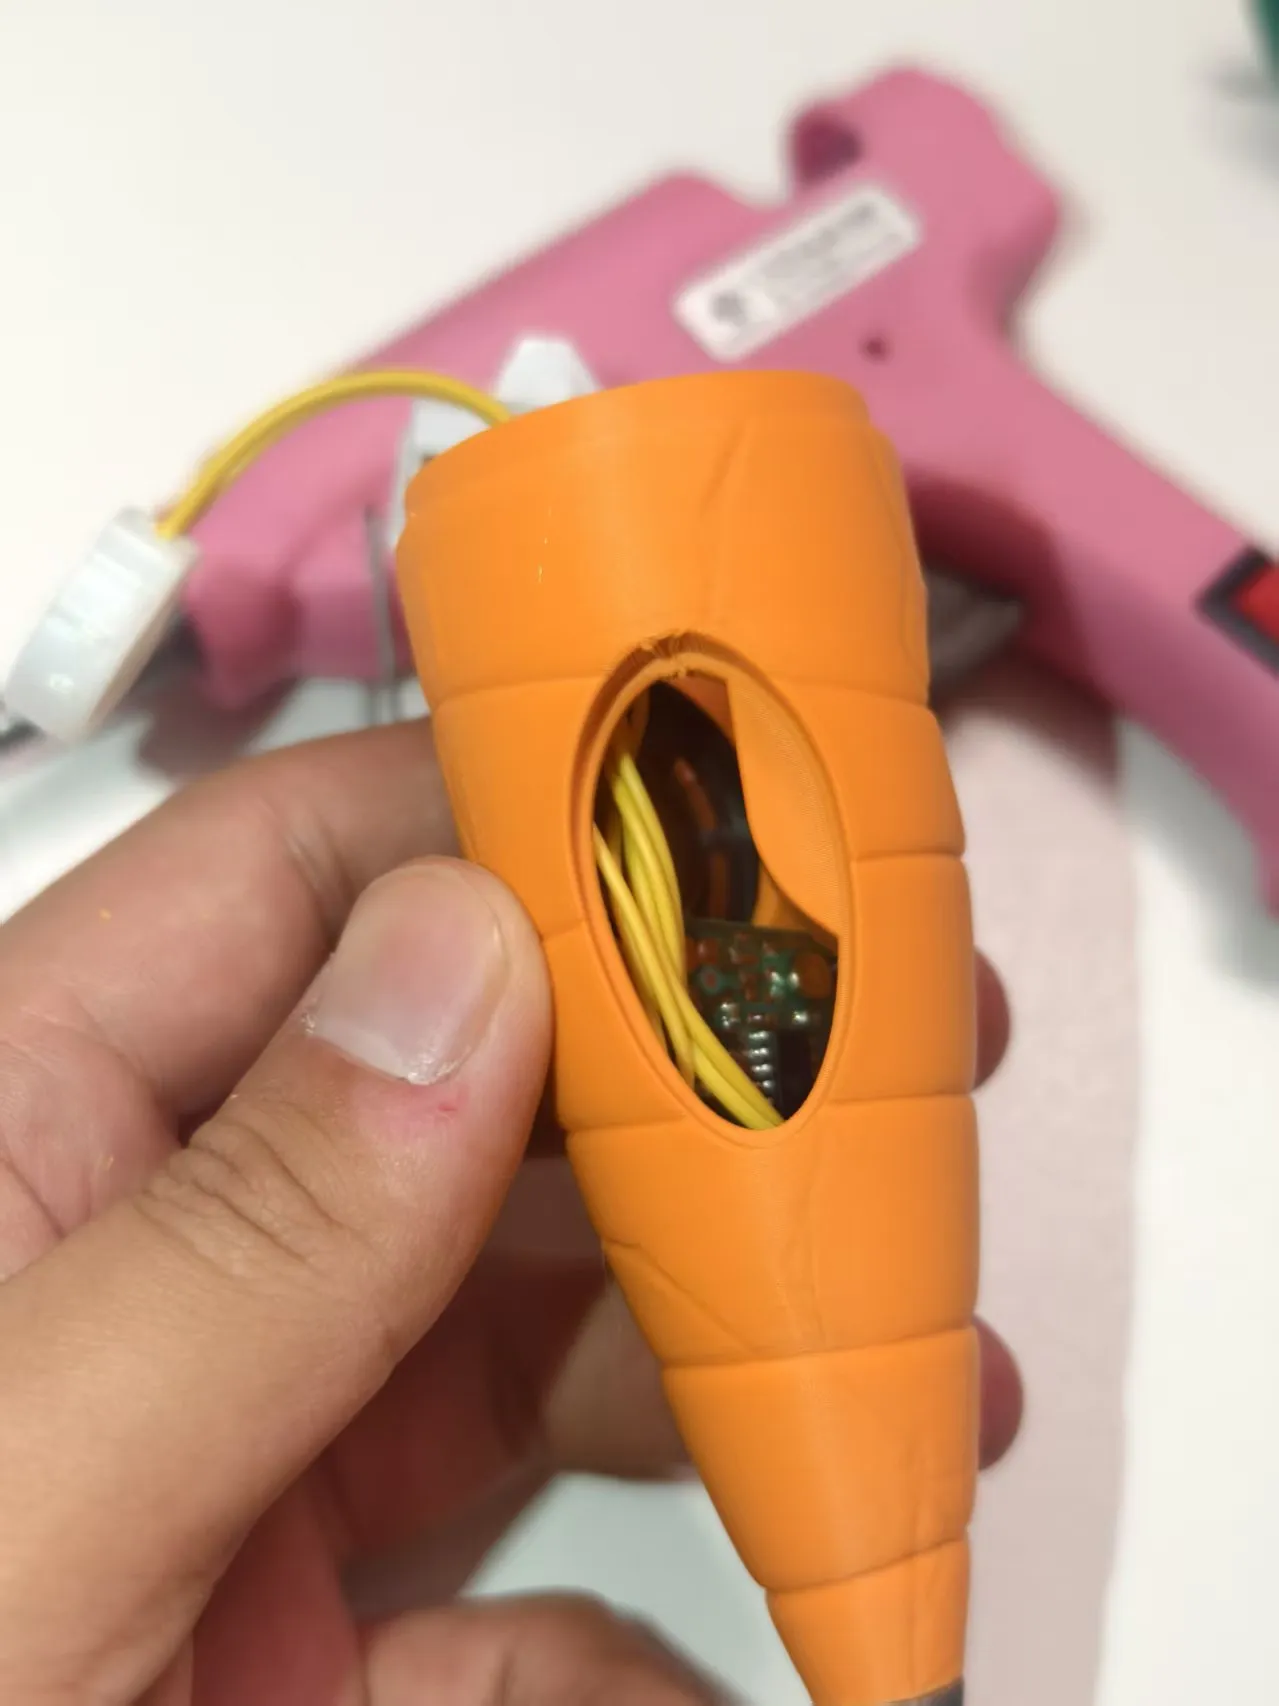
Install Button:
- First, place the printed plastic button from the inside into the button hole of the shell.
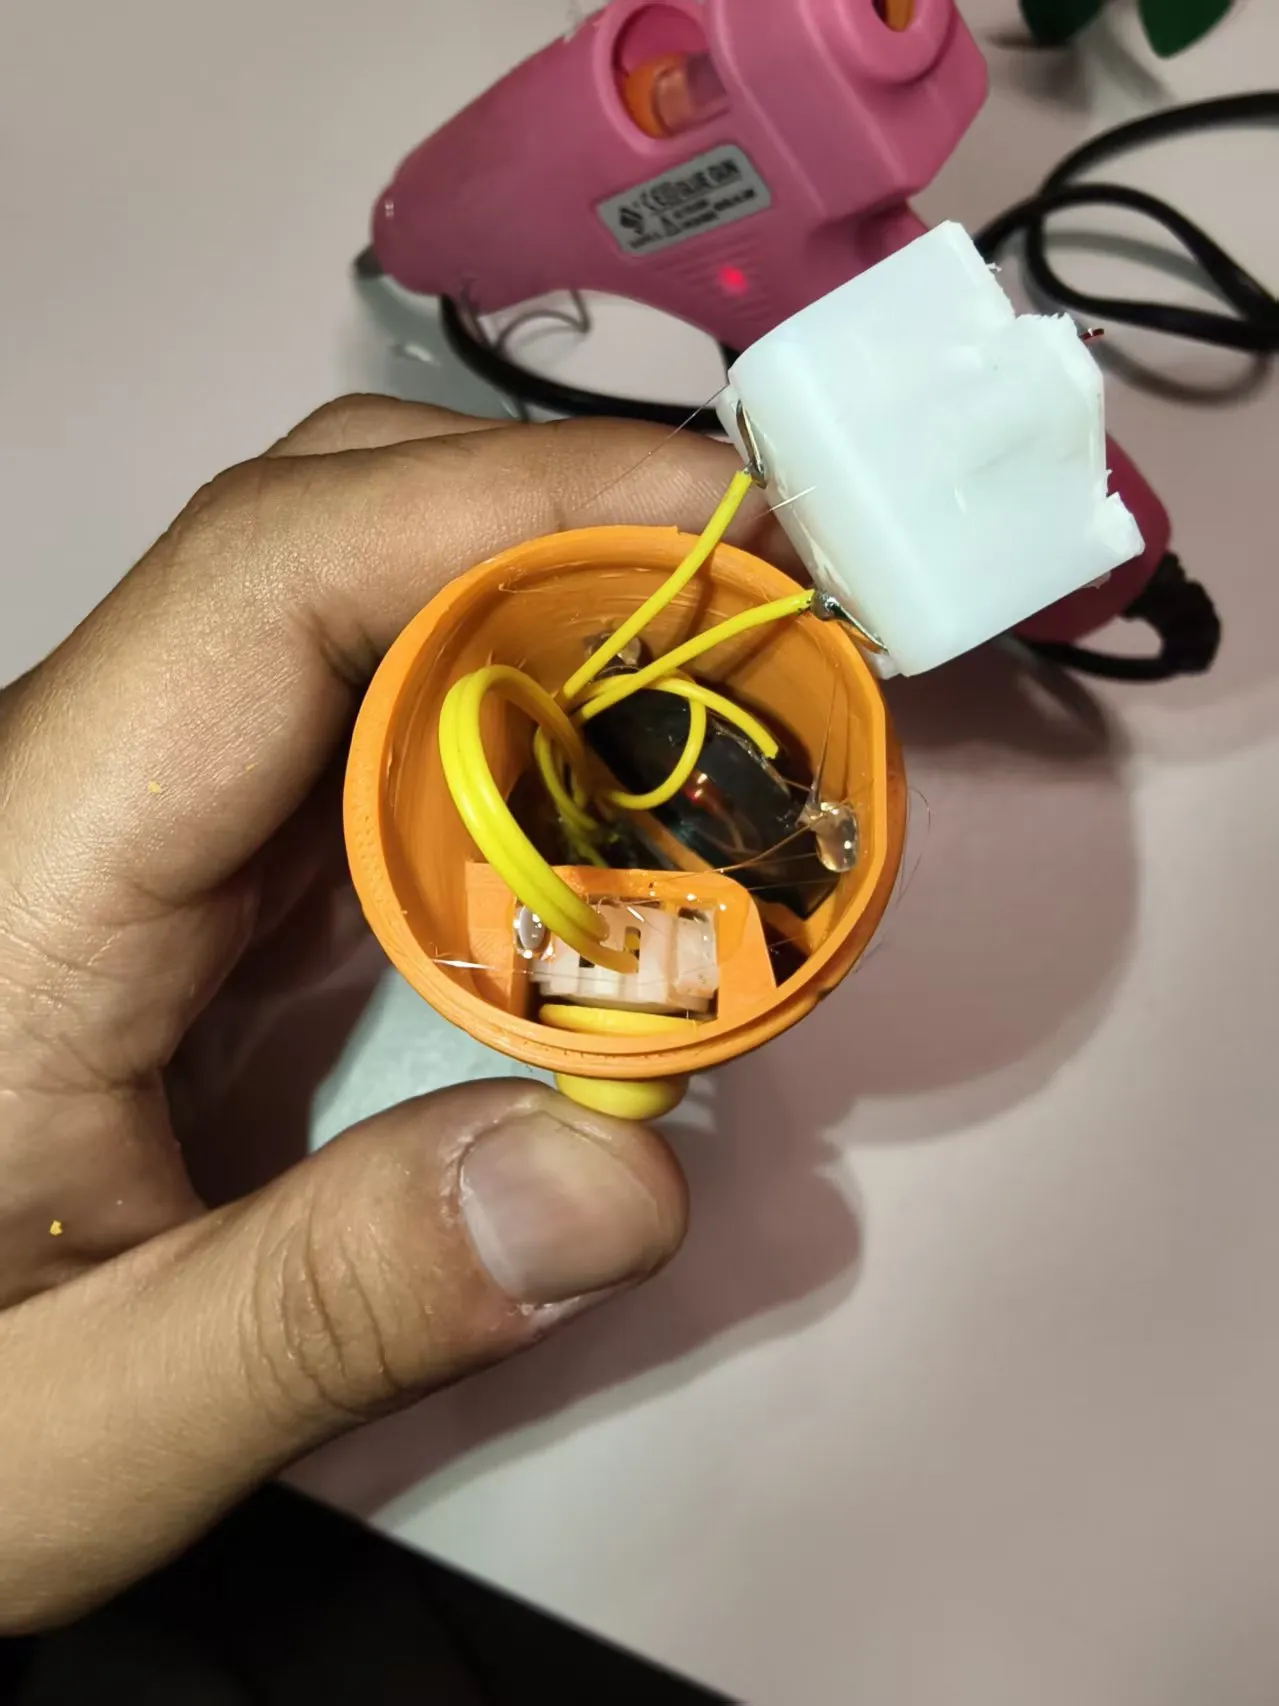
Place the electronic module's microswitch (with the pressable side facing outwards) into the corresponding internal groove.
Key Step: While pressing the electronic switch tightly, apply hot glue to secure it. Ensure that pressing the printed button smoothly triggers the internal switch.
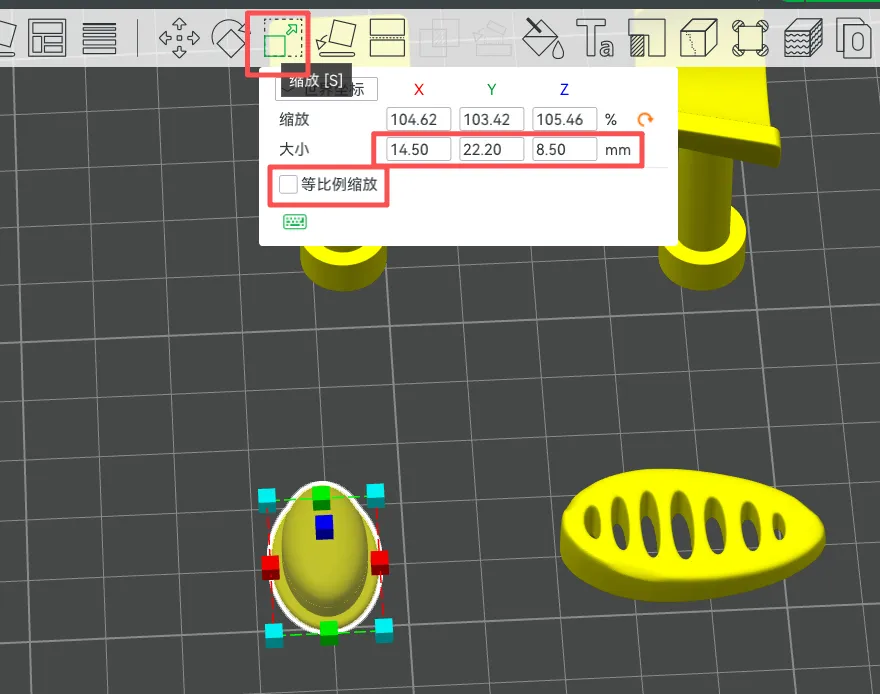
Adjustment Tip: If the button rebound is not smooth (affected by filament sinkage rate), you can reduce the button model's length and width by about 0.2mm in the slicer software (e.g., X:14.5mm, Y:22.2mm).
Finishing Touches:
- Insert the battery holder (Note: Do not glue the battery holder to the edge, otherwise the lid might not close).
Install the microphone cover, pen cap, leaves, and pen clip.
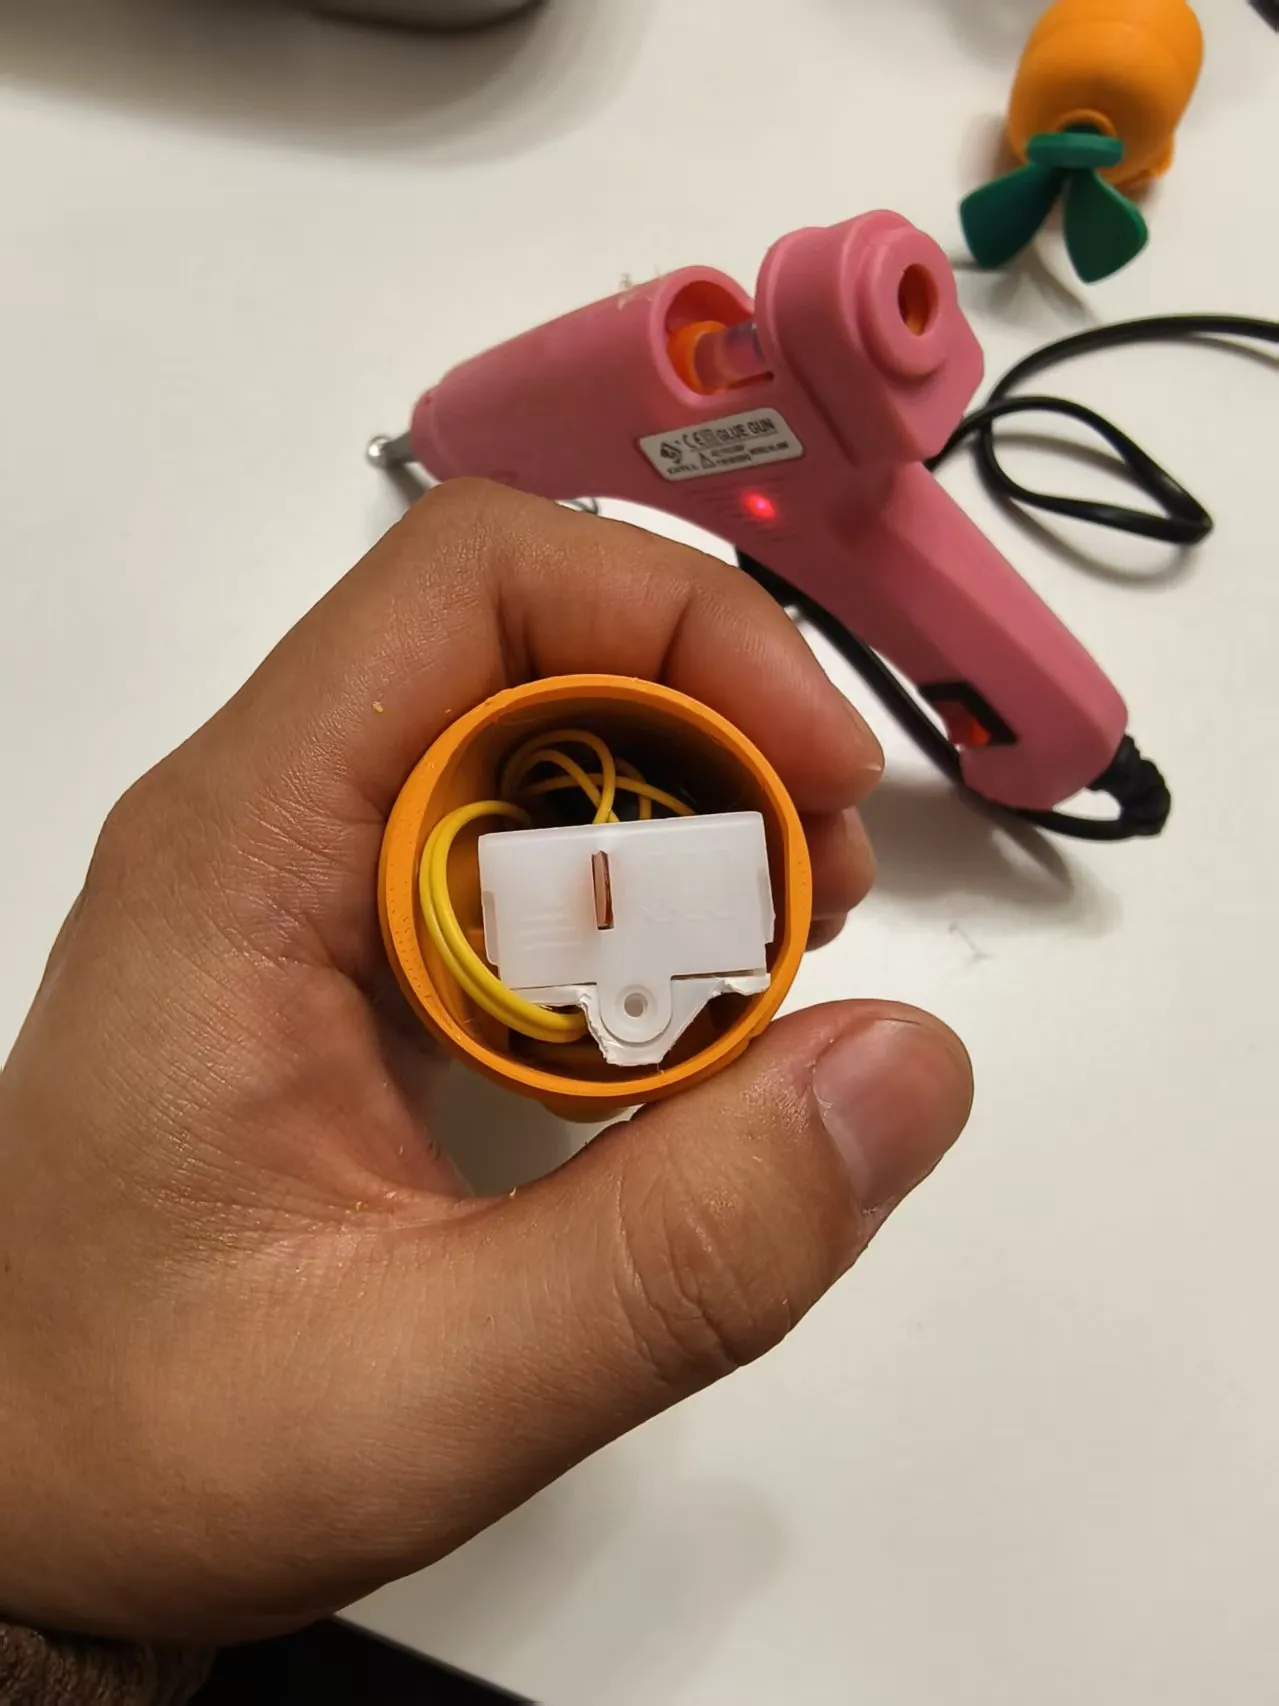
- The lid is designed to be tight, so usually no glue is needed, which also makes it easier to replace the battery later.
🙏 致谢 | Credits
This model is based on the excellent aesthetic model by MakerWorld user @换头后期建模设计师任少, and has been remixed and modified. Thanks to the original design by the great creator!
This remix is based on
License

You may create derivative works based on this object, provided that all such derivative works are published exclusively on the MakerWorld platform and include proper attribution to the original creator. You may not share, upload, host, distribute, or publish this object—or any derivative work of this object—on any other digital platform, marketplace, or distribution channel. Commercial use of this object and any derivative works is strictly prohibited. This includes, but is not limited to, selling, renting, sublicensing, or using the object in any context in which you receive monetary compensation or other financial benefits.


Comment & Rating (4)