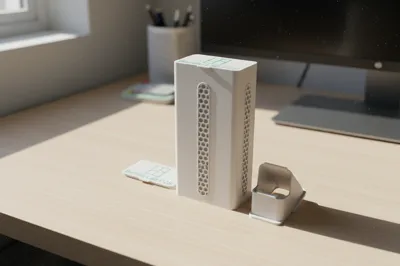
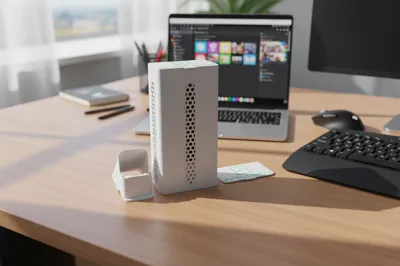
P2S waste storage bin


Print Profile(11)


Description
Boost Me (for free)
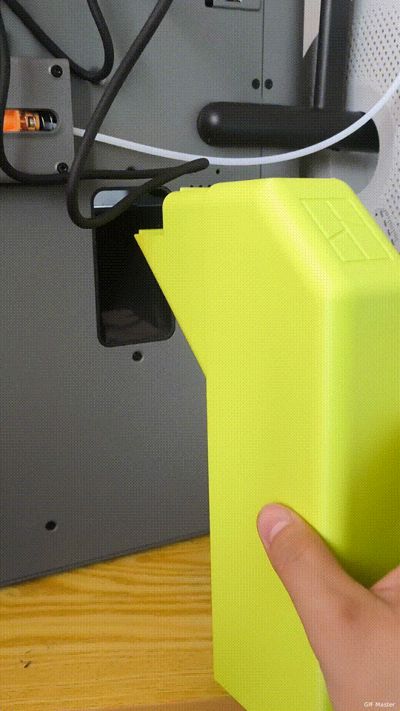
No need to remove screws
No magnets needed
Damage-free clasp, the more you press down, the tighter it gets, can be removed by gently lifting up
First generation dynamic demo
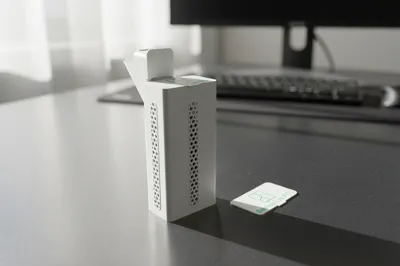
First generation: segmented printing for easy disassembly

Second generation dynamic demo
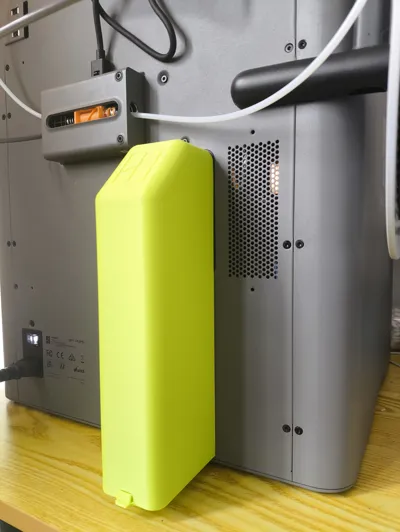
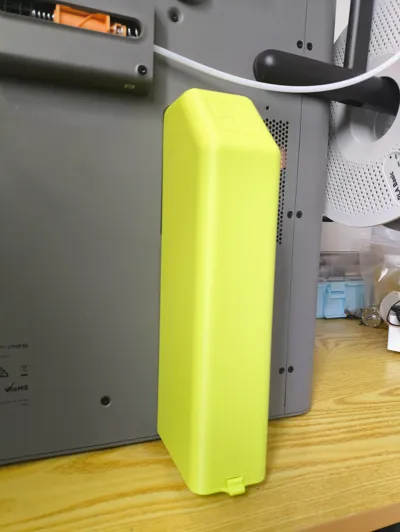
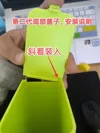
Second generation: integrated hanging poop bin, cannot be pulled off forcefully, needs to be detached by pinching the bottom and lifting upwards

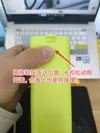
Second generation bottom cover installation instructions


The opening and closing clasp is quite tight, press on the fastening surface for easy opening and closing

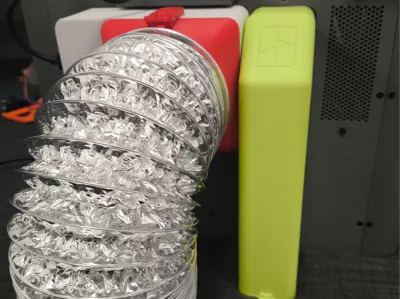
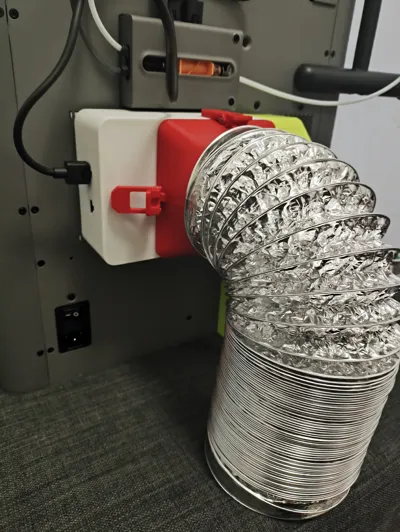
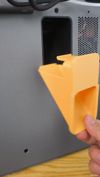
First generation chute display

I found an issue when printing multi-color filament, the extruded material was too dense and too much was extruded
High temperature waste can stick to the chute surface, only by modifying the purge volume to extrude less material can it be better cooled by the fan
This is a great setting, saving both time and filament, you just need to set it according to the dynamic image below
Super simple, if you have a single color printer you will not see the purge volume, you need to click the + sign in the project filament list, then click purge volume, there is a multiplier below the table, change it to 0.7 and confirm, then say goodbye to multi-color clogging issues

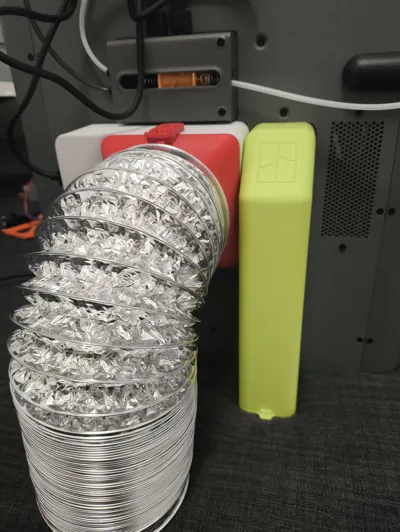
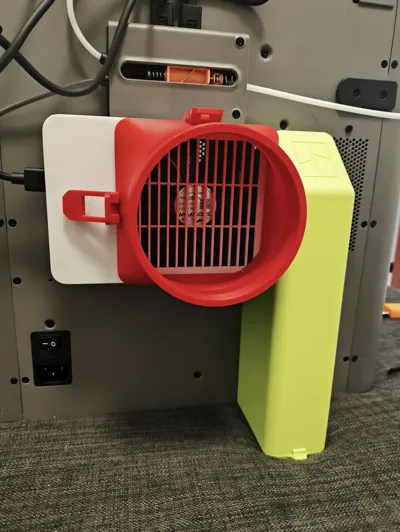
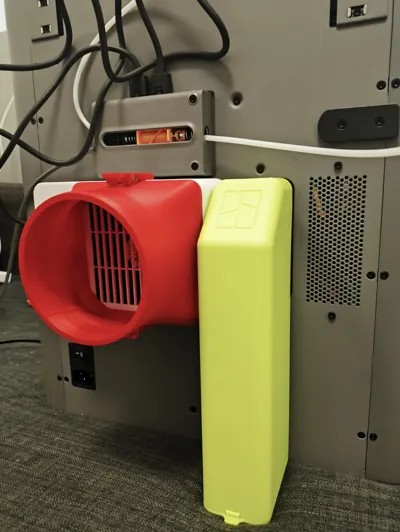
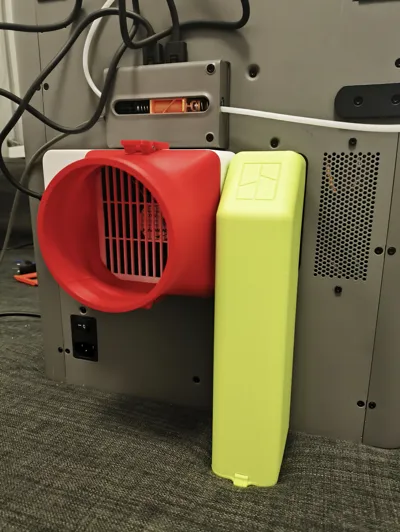
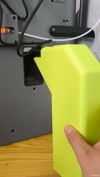
The second generation can be used with this official exhaust fan


Just note that this clasp should not be installed

This is my installation method, placing another clasp on the left, only two clasps are needed and it is also very secure

This perfectly solves the clasp incompatibility issue

Easy to match and disassemble

Documentation (5)

License
You shall not share, sub-license, sell, rent, host, transfer, or distribute in any way the digital or 3D printed versions of this object, nor any other derivative work of this object in its digital or physical format (including - but not limited to - remixes of this object, and hosting on other digital platforms). The objects may not be used without permission in any way whatsoever in which you charge money, or collect fees.
Comment & Rating (25)