


Print Profile(1)

Bill of Materials

Description
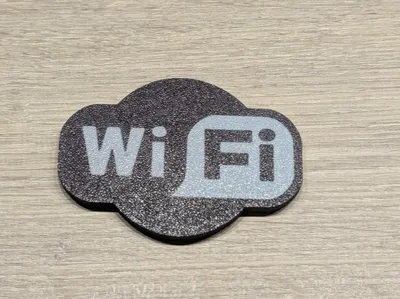
I made a small Wi-Fi badge that attaches to my fridge with magnets. Inside there is an NFC215 tag programmed with my guest Wi-Fi details, so visitors can simply tap the badge to connect to my network.
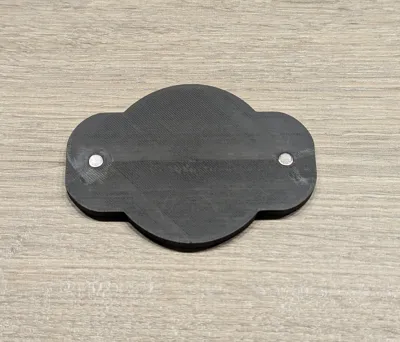
I used negative cutouts for the holes where the magnets and the NFC tag goes in. They can be removed or resized as needed before printing.
The NFC tag sits in a 26 mm hole. There’s only 1 mm of PLA above it, it still scans quickly without any trouble. I paused the print at layer 20, dropped in the NFC215 tag (which is 25mm wide), and since mine has a sticky backing, it stays in place while the print finishes and afterwards when it's used.
I used 2 6x3mm magnets. If you change the size of the magnet cutout (especially its height) you’ll need to recalculate its position so that the top of the cutout stays aligned with the top of the Wi-Fi badge. The badge is 6 mm high.
To program the NFC tag I used the "NFC Tools" application on Android. You can easily choose to write to the tag:
- Choose write
- Add a record
- Scroll down the list and pick Wi-Fi network
- You are now presented with fields to configure your SSID and password.
- When done, hit OK, and pick "WRITE" holding close to the NFC tag
Comment & Rating (6)