
The Cavern Monolith: Textured Stone Lamp Brutalist
Print Profile(1)

Description
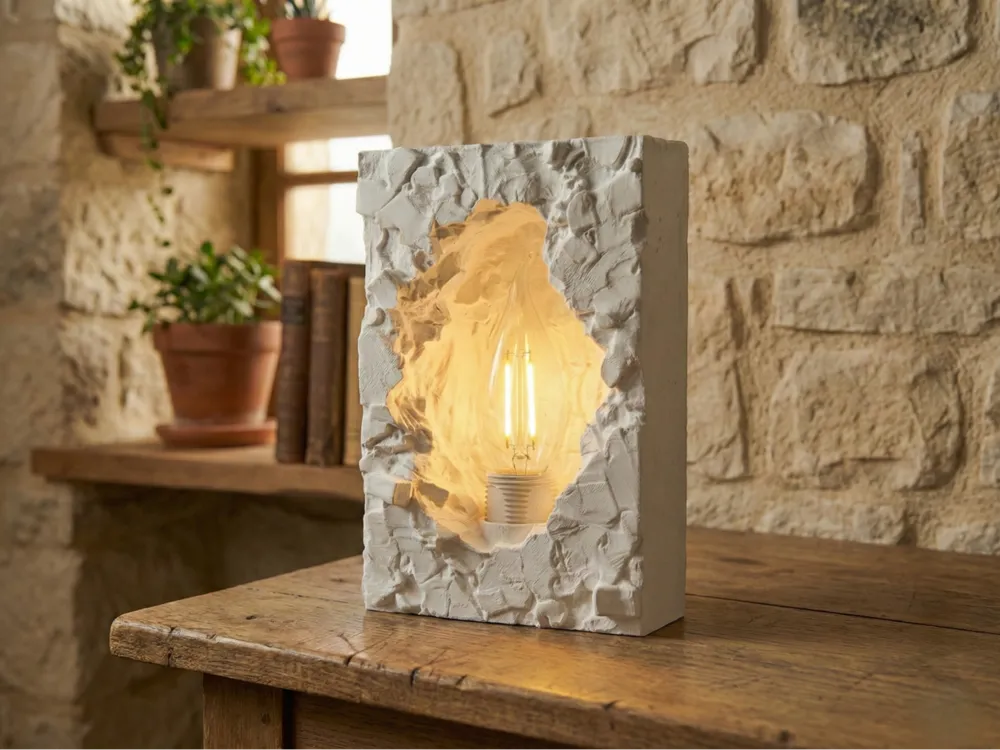
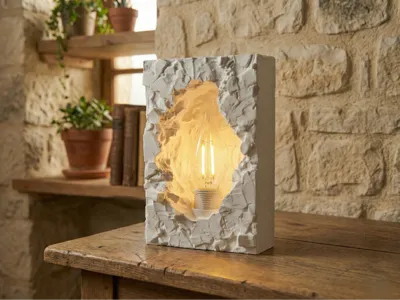
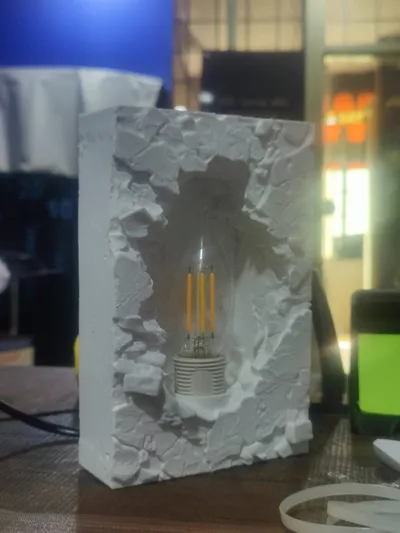
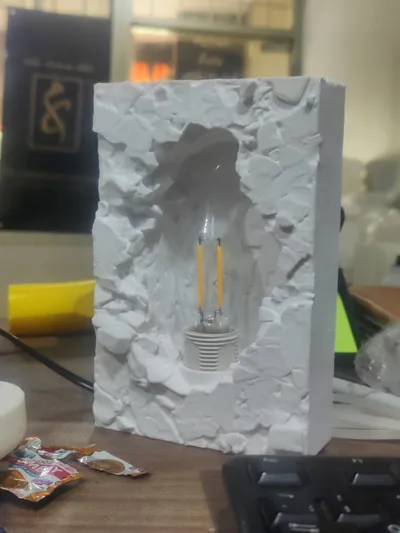
The Cavern Monolith is a statement lighting piece designed to blend industrial, brutalist architecture with organic forms. A rectangular slab featuring intense, rough rock textures is interrupted by a deep, excavated cavity. When lit, the raw white texture inside the "cave" catches the light, creating dramatic shadows and a warm, cozy glow that contrasts beautifully with the blocky exterior.
This design is perfect for a bedside table, a desk, or a bookshelf in a modern or minimalist home.
Design Features
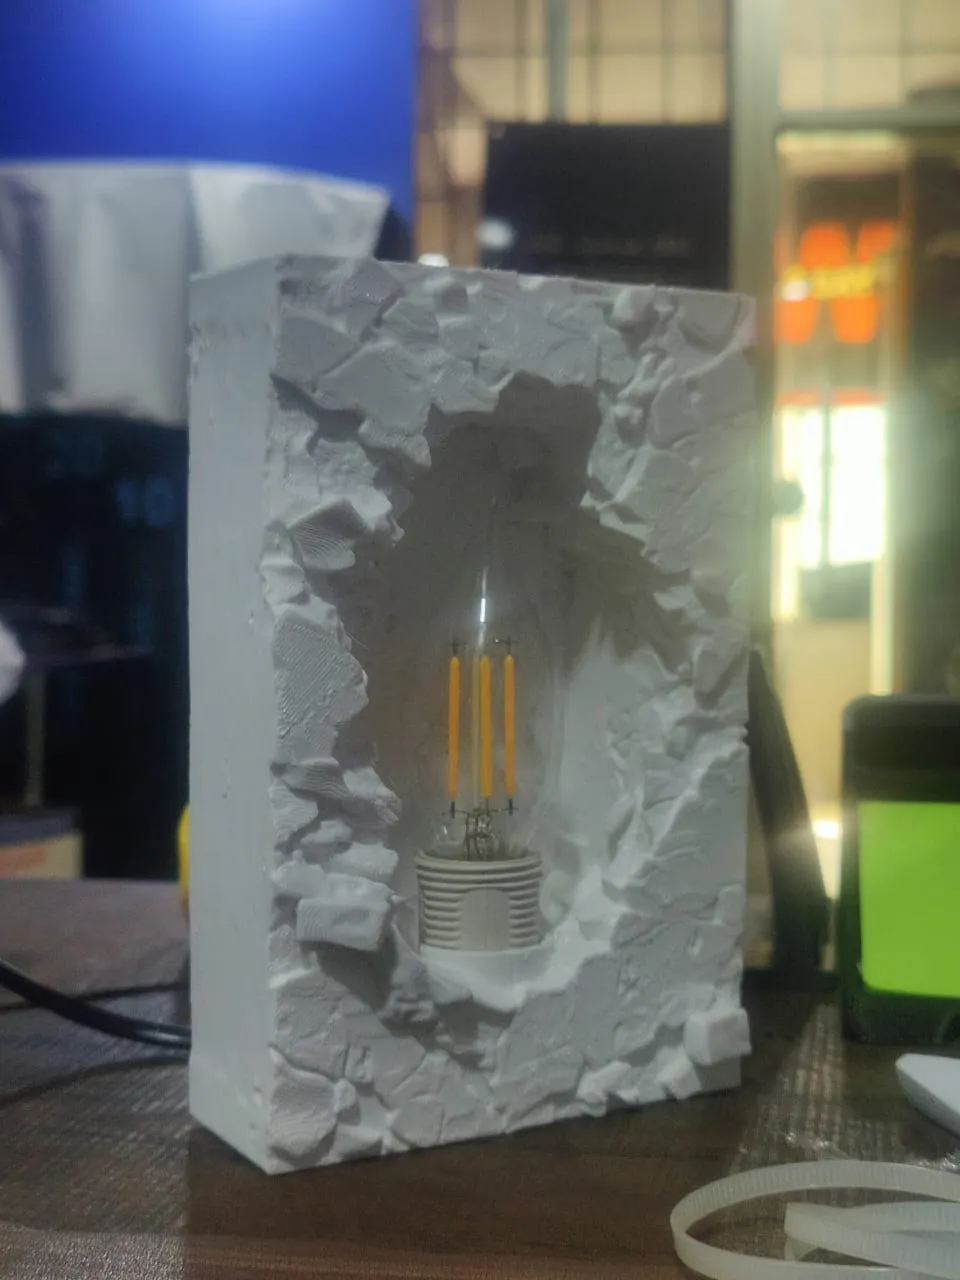
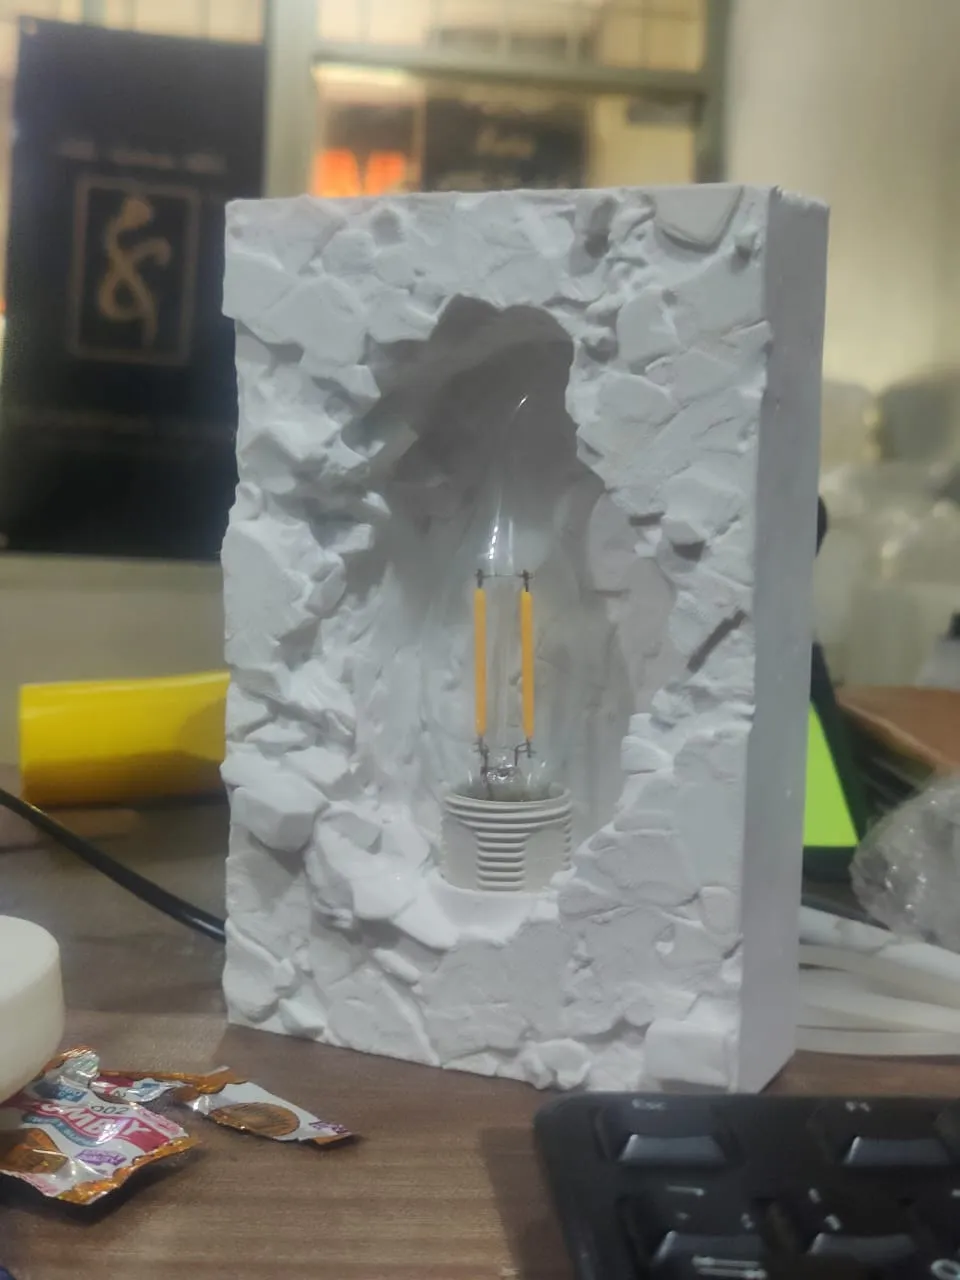
- Heavy Texture: The model is sculpted with deep, realistic rock/plaster textures. This not only looks great but is excellent at hiding 3D printed layer lines, making the final object look like cast concrete or carved stone.
- Modern Brutalist Aesthetic: Clean outer lines mixed with rough, chaotic interior surfaces.
- Designed for Light: The internal cavity is shaped to frame a vintage-style Edison filament bulb perfectly.
Printing Guidelines (Important) This model prints well, but due to the heavy texture and overhangs inside the cavity, some settings are recommended for the best results.
- Material: Matte White PLA creates the most realistic "plaster" look. Stone-filled filaments (like marble PLA) also look incredible.
- Layer Height: 0.2mm works great. The texture hides thicker layers well.
- Infill: 10% - 15% Gyroid is sufficient for strength.
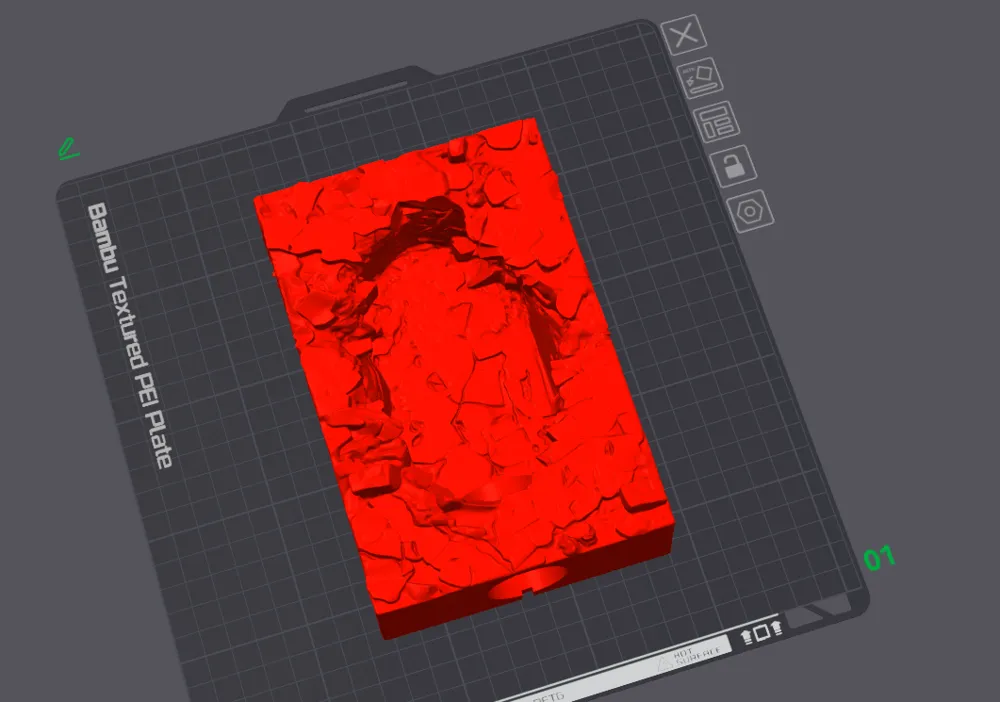
- Supports: Yes, supports are recommended. While the outside texture prints fine without them, the very top inside arch of the "cave" has steep overhangs that will print cleaner with tree/organic supports.
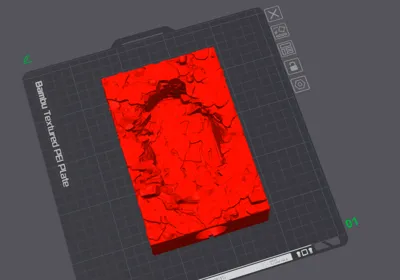
- Orientation: Print upright on its base as shown in the photos.
Hardware & Assembly Required This is a lamp shade/body. You will need to provide the electrical components.
- Socket & Cord: A standard pre-wired pendant light cord kit with an E14 socket base works best. The hole in the base is sized for standard light fittings
- The Bulb (CRITICAL SAFETY WARNING):
- YOU MUST USE AN LED BULB.
- Do NOT use incandescent or halogen bulbs. They generate too much heat and will melt PLA plastic, posing a fire risk.
- A warm white (2200K-2700K) vintage-style LED filament bulb (as pictured) looks best.
Assembly Instructions:
- Feed your electrical cord through the bottom hole.
- Secure the light socket into the base cavity (depending on your kit, this may screw in or use a locking ring).
- Screw in your LED bulb.
- Plug in and enjoy the glow!
If you print this, please upload a photo of your make! I love seeing them in different environments.
License

You shall not share, sub-license, sell, rent, host, transfer, or distribute in any way the digital or 3D printed versions of this object, nor any other derivative work of this object in its digital or physical format (including - but not limited to - remixes of this object, and hosting on other digital platforms). The objects may not be used without permission in any way whatsoever in which you charge money, or collect fees.


Comment & Rating (0)